Last Christmas, Ben surprised me with an Aeropress kit. What the heck is Aeropress, you ask? I had the exact same response when I opened the package. “Ummm thanks dear! … Soooo, what is this exactly?” Well, that husband of mine had done his research. It turns out that Aeropress is a way to prepare coffee similarly to a French Press, with the idea of concentrating really finely ground coffee down to an espresso-strength concentrate, and then adding hot water to fill the cup to the strength of your liking. The concept behind Aeropress, which is described as a “High-Performance Sports Toy” on their website, is to use the ideal temperature of water, gentle air pressure, and total immersion of the coffee grounds to brew a smooth, rich, lower-acidity cup of coffee that only takes about a minute to make. I was skeptical at first- add water to my coffee? Won’t that just make it really weak? But I soon found that with a little bit of practice, the cuppa joe you get at the end is stronger and less bitter than any mug of drip that you’ll ever drink. Don’t believe me? Ask… actually, I don’t know anyone else with an Aeropress. So just believe me. With my new toy, Ben also got me a few months’ subscription to Tonx coffee. Tonx, a small company out of Los Angeles, is a really great (though a bit pricey) way to try out different coffees from all around the world. Every 2 weeks I looked forward to receiving a small package of freshly-roasted (as in, within the last few days) whole beans from El Salvador, Ecuador, the Phillipines, Brazil, etc. with a little blurb on the quality and flavor of the coffee, and the profile of the community it came out of. I also soon ordered an automatic coffee grinder, which I absolutely adore. I highly recommend the Encore Coffee Grinder by Baratza. It’s not cheap, but it will allow you to grind your beans just the way you like them, is sturdy, relatively quiet (as far as coffee grinders can be), and convenient as you don’t have to manually turn a knob over and over and over just to get out like, a teaspoon of grinds. Given that the Aeropress requires a decent amount of ground beans to make the concentrate for a double-espresso strength cup (or 12 oz or so of regular brew), an automatic grinder is definitely a worthwhile investment. I’ve reserved my Aeropress-brewing days for Saturday and Sunday mornings, when I have a bit more time to sit and savor my coffee. It also means I get to look forward to it all week long! Want to know how to make it? Let me show you! Me last Christmas with my new “toy.” Excited to enter the world of snobby coffee-drinkers!

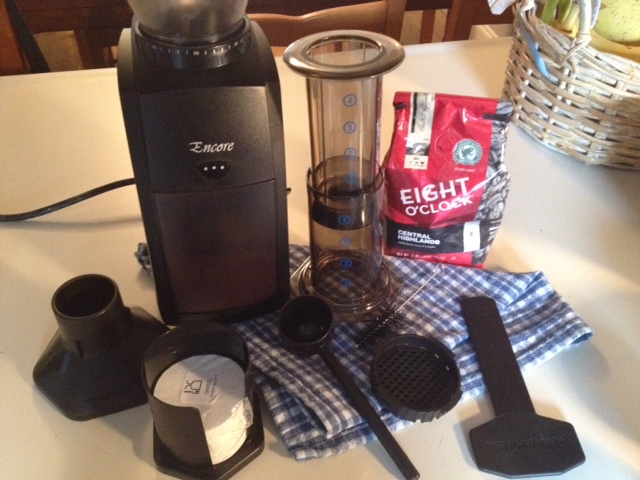
First, here is what all the components look like (coffee grinder wasn’t included in the Aeropress package. Nor was the Eight O’Clock Coffee :P). From left to right, a funnel for drip-free hot water-pouring, filter holder and 350 micro-filters, scooper, Aeropress plunger (top) and chamber (bottom), filter cap, and stirrer.
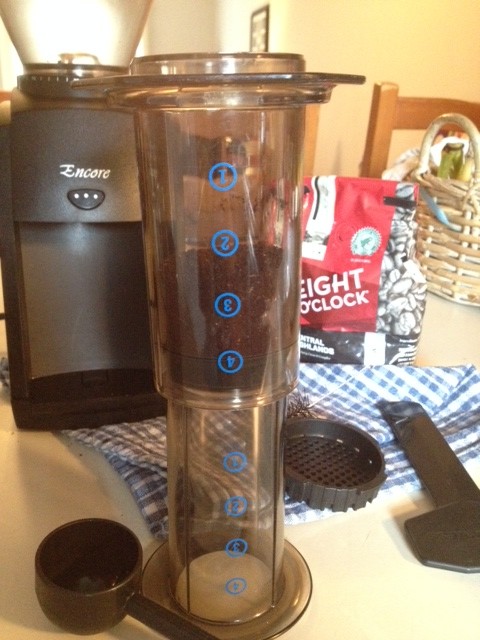
Grind your coffee. Insert the plunger into the chamber until the rubber bottom lines up with the “4” line on the chamber. Flip the entire plunger/chamber over. Using the scooper, scoop 2 level scoops of finely-ground coffee (I used about a setting of 15 on the Encore) and pour into the chamber (this part is on top now).
Heat your water until just about boiling (but not quite). According to the “High-Performance Sports Toy experts”, boiled water added to the coffee isn’t the “correct” way of Aeropressing. So they say.

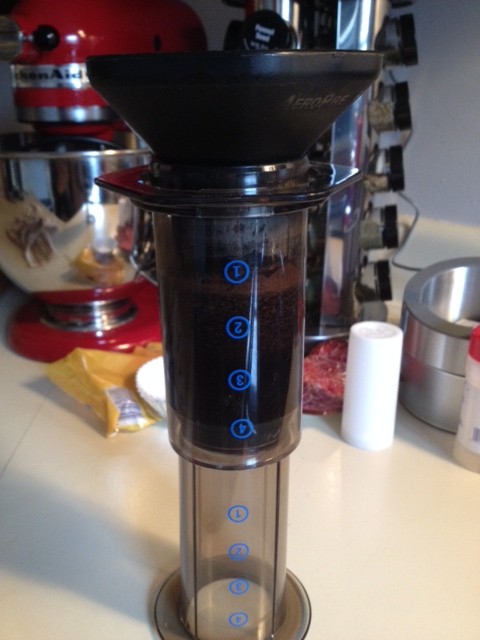
Pour the hot water into the top of the chamber up until the “1” line. Steep for about 15 seconds.
Using the stirrer, stir the coffee and water until the grounds have dissolved and you get a nice smooth mixture.
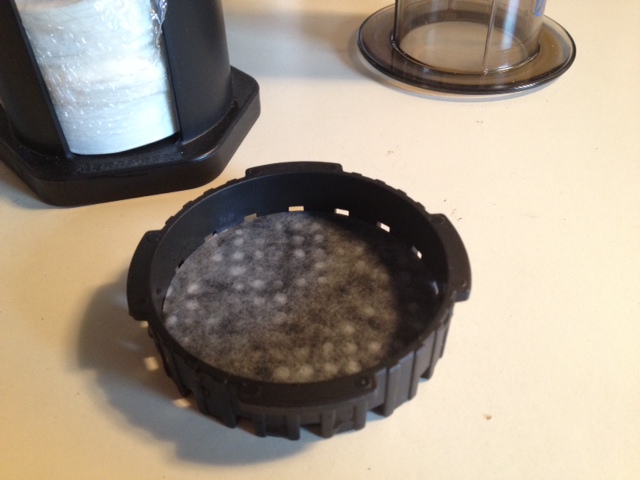
Place one of the paper filters into the filter holder. Dampen the filter paper with a few drops of warm water.
Screw the filter and filter holder onto the top of the chamber.

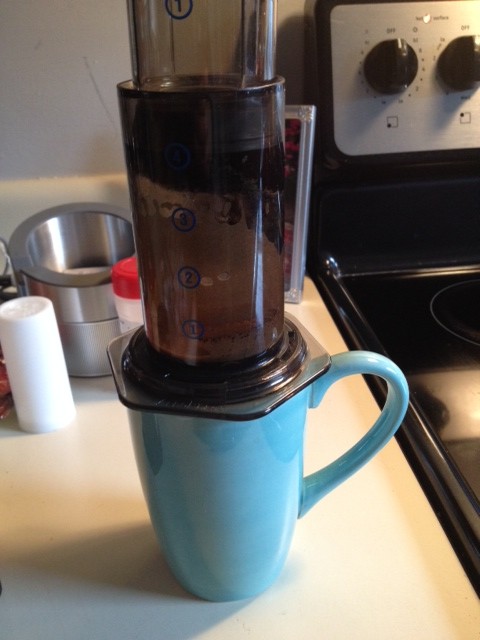
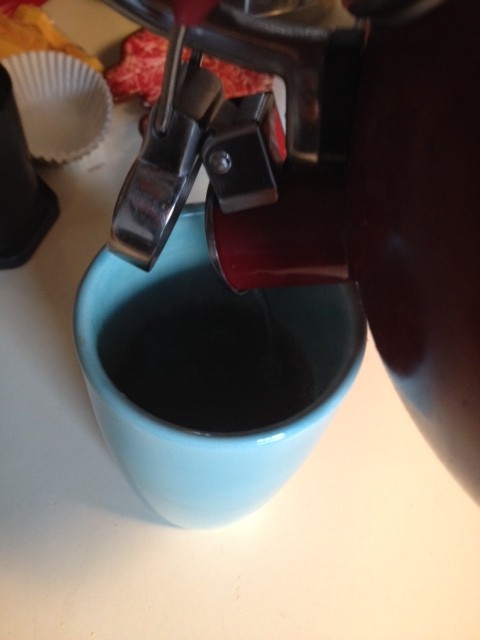
Place the mug you plan to use on top of the filter holder, covering it completely. With one hand holding the mug securely in place, invert the entire complex so that the coffee/water mixture is free to drain out the bottom, directly into the mug.
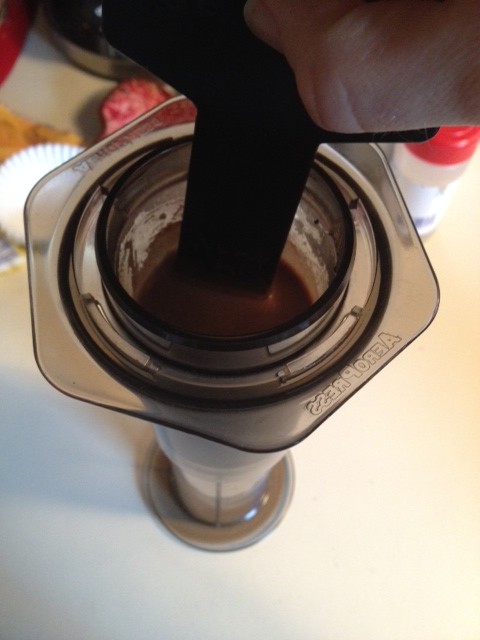
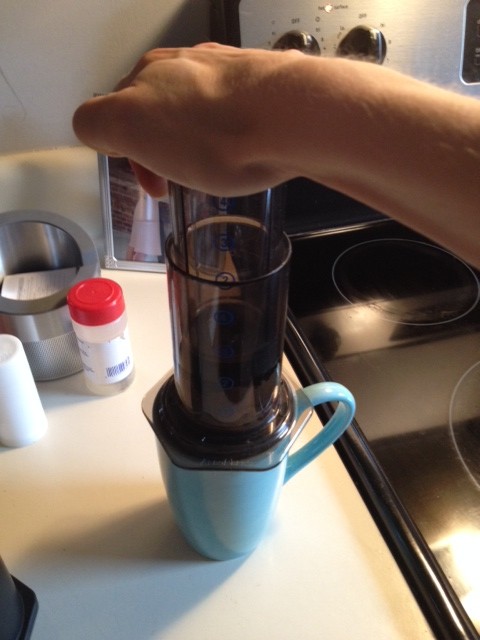
Shake it up a little bit to get the bits of wet grounds that are still stuck to the bottom of the plunger. With gentle pressure, slowly press the plunger down into the chamber. This step is the key to getting your coffee to be less bitter and acidic! The air pressure is concentrating the coffee, so you want to be as gentle as you can as you plunge. The entire plunging should take 20-25 seconds. When you start to hear the hissing of air, it’s time to stop!
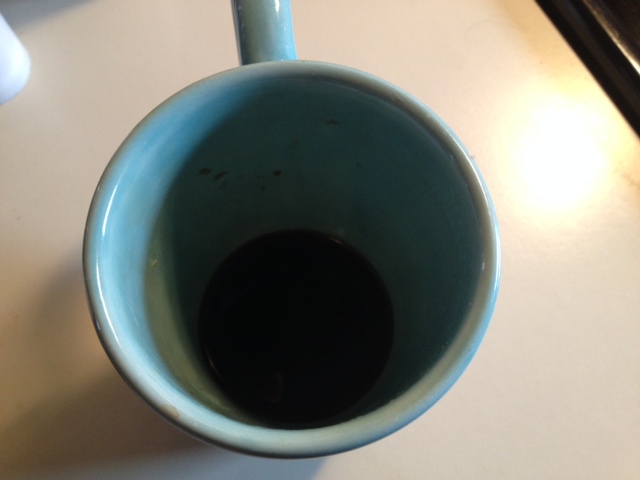
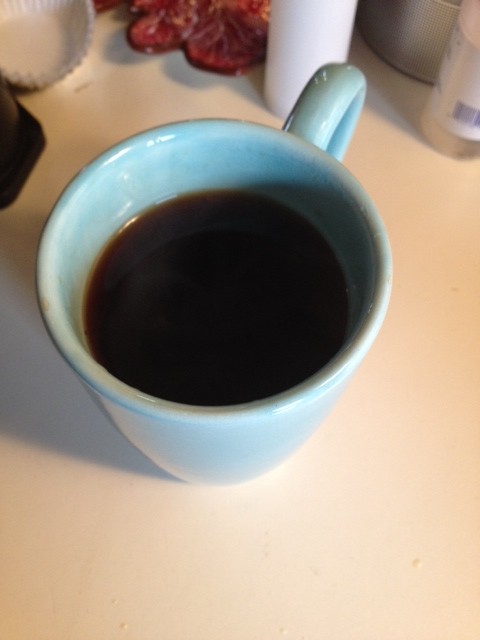
This is what you end up with. Exciting, I know. Funny story: the first time I tried to Aeropress last Christmas morning, I thought this was the final step in the process. I thought to myself, “well gee, that’s lame! It hardly makes any coffee at all! I’ll just have to add 4 scoops next time!” I then gave it to my non-coffee-drinking husband to try. “Phew- that is STRONG!” he said as he took a tiny sip. I think one drop of that double espresso-strength concentrate kept him awake till New Years’!
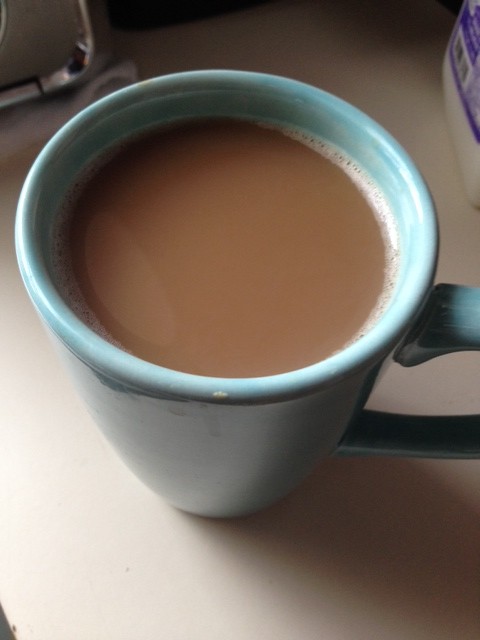
Continue to add hot water to fill the mug, leaving room for milk if desired.
The finished product!
And here you have it- with a little bit of milk: the best cup of coffee you will ever taste! Bold, smooth, and rich!
Will you Aeropress this holiday season?

Published by