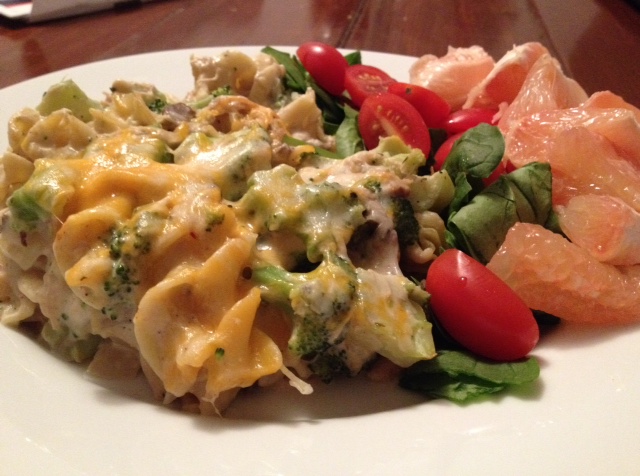
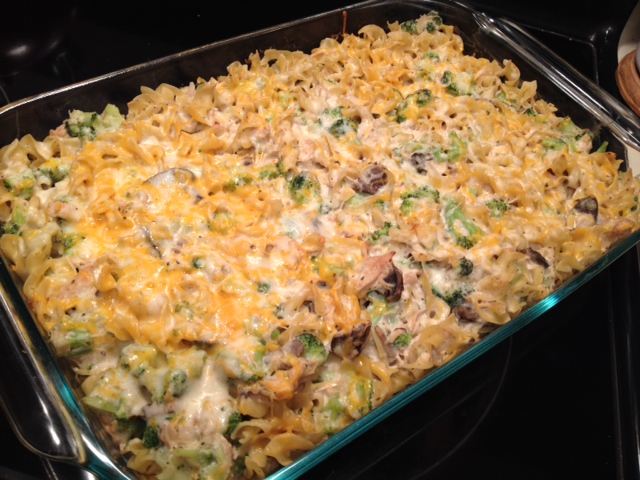
Cheesy Chicken and Broccoli “Stroganoff”
Recipe Type: Casserole, Comfort Food
Cuisine: Easy, American
Author:
Prep time:
Cook time:
Total time:
Serves: 8
“Comfort food” to the extreme! Get out your slow cooker and let ‘er simmer away all day! Feeds a crowd, and is sure to please even the pickiest of eaters.
Ingredients
- 2 lbs chicken breasts
- 1/2 cup lite balsamic vinaigrette
- 1 tsp garlic powder
- 1 tsp minced garlic
- 1 onion, minced
- 10 white mushrooms, sliced thinly
- 1 lb (16 oz) broad egg-noodles
- 1 16 oz package frozen broccoli florets
- 1 8 oz. package cream cheese (I used 1/3 less fat Neufchatel cheese)
- 2 cans low-fat cream of mushroom soup (condensed)
- 3 tsp dijon mustard
- 1/2 cup shredded cheese (optional- I used a Mexican blend that I had already)
- salt and pepper to taste
Instructions
- Place chicken breasts, vinaigrette, and garlic powder in a freezer bag. Shake to combine and make sure the chicken breasts get evenly coated. Refrigerate at least 1 hour, turning over bag midway.
- Spray the bottom of a slow-cooker with cooking spray. Add onions, chicken, and mushrooms and cook on low for 4 hours, or until chicken is fully cooked.
- While still in the slow cooker, shred the chicken with two forks. It should pull apart easily!
- In a large saucepan, cook egg noodles to al dente, according to package instructions. Drain and add to slow cooker.
- In the same saucepan over medium heat, combine Neufchatel cheese, condensed soup, dijon mustard, and frozen broccoli. Mix until smooth and broccoli is completely covered. Add salt and pepper to taste.
- Add broccoli and sauce to slow cooker and stir to combine.
- Preheat oven to 350 deg. Spray a 9×13″ casserole dish with cooking spray. Spread casserole evenly in dish and sprinkle with shredded cheese (optional).
- Cook for 25 minutes or until cheese is bubbly and egg noodles are just beginning to brown.
- Cool for 5-10 minutes before serving.
- Serve with a side salad and fresh grapefruit wedges.