Hey, ya’ll! I’m kind of going out on a limb here and coming to you today with a new type of post- a DIY craft project!
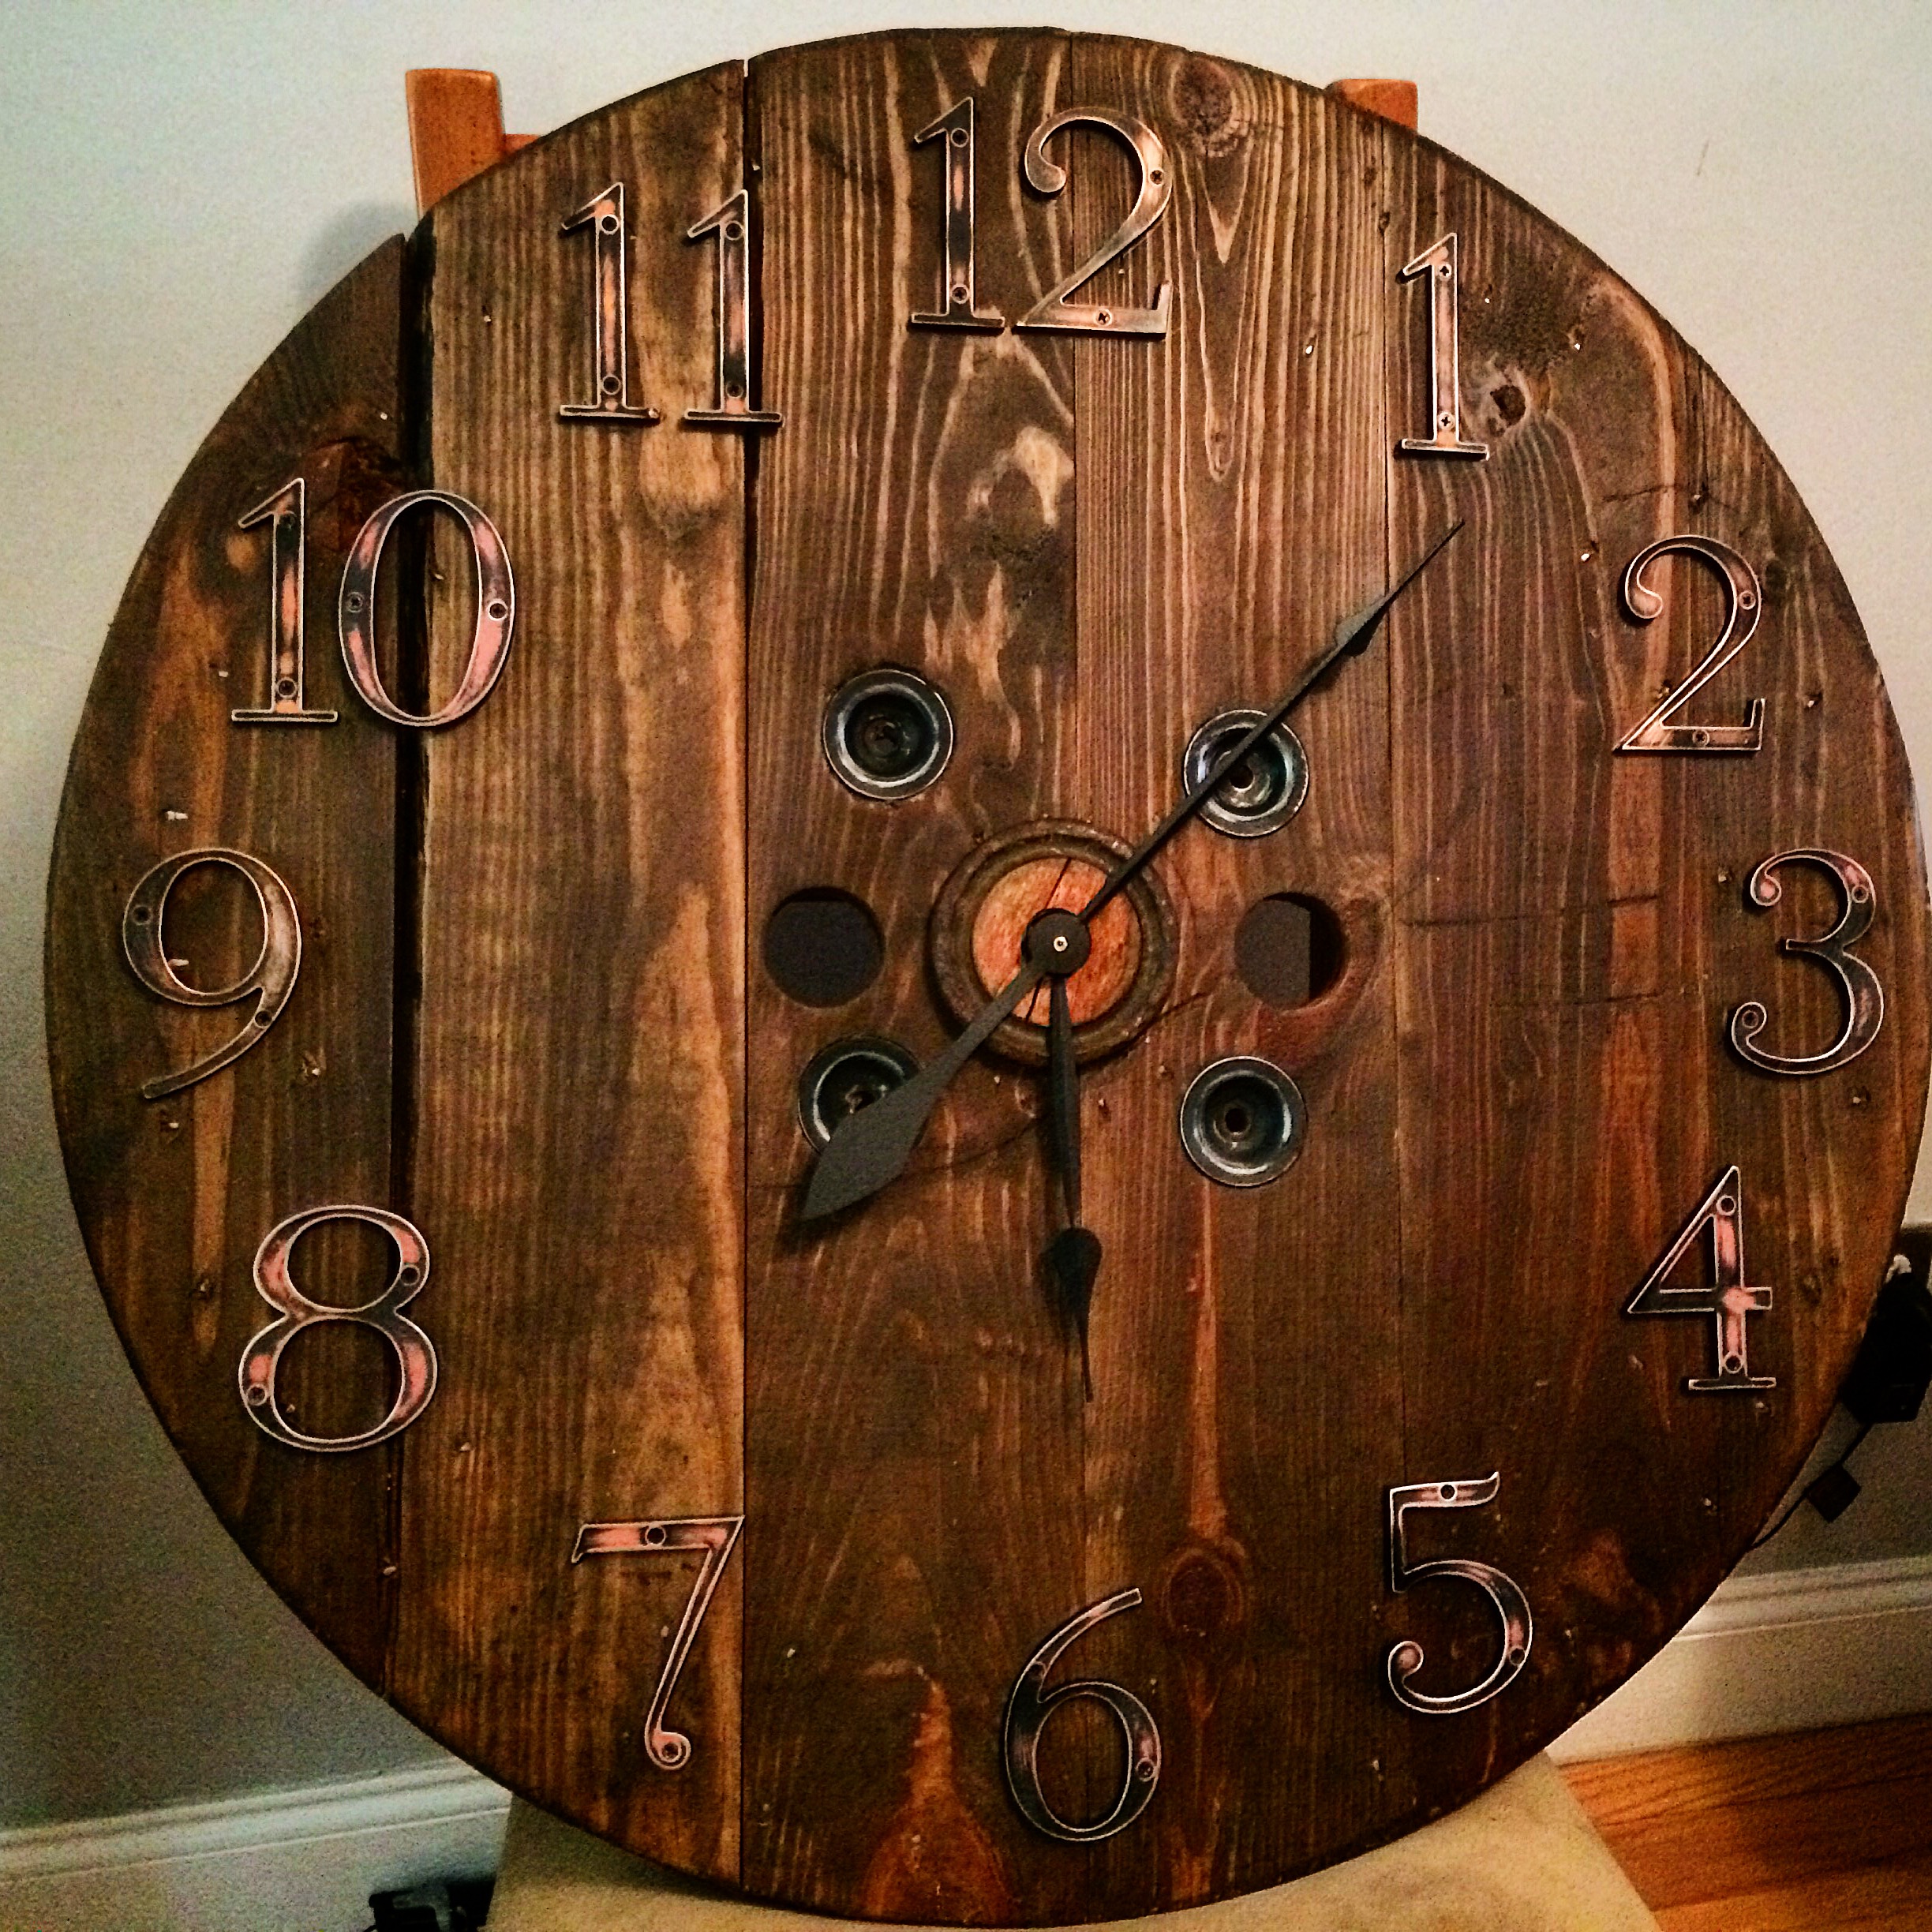
I built a clock! (Yes, Dad, it actually does tell time).
Let me just start by saying that no, this clock is not edible. That would be silly. Hence all of my Instagram hashtags “#clairetastesexceptnot” (many of you told me you did a double take when you were reading that one… whoops!) So no, this clock is not food-related, and it is not sex-related.
But it is pretty darn awesome, and I’m proud of it! I’ve named it “Ol’ Eli,” which you’ll understand why if you keep reading.
I got the idea for this when our flimsy little Target clock stopped working. It seemed like we were constantly changing the batteries and turning the hands to keep it accurate, and then people would come over and tell us that our clock wasn’t right. Once a neighbor of ours even came to say hi and the first thing she said from the door threshold was “Your clock is wrong.”
“Yes, we know,” we would respond embarrassedly. I wanted to add something like, “I actually like it that way.” But no, no I did not.
So I went looking on Pinterest for DIY clock ideas. I had no idea that it would turn into this! The inspiration came originally from Liz Marie Blog, and I thought it was just the cutest thing ever. A clock made out of one of the circular sides of an old wire spool pallet? Simple, right?
And so was born my summer project!
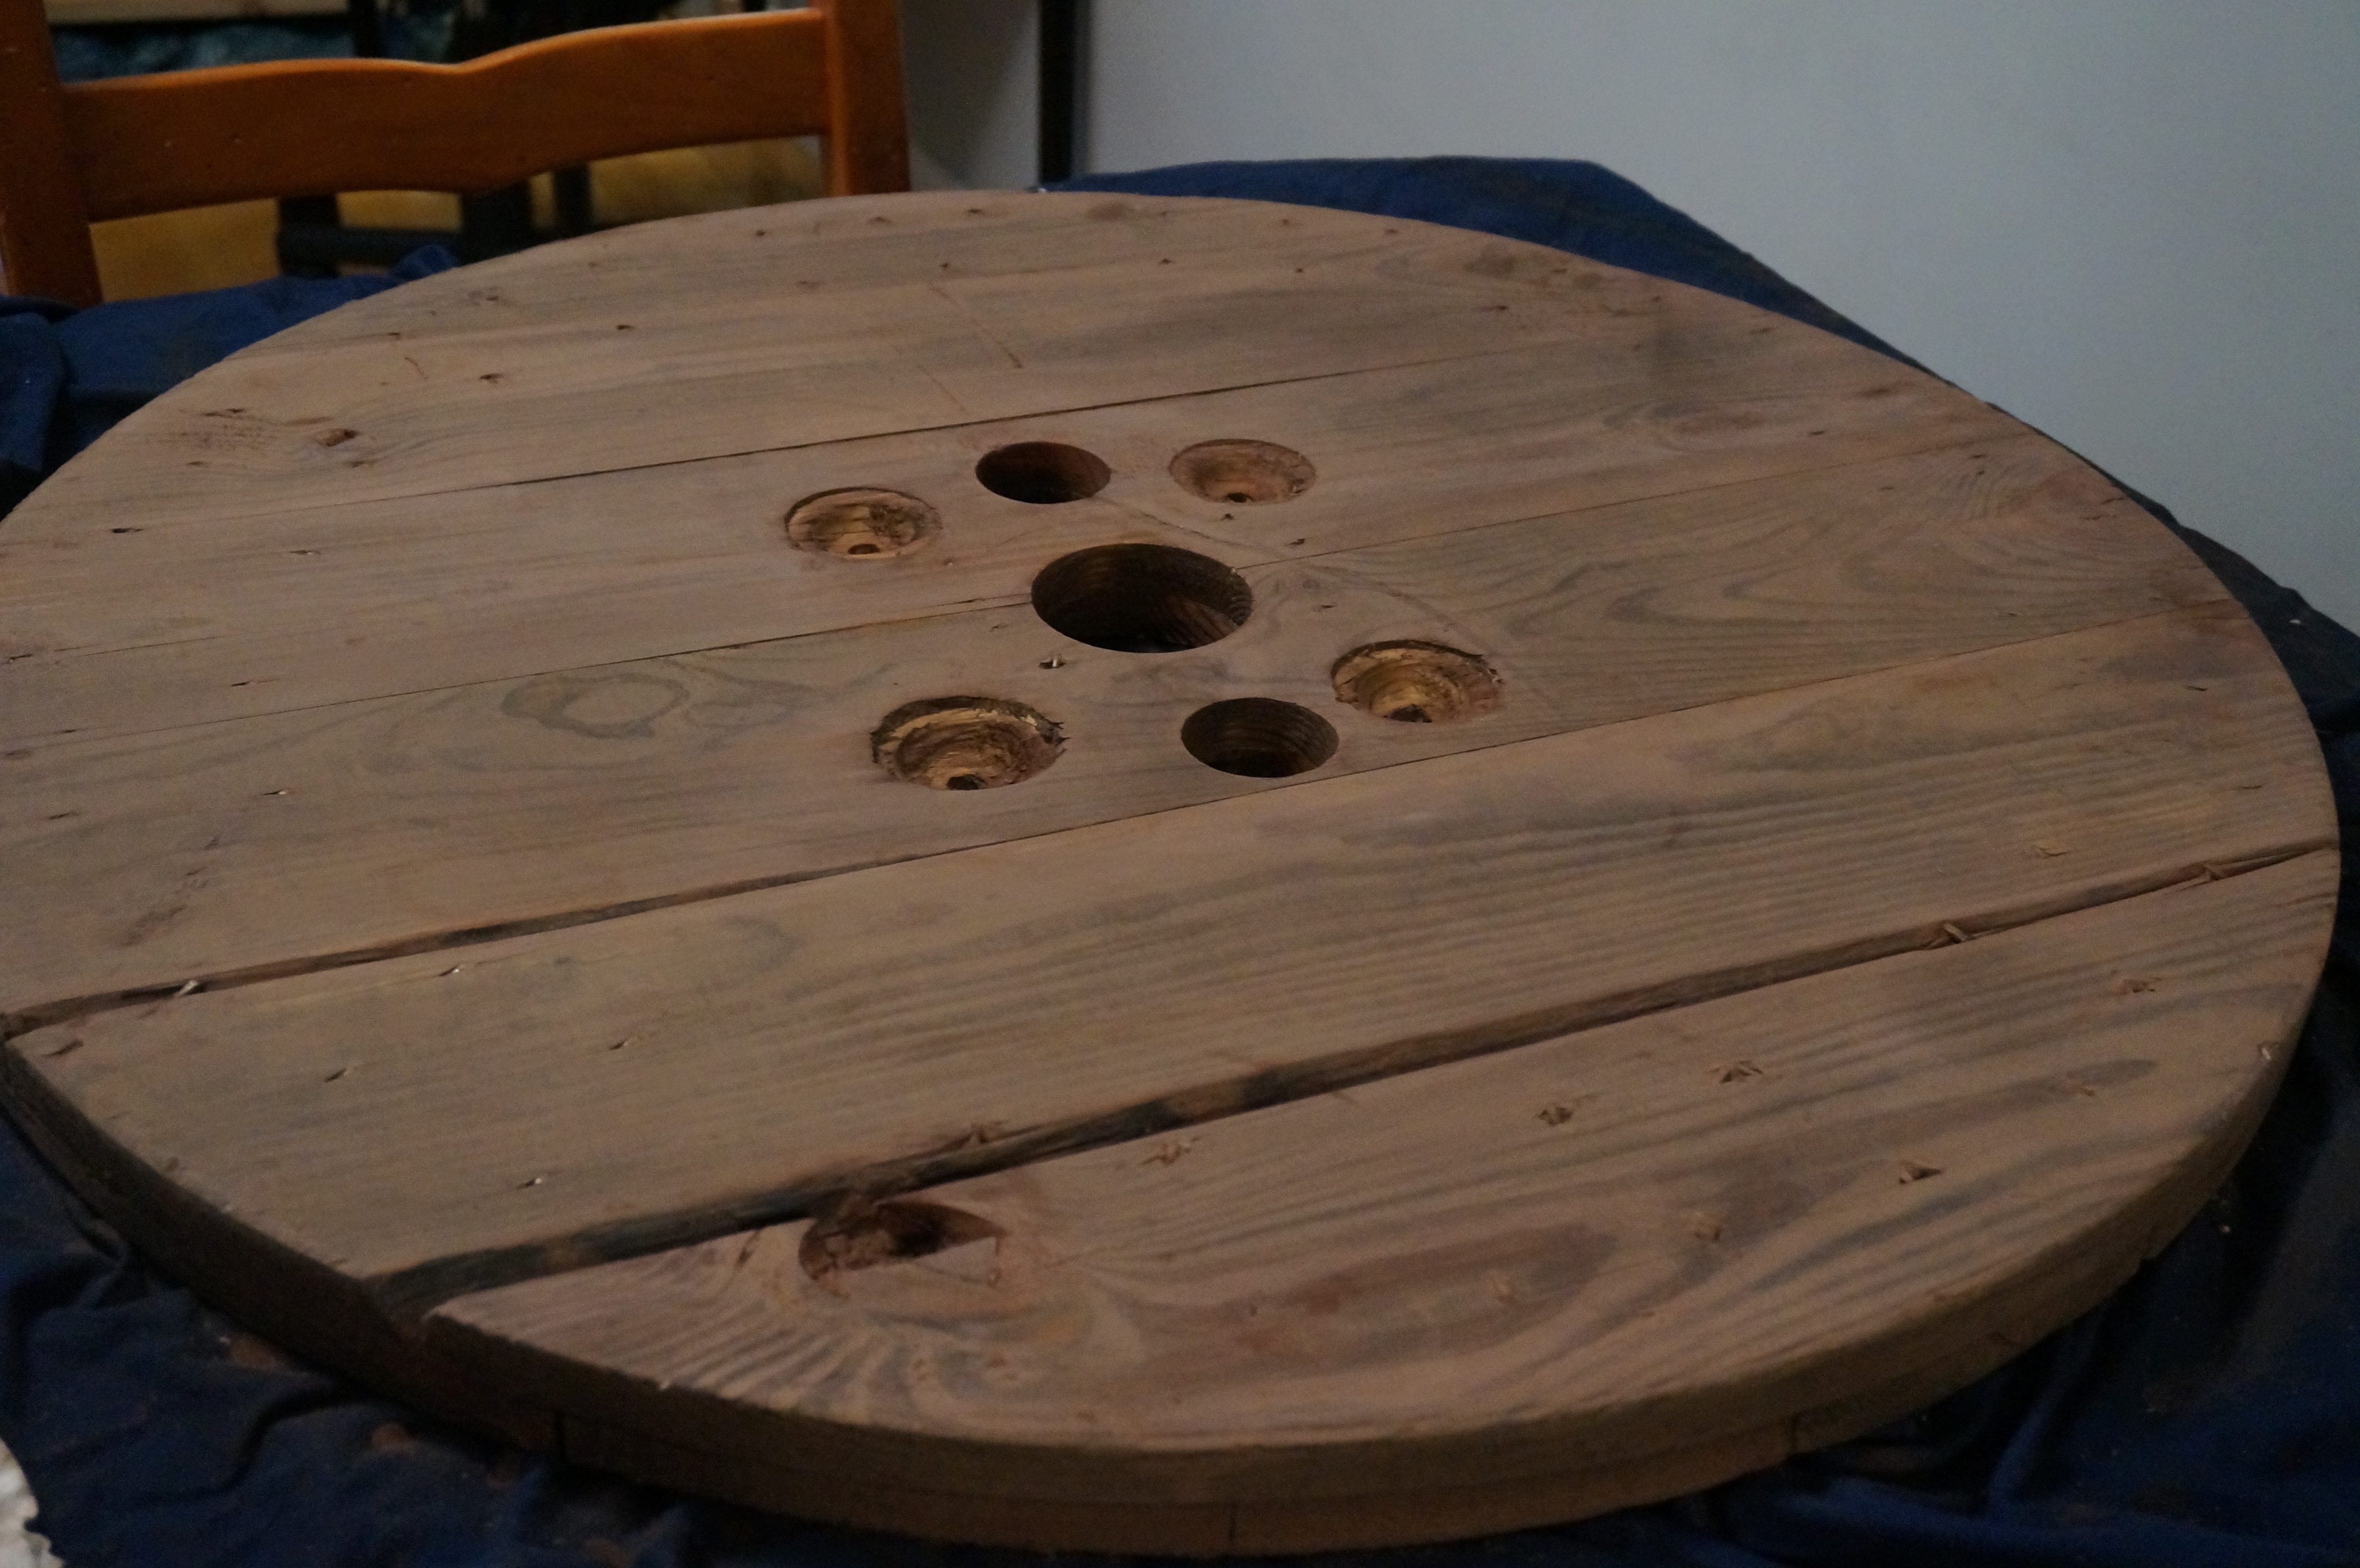
Step 1. Preparing the pallet.
First, I had to find an old wire spool pallet. I called around to about twelve different electricians in the area, and none of them had one lying around except for Harris Bros Electric in Durham, who had one left! They had been doing some cleaning up shop and said that I was welcome to take it. Super sweet guys there, and they helped roll the spool up to my Jeep and put it in the back. It weighed about 70 lbs and would’ve been tough to do all on my own! The hatchback just barely shut.
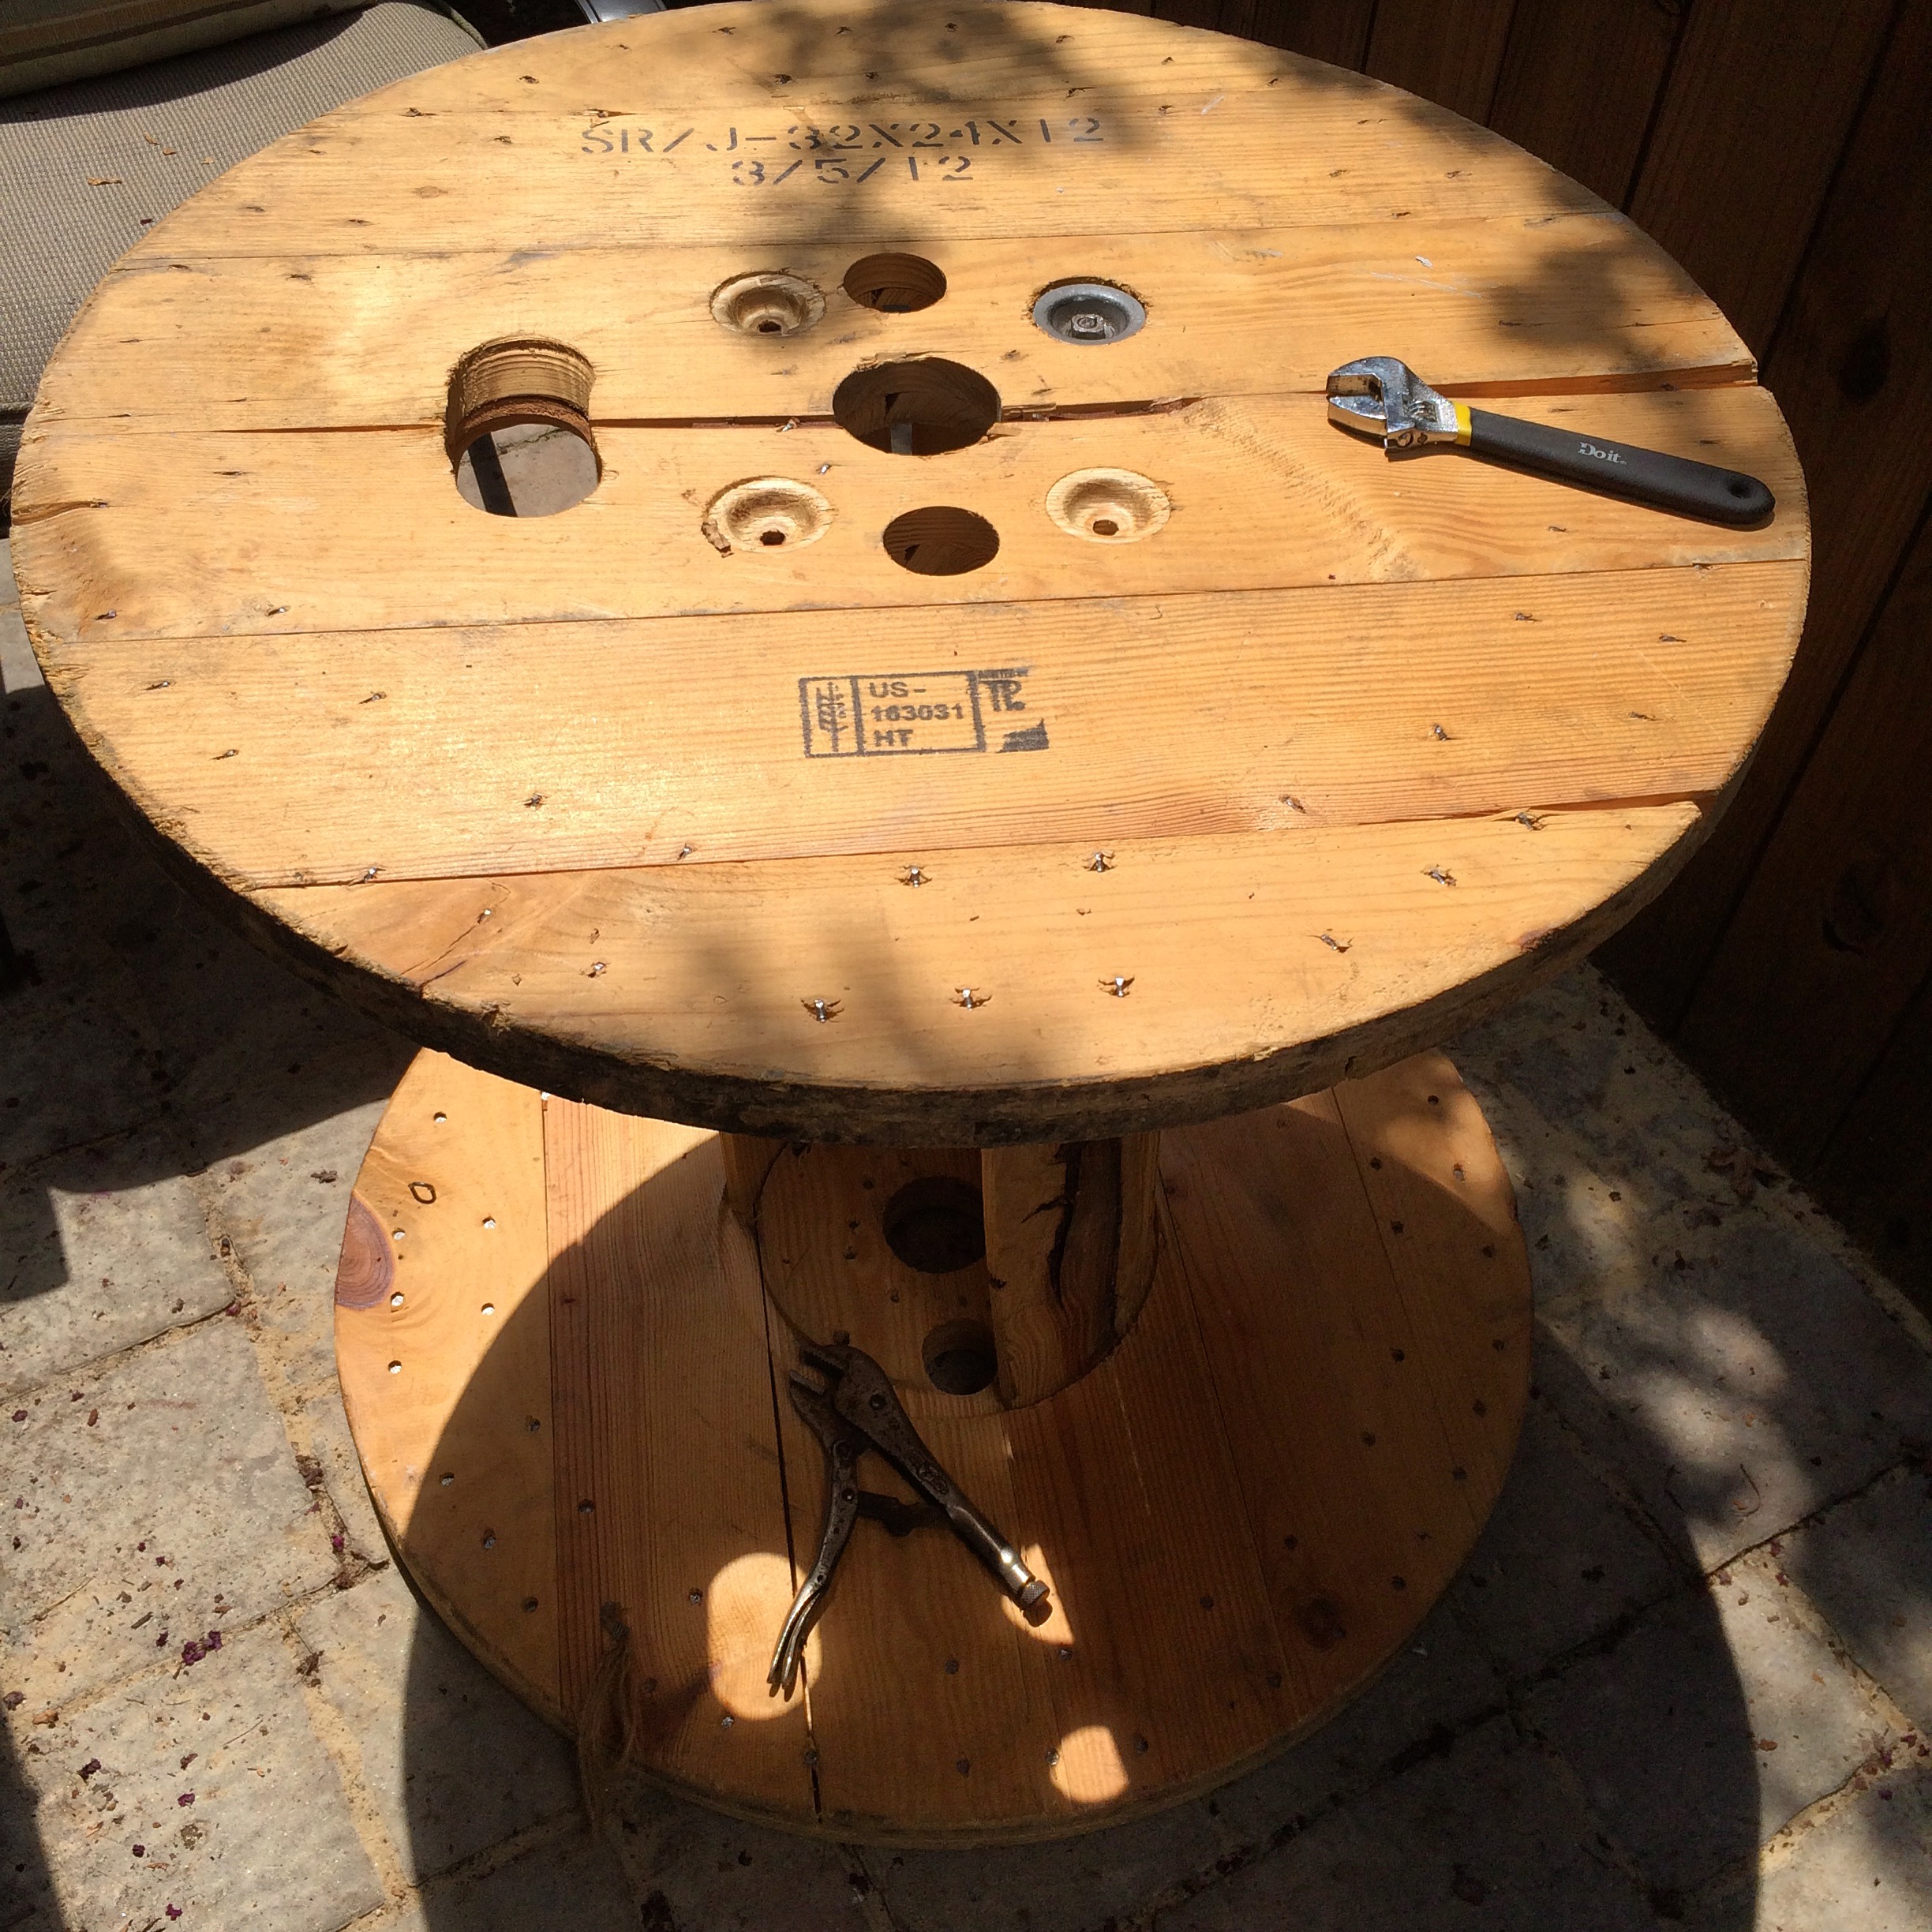
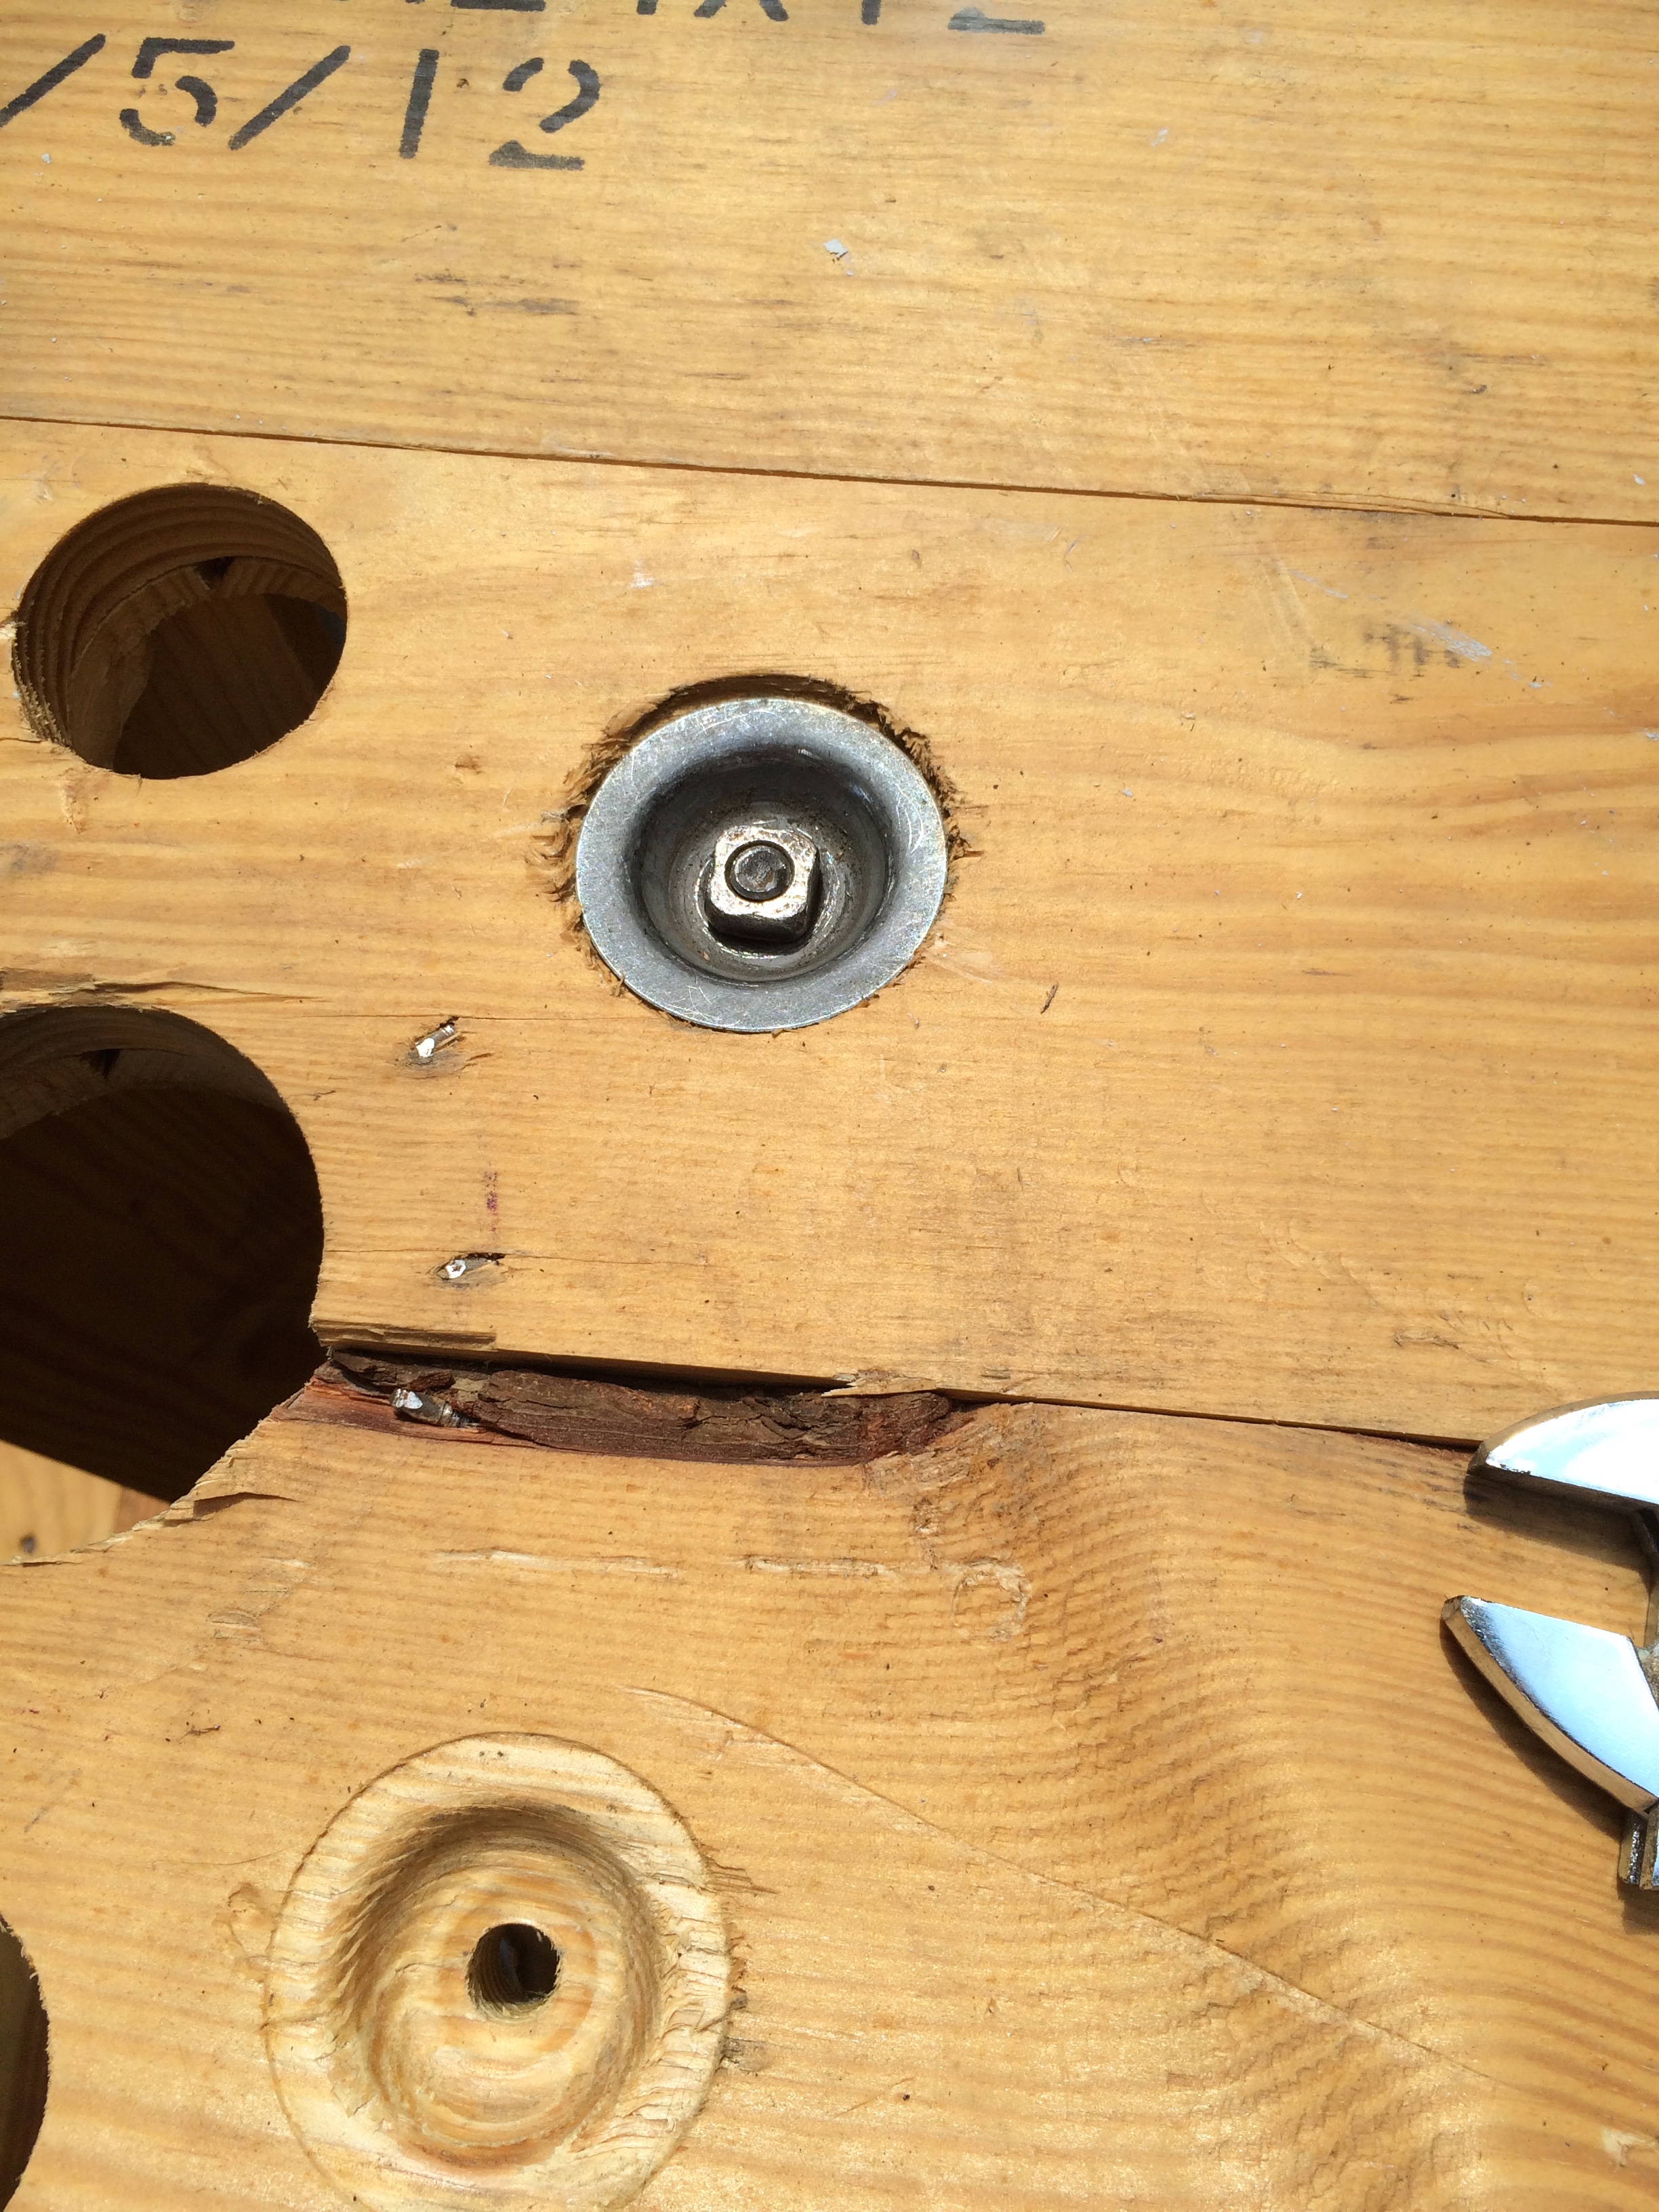
Pictured above is the original spool pallet I used. I set to work removing the huge bolts from the side with the better quality wood. I think I chose the hottest day of the summer for this…
In the end, I got all of the screws out except for one, which I waited for Ben to come home so that he could clamp the huge pole to them while I used the wrench on top. I saved the bolts for later.
Free at last! I sanded down the pallet with an electric sander and coarse, then fine sandpaper (220 grade) and used a vacuum, followed by a microfiber cloth, followed by tack cloth, to get up all the dust from the wood. (No, I didn’t know what tack cloth was before I started this project, either! I think in total I went to Lowe’s like, 6 times for this project. Hate that place.) 😛
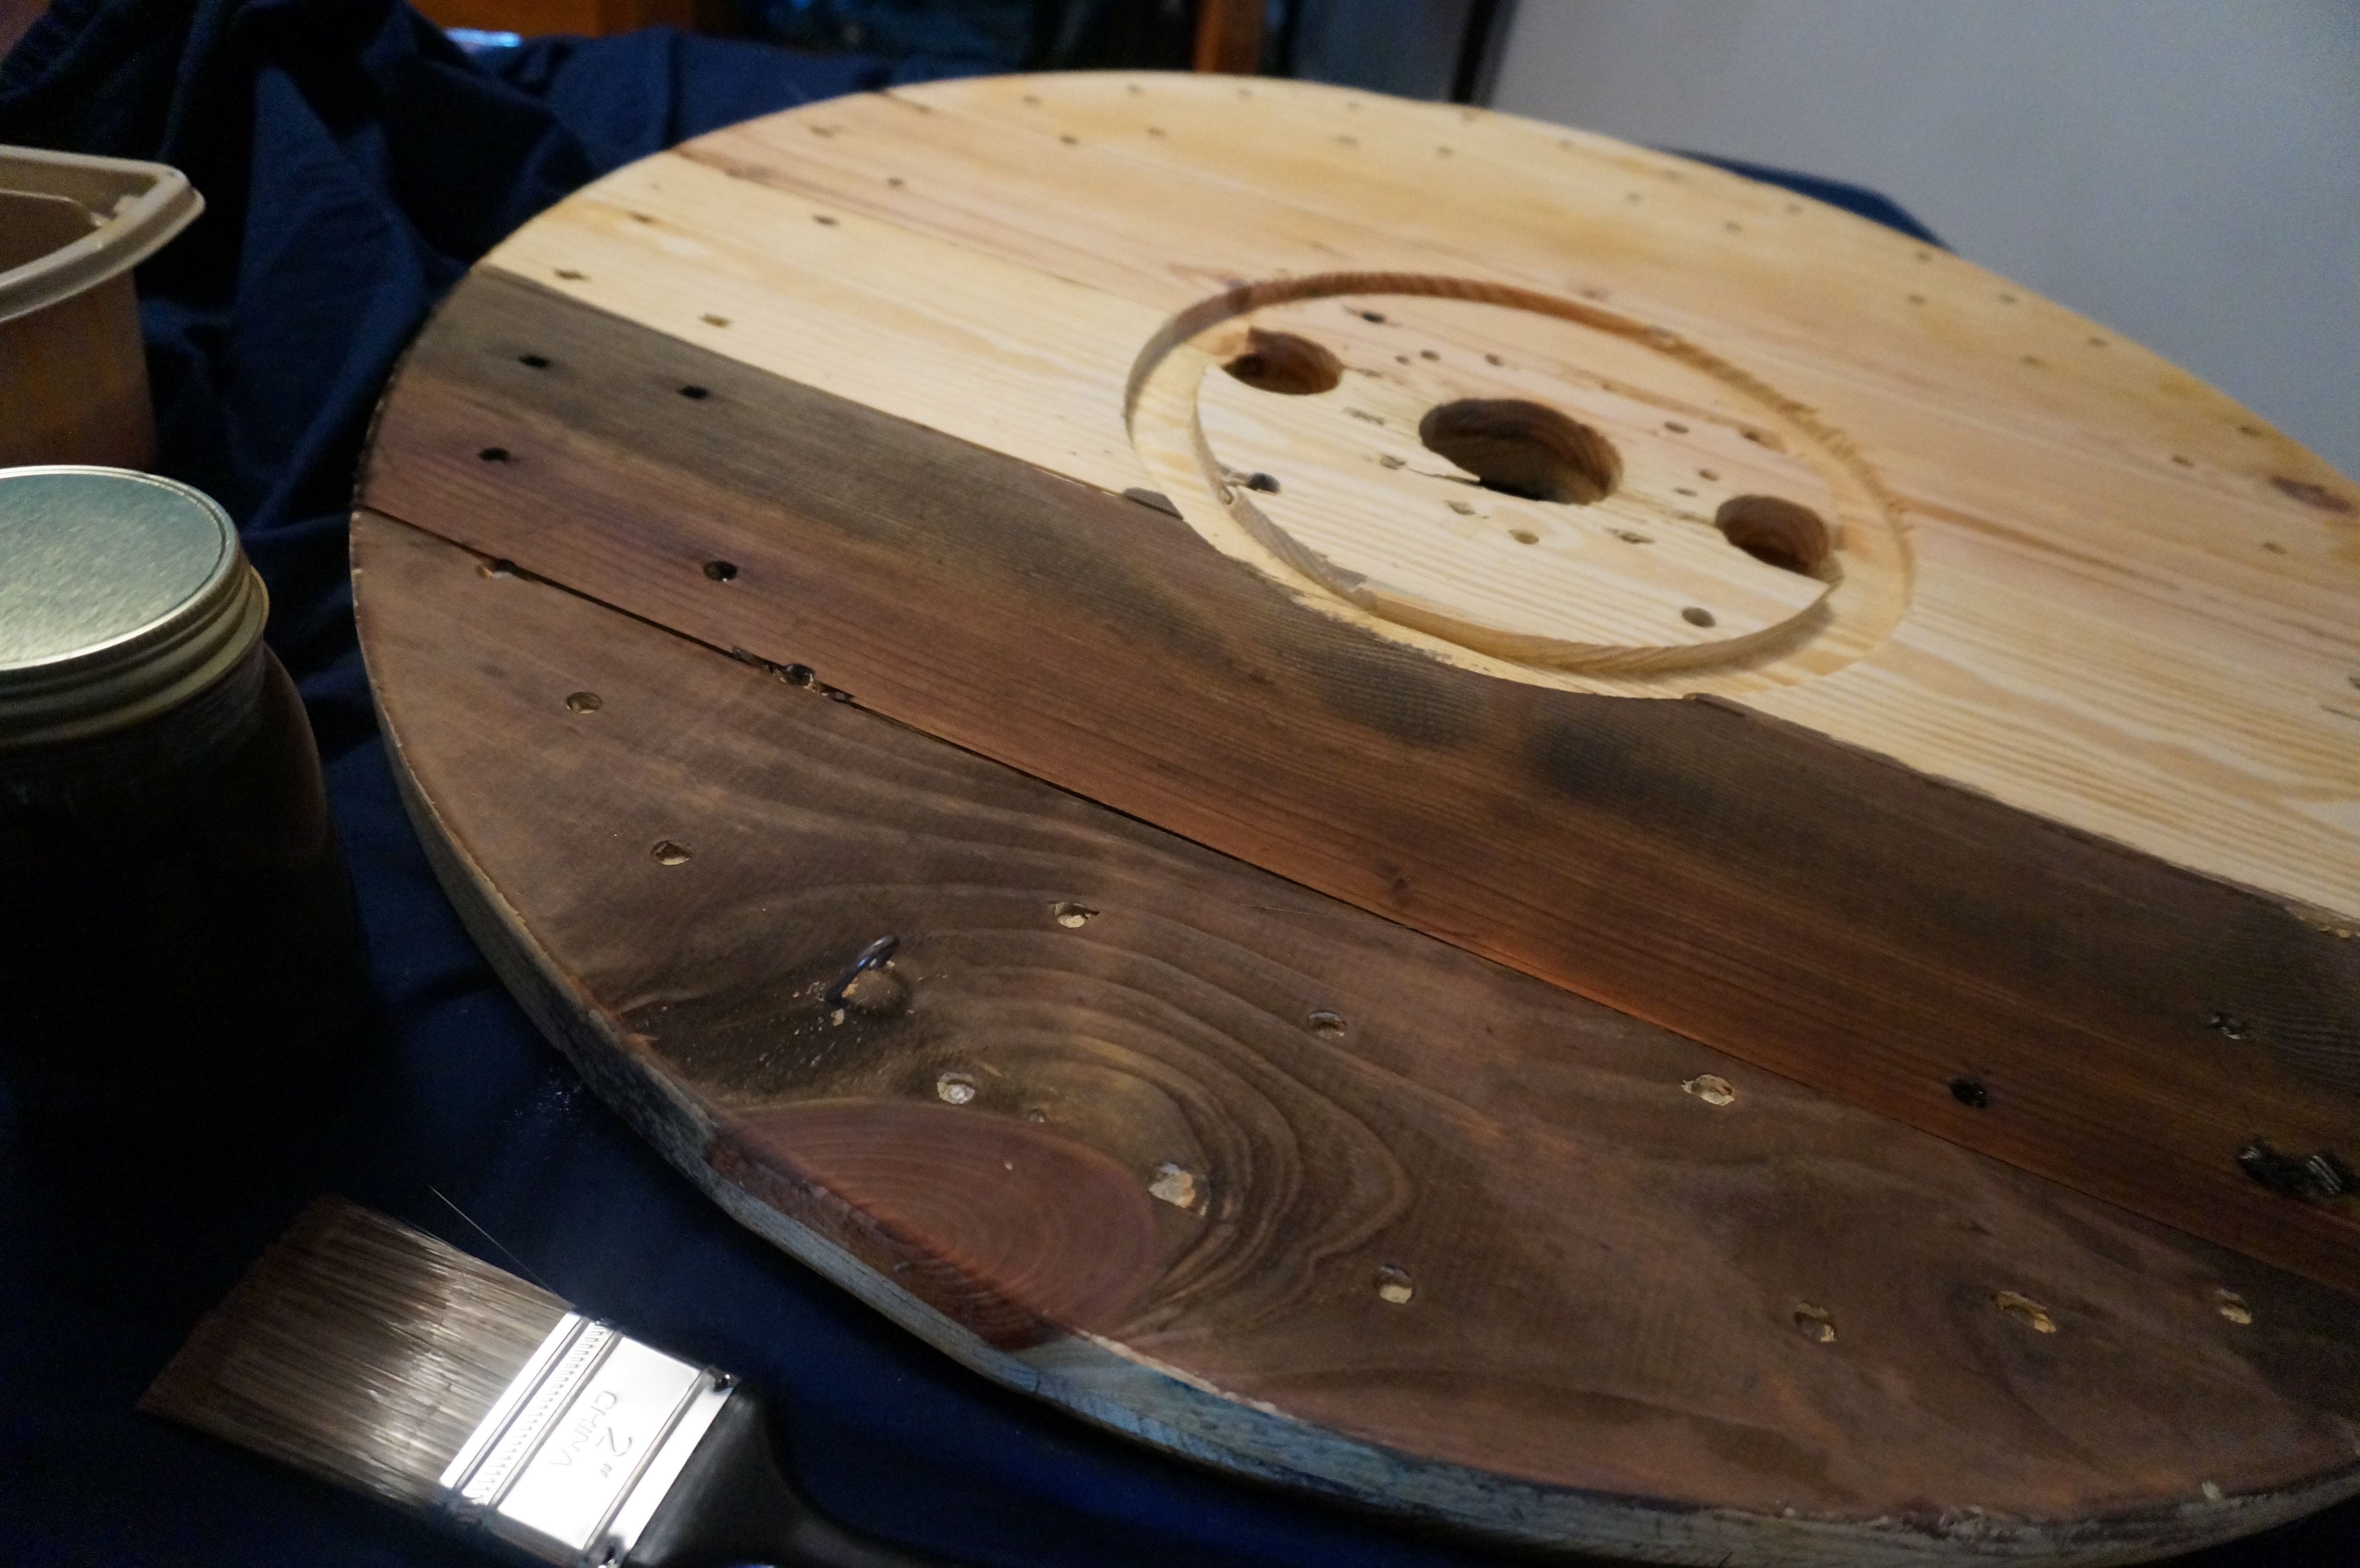
Step 2: Tea and Oxidizing Solution Stain
I got the idea for making my own “rustic” stain for the wood from a different DIY blog, The Friendly Home. I loved the idea of a stain that wouldn’t be sending off toxic fumes, especially since I planned to do all this inside. This part was really more of an art project, since depending on the wood you use, you really never know what exact color it will turn! I gave it a whirl and started off by brewing some really strong black tea. The point of the tea is to introduce more tannins into the wood, to make the oxidizing solution (see below) work better. Poor Ben kept thinking it was for drinking, but I warned him that a cup of tea with about 15 teabags probably wouldn’t taste very good.
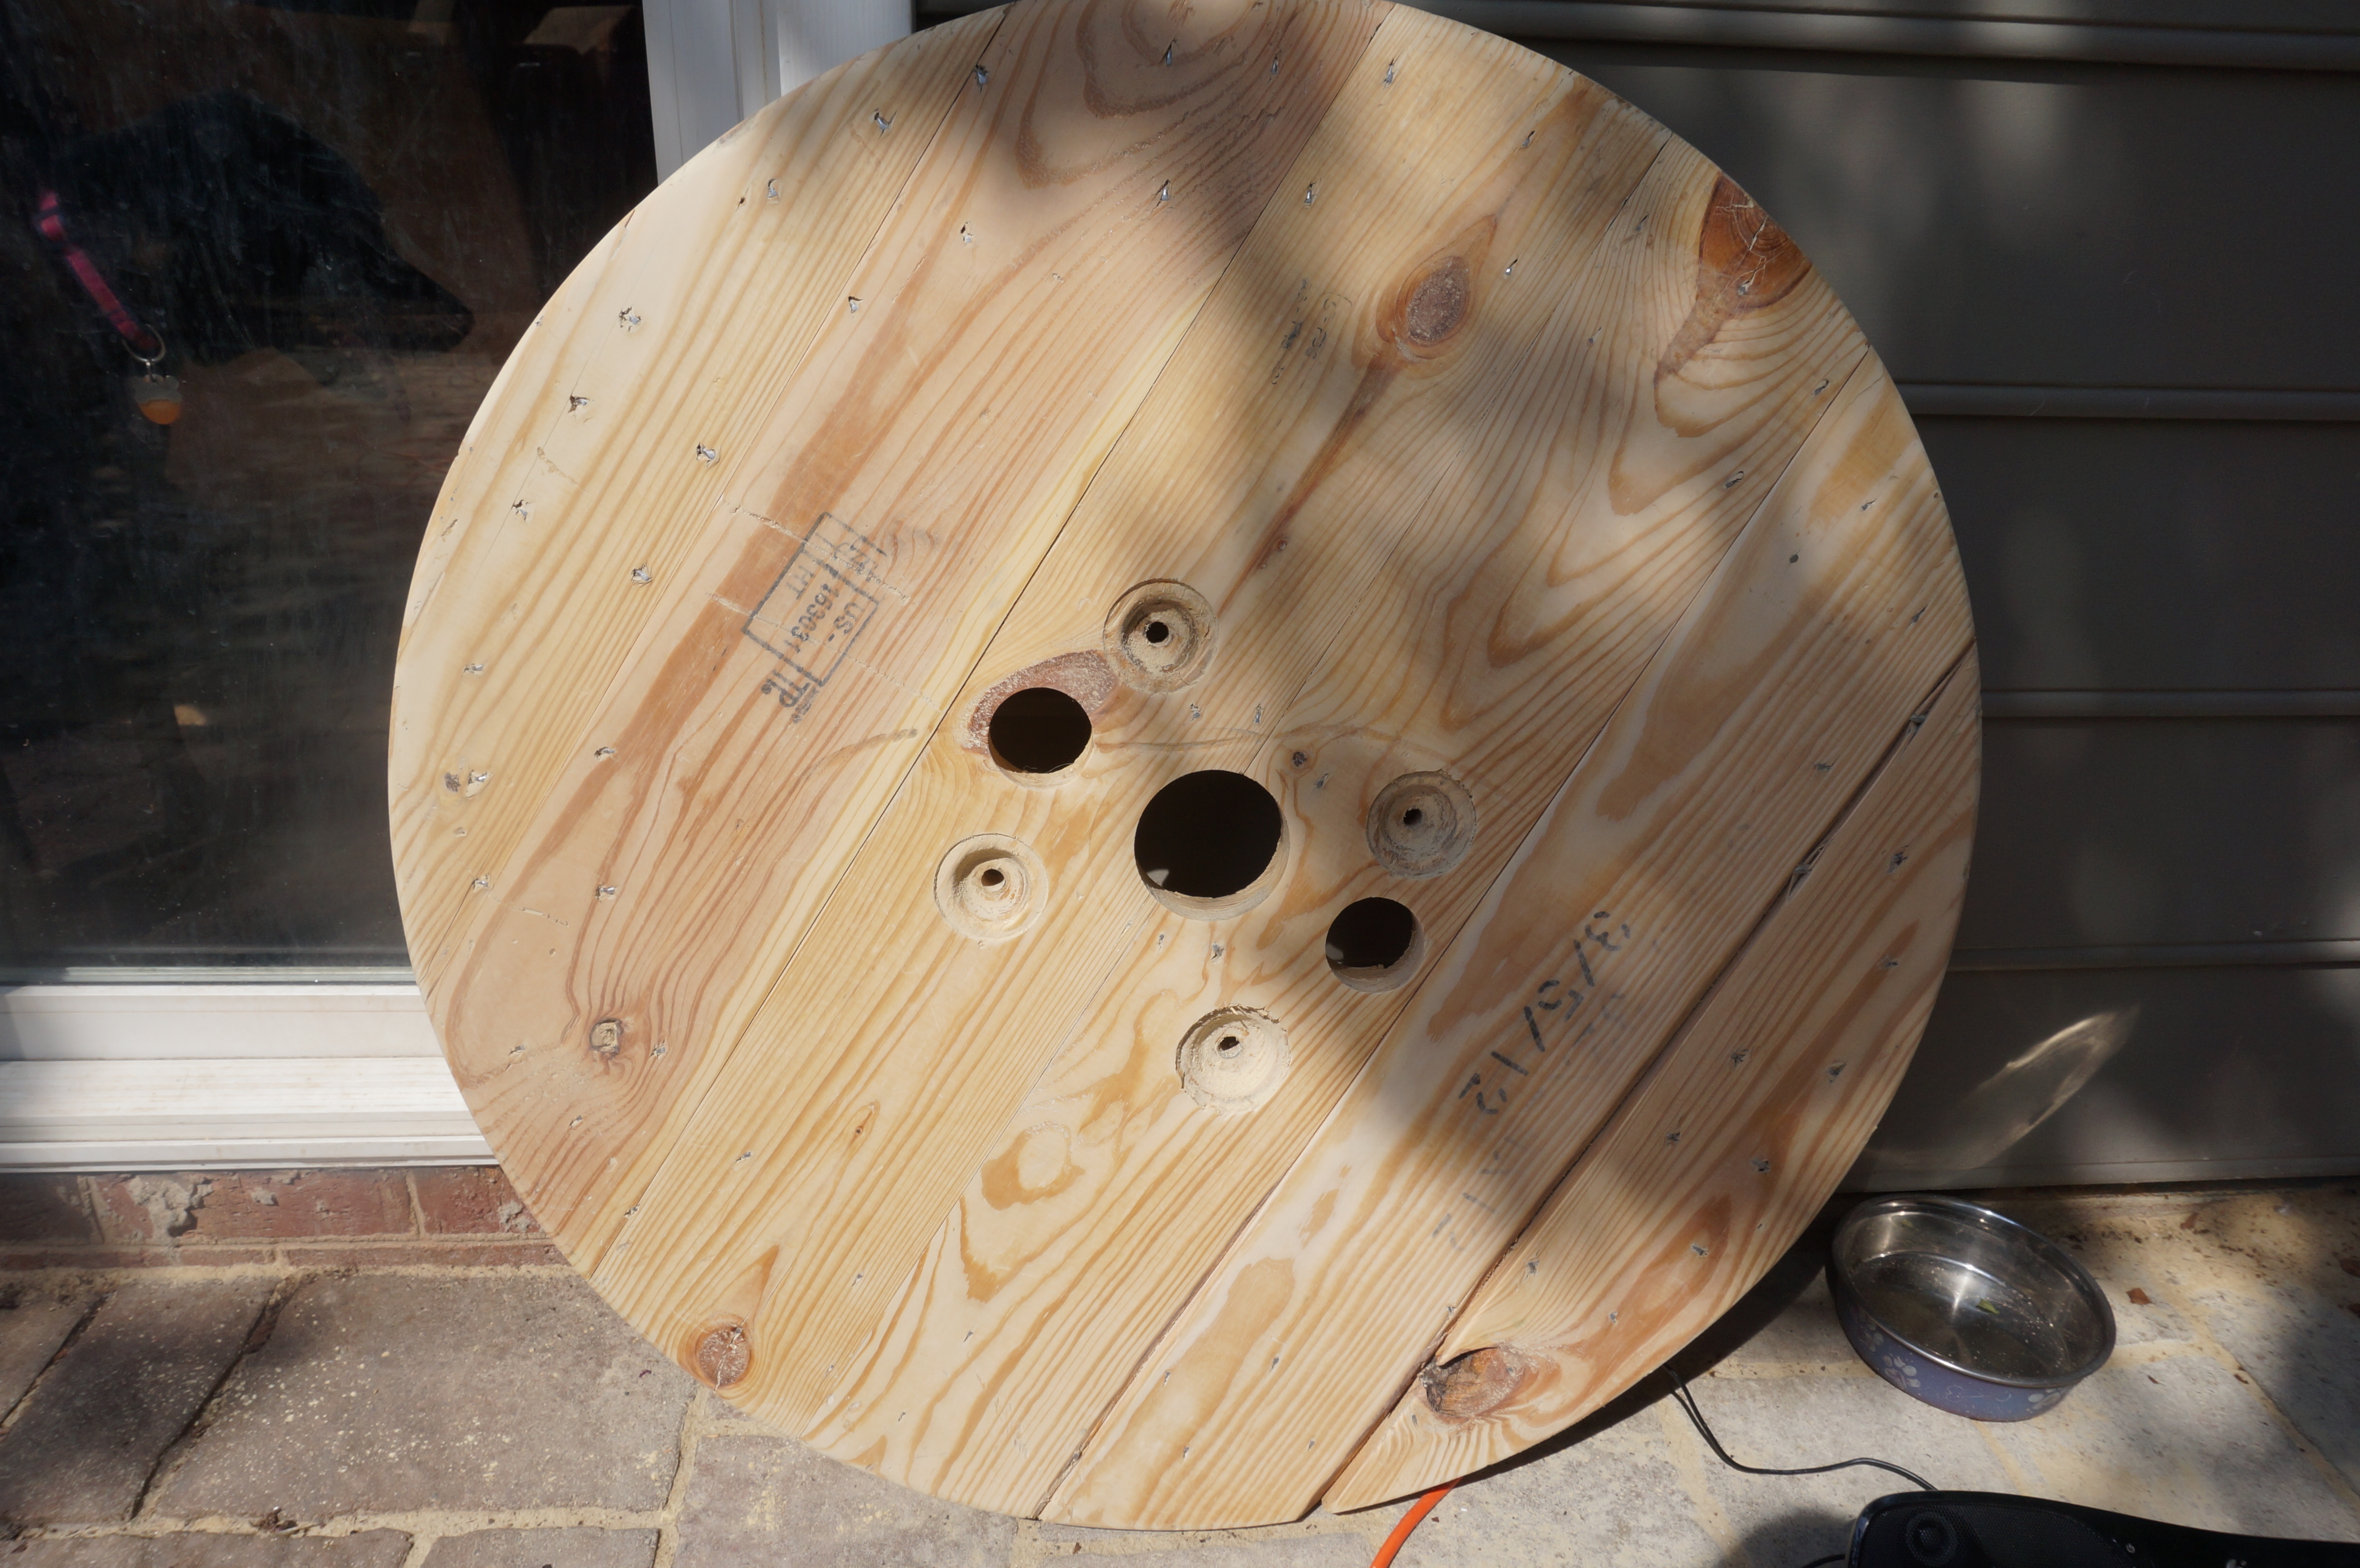
I painted a thin layer of the tea onto the pallet. (Note that this is the back of the pallet, which I decided to experiment with first before I did the same thing on the back).
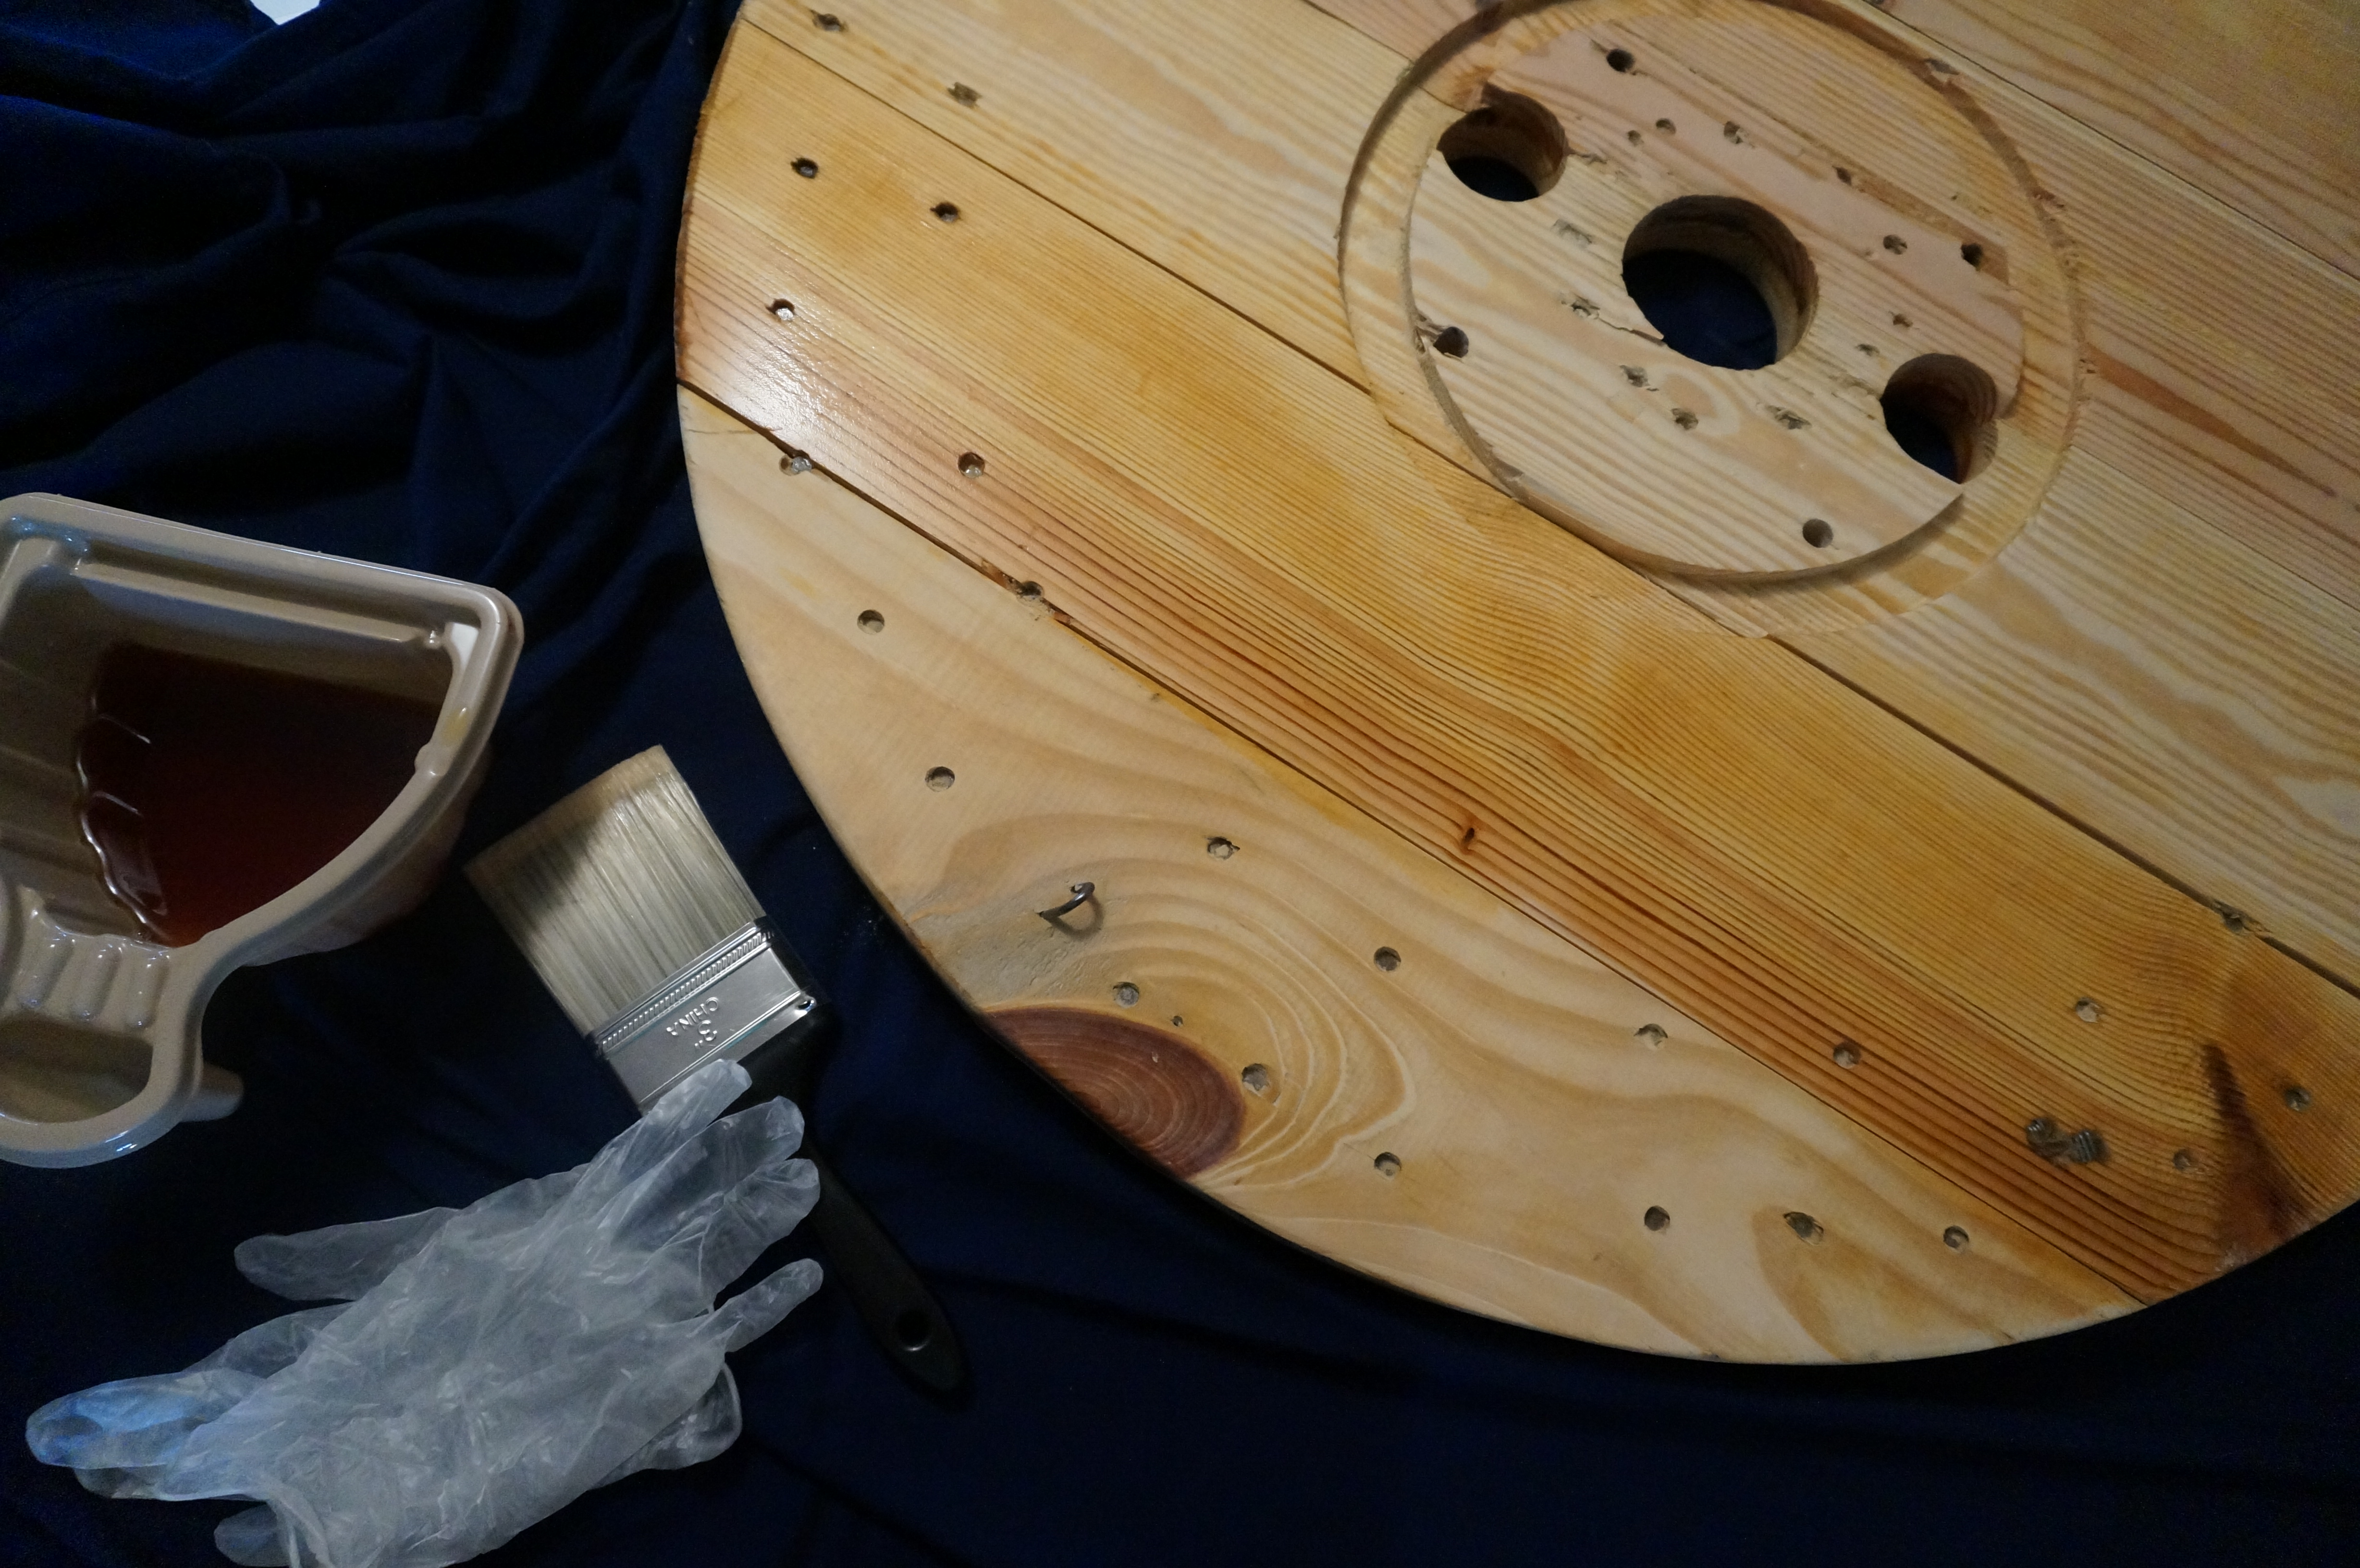
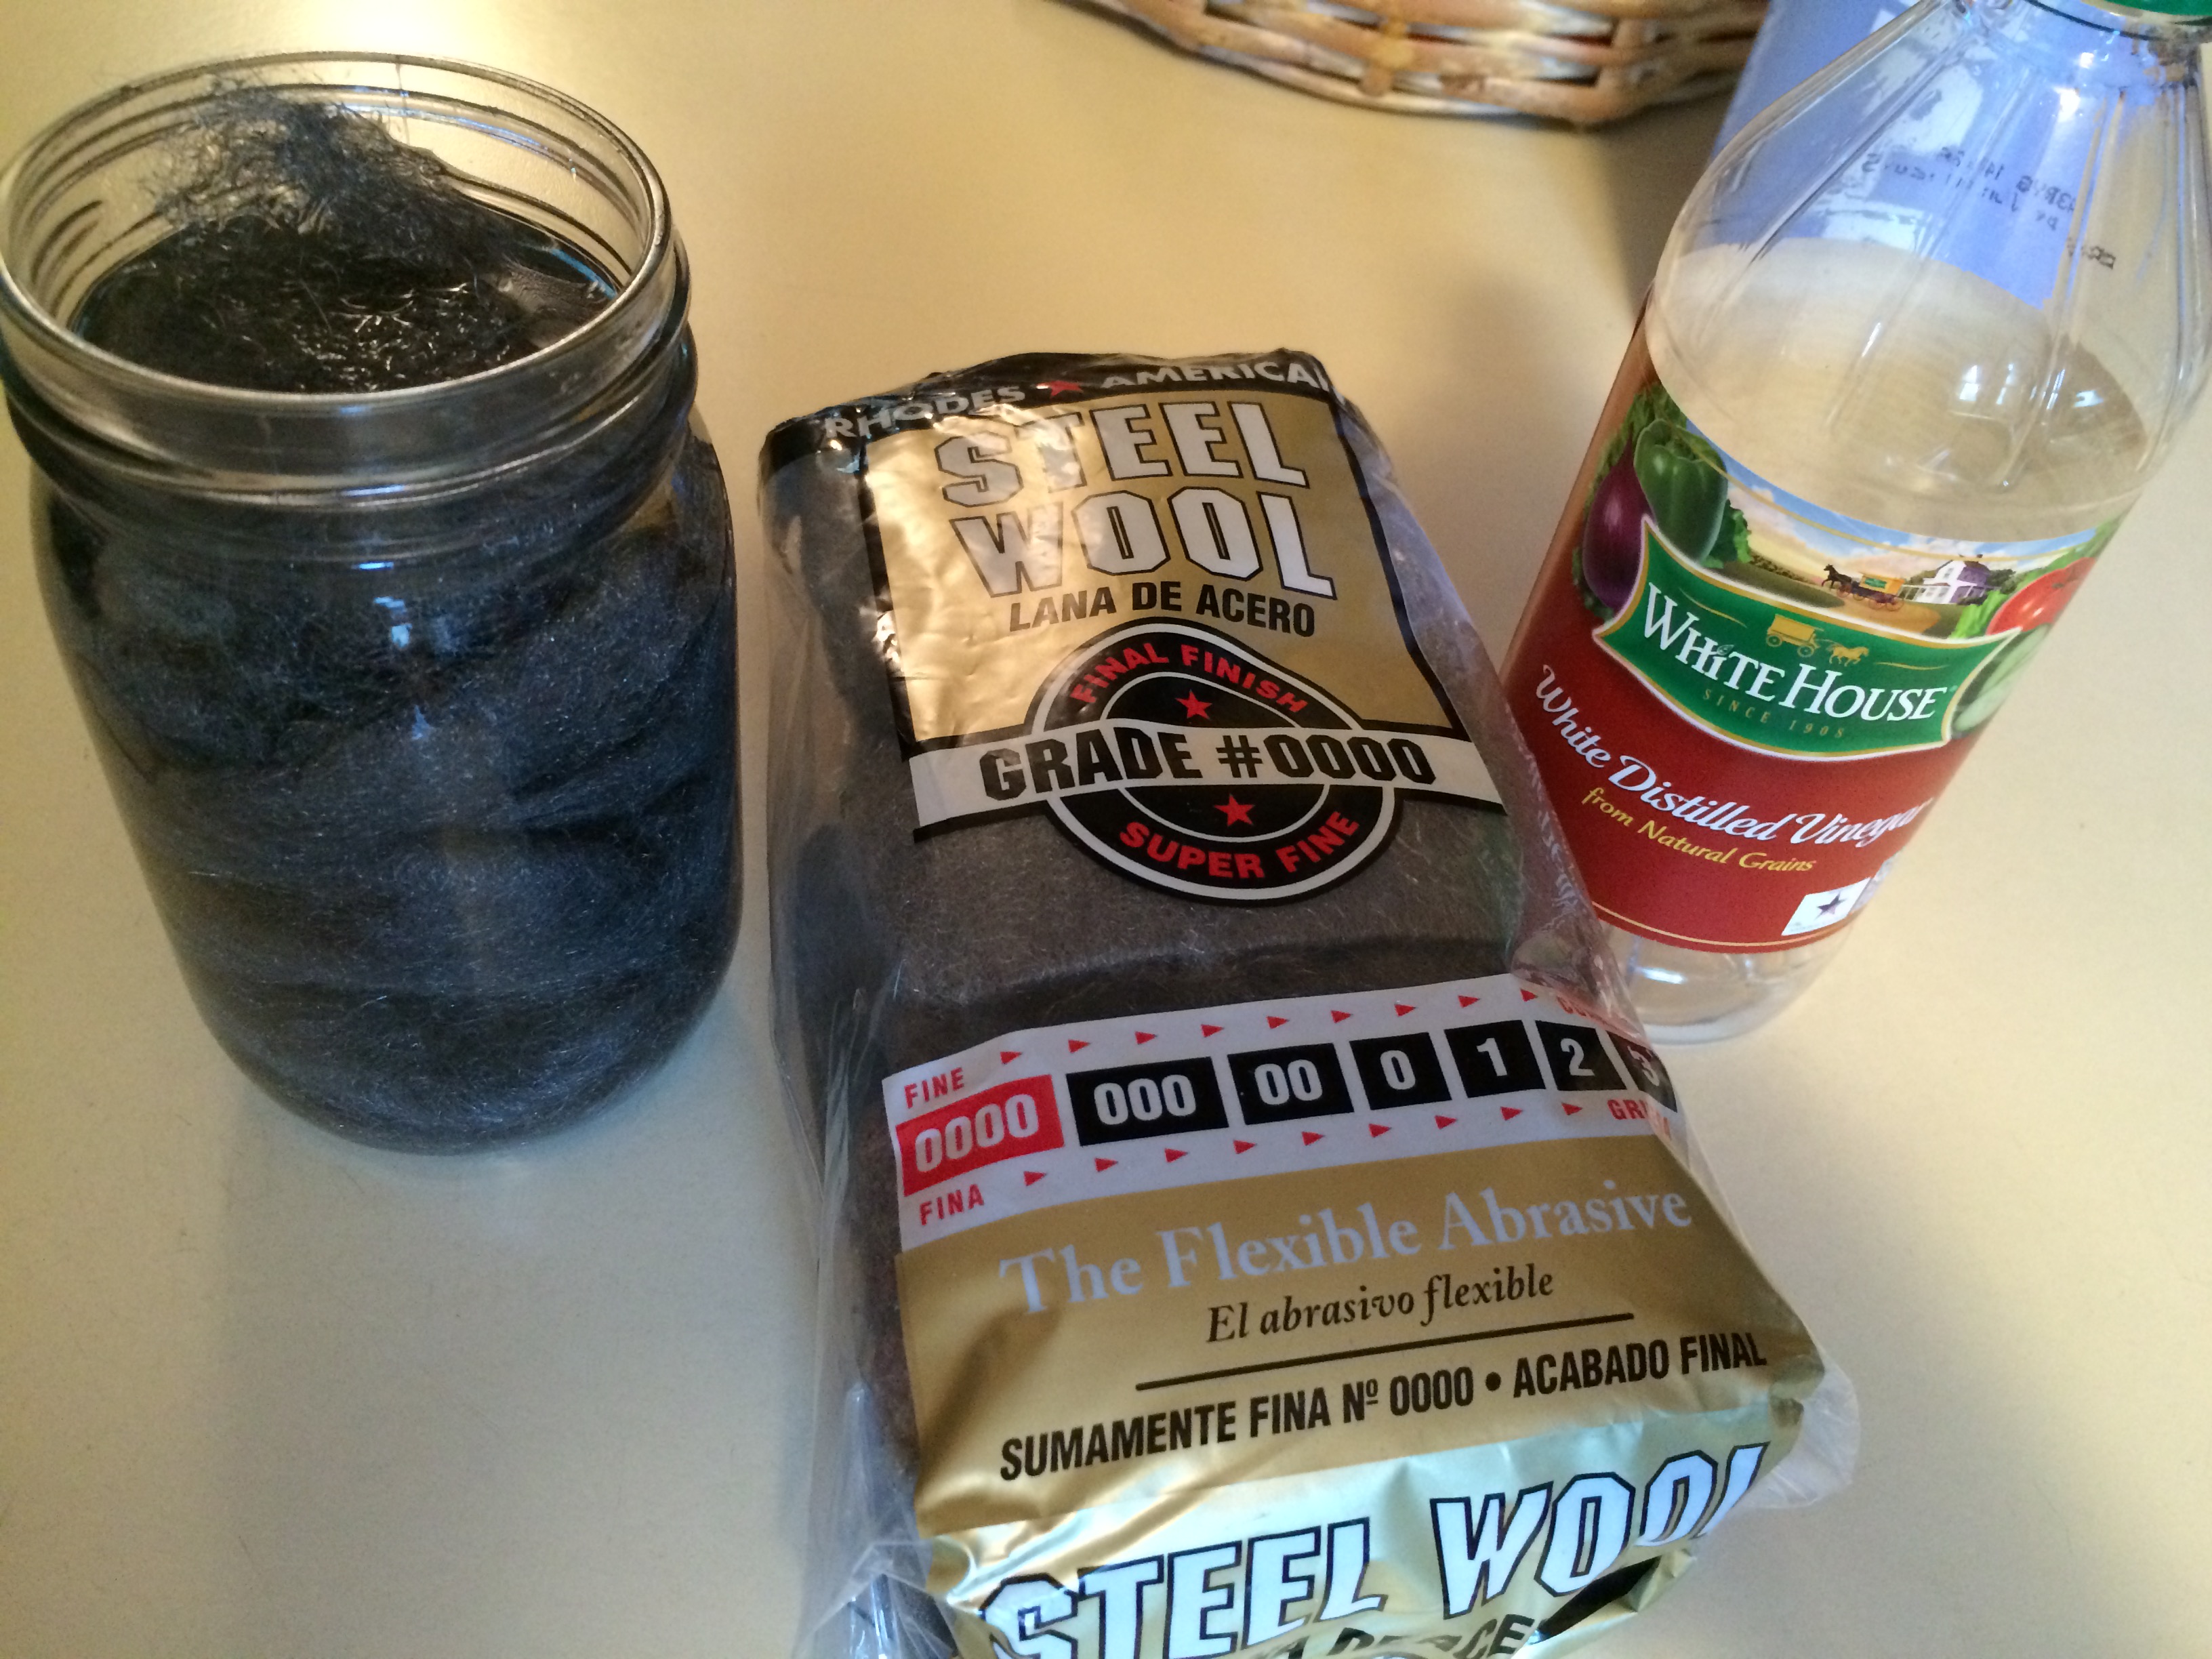
Next, I prepared the oxidizing solution of steel wool and vinegar. I just tore off a big piece of steel wool and stuck it in a jar with a bottle of white vinegar, then let it sit for a few days on the counter, shaking every day or so. The wool won’t completely dissolve, so don’t look for that to happen if you try this. It should bubble like crazy though! Also, I’ve heard that using a jar with a metal lid is important for this step. I don’t know what happens if you don’t, but I decided to follow directions.
I painted a thin layer on top of the tea when the oxidizing solution was ready. Since this was an experiment, the left-most piece of wood is the part with just oxidizing solution, and the more central strip is tea + oxidizing solution. It’s so interesting to see the difference! This was immediately after painting.
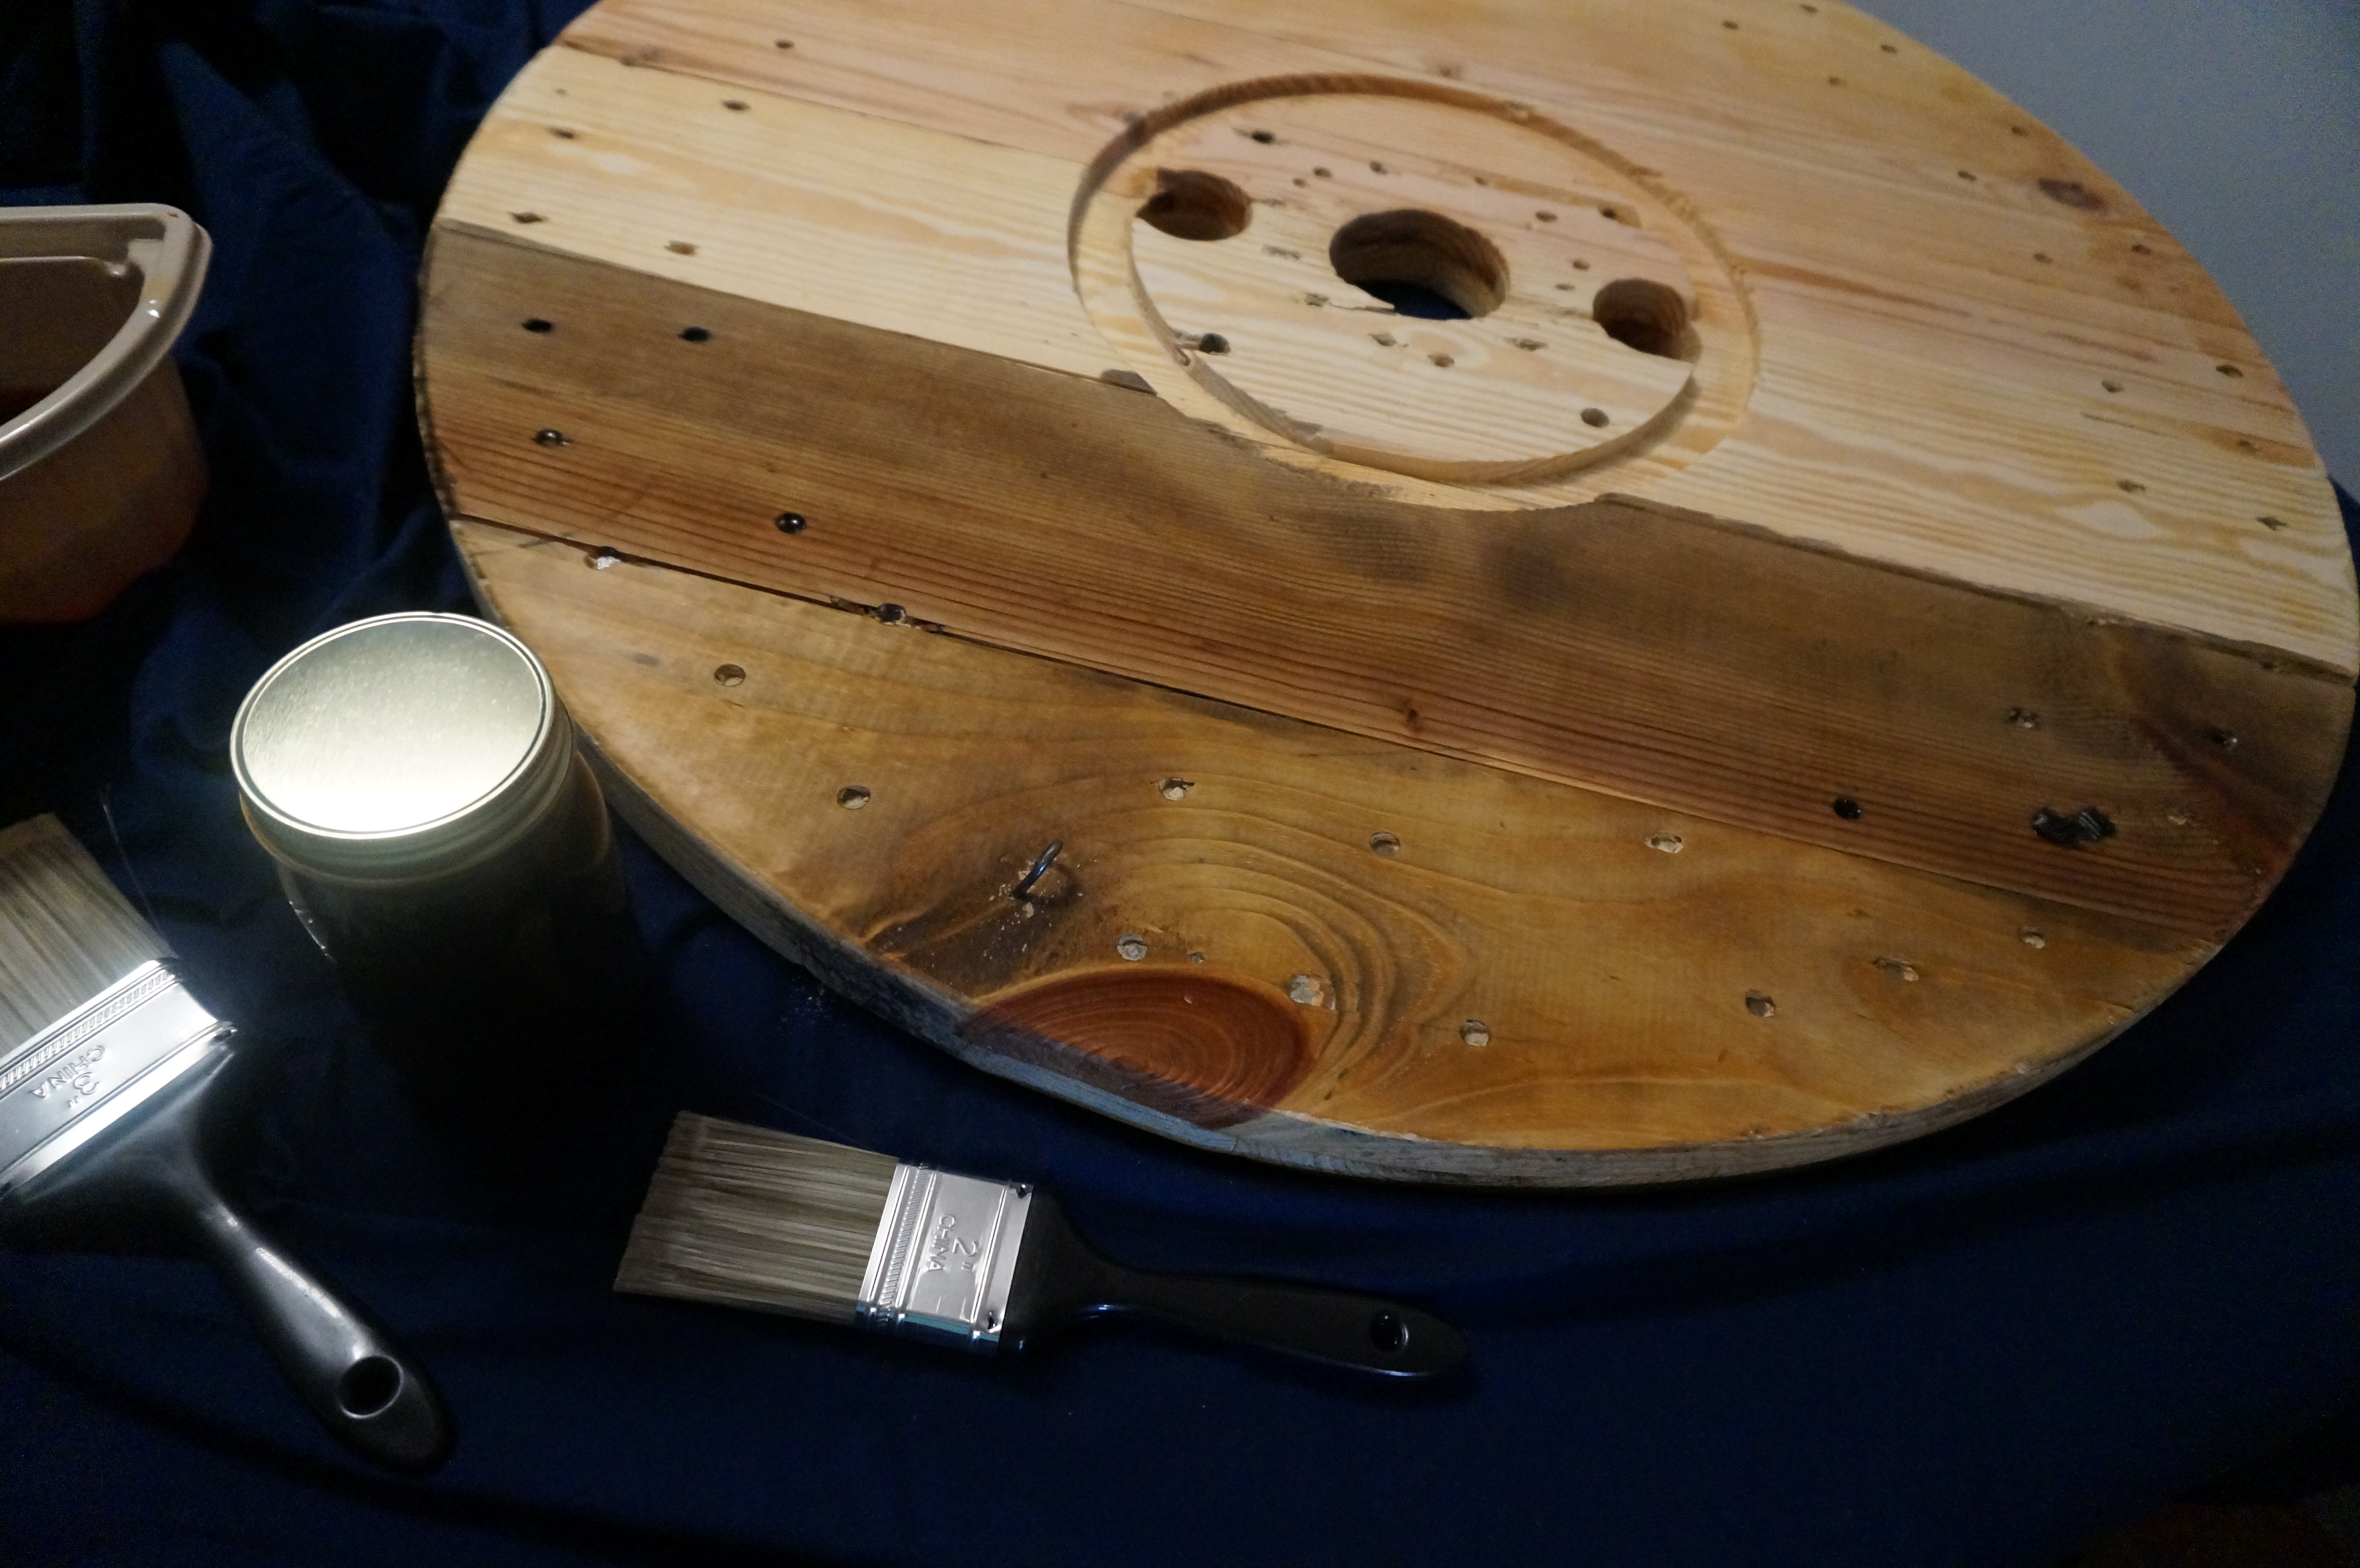
Below is about 1 minute post-painting…
And about 10 minutes post painting…
So neat to watch it change colors!
At this point I was actually thinking, wow, this is super dark and I’m not sure I really want my clock to look like this. The wood had a grayish tint to it and I think I actually told Ben that I thought it was really ugly.
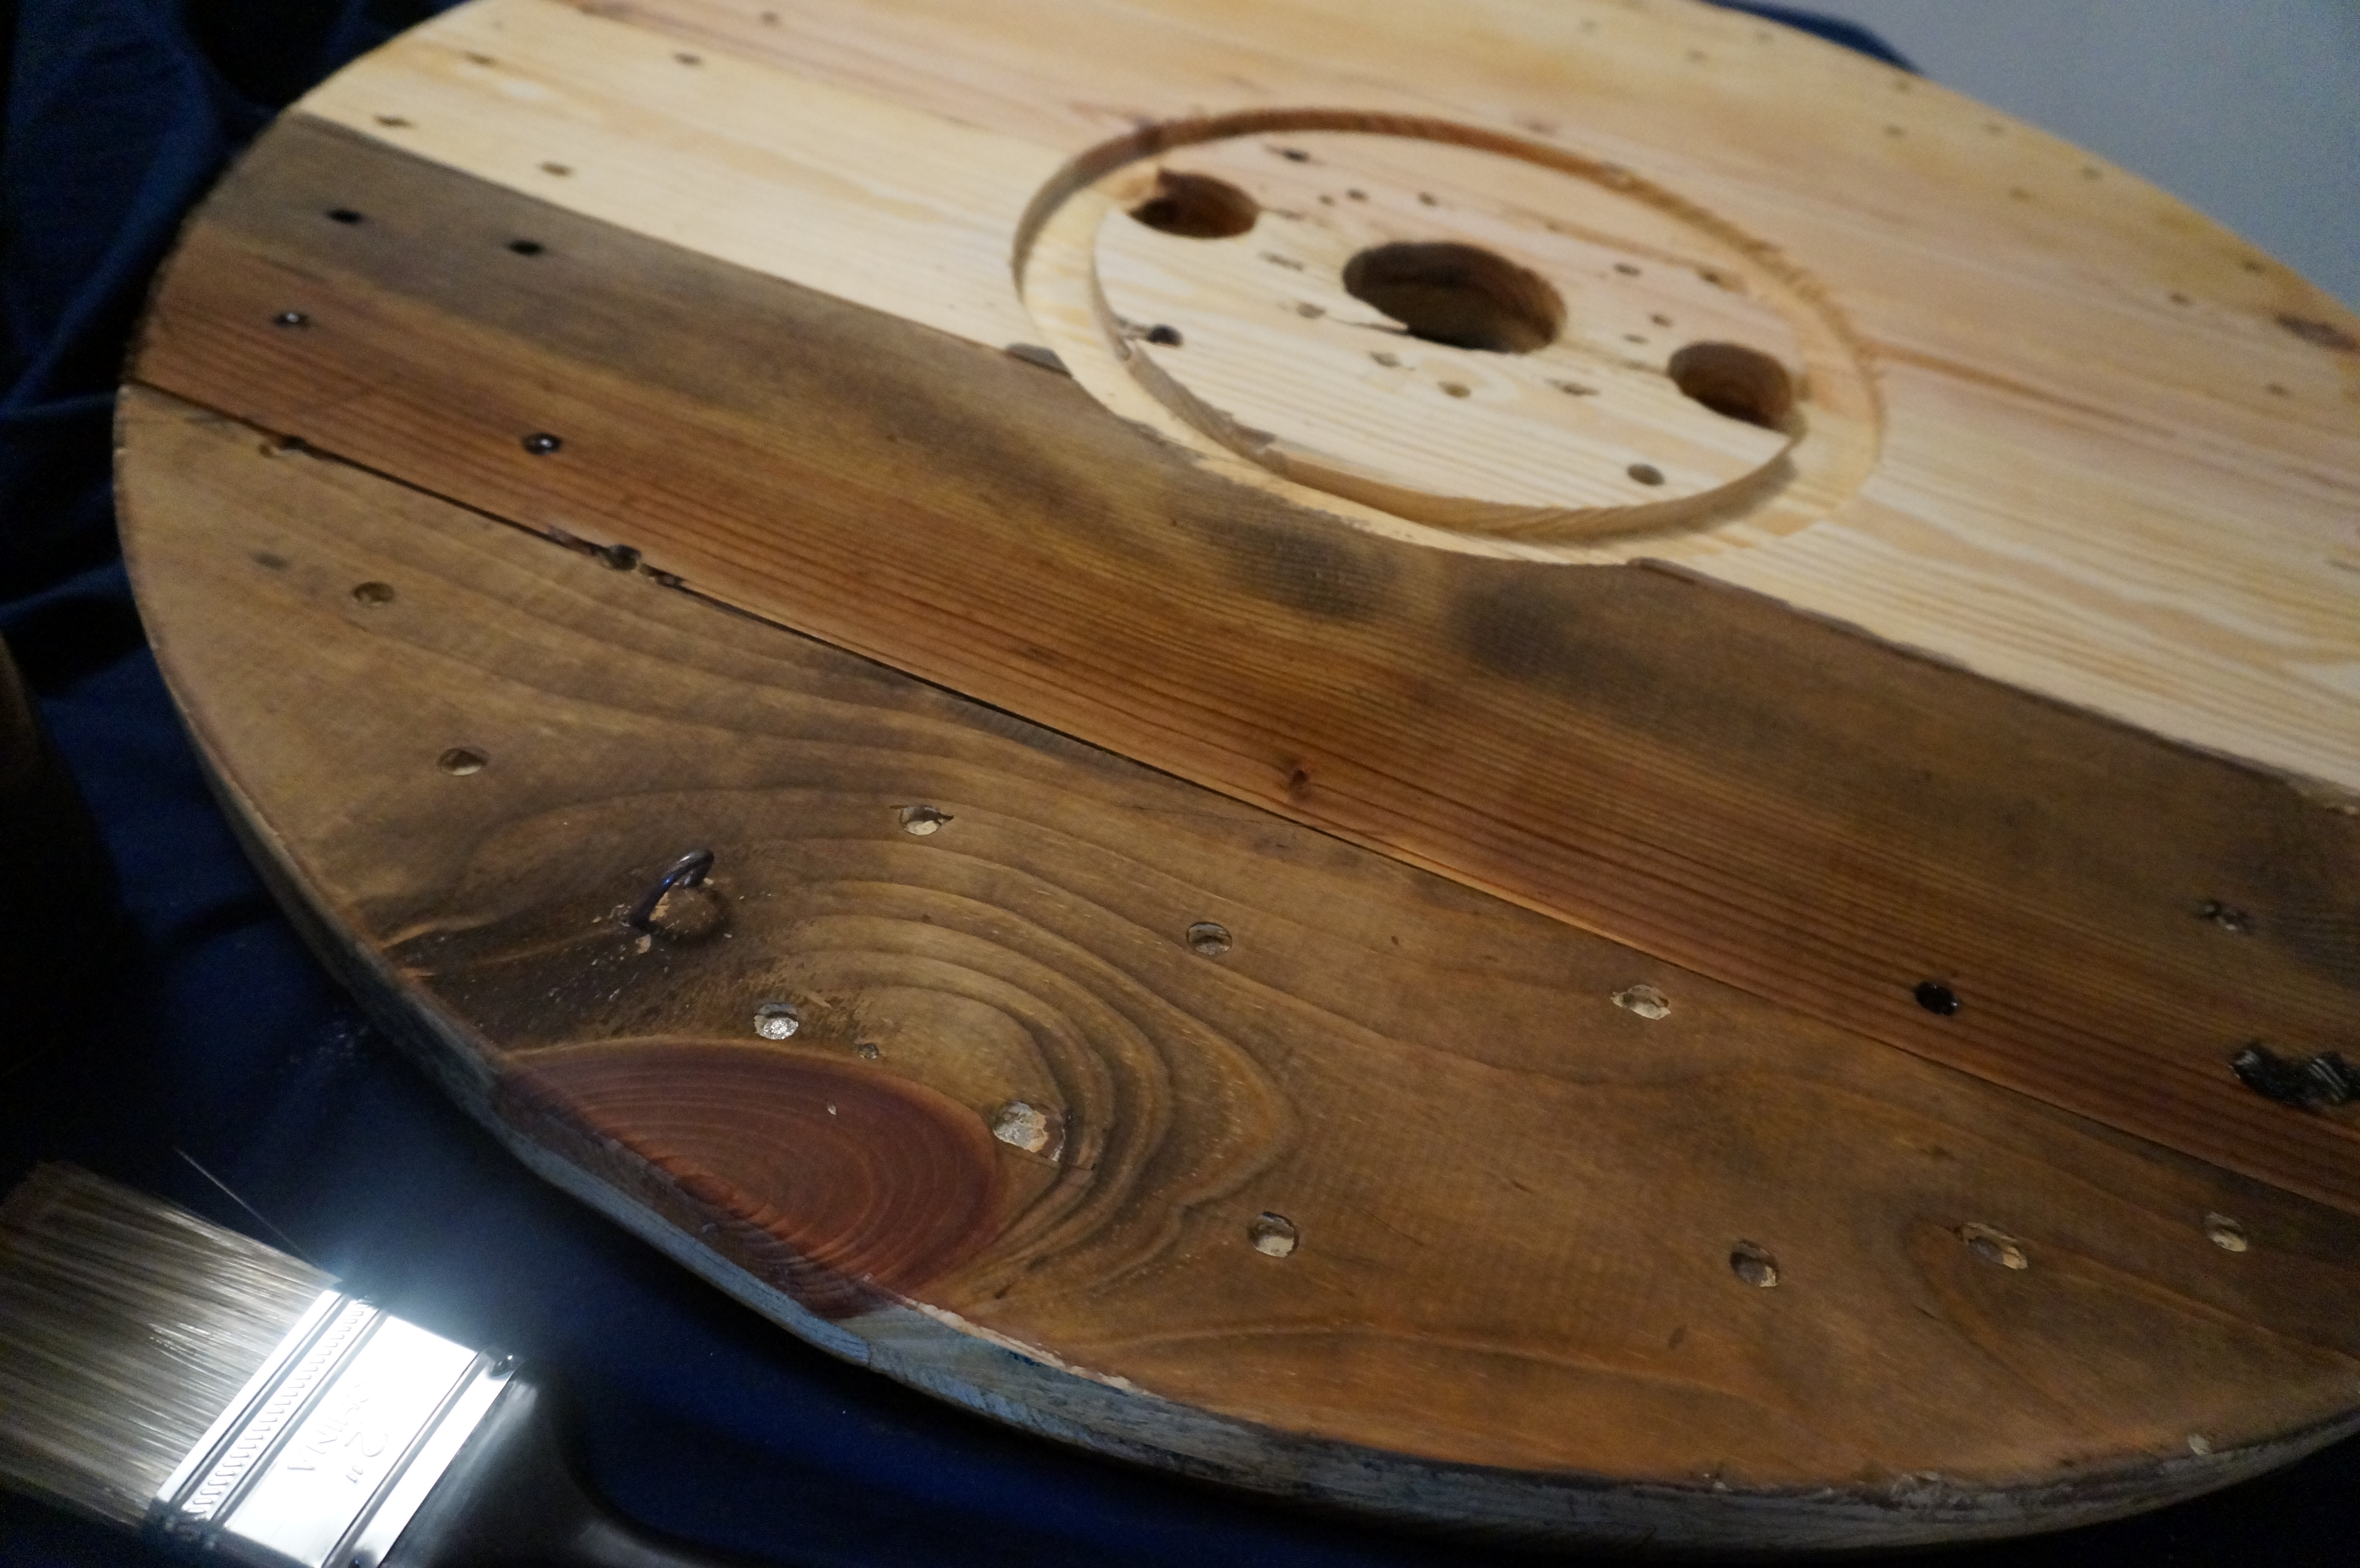
Do not give up! Finish painting the entire pallet. Then, finish with sanding it down a bit with the 220 grade sandpaper. This helped to even out the color and remove some of the gray from it. Make sure to wipe it down with a lint free cloth!
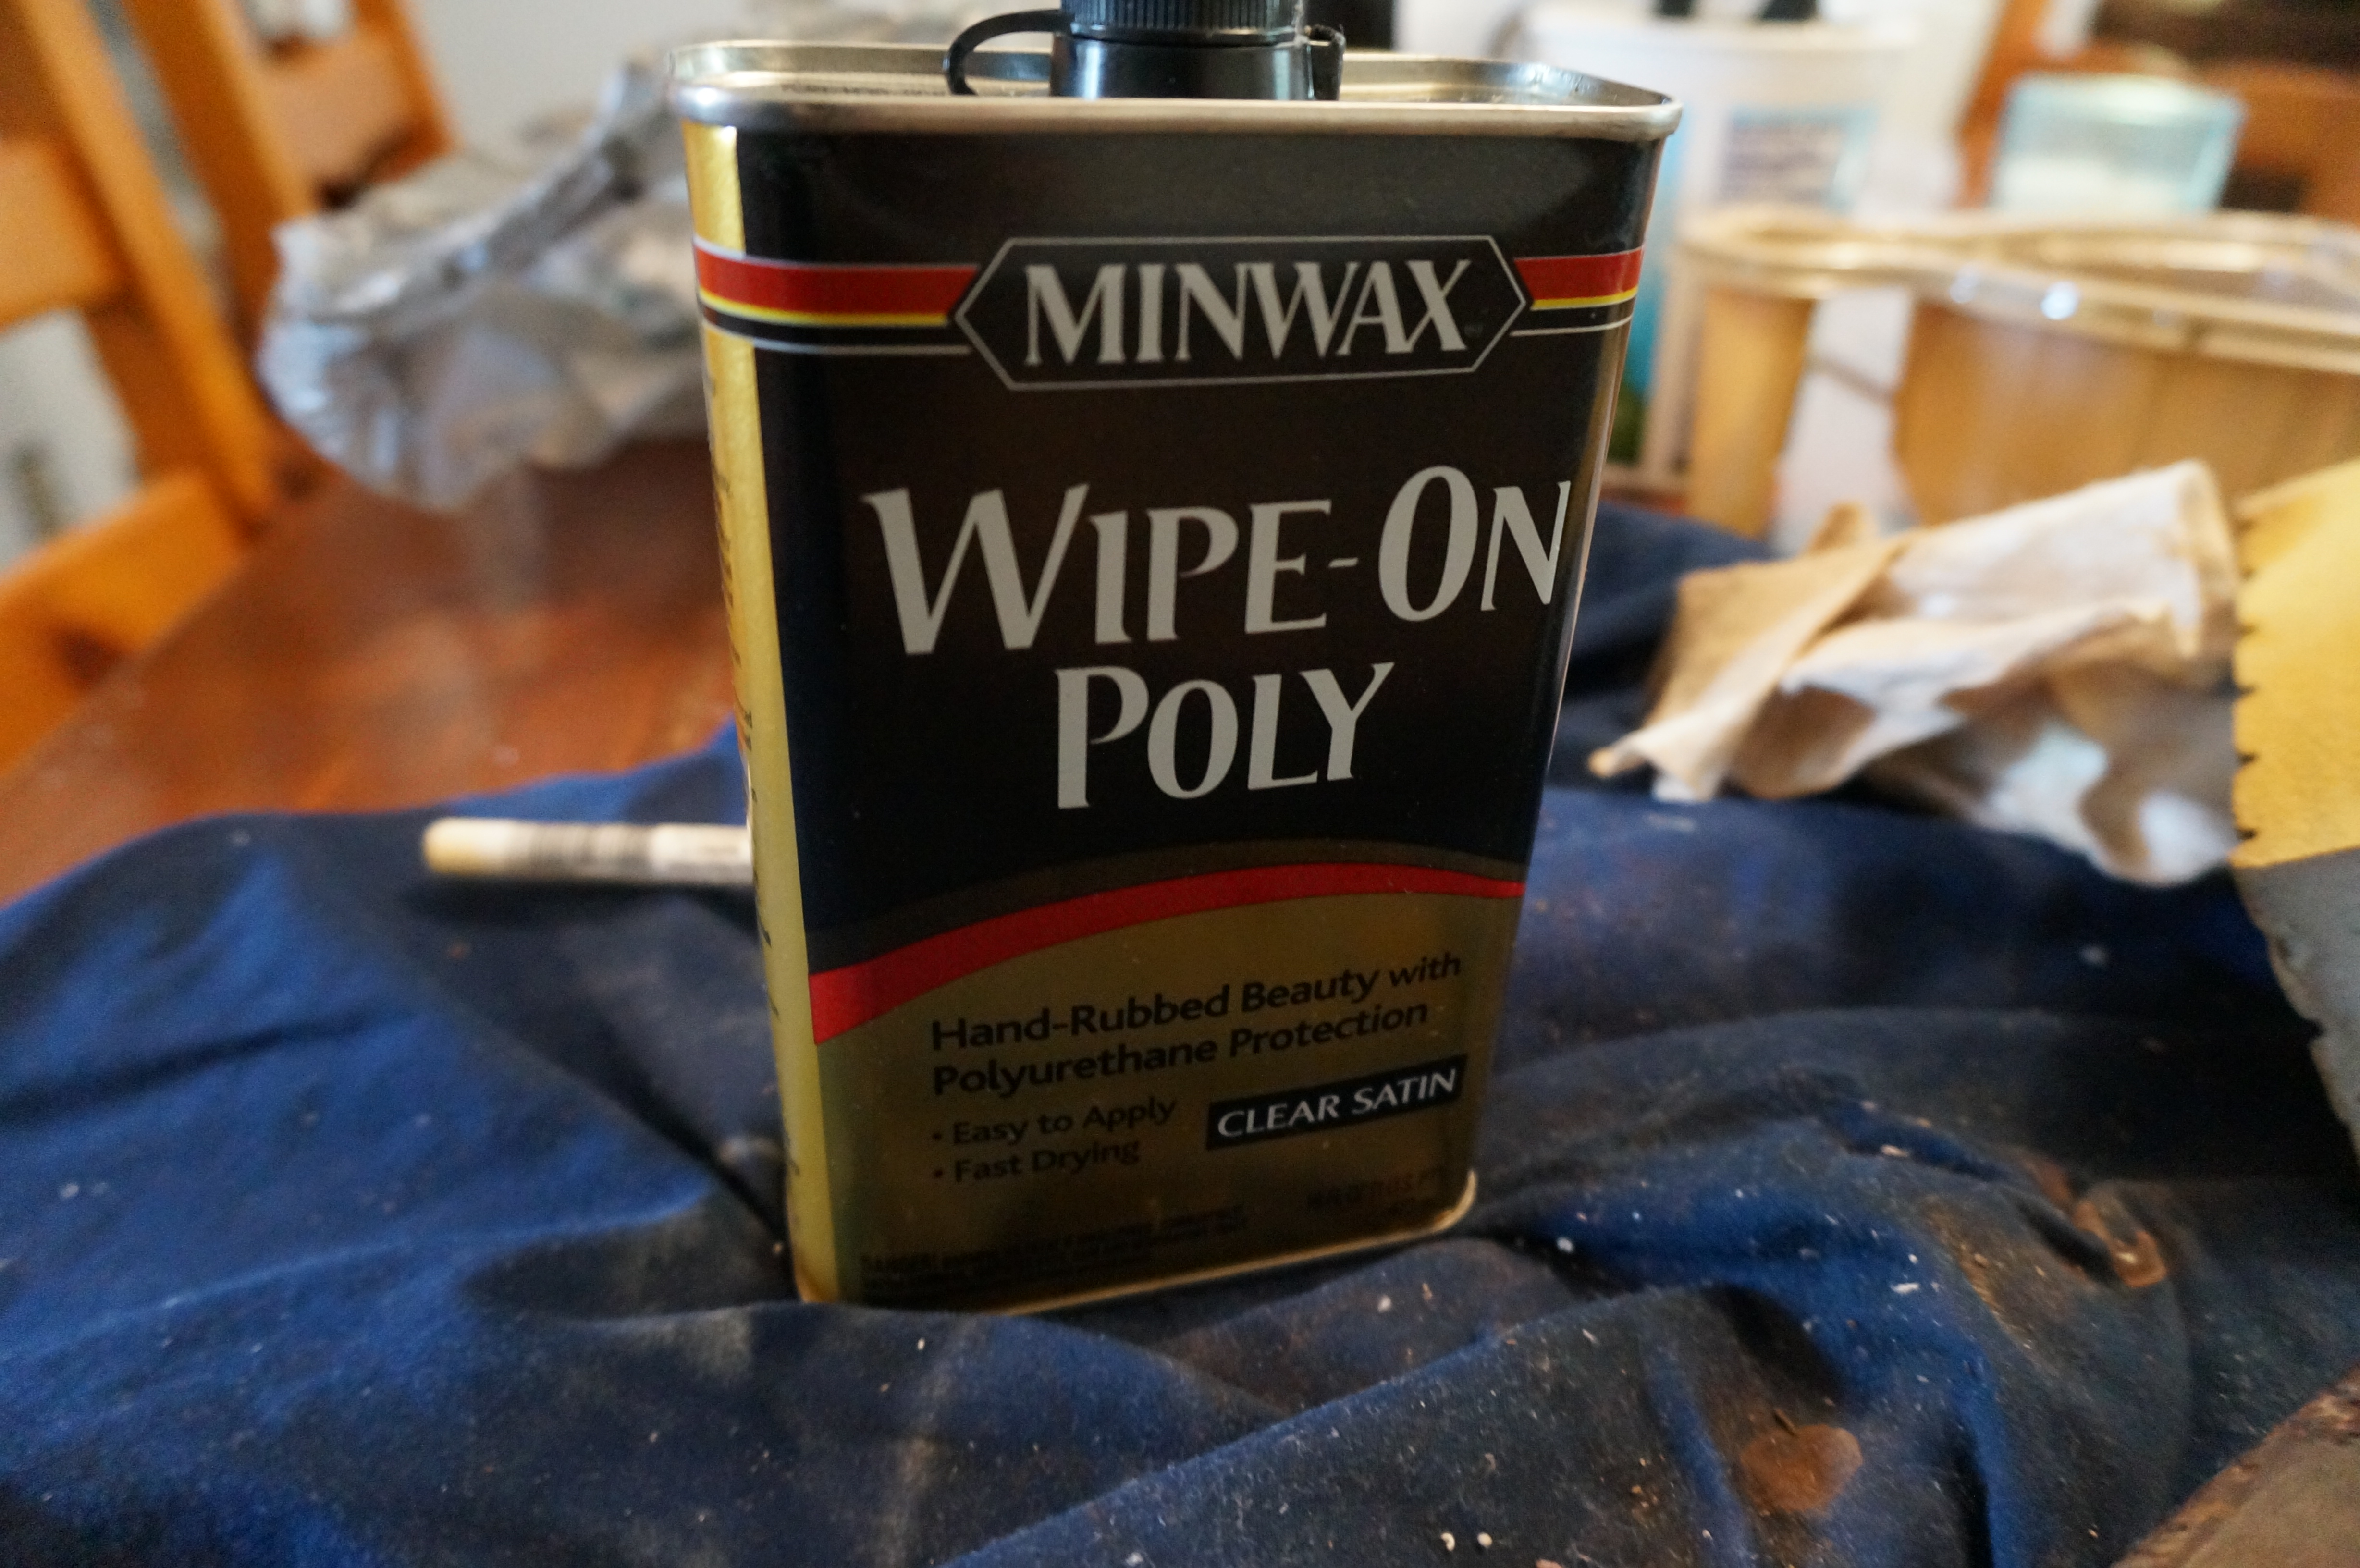
Step 3. Polywax
The next step in the process was to apply polyurethane wax to help deepen the grain of the wood and give it a warmer tone. This part was fun for me! I did a bit of research and decided on the wax pictured below (yep, back to Lowe’s!). I liked how this type was a wipe-on version, so I wouldn’t need to worry about brush strokes or streaks. I applied it using a lint free cloth and let it dry for a few hours, then applied one more coat.

Step 4. Clock hands and Centerpiece
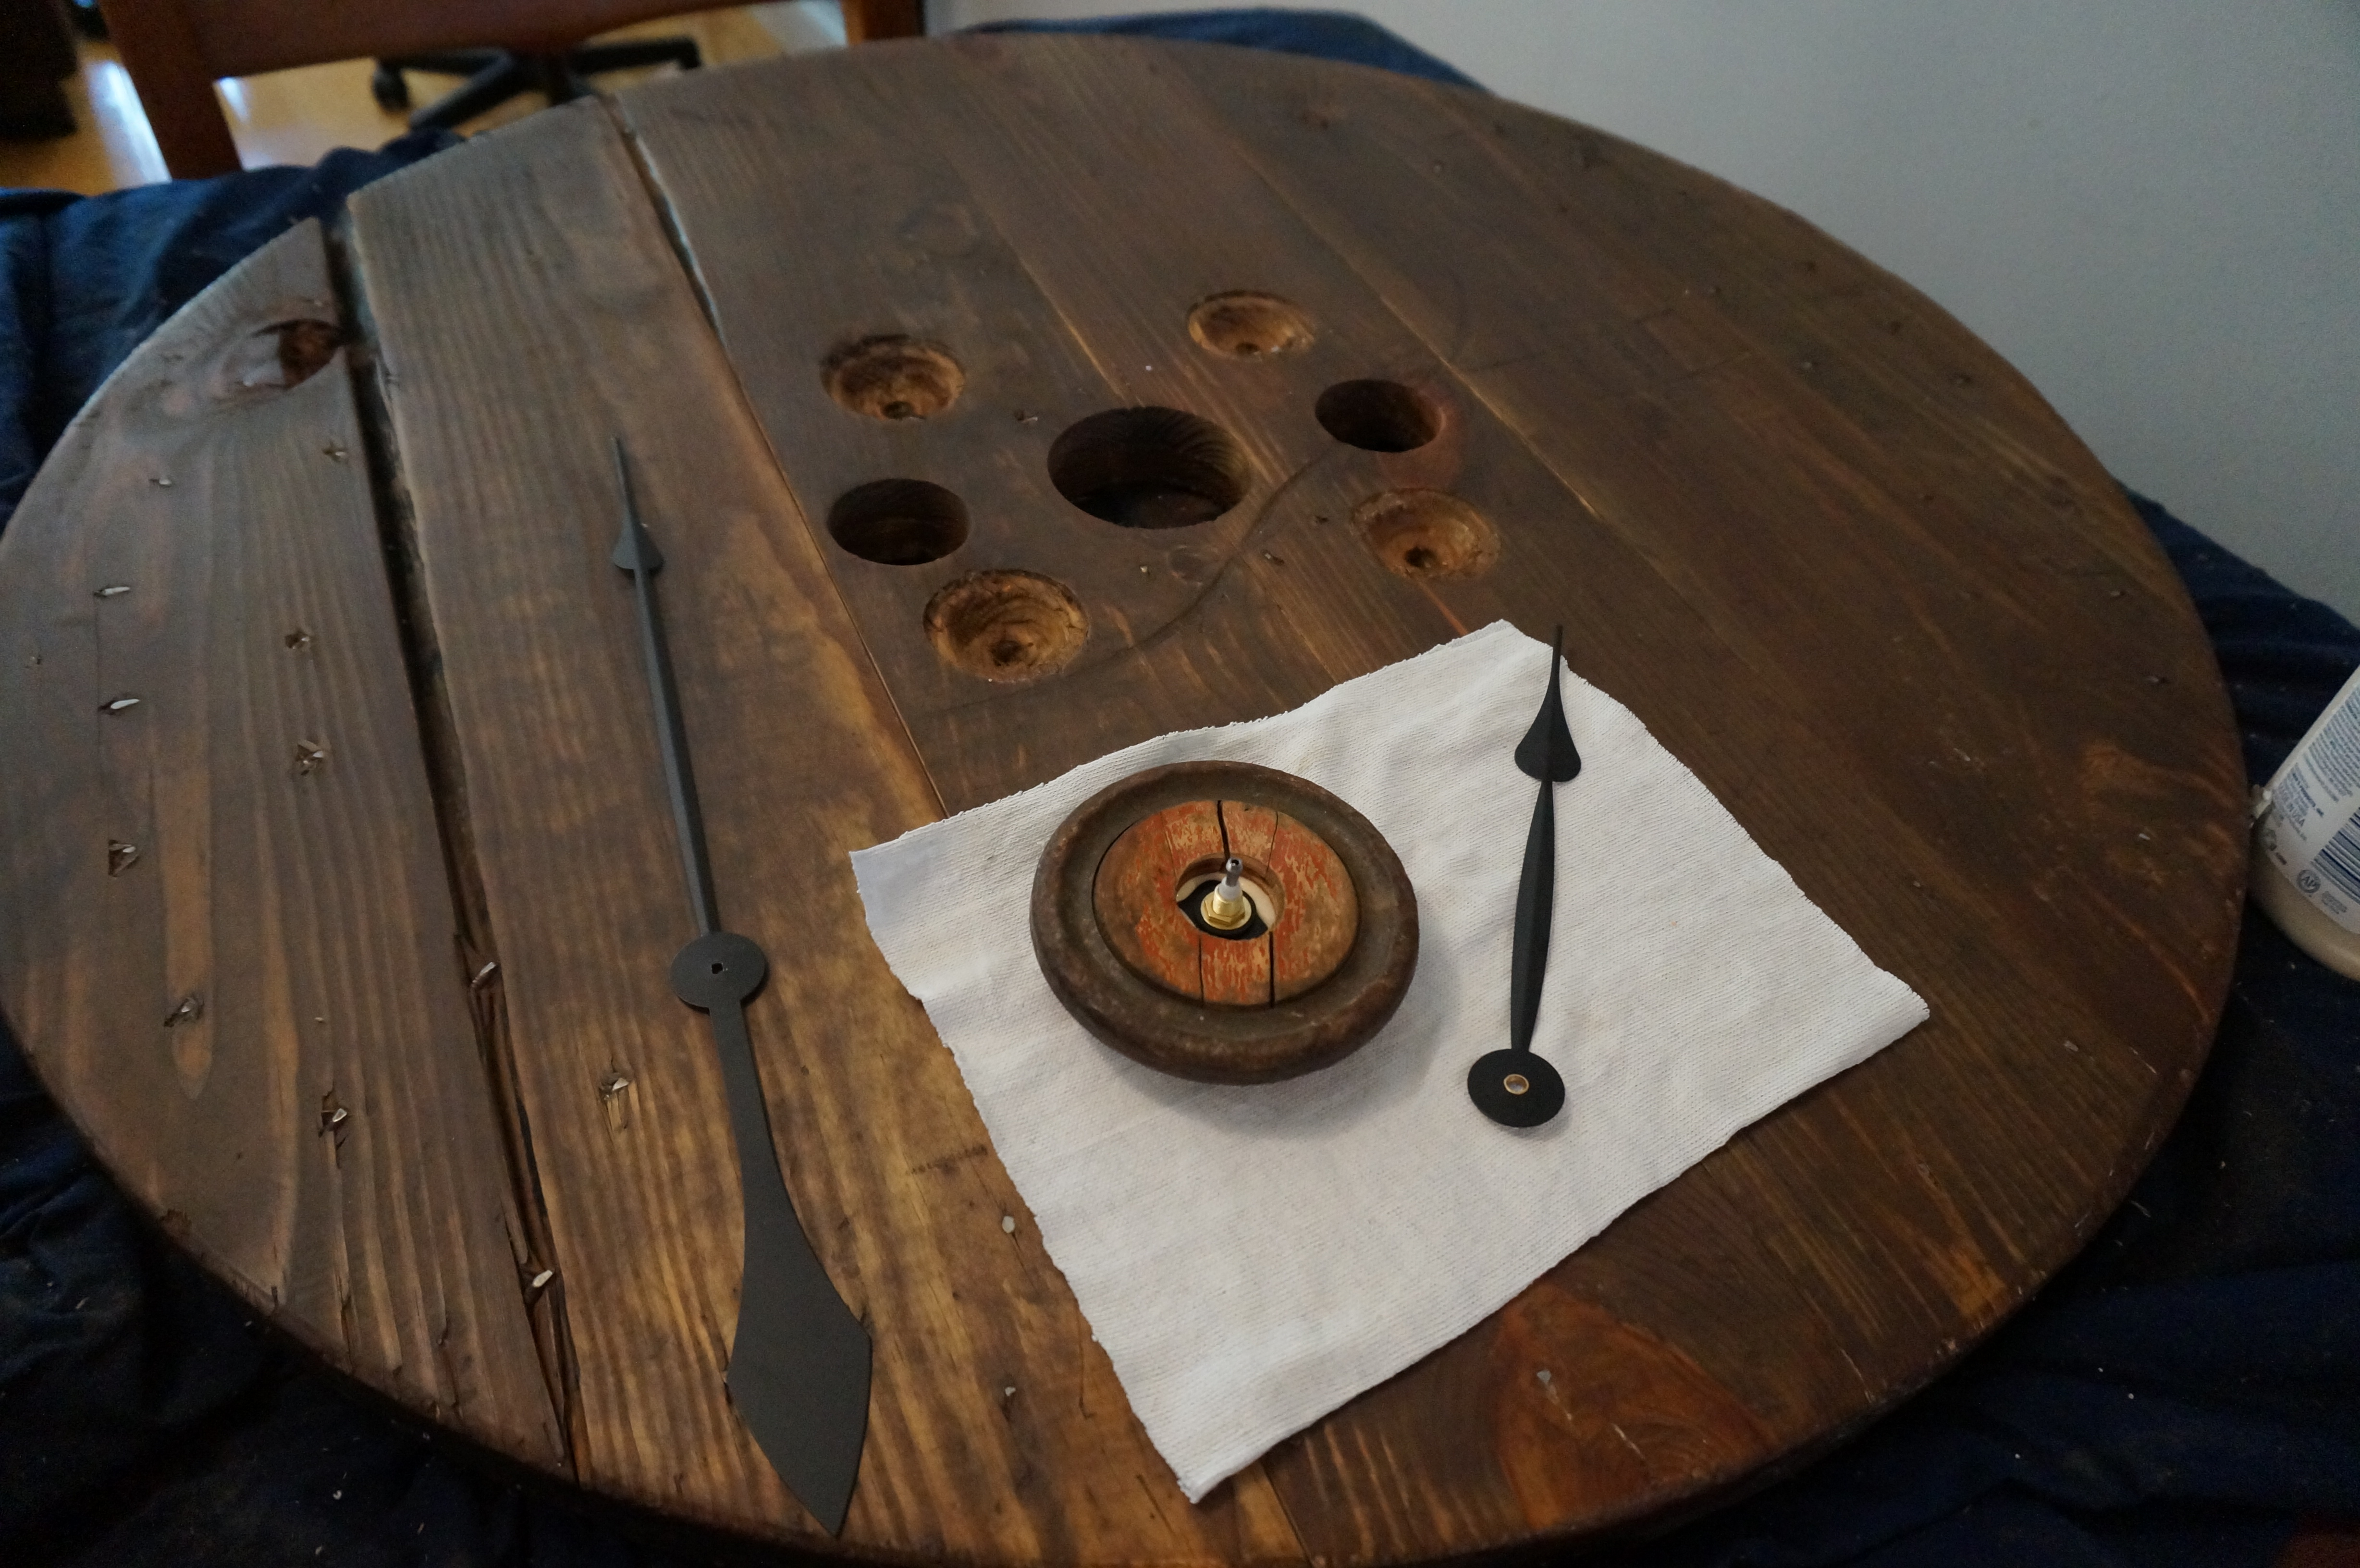
I found the clock hands at a Hobby Lobby in Sanford, NC. They needed to be large enough so that they wouldn’t look wimpy on this big clock (did I mention this baby is 32″ in diameter?) and with high enough torque to actually move the hands enough to keep accurate time. I was worried about this, as the clock hands seemed a bit flimsy and I had some trouble assembling them on the motor, but all’s well in the end! Keep reading…
Once I had the clock hands and movement (that’s another name for the motor), I needed something to put in the middle so that you wouldn’t see the ugly clock motor through the gaping hole in the center of the clock. I originally wanted an antique wagon wheel, so I called around to a bunch of antique shops in the area to see if anyone had something like this.
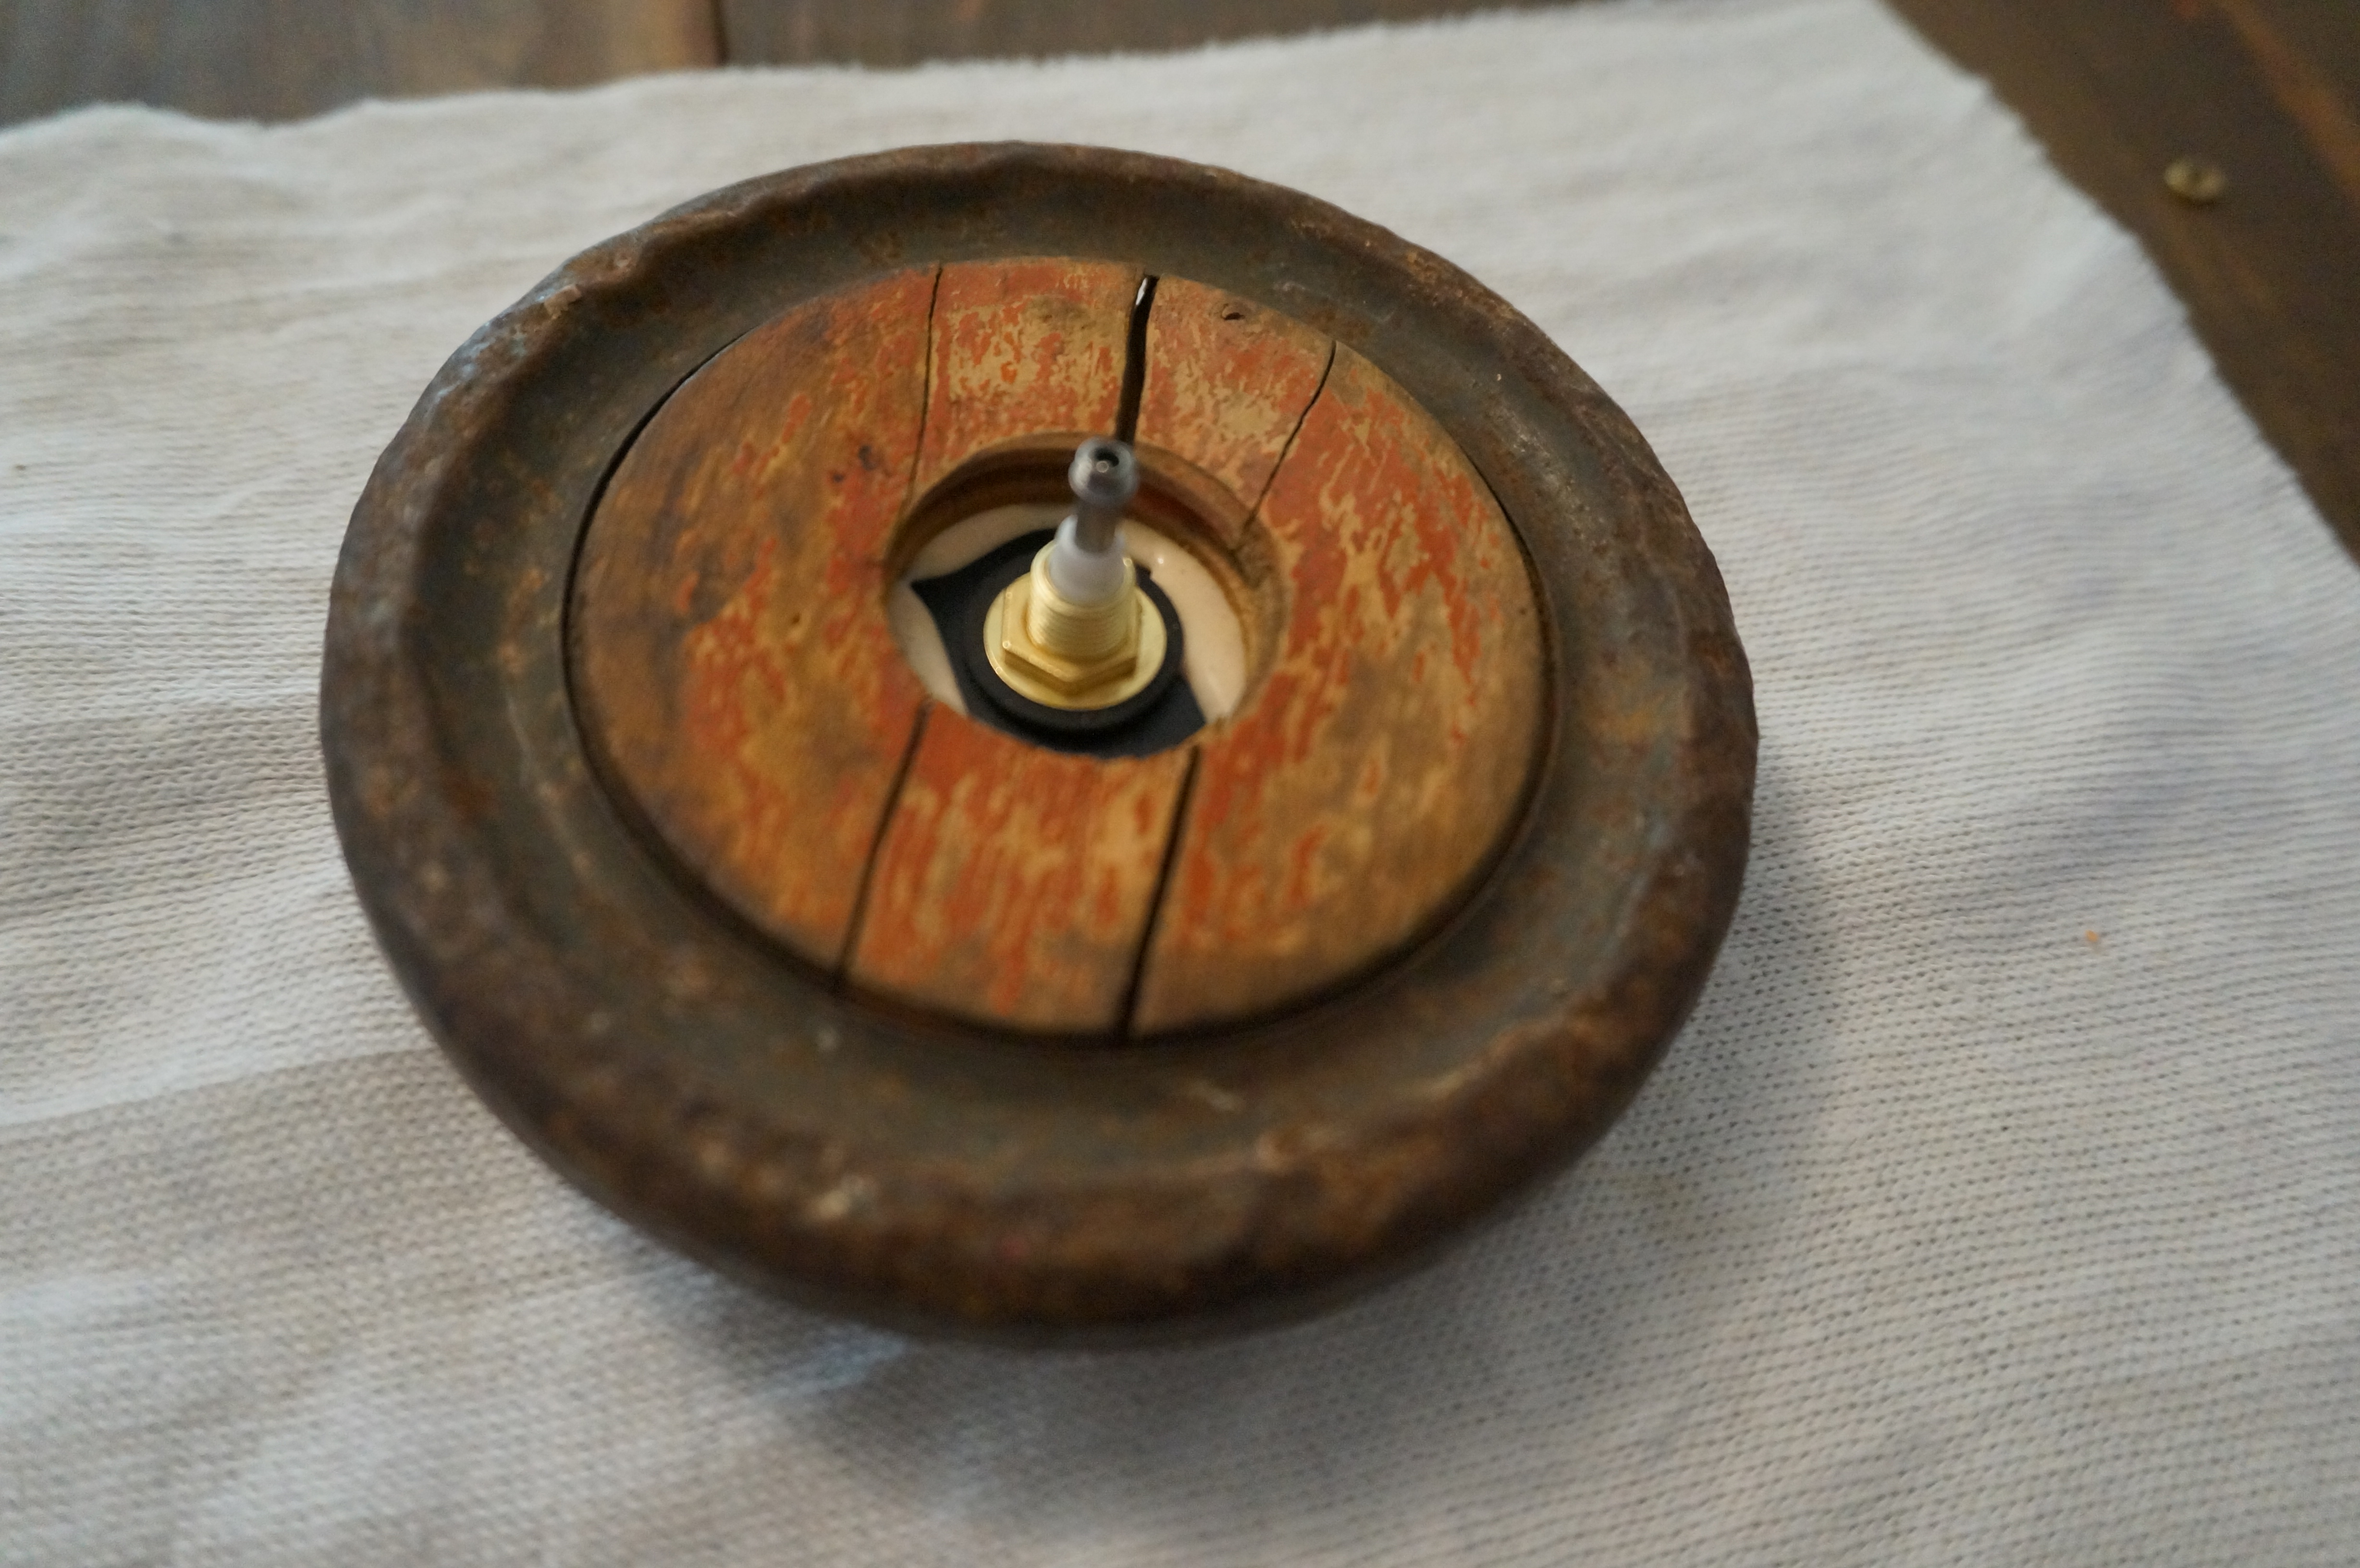
Note to self: when looking for something specific at an antique shop, you probably will never find it. I had to broaden my vision for this since no one had any wheels (except a brass ships’ wheel that was huge and would’ve added about 20 lbs to this clock). I began to look for other circular things with a hole in the middle for the motor to insert. I finally found this piece at Hillsborough Antiques Mall and decided it would do the trick. Plus, I couldn’t turn it down because it was so neat! Any guesses?
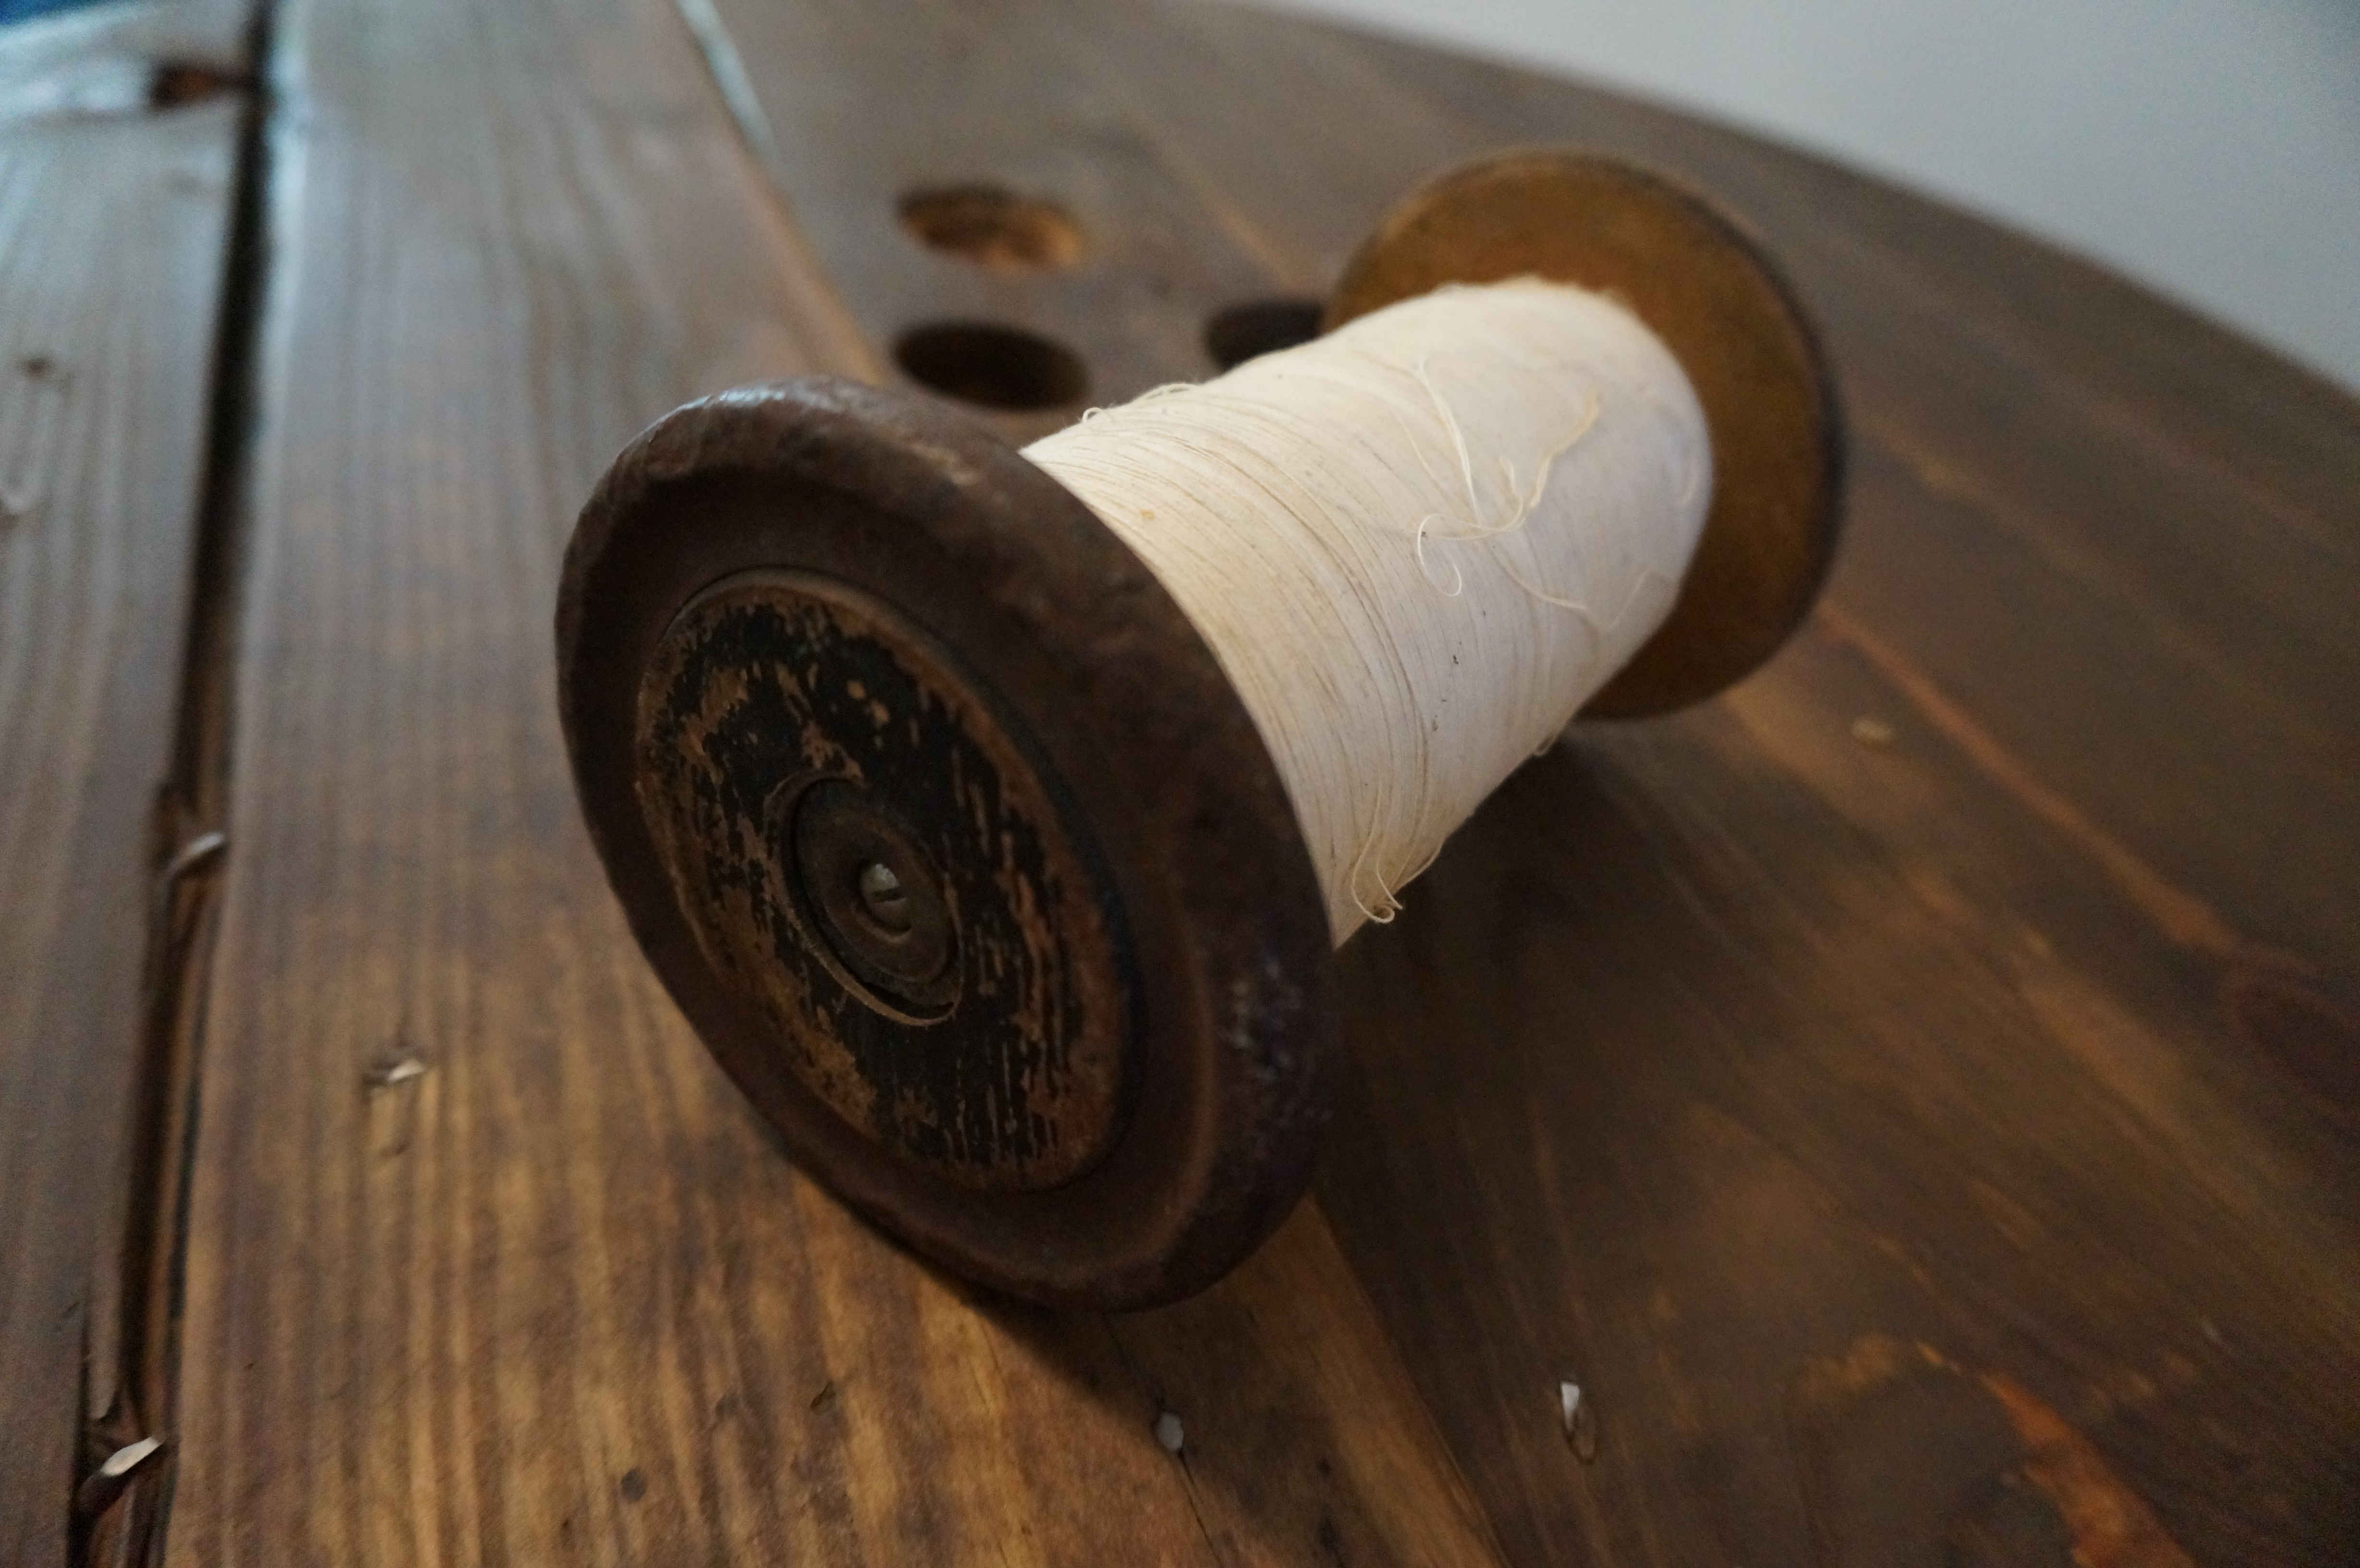
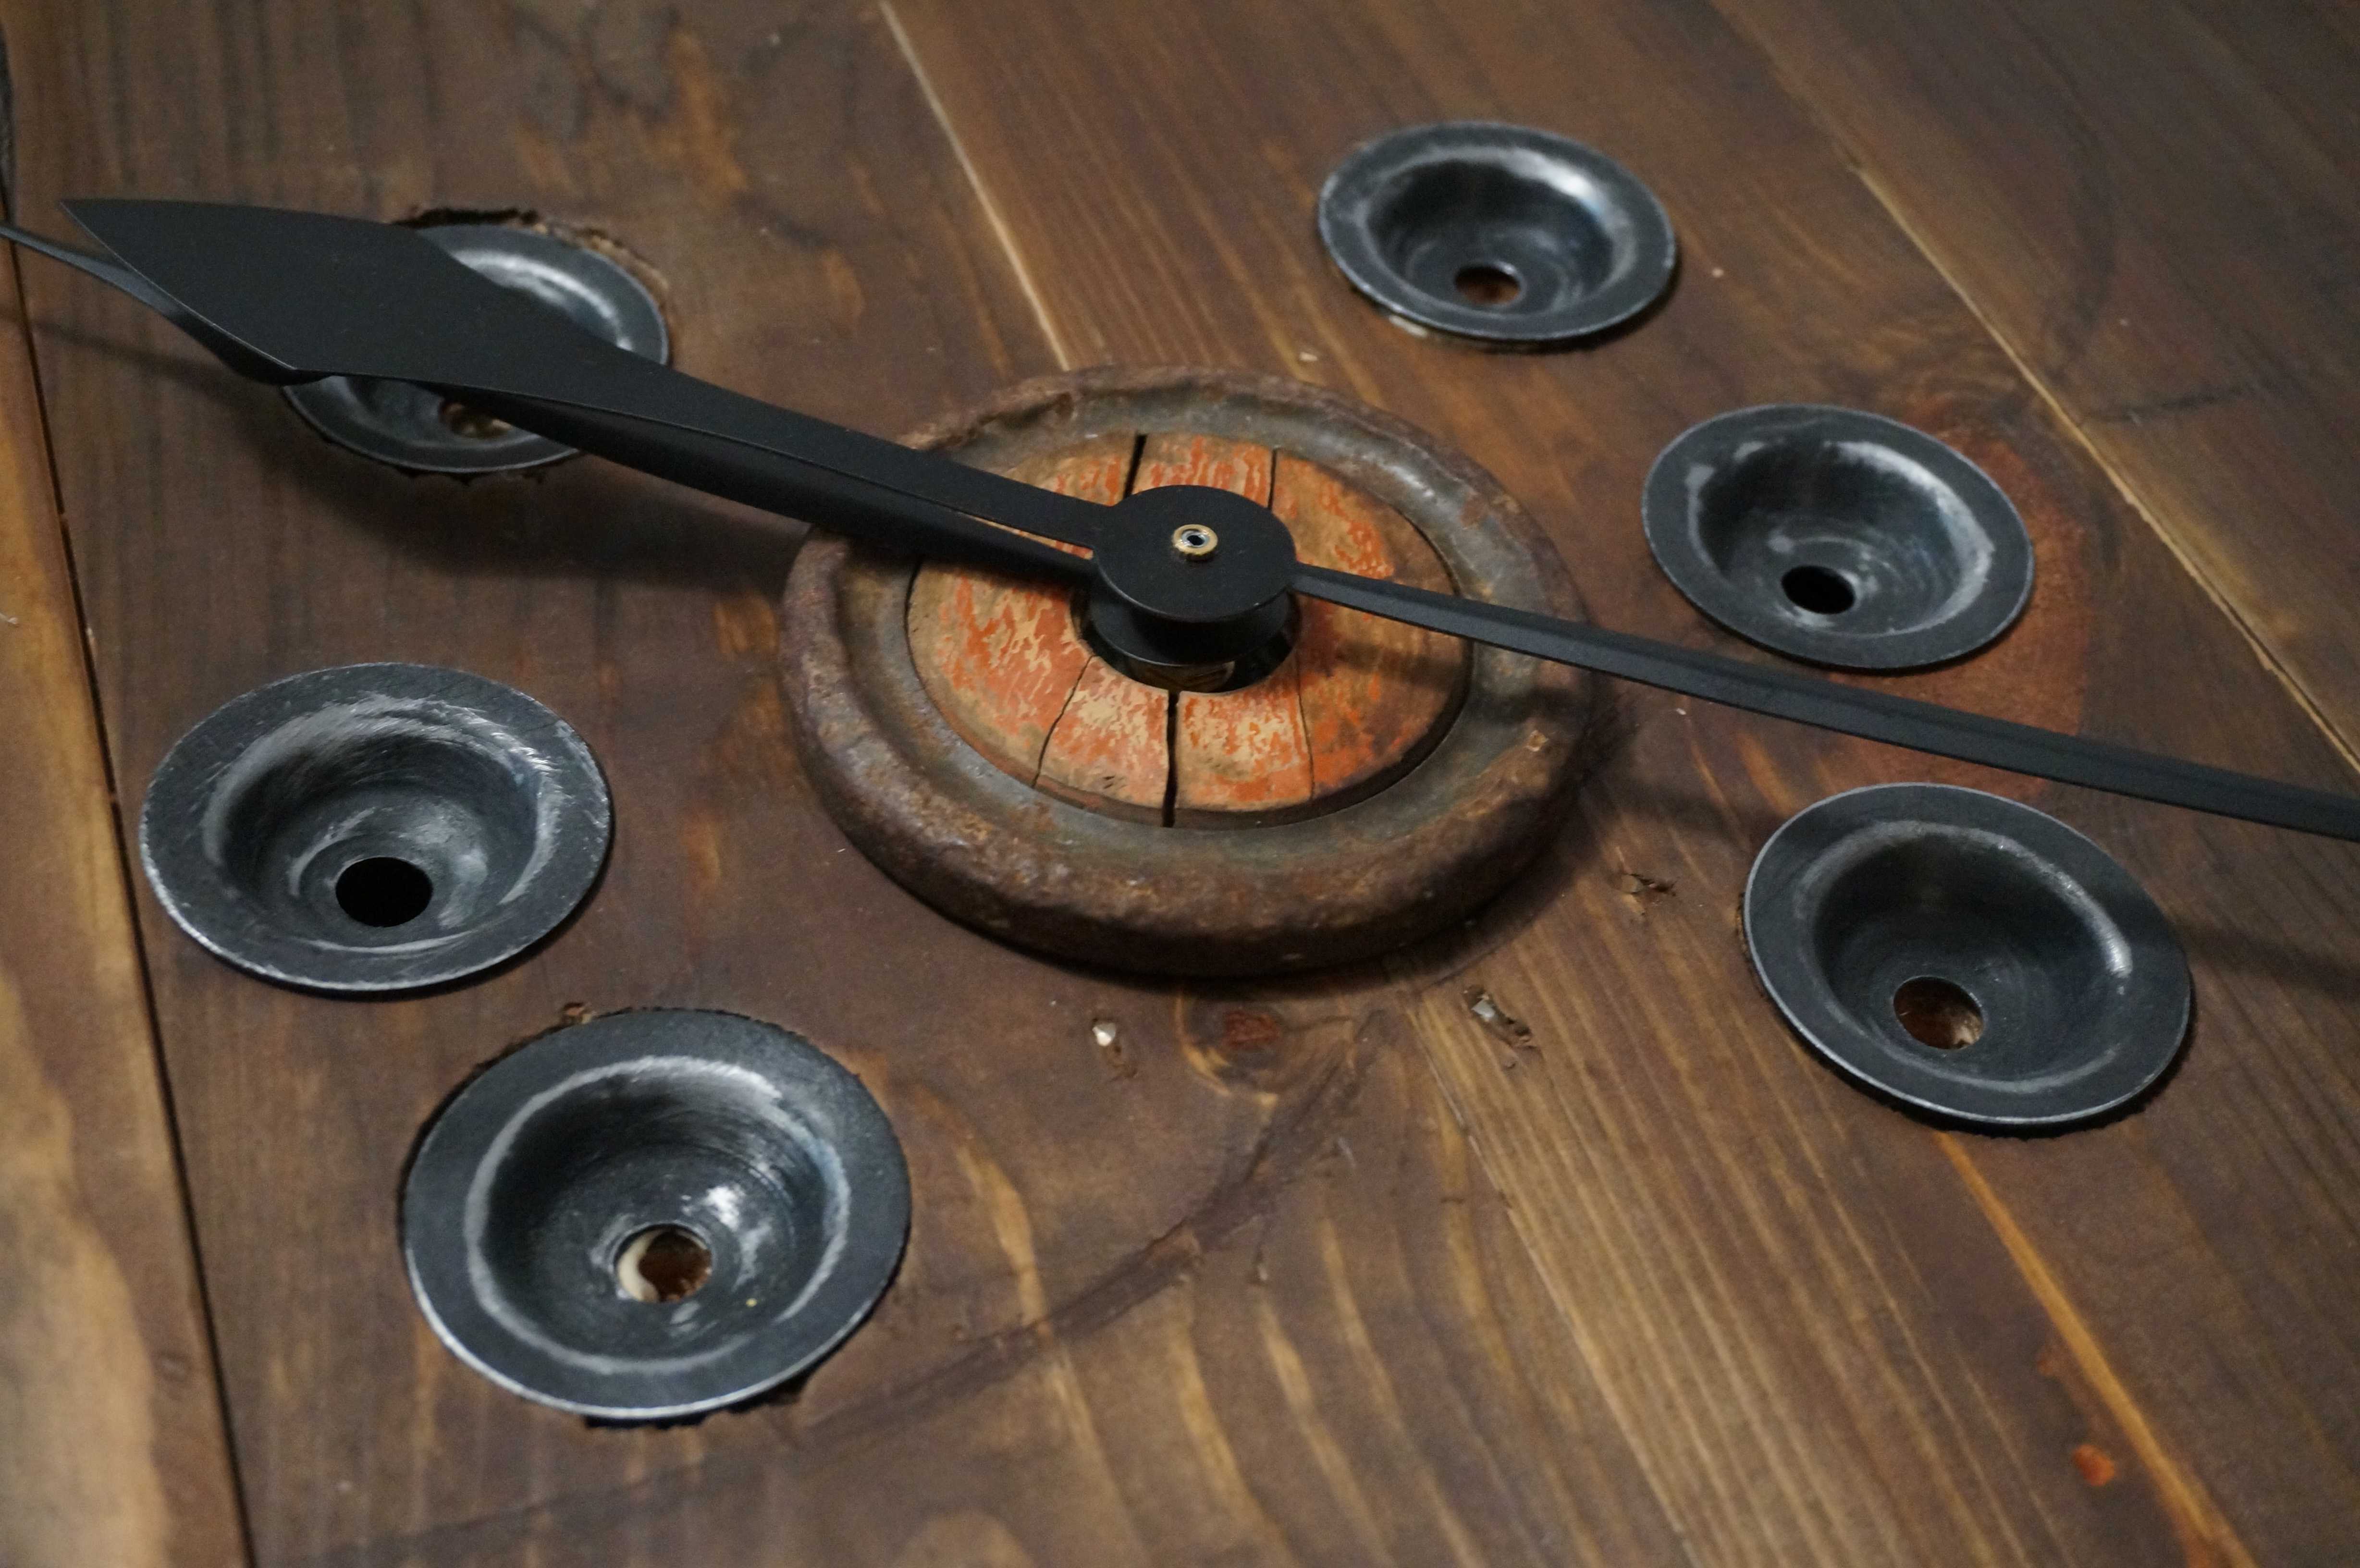
It’s actually a spool from an old cotton gin with the original thread, dating back to the 1800s! (Hence, the name “Ol’ Eli”). So cool! I actually decided I liked the idea of this even better than a wheel, because I was keeping with the spool theme.
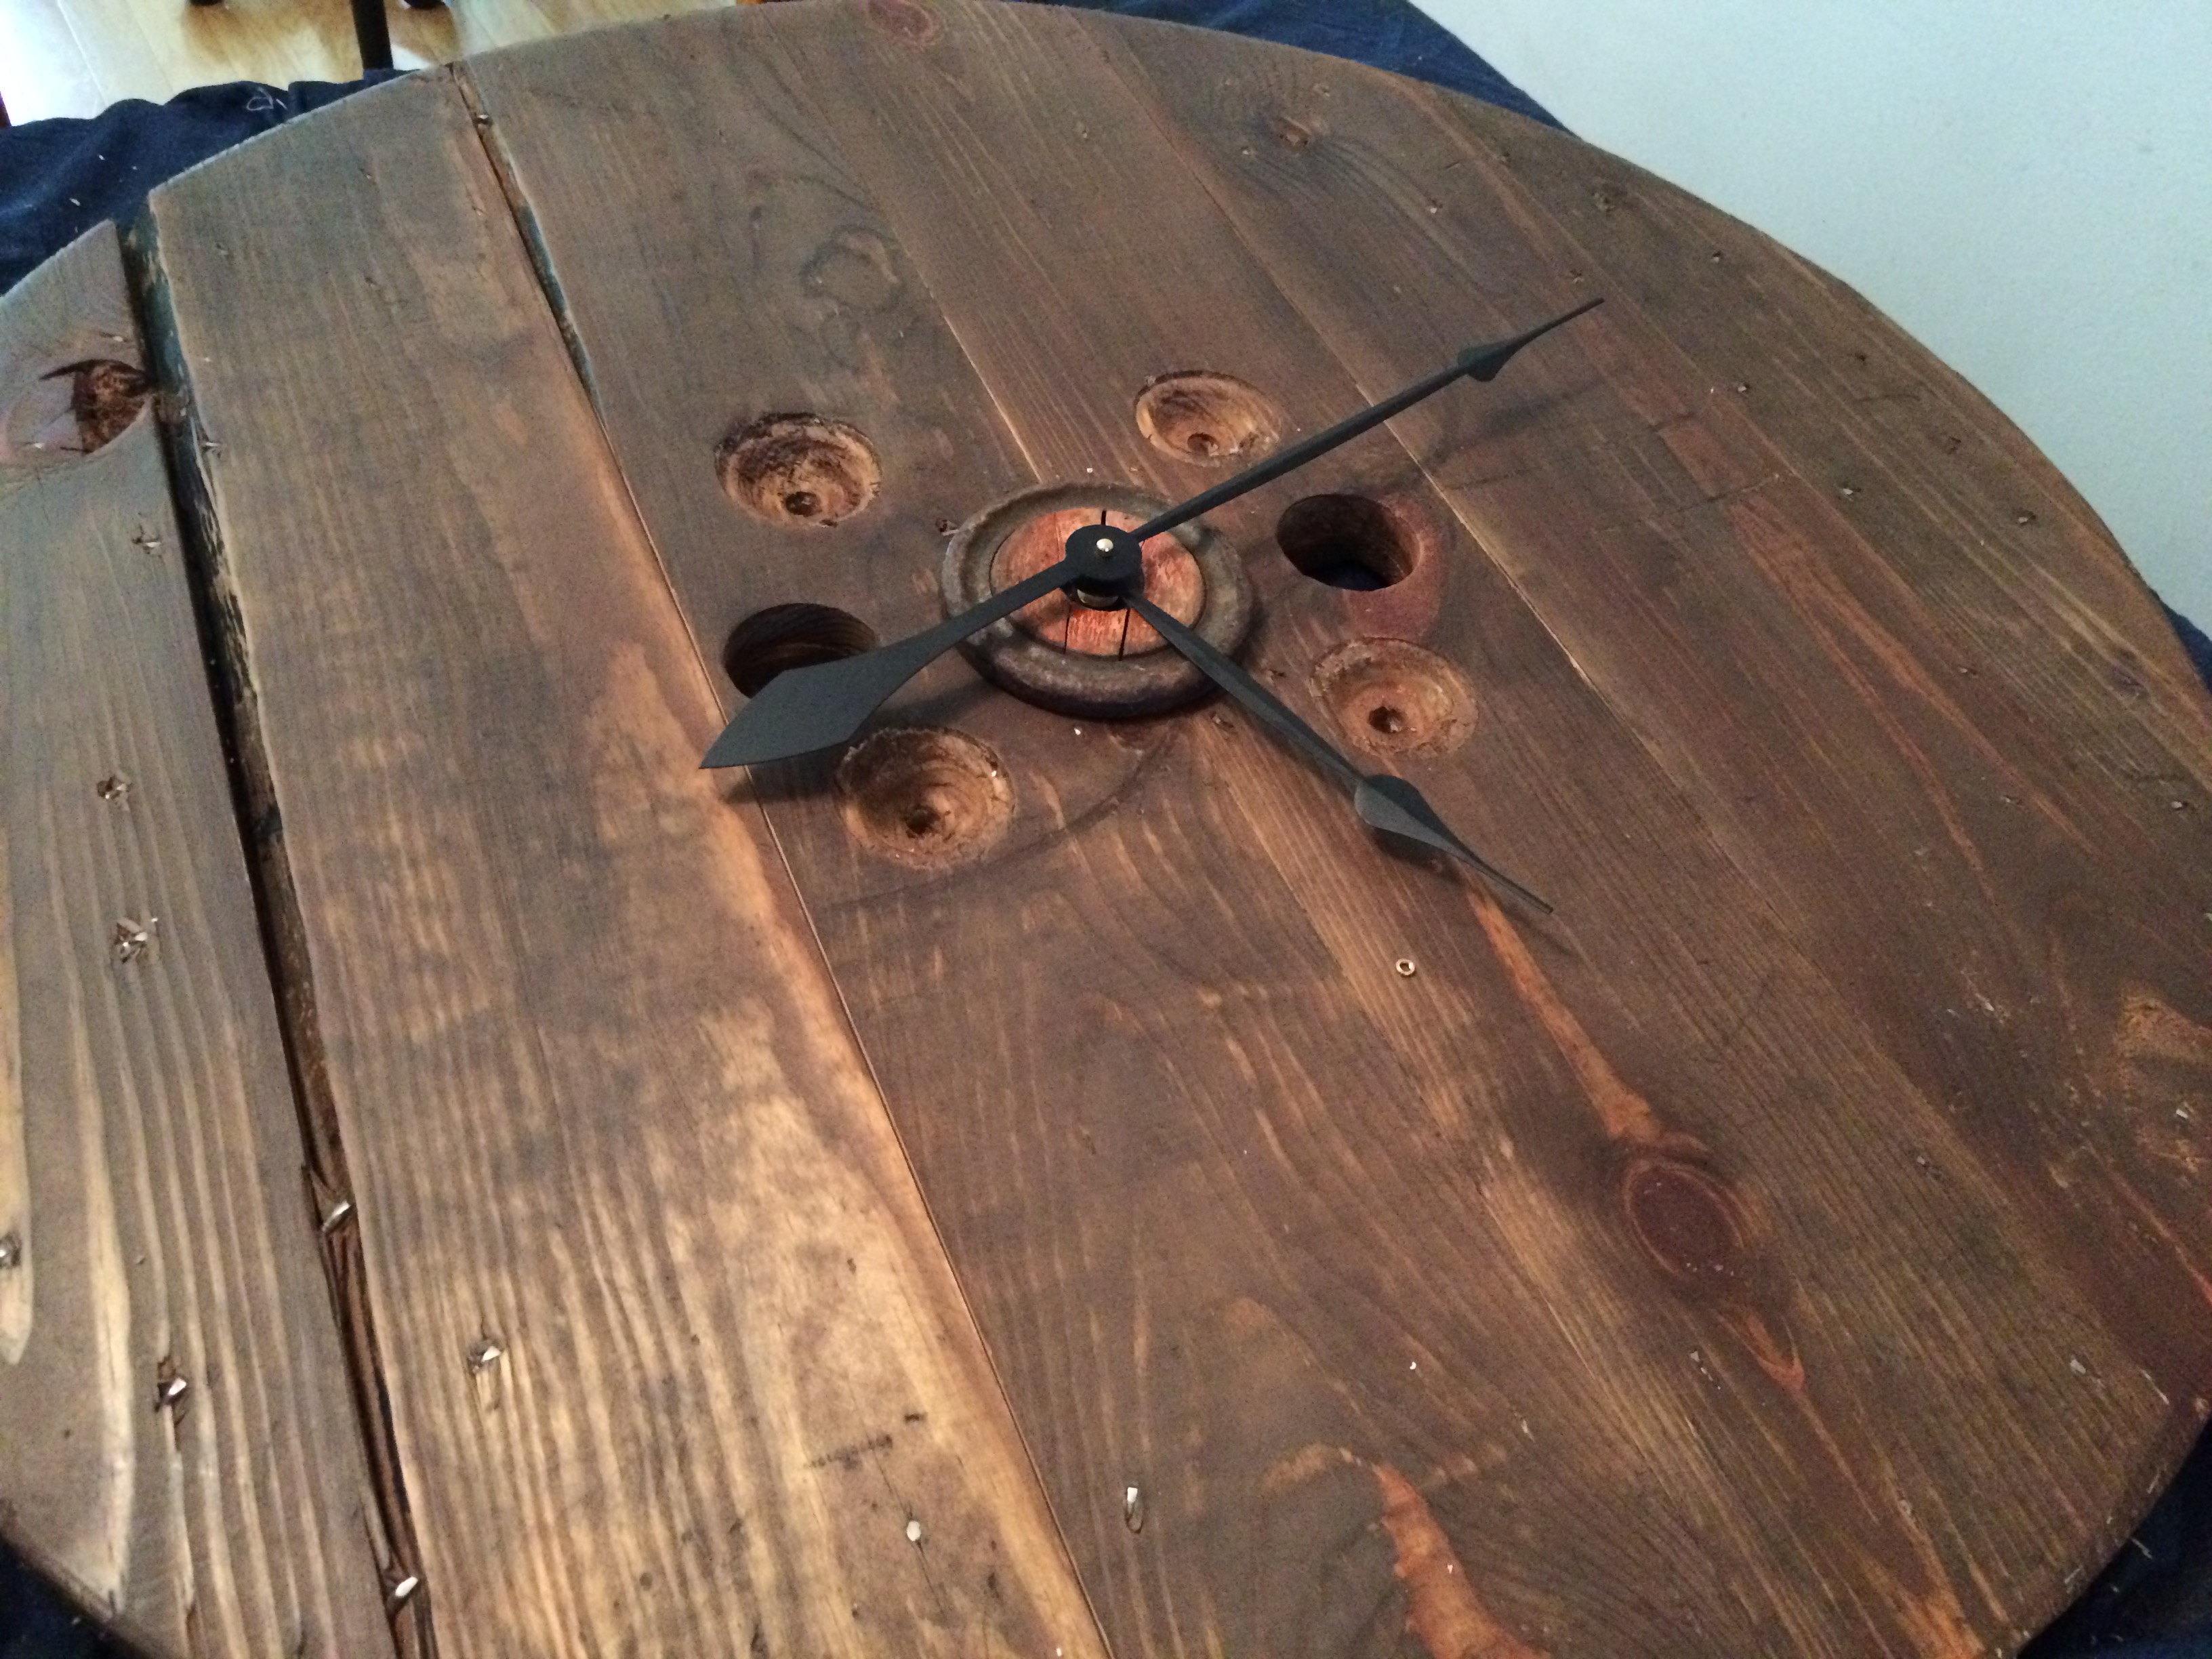
I removed one of the sides from the spool (I chose the side with the red paint remnants and a few cracks) and decided not to do anything to the piece to keep it in its original form. I glued the clock motor to the back of it and set it in the center of the clock before assembling the hands.
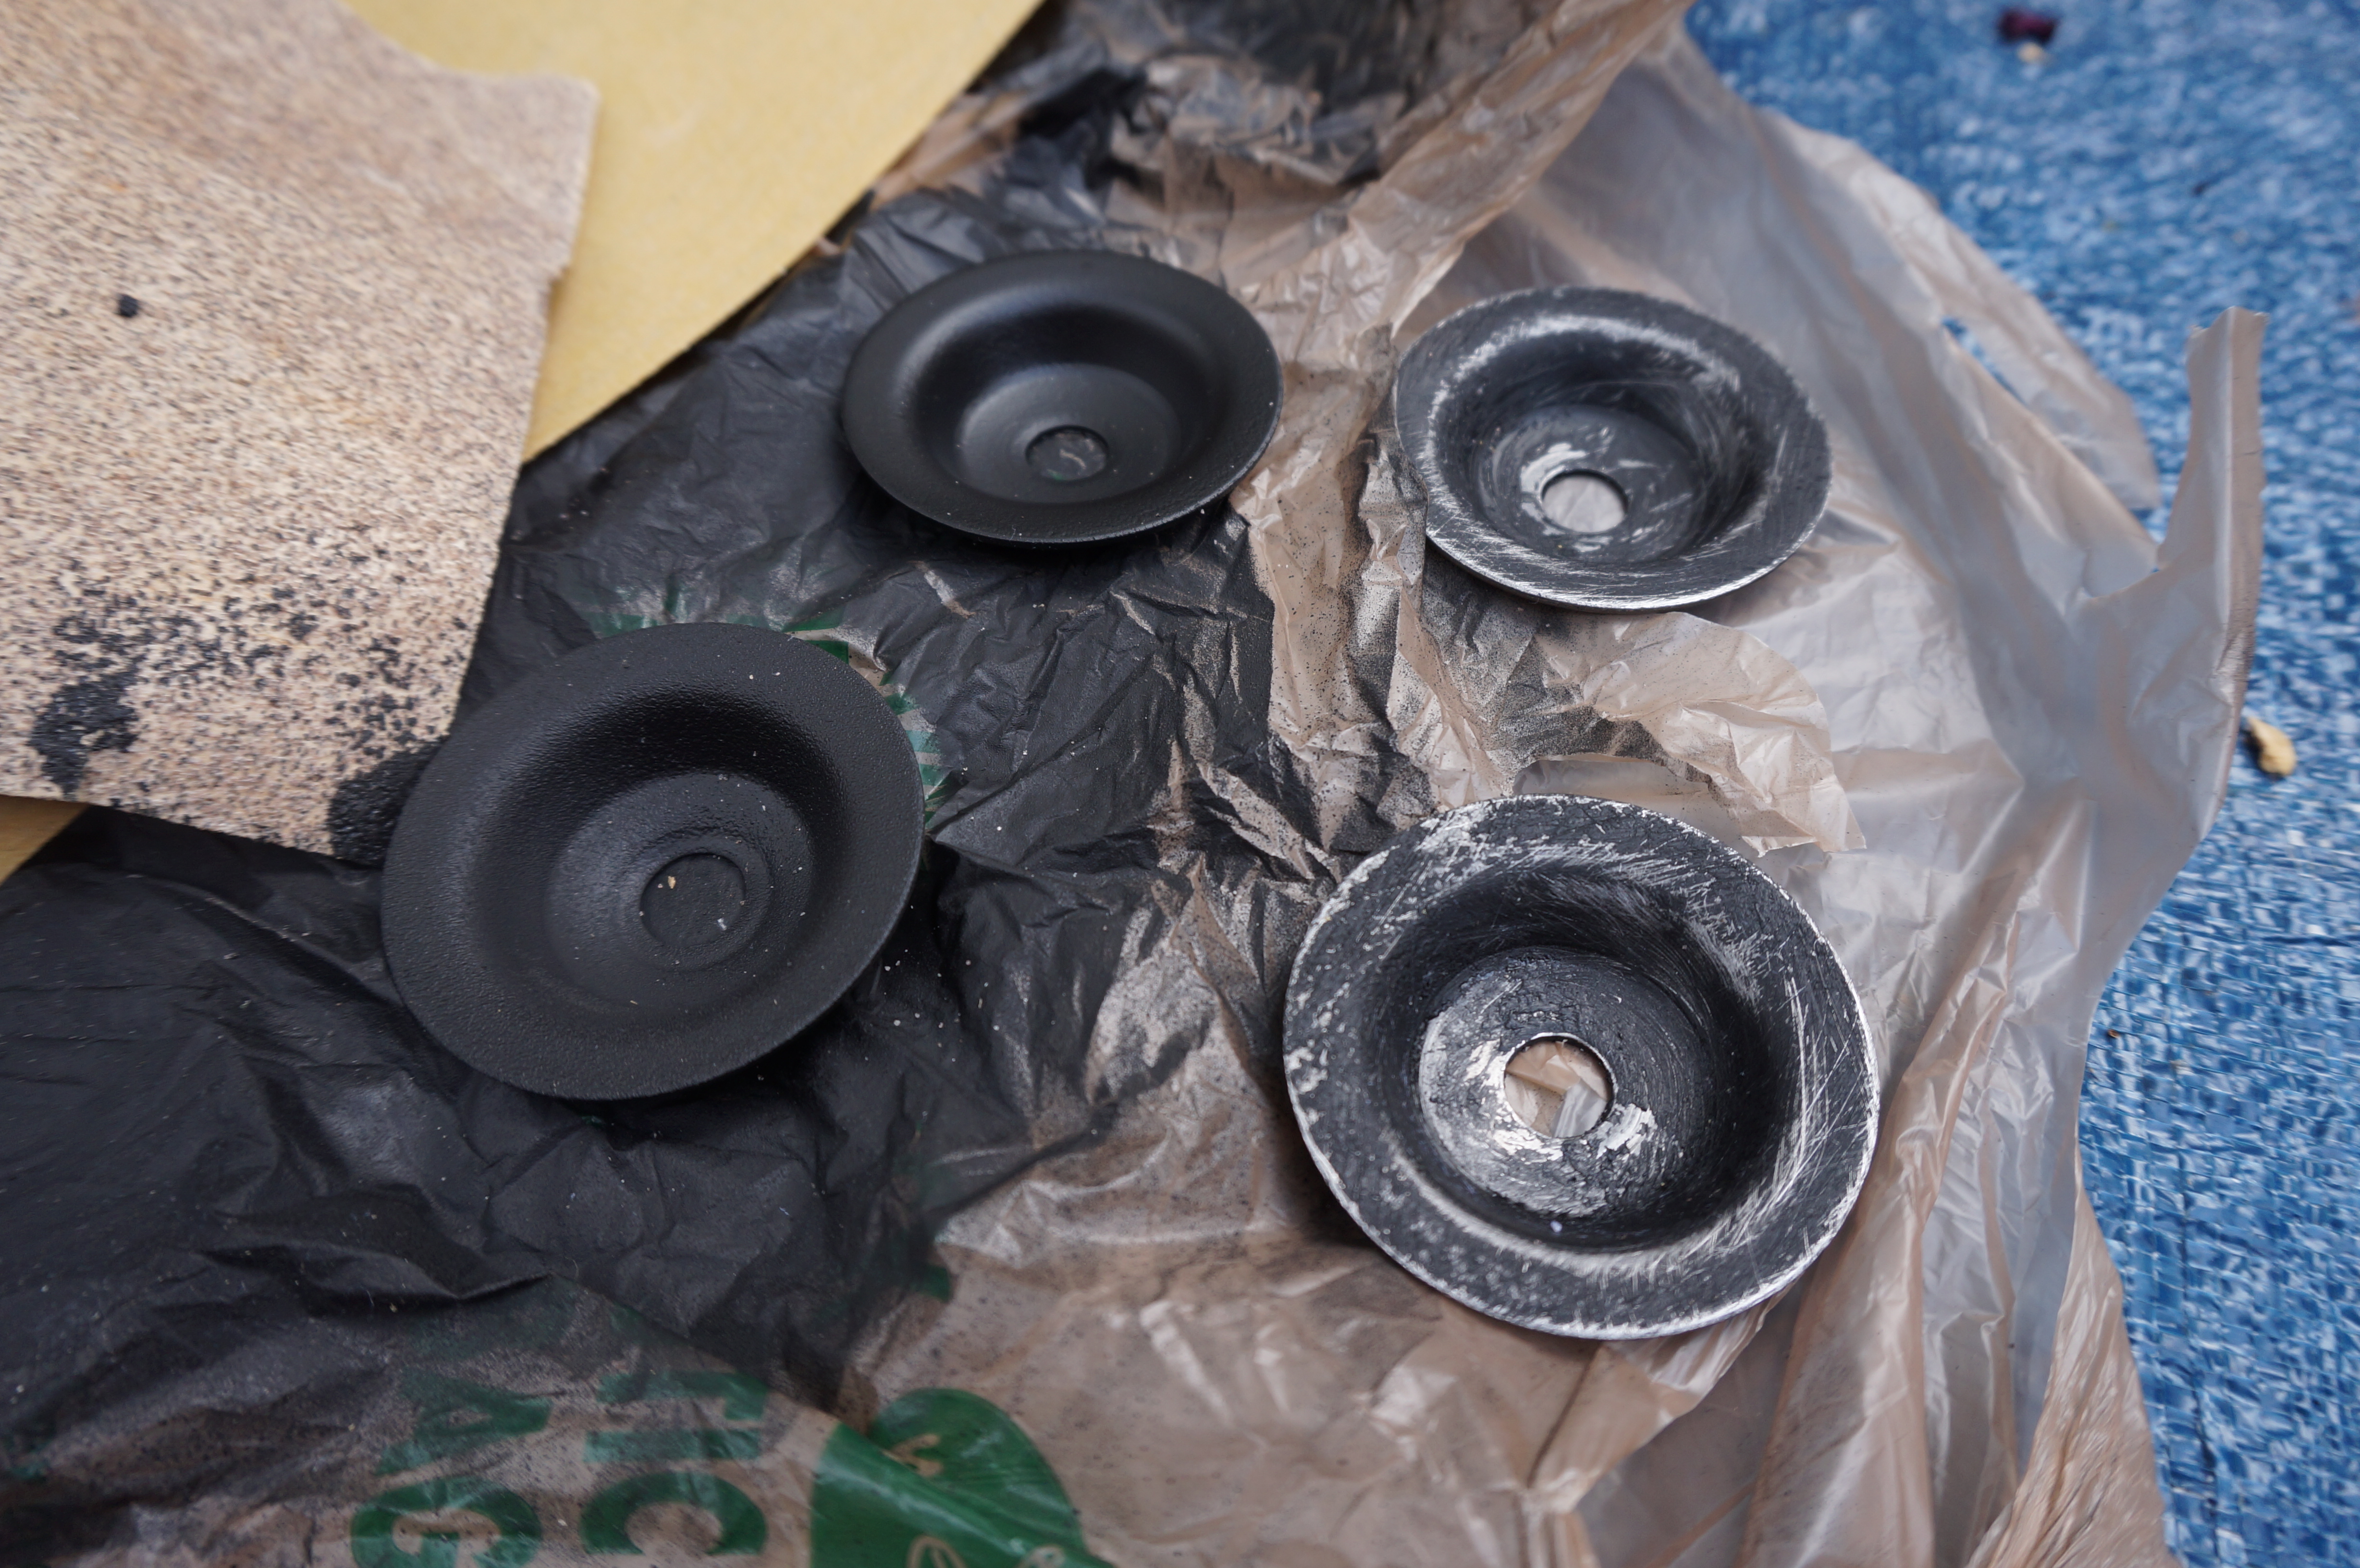
Step 5. Bolts
Remember those metal bots from Step 1? I dug those out again and spray painted them black, then rubbed them a bit with some sandpaper when they were almost dry but not quite. I returned them to their original place on the spool pallet. (Update: I only used four of the six bolts in the end because I liked the look of having two open holes in the middle!)
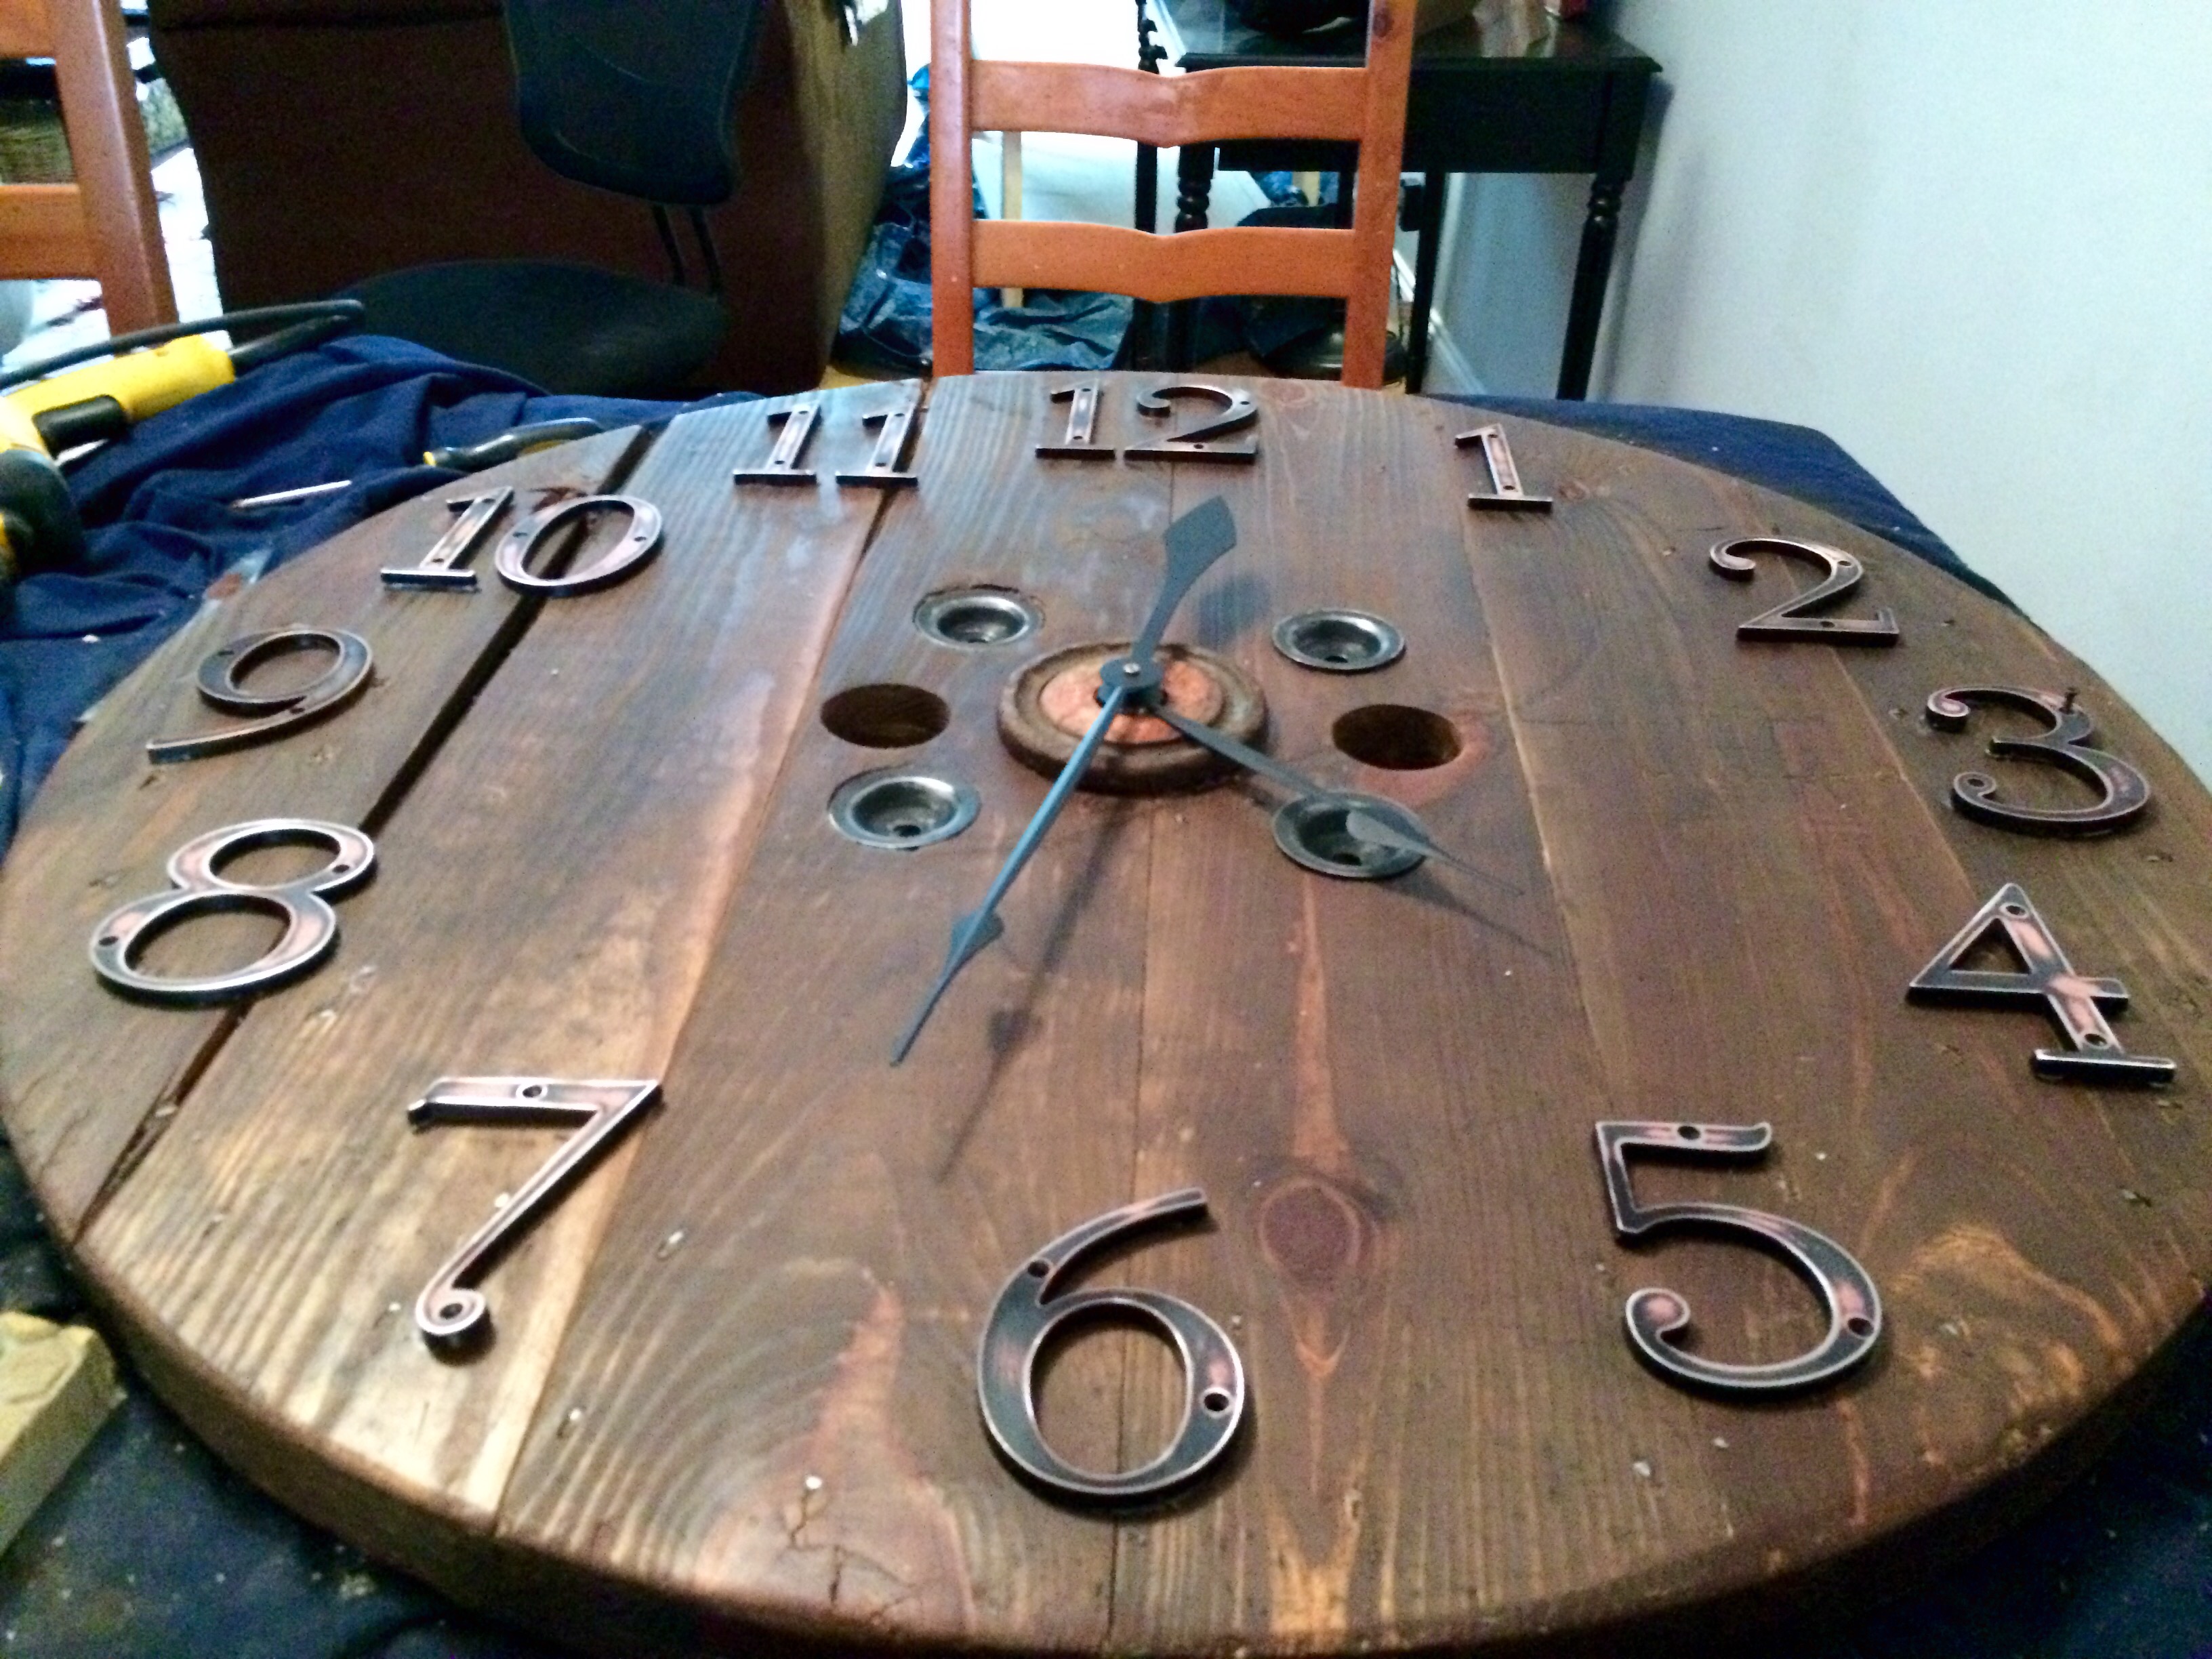
Step 6. Numbers
For the numbers, I used these house/mailbox numbers (again from Lowe’s) and sanded them down a little to make them look a little older. I loved the result!
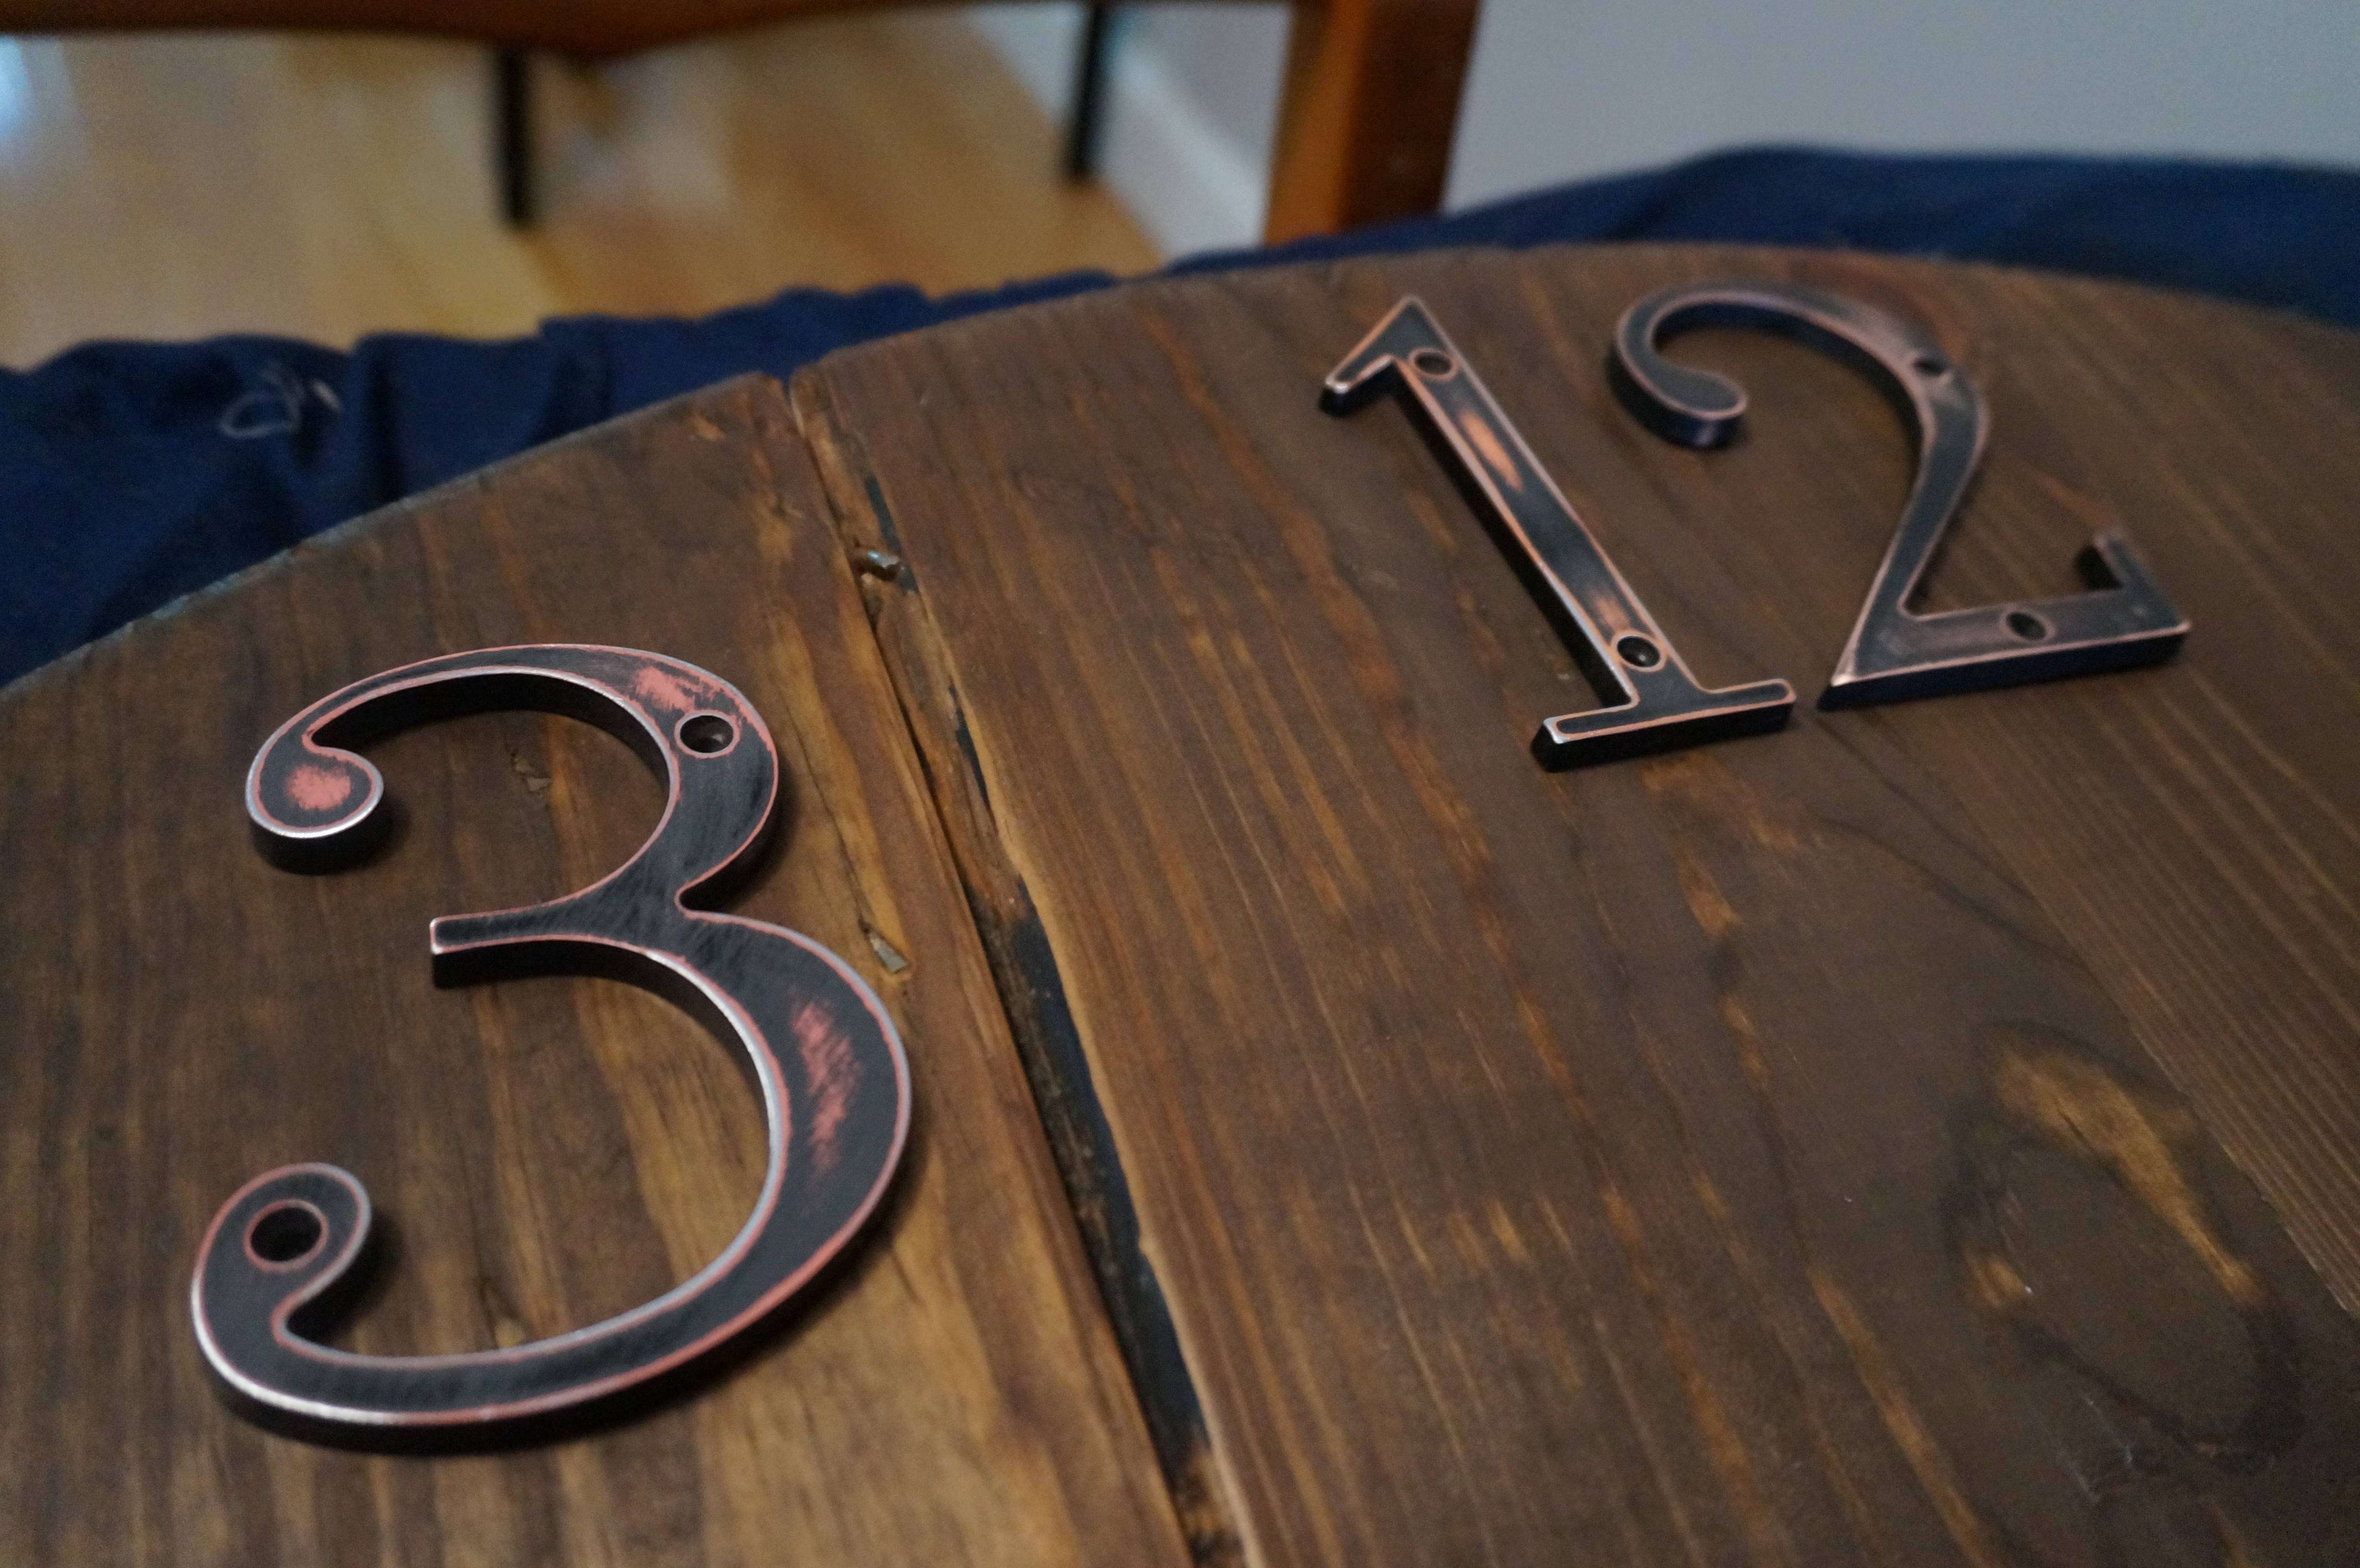 The hardest part of this whole project, and probably because I’m so Type A, was figuring out exactly where to place each of the numbers in order to make sure that 1) they were symmetrical with the others, and 2) the hands would actually point to them when it was a certain time (because after all, clocks do have a purpose, right?). First, I found the key numbers: 3, 6, 9, and 12 and placed them down (I didn’t fasten them quite yet, in case they needed to be adjusted).
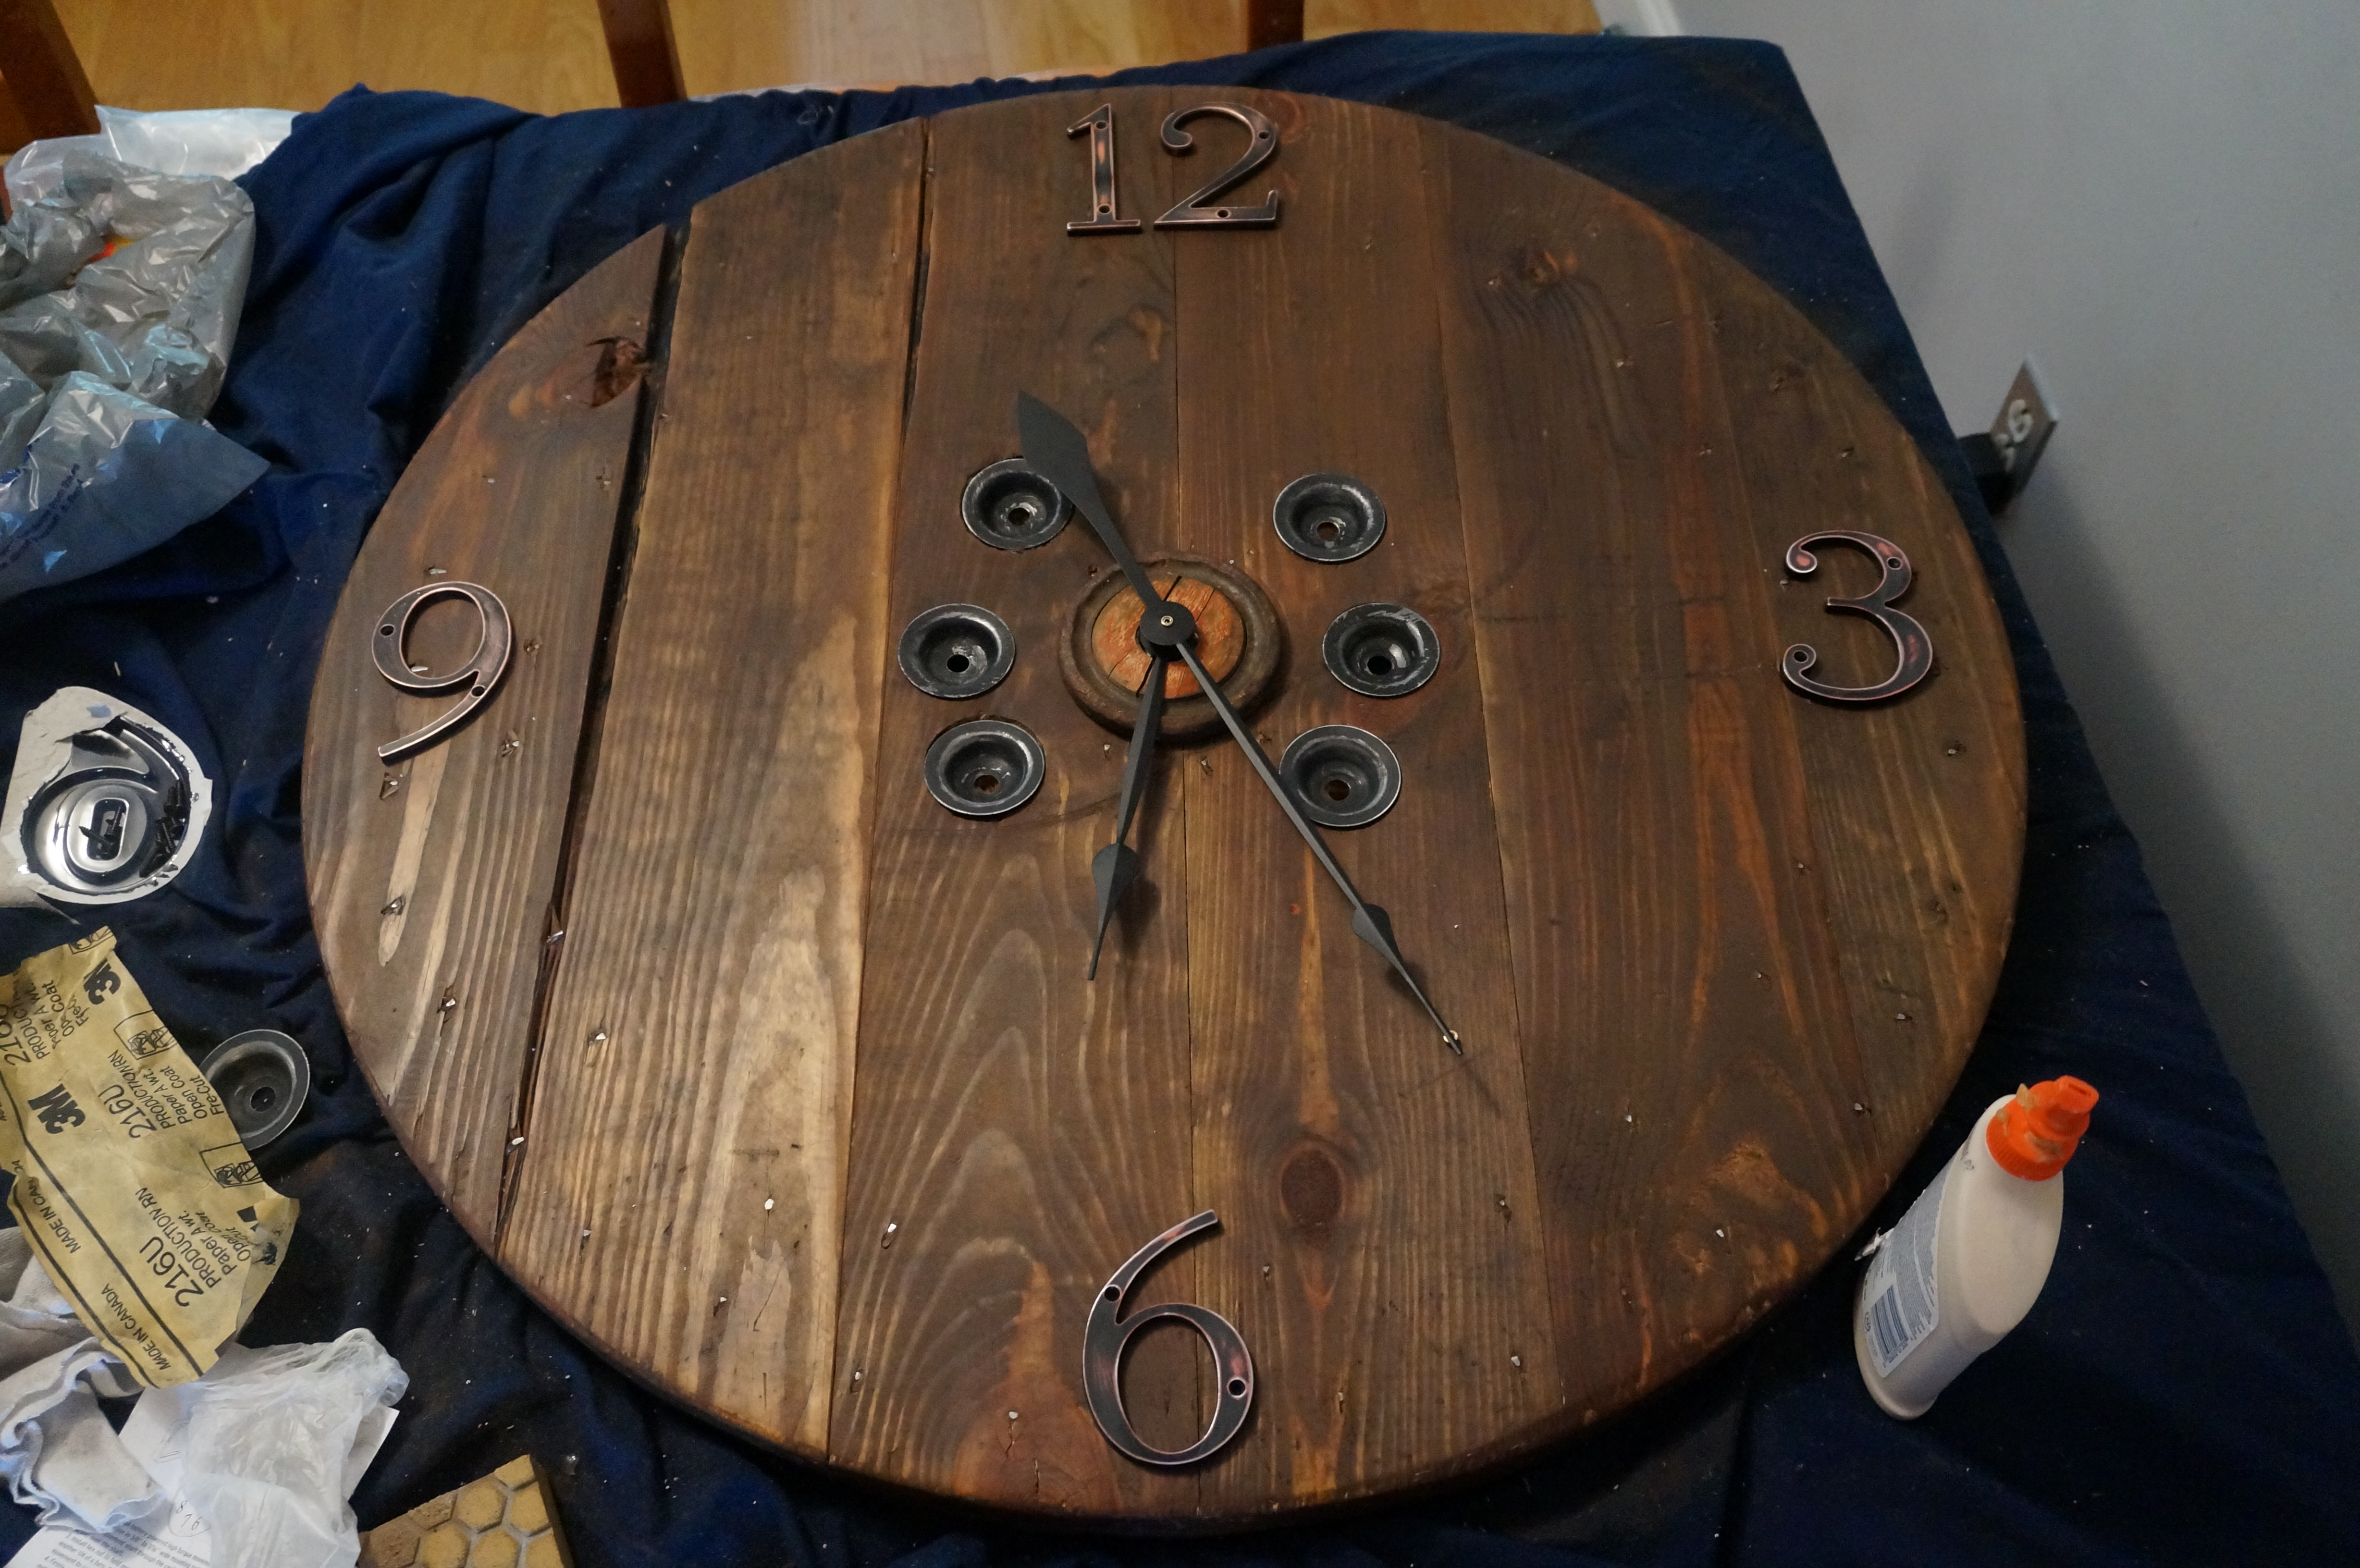
I don’t think this pallet was a perfect circle, nor is it perfectly level, so this was quite the challenge! I waited about two days with the clock battery inserted in order to see exactly where the minute and hour hands would point, and I used that to glue the remaining numbers down one-by-one with hot glue. After I was pleased with the location of all the numbers and the clock was actually telling time correctly, I used drill (yay, power tools!) to drill in the screws that came with the numbers for stability. I found that the hot glue actually wasn’t the most stable and the numbers kept coming loose, so I think the screws were a good choice.
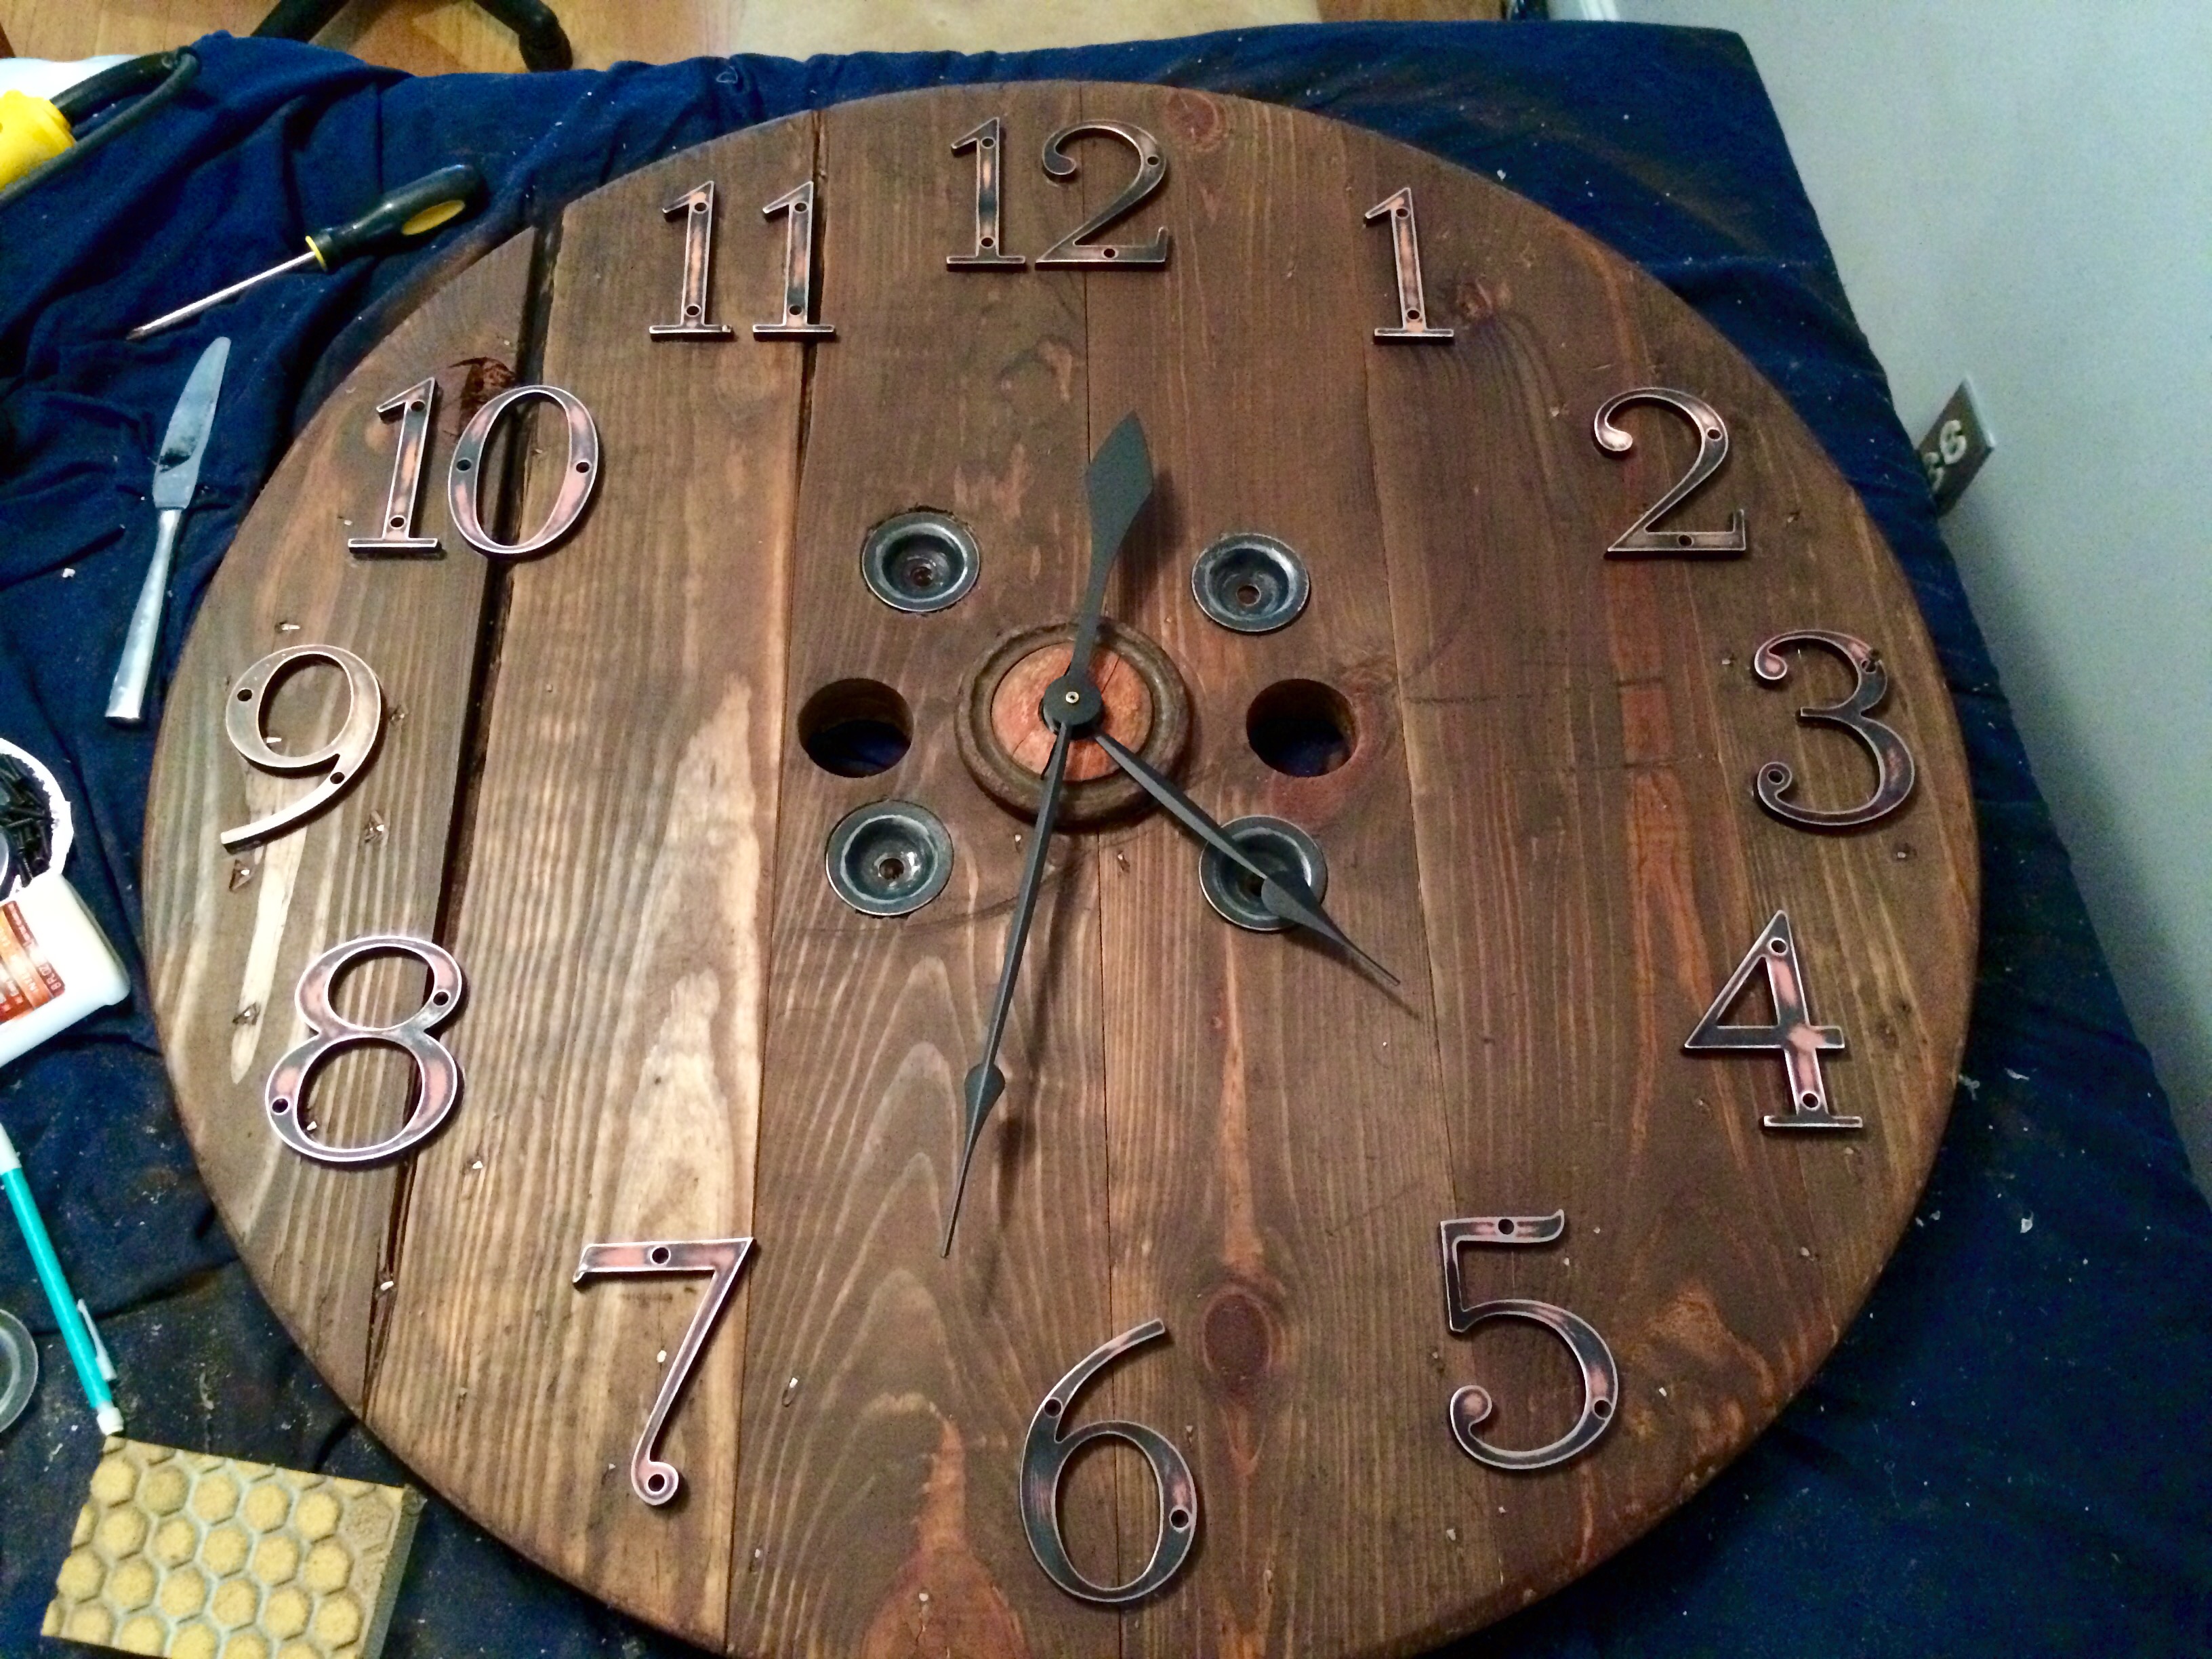
I cannot tell you how pleased I am with this clock! I had such a blast taking my time with this, and I’m so glad I did take my time. It was so fun to hunt for all the pieces and to learn more about wood-working and tools! I hope you are inspired by my DIY project. Believe me, I am the least crafty person, so if I can manage this, you definitely can too.
Now I’m crossing my fingers that Ol’ Eli will actually work! Only time will tell…
Thanks so much for reading! Happy Tuesday!

Published by