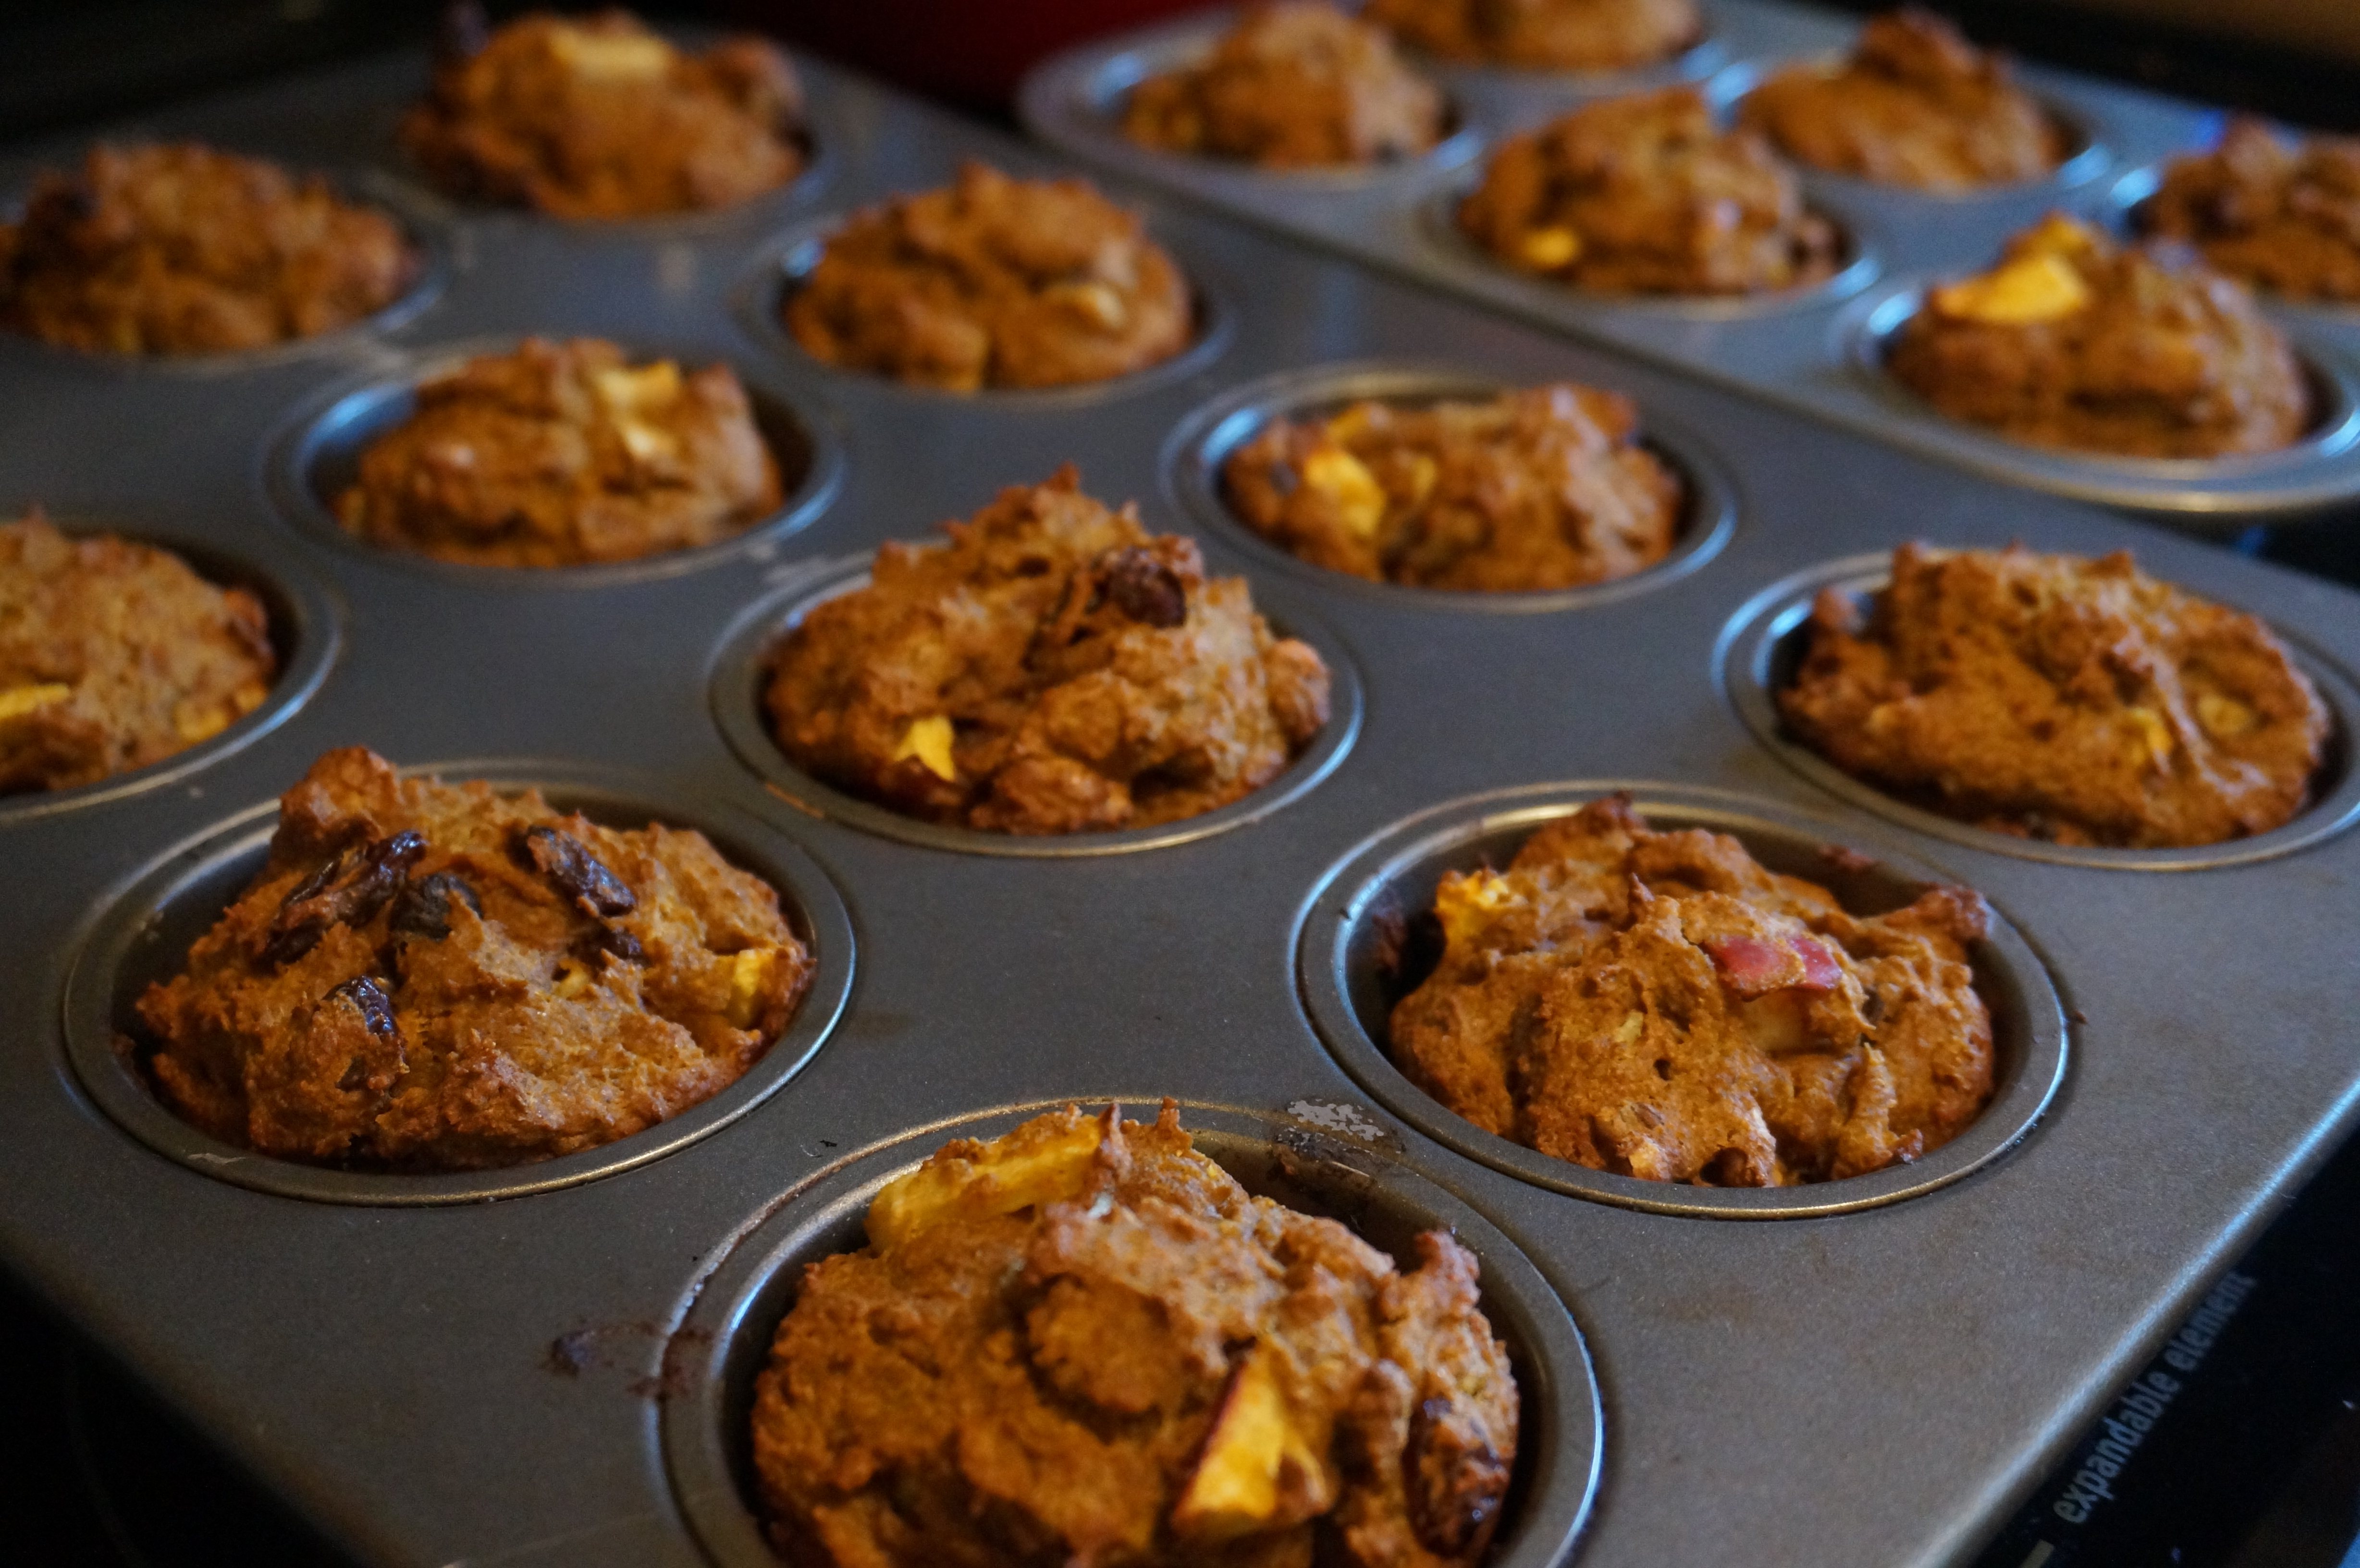
Good morning, all, and happy Saturday! I hope you will enjoy a few of these muffins with a nice big mug of coffee, a fall-scented candle, and a juicy book. Fluffy blankets recommended!
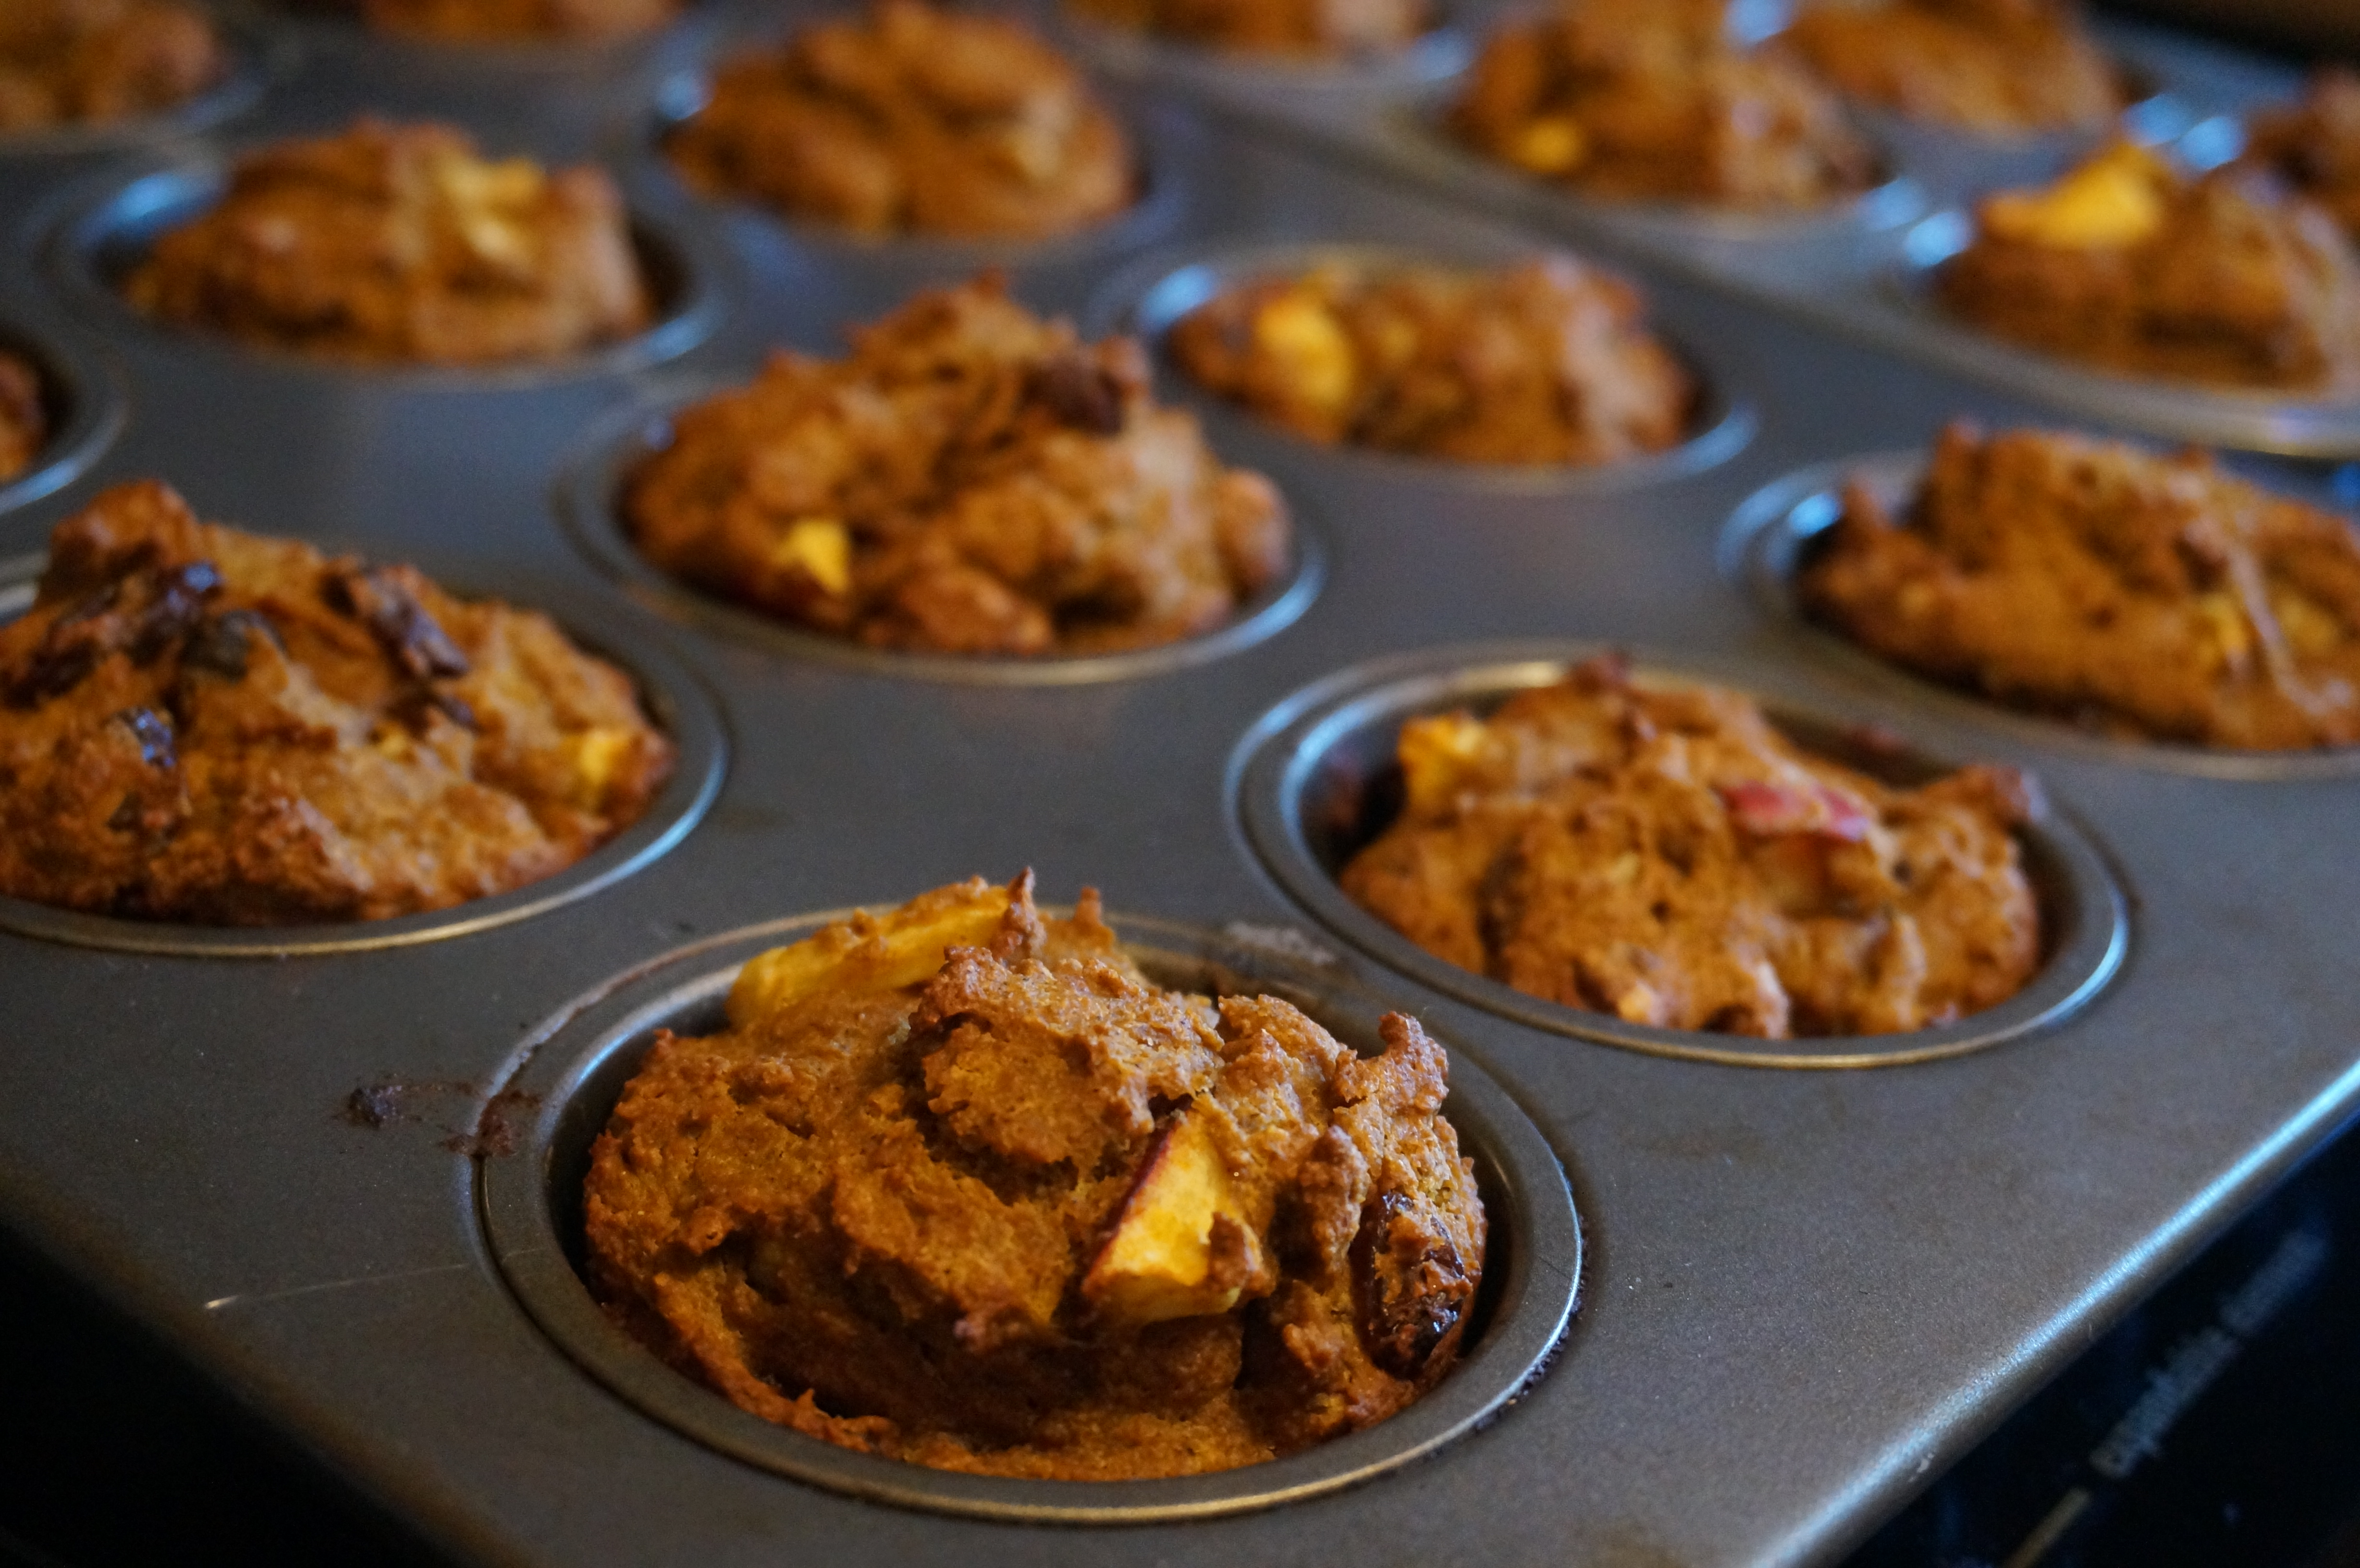
Pumpkin Apple Muffins w/ Raisins and Walnuts
Recipe Type: Muffin
Cuisine: Breakfast, Brunch
Author:
Prep time:
Cook time:
Total time:
Serves: 12
A fall-inspired muffin recipe with just the right balance of salty and sweet.
Ingredients
- 2 cups whole-wheat flour
- 2 teaspoons baking soda
- 1/2 teaspoon baking powder
- 2 teaspoons salt
- 1 tablespoon ground cinnamon
- 1 tsp nutmeg
- 1 can unsweetened pumpkin puree (15 ounces)
- 1 cup vanilla greek yogurt
- 1/2 cup applesauce
- 3/4 stick unsalted butter, melted
- 1 teaspoon vanilla extract
- 3 large eggs
- 1/2 cup light brown sugar
- 1 apple, diced
- 1 cup walnuts
- 1 cup raisins
Instructions
- Preheat oven to 350. Spray a muffin pan with cooking spray or line with cupcake liners.
- In a large bowl, add flour, baking soda, baking powder, salt, cinnamon, and nutmeg. Whisk to combine.
- In a separate bowl add the pumpkin, yogurt, applesauce, butter, vanilla, eggs, and brown sugar, and whisk to combine. Add wet ingredients to dry and stir to combine. Fold in apple, walnuts and raisins.
- Pour batter into muffin tin and bake for 20-25 minutes, until a toothpick comes out clean.