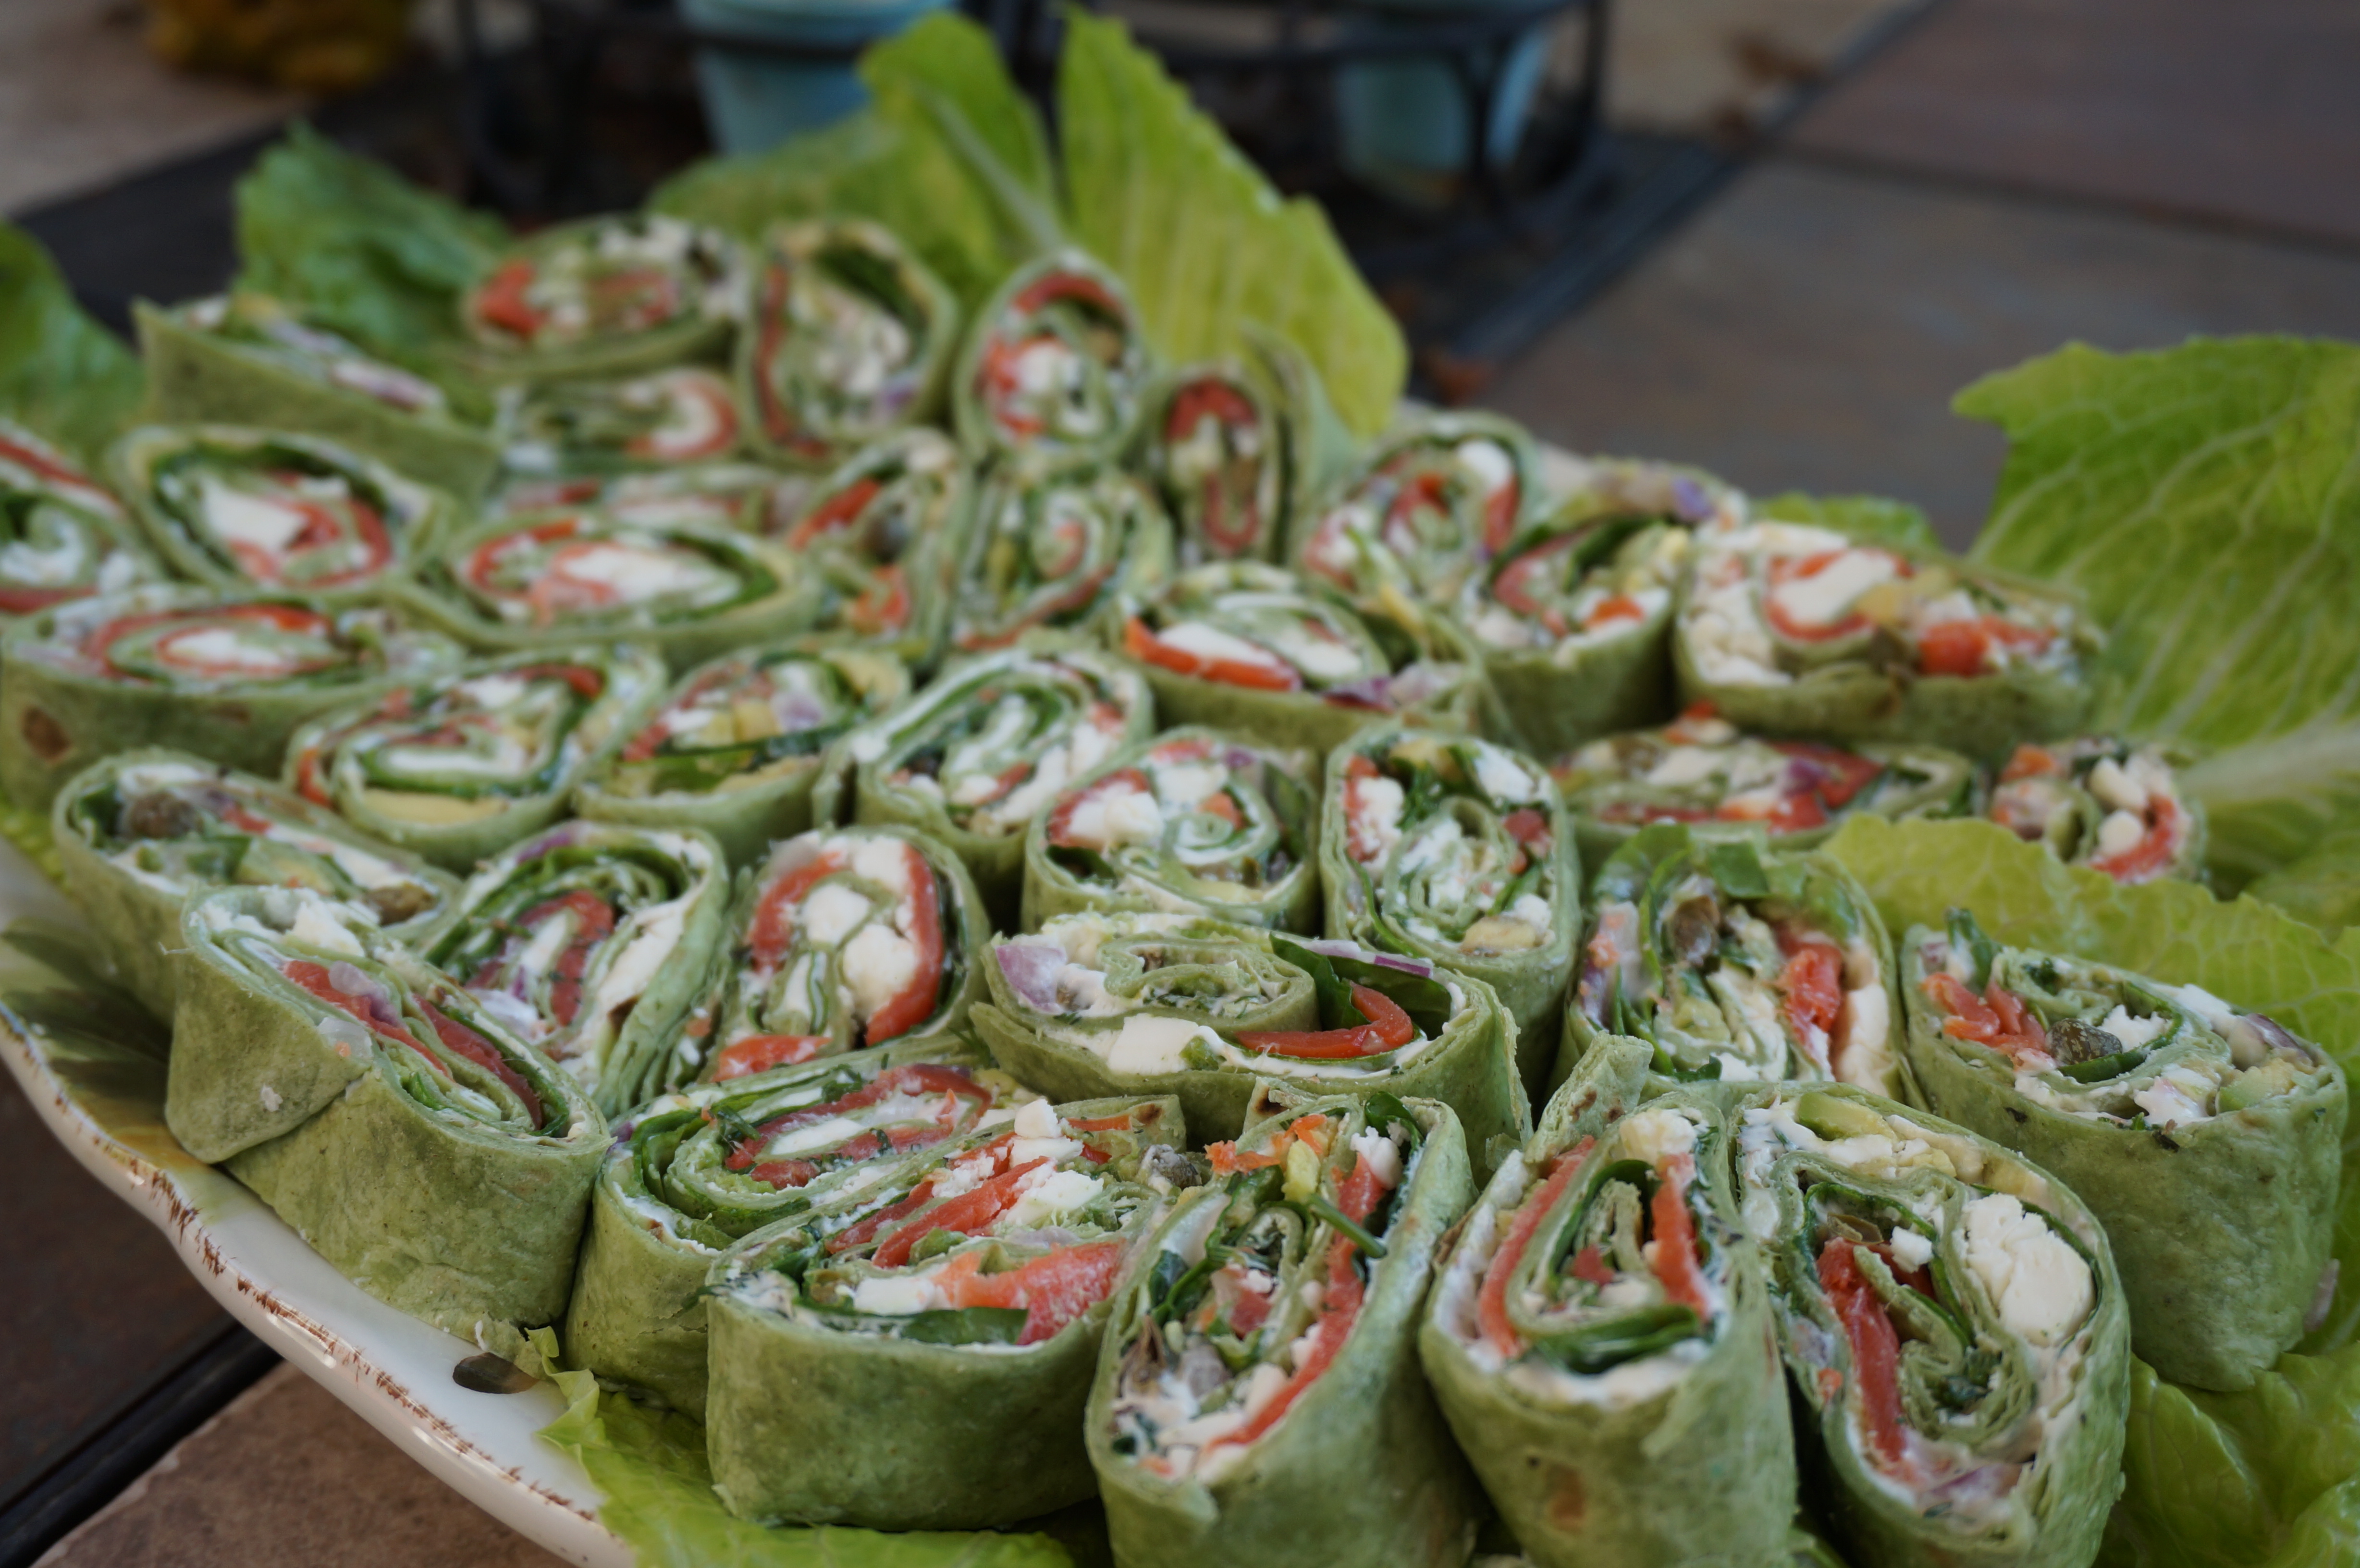
Whenever I have something casual to cook for- like a picnic or one of Ben’s game nights- I have all these spectacular ideas for new recipes to try. Bruschetta with crudites, pimiento-stuffed olives, bacon-wrapped dates… you name it. There are so many good ones out there to try! But I always run out of time, and I always come back to some of the same ones. For example, any version of pinwheels work like a charm, and I think I tend towards things that I can make in bulk and then cut into smaller pieces for bite-sized snacks.
Pepperoni rolls are another example. And they are ALWAYS gobbled up in a flash! I can’t remember the last time we had these hanging around our house for more than a day.

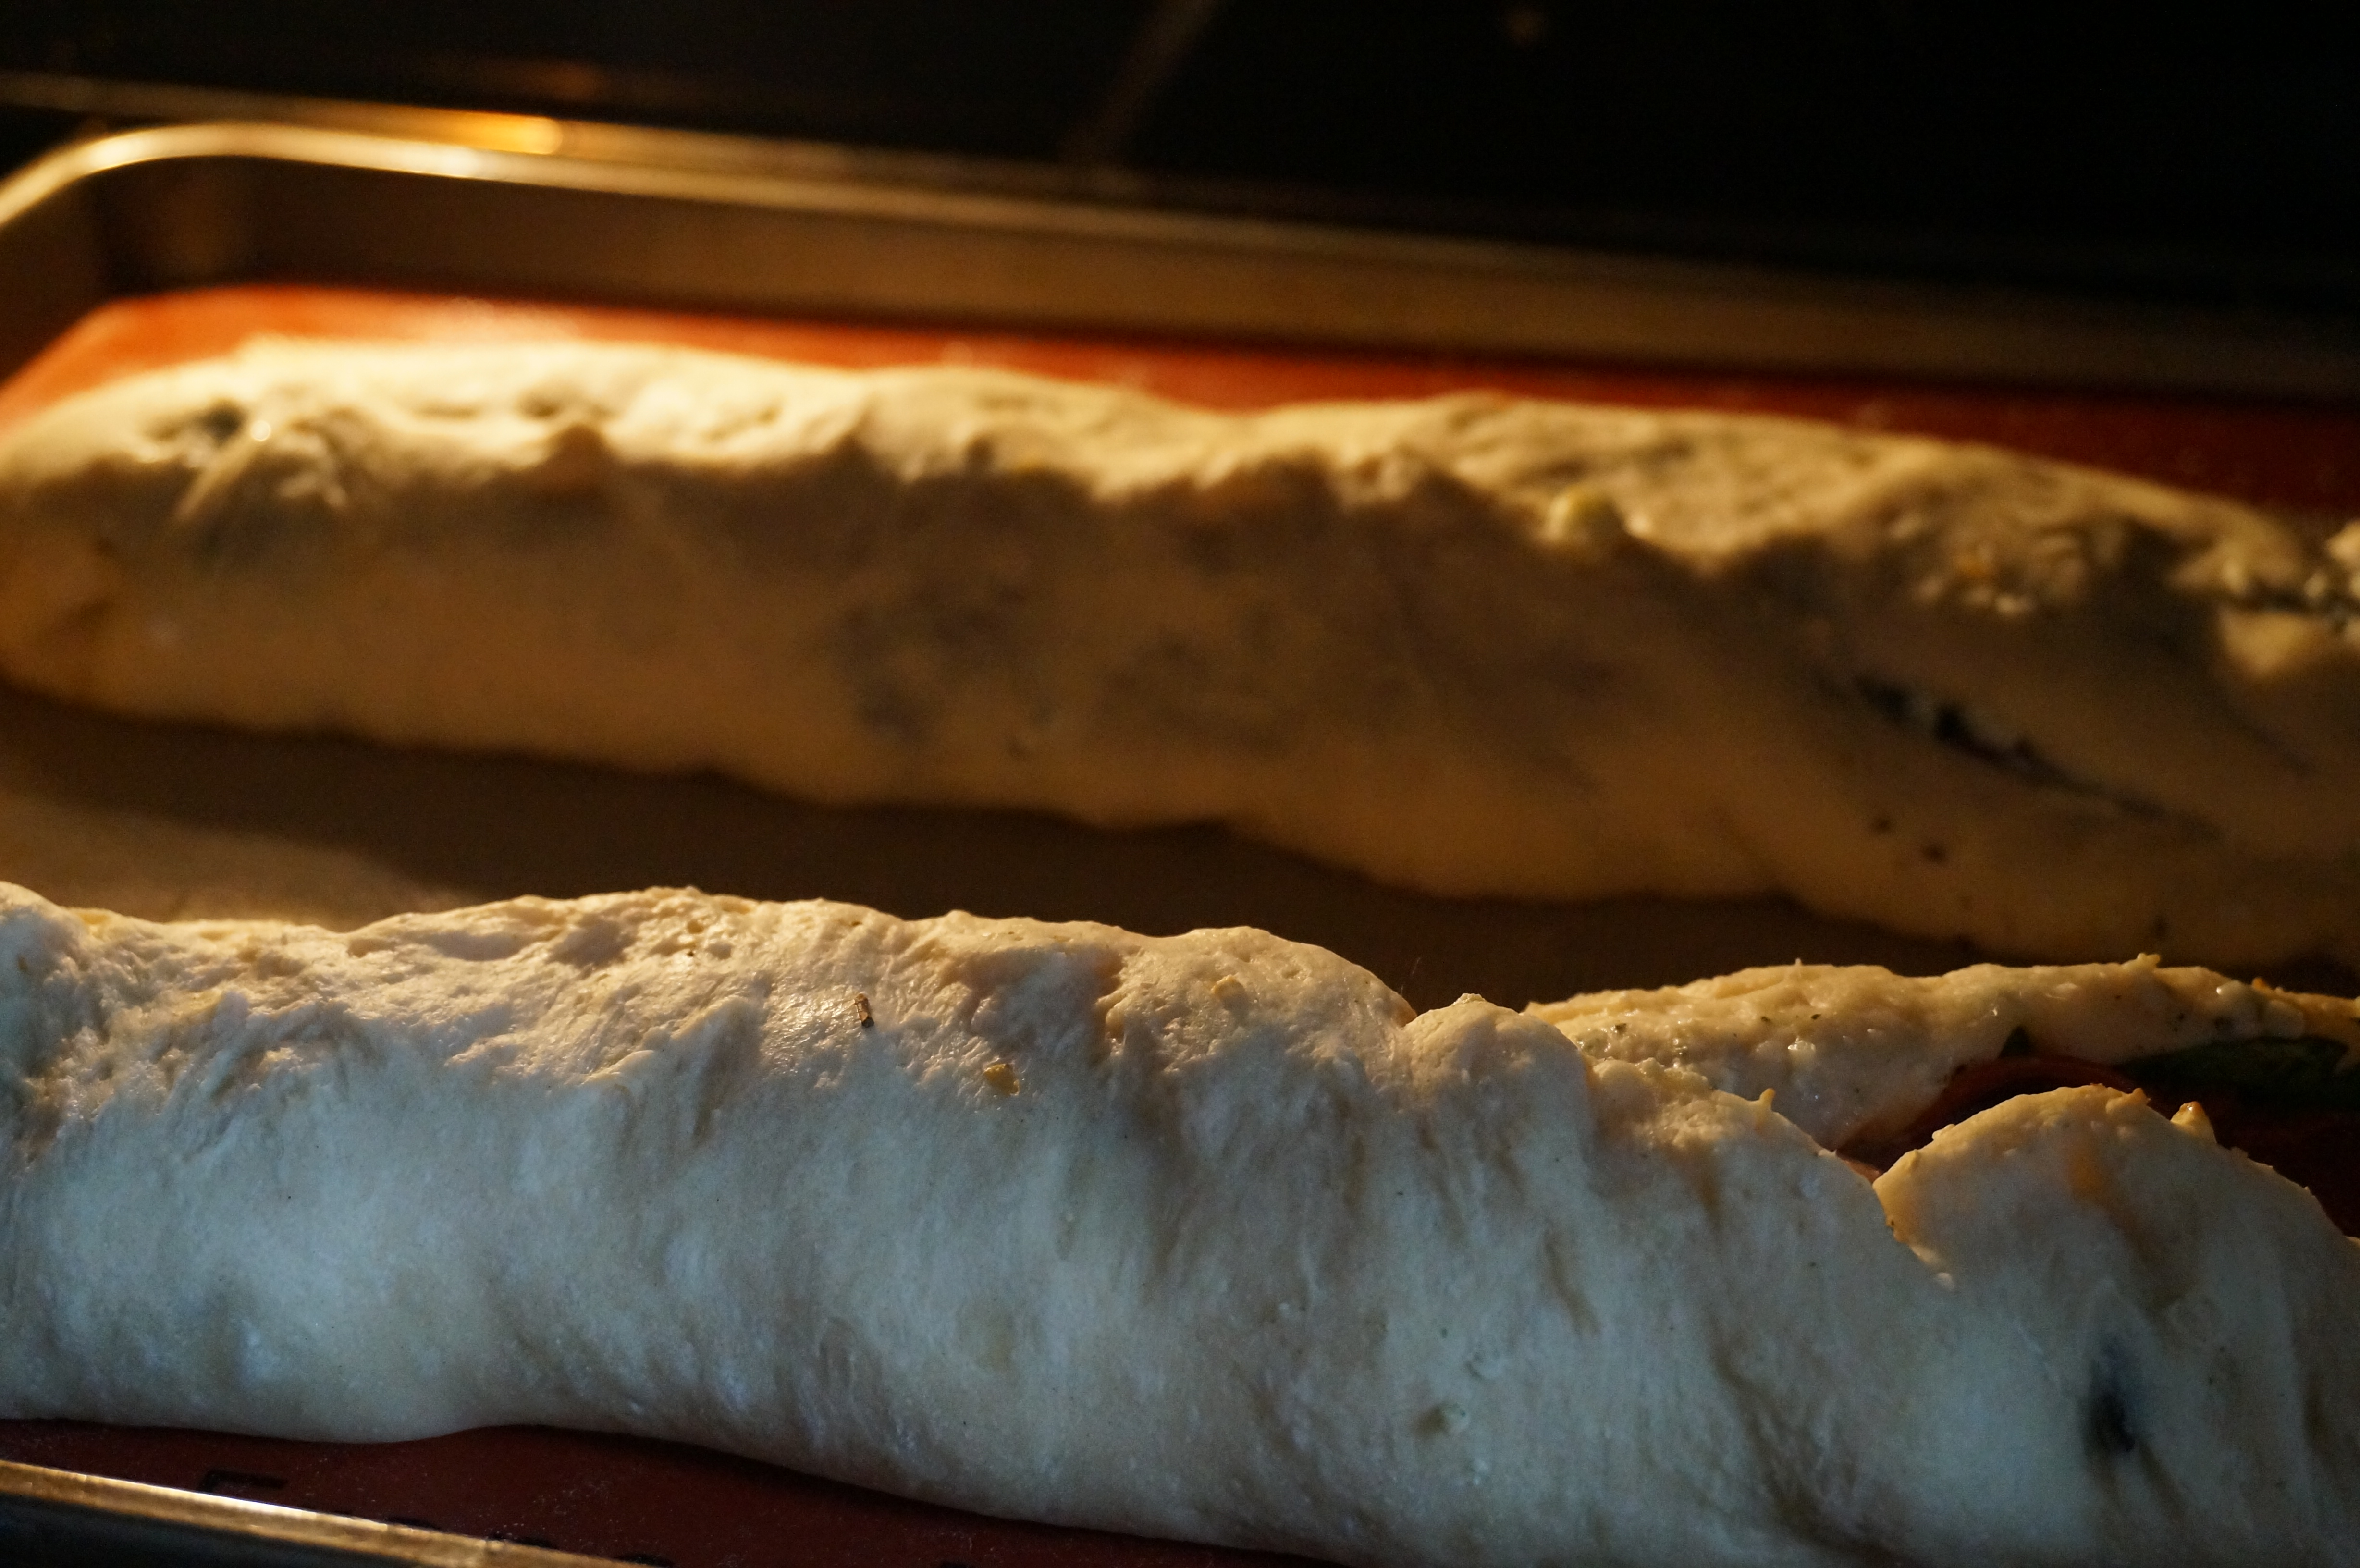
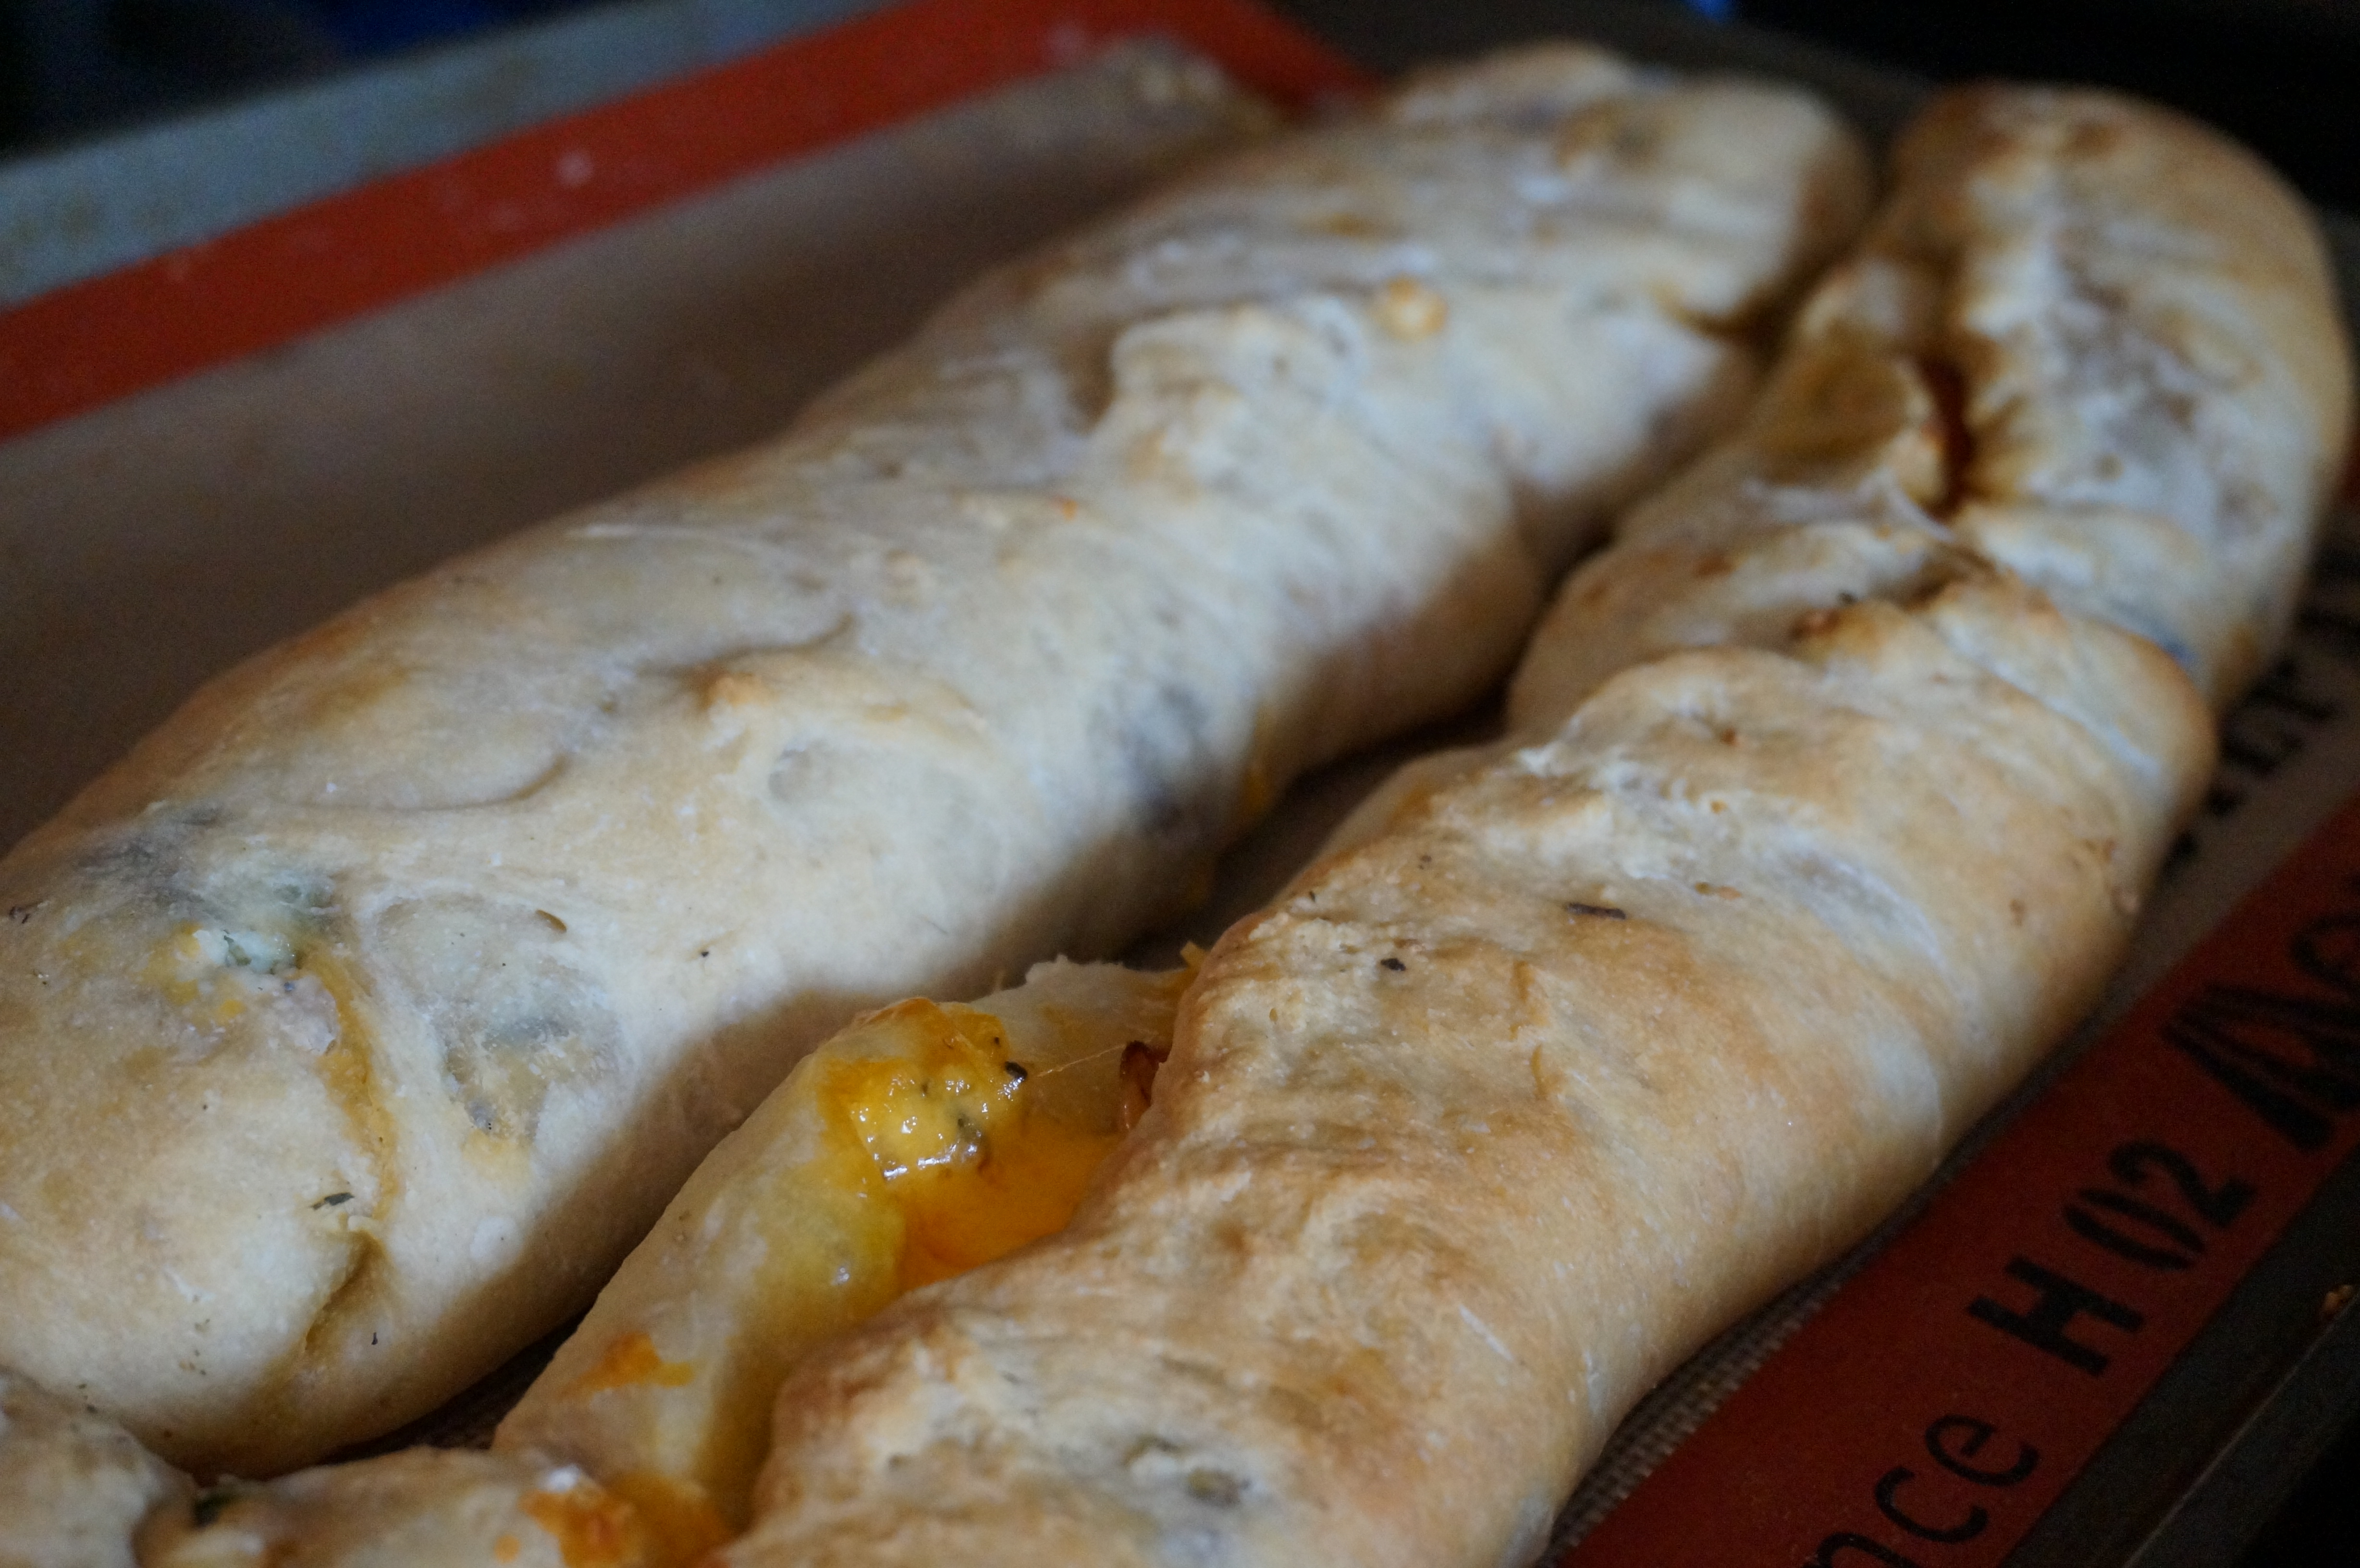
These are so incredibly simple. Just roll out the dough, layer the ingredients and bake in a preheated oven until golden brown. This time I used french bread dough with cream cheese, ham and pepperoni. But you can also experiment with the spreads and spices- I’ve done crescent rolls in the past (though it’s a little flakier), as well as pimiento and hummus with greek seasoning. These can’t really go wrong.

- 2 rolls refrigerator French Bread dough (e.g. Pillsbury)
- 1 container spreadable cream cheese
- 1 tbsp italian seasoning (I used Penzey’s Creamy Peppercorn Dressing
- baby spinach
- 1 small can sliced black olives
- sliced pepperoni
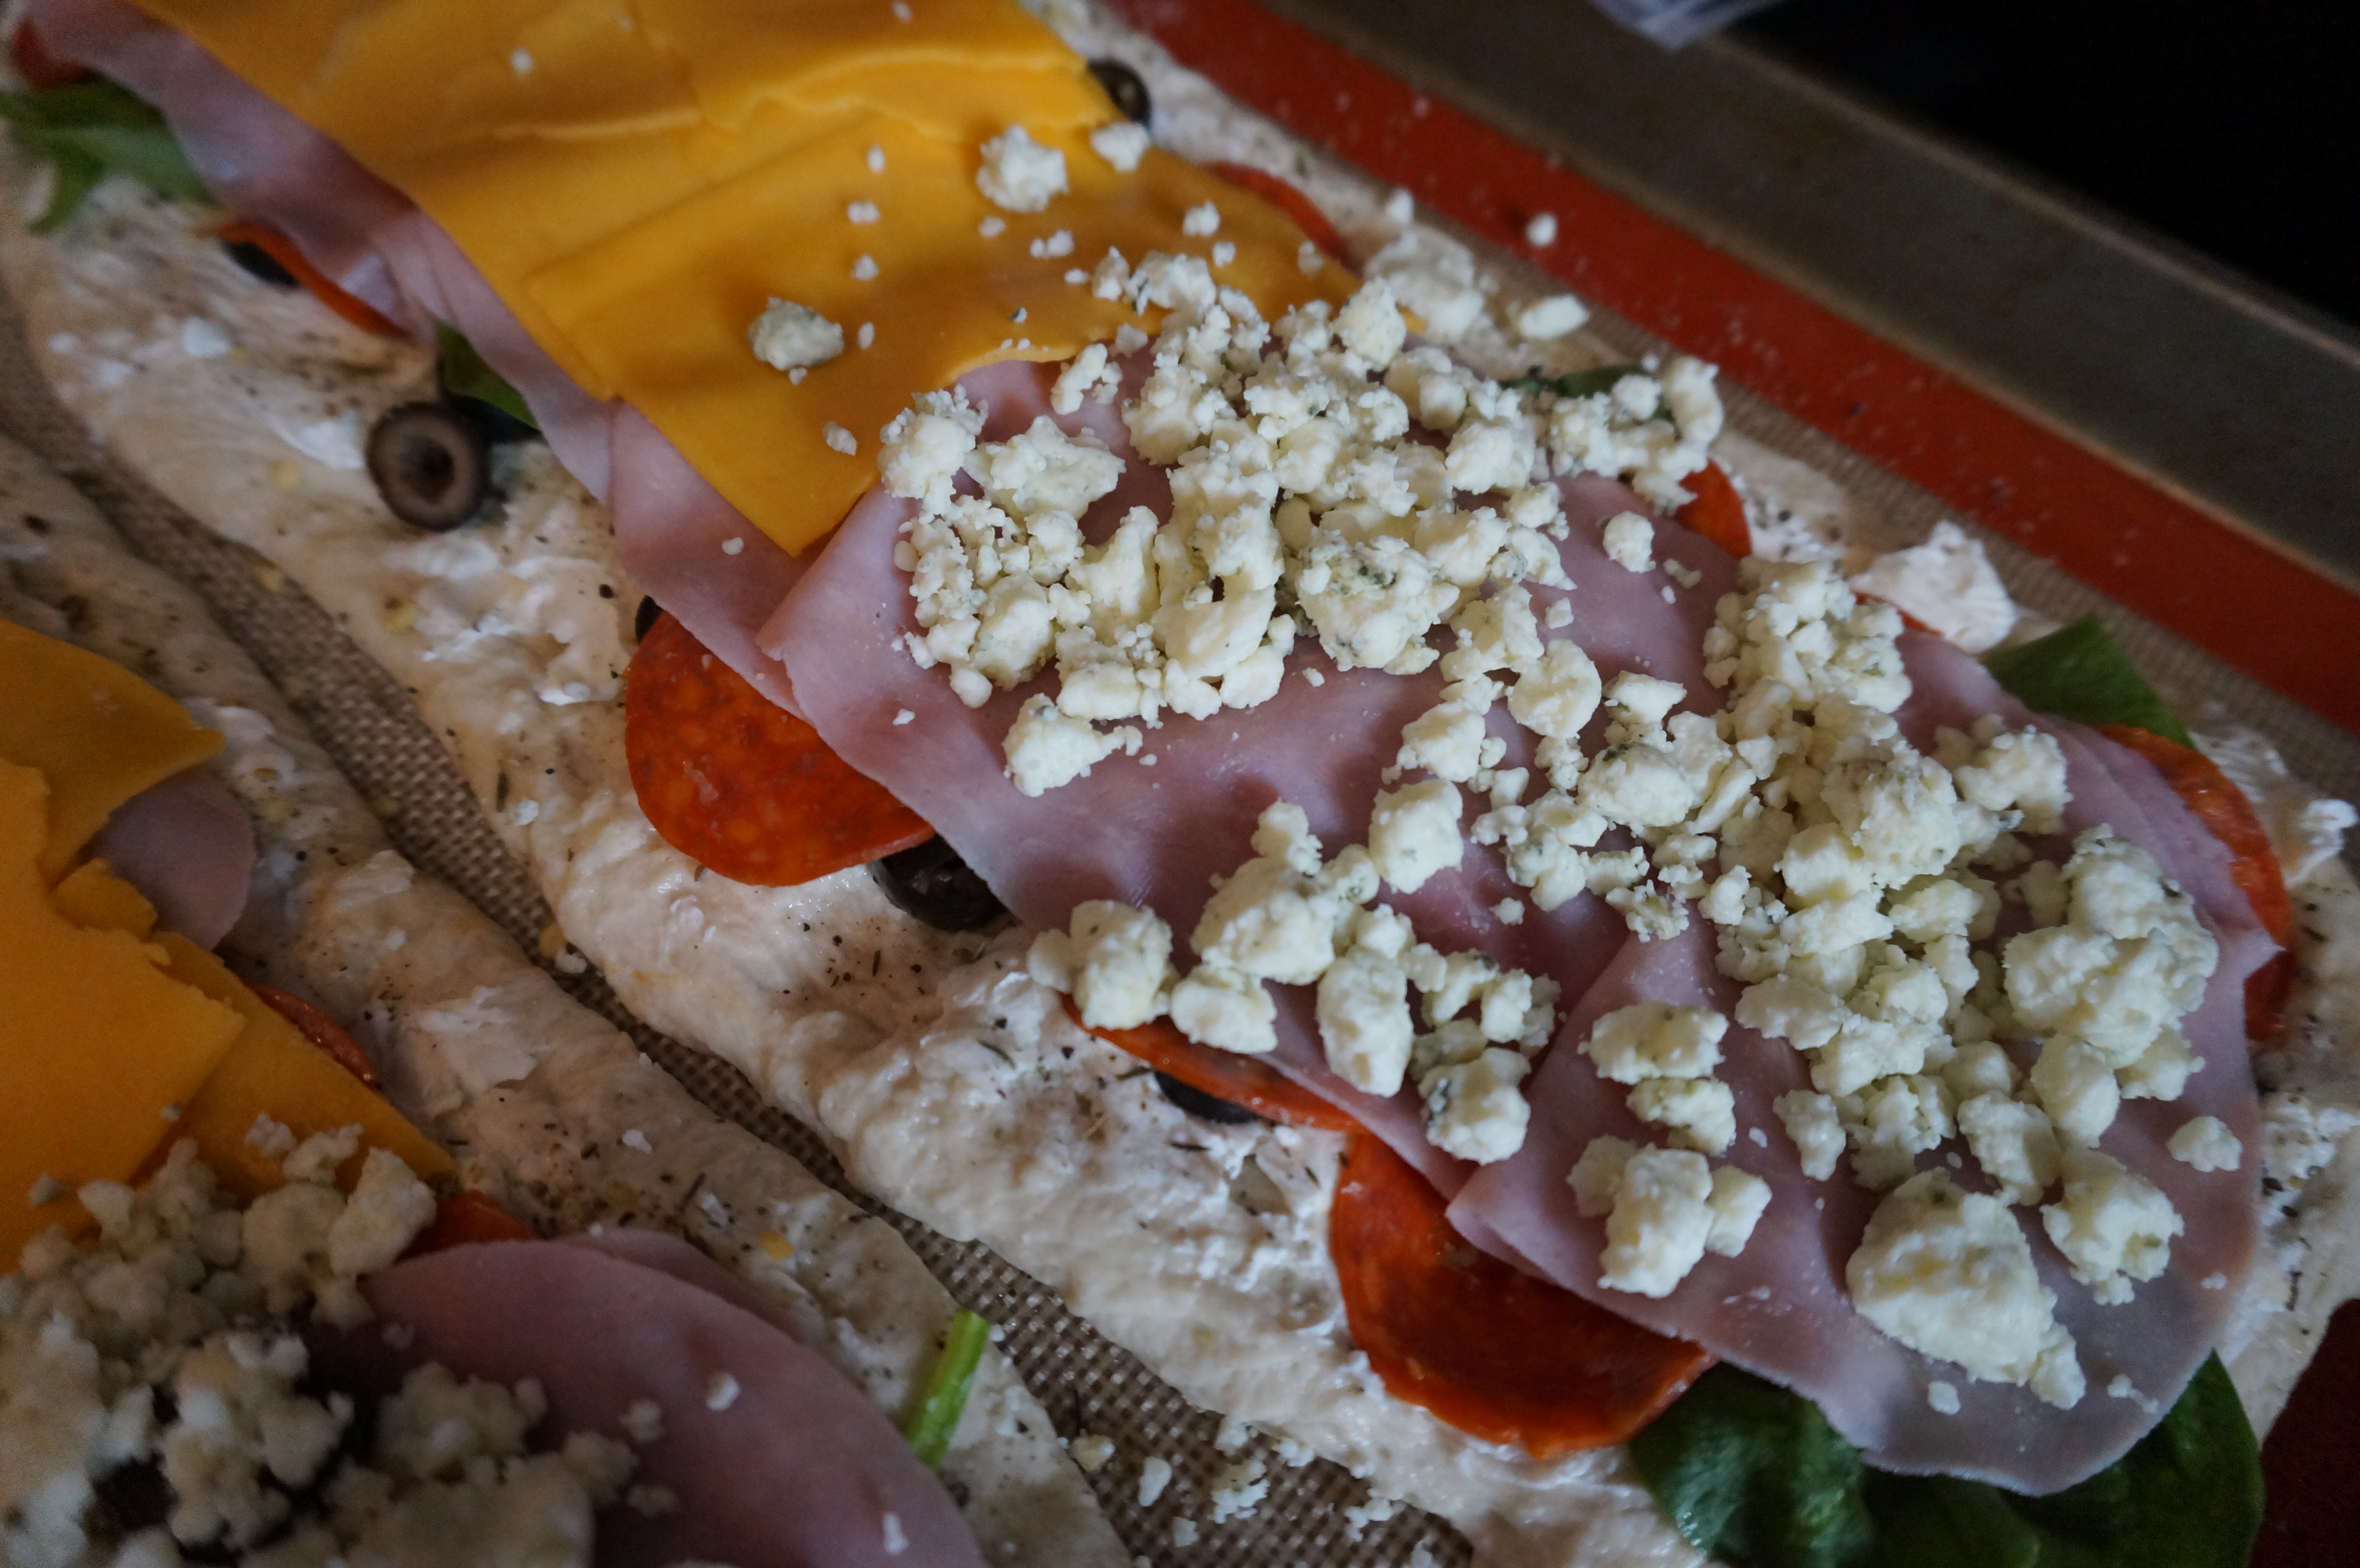
- sliced ham
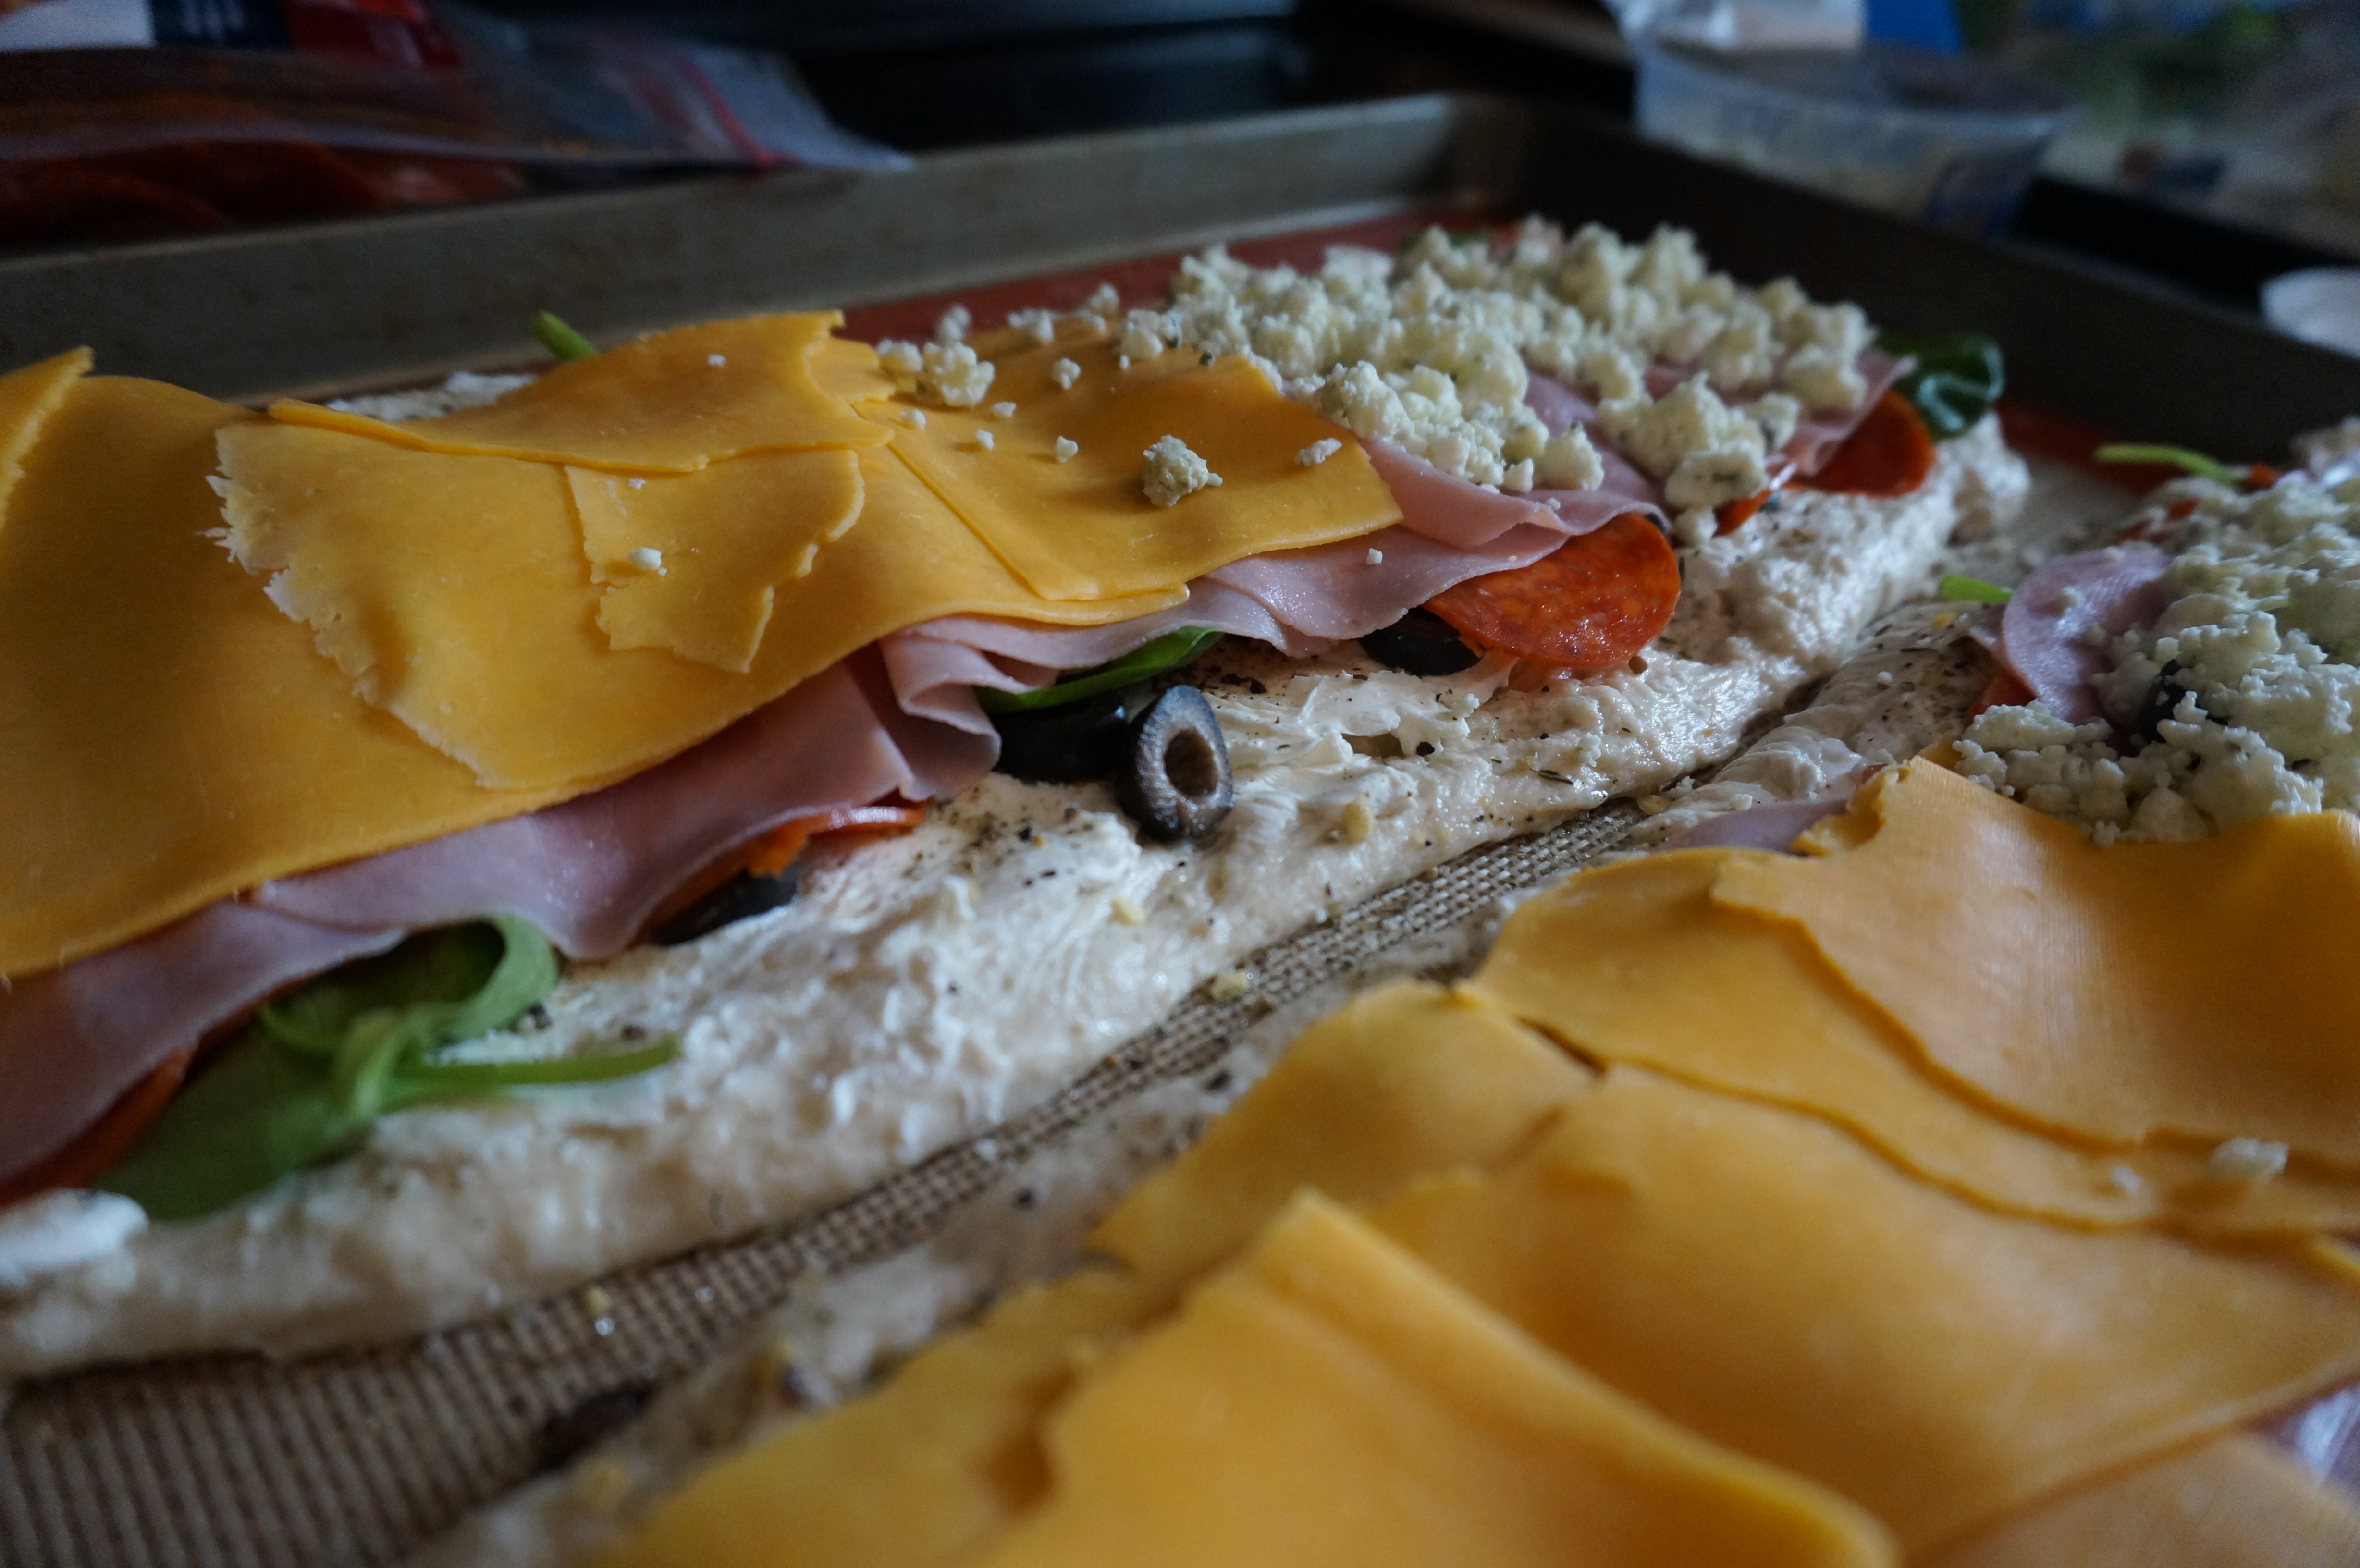
- blue cheese crumbles or cheddar slices
- Preheat oven to 350.
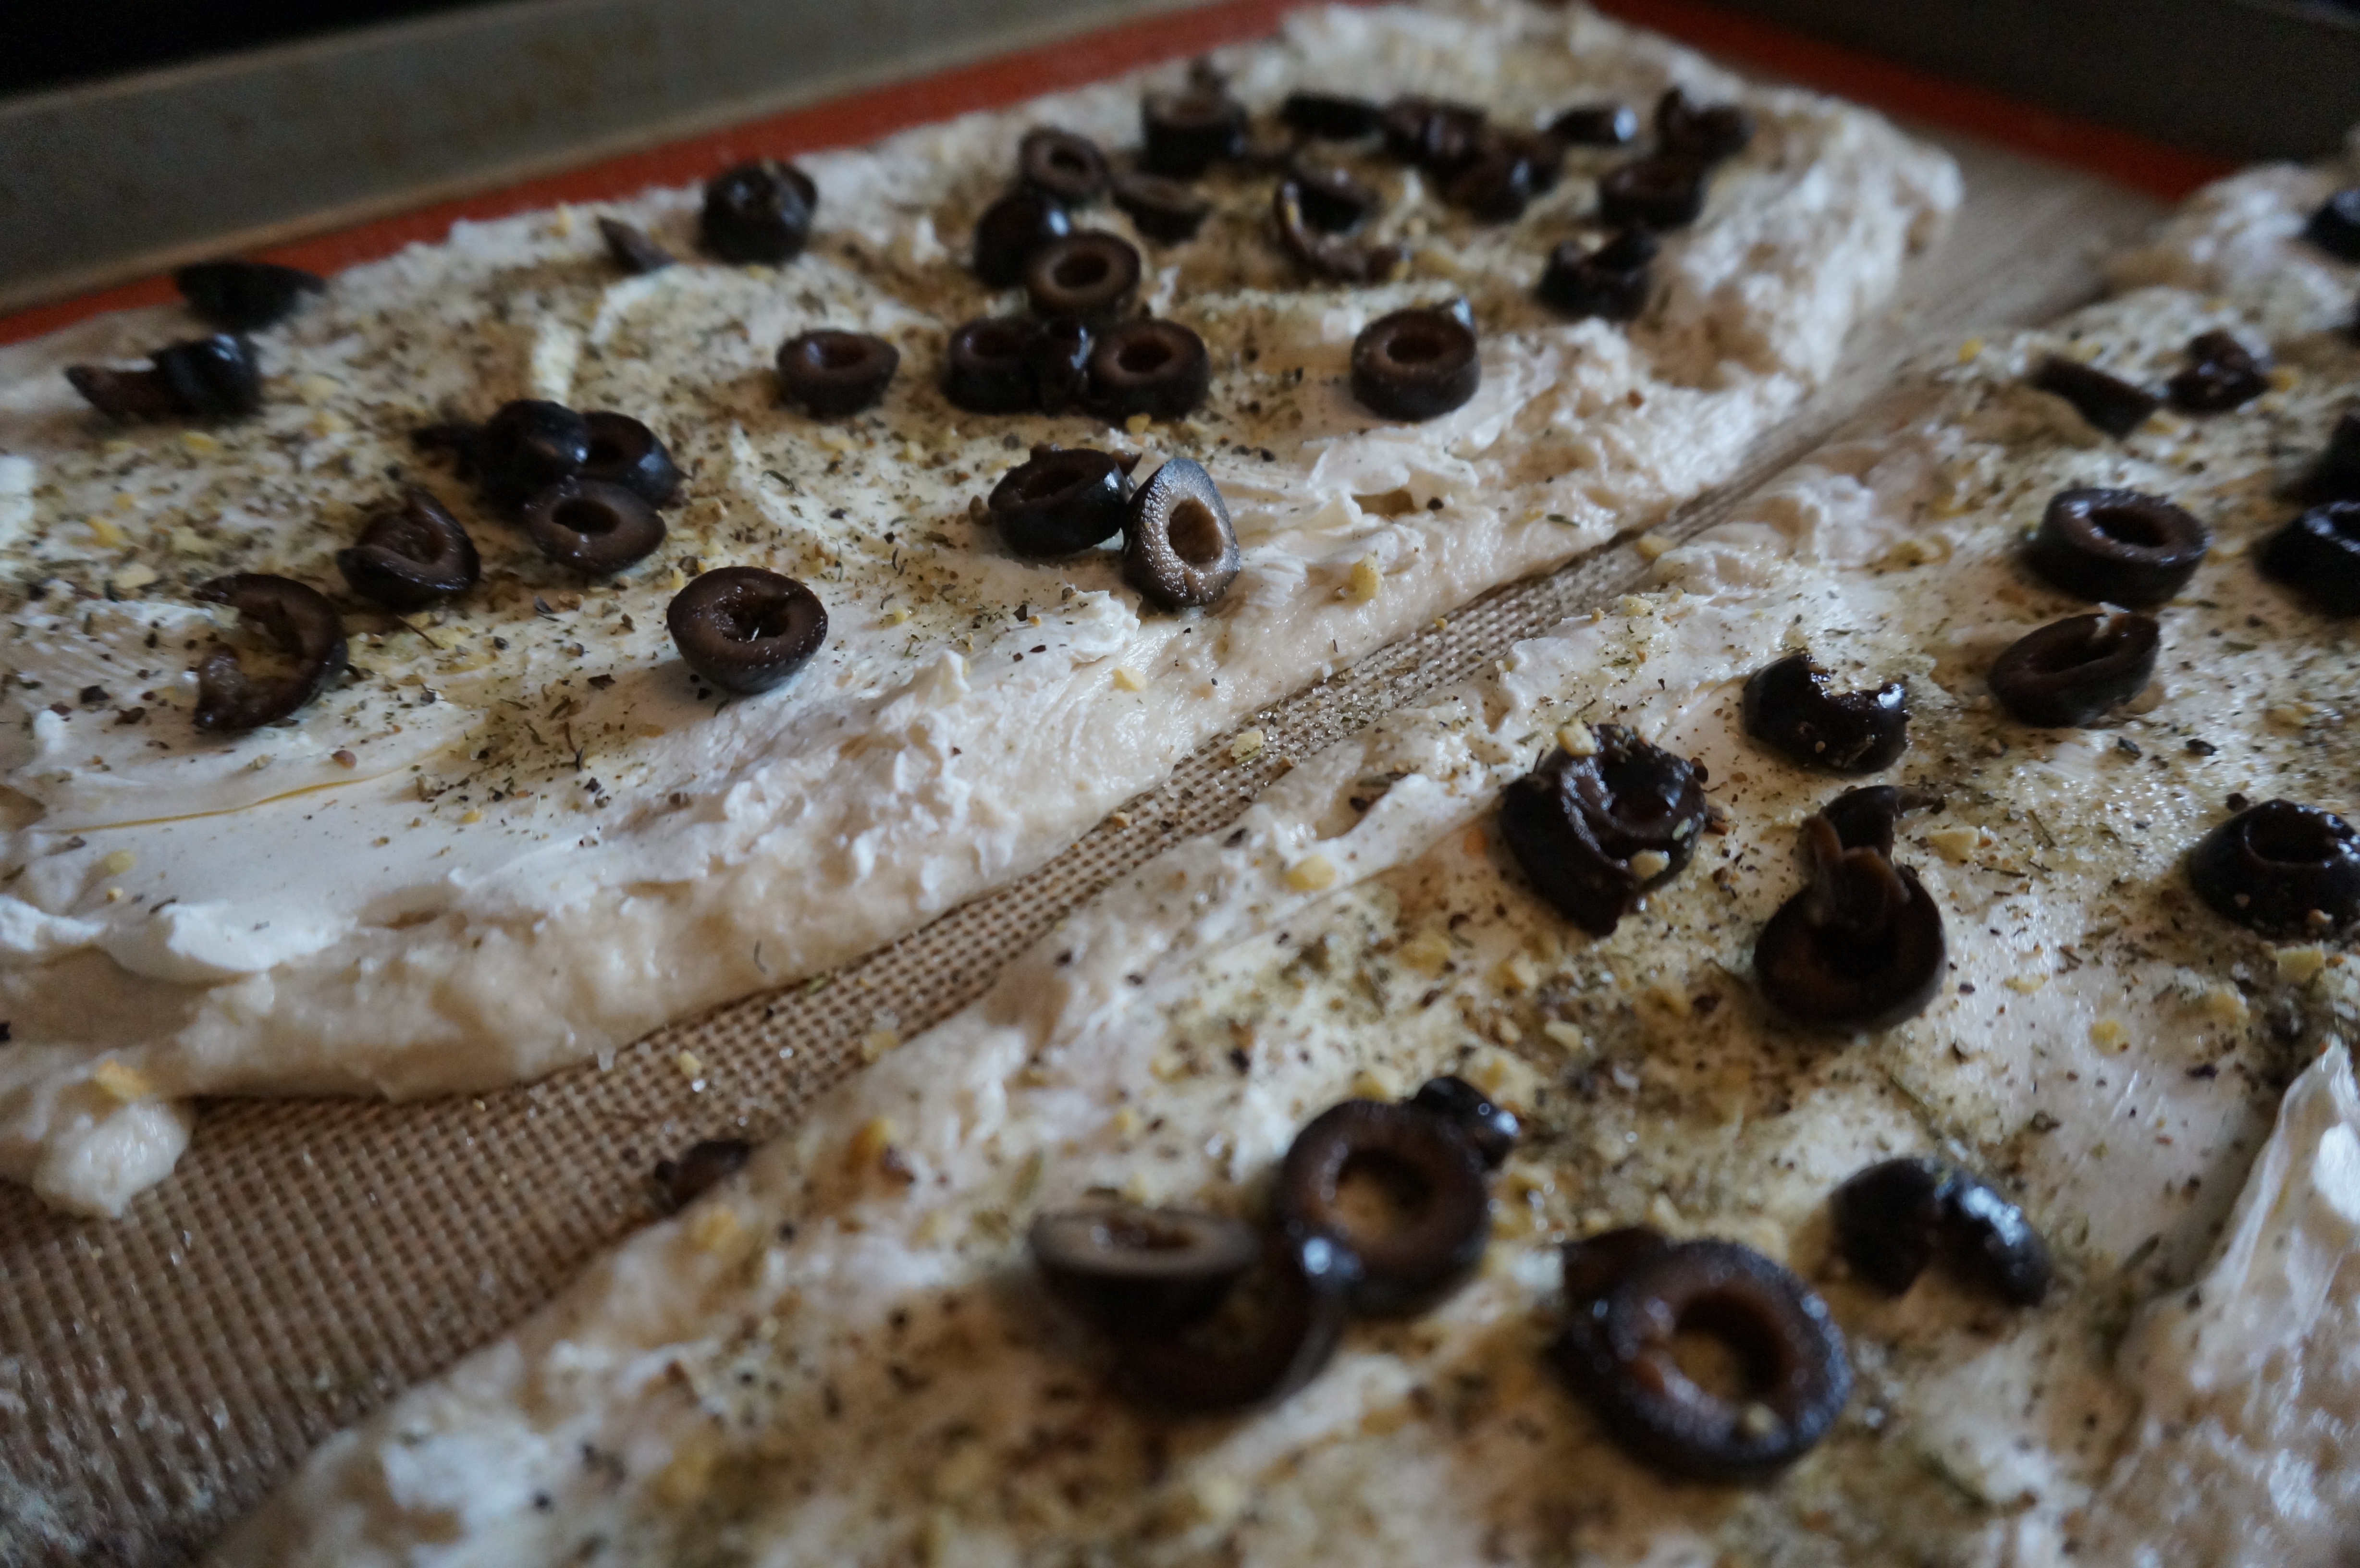
- Roll out dough onto a nonstick surface into two long rectangles. Use fingers to spread outwards if needed.
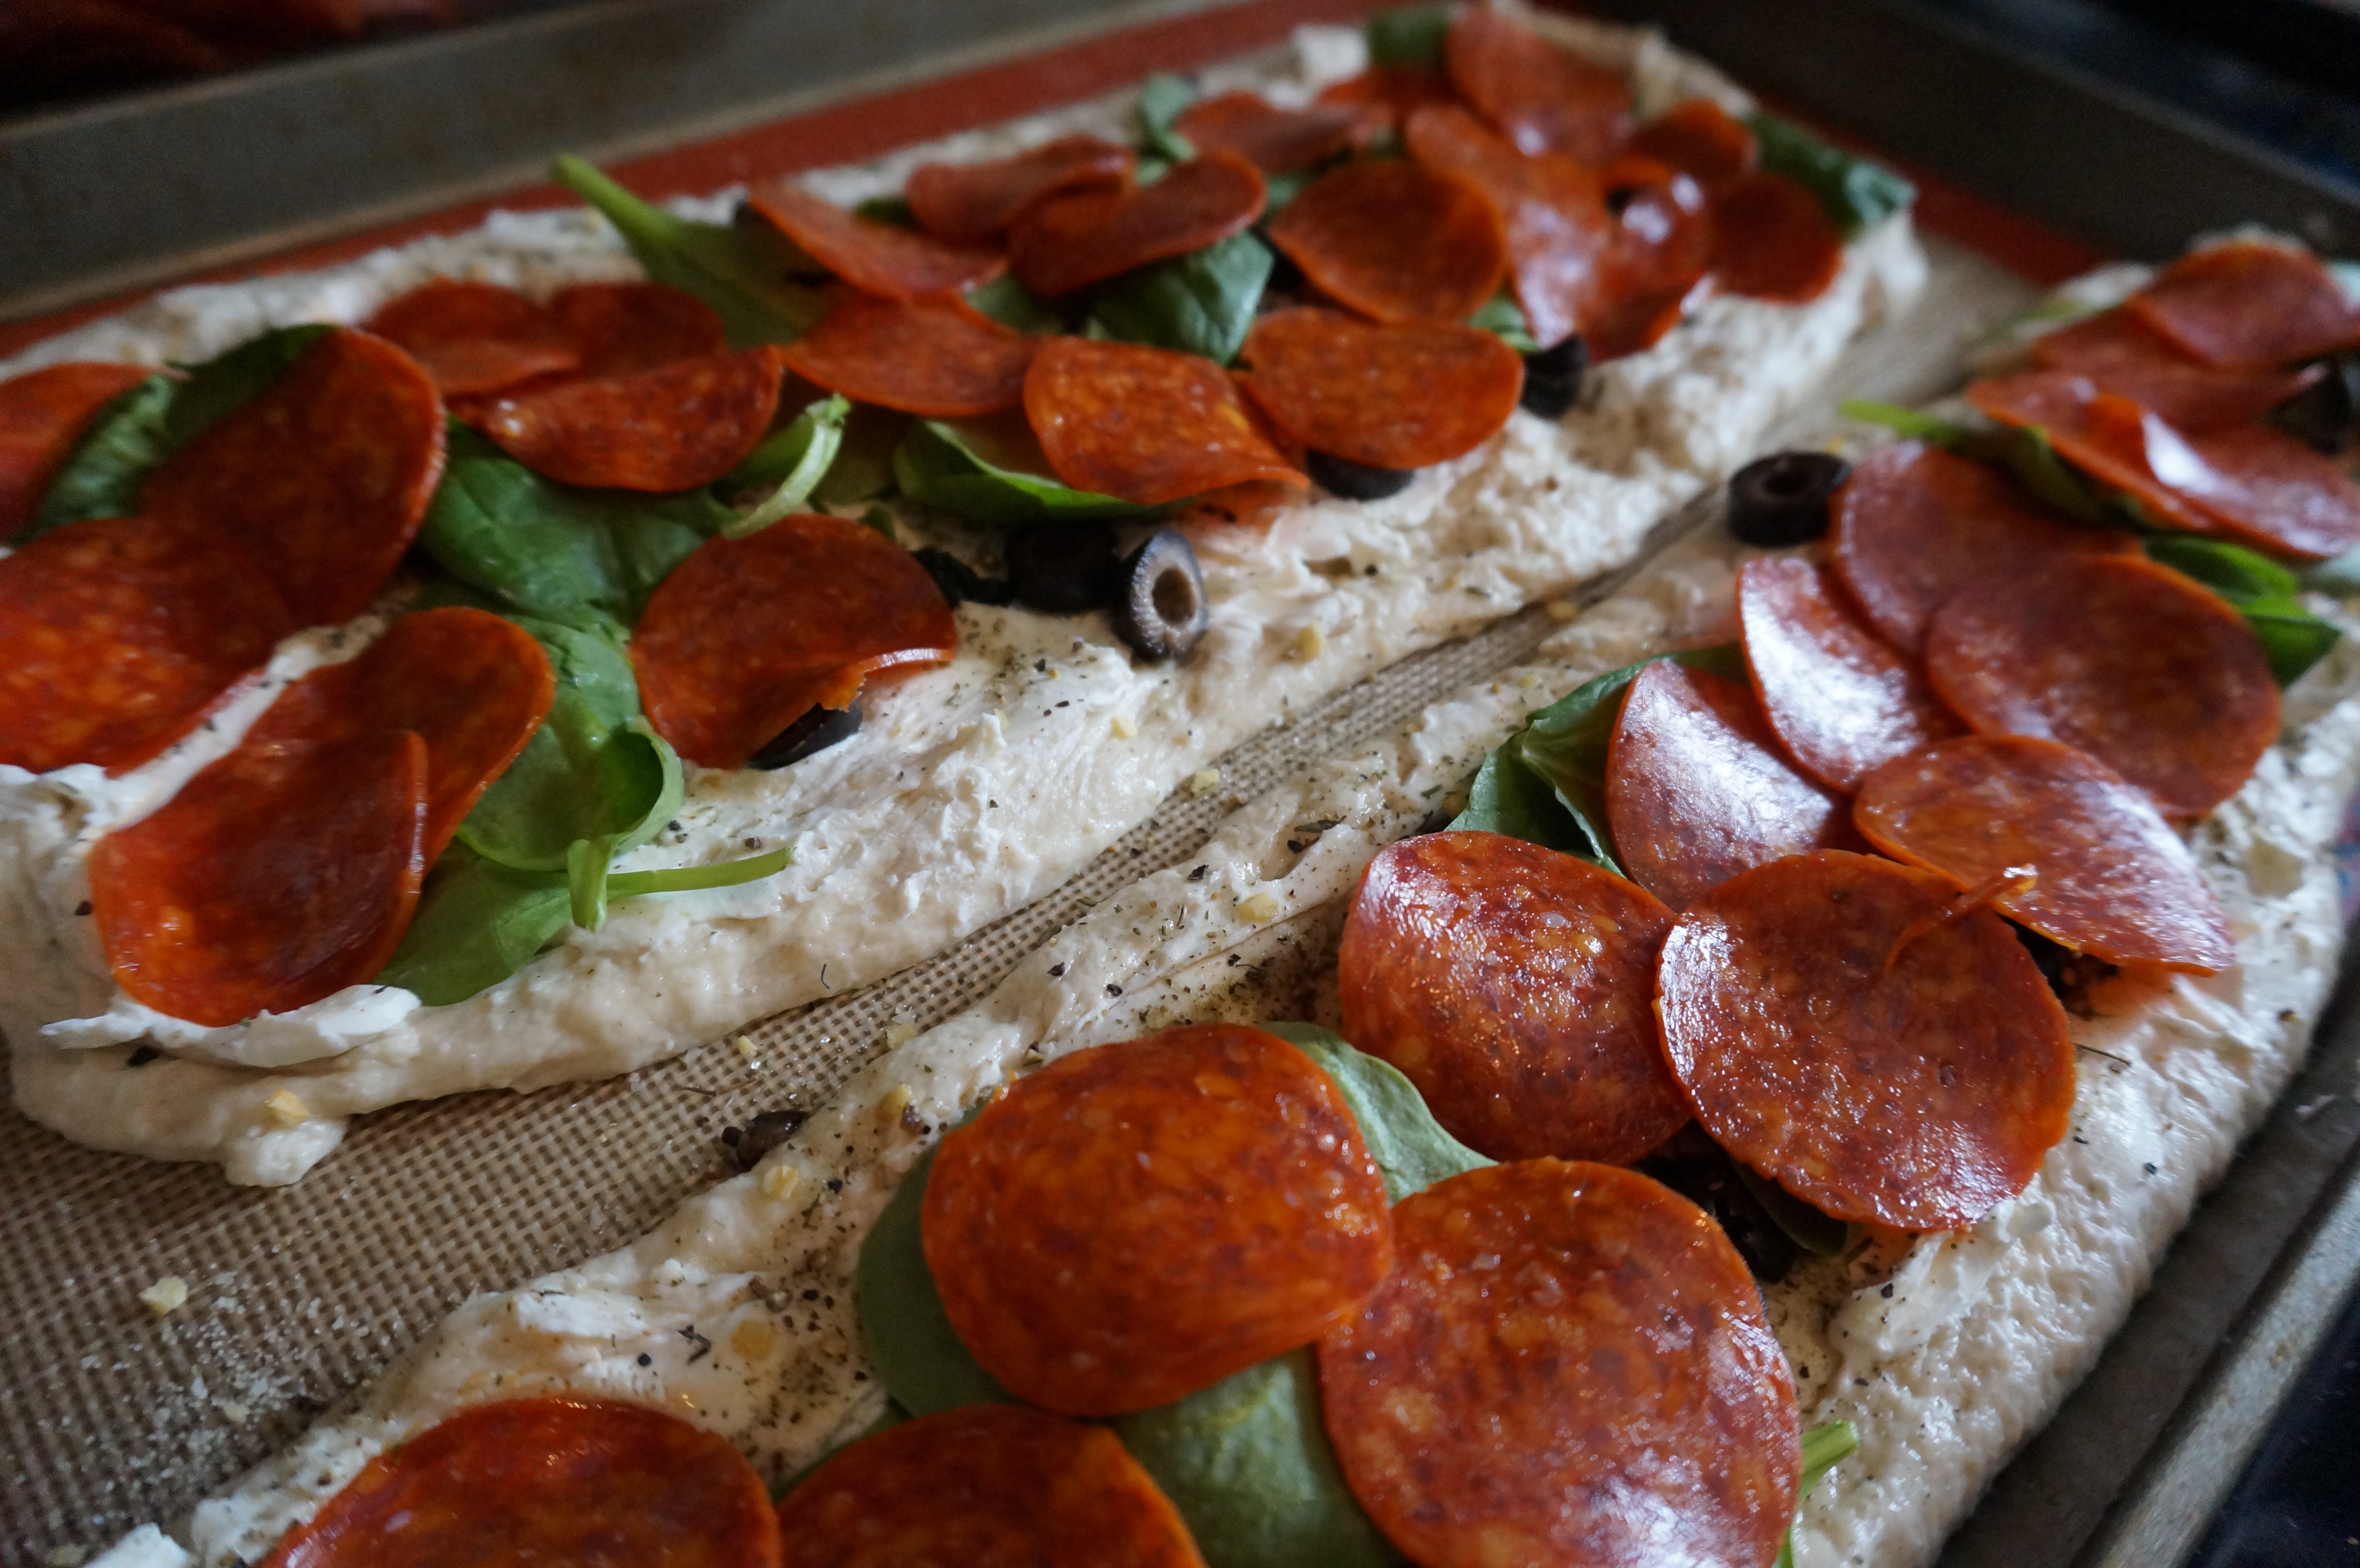
- Spread cream cheese, sprinkle seasoning, and layer remaining ingredients (in order listed) on dough. Roll the dough tightly, starting from one of the long sides. Pinch together edges with fingers.
- Bake at 350 for 18-20 min, or until golden brown.
- Allow to cool before slicing.