Double Chocolate Kiss Cake

DSC00929

Who doesn’t love a good chocolate cake? Okay, this was supposed to actually be brownies, but I have yet to find an actual brownie pan that I like. The one we have from Calphalon is labeled as a “brownie pan” but for some reason it’s just a tad too long and not quite deep enough for those thick (let’s be real, they’re deep-dish), fudgy, not-quite-cooked brownies that I like to make. “I prefer my brownies crunchy and hard around the edges,” said NO ONE EVER.

One of my solutions to this very serious issue is to make all my brownies in a round cake pan. It makes cutting them a bit more difficult, and I’ve sometimes used cookie cutters to get them out in shapes other than triangles, but at least the thickness issue is fixed.

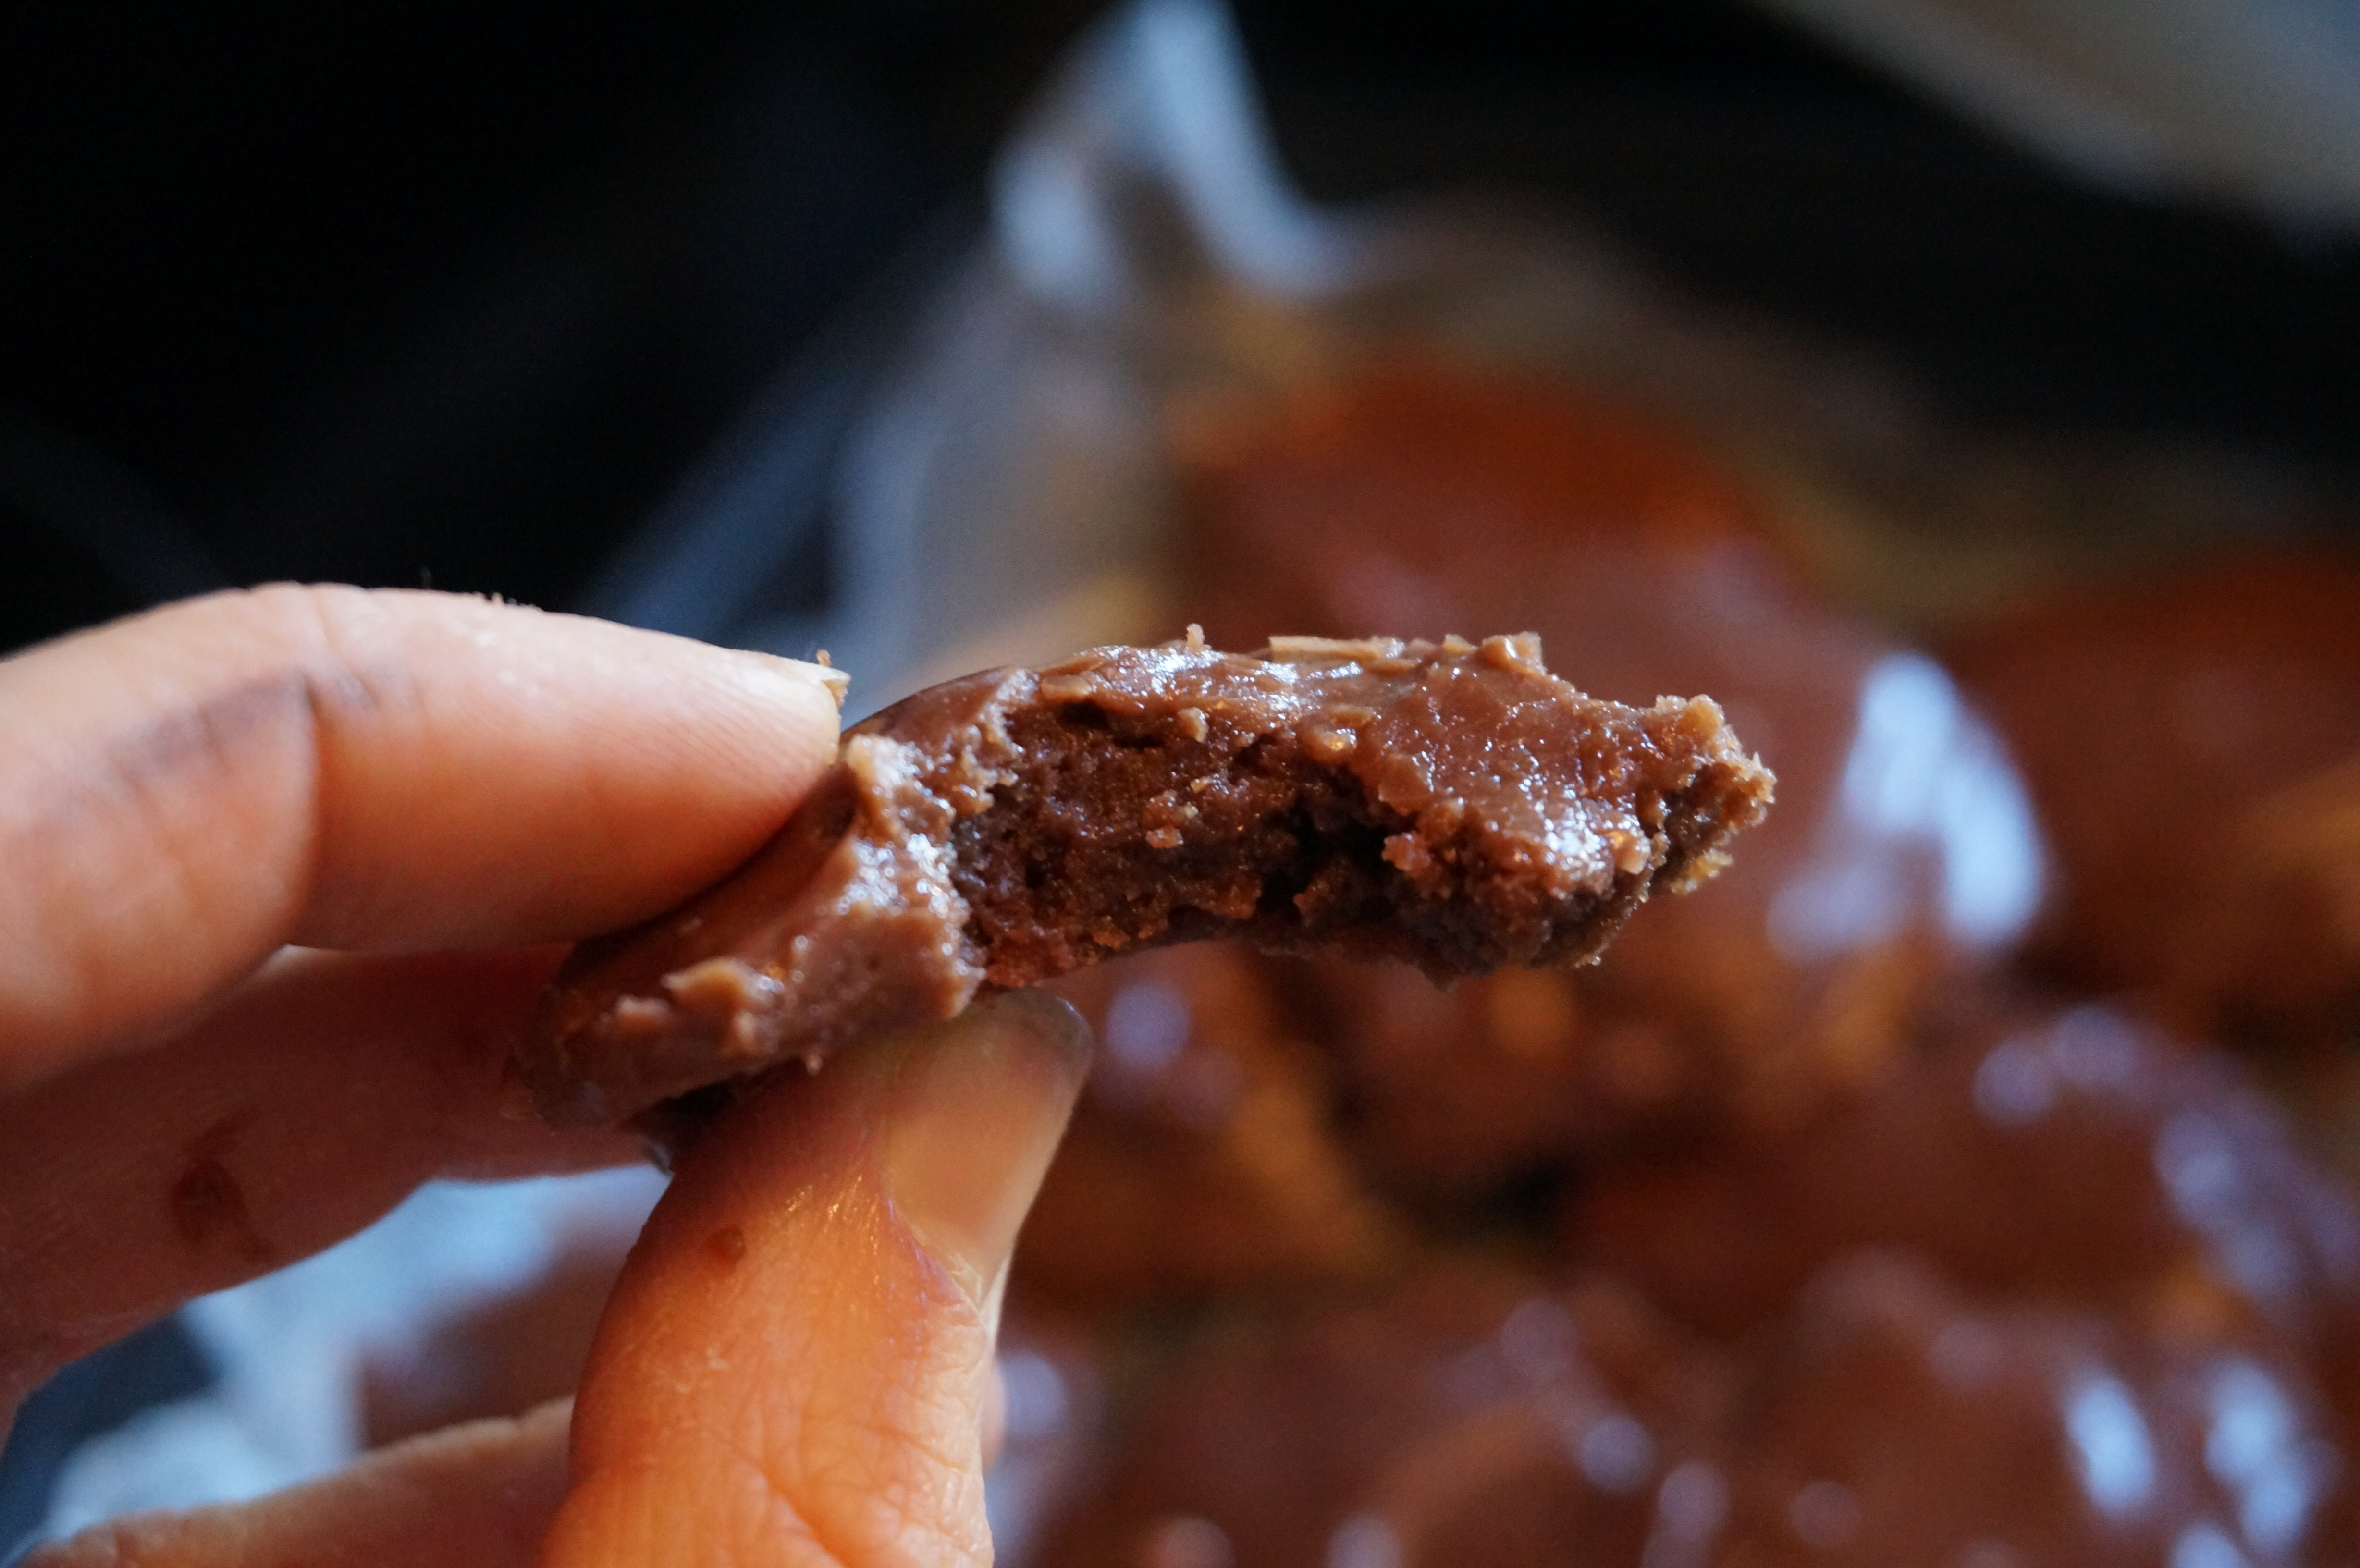
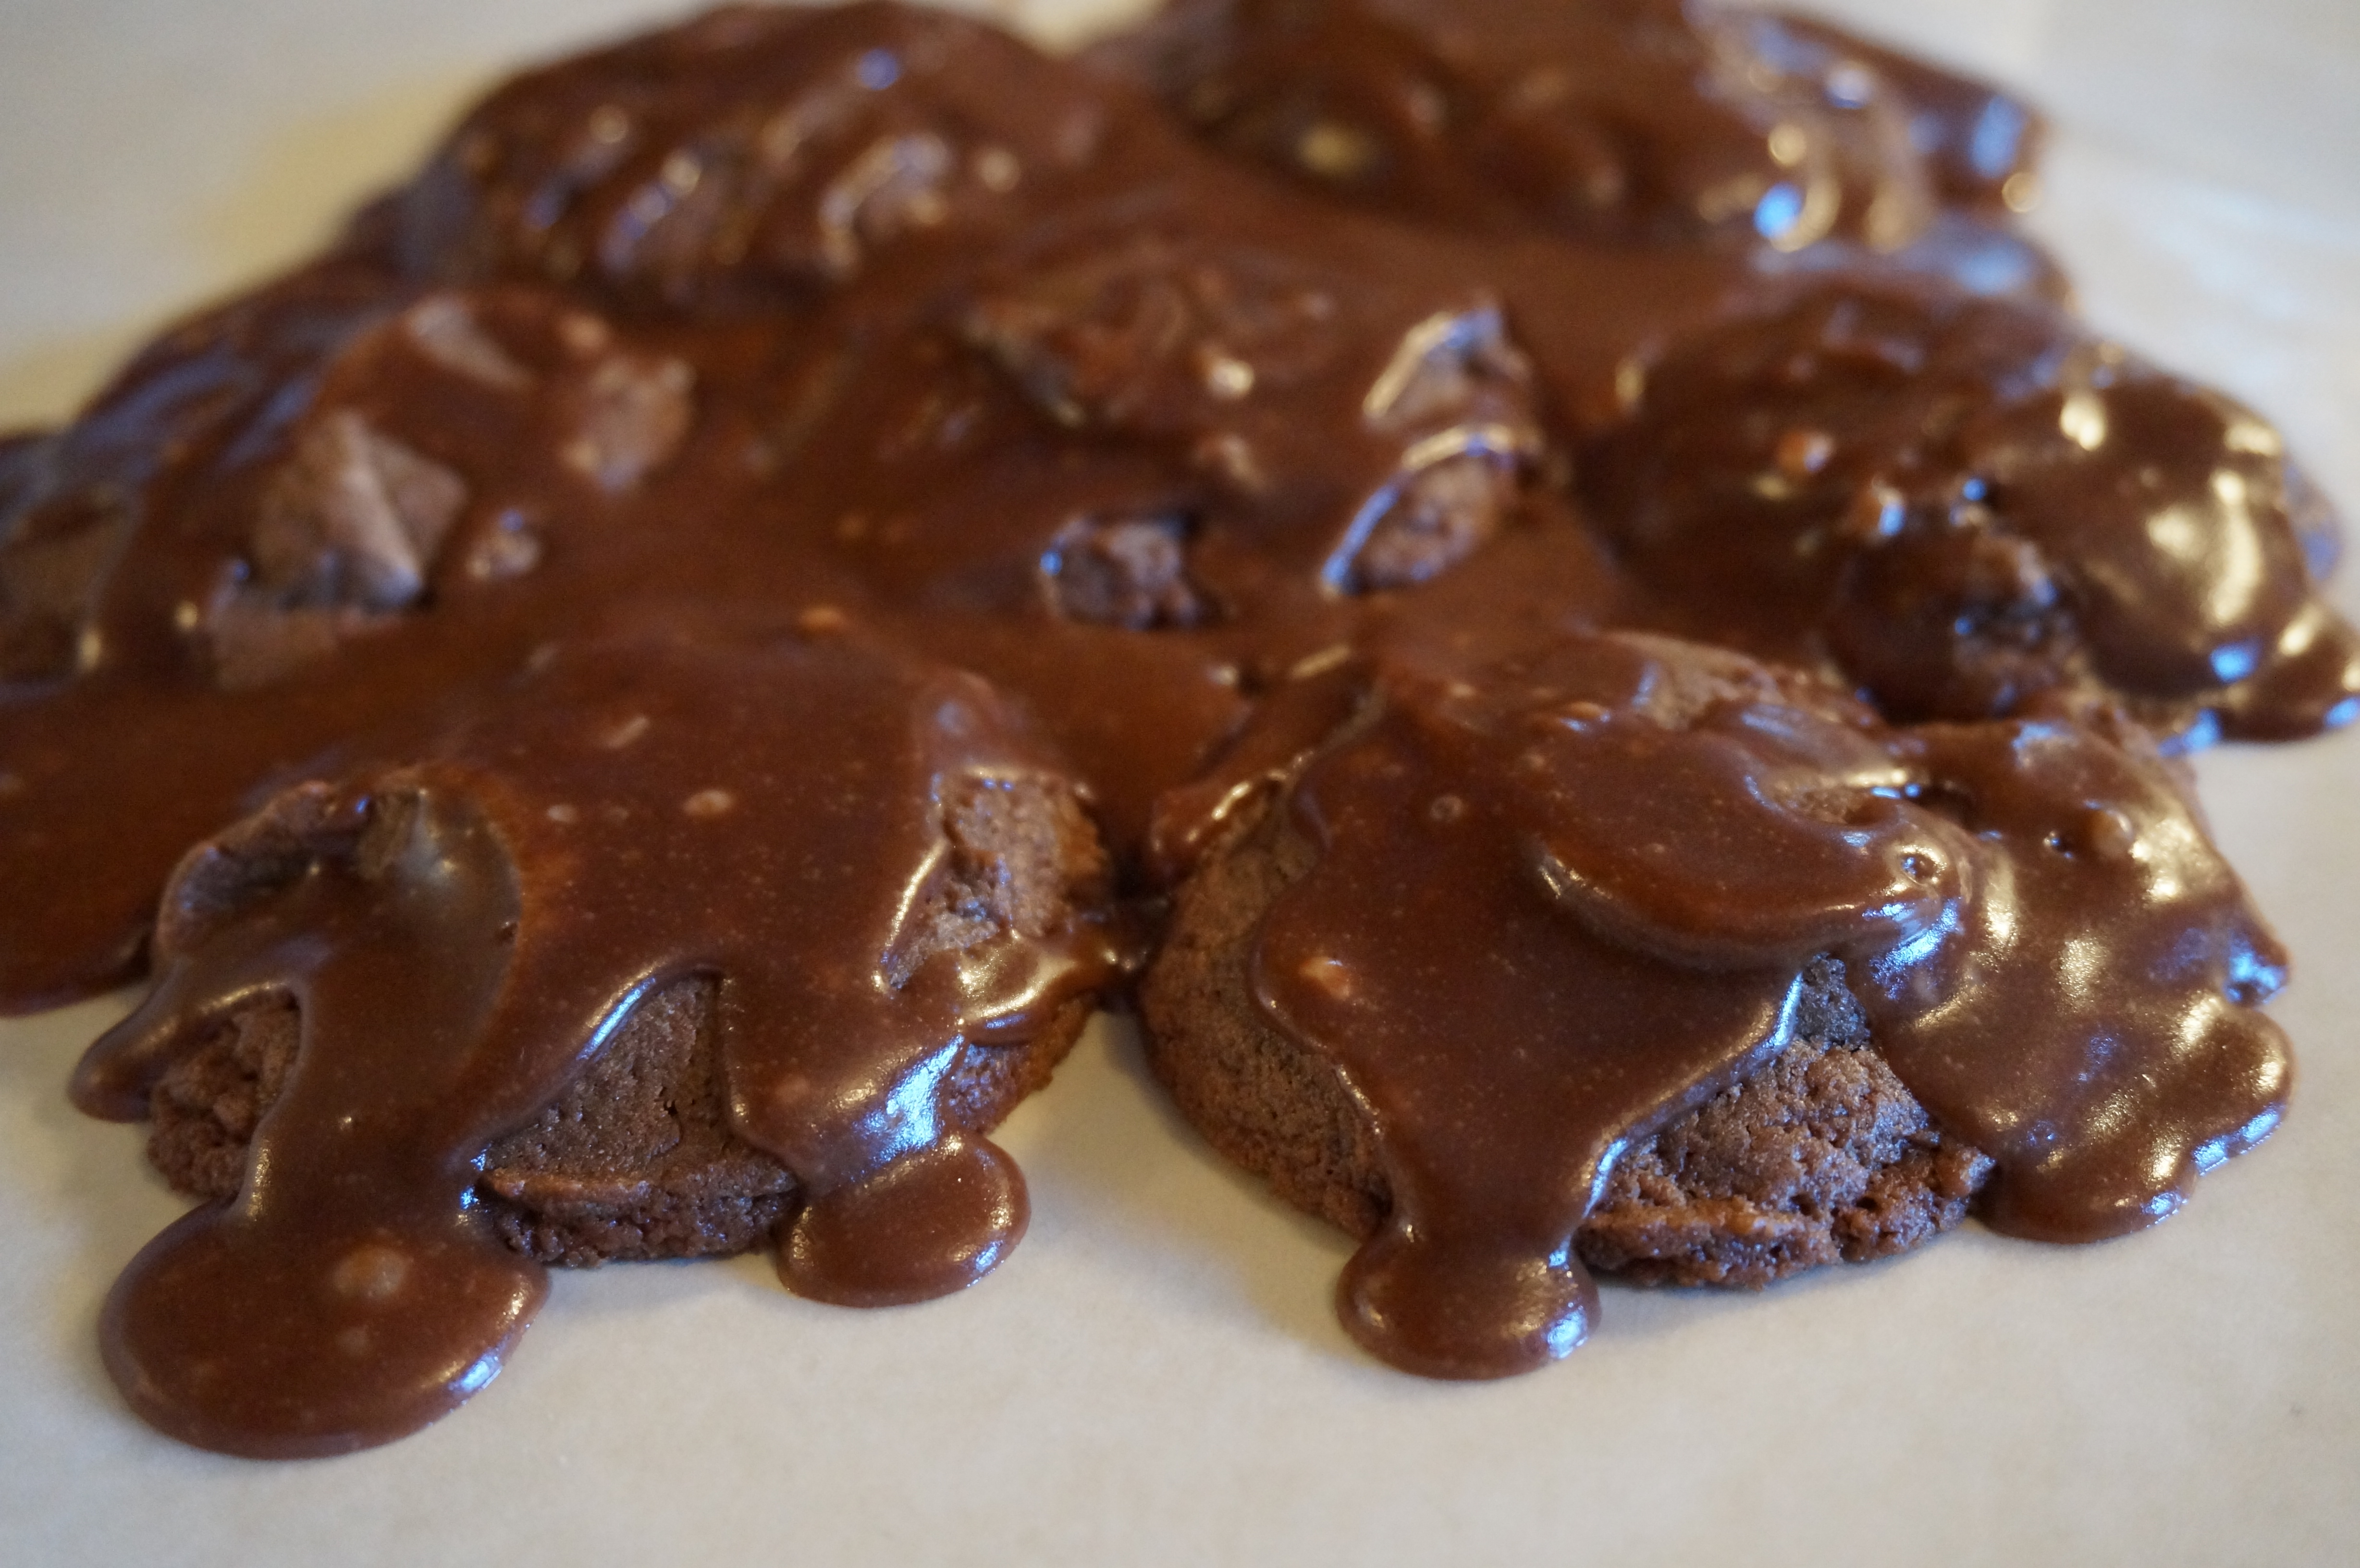
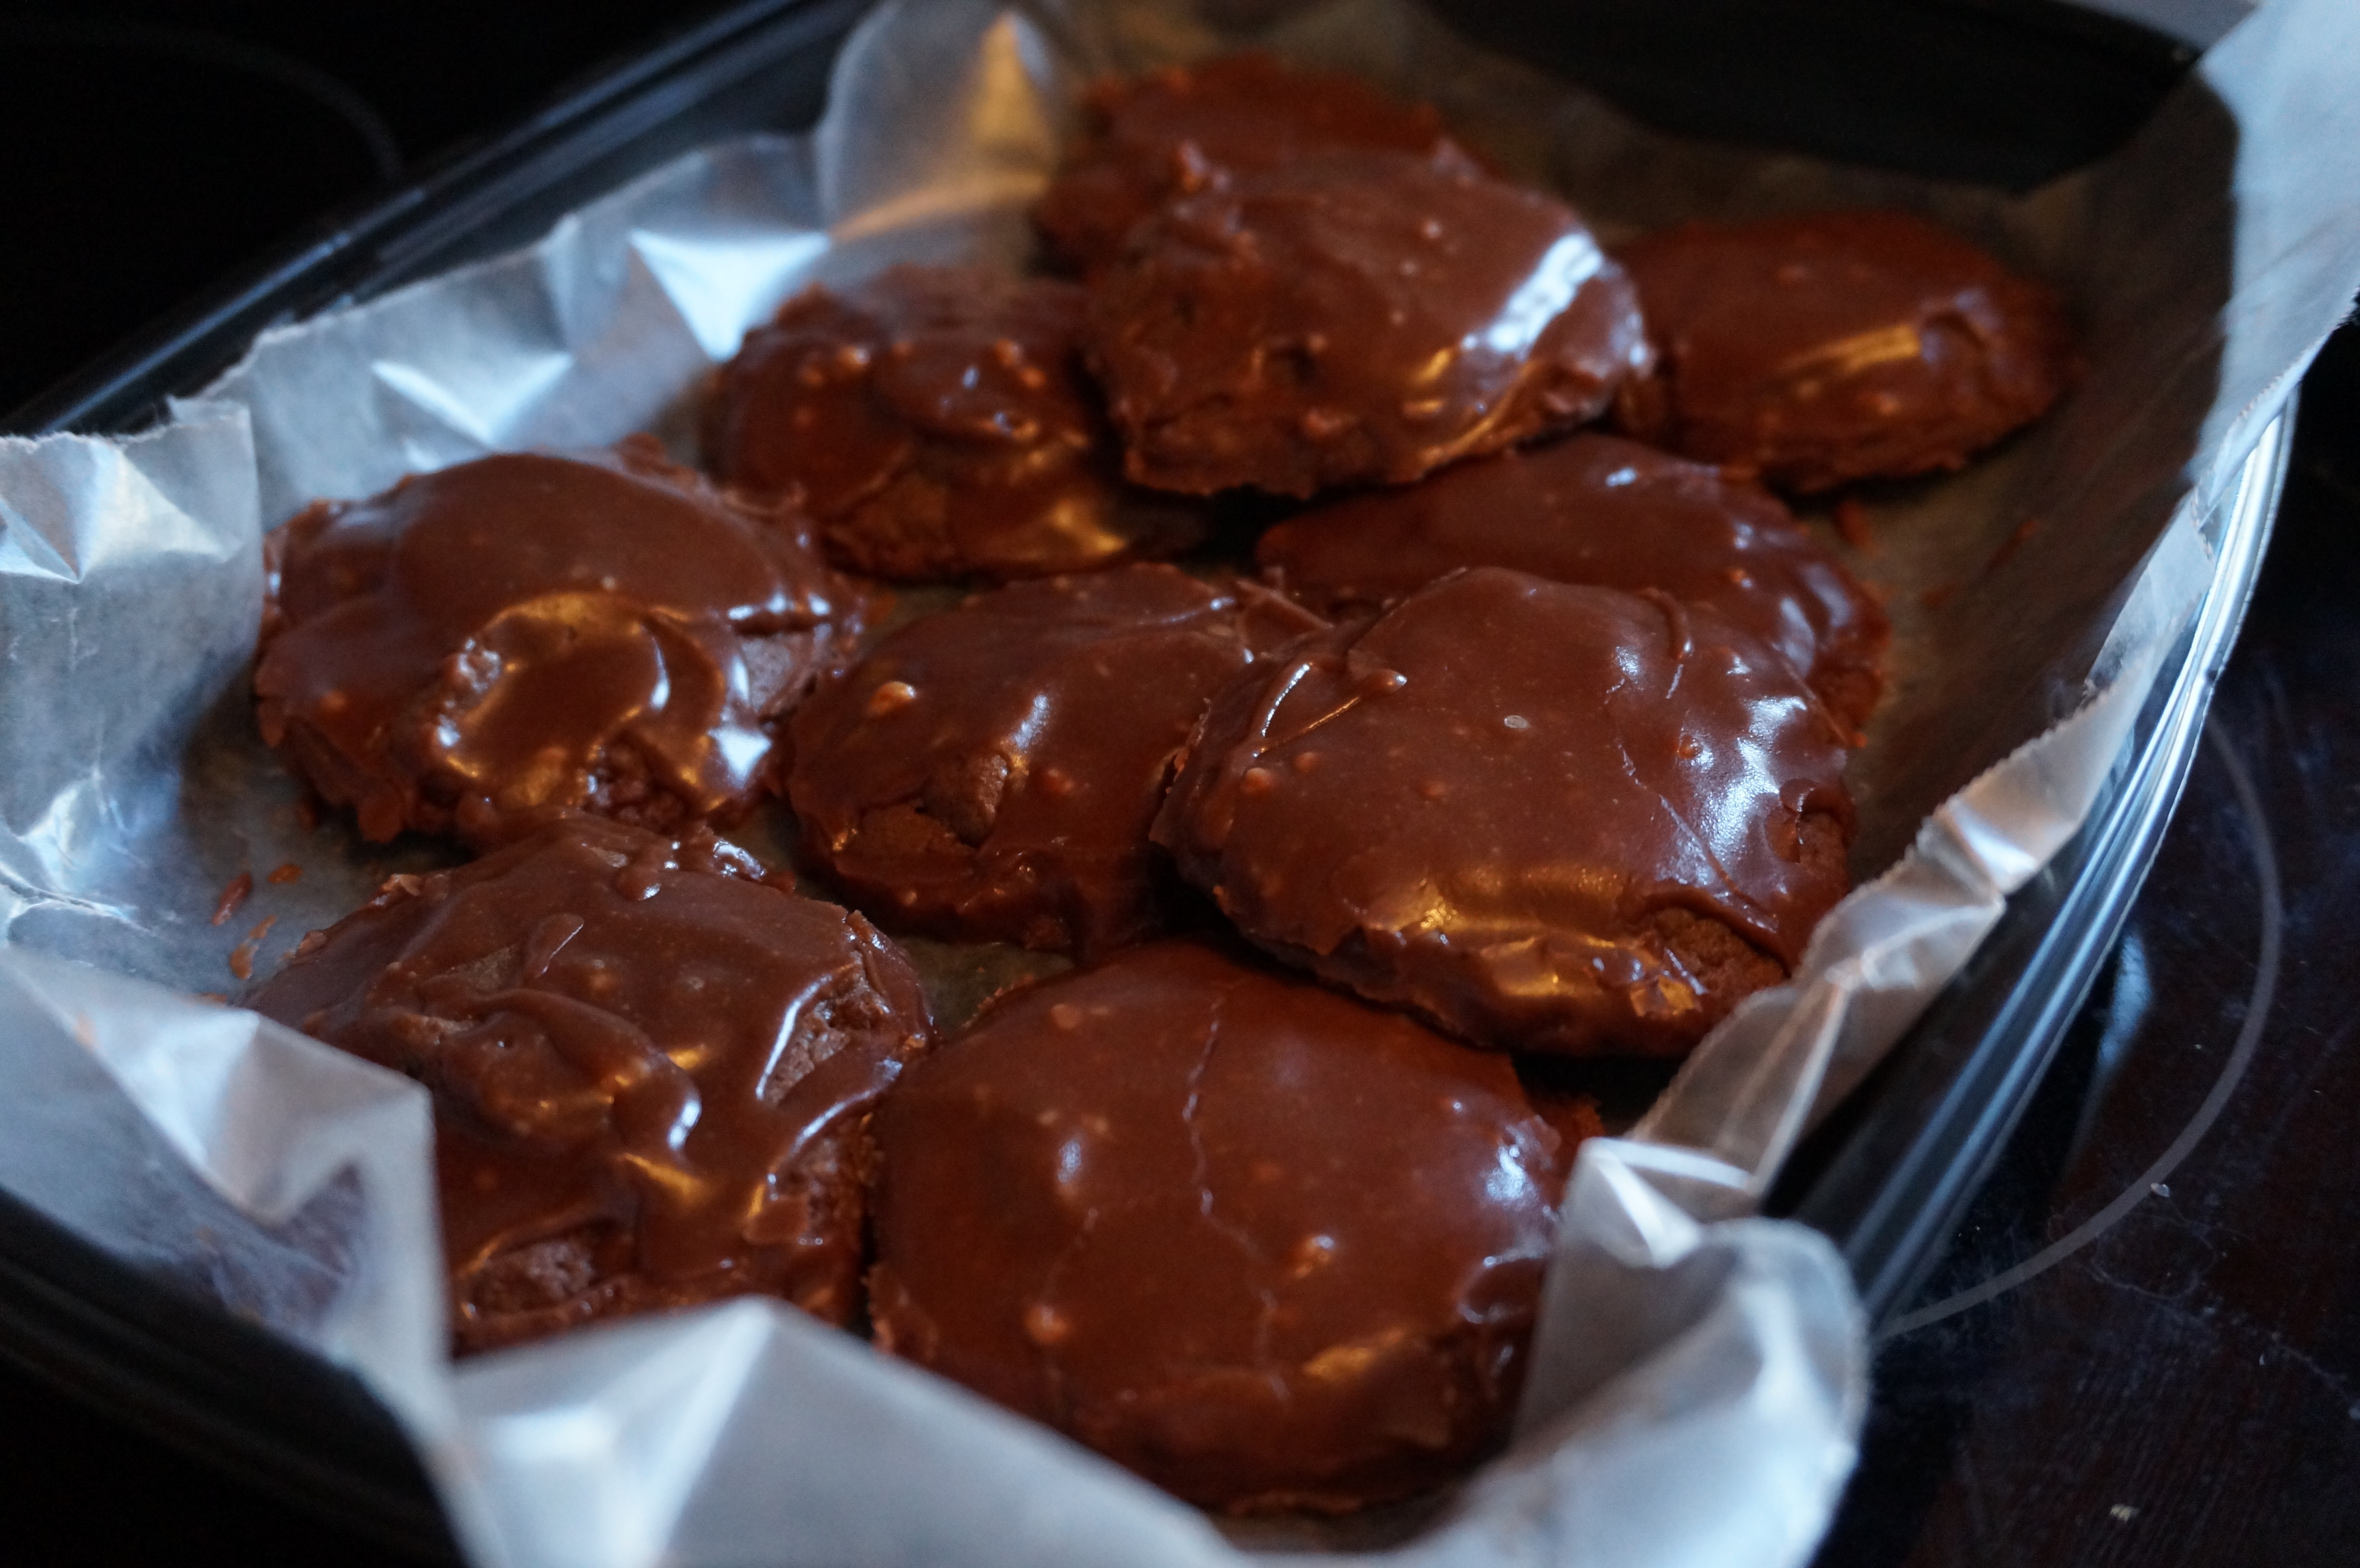
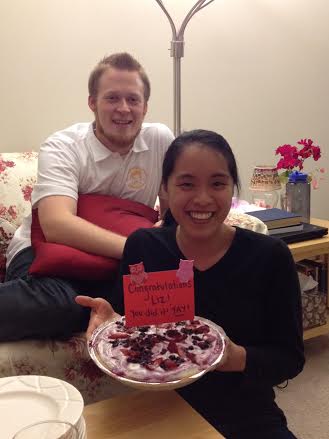
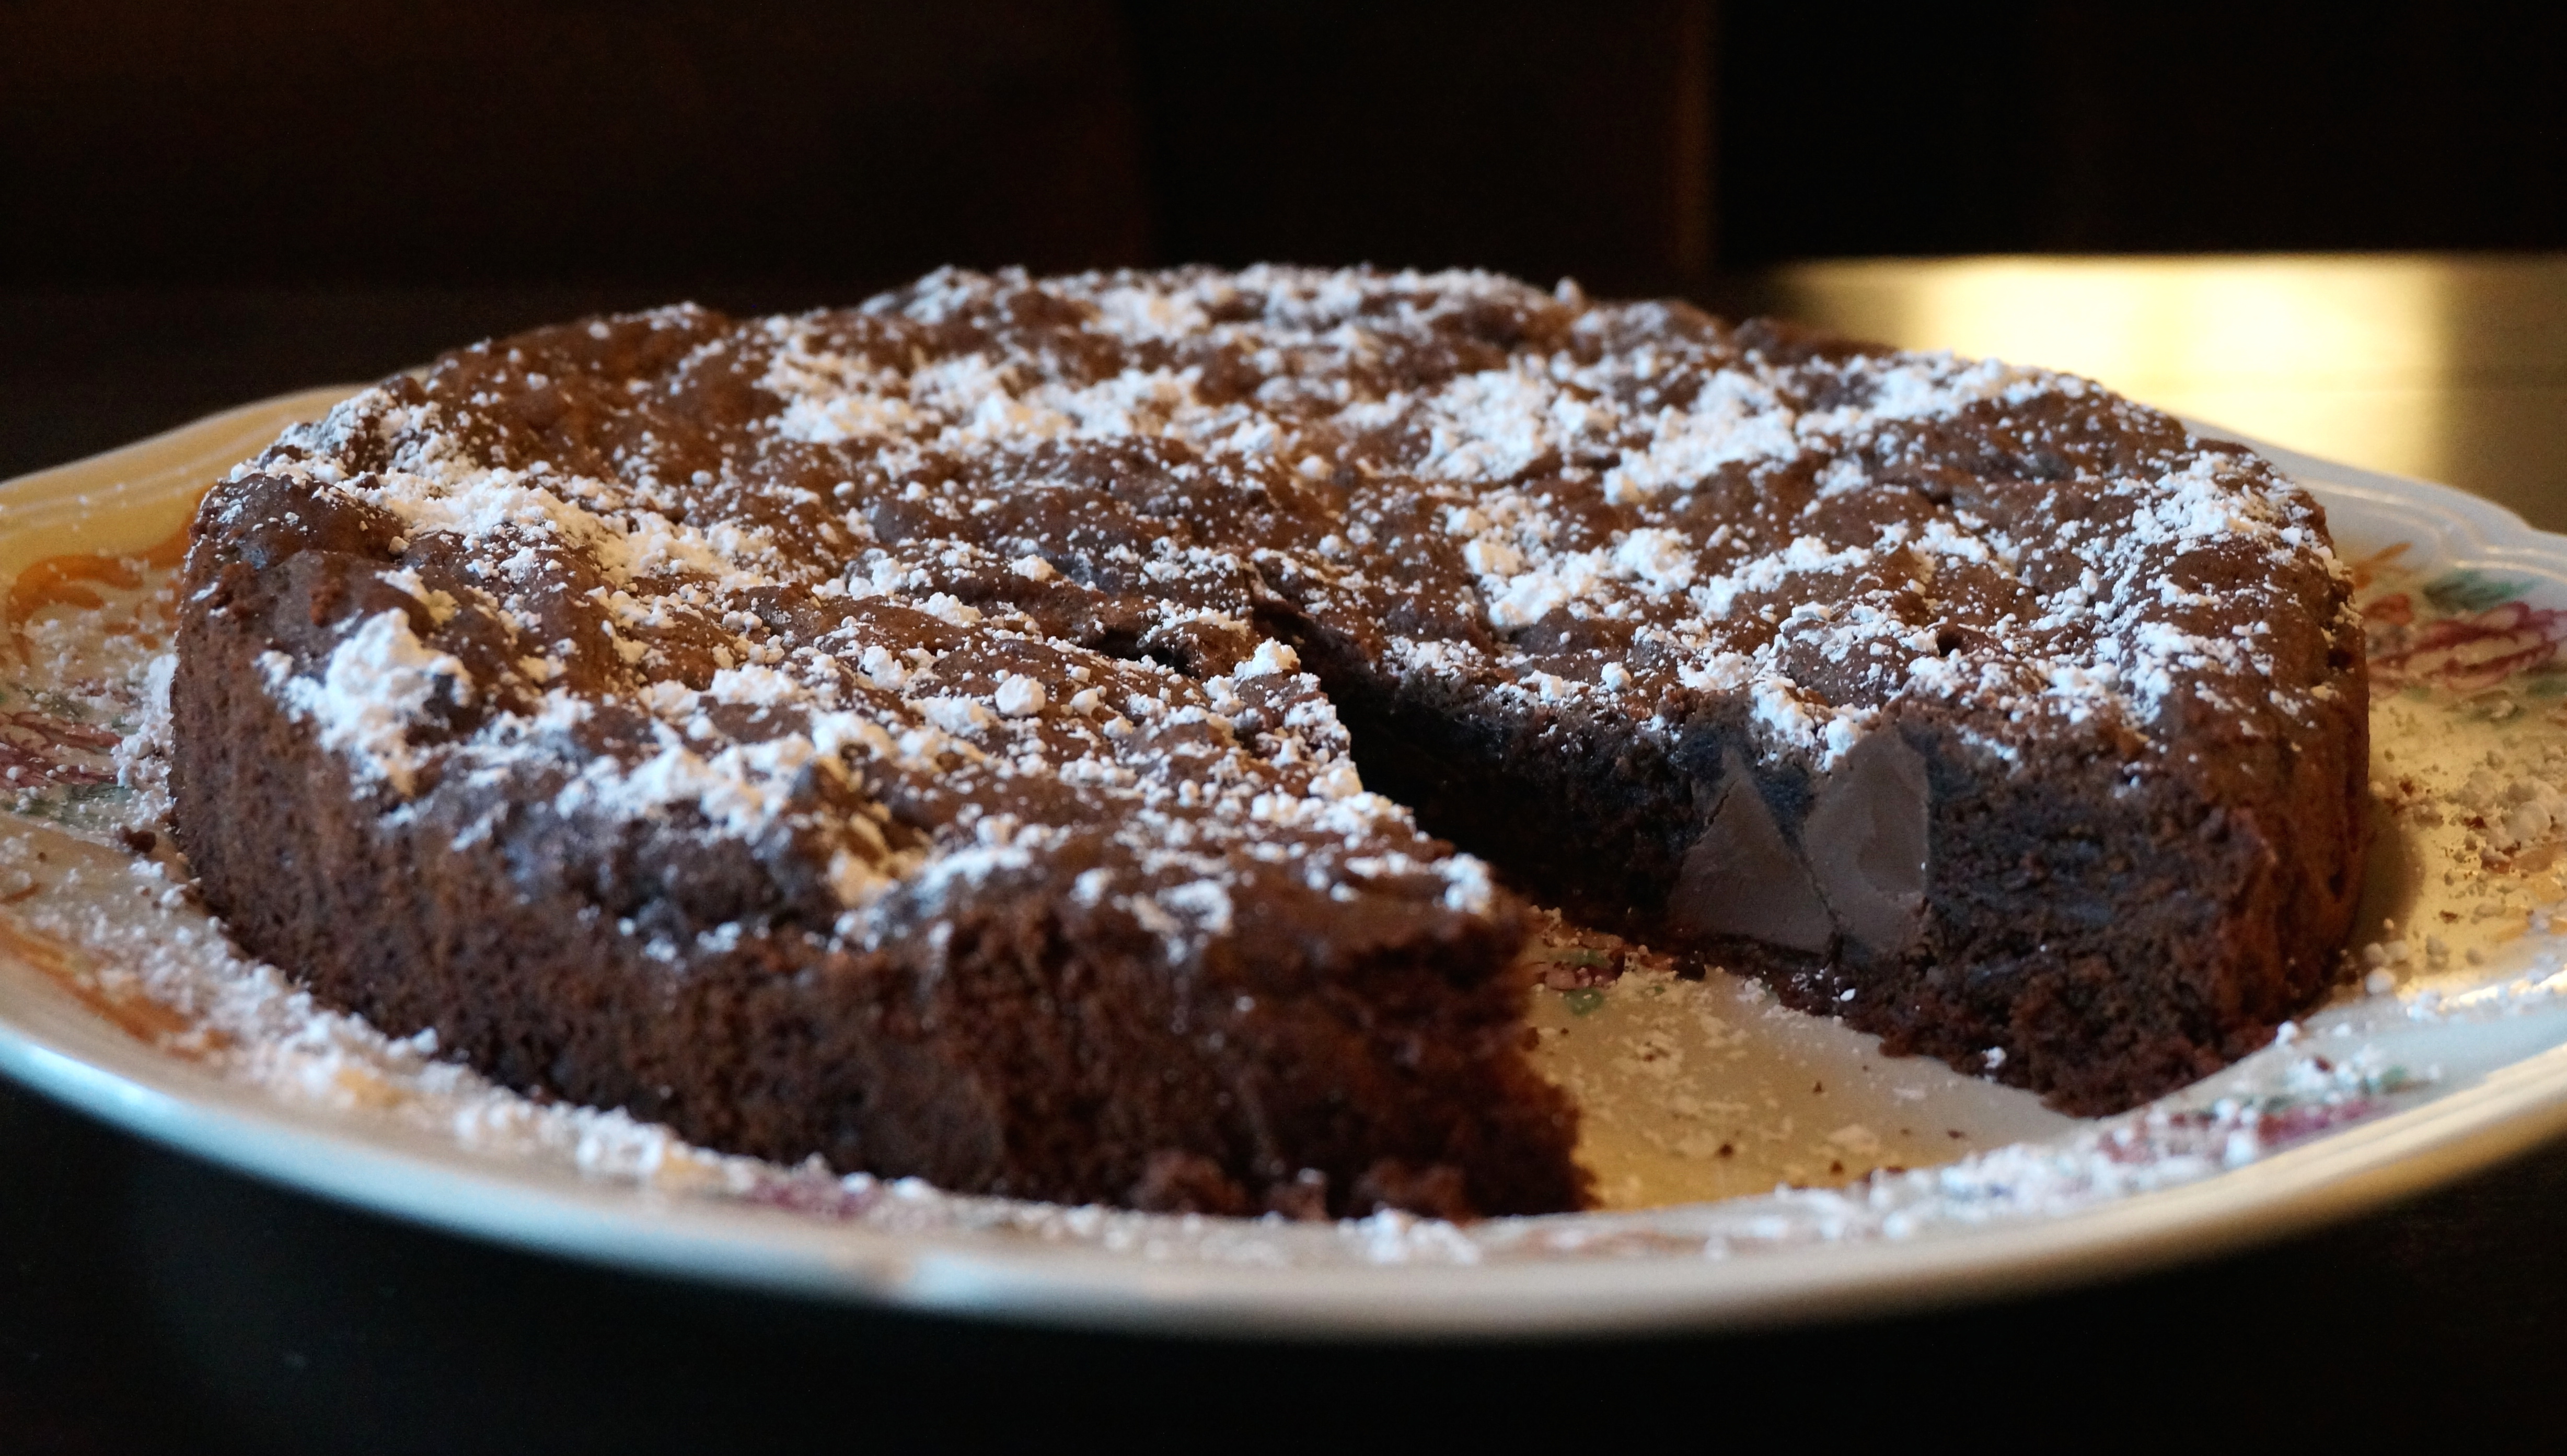
Last night I wanted to make something for our small group from church, and I had one of those “what do we have in the pantry that I can use up?” moments. Turns out we had almost an entire bag of Hershey’s Kisses that were begging to be used up. So I decided to make a kiss cake! When I sliced it up later, I was pleased to find that each pie-slice shaped brownie had at least one or two semi-softened kisses tucked cozily beneath the surface. I decided to add a little bit of cinnamon to the batter to make it a tad spicy, almost Mexican-chocolate style (minus the cayenne), and I dusted the finished cake with a bit of powdered sugar. I served it alone, but I’m sure it’d also be amazing with ice cream or a dollop of whipped cream!

Double Chocolate Kiss Cake
Recipe Type: Cakes
Cuisine: Dessert
Author: Claire McCormick of “Claire Tastes”
Prep time:
Cook time:
Total time:
Serves: 12
A pleasantly surprising “smooch” in every slice! Serve with ice cream or homemade whipped cream for a decadent dessert.
Ingredients
  • 30 Hershey’s Kisses candies, unwrapped
  • 2/3 cup shortening
  • 3/4 cups packed light brown sugar
  • 1/2 cup granulated sugar
  • 1 tablespoon water
  • 1 teaspoon vanilla extract
  • 2 eggs
  • 1 1/4 cups all-purpose flour
  • 1/3 cup cocoa powder
  • 1/2 teaspoon salt
  • 1/4 teaspoon baking soda
  • 1/4 teaspoon cinnamon
  • Powdered sugar, for dusting top of cake
Instructions
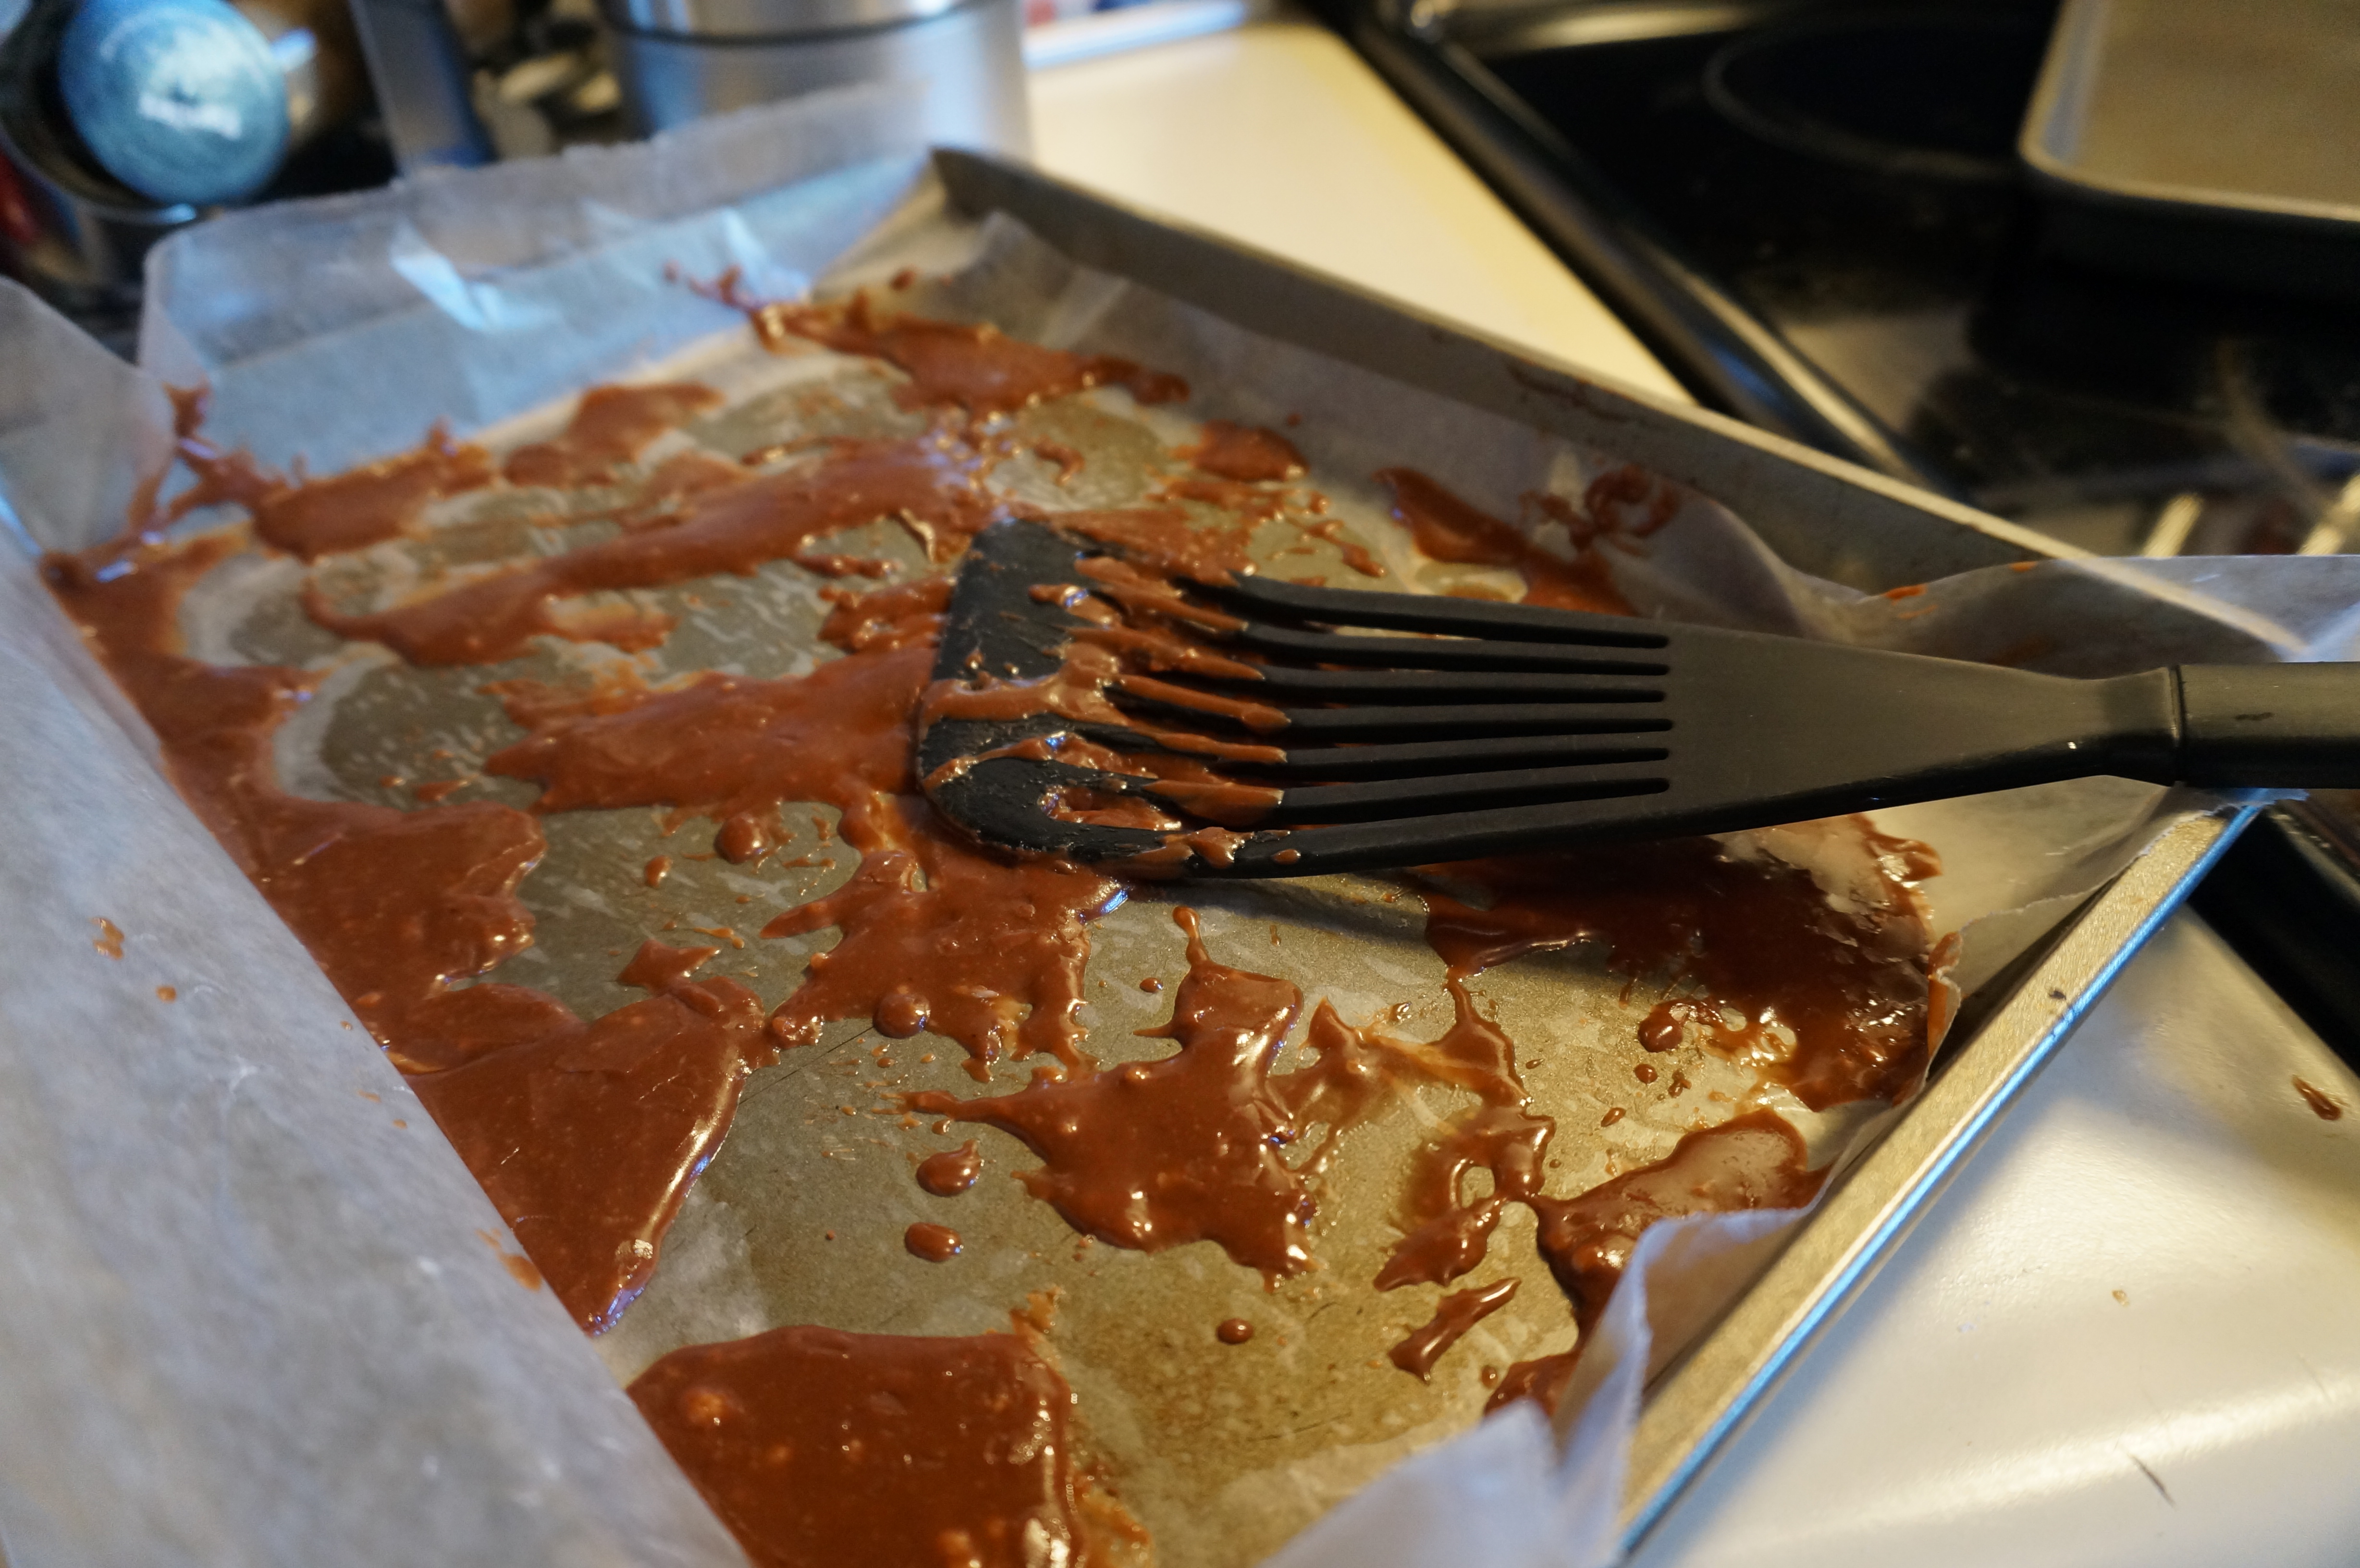
  1. Heat oven to 350°F. Grease bottom of a 8″ cake pan. Remove wrappers from chocolates and set aside.
  2. Beat shortening, brown sugar, granulated sugar, water and vanilla in large bowl with electric mixer until well blended. Add eggs and beat well.
  3. In a separate bowl, whisk together flour, cocoa powder, salt, baking soda, and cinnamon until well combined. Gradually mix into the wet mixture until just blended.
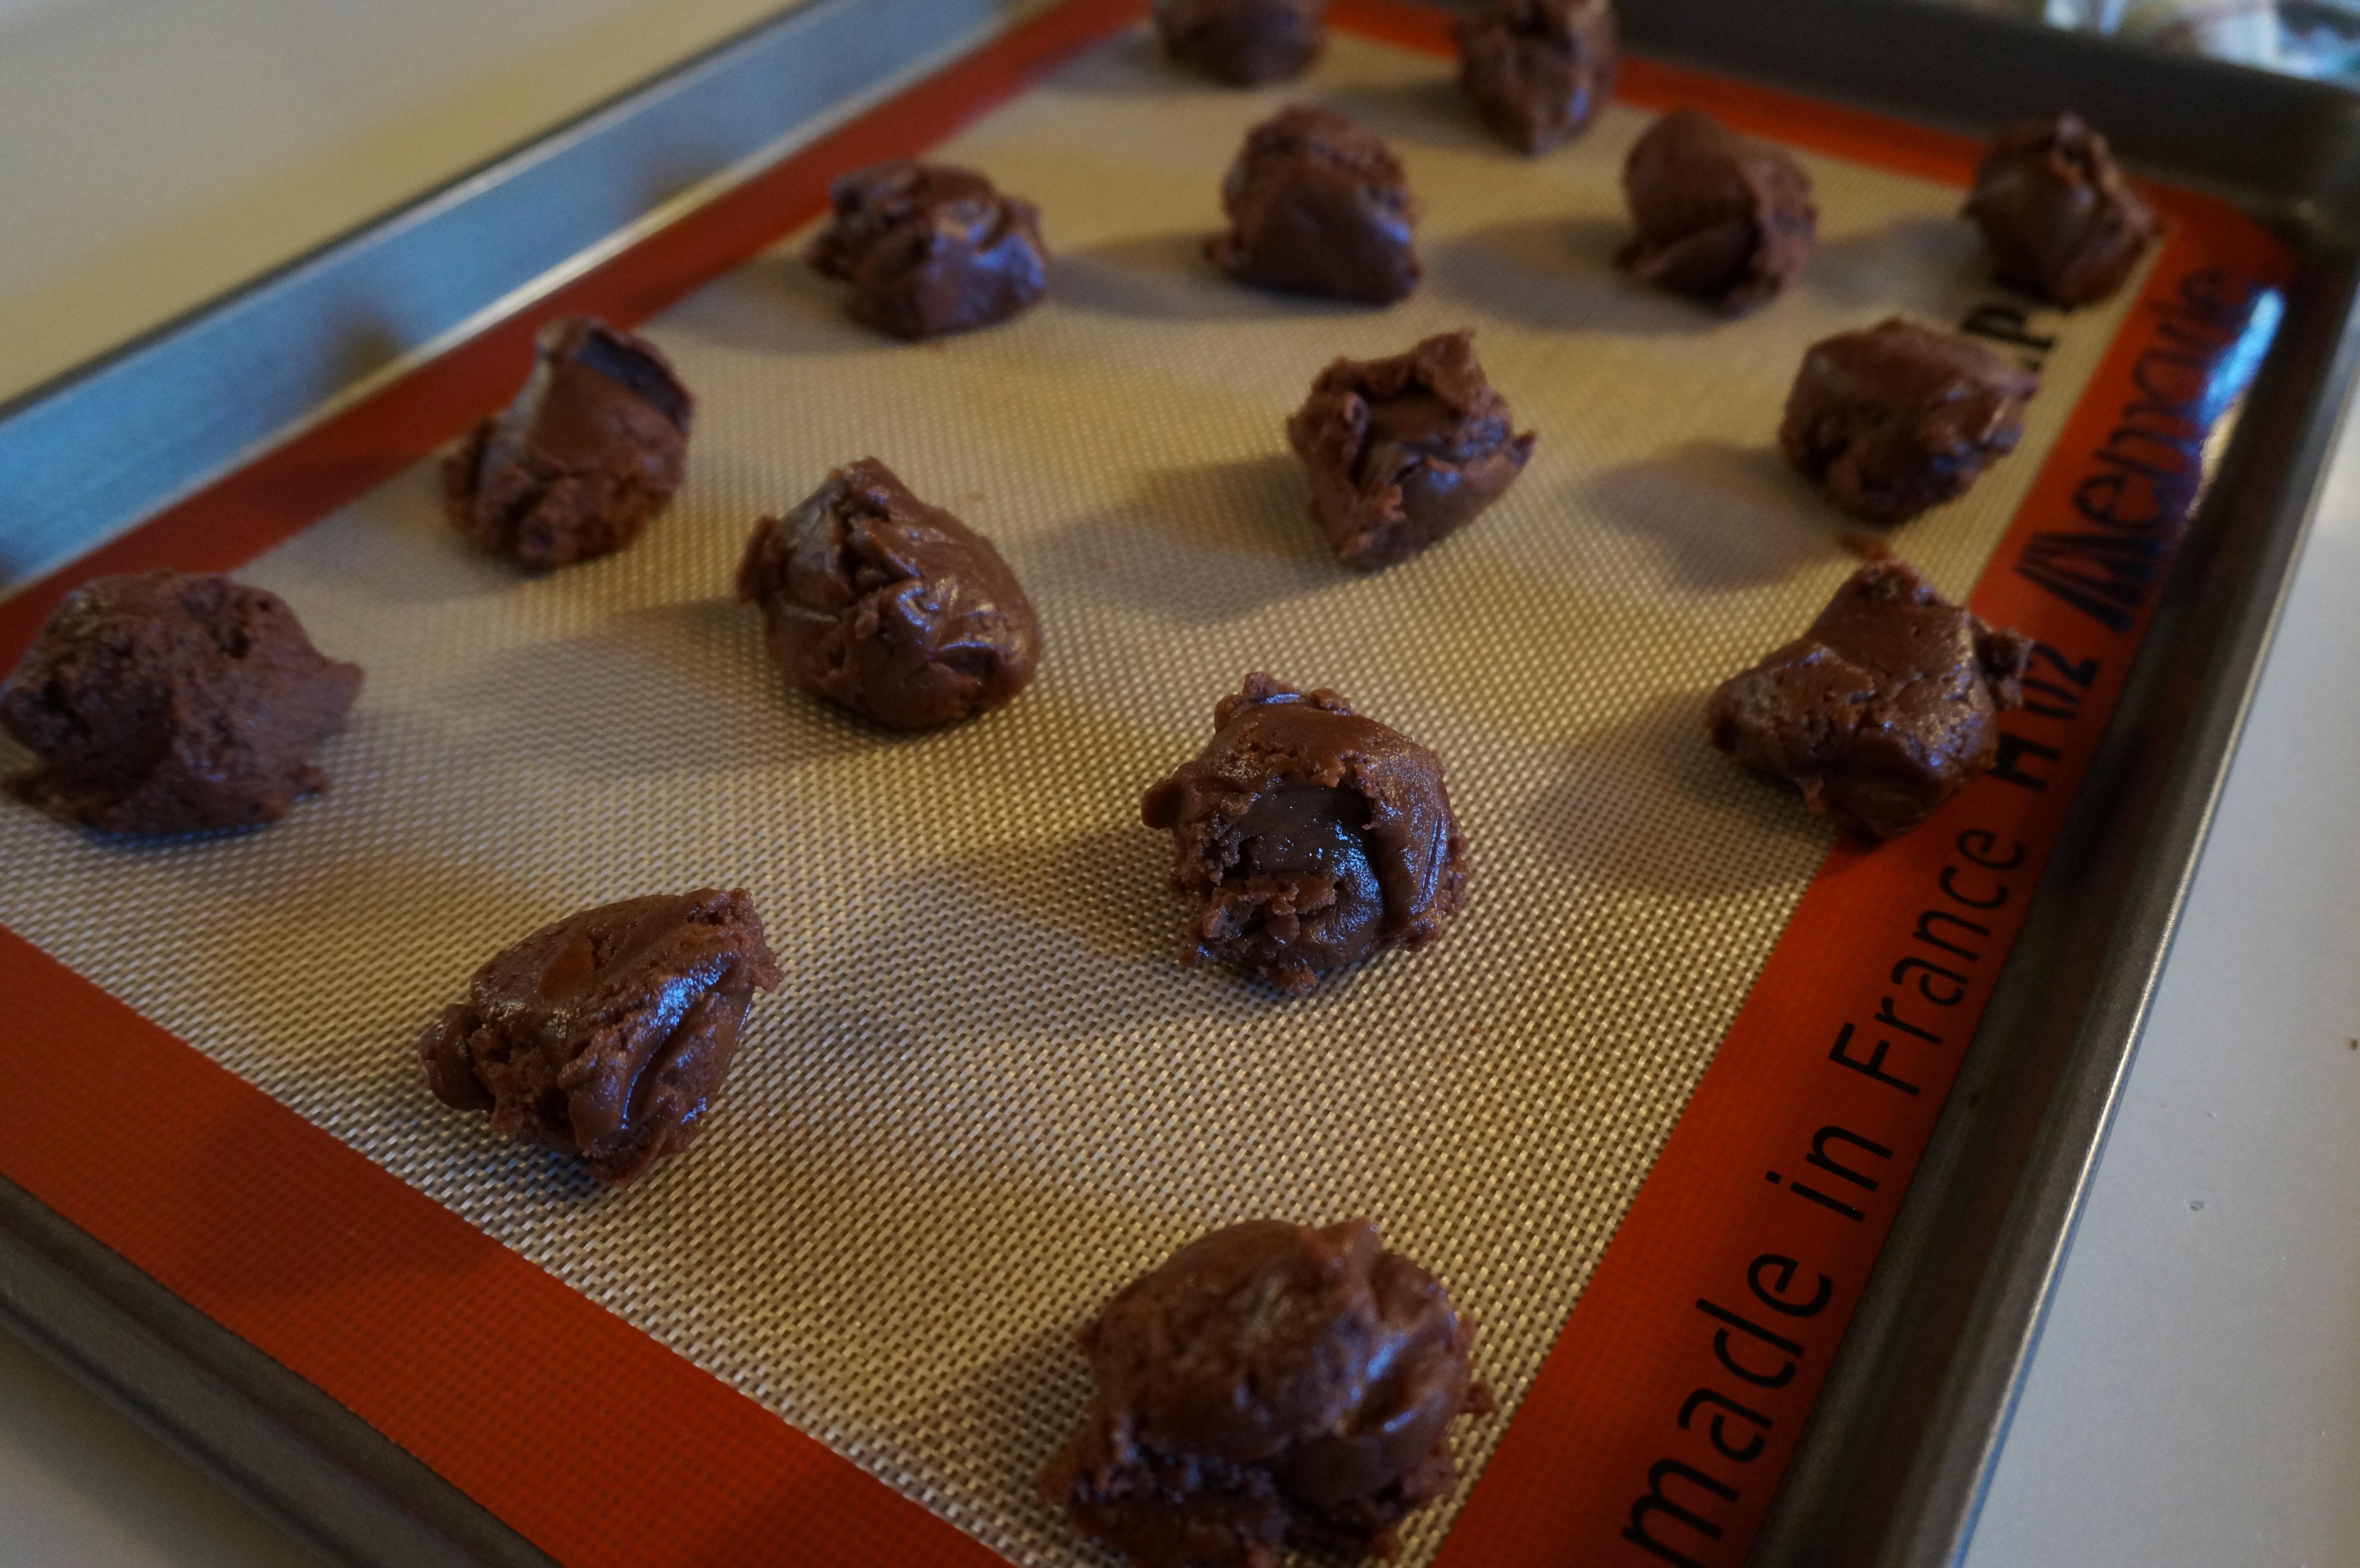
  4. Stir in chocolate kisses.
  5. Spread in cake pan in one even layer. Bake at 350 degrees for 25 minutes, or until top of cake has a slightly “toasted” appearance and toothpick comes out clean (it will be slightly springy still, but that’s okay! Don’t overbake!)
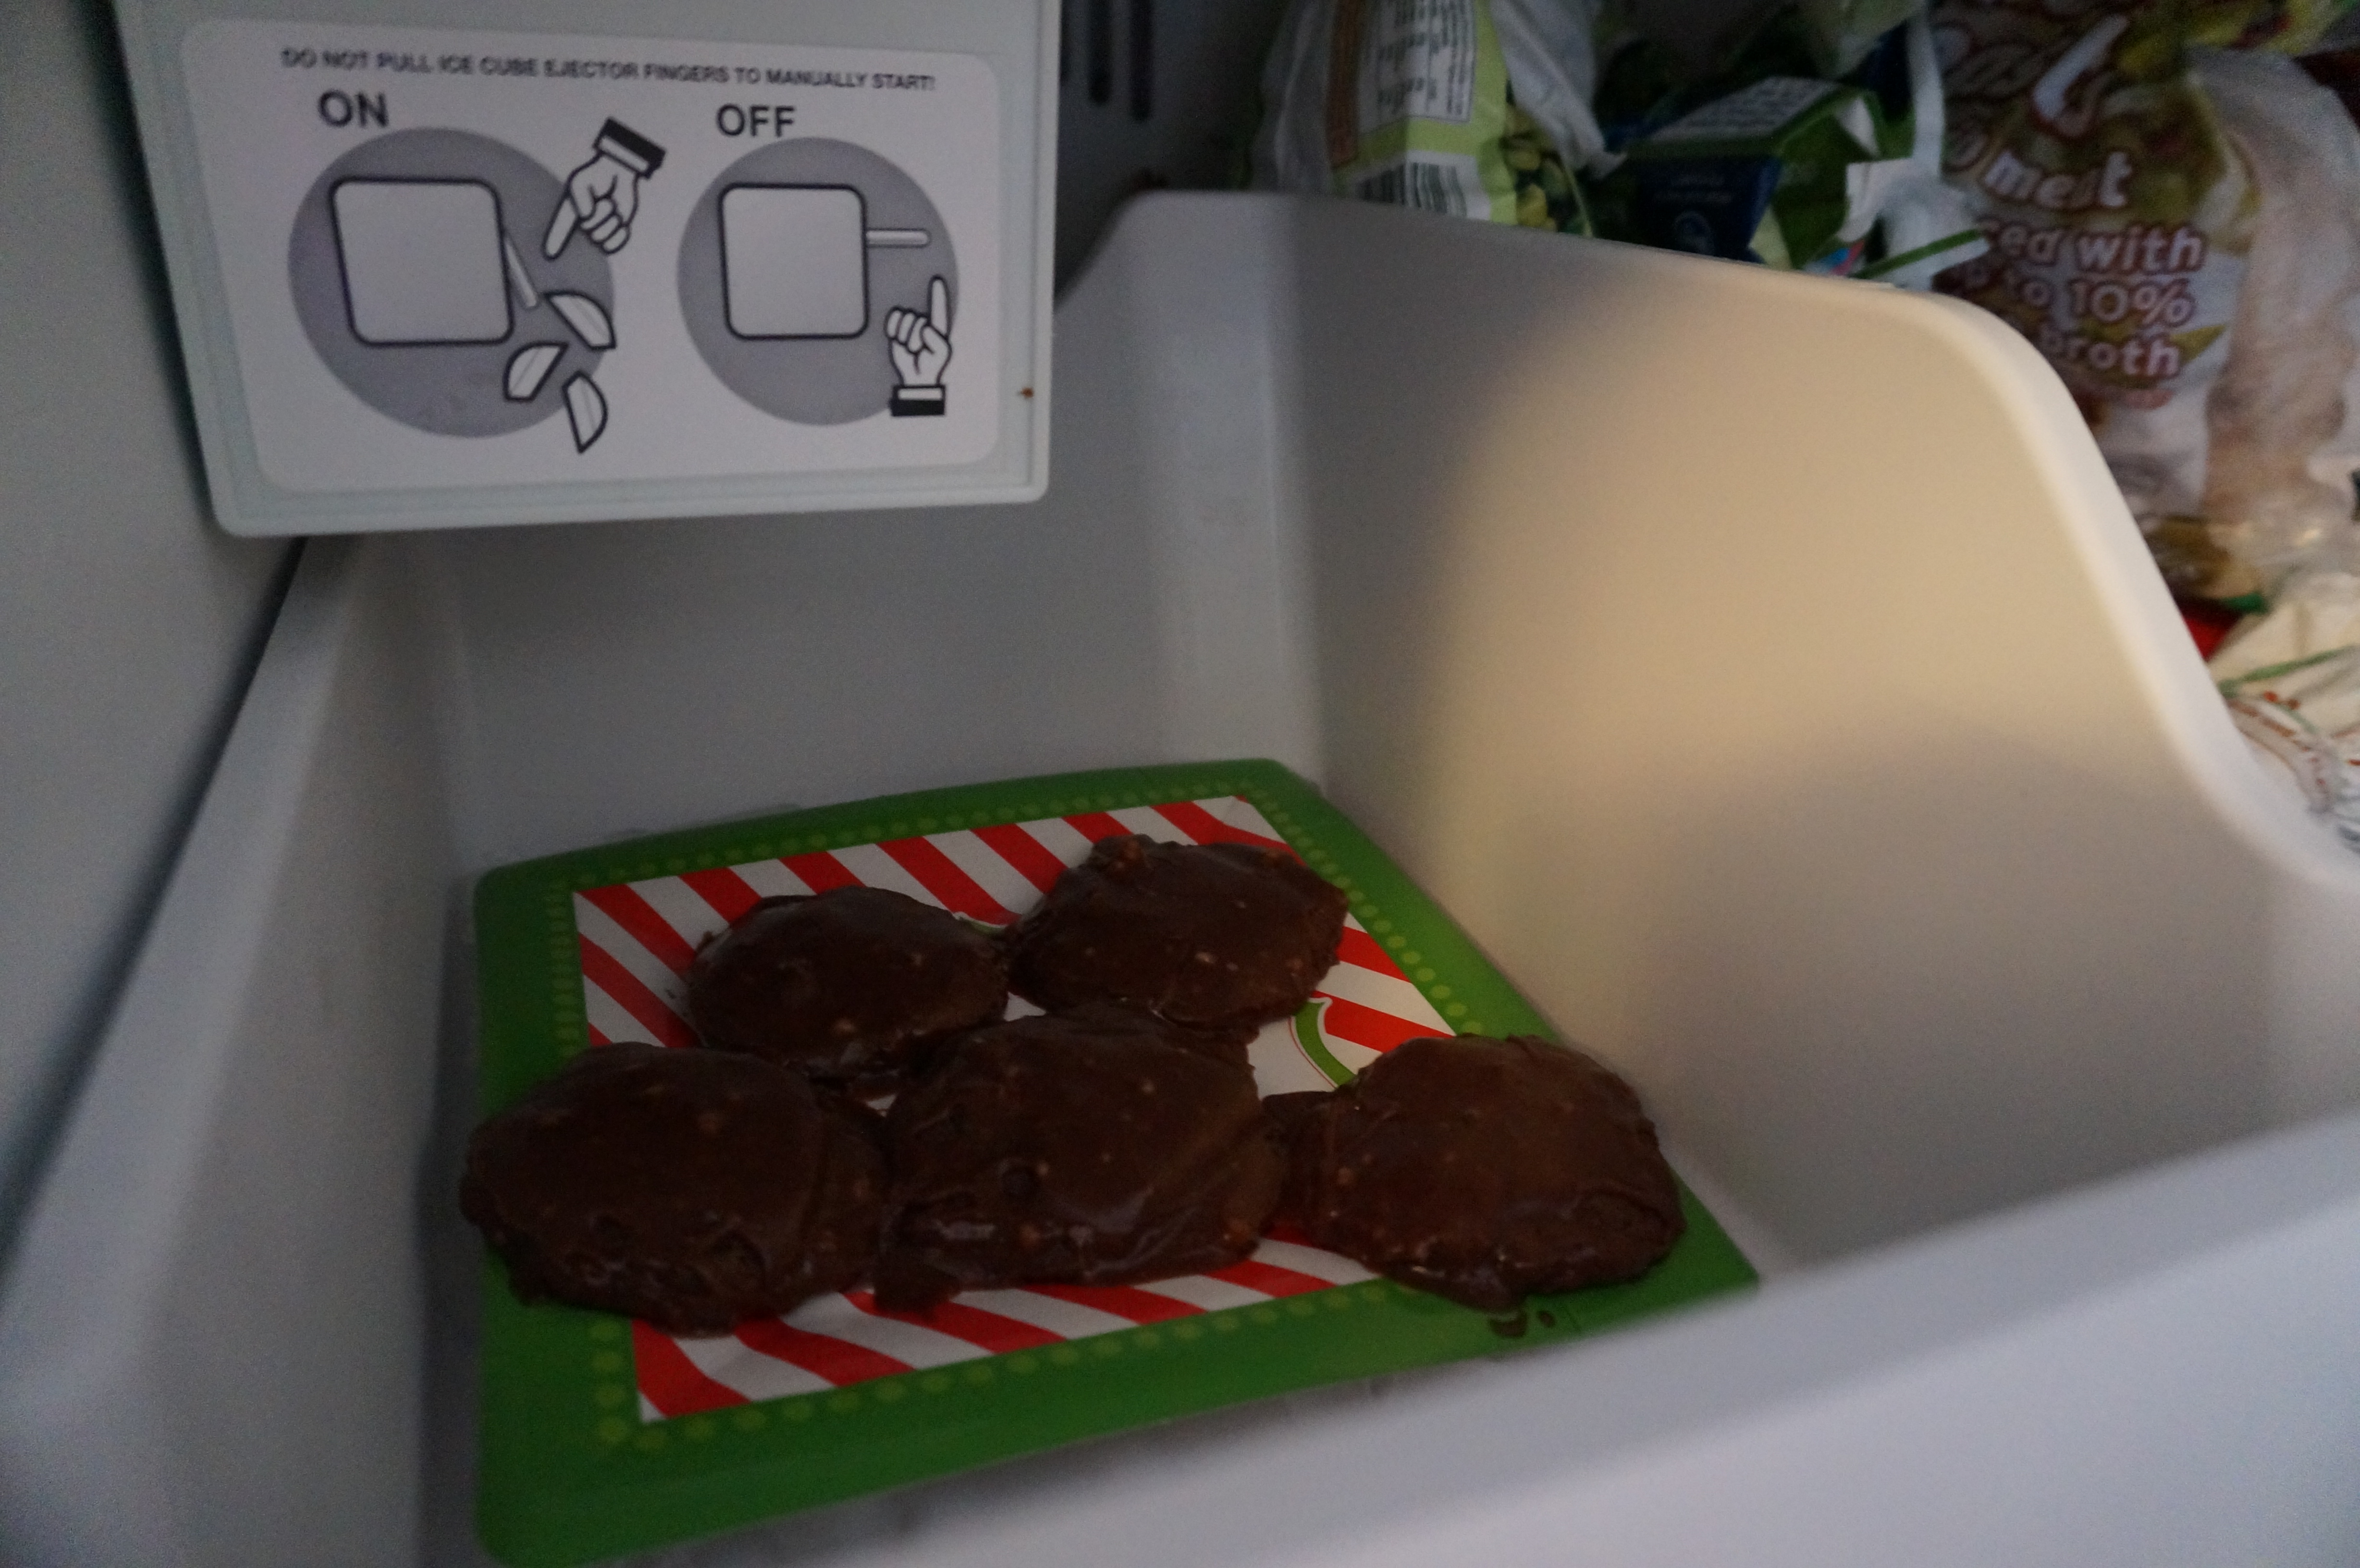
  6. Cool completely. When ready to serve, invert cake pan onto a plate and gently invert again onto the presentation plate.
  7. Dust with powdered sugar and cut into pie-shaped slices.


Texas Sheet Cake Cookies

Disclaimer: there is nothing, I repeat NOTHING, healthy about this recipe. So don’t expect me to spring out some kind of applesauce-for-butter swap or reduced-fat chocolate chips or something. First of all, that would be silly. When you make Texas sheet cake anything, you go all in. Second of all, these are for my brother-in-law, Billy, who is a college student at Vanderbilt. I do not think he would appreciate these swaps as much as you and I might.

That said, these babies are mightttttty rich, just the way that Texas Sheet Cake should be. The first time I ever heard of this dessert was actually at my husband’s family’s house in Pittsburgh. Billy apparently loves this cake, and my now-mother-in-law made it for him (she’s always making up these fancy desserts for her boys- I don’t know how she finds the time to do it!). Basically it is cooked in one layer (hence the “sheet” cake part) and drizzled with this decadently sweet, gooey chocolate homemade icing.

Another visit (I think it was Easter?) I saw this recipe again, but this time in cupcake form! I think I even blogged about it!

Yep- confirmed. That post is here. Note the Easter-appropriate toothpick bunny flags. Love. Easter is the BEST.

Since I’ve tried these in sheet cake form and cupcake form, the only remaining way to try them (besides over my yogurt or oatmeal, of course) is in cookie form! It sounded like a great idea, especially when I found confirmation on Cookies and Cups blog! Score. I instantly knew what to send the birthday boy. I was also excited to use my new Silpat, which I got on Amazon. I’ve been seeing this used on a lot of my favorite baking blogs, and I’ve been told that literally nothing will stick to it. As someone who goes through cooking spray like it’s nobody’s business, I jumped on the opportunity to purchase a Silpat. Who wants all those chemicals and who-knows-what-else from that stuff in their body? No, Siree!

(Billy could probably care less. But I do it out of love. One day he will thank me when he doesn’t have giant tumors growing out of his ears).

Get ready to be blown away, and to have some very messy, chocolatey hands (please excuse my own in the close-ups!). I highly advise having a dog who doesn’t die when given endless amount of hardened chocolate icing, or a husband who doesn’t care as much about his figure as you care about yours. Aka, the human garbage disposal. I actually had to stick these in the freezer (see pictures below) to allow the icing to cool enough to package them up to send! Made it to the post office on this Saturday with about 3 minutes before it closed. FTW!

Your world is about to be rocked. Texas style.

DSC00807

DSC00794

DSC00795

DSC00800

DSC00802

DSC00803

DSC00806

DSC00807

Texas Sheet Cake Cookies
Recipe Type: Dessert, Cookies
Cuisine: Cookies
Author: Claire McCormick, adapted from “Cookies and Cups”
Prep time:
Cook time:
Total time:
Serves: 24
A decadent, fudgy treat for the chocolate lovers in your family. Enjoy with a nice big, cold glass of milk to wash it down! Makes 15-24 cookies, depending on size of cookies.
Ingredients
  • 1/2 cup (1 stick) butter, softened
  • 1/3 cup sugar
  • 1 egg
  • 1 tsp vanilla
  • 1 tsp baking powder
  • 1/2 tsp salt
  • 1 1/3 cup all-purpose flour
  • 1/2 cup semi-sweet chocolate chips, melted
  • For the icing:
  • 1/2 cup butter
  • 2 tbsp cocoa powder
  • 3 tbsp milk
  • 2 1/2 cups powdered sugar
Instructions
  1. Preheat oven to 350 degrees.
  2. In a stand mixer, beat together butter and sugar until smooth.
  3. Add egg and vanilla and continue to mix on low.
  4. Add baking powder and salt. Add flour gradually. Dough should get thick.
  5. Melt chocolate chips by placing in a microwave-safe bowl and cooking in 30 second increments, stirring in between.
  6. Stir melted chocolate straight into the cookie dough.
  7. Chill for 10 minutes to allow dough to set a bit.
  8. Scoop up rounded tablespoonfuls of dough onto a Silpat-lined (or lightly oiled) cookie sheet about 1 inch apart.
  9. Bake 5-7 minutes, until tops of cookies are just set. DO NOT overbake these! They will still be very soft when they are done!
  10. Wait a few minutes before transferring to a wax-paper lined baking sheet. Arrange cookies so that they are almost touching each other.
  11. For the icing, heat one stick butter, cocoa powder, and milk in a saucepan on medium heat. Whisk together until smooth.
  12. Whisk in the powdered sugar gradually.
  13. Using a spoon, drizzle icing over the top of the cookies. (There is a lot of icing with this recipe, so don’t you dare skimp! The cookies should be literally sitting in a pool of chocolatey goodness.)
  14. Allow icing to set (you may need to chill them for a few minutes) before removing them from the pan. Don’t forgot to scrape up the leftovers and devour all by yourself! (er, share with all of your loved ones?)
Serving size: 1 cookie Calories: 180 cal Fat: 9 g Carbohydrates: 25 g Fiber: 1 g Protein: 1 g


Cheesecake Swirl Sweetheart Pie

DSC00604

With V-Day right around the corner, this simple, no-bake recipe is the perfect choice for all you lovestruck fellas out there who want to treat your lady to a special dessert, but the thought of turning on the oven and actually baking something makes you cringe! I promise this easy icebox pie will win major points in the romance category. It uses only a few ingredients, most of which just require you to unwrap them- no measuring needed! You can also make it in advance so that you have plenty of time left to focus on setting the mood for your sweetheart. You’ll have dessert all ready to go when the time is right!

Cheesecake Swirl Sweetheart Pie
Recipe Type: Dessert
Cuisine: Easy, No-Bake
Author: Claire McCormick of “Claire Tastes”
Prep time:
Total time:
Serves: 8-12
Ingredients
  • 2 packages cheesecake flavored instant pudding (I used one regular, one sugar-free)
  • 3 cups cold low fat milk
  • 1 8 oz tub light whipped topping (like Cool Whip), thawed
  • 1 ready-made graham cracker crust
  • 1 tsp strawberry flavoring (optional)
  • 1/2 cup frozen fruit of your choice (I used a berries and peach medley)
  • 1 tbsp sugar
Instructions
  1. Heat oven to 350 degrees. Blind bake pie crust 5 minutes or until a light golden-brown. Allow to cool completely.
  2. In a small bowl, mix thawed fruit and 1 tbsp sugar. Set aside to allow the sugar to draw out the juices from the fruit.
  3. In a large bowl, prepare pudding with 3 cups milk (1 less than package directions call for!). Whisk thoroughly until beginning to set, about 2 minutes.
  4. Stir in the whipped topping and strawberry flavoring with a spatula.
  5. Spoon filling evenly into cooled graham cracker crust.
  6. Gently spoon juices from fruit on top of the pie. Swirl with a knife over filling, making large swooping motions.
  7. Fill in the gaps of the swirls with the remaining fruit.
  8. Freeze at least three hours to allow pie to set.
  9. To serve, allow to thaw slightly for 20 minutes in refrigerator.

DSC00590

DSC00592

DSC00593

DSC00604

Disclaimer: This pie was actually NOT made for my sweetheart this time! I made it tonight for our good friend Liz who just found out she got into PA school! Her favorite type of dessert is something creamy like cheesecake with fruit on top. Her wish is my command! 

liz PA

 Congratulations Liz! We are so happy for you and Tim!

Classic Chocolate & Marshmallow Fudge

Classic chocolate-marshmallow fudge… because who doesn’t love a rich, sweeter-than-sweet cube of fudge to top off Christmas dinner? This recipe just screams “glass of milk!”

[as seen in my Christmas Buckeyes photos]

Classic Chocolate & Marshmallow Fudge
Recipe Type: Dessert
Cuisine: Holiday
Author: Claire McCormick of “Claire Tastes”
Prep time:
Cook time:
Total time:
Serves: 48
This recipe was adapted from Carnation’s “Famous Fudge” recipe at verybestbaking.com.
Ingredients
  • 1 1/2 cups granulated sugar
  • 2/3 cup + 2 tbsp evaporated milk
  • 2 tbsp butter
  • 1/4 tsp salt
  • 2 1/3 cups mini marshmallows
  • 1 1/2 cups semi-sweet chocolate chips
  • 1/2 cup chopped nuts (optional)
  • 1 tsp vanilla
Instructions
  1. Line a 9×13 inch baking pan with wax paper and spray with cooking spray.
  2. Combine sugar, evaporated milk, butter, and salt in a medium saucepan.
  3. Bring to a full, rolling boil over medium heat, stirring constantly so as to avoid boiling over (mixture will foam up a LOT!)
  4. Boil, stirring constantly, for 4-5 minutes. Remove from heat.
  5. Immediately stir in marshmallows, chocolate, nuts and vanilla. Stir vigorously for 1 minute or until marshmallows and chocolate are completely melted.
  6. Pour into prepared pan. Refrigerate 2 hours or until firm.
  7. Lift from pan and remove wax paper. Cut into squares and serve.


Christmas Buckeyes

Ah, what a classic! These are my less-than-creative take on chocolate covered peanut butter balls, fondly known as “Buckeyes.” I love the sweet combination creamy peanut butter and powdered sugar, doused in smooth semi-sweet chocolate, perfect for popping in your mouth all at once (husband- style), or taking the tiniest bites imaginable, waiting for each one to melt in your mouth (Claire- style). But really- any way you eat them, these are sure to please any mouth. Granted you like peanut butter. And chocolate. And peanut butter chocolate things. But honestly, who doesn’t? Are those like people who actually prefer unfrosted pop-tarts? Am I friends with any of these people? I surely hope not.

But I digress. This recipe can be adjusted SO easily to make it more or less sweet, evidenced by the dozens of completely different recipes you find online when you google “Buckeyes.” Um, can you say “slightly overwhelming”? I’ve found recipes that call for paraffin wax, recipes that use two cups of sugar, recipes that use SIX cups (yikes! my dentist would kill me with his drill!), recipes using chunky PB, and recipes that add crushed graham crackers to the mix to make it less of an “I-can-only-take-one-bite-of-these-and-then-I’m-done-because-this-is-too. darn. sweet” experience. This is really just the most basic version of the classic that I could find, so feel free to take some creative license and find out what works for you and your loved ones!

Have a very merry, peanut butter ball-dipping, Christmas!

*For the chocolate fudge recipe seen in these photos, click here.

photo 4 (30)

Christmas Buckeyes
Author: Claire McCormick of “Claire Tastes”
Prep time:
Cook time:
Total time:
Serves: 40
“Chocolate and peanut butter combos are gross!” said no one EVER.
Ingredients
  • 1 1/2 cups creamy peanut butter
  • 1/2 cup (1 stick) butter, softened (not melted!)
  • 4 cups confectioner’s sugar, sifted
  • 1 tsp vanilla
  • 6 oz semi-sweet chocolate chips
  • 2 tbsp shortening
  • toothpicks
  • wax paper
Instructions
  1. Line a baking sheet with wax paper and set aside.
  2. In a large bowl, beat peanut butter, butter, and vanilla on medium speed until no chunks of butter are left.
  3. Add confectioner’s sugar cup by cup, reducing mixing speed to low. The dough should turn into fine crumbs. Turn the mixer off.
  4. Get in there with your hands! The dough needs to be more packed together than a mixer can do, so you need to roll up those sleeves, remove that Pandora charm bracelet (am I the only one who thinks those things look like a kindergartener’s craft project?), and knead that dough into one big lump!
  5. Roll into 3/4″ balls and place on wax paper-lined baking sheet. Insert toothpick into each ball.
  6. Stick in the freezer for at least 30 minutes or until the peanut butter is firm.
  7. Melt chocolate and shortening in a glass bowl over a saucepan filled about 2″ boiling water. When peanut butter balls are set, use the toothpicks to dip each one into the chocolate, swirling to evenly coat the bottom and sides of each
  8. Replace on waxed baking sheet.
  9. Return to freezer (or refrigerator) and chill until chocolate is set, at least 30 mins.
  10. Remove toothpicks and serve with a big glass of milk!

photo 1 (65)

photo 5 (14)

Apple & Pear Harvest Crumble

Apple & Pear Harvest Crumble
Recipe Type: Fall Desserts
Author: Claire McCormick
Prep time:
Cook time:
Total time:
Serves: 6-8
I made this sweet, light fall recipe adapted from Chow.com in honor of my mom’s birthday on their brief visit down to Durham! I also decided to add raisins to the baked fruit and some nuts on top of the crumble to add some extra texture. Served warm with a generous scoop of Stonyfield vanilla frozen yogurt!
Ingredients
  • 4 medium sized red apples (I used organic Macintosh) peeled, cored, and sliced 1/4 inch thick
  • 2 small, firm pears (I used organic Bartlett)
  • 1/2 cup baking raisins or dried cranberries
  • 2 to 3 tablespoons granulated sugar
  • 1 teaspoon ground cinnamon
  • 1/4 teaspoon salt
  • 1/2 cup packed light brown sugar
  • 1/2 cup uncooked rolled oats
  • 1/4 cup chopped pecans or walnuts
  • 1/3 cup all-purpose flour
  • 4 tablespoons cold unsalted butter (1/2 stick), cut into small pieces, plus more for coating the dish
Instructions
  1. Heat the oven to 350°F. Lightly coat an 8-by-8-inch baking dish with butter.
  2. Combine the apples, pears, raisins, granulated sugar, cinnamon, and 1/8 teaspoon of the salt in a large bowl and toss to coat. Place the apple mixture in the prepared baking dish and set aside.
  3. Using the same bowl as for mixing the fruit, mix together the brown sugar, oats, flour, and remaining 1/8 teaspoon salt until evenly combined. With your fingertips, blend in the butter pieces until small clumps form (about 2 minutes)
  4. Sprinkle the topping evenly over the apples. Sprinkle nuts over top. Cover loosely with tin foil and bake until the streusel is crispy and the fruit are tender, about 50 minutes. Remove tin foil for last 10 minutes to crisp up the top! Allow crumble to cool on a rack for 15-20 minutes. Serve warm with a big scoop of ice cream or frozen yogurt!

photo 2 (43)

photo 1 (50)

photo 3 (33)

Recipe adapted from http://www.chow.com/recipes/11416-apple-crisp-with-oatmeal-streusel