Sweet Potato Empanadas

Happy Sunday! As you may have already seen on Instagram, I made these sweet potato empanadas last night to bring over to a friend’s house for their annual Friendsgiving (which, by the way, is an awesome tradition… two Thanksgiving feasts in one week? Umm, yes please.) and I think they were a hit! A little bit different, but still with those Thanksgiving flavors that everyone expects.

Sweet Potato Empanadas

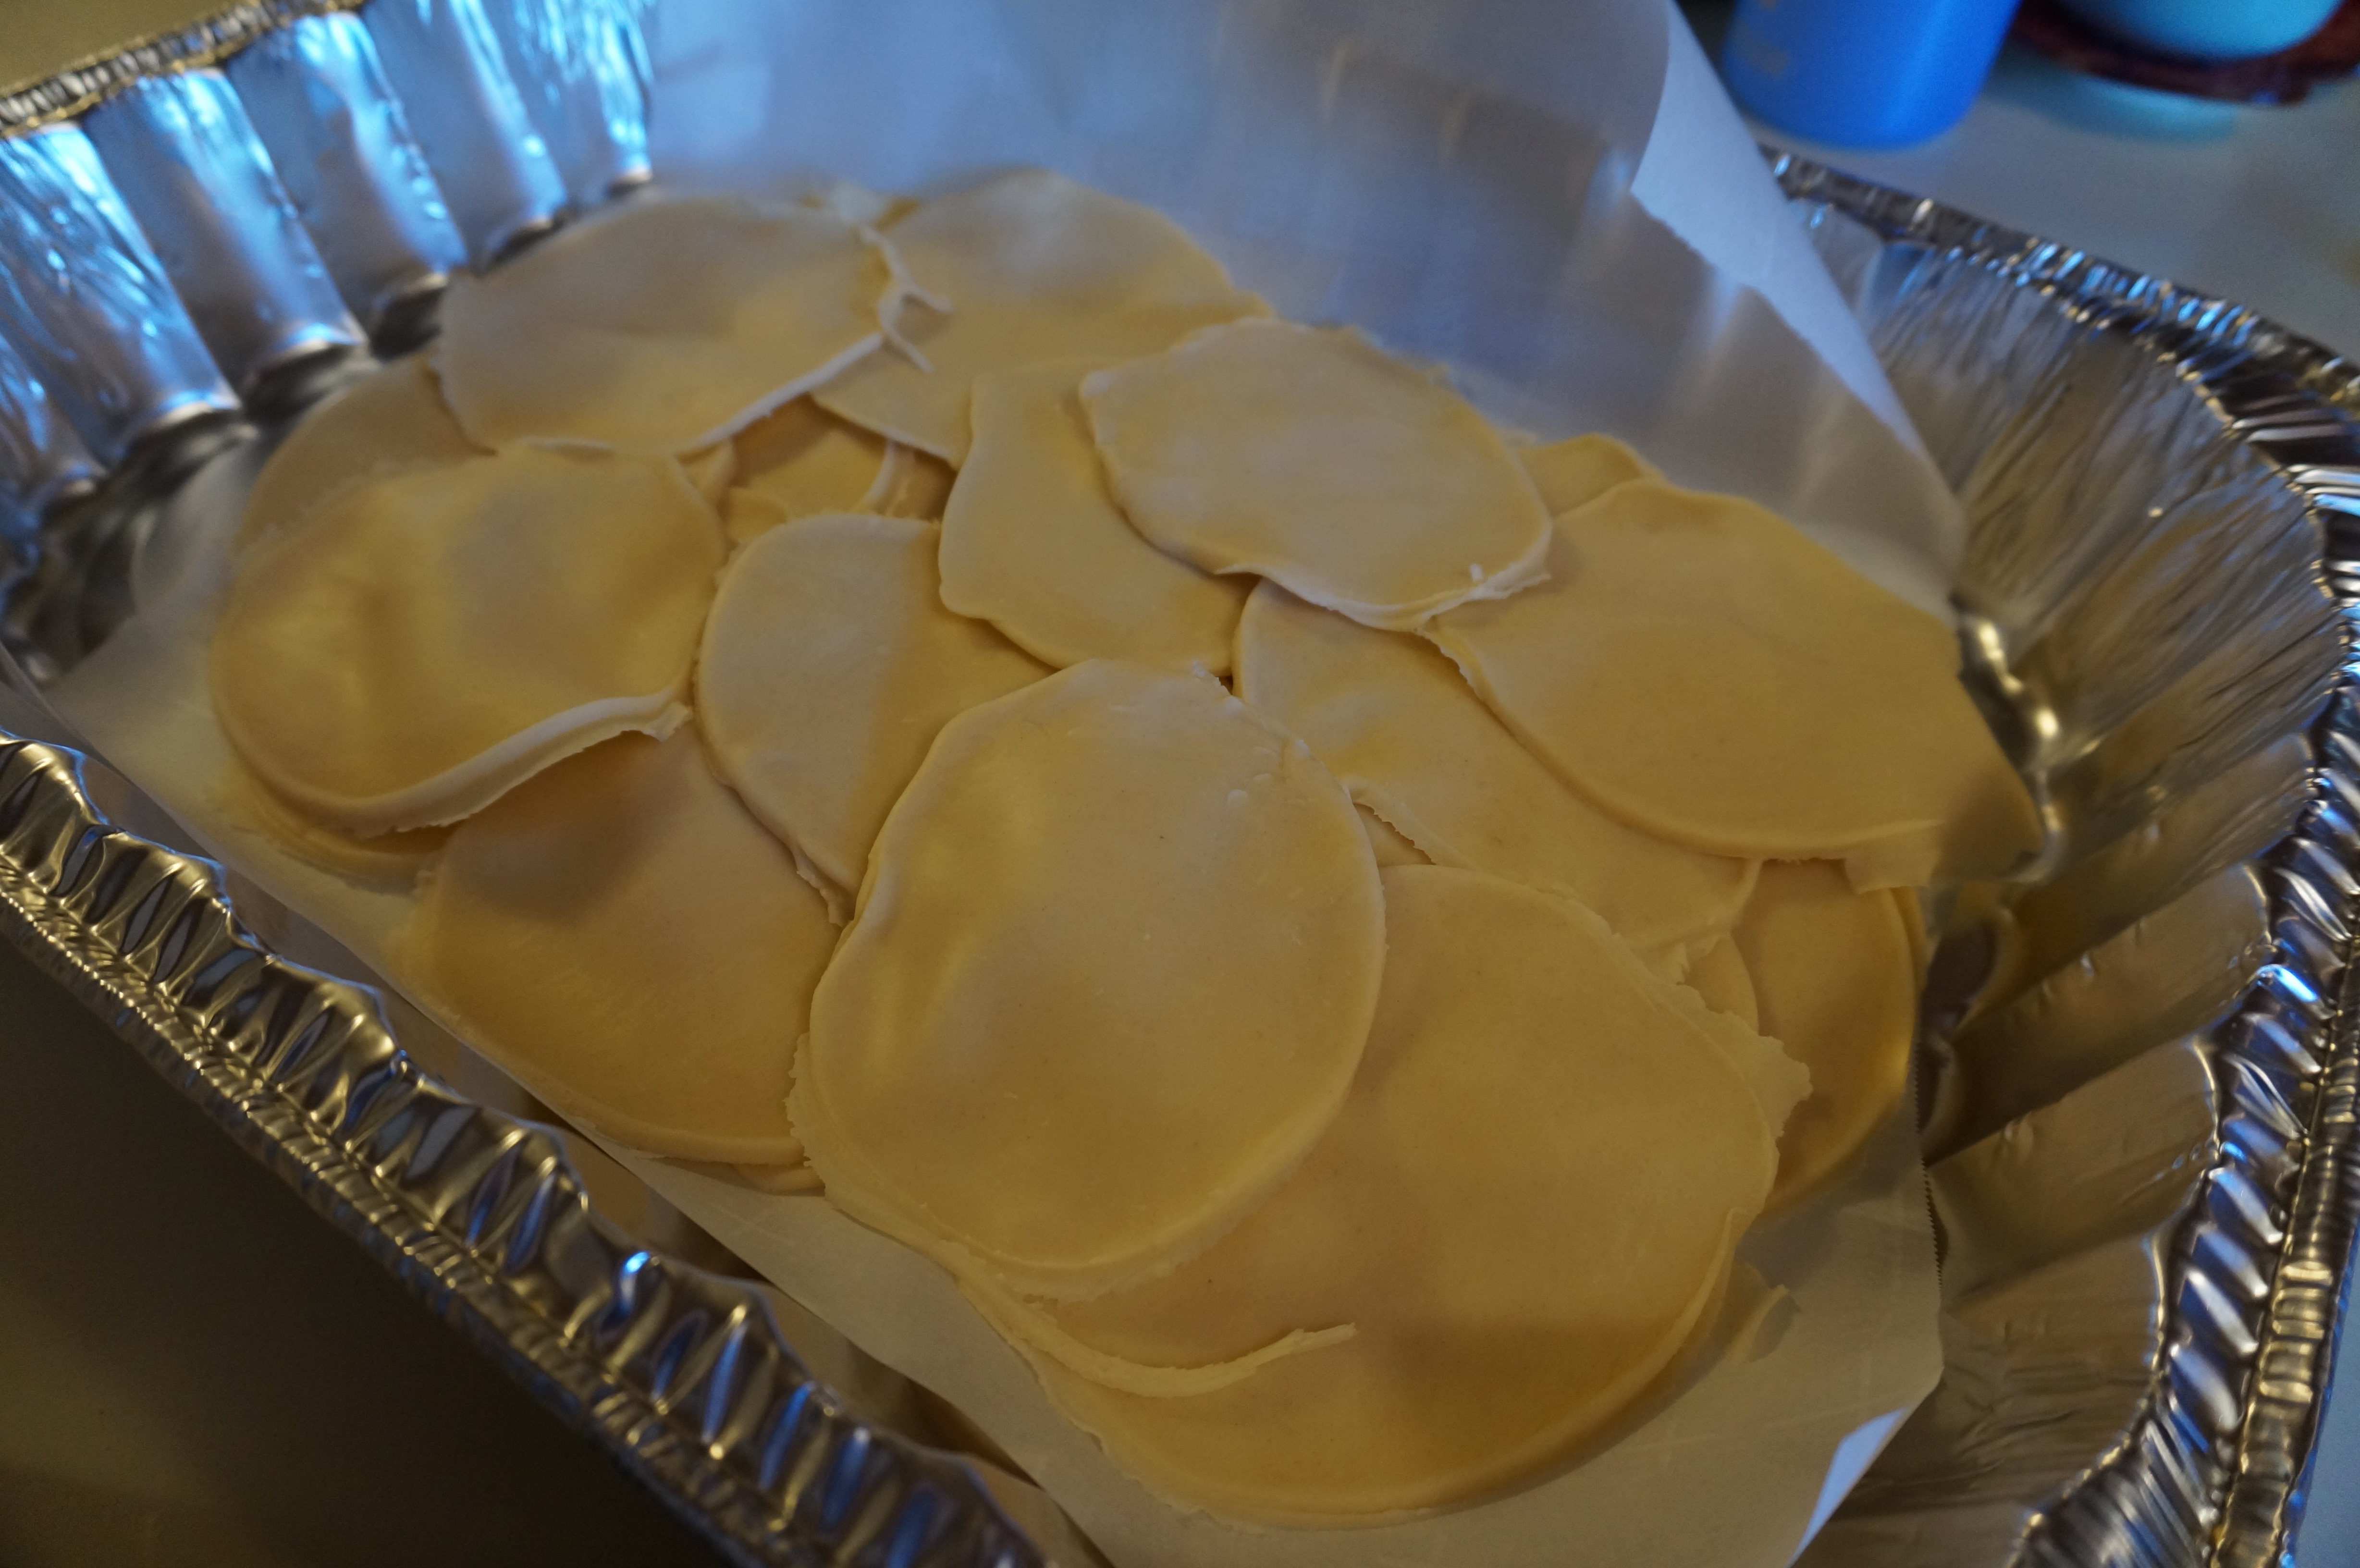
I searched high and low on every Harris Teeter shelf to find empanada dough, to no avail. I guess Harris Teeter just doesn’t give off that Mexican vibe. I settled on Pillsbury pie crust- 2 for $4! I think it still turned out ok- the crust was flaky and crispy- I just had to punch out my own circles. NBD.

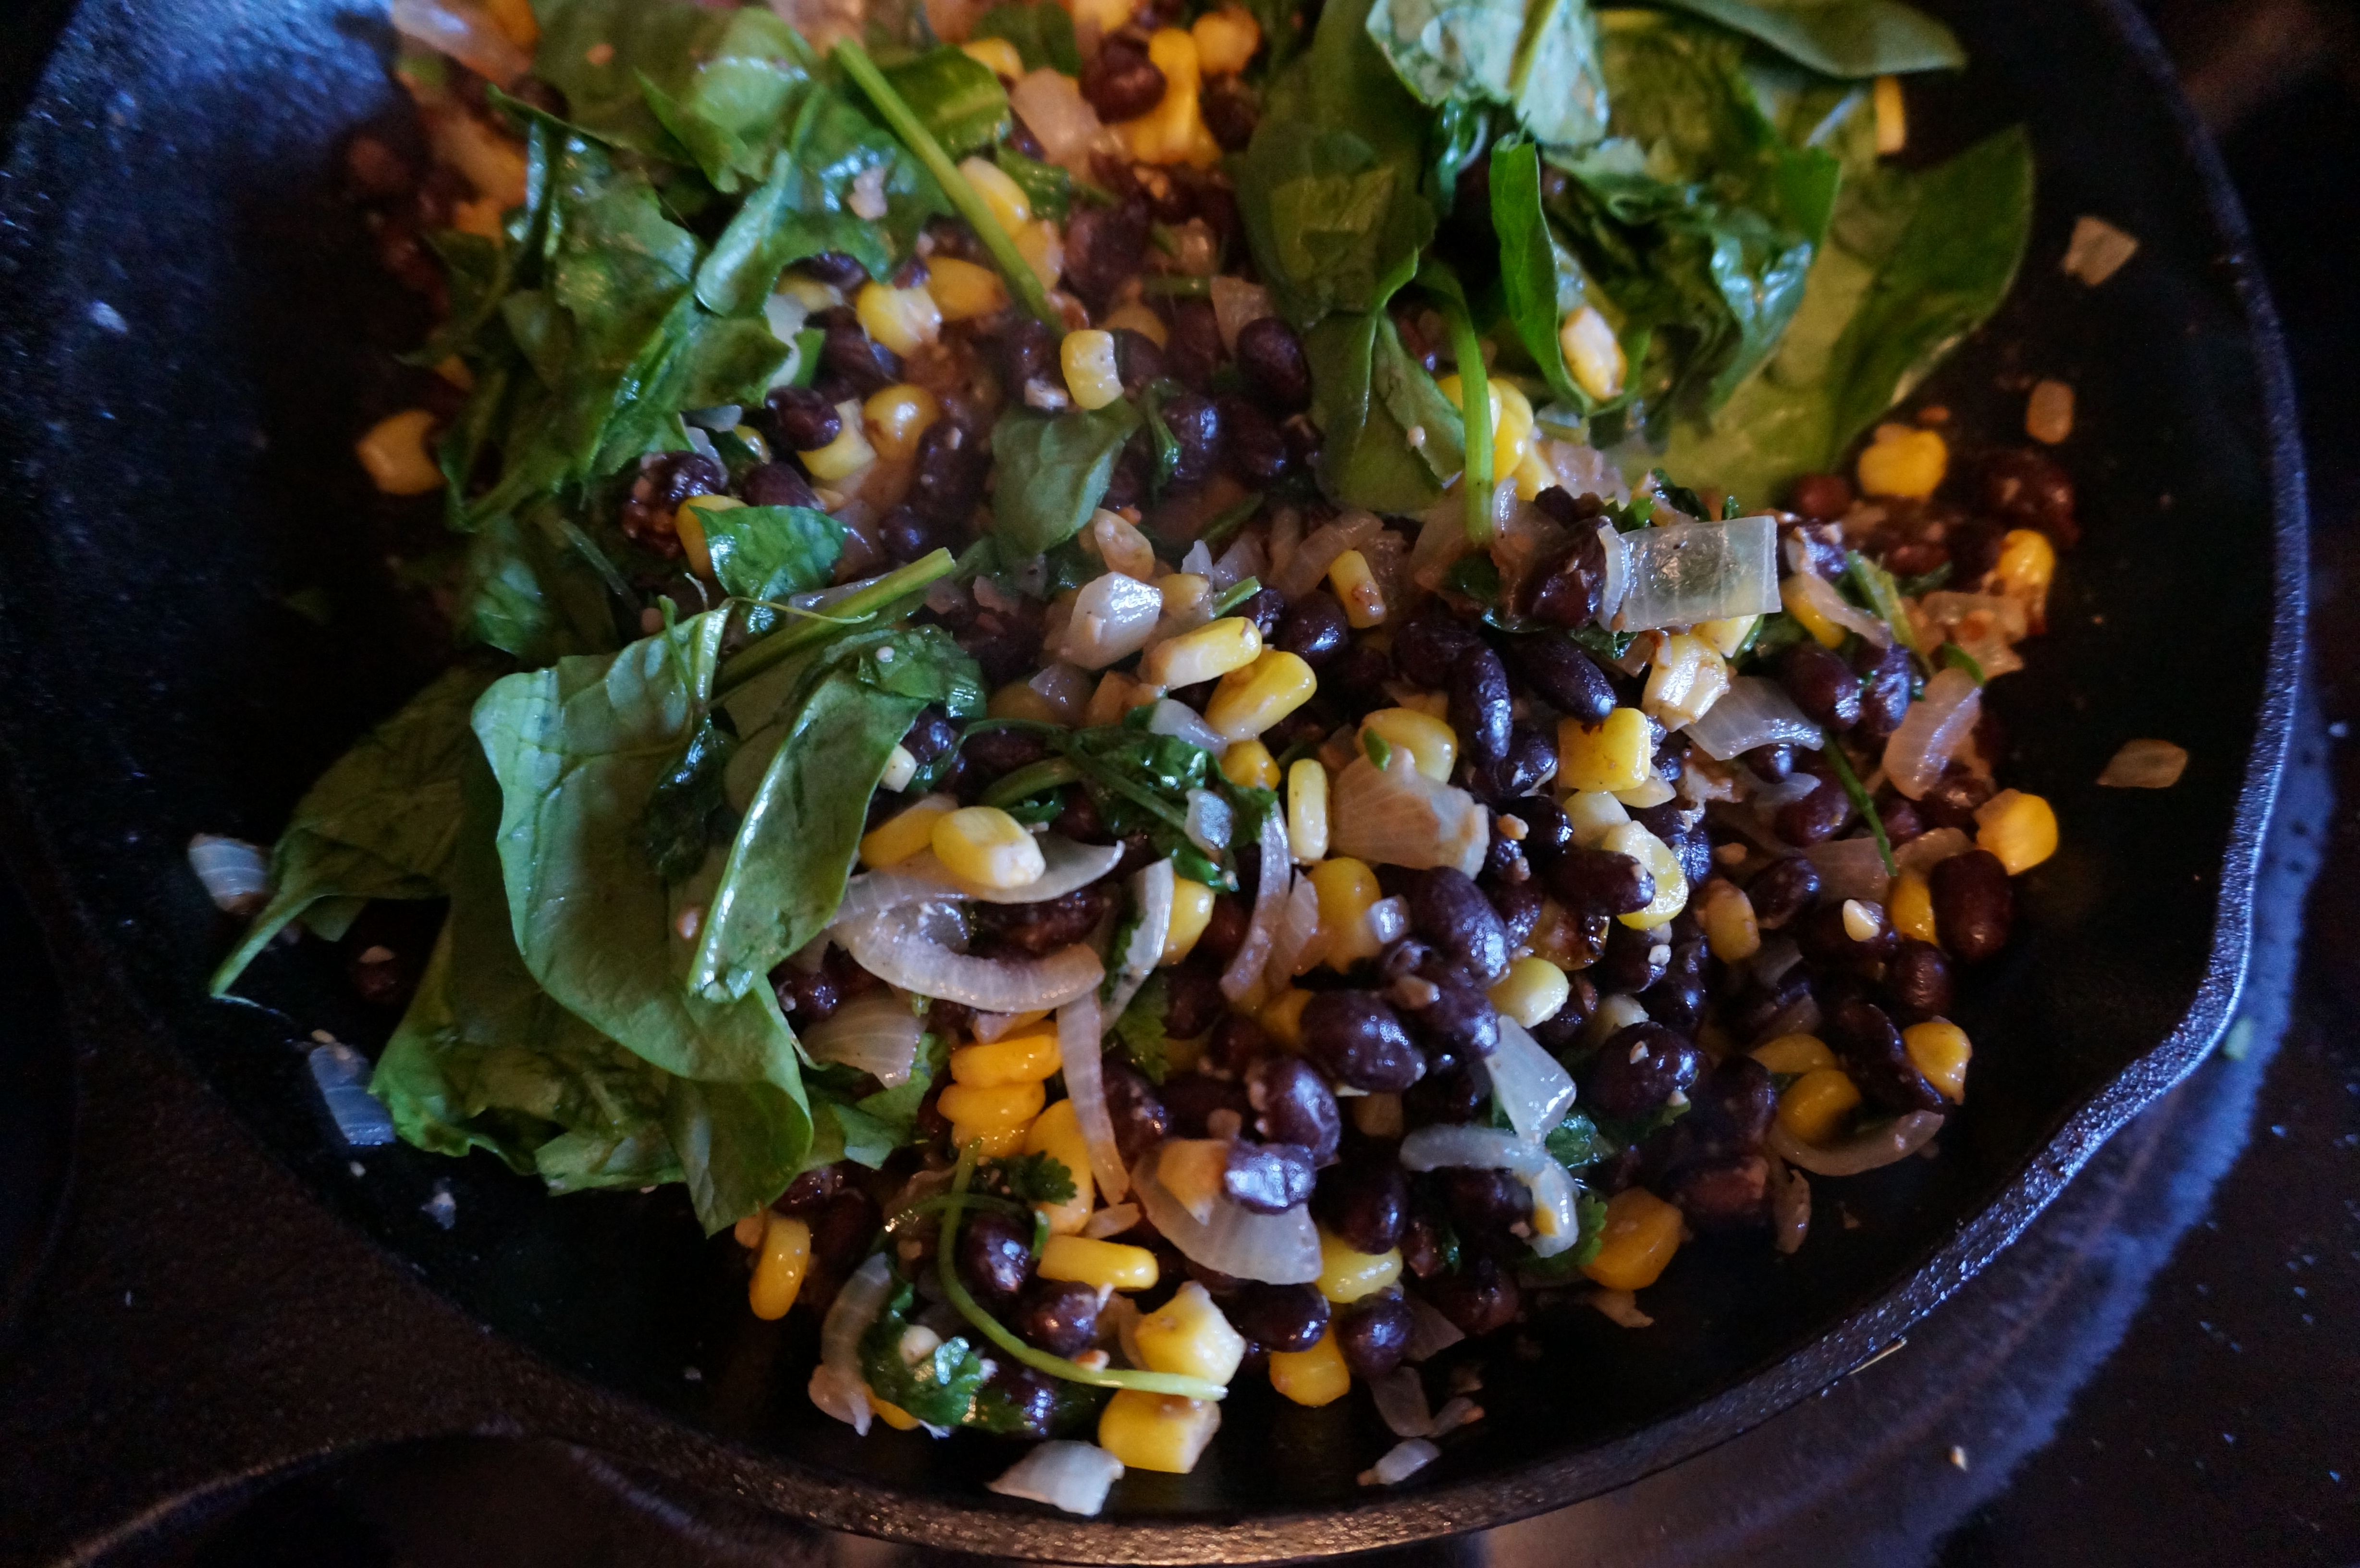
For the filling, I used canned sweet potato, cream cheese, and a corn and black bean mixture that I sautéed with cilantro, onion and garlic. Crumbled goat cheese and walnut pieces on top! Then roll, crimp, and bake for about 20 minutes or until golden brown and flaky.

Sweet Potato Empanadas
Recipe Type: Appetizer, Main Dish, Side
Cuisine: Mexican, Thanksgiving
Author: Claire McCormick of “Claire Tastes”
Prep time:
Cook time:
Total time:
Serves: 12-15
A fun and different addition for Thanksgiving this year! Use as an appetizer, side, or pair with a nice big salad for post-Turkey day leftovers!
Ingredients
  • 1 package refrigerated pie crust (2 crusts), at room temperature
  • 1 tbsp olive oil
  • 1 onion, chopped
  • 1 tbsp garlic
  • 1/2 cup frozen corn
  • 1 can black beans, drained and rinsed
  • 1/4 cup cilantro
  • 1/2 cup chopped spinach
  • 1 tsp balsamic vinegar
  • 1 tsp lemon or lime juice
  • 1 tbsp butter
  • 1 can sweet potato puree
  • 4 oz. plain cream cheese spread
  • 1/2 tsp garlic powder
  • 1/4 tsp nutmeg
  • 1/4 tsp chili powder
  • 1/2 tsp cumin
  • 1 tsp honey
  • 1/2 cup crumbled goat cheese
  • 1/4 cup crumbled walnut pieces (optional)
  • 1 egg
Instructions
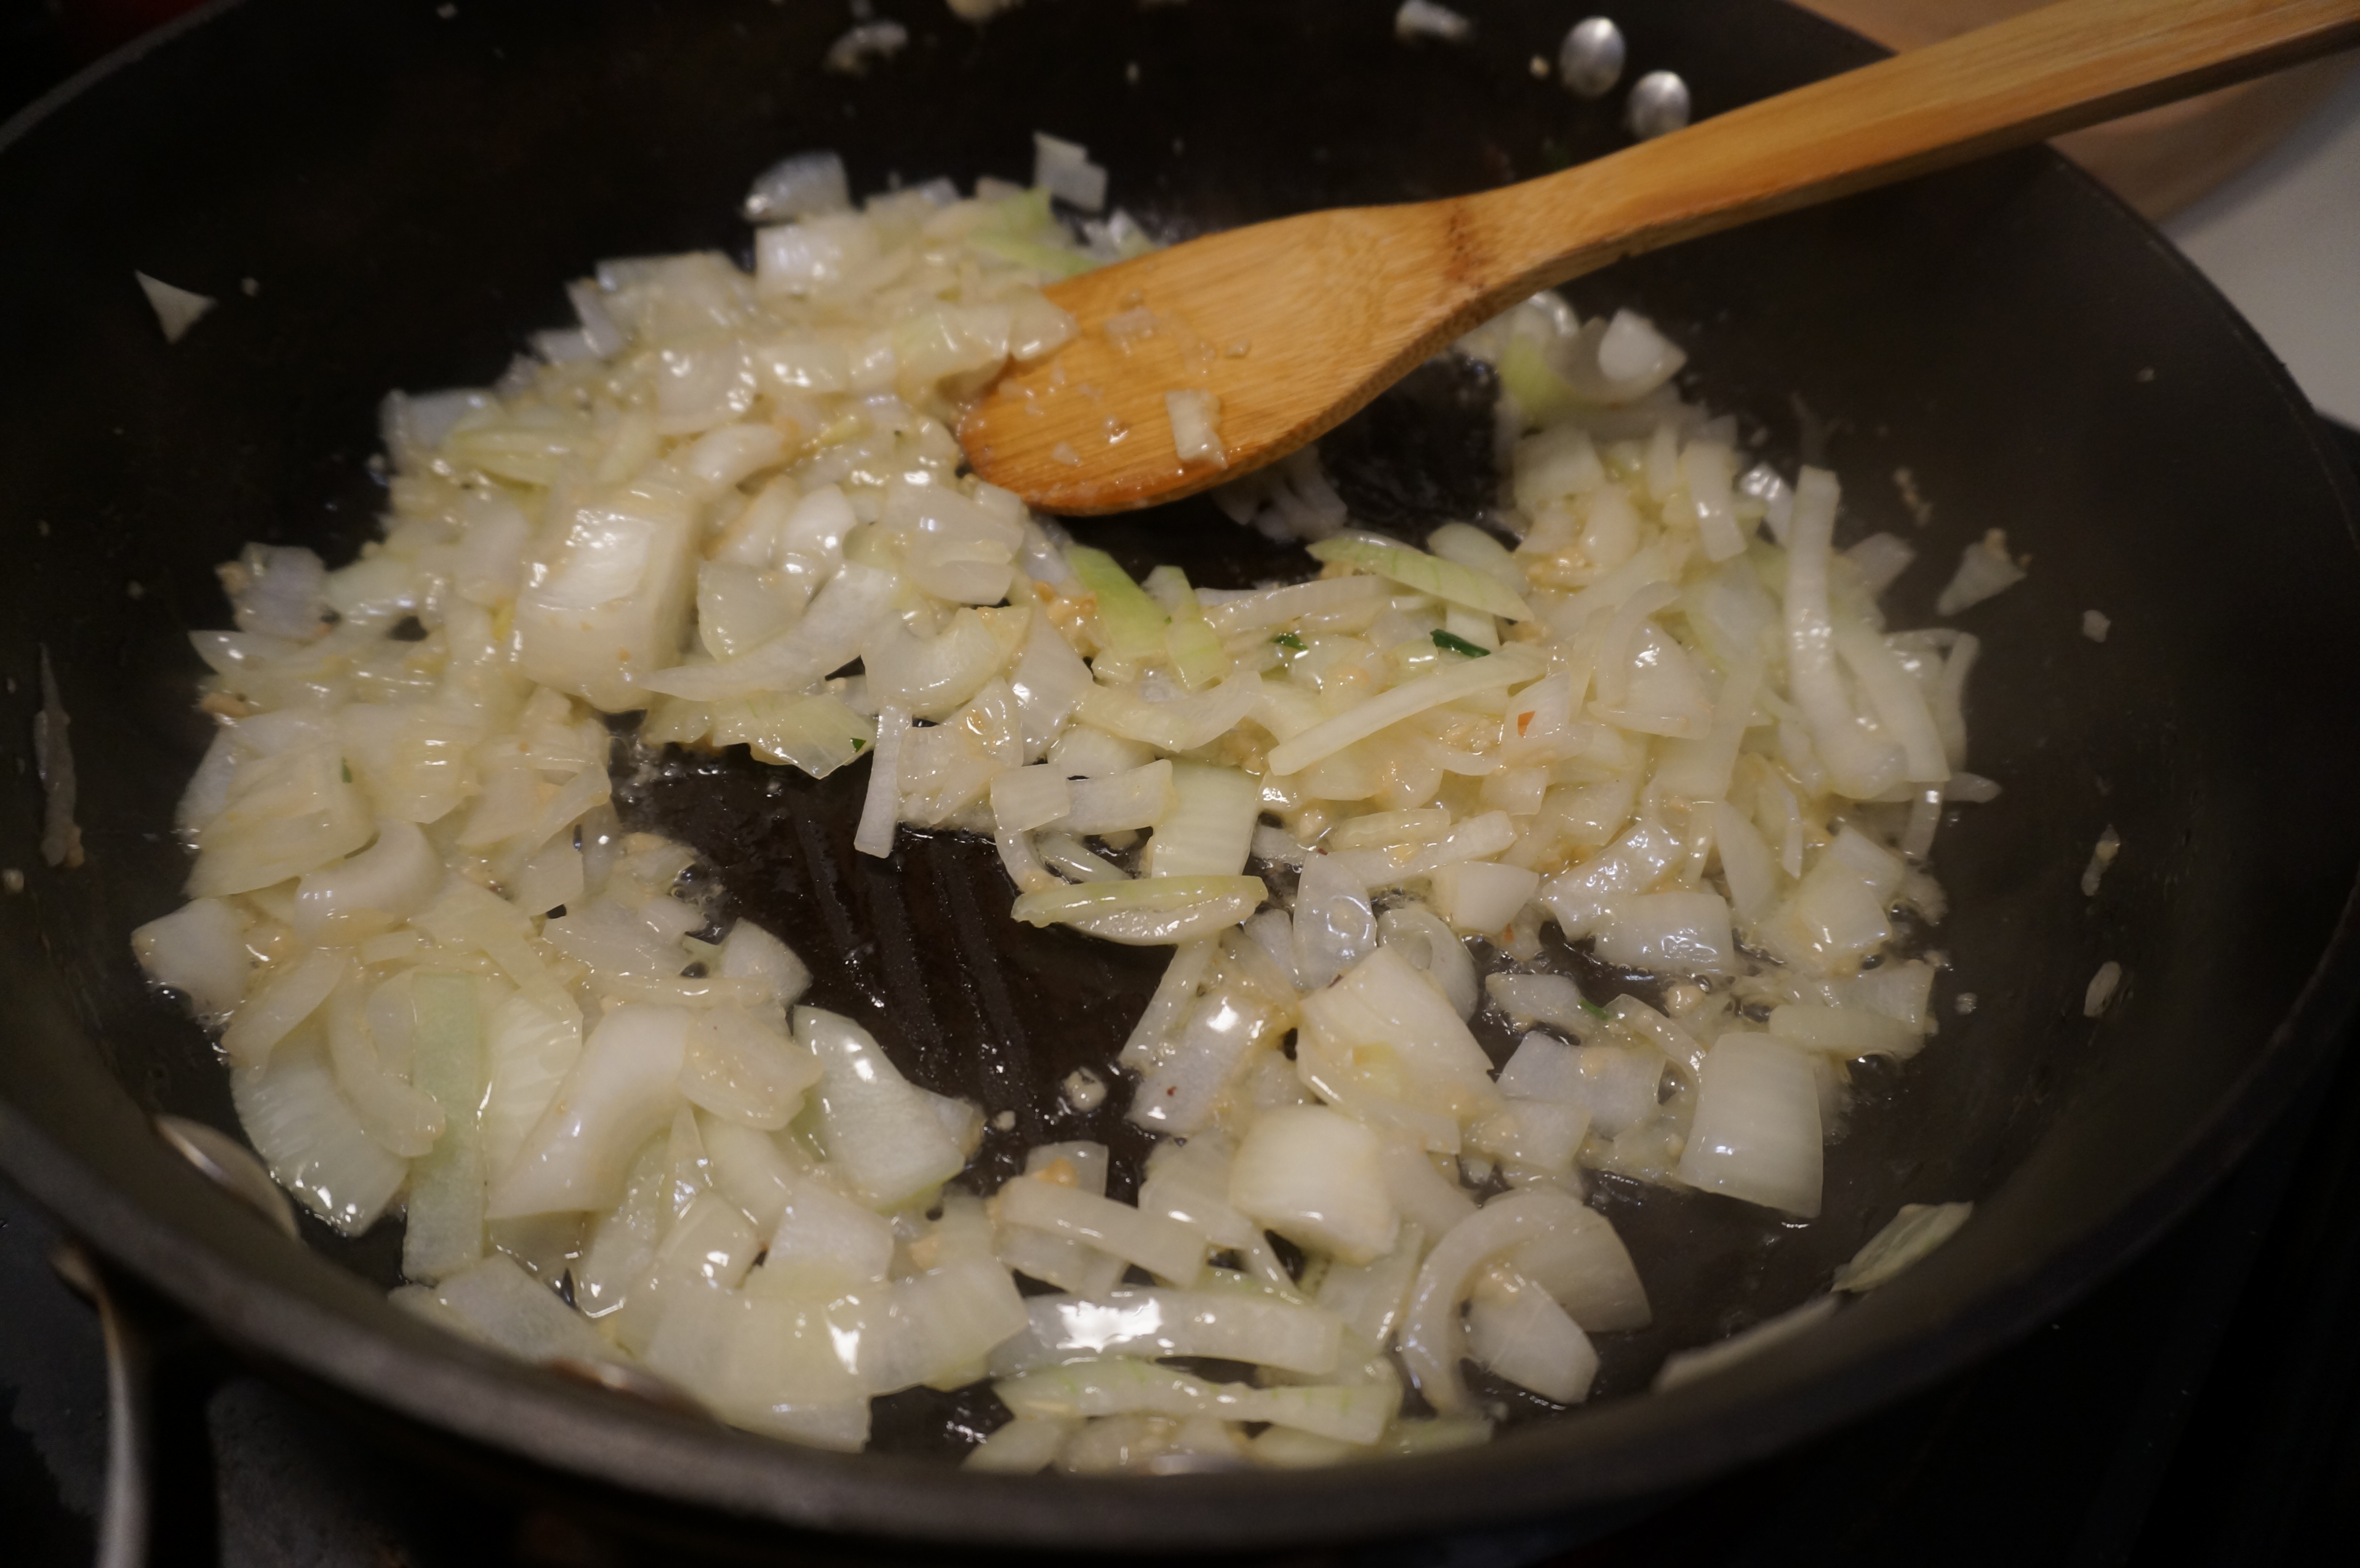
  1. In a medium skillet, heat olive oil over medium-high. Add onion, garlic, and corn and cook, stirring occasionally, until onion is softened- about 4 minutes. Add black beans, cilantro, and spinach and stir until wilted. Remove from heat and immediately stir in vinegar and lemon juice. Mash beans slightly with the back of your spoon.
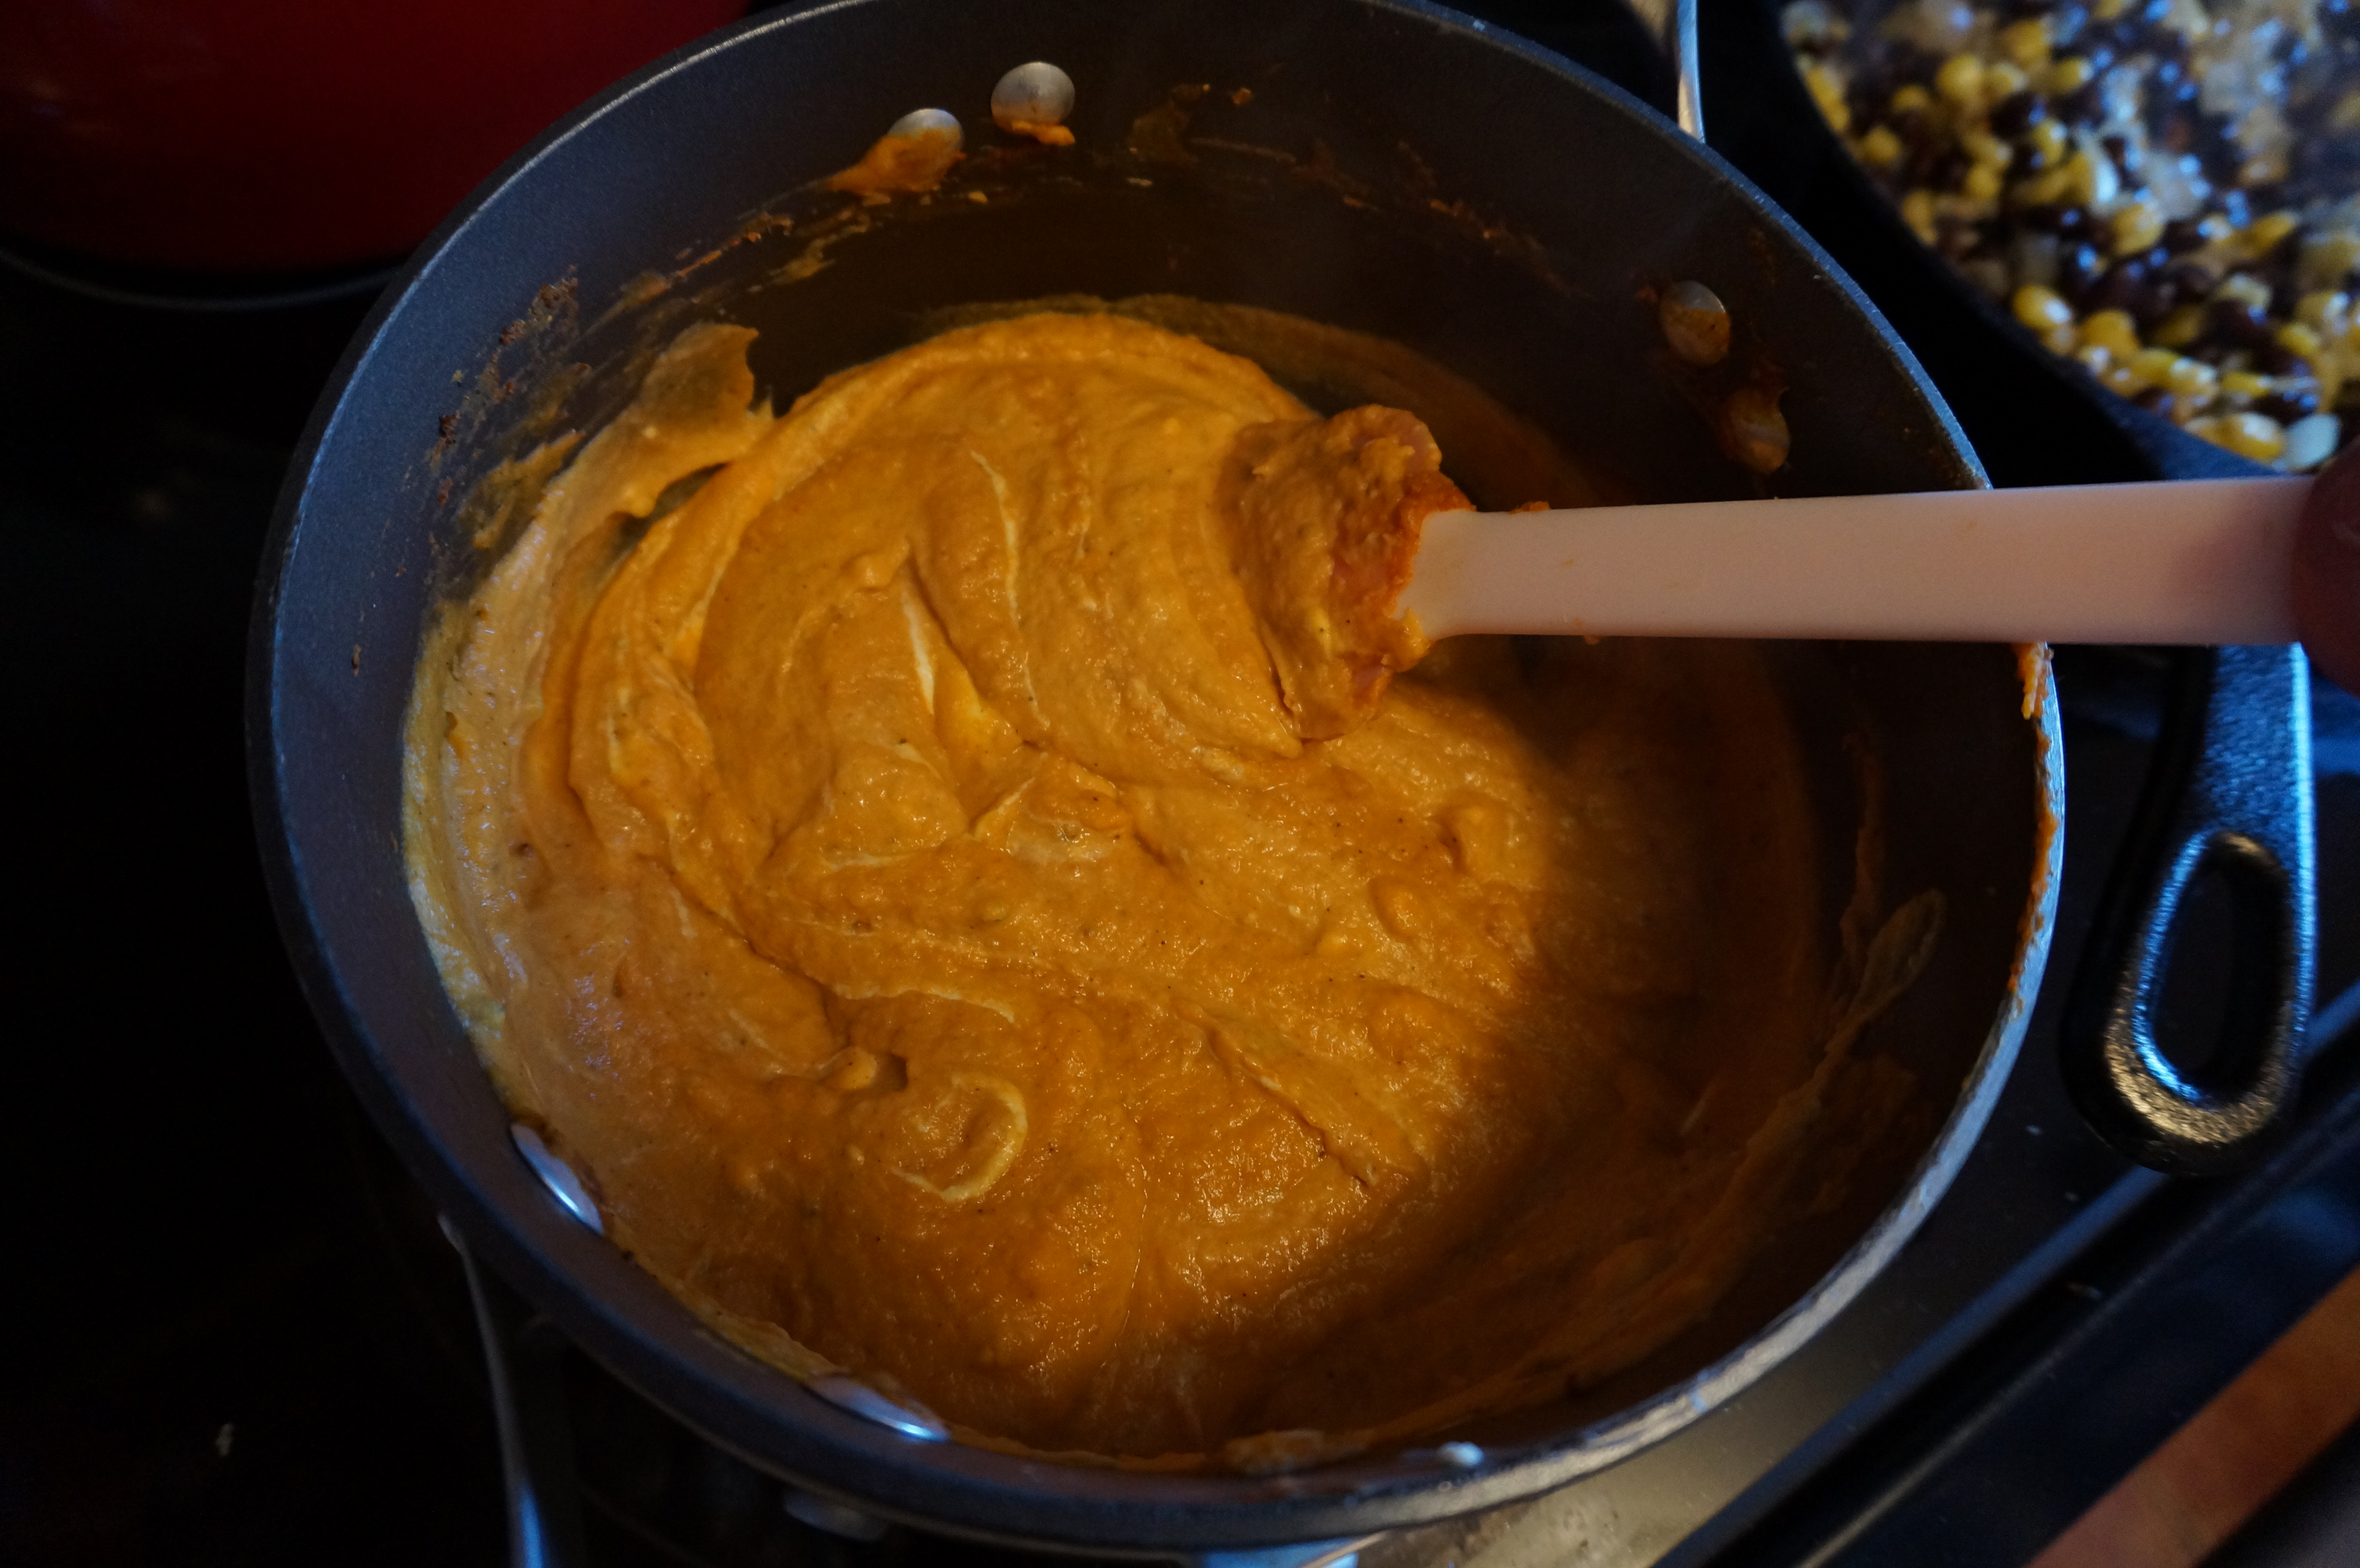
  2. In a saucepan, heat butter over low heat. Add sweet potato, cream cheese, spices, and honey and stir to combine, until cheese is melted through.
  3. Add corn and bean mixture to sweet potatoes and mix.
  4. Unwrap pie crust and roll out with a rolling pin. Use the top of a large glass or a biscuit cutter to cut out circles 3″ in diameter. Fill each with about 1 tbsp filling, then fold over edges and crimp with fingers or a fork.
  5. Place on a cookie sheet and brush with egg wash (1 egg whisked with 1 tbsp water).
  6. Bake at 400 deg for 20 minutes, until golden brown and flaky.
  7. Makes about 12-15 medium sized empanadas (depending on size)
Heat sweet potato mixture with cream cheese and spices.
Heat sweet potato mixture with cream cheese and spices. Drizzle in honey.
Cook onion with corn, beans, and cilantro.
Cut out pie dough into circles about 3" in diameter.
Cut out pie dough into circles about 3″ in diameter.
Spoon about 1 tbsp filling onto each disc.
Seal with fingers or a fork and brush with egg.
Cook at 400 deg for 20 minutes or until golden brown.
Sweet Potato Empanadas

Enjoy your Mexican Thanksgiving!

Apple Chutney Chicken

Happy Friday! What was the best part of your week? I felt like I was “in the groove” this week in a lot of ways, and learning a lot about patience in some other ways! God has been blessing me over and over! I am so grateful for all of the ways He provides for me and reminds me of His love.

We are officially out of leftovers. After about two weeks of having more half-full tupperware and take-out containers in our fridge than we knew what to do with, we finally reached the point where I had nothing to feed Ben for dinner!

Luckily frozen chicken breasts were Buy one, Get one free at Harris Teeter. Score! I also had planned to make another batch of applesauce like I did the other week with Natalie. I didn’t even get freeze any because we I (let’s be honest here) gobbled it up so fast! So I made another version of the peach version tonight when I got home from work. So relaxing to come home from a long day and just get to fool around in the kitchen.

Apple Chutney Chicken


Since dinner was being prepped at the same time, I just used some of the applesauce mixture (about 30 min into the cooking process) to ladle over these breaded chicken breasts. I also added a little dollop of apple salsa from a few weeks ago (which I had gotten a chance to freeze some of, luckily!), kale, and sharp cheddar cheese.

Apple Chutney Chicken

The result was a win… Ben gobbled this up! Speed of eating also may have had something to do with the fact that we were also watching a very exciting Duke vs. VCU game and some stress eating was involved. But let’s be real- cheese and apples make everything good.

Enjoy this as a light (but still satisfying and delicious) weeknight meal for pre-Turkey Day. I’m sure these would also be great with leftover turkey next Friday… just bake for 30 min instead of the full 50!

Apple Chutney Chicken
Recipe Type: Main Dish
Cuisine: Chicken
Author: Claire McCormick of “Claire Tastes”
Prep time:
Cook time:
Total time:
Serves: 6
A fall-inspired, healthy yet satisfying entree for pre-Turkey day dinner!
Ingredients
  • 6 large chicken breasts, defrosted
  • 3 eggs, beaten
  • 2 tbsp milk
  • 1/2 cup flour
  • 1 cup breadcrumbs, original flavor
  • salt and pepper to taste
  • handful of kale
  • 1 tbsp olive oil
  • 3/4 c. applesauce (see link for the homemade recipe in text above!)
  • ~1/3 c. apple salsa (see link in text above for my crock-pot recipe)
  • sharp cheddar cheese (slices or shredded)
Instructions
  1. Mix egg with milk and salt and pepper.
  2. Dredge defrosted chicken breasts in flour, followed by egg mixture. Shake of excess and dredge both sides in breadcrumbs. Place in a large casserole pan sprayed with cooking spray. Sprinkle kale in between chicken breasts and spray with olive oil or cooking spray.
  3. Preheat oven to 375 deg.
  4. Ladle about 2 tbsp applesauce mixture over each chicken breast, followed by about 1 tbsp apple salsa.
  5. Layer cheese on top of chicken.
  6. Drizzle olive oil over entire pan.
  7. Cook, covered with foil, for 35 min followed by uncovered for 15 minutes, or until internal temperature is 160 and cheese is golden brown.
  8. Allow to sit for 5 min before digging in!
Layer breaded chicken with applesauce mixture and apple salsa.

DSC03863

Top with cheese.
Top with cheese.
Bake at 375 until cheese is golden brown. Allow to sit for at least 5 minutes before serving.
Apple Chutney Chicken

Have a wonderful weekend!

Roasted Butternut Squash & Red Beet Salad w/ Warm Lemon-Curry Vinaigrette

If you’re thinking, “hmm, that picture looks familiar…” you’re right. I admit it right up front- this is a picture of a lentil salad I created this past September. That was back when we still had natural light streaming through our window at 4:00pm- a decent and completely respectable time to be making dinner! But come mid-November, at 4pm it’s basically already dark out and all my pictures end up looking shadowy and grainy. Since this salad has a lot of the same ingredients and honestly looks the same as this one did, I had to use it.

Roasted Butternut Squash & Red Beet Salad w/ Warm Lemon-Curry Vinaigrette


I love the flavors and colors of fall and how easy it is to eat healthily but satisfyingly. For this salad, I tweaked my original recipe by using butternut squash in place of sweet potato, garbanzo beans instead of white beans, and a bit more curry powder. Plus, REAL BEETS! Not that canned beets aren’t real… but I had never actually roasted my own beets. This was a major life event, ya’ll. I’ve heard they’re really easy to make and that the skin will rub right off after roasting in tin foil for about 45 min… and while this was sort of true, I found I really had to rub (or use the peeler) to get the skins off. Maybe I should’ve let them cool more? Will have to keep experimenting. But at least I can say I am no longer a raw beet virgin. Good times.

Roasted Butternut Squash & Red Beet Salad w/ Warm Lemon-Curry Vinaigrette
Recipe Type: Salad
Cuisine: Vegetarian, Healthy
Author: Claire McCormick of “Claire Tastes”
Prep time:
Cook time:
Total time:
Serves: 12-16
Roasting beets sounds scary, but it’s really super easy! Make a big batch of this power salad and enjoy the leftovers all week long!
Ingredients
  • 1 cup lentils
  • 1 butternut squash, cubed (you can find cubed squash at the store pre-cut! makes it so much easier!)
  • 1 lemon, halved
  • 1 tbsp minced garlic
  • 1 tsp garlic powder
  • 1½ tbsp curry powder, divided
  • 2 tsp cumin
  • pinch of red pepper flakes
  • salt and pepper
  • 1/4 cup olive oil, divided
  • 1 tbsp dijon mustard
  • 1 can garbanzo beans, drained and rinsed
  • 5-6 small beets
  • Broccoli and cauliflower florets, chopped roughly (about 2 cups)
  • 1 cup sliced mushrooms
  • ½ red onion, chopped
  • 1 1/2 cups grape tomatoes, halved
  • 1 bunch Italian parsley, chopped roughly
  • feta and spinach, for serving (optional)
Instructions
  1. Heat oven to 425 deg. Wrap beets loosely in foil and bake for 45
  2. minutes until tender. Meanwhile, cook lentils according to package directions.
  3. Pat garbanzo beans with a paper towel until dry and combine with butternut squash cubes, minced garlic, garlic powder, 1 tbsp curry powder, and 1 tsp cumin. Drizzle with 2 tbsp olive oil and add a pinch of salt and pepper. Mix to combine. Bake on a large cookie sheet for 45 minutes (at the same time as the beets).
  4. When beets until cool to touch, rub skins off with a paper towel and slice into chunks.
  5. Remove squash and garbanzos from the cookie sheet and set aside. Using the same cookie sheet, add broccoli, cauliflower and mushrooms and spray with cooking spray. Reduce heat to 375 and bake for 15 minutes, stirring occasionally.
  6. Add parsley, red onion, juice of 1/2 of the lemon, and half of the garbanzos to a food processor and pulse only a few times until chopped roughly. Add to a large bowl with squash, remaining garbanzos, lentils, beets, and roasted veggies. Toss to combine.
  7. In a small bowl, whisk together remaining curry powder, cumin, 2 tbsp olive oil, other 1/2 lemon juice, dijon mustard, and salt and pepper. Let tomatoes marinate in the dressing for 10 minutes before pouring entire mixture over the rest of the salad. Toss to combine.

Wherever you are, whatever you’re doing, make sure to eat with your eyes this holiday season! Chances are you’ll find your food tastier and healthier!

And if I don’t get a chance to say this before next week, Happy Thanksgiving! I am so thankful for so many things in my life, including my husband, my pup, countless professional opportunities, and my loyal readers!

Mediterranean Spaghetti Squash Sauté

I’ve been craving spaghetti squash since July. No, not the kind of squash that gets dry and sticks together and has no flavor at all- not the kind that gets less and less appetizing the longer you let it sit on your plate getting clammy… I’ve been craving the kind that is juicy, buttery, and cheesy. Comfort food at its best.

Who says spaghetti squash can’t be every bit as satisfying as a huge bowl of spaghetti?

Mediterranean Spaghetti Squash Sauté

I love that spaghetti squash comes back into season in late October/early November, just as I’m starting to think about comfort foods that won’t break the calorie bank or send me out shopping for a new pair of elastic waist-banded skinny jeans. And as a lover of lots of different ethnicities of foods, I also love the fact that spaghetti squash is versatile enough to treat as a blank canvas for whatever seasonings or flavor profile you choose! I’m partial to mediterranean flavors, so of course I decided to add Italian seasonings, kalamatas, capers and feta to top this one off. I also topped it with a fried egg for a little extra protein, plus Greek yogurt (as usual).

IMG_6694

Did you know that spaghetti squash, cooked (without seasonings or oil) has only 42 calories per cup?! That’s a whole lot less than a cup of cooked spaghetti, which will cost you 220 calories! Just think- eat this instead and you can have an extra piece of Halloween candy for dessert. 🙂

Hope you had a very happy Halloween, and a great weekend!

Mediterranean Spaghetti Squash Sauté
Recipe Type: Main Dish, Side
Cuisine: Mediterranean, Vegetarian
Author: Claire McCormick of “Claire Tastes”
Prep time:
Cook time:
Total time:
Serves: 12
Who says squash has to be boring?
Ingredients
  • 1 spaghetti squash
  • 4 tbsp olive oil, divided
  • 1 tsp each dried oregano, basil, garlic powder, onion powder
  • 1/2 tsp salt and pepper
  • 1 tbsp chopped fresh rosemary
  • 1 onion, diced
  • 1 tbsp garlic, minced
  • 3 tomatoes, diced
  • 2 cups veggies of your choice (I used broccoli, cauliflower, frozen peas and mushrooms)
  • 2 tbsp lemon juice
  • 1/2 cup reduced sodium vegetable stock
  • 2 cups frozen or fresh spinach or kale
  • 1/2 cup kalamata olives, chopped
  • 1/4 cup chopped fresh parsley
  • 2 tbsp capers
  • 1/2 cup feta cheese, for serving
Instructions
  1. Preheat oven to 375 deg. Pierce squash with sharp knife around the center, then microwave squash for 3 minutes so it’s easier to slice.
  2. Slice squash in half and spoon out seeds.
  3. Place on a baking sheet, flesh side up and drizzle with 2 tbsp olive oil, followed by oregano, basil, garlic powder, onion powder, salt/pepper and rosemary. Bake at 375 for 50-60 minutes or until strands flake easily away from the skin.
  4. Allow to cool for at least 5 minutes before removing strands of squash into a large bowl.
  5. Meanwhile, heat remaining oil in a large skillet on medium-high. Add onion and garlic and cook for 2 minutes until soft. Add tomatoes and veggies and cook for 2 more minutes. Pour in lemon juice and vegetable stock, cover with lid and reduce heat to low. Simmer for 15 minutes.
  6. Just before serving, add spinach, followed by the spaghetti squash.
  7. Top with olives, parsley, capers and feta.

Slice squash and season.

Slice squash and season.

Cook onions and garlic.
Add veggies to pan and cook, then simmer until squash is done.
Simmer until squash is done.
Cool squash before shredding.
Shred strands with a fork.
Top with kalamata olives, parsley and capers.
Finish with feta and serve!

Easy Citrus Salmon & Southern Succotash Salad

A very special thanks to Land & Sea for sponsoring this post! 

Ben’s dad sent us this amazing cut of salmon, in addition to some pieces of individually portioned steaks a few months back, and I am embarrassed to say that the salmon has been in our freezer ever since! I can’t believe that I waited this long to do something with it… I supposed you could say I was waiting for the “perfect time” to amaze you all with my recipe-age and come up with some new and exciting.

The thing is, this salmon was so high-quality, I didn’t need to come up with anything new or exciting! I decided to let it speak for itself and keep it easy with a simple marinade. I absolutely adore salmon, so why try to make it something else? I used the Rub with Love seasoning that Ben and I got in Seattle on our honeymoon (was that really over three years ago already!?), and added a drizzle of olive oil, lemon juice, and fresh orange slices. That’s it! I love that salmon bakes in the oven so darn fast, too, so by the time I went upstairs and took a quick bath and got back down, the timer was just about to go off and the fish was perfectly flaky.

Easy Citrus Salmon & Southern Succotash Salad

DSC03734
Easy Citrus Salmon & Southern Succotash Salad

I served the fish with an easy, throw-together Succotash Salad recipe that I literally had all the ingredients for in my freezer already, some crumbled feta, and cooked quinoa. Plus more oranges! I love the citrusy and smoky flavor from the combination of all these ingredients!

Enjoy!

Easy Citrus Salmon & Southern Succotash Salad
Recipe Type: Healthy, Fish
Cuisine: Southern, Mediterranean
Author: Claire McCormick of “Claire Tastes”
Prep time:
Cook time:
Total time:
Serves: 4
You will LOVE this simple salmon and succotash recipe that comes together in less than 30 minutes!
Ingredients
  • For the Succotash:
  • 1 cup frozen corn
  • 2 cups frozen okra
  • 1 cup frozen lima beans
  • 1 can diced tomatoes and juice
  • 1/2 cup red onion, diced
  • 1 tsp garlic powder
  • 1 tsp dried basil
  • 1 tsp dried oregano
  • 1 tbsp lemon juice
  • 2 tsp dijon mustard
  • salt and pepper, to taste
  • For the Salmon:
  • 1 12-16 oz. salmon fillet, thawed (if from frozen)
  • 1 tbsp olive oil
  • 1 tbsp lemon juice
  • salt and pepper, to taste
  • Seasoning of your choice (optional- I used the “Rub with Love” seasoning we got on our honeymoon three years ago!)
  • 1 sliced orange, cut lengthwise into thin rings
  • Quinoa or grain of choice (barley would also work well!)
  • Feta cheese
Instructions
  1. In a medium saucepan, combine all ingredients and heat on low until ready to serve (yes, it’s that easy!). You can also mix them all together in a bowl and let them sit in the fridge until you’re ready to plate up the salmon- then just microwave or heat on the stove before serving!
  2. Preheat oven to 425 deg. Cut salmon into 4 individual portions.
  3. Place salmon on a foil lined pan sprayed with cooking spray.
  4. Drizzle salmon with olive oil and lemon juice, followed by salt and pepper and any seasoning you’re using. Top with orange slices (I squeezed a little of the juice onto the fish too).
  5. Bake at 425 for 20 minutes or until fish flakes easily with a fork.
  6. Serve with succotash, quinoa (or grain of choice), and feta.
Southern Succotash
Southern Succotash
Thawed Salmon Fillets with Marinade
Ready to Serve!
Ready to Serve!

Have a great week!

Pumpkin Ricotta Stuffed Shells

It’s that time of the year when pumpkin is EVERYWHERE. Seriously. I’ve considered taking photos of all of the random places I see pumpkin-flavored things these days- Starbucks, the grocery store, cosmetic stores, candle shops, clothing stores, the list goes on and on! I don’t know what gets people so crazed about pumpkin. Maybe because it signifies the start of fall and that cozy, crisp feeling (although I think that’s out the window ever since Starbucks brought back the Pumpkin Spice Latte in like, July).

I am MUCH more of a sweet potato person (can I get an amen?) but I can get on the pumpkin bandwagon too, I guess. Just to be social.

Pumpkin Ricotta Stuffed Shells

This recipe is a bit different from the ones I usually post. Noah Ben and I have had about 40 straight days of rain here and we’ve been craving all things comfort. Chicken casserole and split pea soup have been staples in our house for the last week or so. Gone are the days of Lentil Curry Salad and Heirloom Tomato & Summer Squash, my friends. But it’s ok. Life will go on!

In other news… I saved this little guy from getting run over by crazy bikers like me this morning during my long ride. Poor little guy must’ve been washed up onto the trail by all this rain we’ve had! I snapped my shot and then very gently moved him into the leaves on the side of the trail. Stay safe, little turtle! Seriously though, isn’t he beautiful?

IMG_6490

Anyway, these Pumpkin Ricotta Stuffed Shells are satisfying enough so that you can indulge with just a few and not feel like you’ve broken the calorie bank (just don’t get three Pumpkin Spice Lattes beforehand!). They’re cheesy, gooey, slightly sweet, and perfectly sized for easy portion control! I had four of the shells with a big spinach and green pea salad on the side, and I was completely satisfied. They are also freezable for those of you cooking for one or two, so you can save half of them for later and still have leftovers for the week ahead.

IMG_6499
Pumpkin Ricotta Stuffed Shells w/ Spinach Salad
Pumpkin Ricotta Stuffed Shells
Recipe Type: Pasta, Comfort Food, Fall
Cuisine: Italian
Author: Claire McCormick of “Claire Tastes”
Prep time:
Cook time:
Total time:
Serves: 8-12
This gooey, cheesy, slightly sweet but savory pasta is sure to satisfy your comfort food cravings for those rainy fall nights you’re happy to stay inside and enjoy #allthepumpkin! Happy Fall!
Ingredients
  • 1 box jumbo pasta shells
  • 1 can pureed pumpkin (not pumpkin pie filling)
  • 1 16 oz. package frozen cut leaf spinach, thawed
  • 1 32 oz. carton of ricotta cheese
  • 2 tbsp sugar
  • 1 tsp cinnamon
  • ½ tsp nutmeg
  • dash of cayenne pepper
  • salt and pepper, to taste
  • 2 tbsp milk
  • 1 egg, beaten
  • 1½ cup shredded mozzarella cheese
  • 1 jar good Alfredo sauce
Instructions
  1. Preheat oven to 350 deg.
  2. Cook shells according to package directions, but 2-3 min less for al dente. Drain well and allow to cool completely, separating shells out on wax paper to avoid sticking.
  3. In a large bowl, combine pumpkin, spinach, ricotta, sugar, cinnamon, nutmeg, cayenne papper, salt and pepper, and egg. Stir to combine well.
  4. When cool enough to handle, spoon about 2 tbsp of filling into each shell. (I’ve found that it helps to “squeeze” the shell open first with your thumb and index finger and fill with the other hand!).
  5. Spread 1/2 alfredo sauce in the bottom of a sprayed 9×13 casserole dish. Add milk to the rest of the sauce and shake to combine.
  6. Place shells side-by-side (they’ll be snug!) in the casserole dish and drizzle with remaining sauce. Top with mozzarella cheese.
  7. Bake, covered with foil, for 30 min. Uncover and bake for 15 more minutes until cheese is bubbly.
  8. Serve with a big green salad!

IMG_6479

IMG_6498

IMG_6497

Happy tummy! Hope you had a cozy fall weekend!