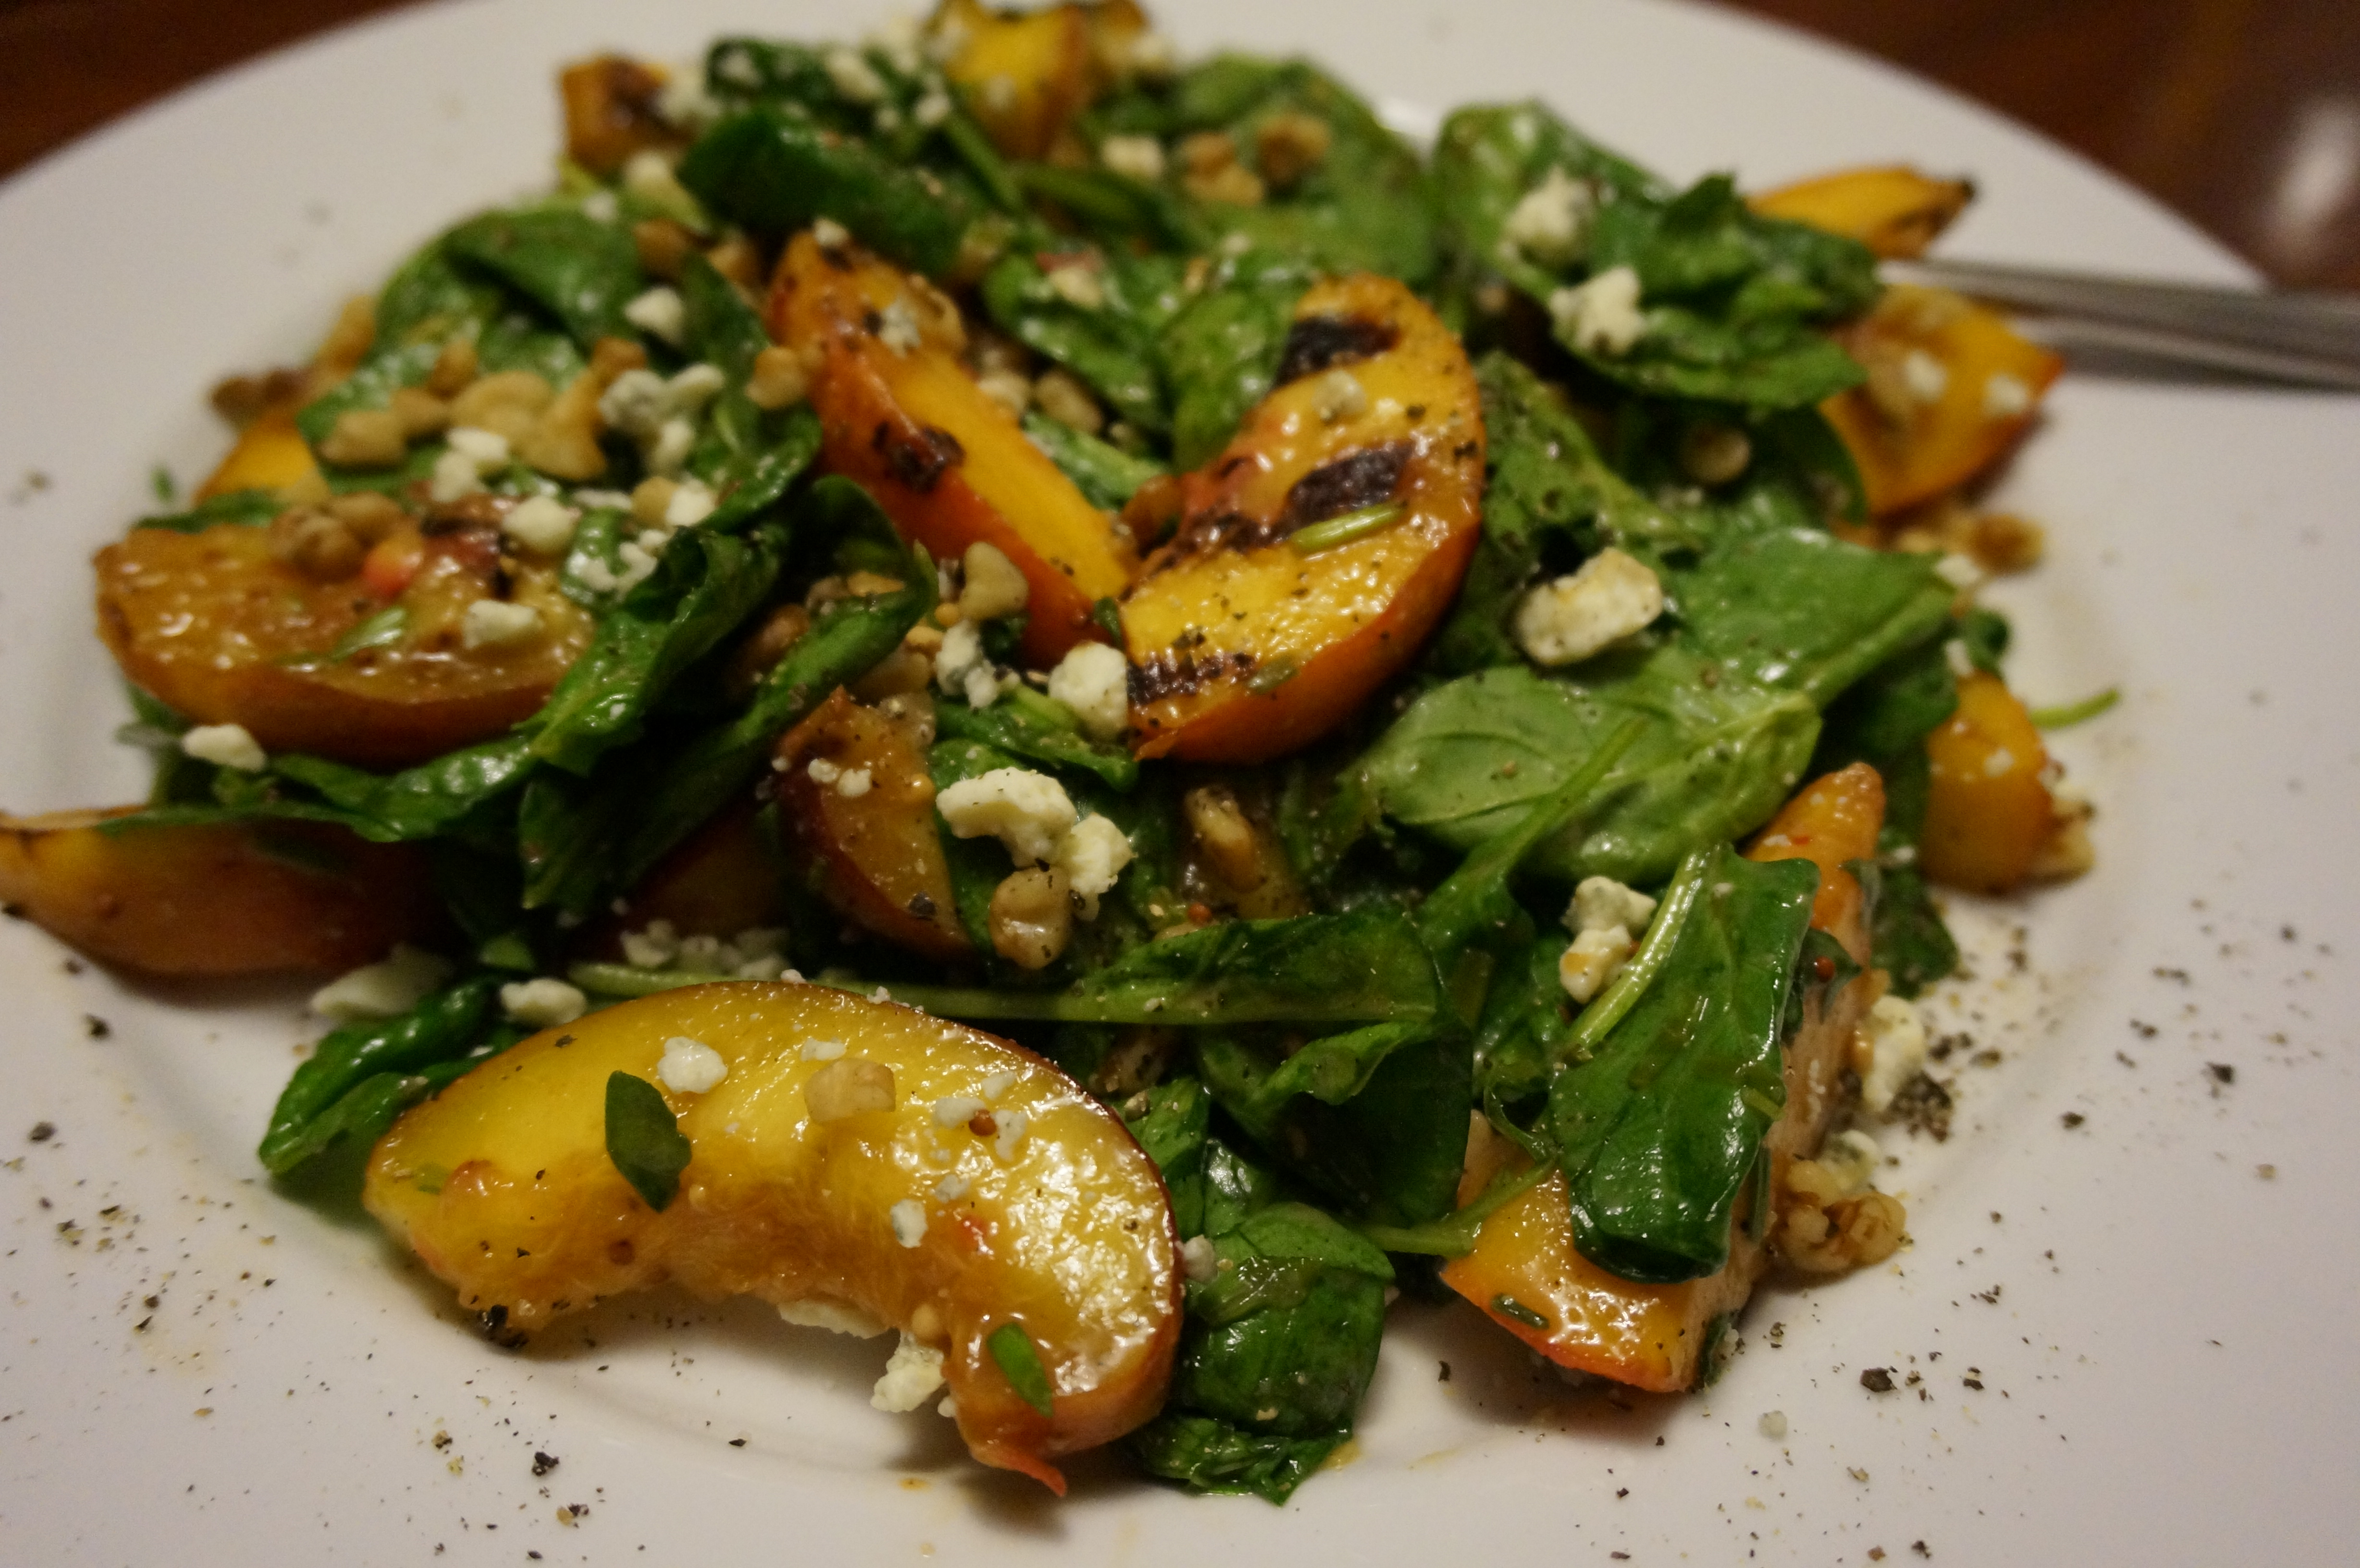
Grilled Peach Salad with Honey-Dijon Vinaigrette
Recipe Type: Salad
Cuisine: Salad, Vegetarian, Fruit
Author:
Prep time:
Cook time:
Total time:
Serves: 4
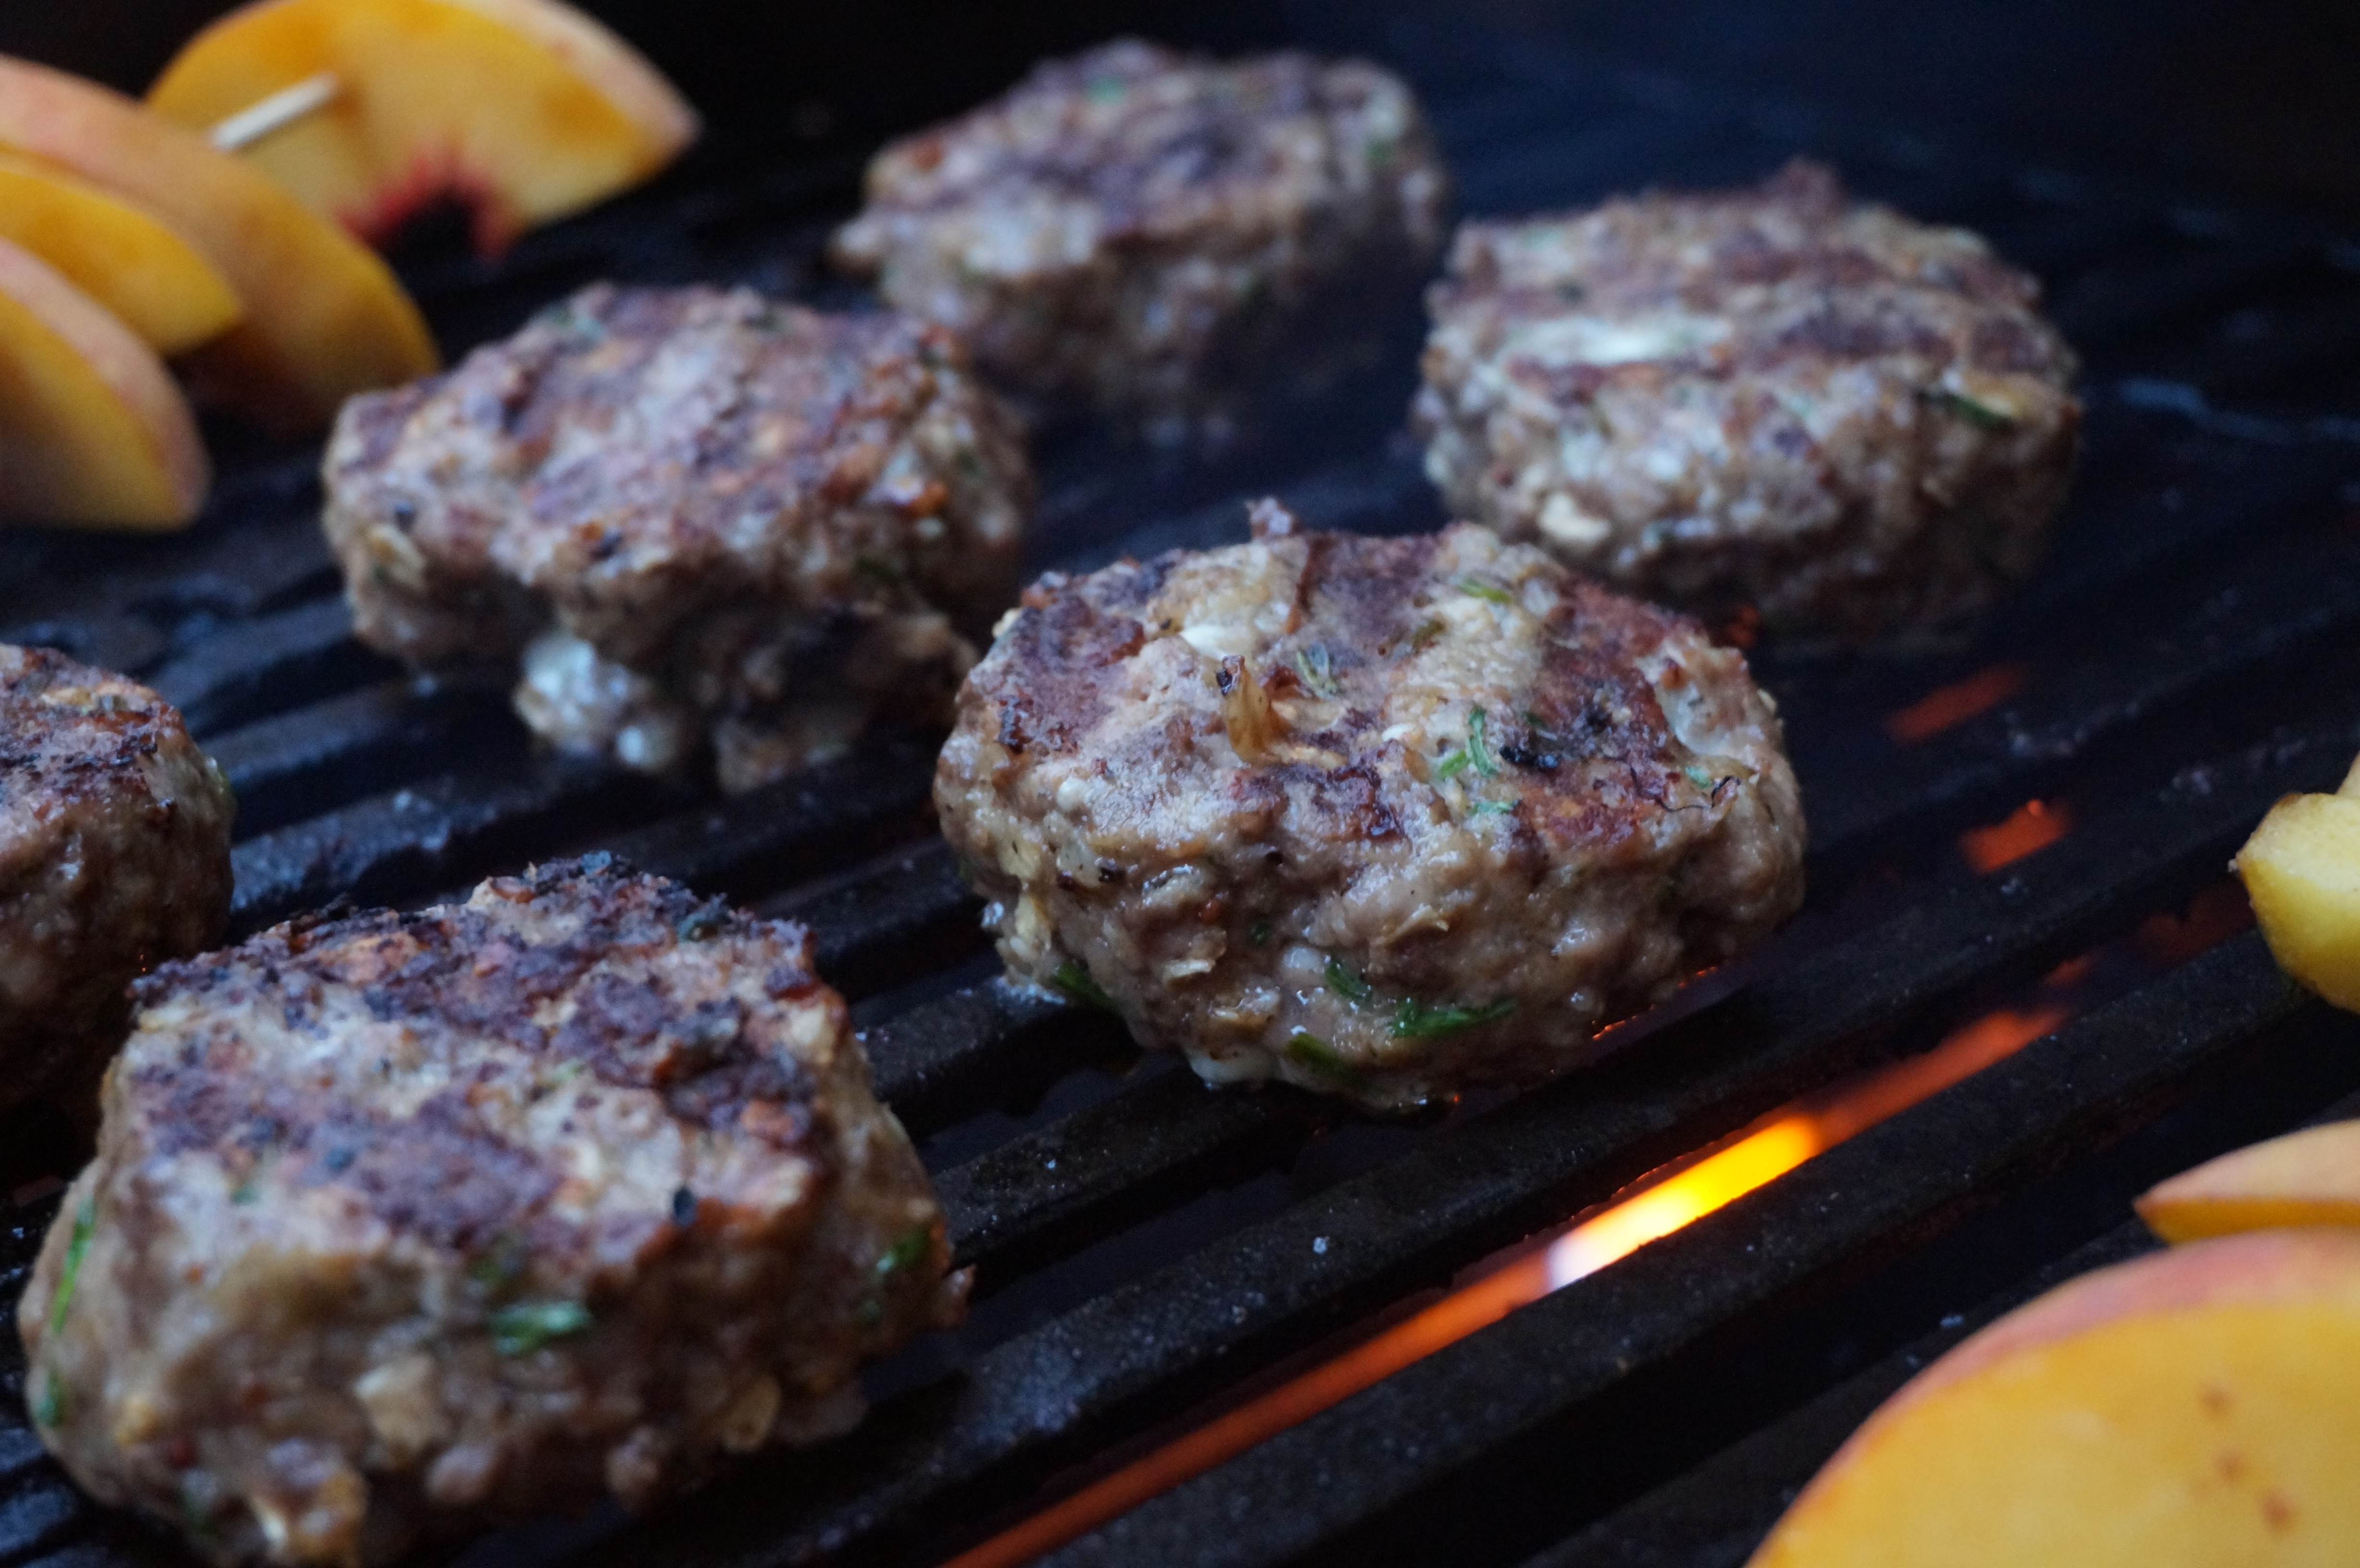
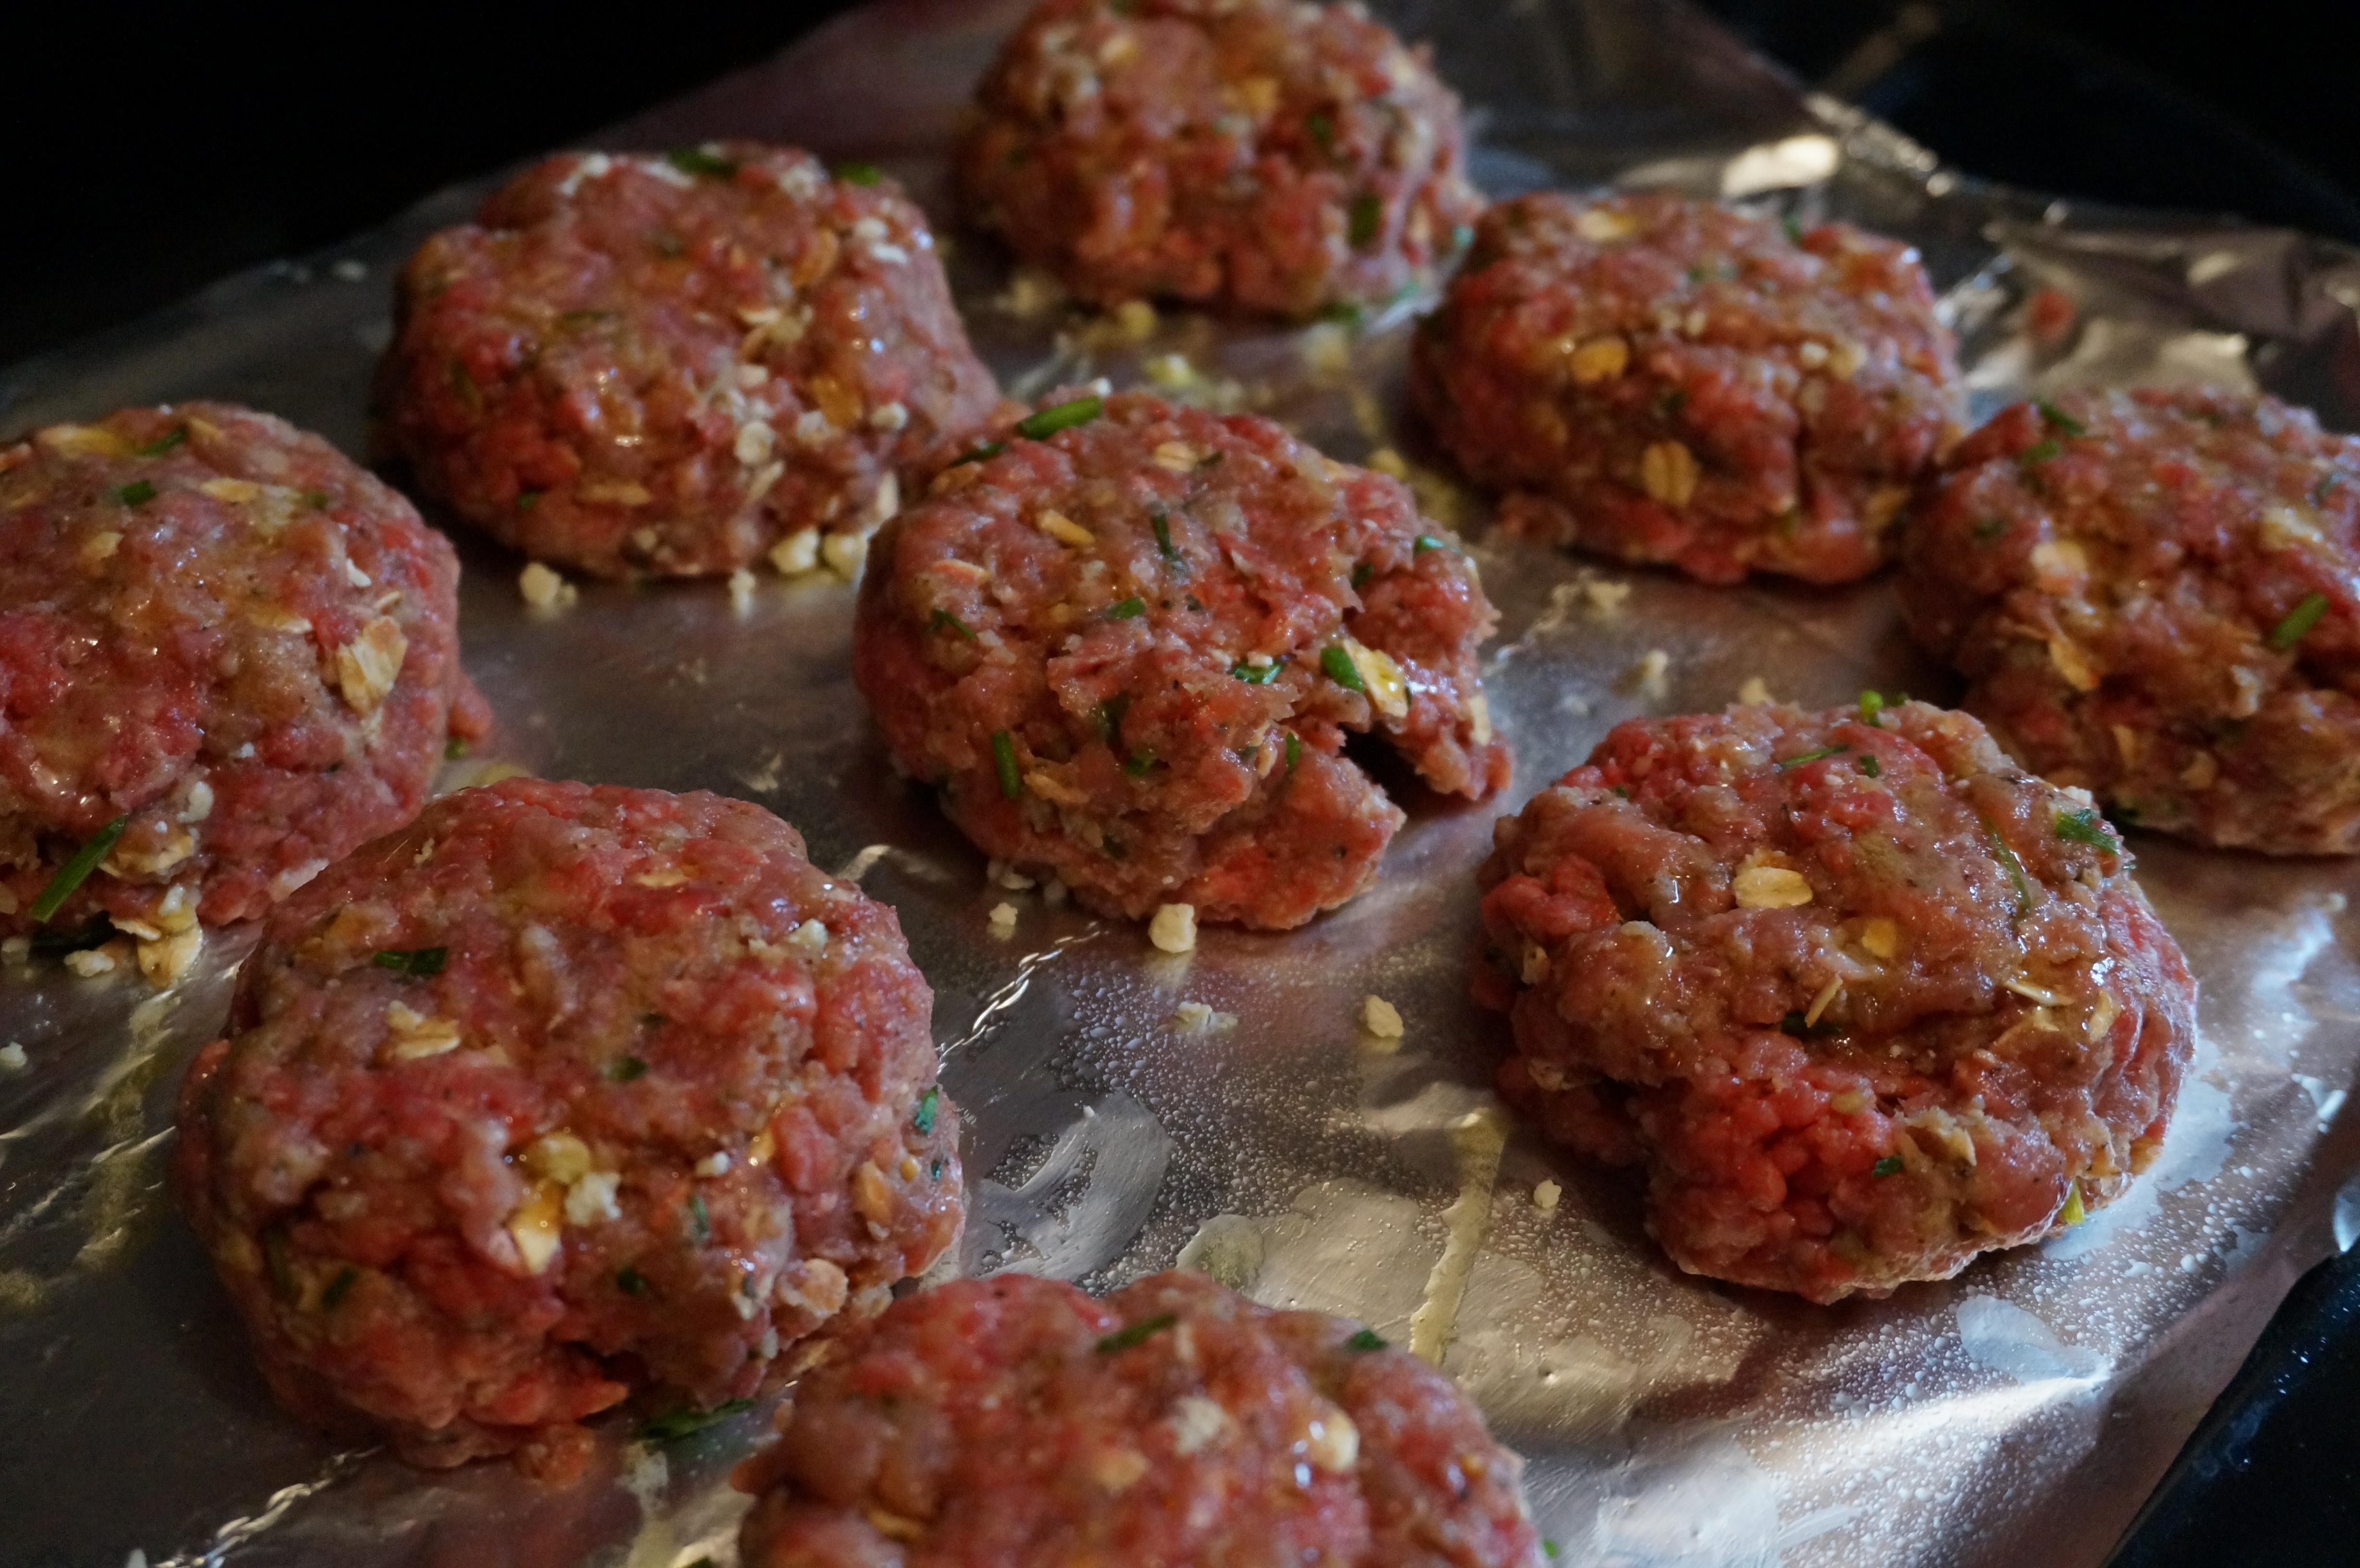
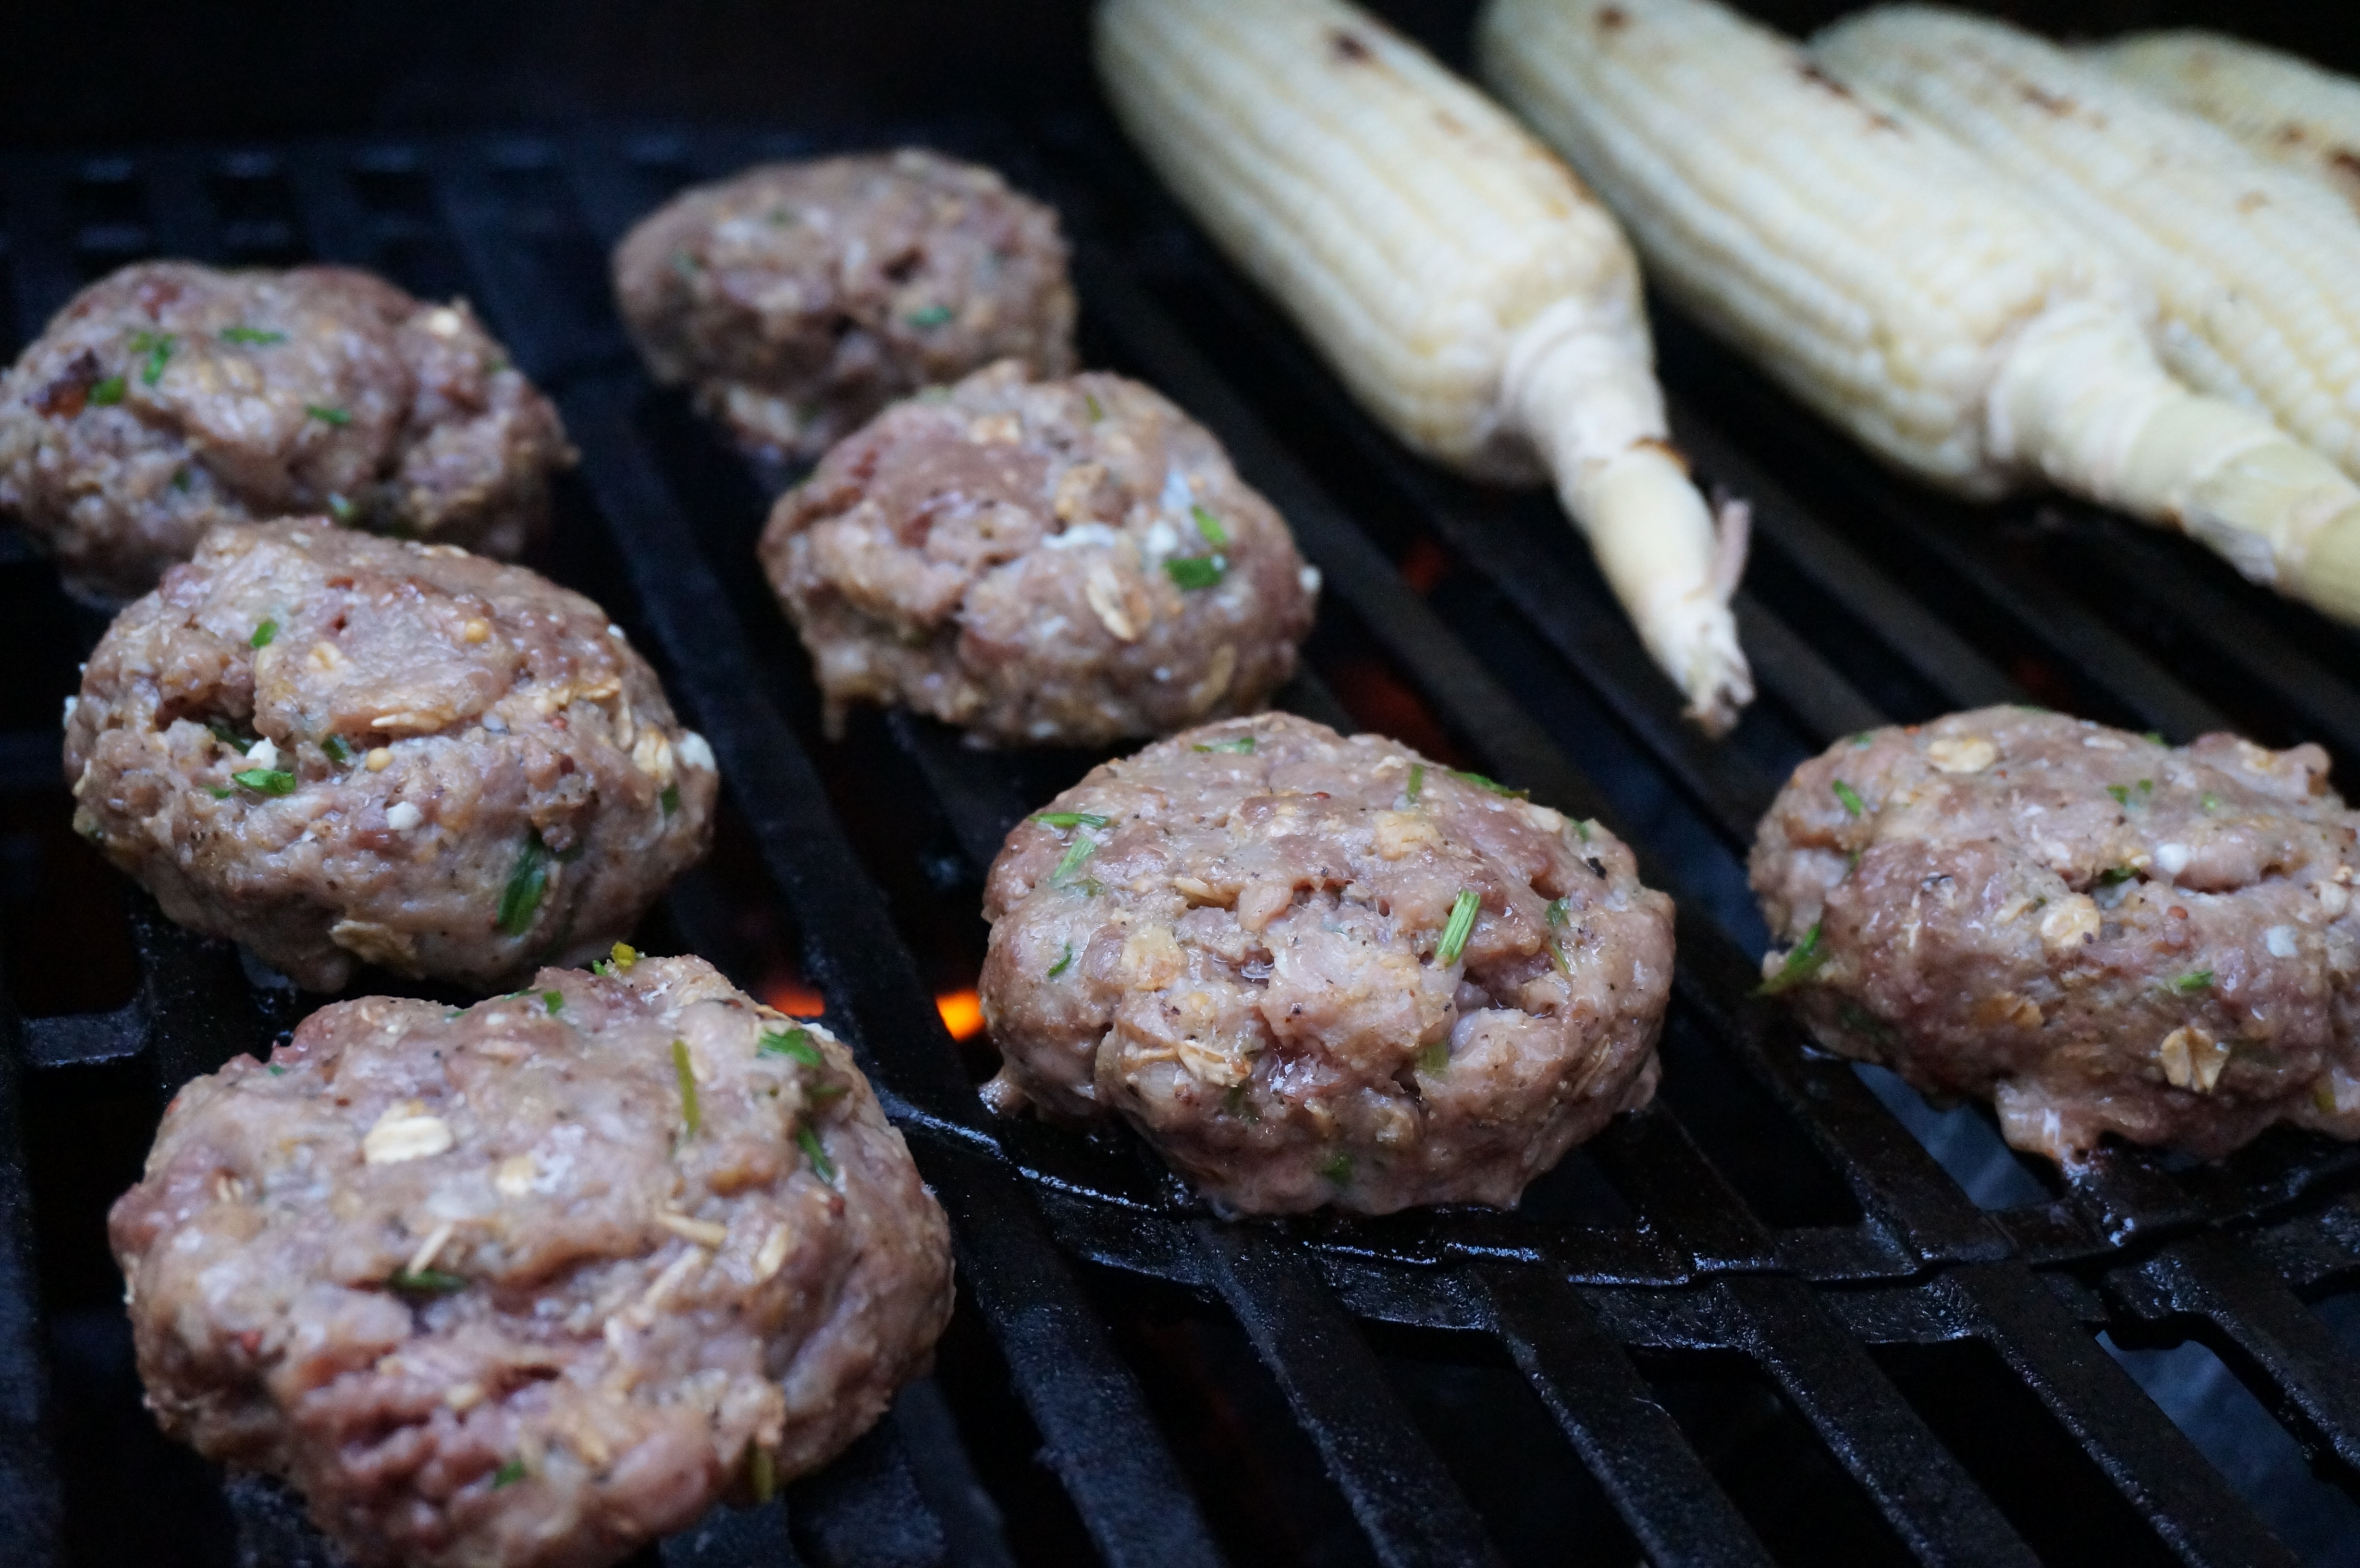
While the grill is hot, here’s an easy grilled peach salad with a lovely honey-dijon dressing that will complement those burgers perfectly at your next backyard BBQ!
Ingredients
- 3 peaches, slightly soft
- 4 cups baby spinach
- 1/4 cup fresh chives, chopped roughly
- 1 tbsp whole grain dijon mustard
- 1/2 tbsp regular dijon (I actually had an apricot brandy flavored dijon that I used!)
- 1/4 cup red wine vinegar
- 1 tbsp honey
- 1 tbsp lemon juice
- 2 tbsp olive oil
- salt and pepper to taste
- pinch of garlic powder
- crumbled gorgonzola
- walnut pieces
Instructions
- Slice peaches into thin slices and line up, evenly spaced, on a wooden skewer.
- Combine all dressing ingredients (mustard through garlic powder) in a small bowl and whisk until well incorporated.
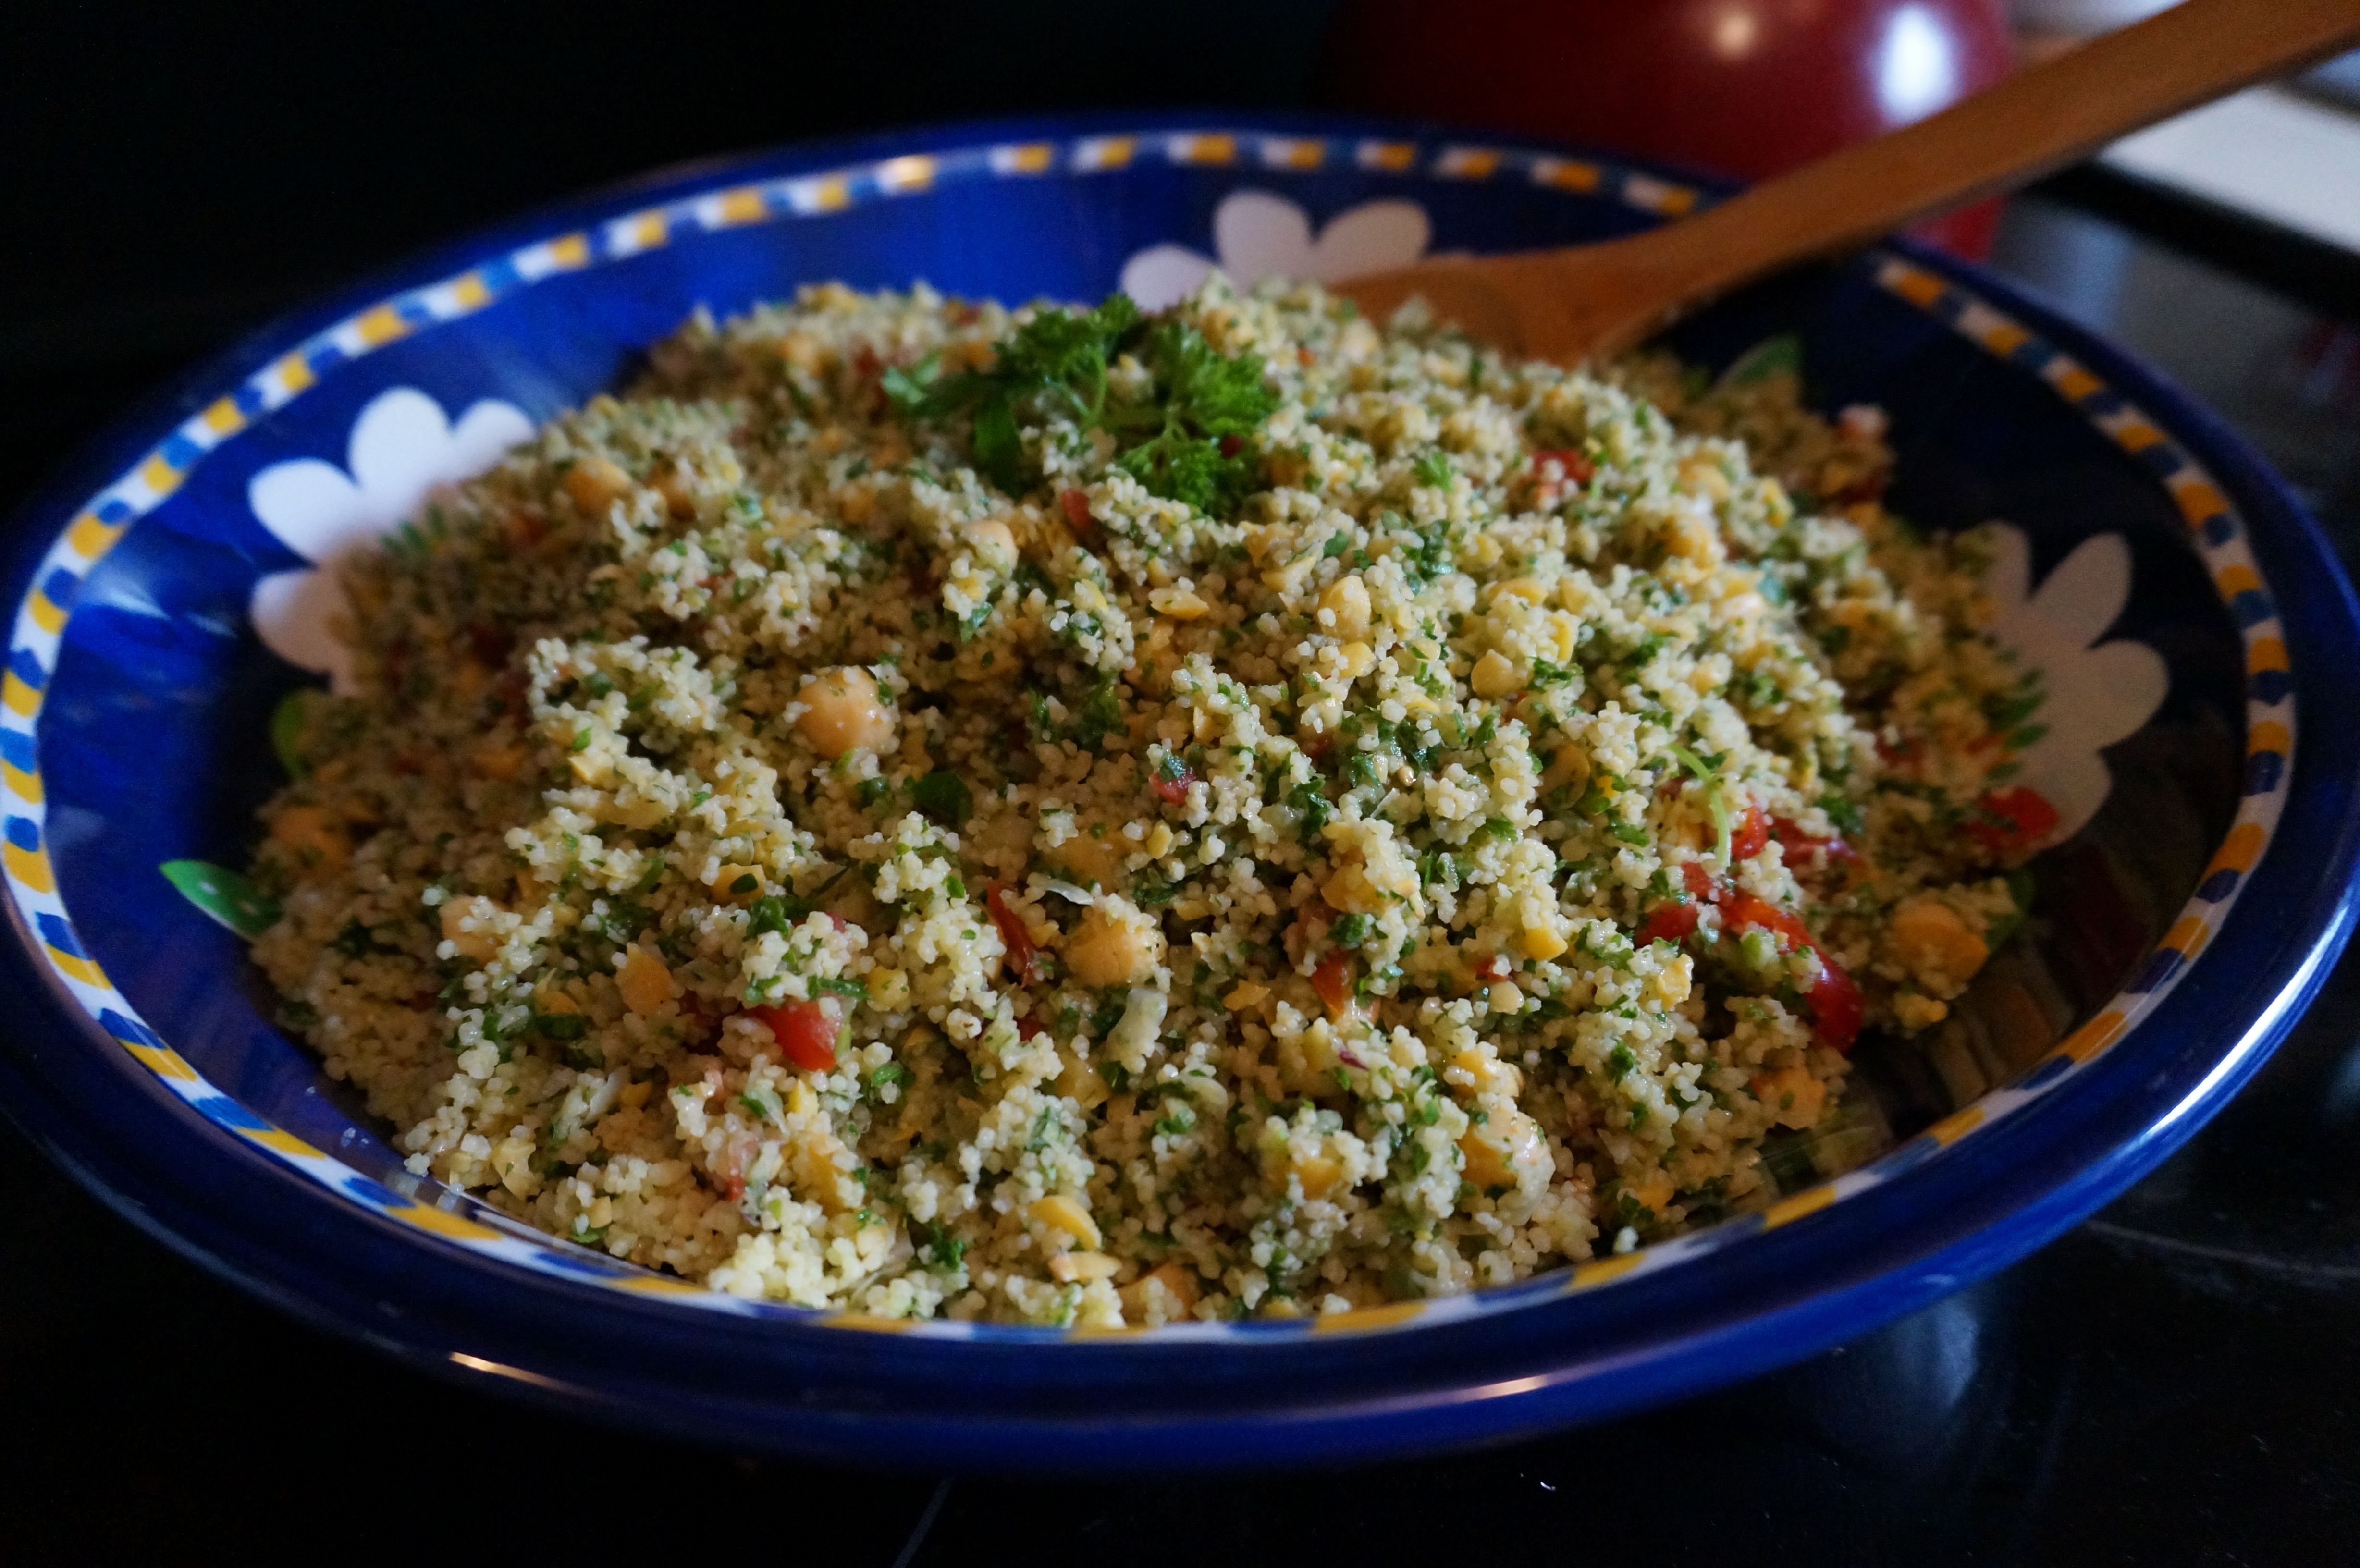
- Combine spinach and chives in a large bowl.
- Preheat grill to medium heat. Grill peach skewers about 2 minutes per side, until slightly charred. Remove from heat and toss into bowl with spinach.
- Drizzle dressing over salad and toss.
- Top with crumbled gorgonzola and walnut pieces.