Banana Nut Bread
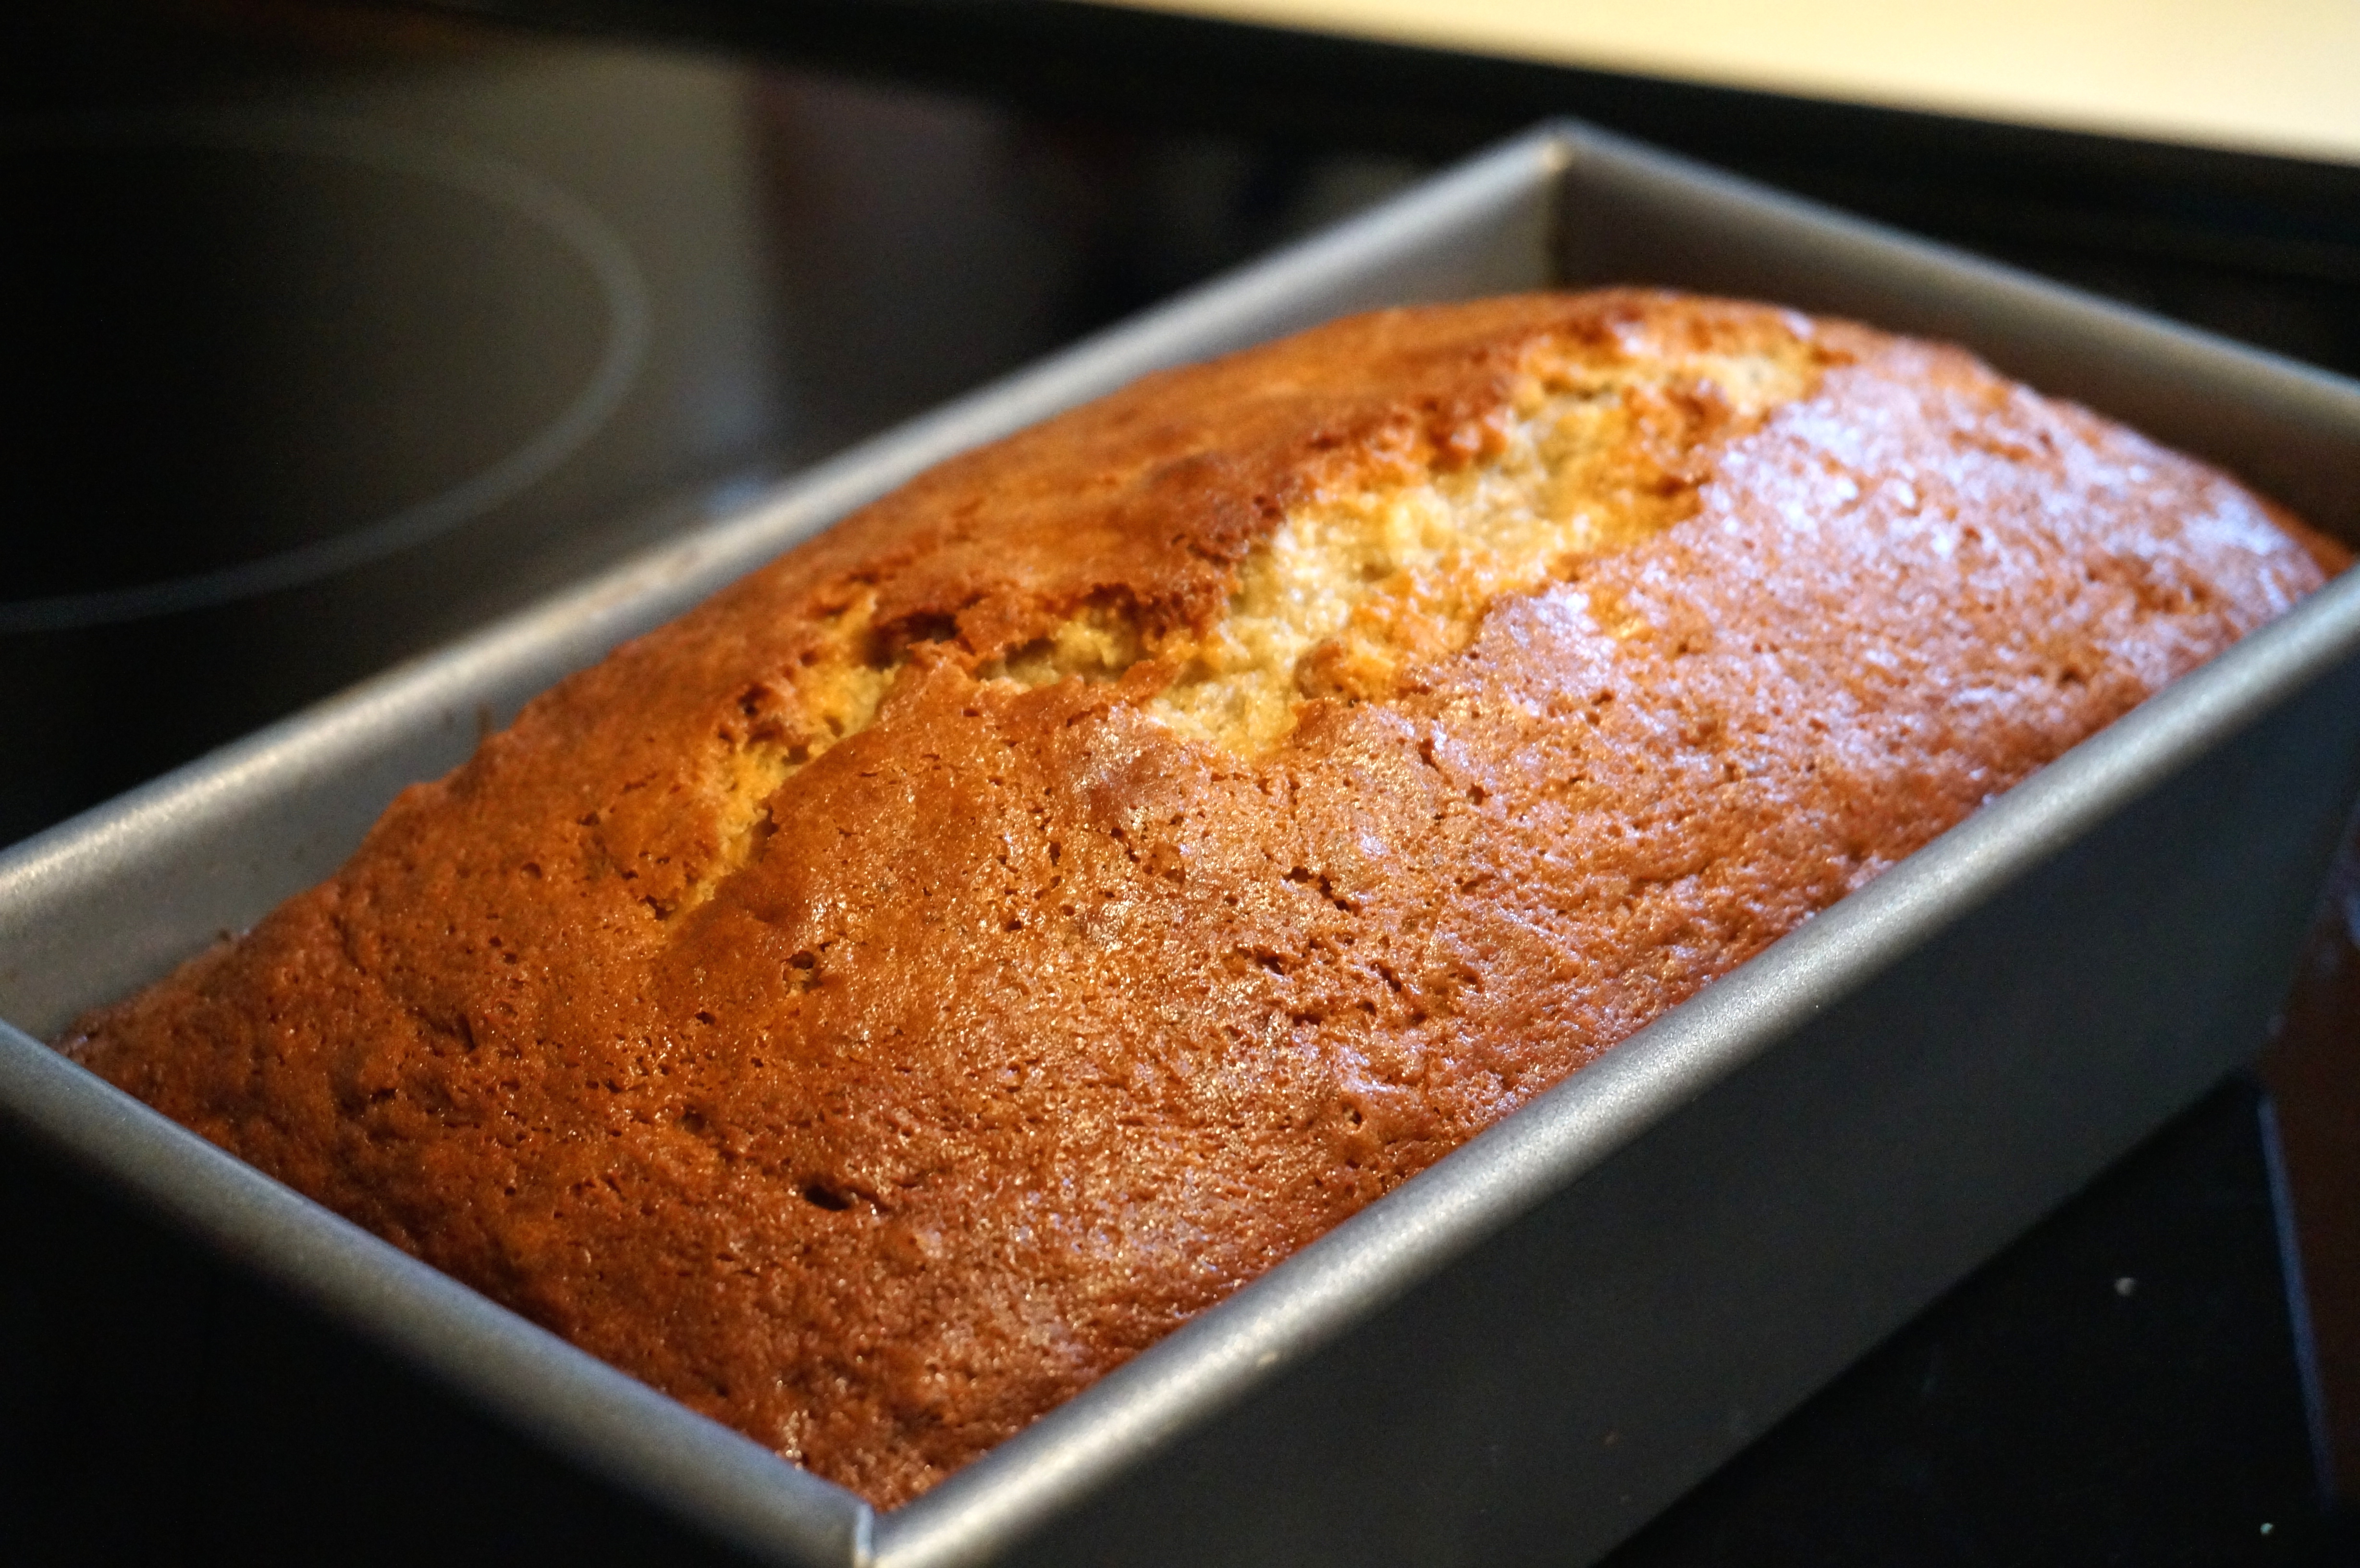
Banana Nut Bread
Recipe Type: Breakfast, Dessert
Cuisine: Breads, Baking
Author:
Prep time:
Cook time:
Total time:
Serves: 12
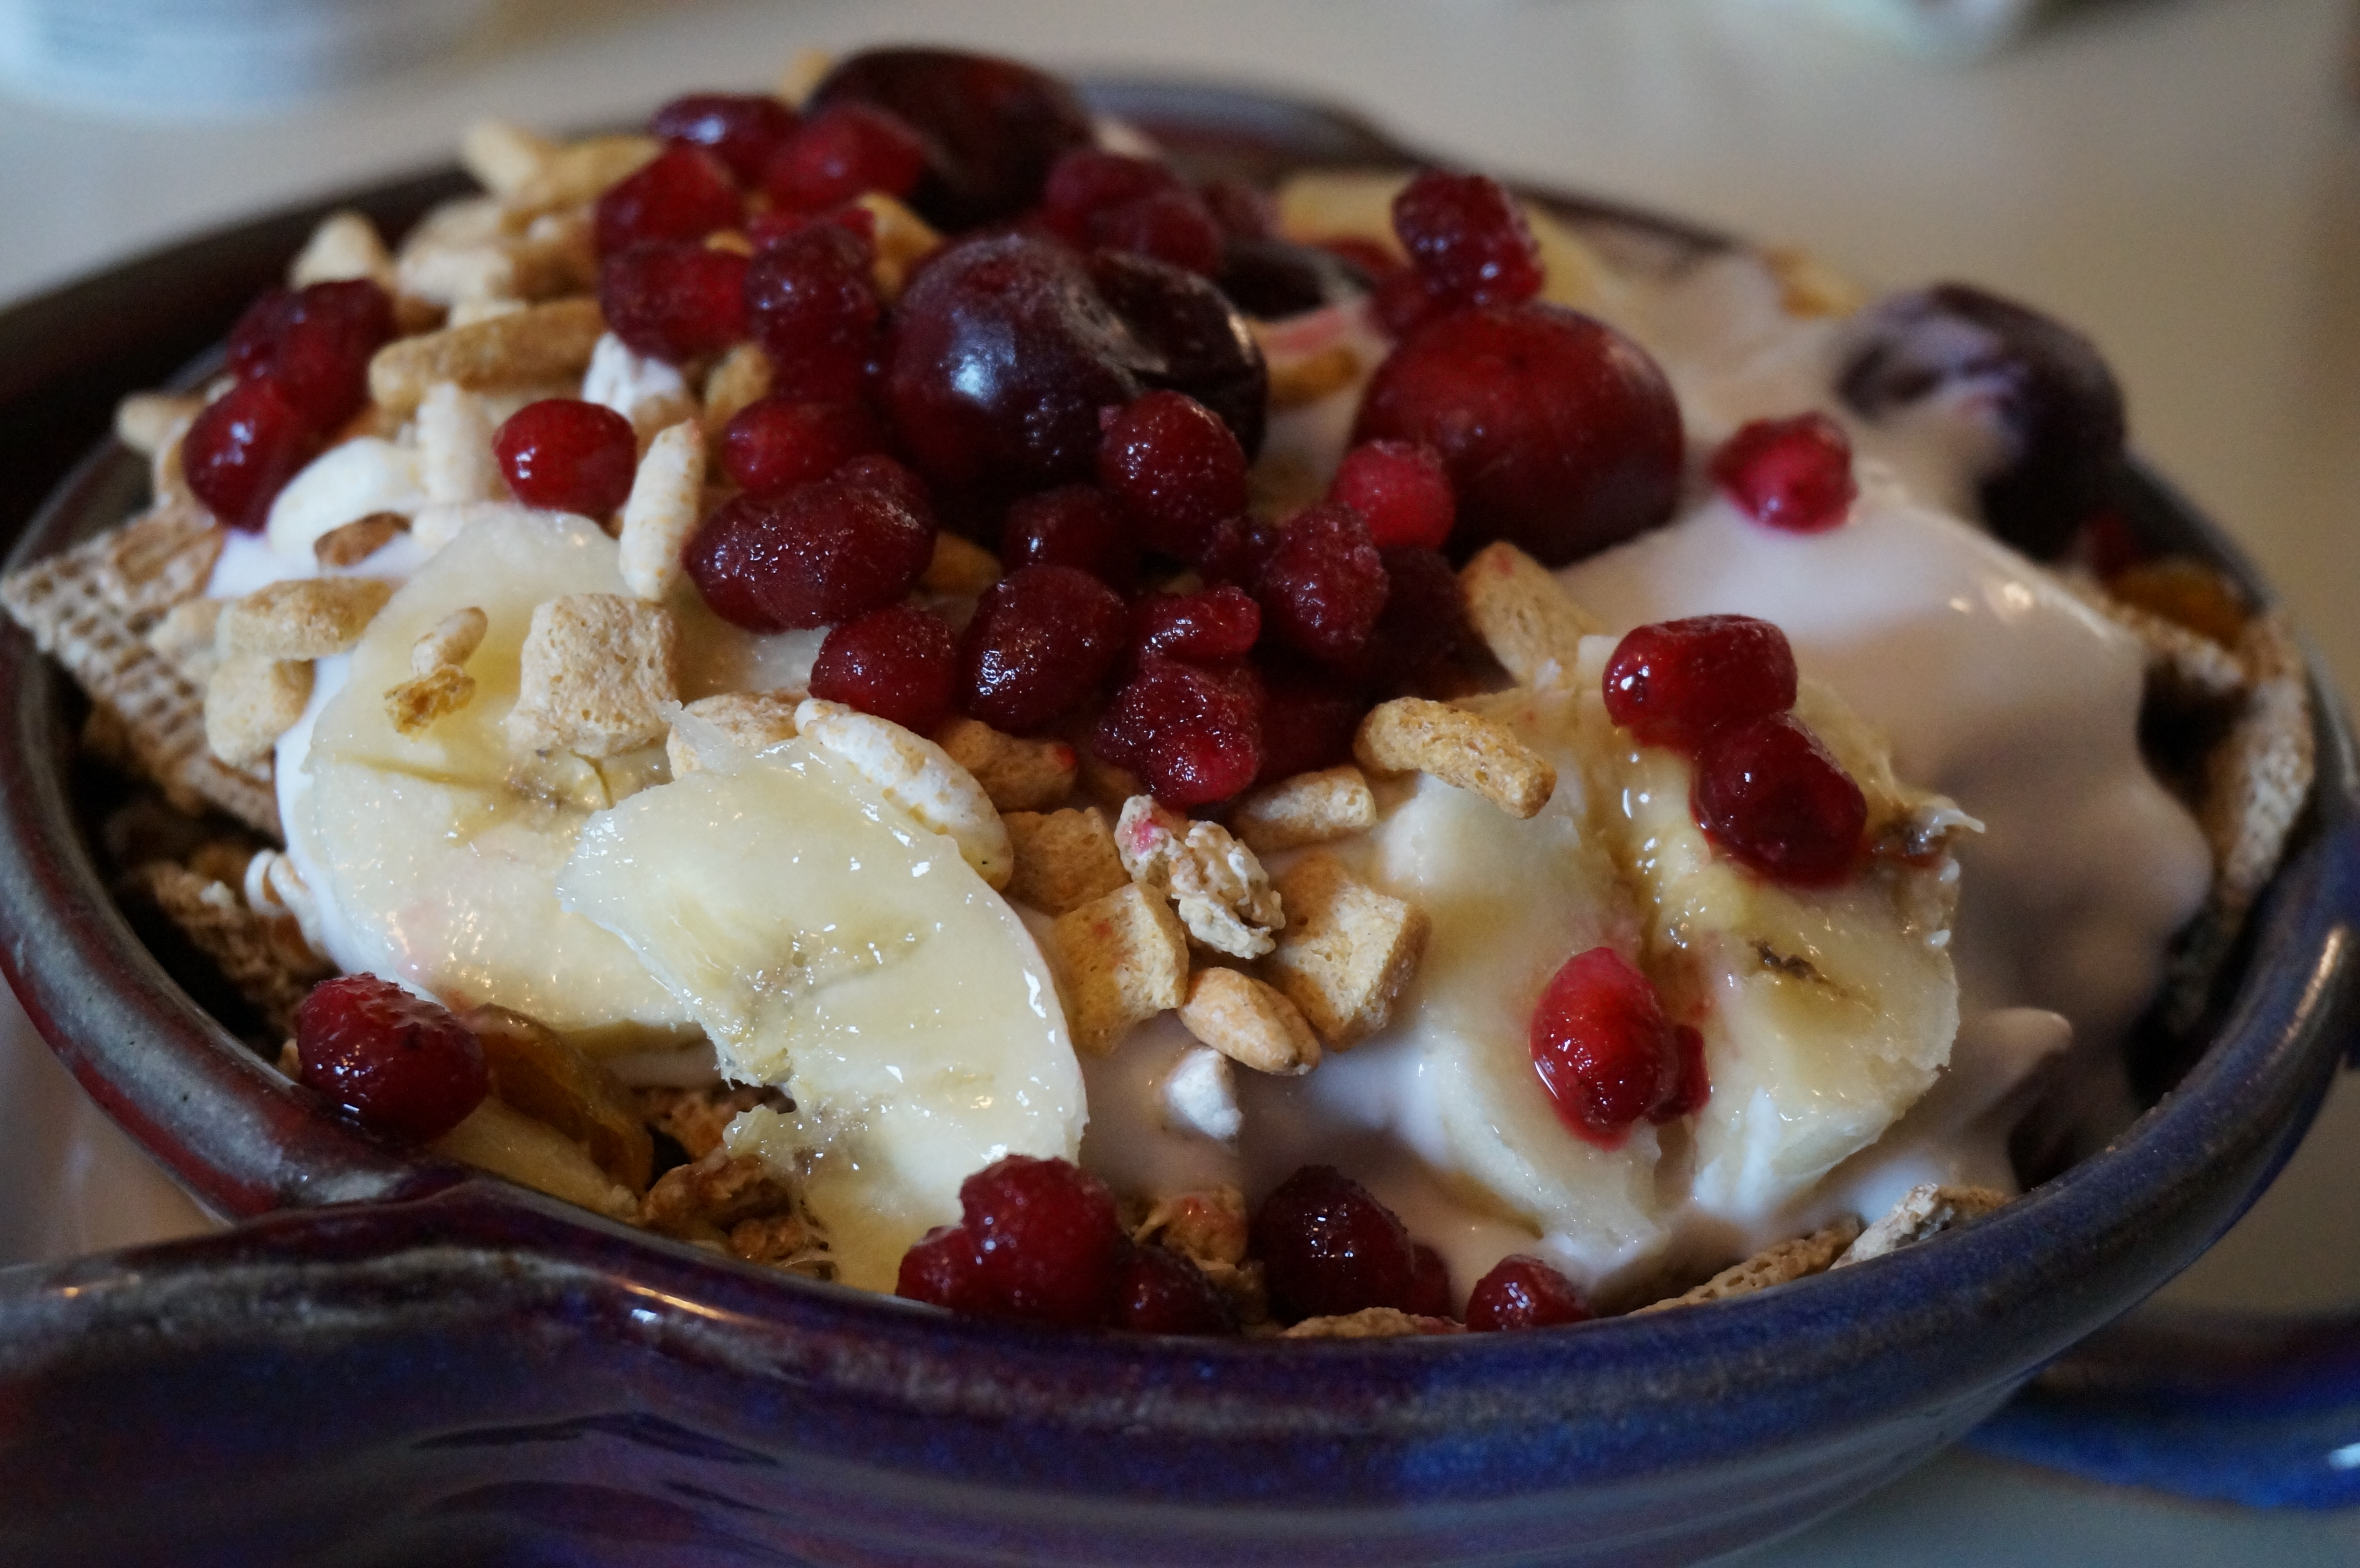
A moist, nutty loaf perfect for a rainy Saturday morning or a grab n’ go breakfast!
Ingredients
- 1 2/3 cups all-purpose flour
- 1 teaspoon baking soda
- 1/2 teaspoon ground cinnamon
- 1/2 teaspoon salt
- 1 cup plus 2 tablespoons sugar
- 2 eggs
- 1/2 cup vegetable oil (you could also substitute applesauce here!)
- 3 1/2 bananas, very ripe, mashed
- 3 tablespoons vanilla Greek yogurt (you could also use plain)
- 1 teaspoon vanilla extract
- 2/3 cup chopped walnuts or pecan pieces
Instructions
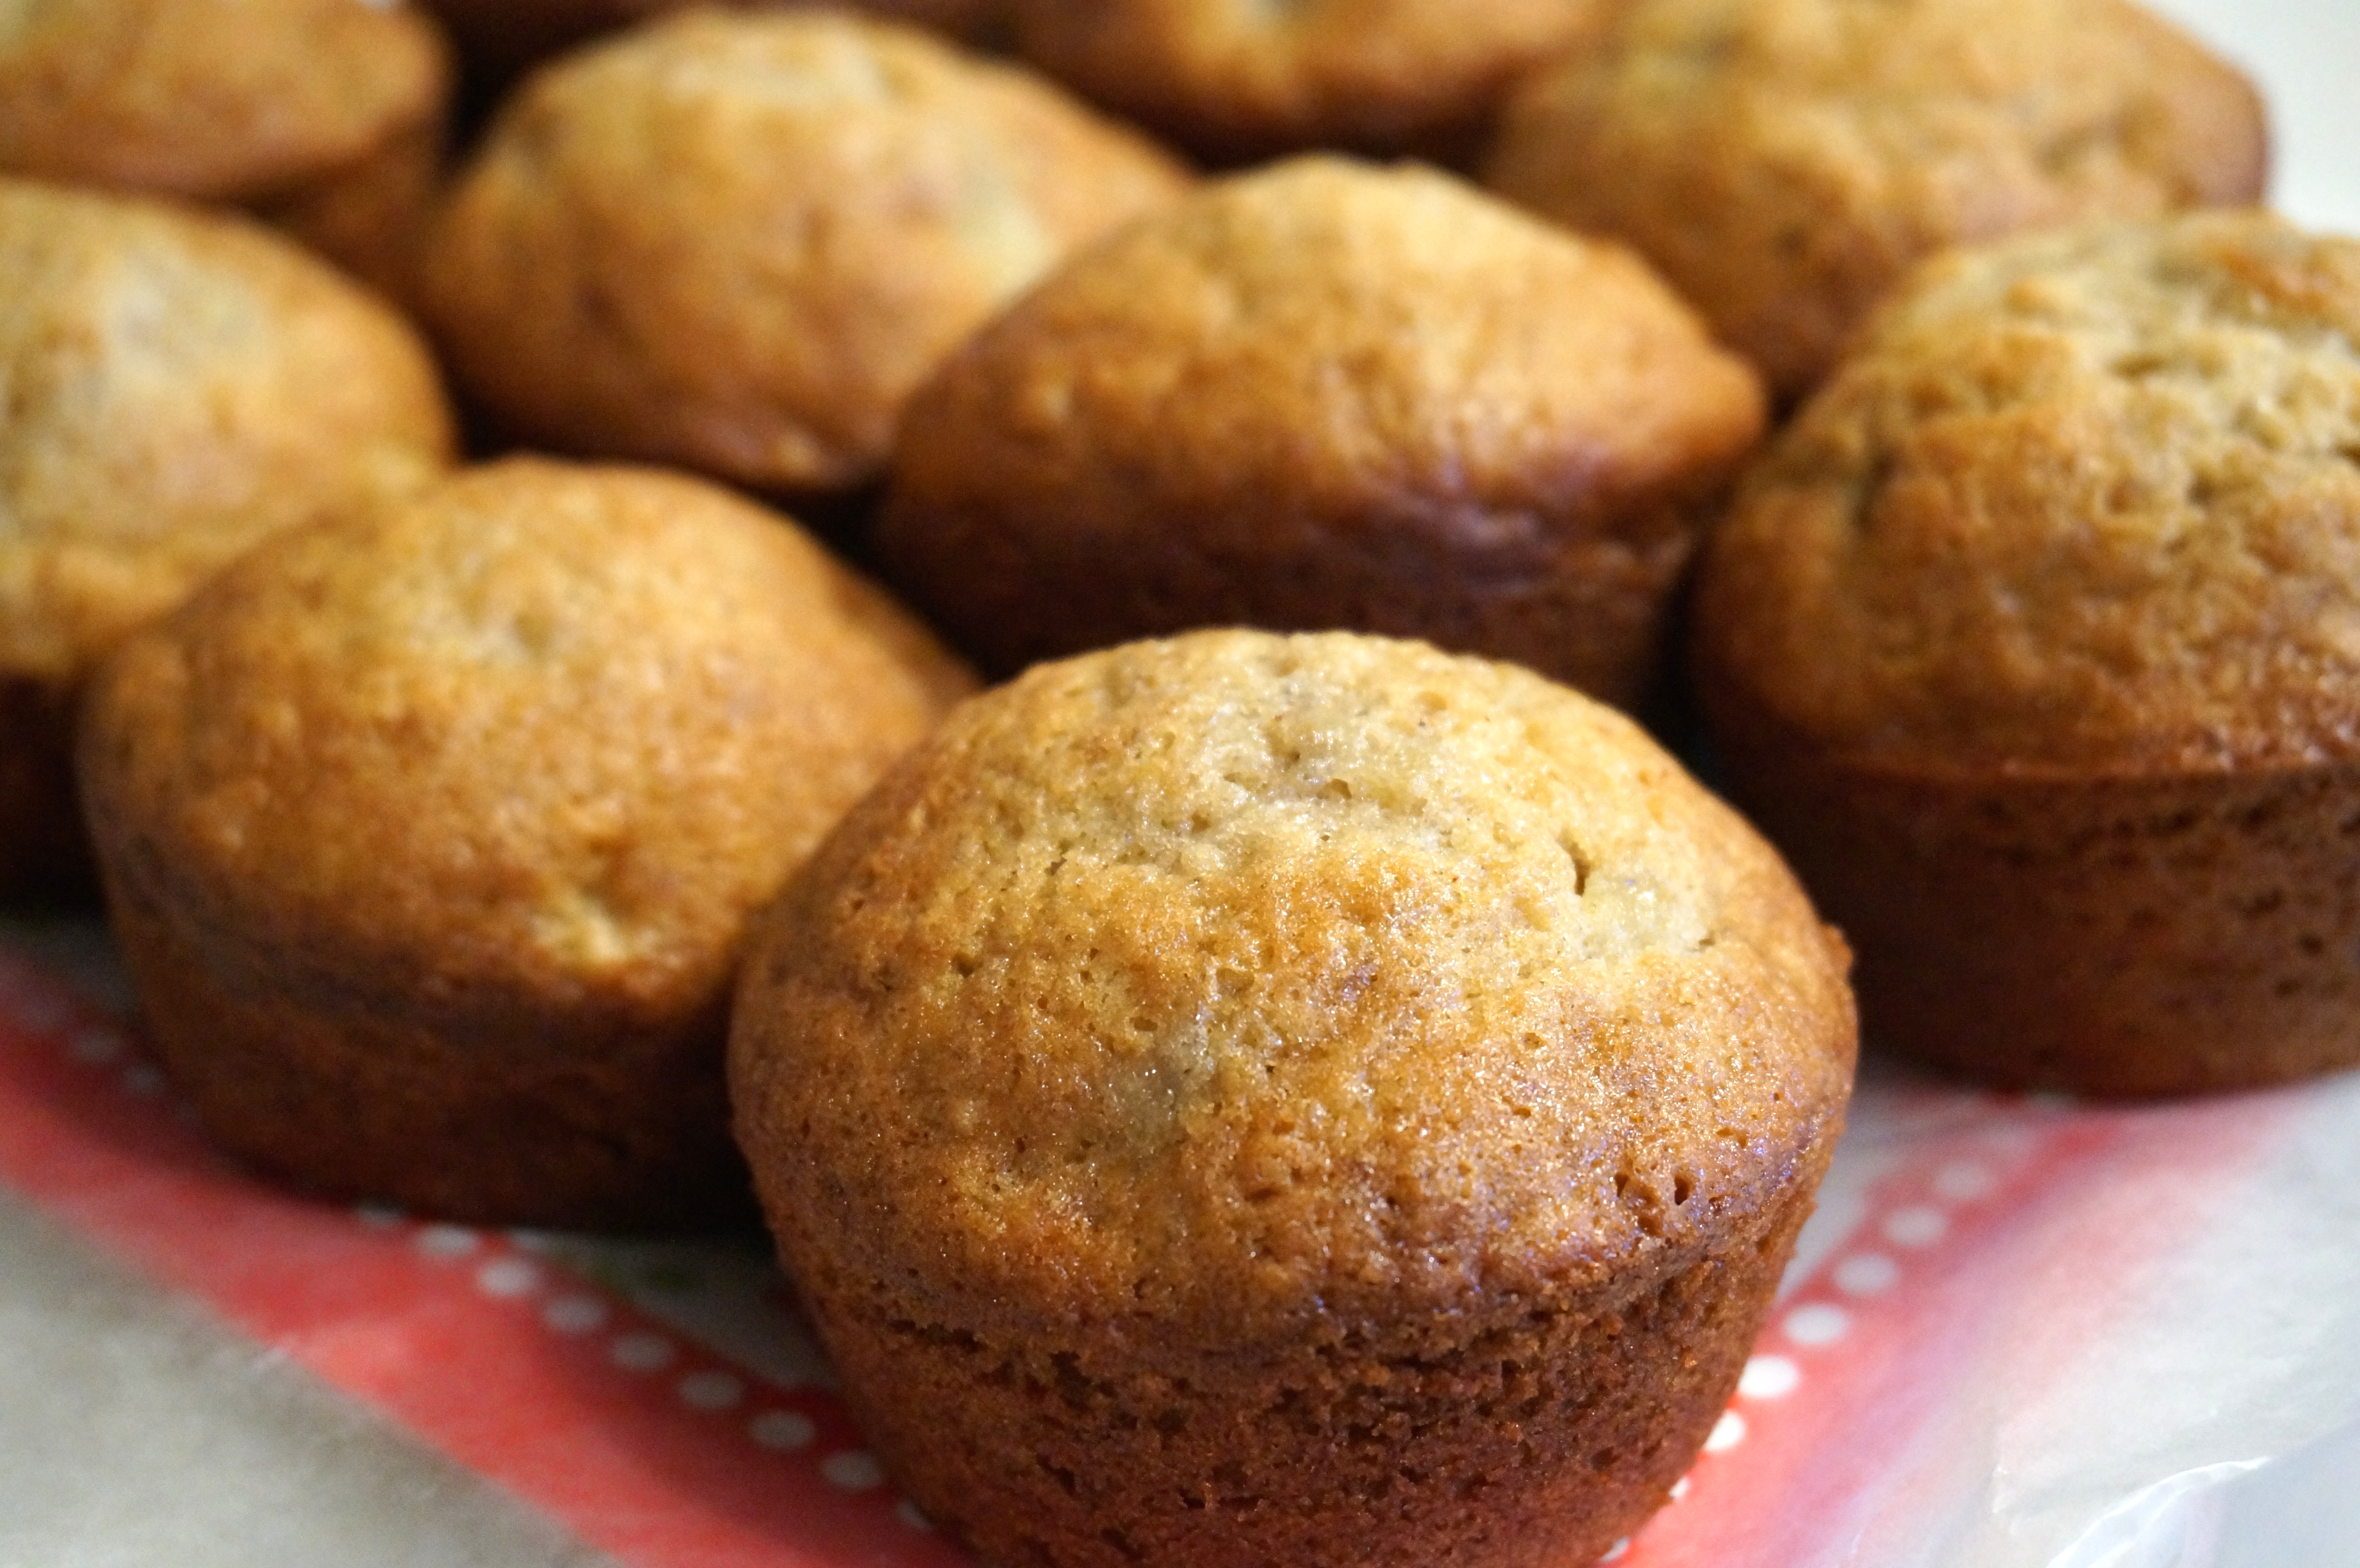
- Preheat oven to 350 degrees (375 for muffins). Grease the bottom and sides of a loaf pan or muffin tin with cooking spray.
- Sift together the flour, baking soda, cinnamon and salt. Beat sugar and eggs with a whisk until fluffy. Stir in the oil (or applesauce). Add mashed bananas, yogurt, and vanilla.
- Fold in dry ingredients and stir until just combined. Stir in nuts.
- Pour into prepared loaf pan or muffin tin and bake, 45 minutes to 1 hour (for bread) or 15-20 minutes (for muffins), or until a toothpick comes out cleanly and you get that lovely little crack on the top! 🙂
Chicken Mole Enchiladas
Chicken Mole Enchiladas
Recipe Type: Main Dish
Cuisine: Mexican, Tex-Mex
Author:
Prep time:
Cook time:
Total time:
Serves: 6-8
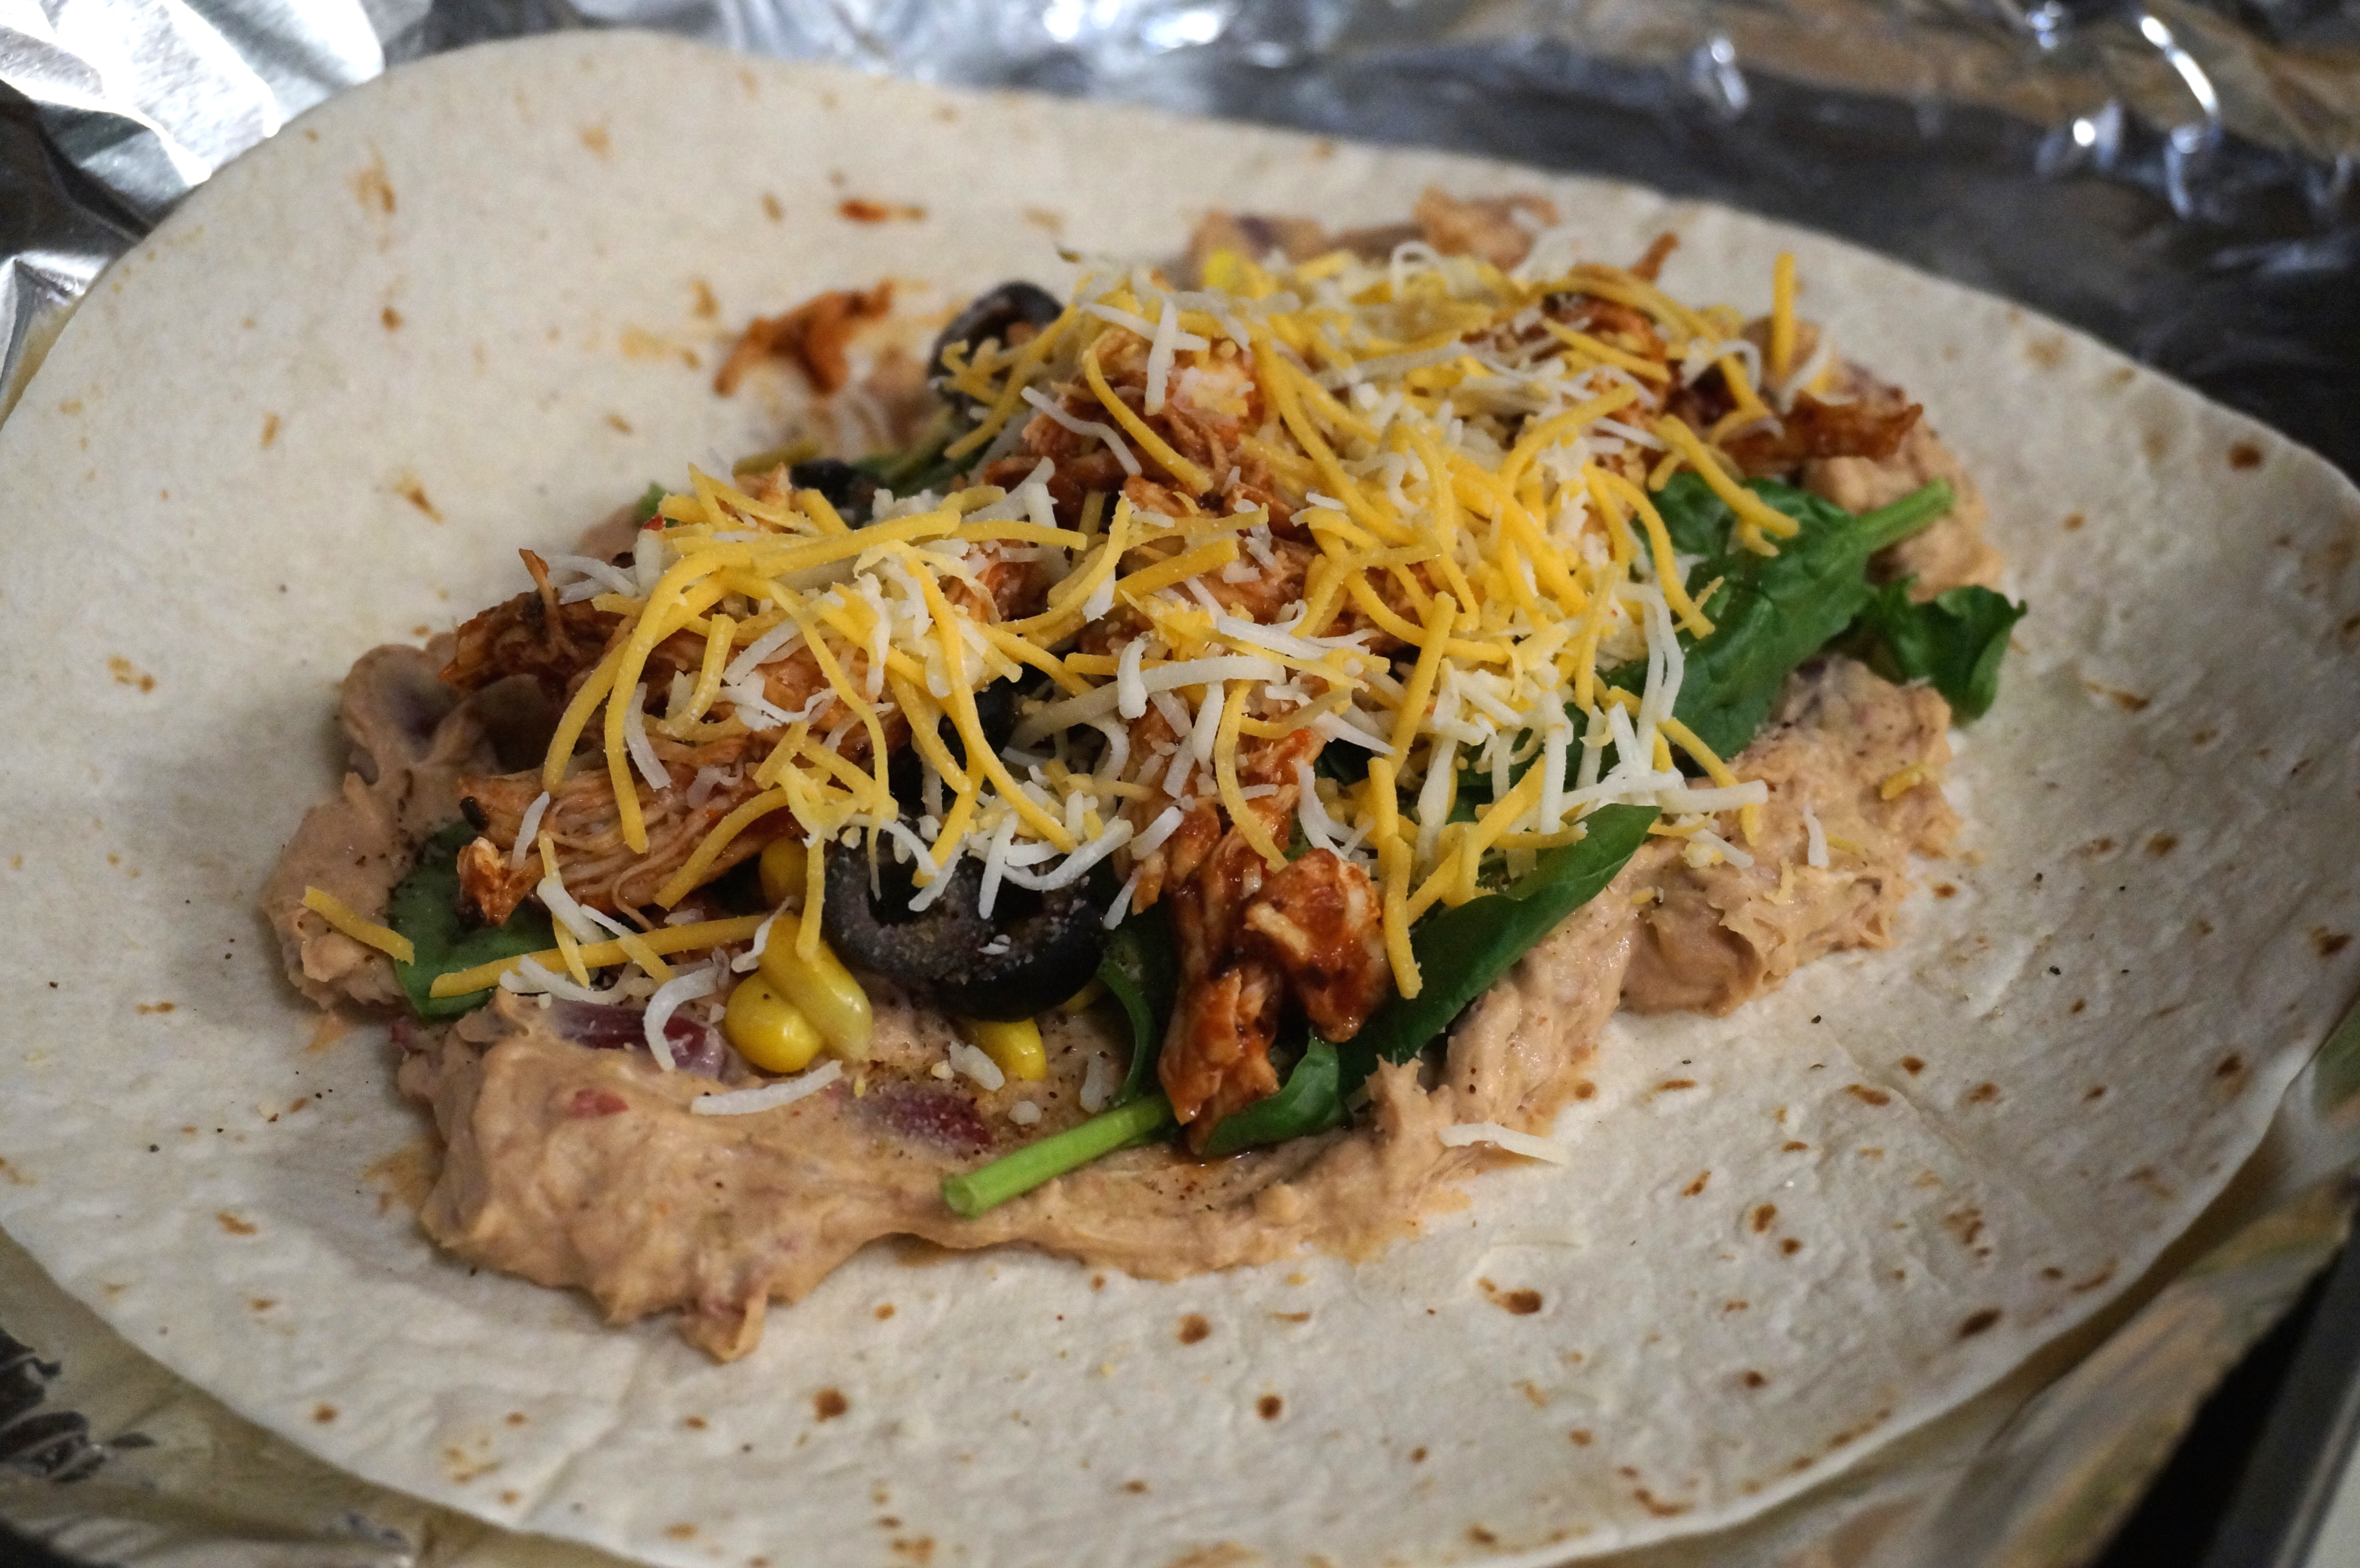
Shop your pantry for staples that are crying “use me! I’m three years old!” like refried beans, corn, beans, and enchilada sauce! Mix together with a quick mole spice blend and roll into tortillas to make quick chicken mole enchiladas. Perfect for any weeknight!
Ingredients
- 6-8 flour tortillas
- 1 can refried beans
- 1 can kidney beans, drained and rinsed
- 1 cup frozen corn
- Handful of baby spinach
- 1 small can black olives, sliced and drained
- 1 package 1/3 less fat cream cheese, softened
- 1 large chicken breast
- 2 tsp cumin
- 2 1/2 tbsp mole seasoning
- 1 tsp chili powder
- S&P
- 2 tbsp lime juice
- 1 can red enchilada sauce
- Sour cream or plain greek yogurt, for topping
- Shredded Mexican style cheese
Instructions
- Preheat oven to 350 degrees.
- In a large bowl, combine refried beans, kidney beans (you can mash them a bit with the back of the spoon if you like a bit smoother texture!), cream cheese, cumin, 2 tbsp mole seasoning, chili powder, and a sprinkling of salt and pepper. Mix until smooth. Microwaving the bowl may help to soften the mixture before mixing!
- Layer tortillas with a large spoonful of bean mixture and spread around the center of the tortilla, leaving about 2″ around the edges. Top with about 2 tbsp corn kernels, a few black olives, a few leaves of spinach, and a small handful cheese. Top with additional cumin and chili powder if desired.
- Meanwhile, in a large saucepan, bring water to a rolling boil. Drop one chicken breast into the water and cook until done- about 15 minutes (if frozen; probably more like 8-10 if thawed!)
- Remove chicken from saucepan with a slotted spoon and place in a small bowl. Using two forks, shred chicken. Add lime juice and remaining mole seasoning and toss until chicken is coated.
- Spoon about 2 tbsp chicken on top of each tortilla.
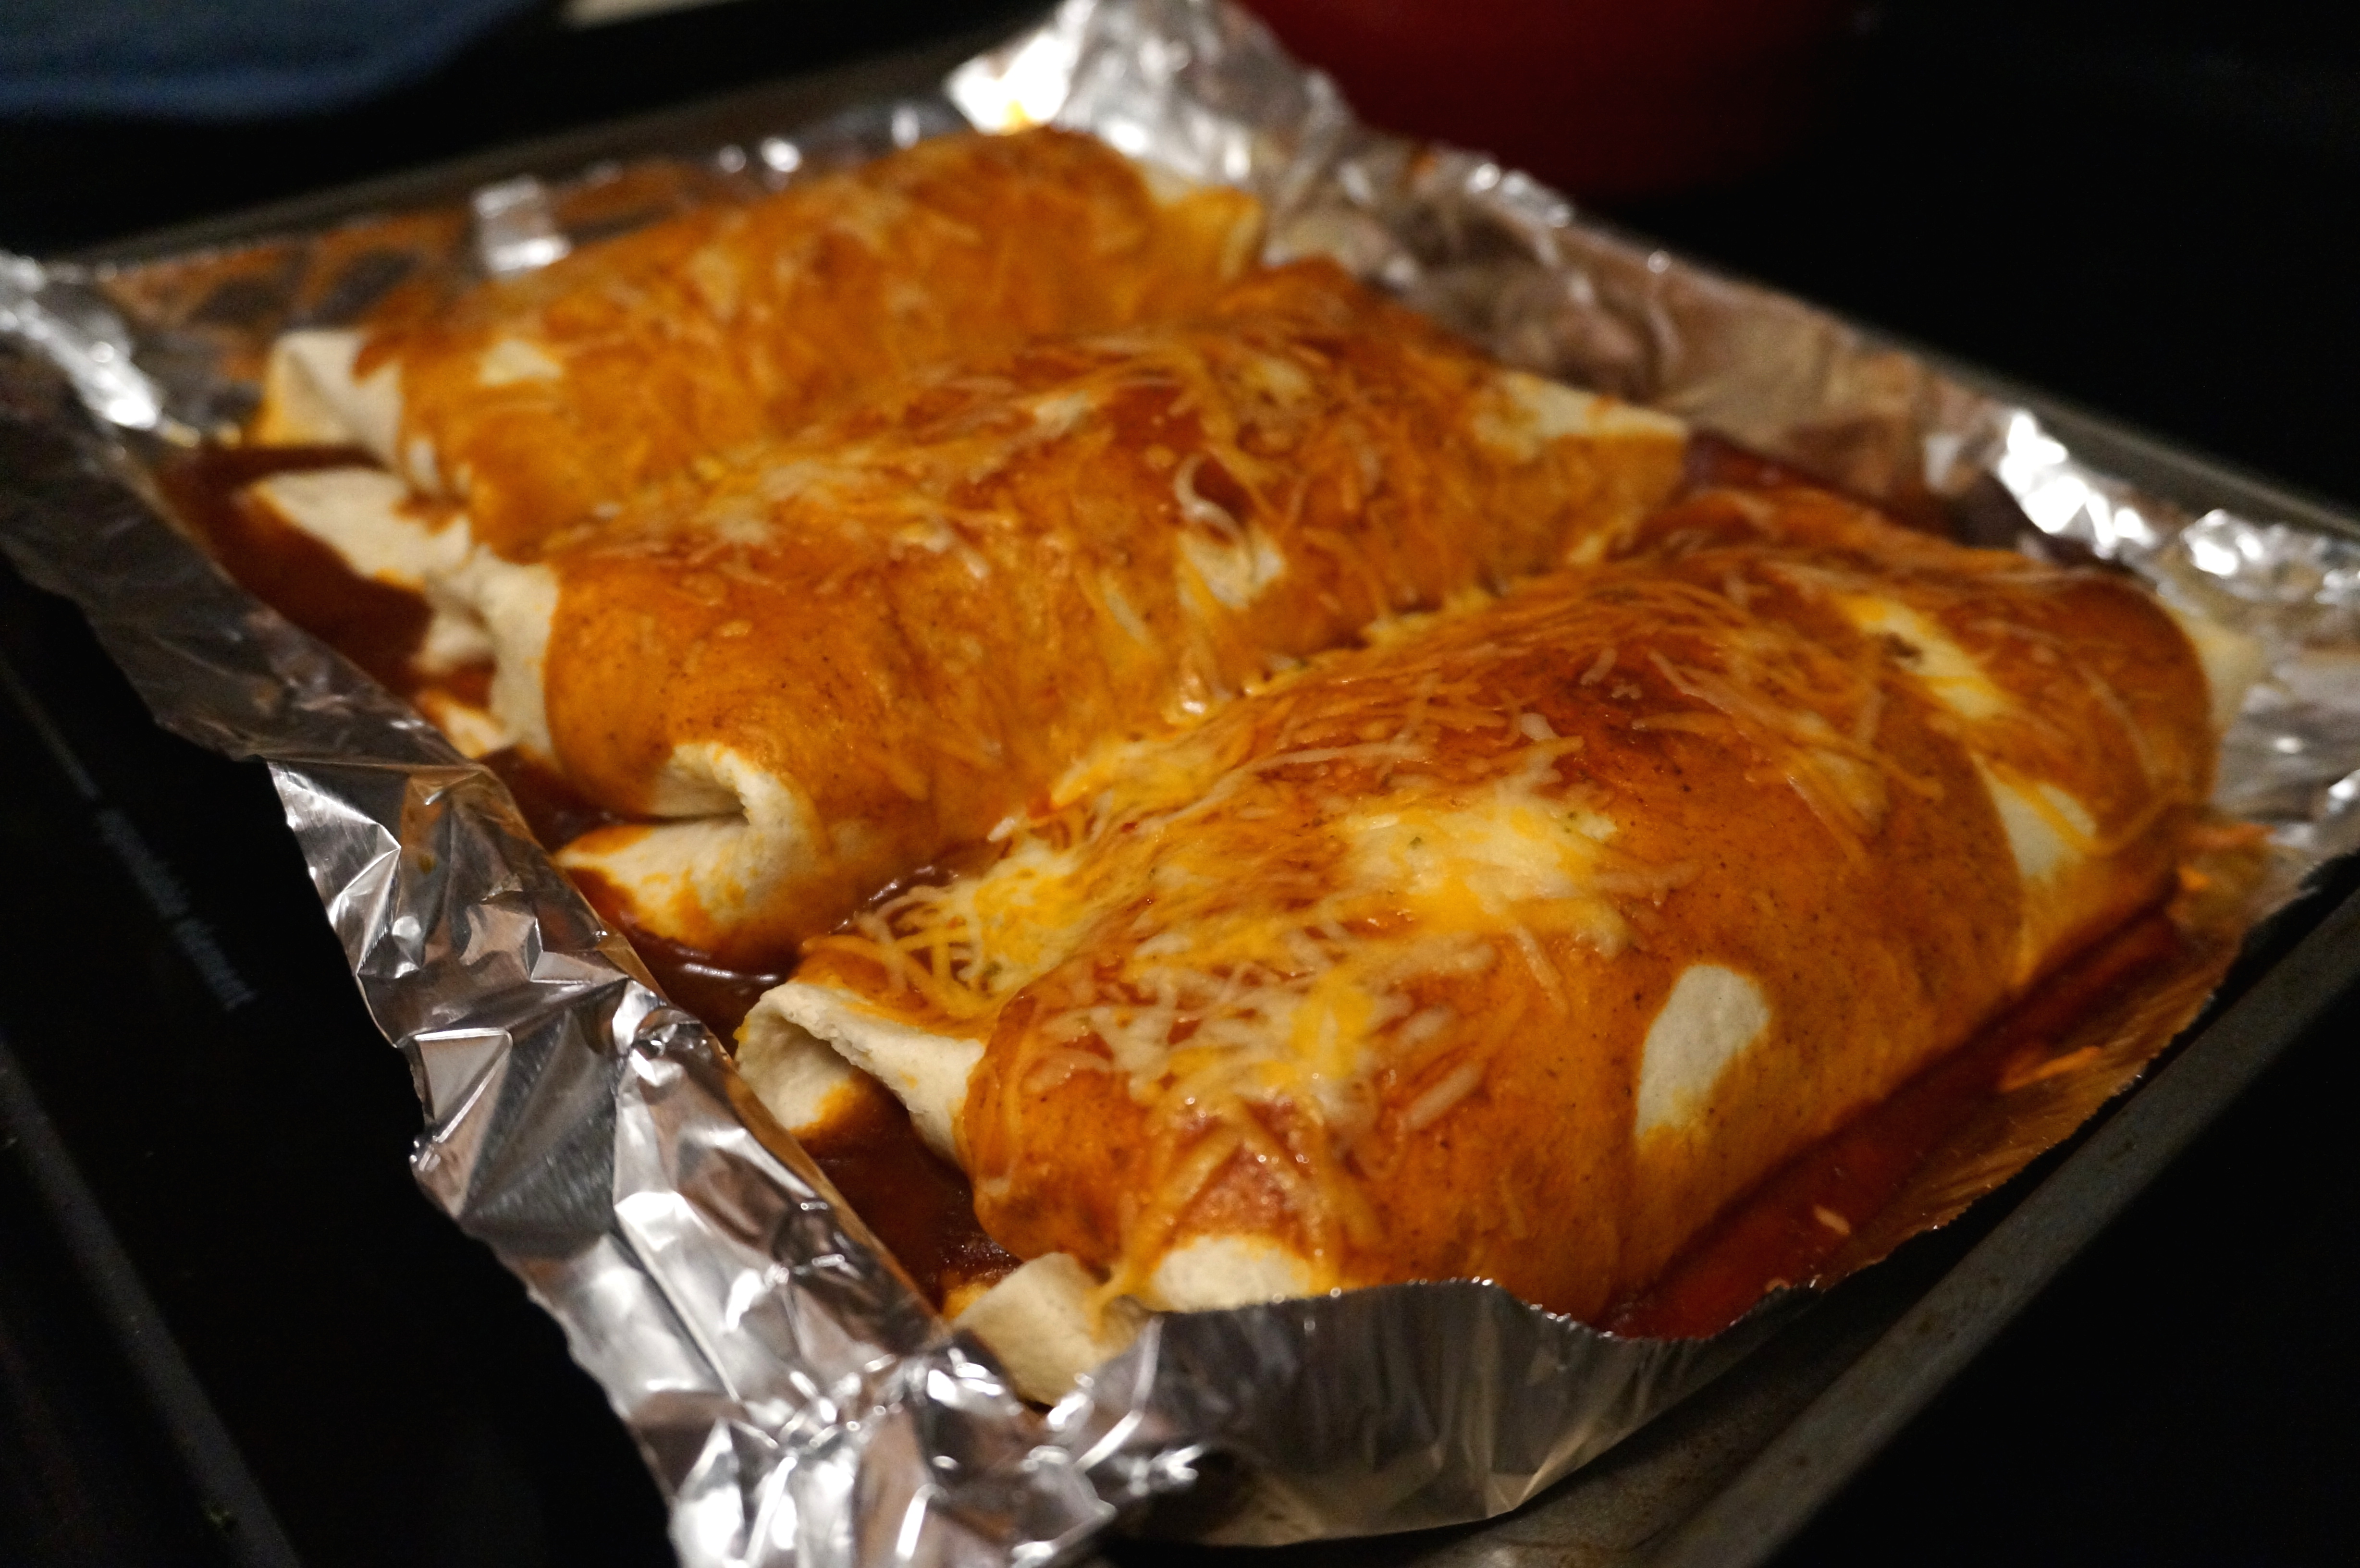
- Fold tortillas in at the sides and then roll. Place tortillas seam-side down onto a oiled baking sheet (I lined mine with foil first to make clean-up easier!)
- Pour enchilada sauce over top of enchiladas. Top with additional cheese.
- Bake at 350 for 25 minutes or until cheese is melted and sauce is bubbly.
- Serve with a dollop of sour cream or plain greek yogurt!


Truffle Baked Mac n’ Cheese- Lightened Up!
I love mac n’ cheese, ya’ll. But it’s one of those meals that you just can’t bring yourself to indulge in on a regular basis. Maybe that’s what makes it so good. It definitely brings me back to my elementary school days, when we’d have a snow day and stay at home and make our own play-dough and string cranberries and popcorn and eat Kraft mac n’ cheese (yes, the 100% “synthetic and we don’t even pretend not to be” bright orange kind). Yet something about that mac n’ cheese was just. so. dang. good!
Since I’ve “grown up” a little bit, I’ve gotten away from that mac n’ cheese from the box (okay, okay, Annie’s makes a mean boxed white cheddar variety… but at least it’s got the organic part going for it!) and moved on to making my own. But really, how many ways can you experiment with mac n’ cheese besides changing the only two ingredients- pasta and cheese? Hmmmm… maybe I’ll REALLY change things up tonight and instead of elbows, I’ll use SHELLS! Probably not that exciting.
On the bright side, with only two main ingredients, it’s pretty hard to mess up macaroni and cheese. But when I first came across the idea of a “lightened-up” version using yogurt in place of cream for the cheese sauce, I have to admit that I was a little skeptical. But when I thought about it more, it seemed to make more sense- why wouldn’t plain Greek yogurt be a sensible alternative to heavy cream? Thick, creamy, and perfectly tart, plain Greek makes perfect sense. And it doesn’t mean you can’t add the other stuff like butter and flour; it just means you get to add a bit less of them to save some unnecessary calories! I promise you won’t even miss them.
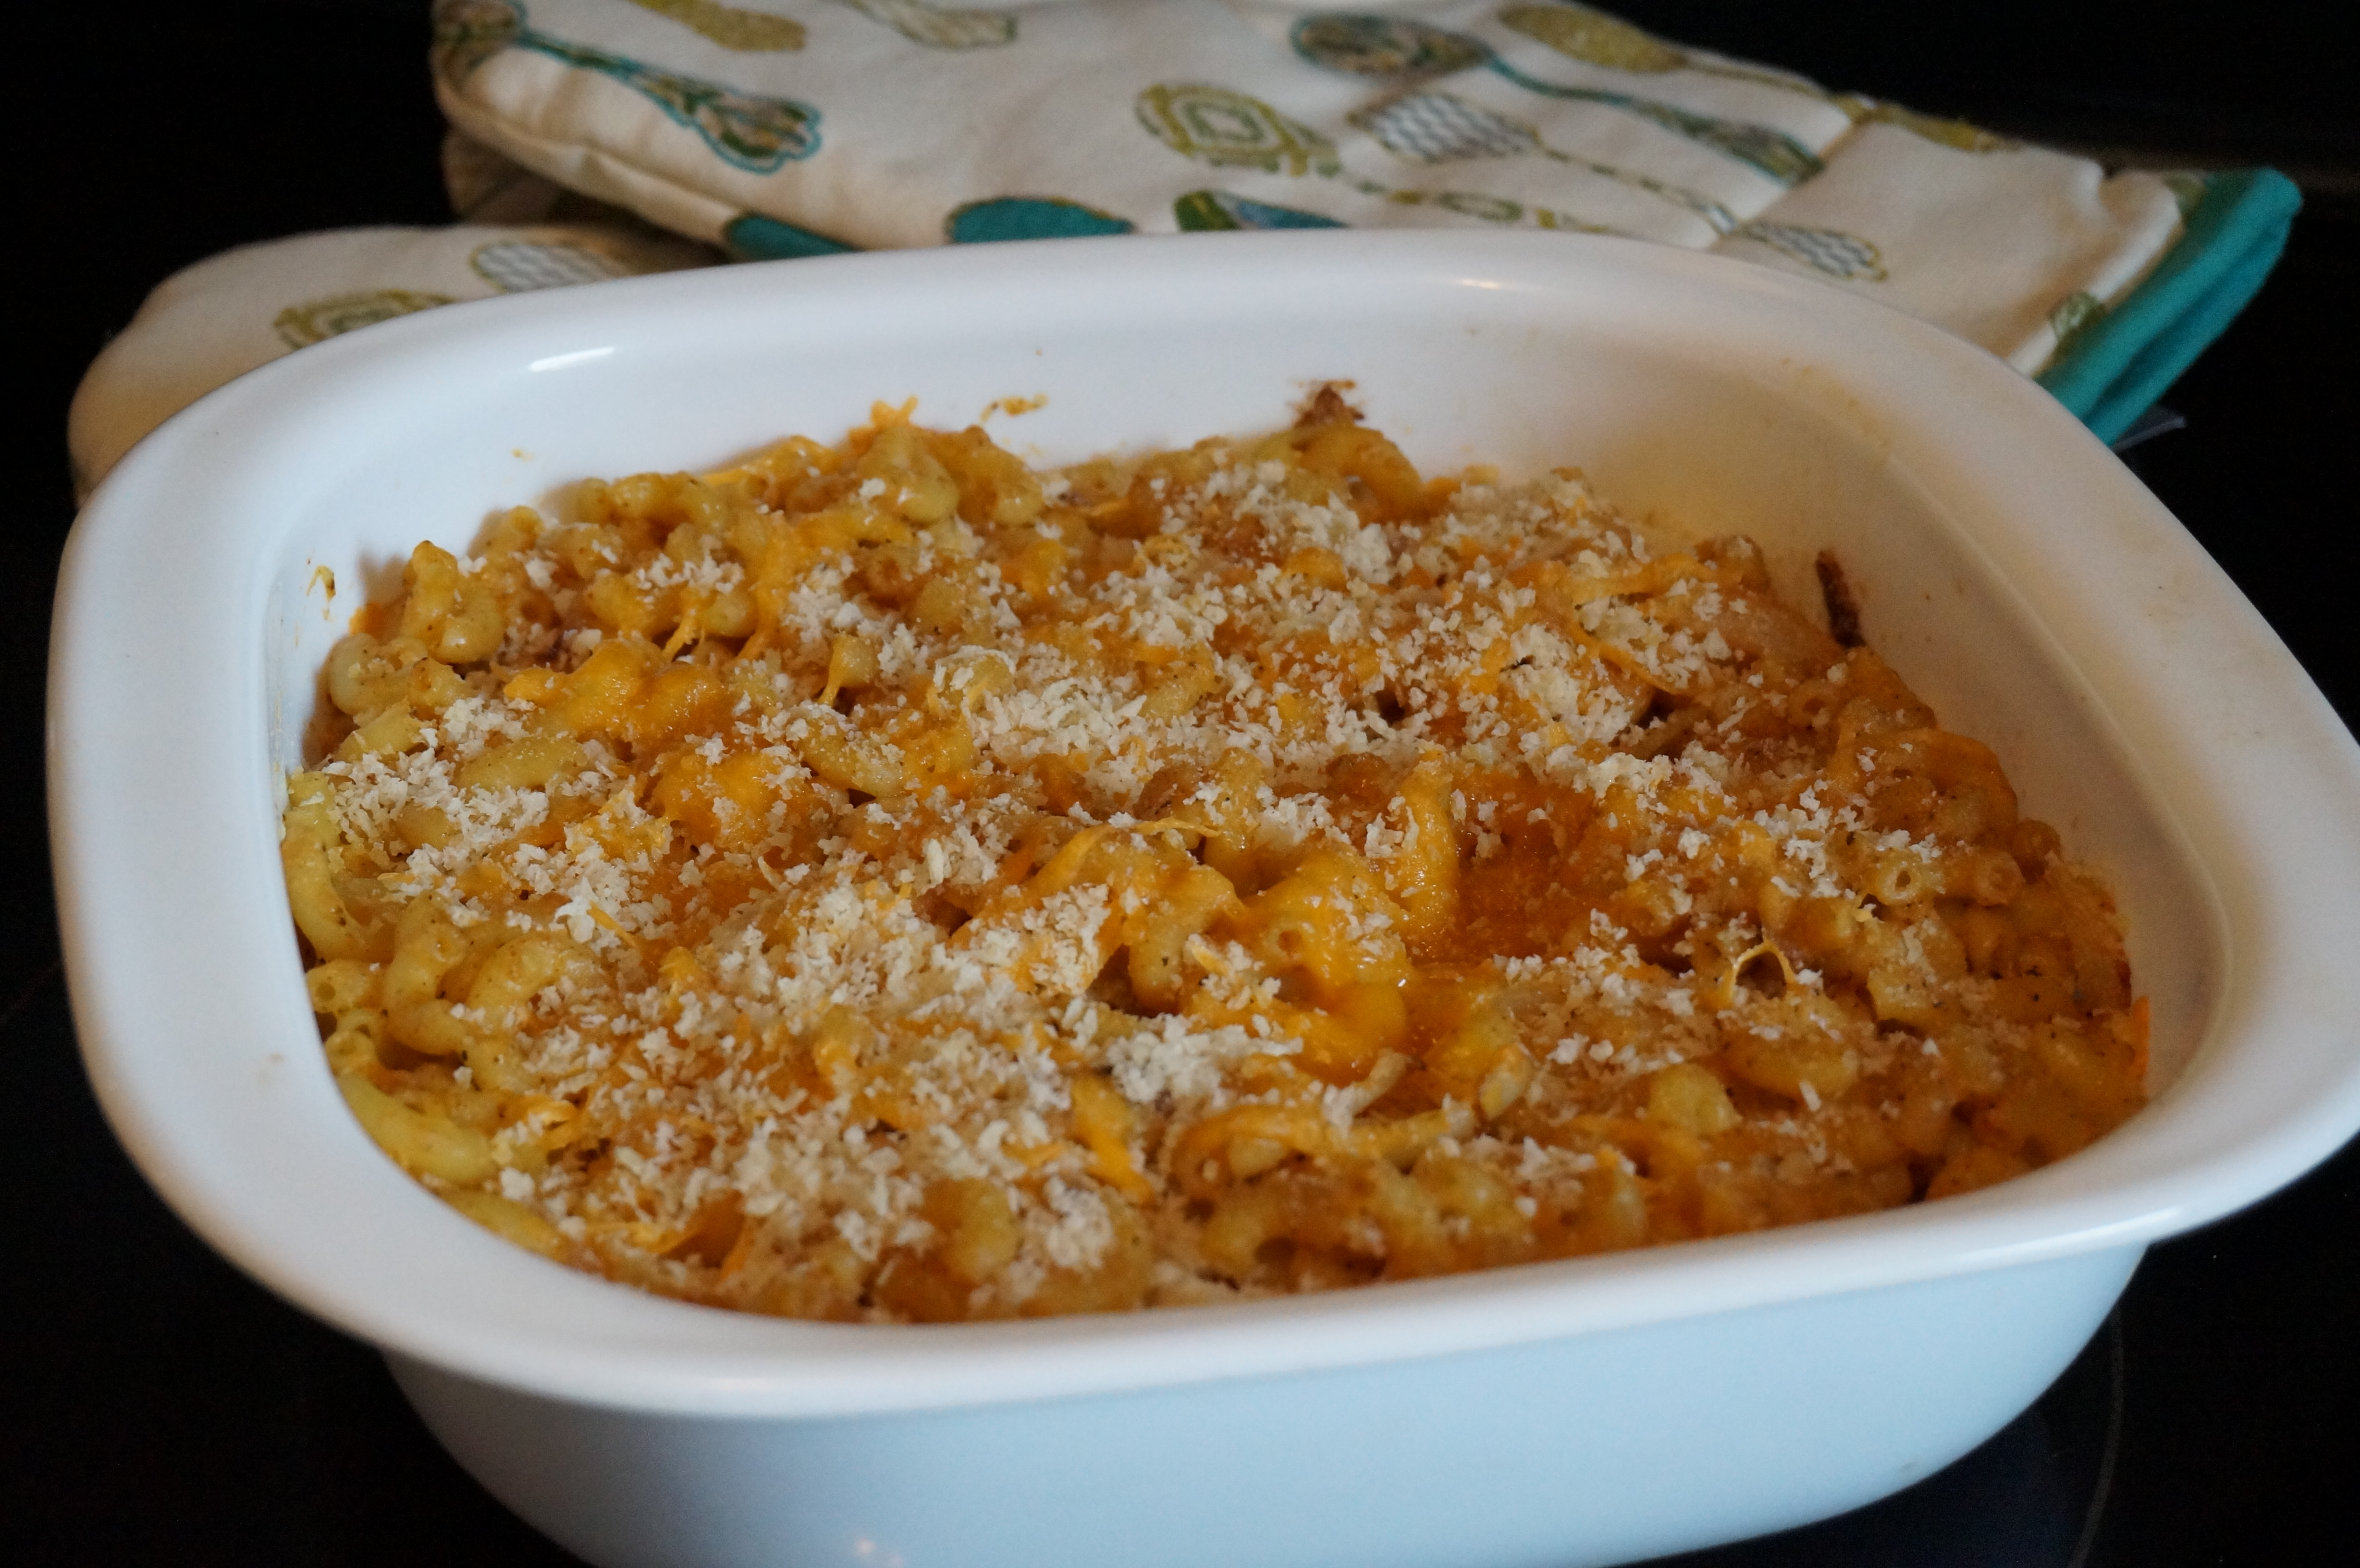
I also added a little chili powder and nutmeg for an extra kick, and topped it off with Panko breadcrumbs and a drizzle of truffle oil (because that stuff makes ANYTHING feel more gourmet, so even if my mac n’ cheese stinks, maybe no one will even notice!).
I’m all for indulging occasionally when it comes to food. But with this dish, at least you can indulge in the healthiest way possible! 🙂
Happy weekend!
Truffle Baked Mac n’ Cheese- Lightened Up!
Recipe Type: Dinner, Side
Cuisine: American, Gourmet
Author:
Prep time:
Cook time:
Total time:
Serves: 8-10
A lightened-up version of the American favorite, lightened up by using plain Greek yogurt for the cheese sauce! Indulge and savor every single forkful.
Ingredients
- 8 ounces elbow macaroni
- 1/2 stick butter
- 1/3 cup flour
- 1 small onion, chopped
- 1 cup low fat milk
- 8 oz low fat plain Greek yogurt (I used Fage 2%)
- 8 ounces reduced fat, extra sharp cheddar, grated
- 2 tablespoons Parmesan cheese
- S&P
- 1 tablespoon chili powder
- 1/2 tsp garlic powder
- 1/4 tsp nutmeg
- 1/4 cup Panko bread crumbs
- 1/2 tablespoon truffle oil, for finishing
Instructions
- Preheat oven to 350 degrees. Grease a baking dish with nonstick cooking spray.
- Cook macaroni according to package directions (about 9-11 minutes for al dente). Rinse and set aside.
- In a large pan, heat 1/2 tablespoon butter. Add onions and cook on medium high heat until translucent, about 3 – 4 minutes. Remove from pan and set aside. Reduce heat to medium.
- In the same pan, heat remaining butter. Stir in flour and cook 2 minutes.
- Slowly whisk in milk and yogurt until thick. Remove from heat and stir in cheddar and Parmesan cheeses, reserving a bit of the cheddar for topping later! Mix well.
- Add salt, pepper, chili powder and nutmeg. Mix onions, pasta and sauce together.
- Pour mixture into the prepared dish. Sprinkle with remaining cheddar and Panko bread crumbs. Drizzle with truffle oil.
- Bake 30 – 35 minutes, or until cheesy is melted and bread crumbs have browned.
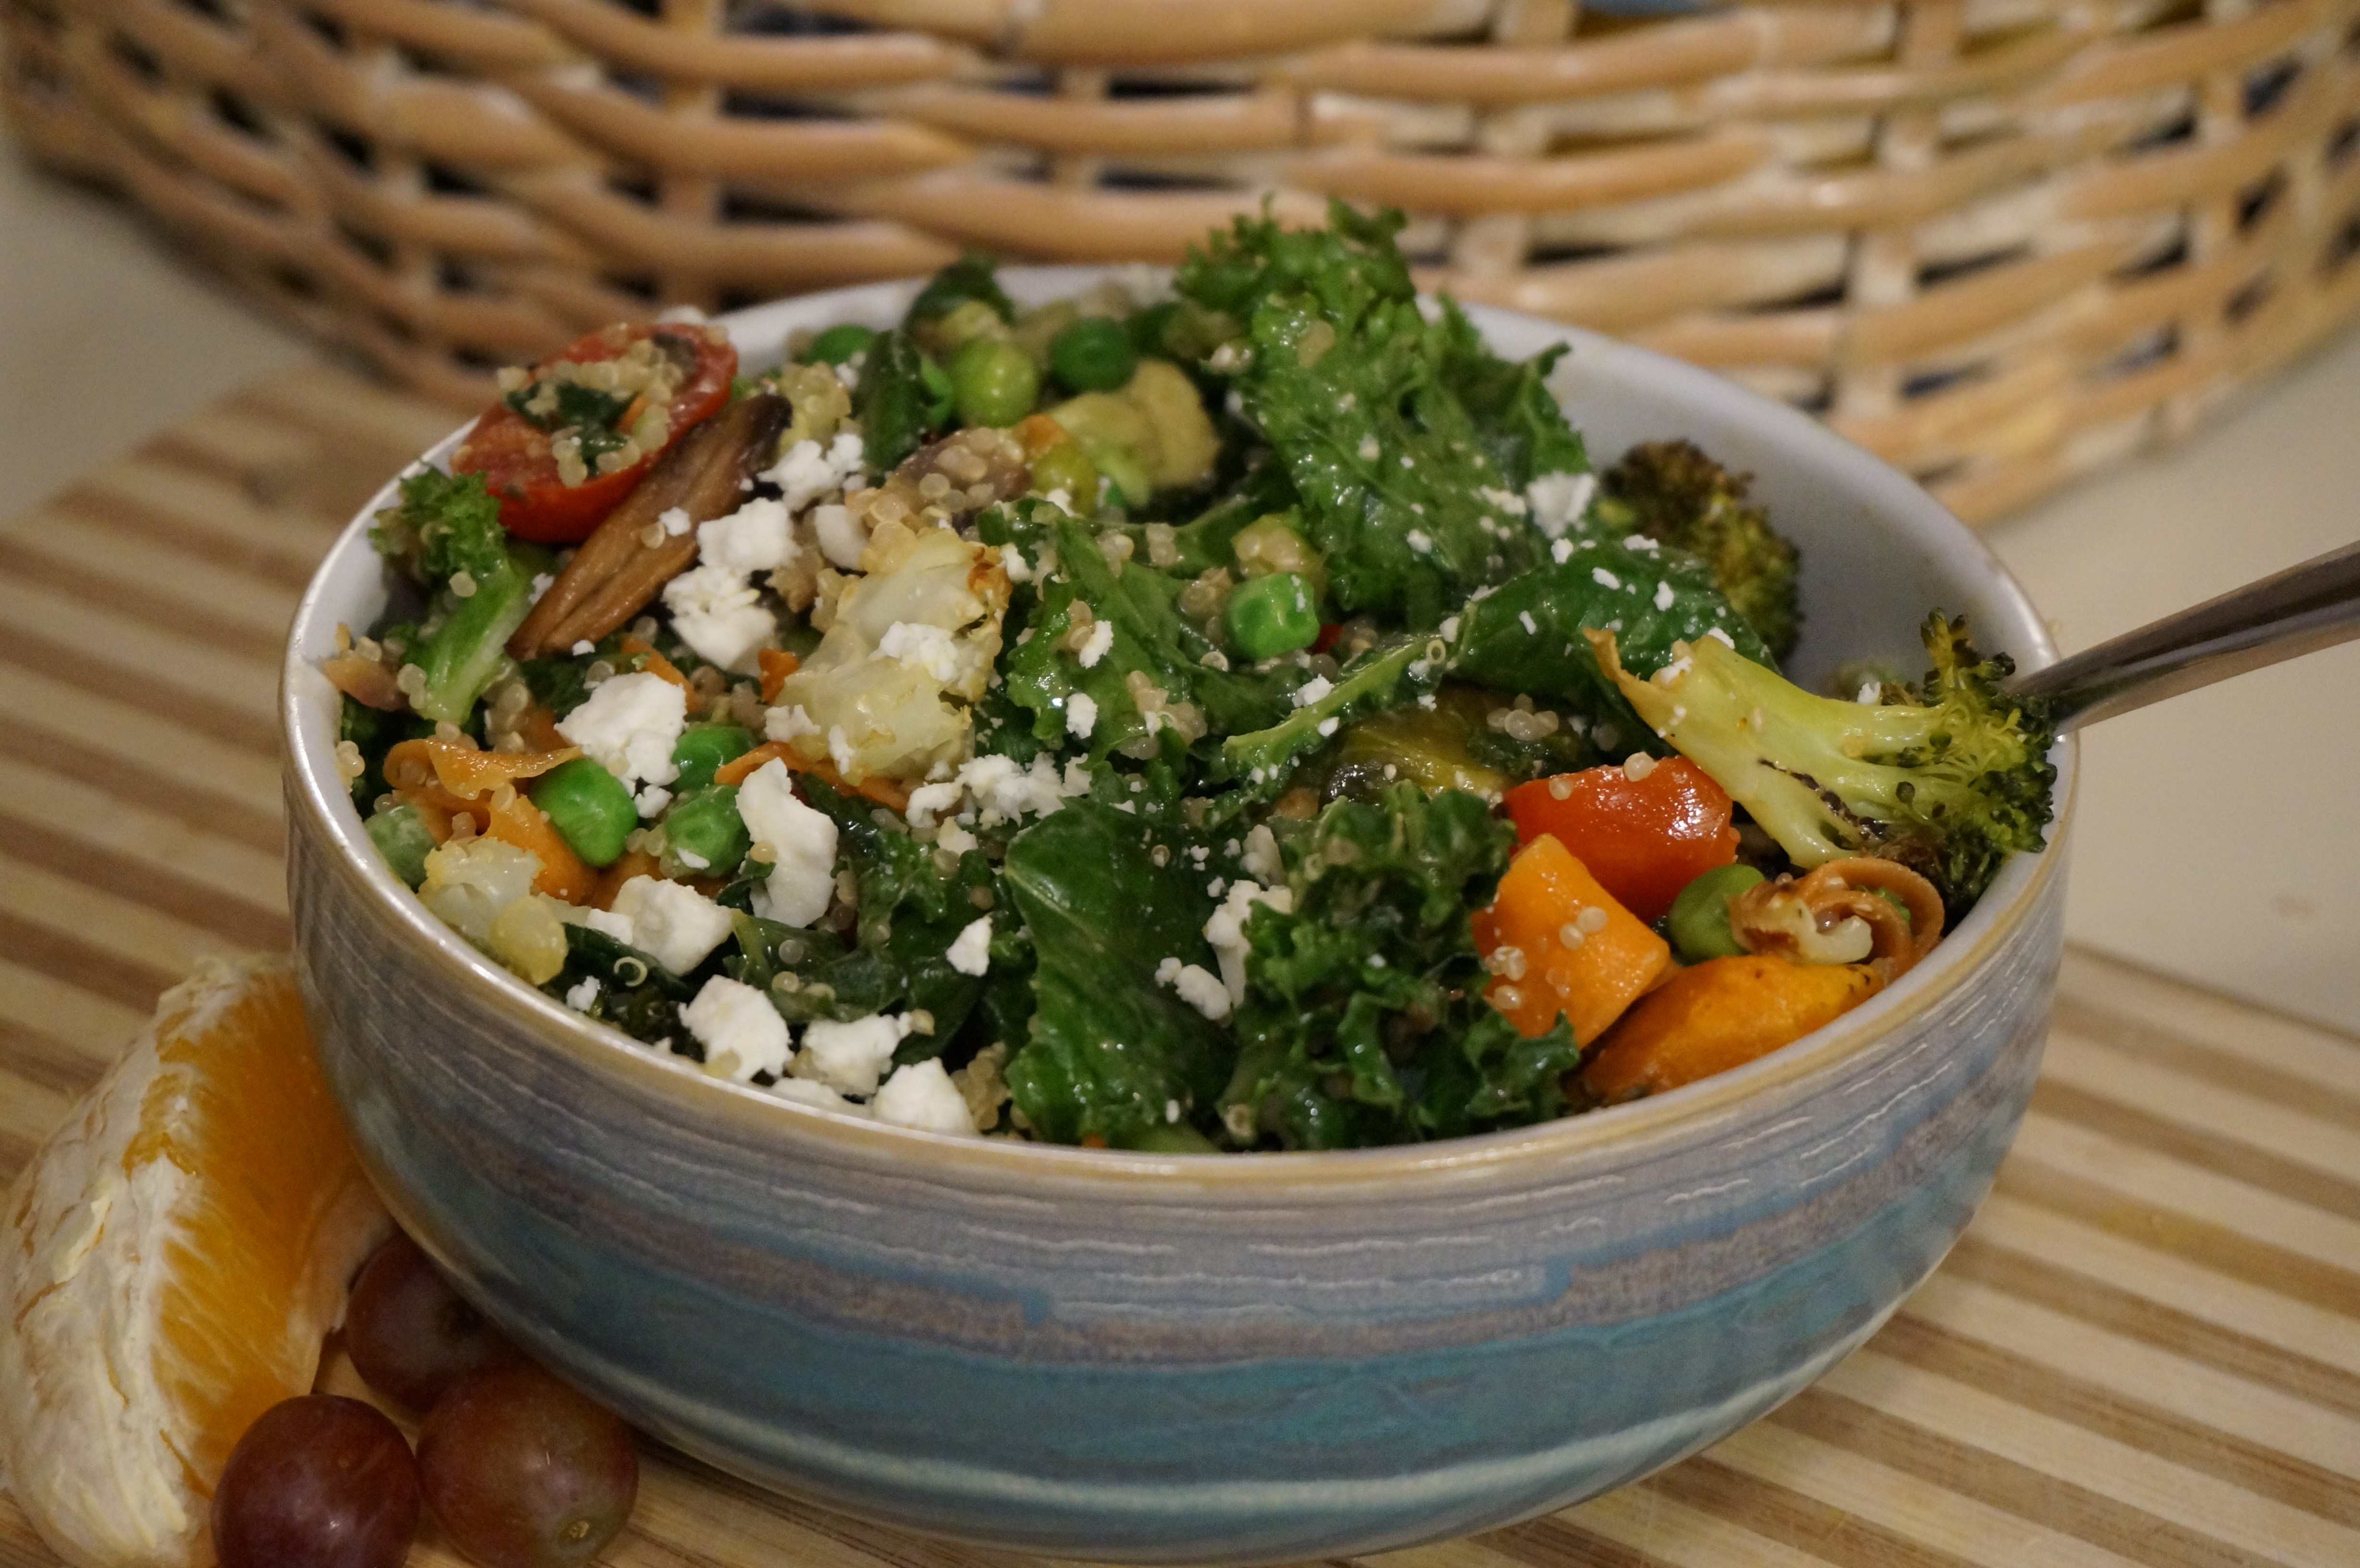
Kale, Quinoa, and Feta Salad w/ Creamy Hummus Dressing
Double Chocolate Kiss Cake
Who doesn’t love a good chocolate cake? Okay, this was supposed to actually be brownies, but I have yet to find an actual brownie pan that I like. The one we have from Calphalon is labeled as a “brownie pan” but for some reason it’s just a tad too long and not quite deep enough for those thick (let’s be real, they’re deep-dish), fudgy, not-quite-cooked brownies that I like to make. “I prefer my brownies crunchy and hard around the edges,” said NO ONE EVER.
One of my solutions to this very serious issue is to make all my brownies in a round cake pan. It makes cutting them a bit more difficult, and I’ve sometimes used cookie cutters to get them out in shapes other than triangles, but at least the thickness issue is fixed.
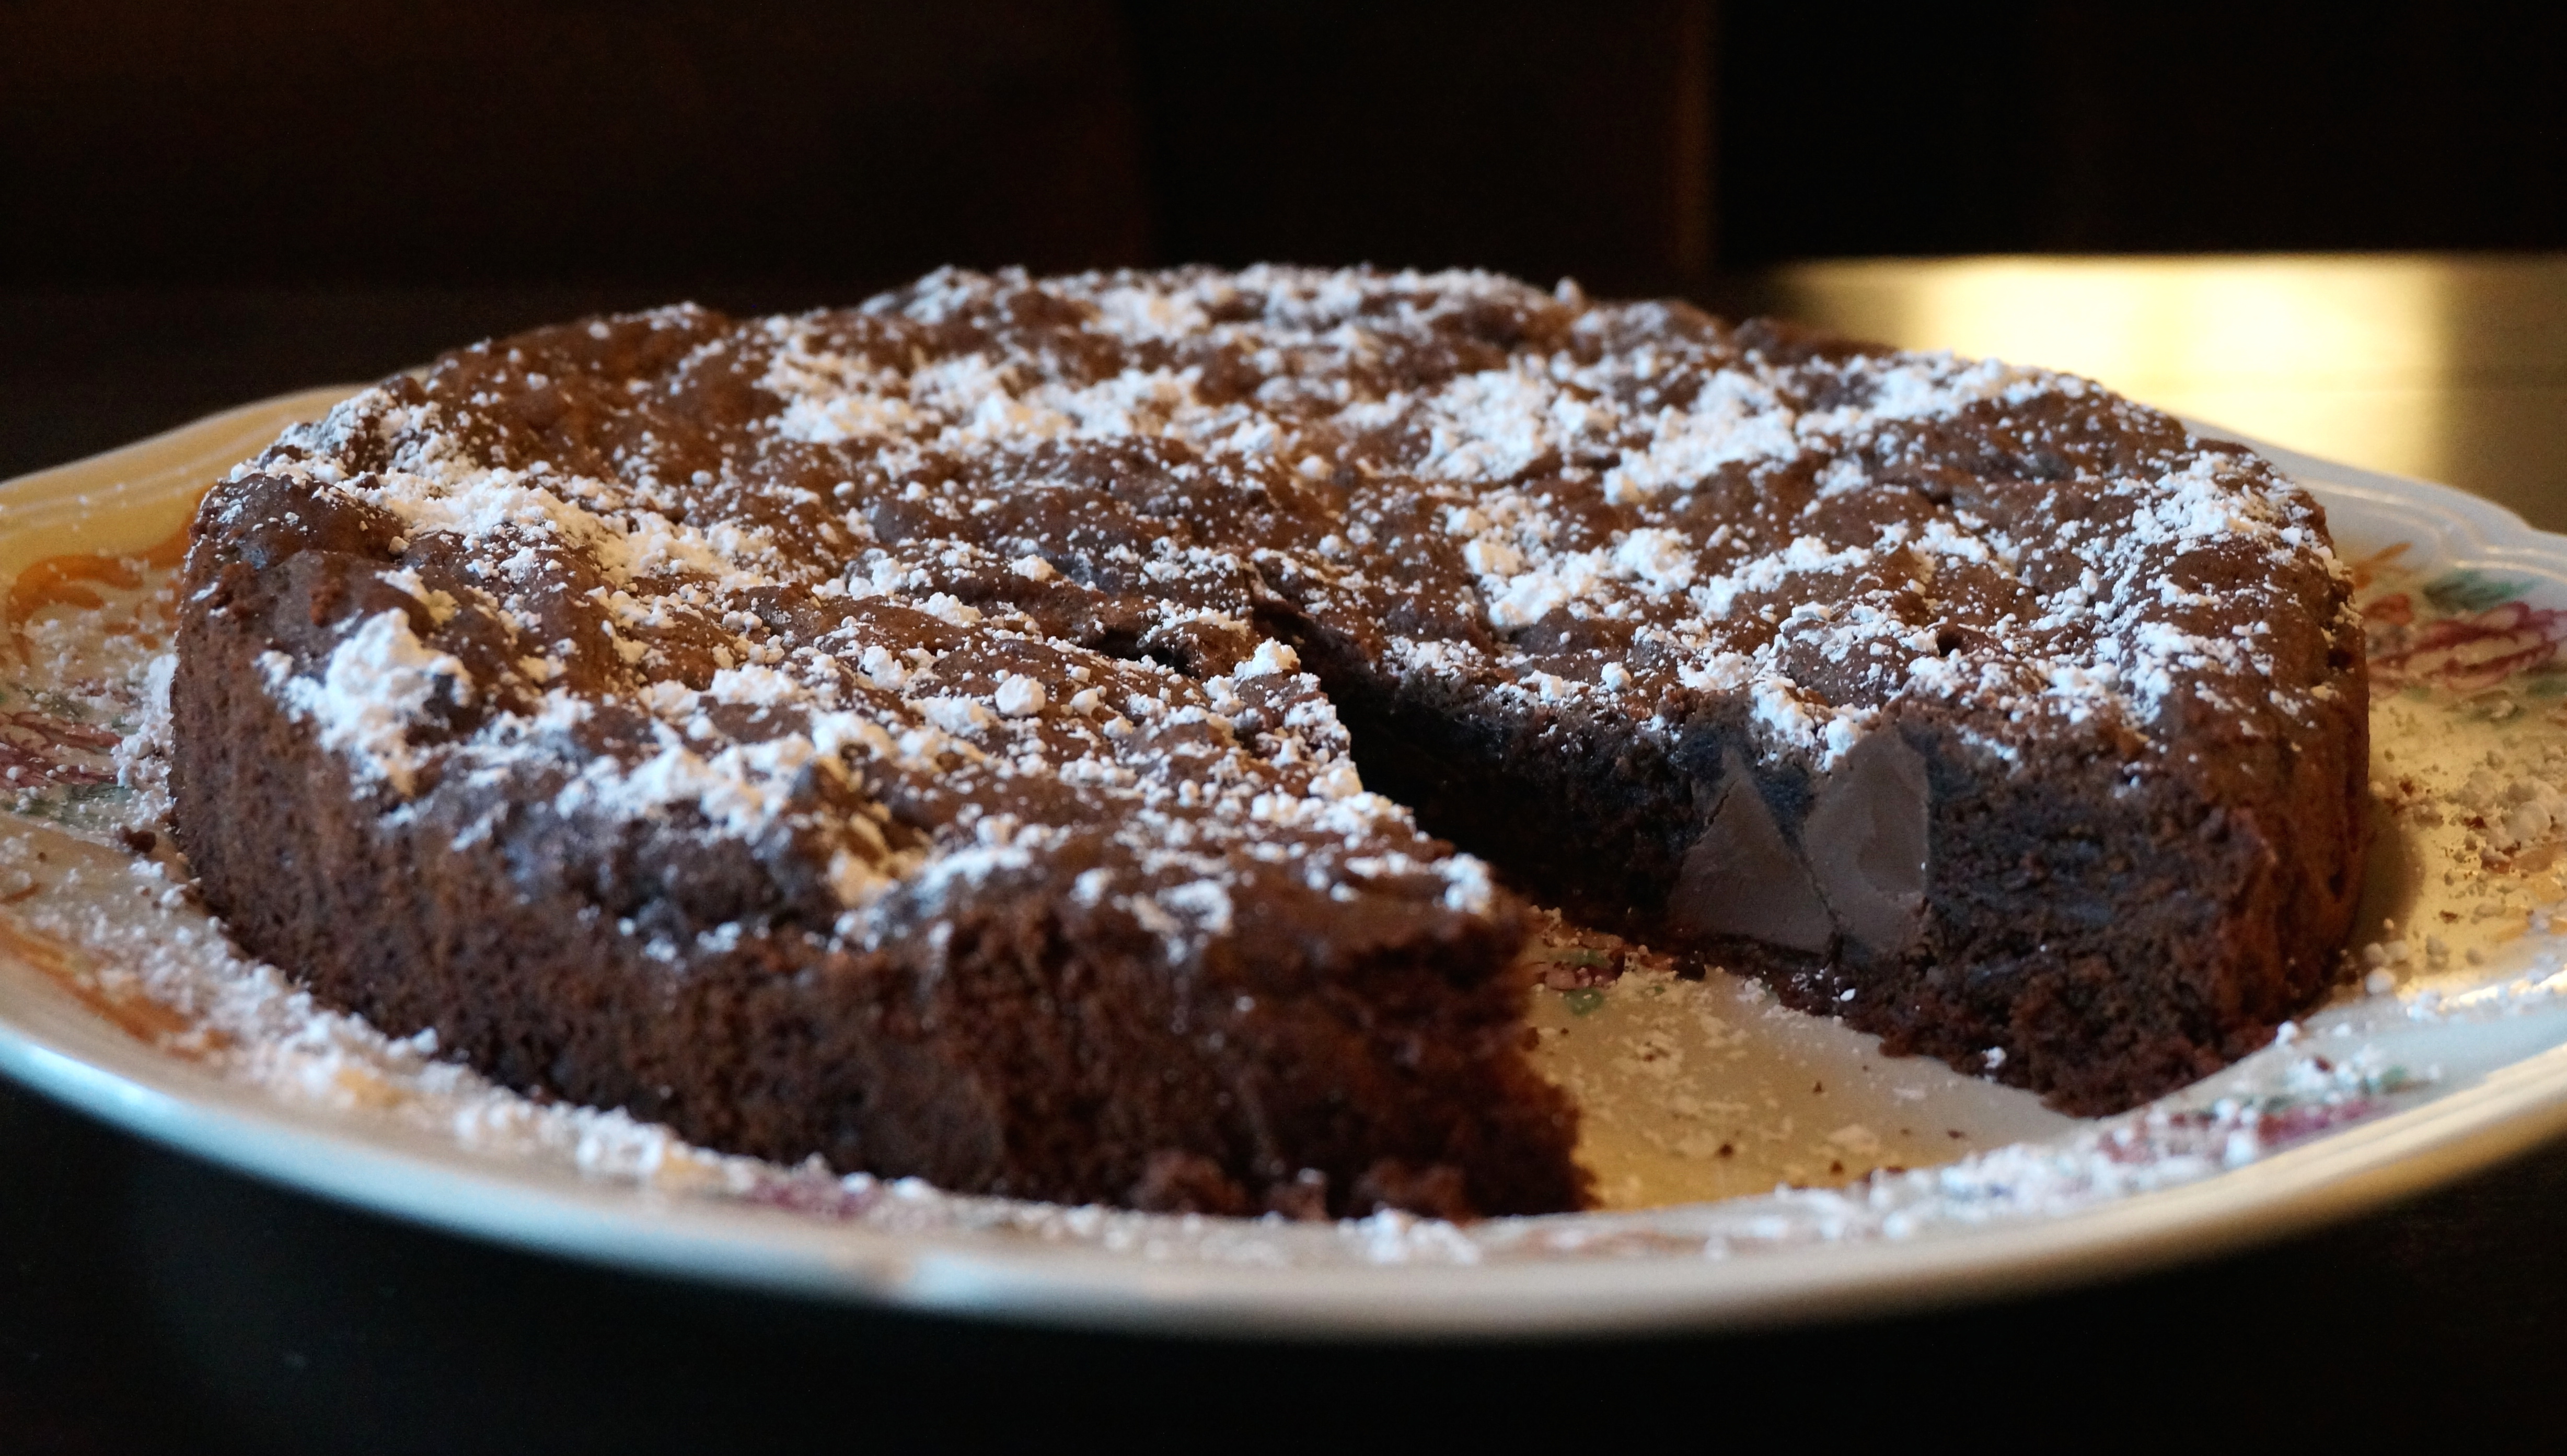
Last night I wanted to make something for our small group from church, and I had one of those “what do we have in the pantry that I can use up?” moments. Turns out we had almost an entire bag of Hershey’s Kisses that were begging to be used up. So I decided to make a kiss cake! When I sliced it up later, I was pleased to find that each pie-slice shaped brownie had at least one or two semi-softened kisses tucked cozily beneath the surface. I decided to add a little bit of cinnamon to the batter to make it a tad spicy, almost Mexican-chocolate style (minus the cayenne), and I dusted the finished cake with a bit of powdered sugar. I served it alone, but I’m sure it’d also be amazing with ice cream or a dollop of whipped cream!
Double Chocolate Kiss Cake
Recipe Type: Cakes
Cuisine: Dessert
Author:
Prep time:
Cook time:
Total time:
Serves: 12
A pleasantly surprising “smooch” in every slice! Serve with ice cream or homemade whipped cream for a decadent dessert.
Ingredients
- 30 Hershey’s Kisses candies, unwrapped
- 2/3 cup shortening
- 3/4 cups packed light brown sugar
- 1/2 cup granulated sugar
- 1 tablespoon water
- 1 teaspoon vanilla extract
- 2 eggs
- 1 1/4 cups all-purpose flour
- 1/3 cup cocoa powder
- 1/2 teaspoon salt
- 1/4 teaspoon baking soda
- 1/4 teaspoon cinnamon
- Powdered sugar, for dusting top of cake
Instructions
- Heat oven to 350°F. Grease bottom of a 8″ cake pan. Remove wrappers from chocolates and set aside.
- Beat shortening, brown sugar, granulated sugar, water and vanilla in large bowl with electric mixer until well blended. Add eggs and beat well.
- In a separate bowl, whisk together flour, cocoa powder, salt, baking soda, and cinnamon until well combined. Gradually mix into the wet mixture until just blended.
- Stir in chocolate kisses.
- Spread in cake pan in one even layer. Bake at 350 degrees for 25 minutes, or until top of cake has a slightly “toasted” appearance and toothpick comes out clean (it will be slightly springy still, but that’s okay! Don’t overbake!)
- Cool completely. When ready to serve, invert cake pan onto a plate and gently invert again onto the presentation plate.
- Dust with powdered sugar and cut into pie-shaped slices.
