Chicken Mole Enchiladas

DSC00957

Chicken Mole Enchiladas
Recipe Type: Main Dish
Cuisine: Mexican, Tex-Mex
Author: Claire McCormick of “Claire Tastes”
Prep time:
Cook time:
Total time:
Serves: 6-8
Shop your pantry for staples that are crying “use me! I’m three years old!” like refried beans, corn, beans, and enchilada sauce! Mix together with a quick mole spice blend and roll into tortillas to make quick chicken mole enchiladas. Perfect for any weeknight!
Ingredients
  • 6-8 flour tortillas
  • 1 can refried beans
  • 1 can kidney beans, drained and rinsed
  • 1 cup frozen corn
  • Handful of baby spinach
  • 1 small can black olives, sliced and drained
  • 1 package 1/3 less fat cream cheese, softened
  • 1 large chicken breast
  • 2 tsp cumin
  • 2 1/2 tbsp mole seasoning
  • 1 tsp chili powder
  • S&P
  • 2 tbsp lime juice
  • 1 can red enchilada sauce
  • Sour cream or plain greek yogurt, for topping
  • Shredded Mexican style cheese
Instructions
  1. Preheat oven to 350 degrees.
  2. In a large bowl, combine refried beans, kidney beans (you can mash them a bit with the back of the spoon if you like a bit smoother texture!), cream cheese, cumin, 2 tbsp mole seasoning, chili powder, and a sprinkling of salt and pepper. Mix until smooth. Microwaving the bowl may help to soften the mixture before mixing!
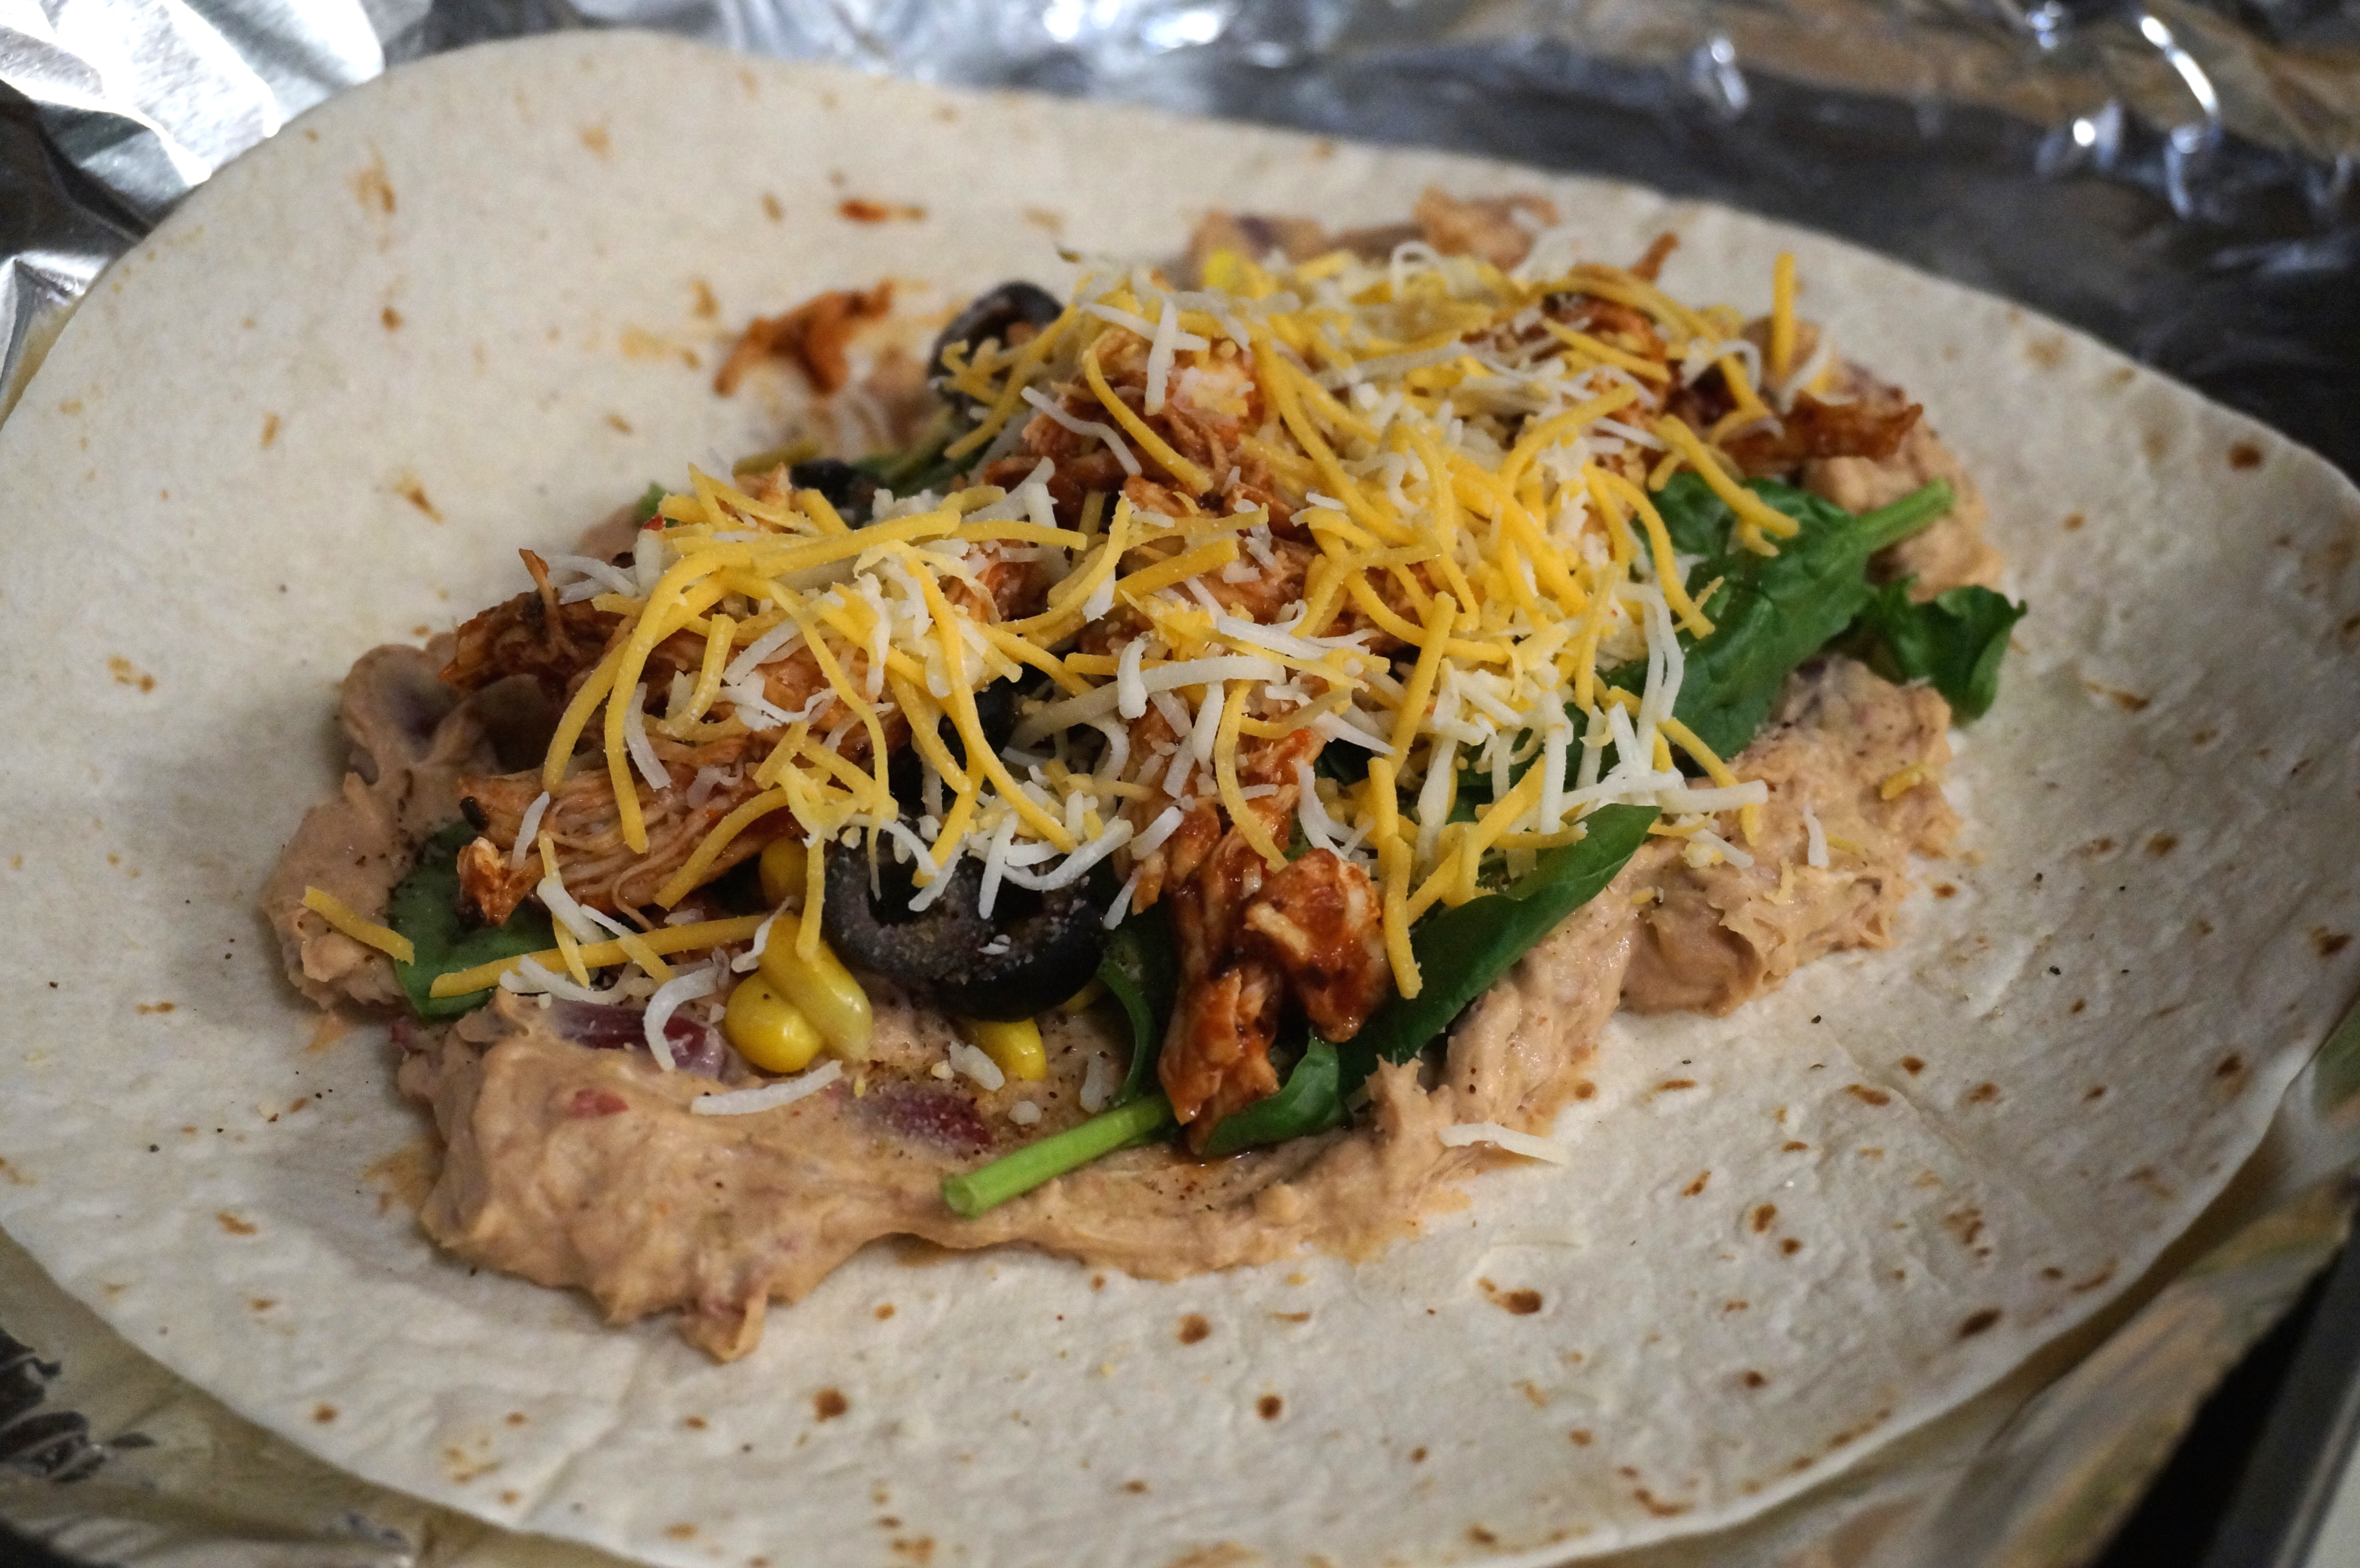
  3. Layer tortillas with a large spoonful of bean mixture and spread around the center of the tortilla, leaving about 2″ around the edges. Top with about 2 tbsp corn kernels, a few black olives, a few leaves of spinach, and a small handful cheese. Top with additional cumin and chili powder if desired.
  4. Meanwhile, in a large saucepan, bring water to a rolling boil. Drop one chicken breast into the water and cook until done- about 15 minutes (if frozen; probably more like 8-10 if thawed!)
  5. Remove chicken from saucepan with a slotted spoon and place in a small bowl. Using two forks, shred chicken. Add lime juice and remaining mole seasoning and toss until chicken is coated.
  6. Spoon about 2 tbsp chicken on top of each tortilla.
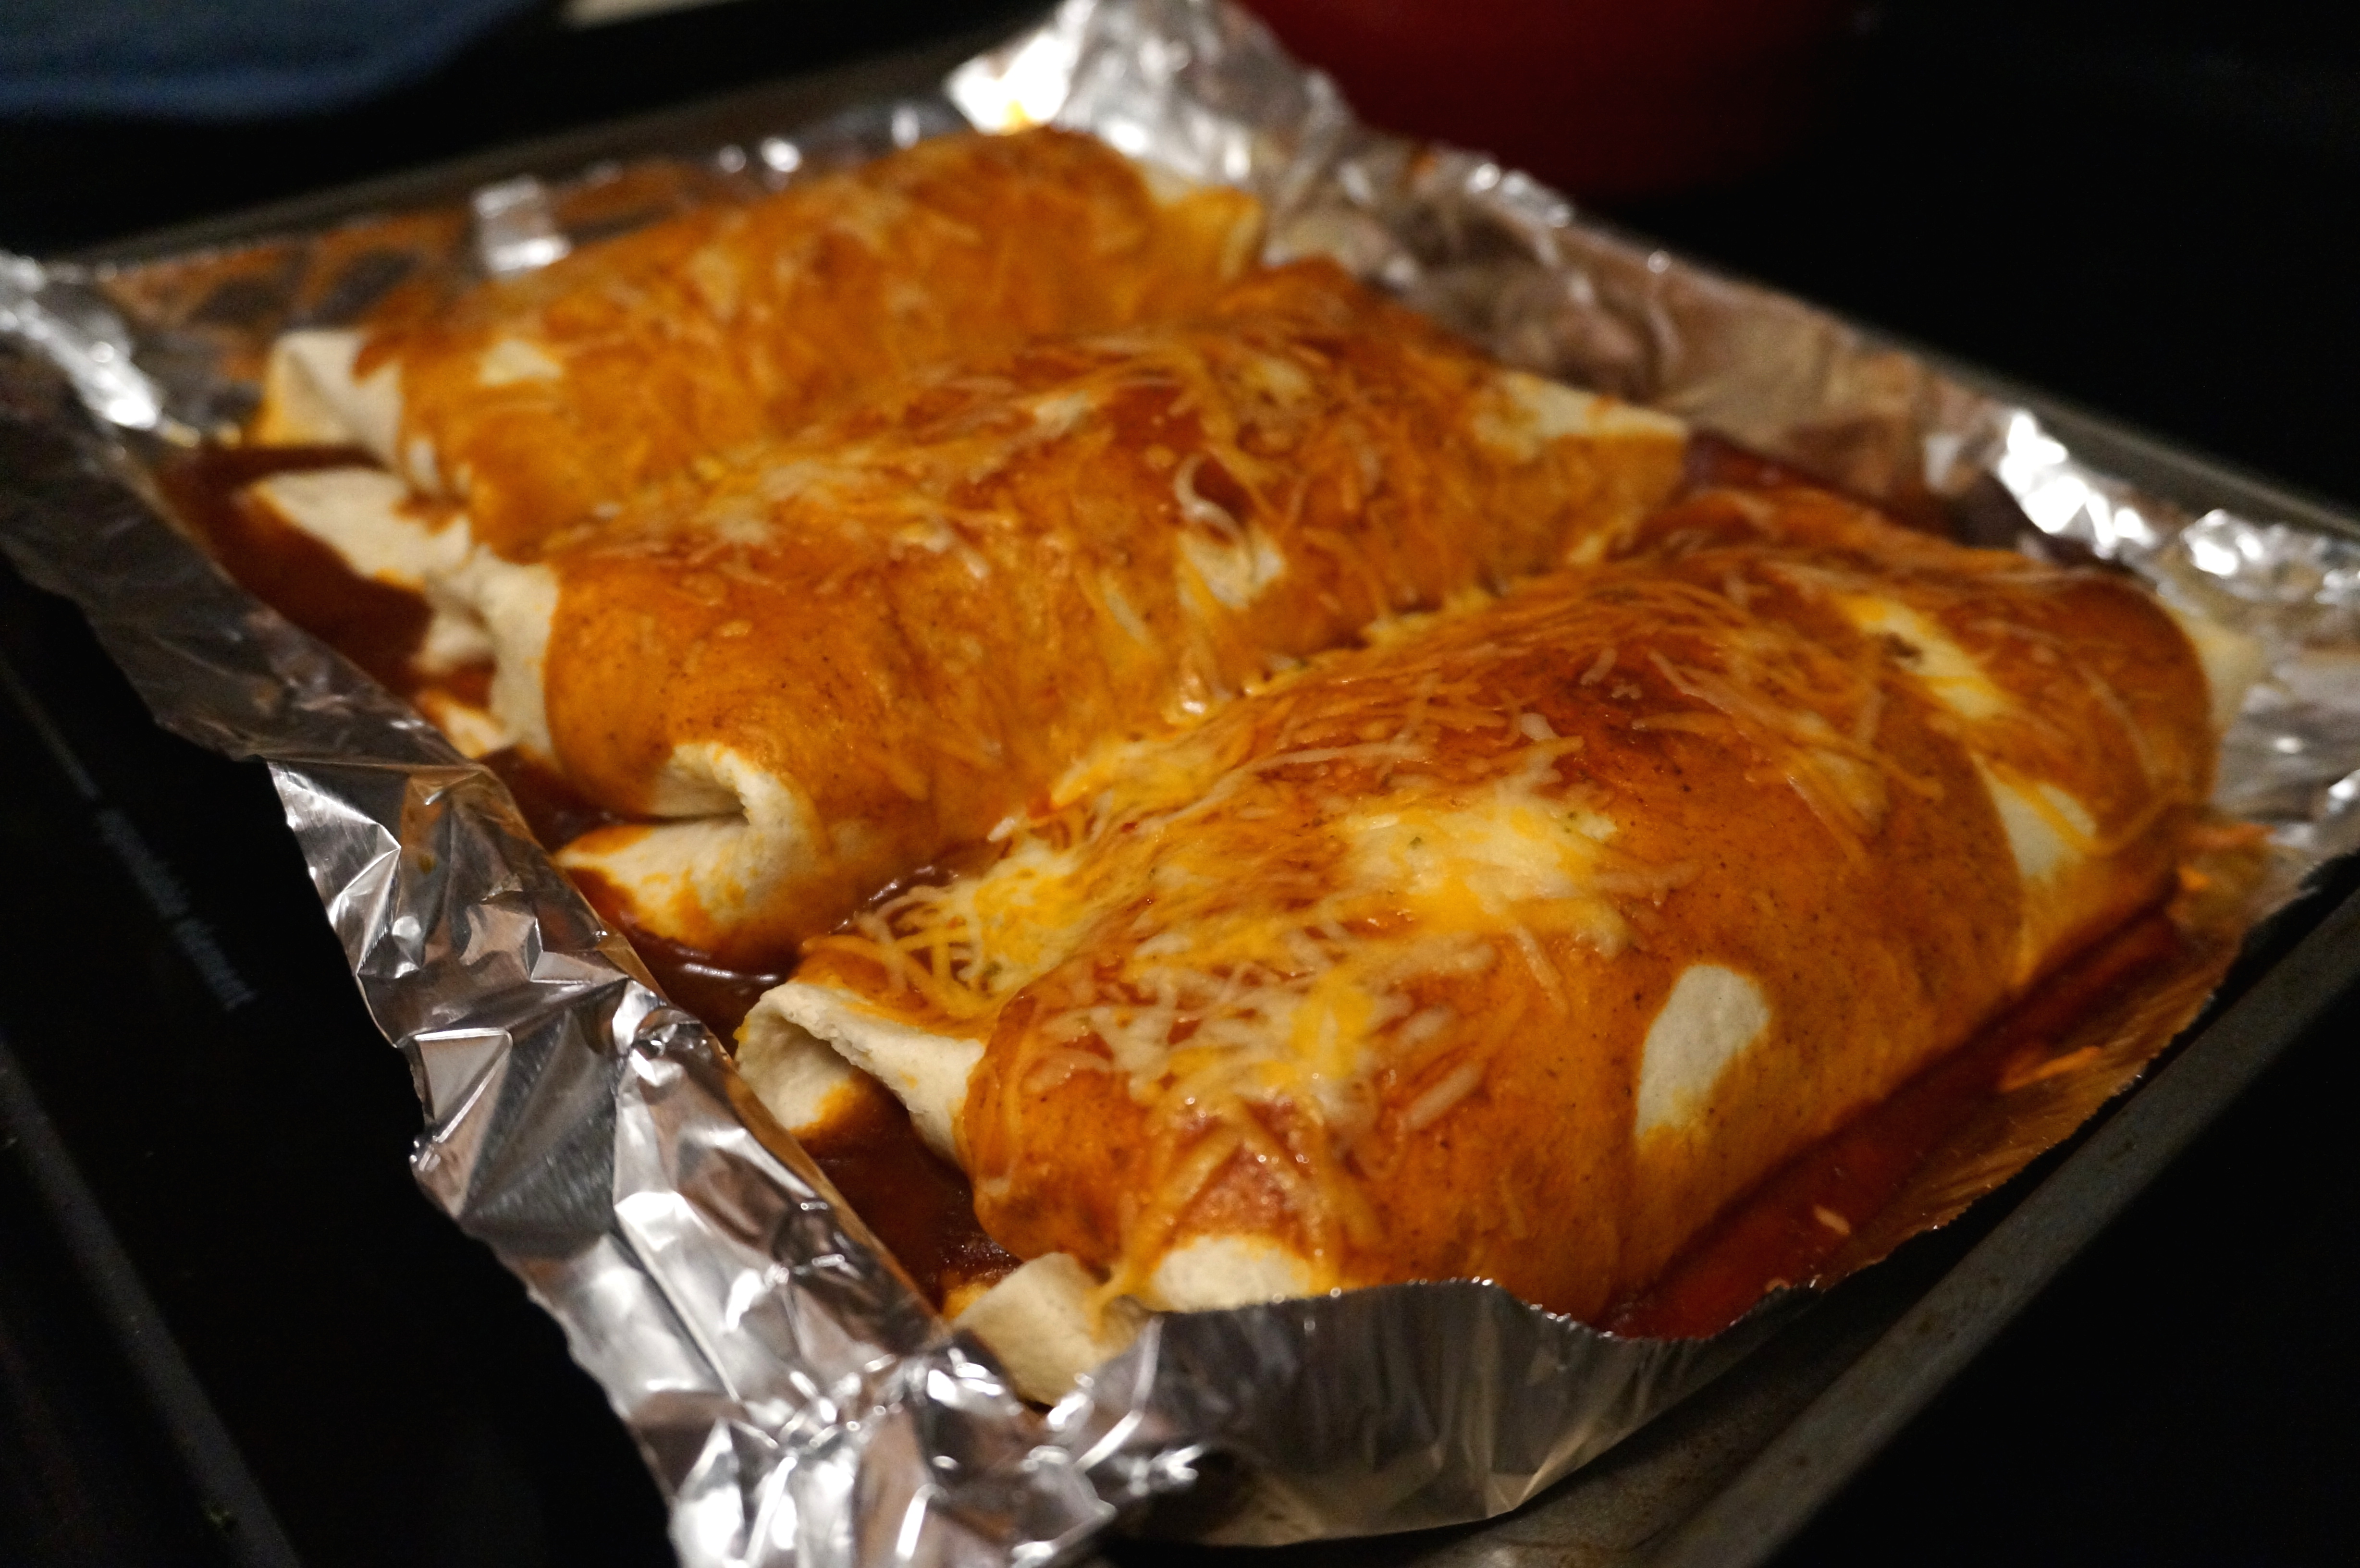
  7. Fold tortillas in at the sides and then roll. Place tortillas seam-side down onto a oiled baking sheet (I lined mine with foil first to make clean-up easier!)
  8. Pour enchilada sauce over top of enchiladas. Top with additional cheese.
  9. Bake at 350 for 25 minutes or until cheese is melted and sauce is bubbly.
  10. Serve with a dollop of sour cream or plain greek yogurt!

DSC00950

DSC00952

DSC00955

DSC00957

Truffle Baked Mac n’ Cheese- Lightened Up!

DSC00946

I love mac n’ cheese, ya’ll. But it’s one of those meals that you just can’t bring yourself to indulge in on a regular basis. Maybe that’s what makes it so good. It definitely brings me back to my elementary school days, when we’d have a snow day and stay at home and make our own play-dough and string cranberries and popcorn and eat Kraft mac n’ cheese (yes, the 100%  “synthetic and we don’t even pretend not to be” bright orange kind). Yet something about that mac n’ cheese was just. so. dang. good!

Since I’ve “grown up” a little bit, I’ve gotten away from that mac n’ cheese from the box (okay, okay, Annie’s makes a mean boxed white cheddar variety… but at least it’s got the organic part going for it!) and moved on to making my own. But really, how many ways can you experiment with mac n’ cheese besides changing the only two ingredients- pasta and cheese? Hmmmm… maybe I’ll REALLY change things up tonight and instead of elbows, I’ll use SHELLS! Probably not that exciting.

On the bright side, with only two main ingredients, it’s pretty hard to mess up macaroni and cheese. But when I first came across the idea of a “lightened-up” version using yogurt in place of cream for the cheese sauce, I have to admit that I was a little skeptical. But when I thought about it more, it seemed to make more sense- why wouldn’t plain Greek yogurt be a sensible alternative to heavy cream? Thick, creamy, and perfectly tart, plain Greek makes perfect sense. And it doesn’t mean you can’t add the other stuff like butter and flour; it just means you get to add a bit less of them to save some unnecessary calories! I promise you won’t even miss them.

I also added a little chili powder and nutmeg for an extra kick, and topped it off with Panko breadcrumbs and a drizzle of truffle oil (because that stuff makes ANYTHING feel more gourmet, so even if my mac n’ cheese stinks, maybe no one will even notice!).

I’m all for indulging occasionally when it comes to food. But with this dish, at least you can indulge in the healthiest way possible! 🙂

Happy weekend!

Truffle Baked Mac n’ Cheese- Lightened Up!
Recipe Type: Dinner, Side
Cuisine: American, Gourmet
Author: Claire McCormick of “Claire Tastes”
Prep time:
Cook time:
Total time:
Serves: 8-10
A lightened-up version of the American favorite, lightened up by using plain Greek yogurt for the cheese sauce! Indulge and savor every single forkful.
Ingredients
  • 8 ounces elbow macaroni
  • 1/2 stick butter
  • 1/3 cup flour
  • 1 small onion, chopped
  • 1 cup low fat milk
  • 8 oz low fat plain Greek yogurt (I used Fage 2%)
  • 8 ounces reduced fat, extra sharp cheddar, grated
  • 2 tablespoons Parmesan cheese
  • S&P
  • 1 tablespoon chili powder
  • 1/2 tsp garlic powder
  • 1/4 tsp nutmeg
  • 1/4 cup Panko bread crumbs
  • 1/2 tablespoon truffle oil, for finishing
Instructions
  1. Preheat oven to 350 degrees. Grease a baking dish with nonstick cooking spray.
  2. Cook macaroni according to package directions (about 9-11 minutes for al dente). Rinse and set aside.
  3. In a large pan, heat 1/2 tablespoon butter. Add onions and cook on medium high heat until translucent, about 3 – 4 minutes. Remove from pan and set aside. Reduce heat to medium.
  4. In the same pan, heat remaining butter. Stir in flour and cook 2 minutes.
  5. Slowly whisk in milk and yogurt until thick. Remove from heat and stir in cheddar and Parmesan cheeses, reserving a bit of the cheddar for topping later! Mix well.
  6. Add salt, pepper, chili powder and nutmeg. Mix onions, pasta and sauce together.
  7. Pour mixture into the prepared dish. Sprinkle with remaining cheddar and Panko bread crumbs. Drizzle with truffle oil.
  8. Bake 30 – 35 minutes, or until cheesy is melted and bread crumbs have browned.


Roasted Hummus & Veggie Burrito

All I have to say is that today was absolutely gorgeous. I spent my afternoon outside on my patio, soaking up as much sun as I could before having to go back to school tomorrow. It was perfect. How Jesus spoils me. Enjoy! 🙂

DSC00921

DSC00918

Roasted Hummus and Veggie Burrito
Recipe Type: Lunch, Sandwich, Wrap
Cuisine: Healthy
Author: Claire McCormick of “Claire Tastes”
Prep time:
Cook time:
Total time:
Serves: 1
Perfect for a picnic, or just for relaxing out on the patio on a sunny spring day! This “burrito” is a healthy, satisfying lunch that is packed with protein and flavor. Spread it with creamy hummus and load it up with your favorite roasted veggies, then roll it all up into a Flatout wrap and toast it in the oven!
Ingredients
  • 1 flatout wrap
  • 2 tbsp hummus
  • 2 slices deli-thin turkey (optional)
  • 1 tbsp fresh cilantro
  • 1 cup raw kale
  • 1 large carrot, stripped with a vegetable peeler
  • 2 slices tomato (or handful of halved grape tomatoes)
  • 2 tbsp frozen corn
  • 3 rings red onion, chopped
  • 1/4 cup raw broccoli florets
  • 1 tsp minced garlic
  • 1/8 tsp garlic powder
  • pinch of red pepper flakes
  • 1 pickle (optional)
  • 1/2 slice swiss cheese, torn into pieces
  • freshly ground pepper
Instructions
  1. Preheat oven to 350 degrees.
  2. Spread hummus in center of flatout wrap. Top with turkey, if using, and cilantro.
  3. In a nonstick skillet on medium heat, cook carrot, tomato, corn, red onion, broccoli, and garlic until tender- about 5 minutes.
  4. Add kale and spices, and cook until kale is wilted.
  5. Layer veggies over hummus. Top with pickle and cheese, and sprinkle with pepper.
  6. Fold edges of wrap in (flat sides) tightly, then begin rolling inward from one of the rounded sides.
  7. Place seam down on a baking sheet and bake 10 minutes, until top of wrap feels a bit hard and toasted. Not only does toasting help make the insides all gooey and delicious- it also helps give the burrito a bit more shape!
  8. Slice diagonally and serve with salsa and fruit for the perfectly satisfying, protein-packed lunch!


Turkey Pastelón (Sweet Plantain Lasagna)

I’ve been wanting to try this one for forever. Ever since I first had plantains at a Brazilian Steakhouse, Chamas, in downtown Durham, I’ve been obsessed with them. I think they were my favorite part of that dinner. And if you’ve ever been to a Brazilian steakhouse before, you know that that is saying a LOT. If you haven’t, let me fill you in. First of all, they have this ginormous salad bar with every single vegetable and side dish you could EVER want. Marinated mushrooms, olives, soups, spinach and roasted veggie salads, breads, cheeses… apparently Brazilians also consider smoked salmon a vegetable?

Then, when you’re already basically full, you get these little cards with a green side and a red side. Waiters (who hardly ever speak English, they only speak “green,” “red” and “meat”) come around to all the tables with these HUGE skewers (no, not like the kind you make kabobs on for your grill- these are like life-sized, “are you sure you are not about to put my body on that stick?” kind of skewers. They mean business! If the green side of your card is up, the waiters know to approach you with these big hunks of meat- lamb, pork, beef, chicken, you name it. Did I mention the meat is unlimited? (I probably appreciated this more in my less red-meat scorning days) And don’t even let me get started on talking about dessert.

Anyway, what was I talking about again? Oh yes, plantains. With all that said, the plantains were still my favorite part of the entire meal. They bring them out on little plates, sweet, soft, and lightly fried. And they are actually just supposed to be for “cleansing the palate” between each hunk of slaughtered baby cow- er, delicacy!

Plantains, for those of you who don’t know, are like oversized bananas that are SUPPOSED to get really black when they are ripe (for all you green banana lovers out there… you know who you are. I will never understand your ways!). They are a bit starchier than bananas and have less sugar, which is probably why they’re used for cleansing the palate. They can range from less sweet to really sweet, depending on the ripeness and variety, but are also used in appetizers and desserts (and for the purpose of this post, main courses!). Typically they are cooked as opposed to eating raw, and are preferable to bananas for this purpose because they hold up much better, even when ripe. I had trouble finding them (even at Whole Foods!) but had luck at Target. Who knew Target was a lover of exotic fruits? I was able to get 4 plantains for $2.94, which I considered a bargain!

Ever since having plantains for the first time (Ben also raves about having them at one of our favorite Cuban restaurants, Gregoria’s, where they are served as “Plátano Maduro Relleno”- plantains fried in butter, stuffed with ground beef, coated with a creamy sauce and sprinkled with ‘Chicharrones’, or fried pork rinds). I’ve considered them quite the delicacy ever since.

So you can imagine my delight when I saw this recipe on Skinny Taste, one of my favorite blogs. I love how Gina lightens up traditional dishes like this Puerto Rican one to make them healthier without skimping on flavor or insisting that being healthy means that you only ever eat kale and greek yogurt and oatmeal. The combination of plantains, ground meat, and cheese in this dish immediately reminded me of those apps at Gregoria’s, and I made it my life’s ambition to try it.

Enter Target plantains and an adventurous-feeling Sunday afternoon. While Ben, aka the sleeping giant, was taking a nap upstairs, I decided to surprise him by making this in advance (I hoped it would save us time on prep later and we could eat outside while it was still 60 degrees and sunny out… but I was wrong. We still ended up eating at 8:30. Oops… But Thor was on!)

I love how this Puerto Rican lasagna-like recipe uses plantains instead of pasta noodles to hold it together and to get that same starchy texture without the extra calories. It also uses ground turkey instead of beef, of which I was a fan! To the meat, you add a ton of yummy spices and herbs, including cumin, oregano, bay leaf, and cilantro, as well as veggies like tomatoes and green peppers. I decided to also add chopped up sweet potatoes to give the lasagna a little more heft (I wanted to make a 9×13 casserole instead of the suggested 9×9 size). And then because I was using sweet potatoes, I decided to sprinkle on a little ginger, nutmeg, and red pepper flakes for good measure. Why not, right?

Layer the plantains on the bottom, followed by the ground turkey and potatoes mixture, a thin sprinkling of Mexican-style cheese, the rest of the meat, and a final layer of plantains and cheese on top. Then, you whisk together one egg with three egg whites with a bit of milk to pour over the top to help the casserole stay together (genius!).

The result? Ha. I’ll let you tell me after you try it for yourself!

All I will say is that I think that I would like to move to Puerto Rico and eat Pastelón for all of my days.

DSC00900

DSC00913

Turkey Pastelón (Sweet Plantain Lasagna)
Recipe Type: Main Dish, Dinner, Casserole
Cuisine: Puerto Rican
Author: Claire McCormick of “Claire Tastes” (Adapted from Skinny Taste)
Prep time:
Cook time:
Total time:
Serves: 12
A delicious sweet plantain lasagna with sweet potatoes, ground turkey, and plenty of flavor without breaking the calorie bank! This recipe can be made in advance and refrigerated to be baked later, too!
Ingredients
  • 1.3 lb 93% lean ground turkey
  • 2 sweet potatoes, peeled and chopped into small chunks
  • 1/2 cup onion, chopped
  • 2 tbsp minced garlic
  • 1 tomato, chopped
  • 1 green bell pepper, chopped
  • 2 tbsp (about 3 stems) cilantro, minced
  • 8 oz (or about half a 15 oz can) tomato sauce
  • 2 tbsp capers, plus 2 tbsp caper brine
  • 2 tsp ground cumin
  • 1/2 tsp oregano
  • 1 tsp dried bay leaves
  • 1/2 tsp ginger
  • 1/2 tsp red pepper flakes
  • 1/8 tsp nutmeg
  • 4 ripe plantains, sliced thinly lengthwise
  • 1 large egg, beaten
  • 3 large egg whites, beaten
  • 2 tbsp low-fat milk
  • 1 1/2 cups reduced fat shredded Mexican blend cheese
  • kosher salt
  • fresh ground pepper
Instructions
  1. In a large skillet, season turkey with salt and pepper. Cook on medium until lightly browned, breaking up into smaller chunks with a wooden spoon.
  2. Add potatoes, onion, and garlic and continue to cook until potatoes are slightly tender- about 4 minutes.
  3. Add tomato, bell pepper, and cilantro, and reduce heat to low. Add capers and 2 tbsp of caper brine, cumin, oregano, bay leaves, ginger, red pepper flakes, and nutmeg.
  4. Add tomato sauce and about 1/4 cup water, and stir well. Cover and simmer for 15 minutes, until potatoes are fork tender.
  5. Preheat oven to 350 degrees and lightly spray a 9×13 baking dish with oil or cooking spray.
  6. Slice plantains lengthwise into thin slices. Heat a large saute pan over medium heat, and spray generously with cooking spray or olive oil*
  7. Cook plantains for about 2 minutes on each side, until golden. Set aside.
  8. In casserole dish, layer half of the plantains, followed by turkey and potato mixture and about 1/2 cup of cheese. Add remaining turkey and potato mixture, and finish with the other half of the plantains, as well as the rest of the cheese.
  9. Whisk together egg, egg whites, and milk, and pour over top of casserole. Wait about 2 minutes before baking for the eggs to seep into the rest, as this will help the casserole set!
  10. Cover tightly with foil and bake 35-40 minutes. Allow to cool 5 minutes before cutting into squares, as this will help the slices stay together better!
Notes
*I highly recommend at least a little bit olive oil here, even if you’re watching your calories, because it definitely helps the plantains soften down a bit more, which will bring out more flavor!

DSC00811Gather your ingredients.

DSC00813Chop, chop.

DSC00815Season the turkey.

DSC00817
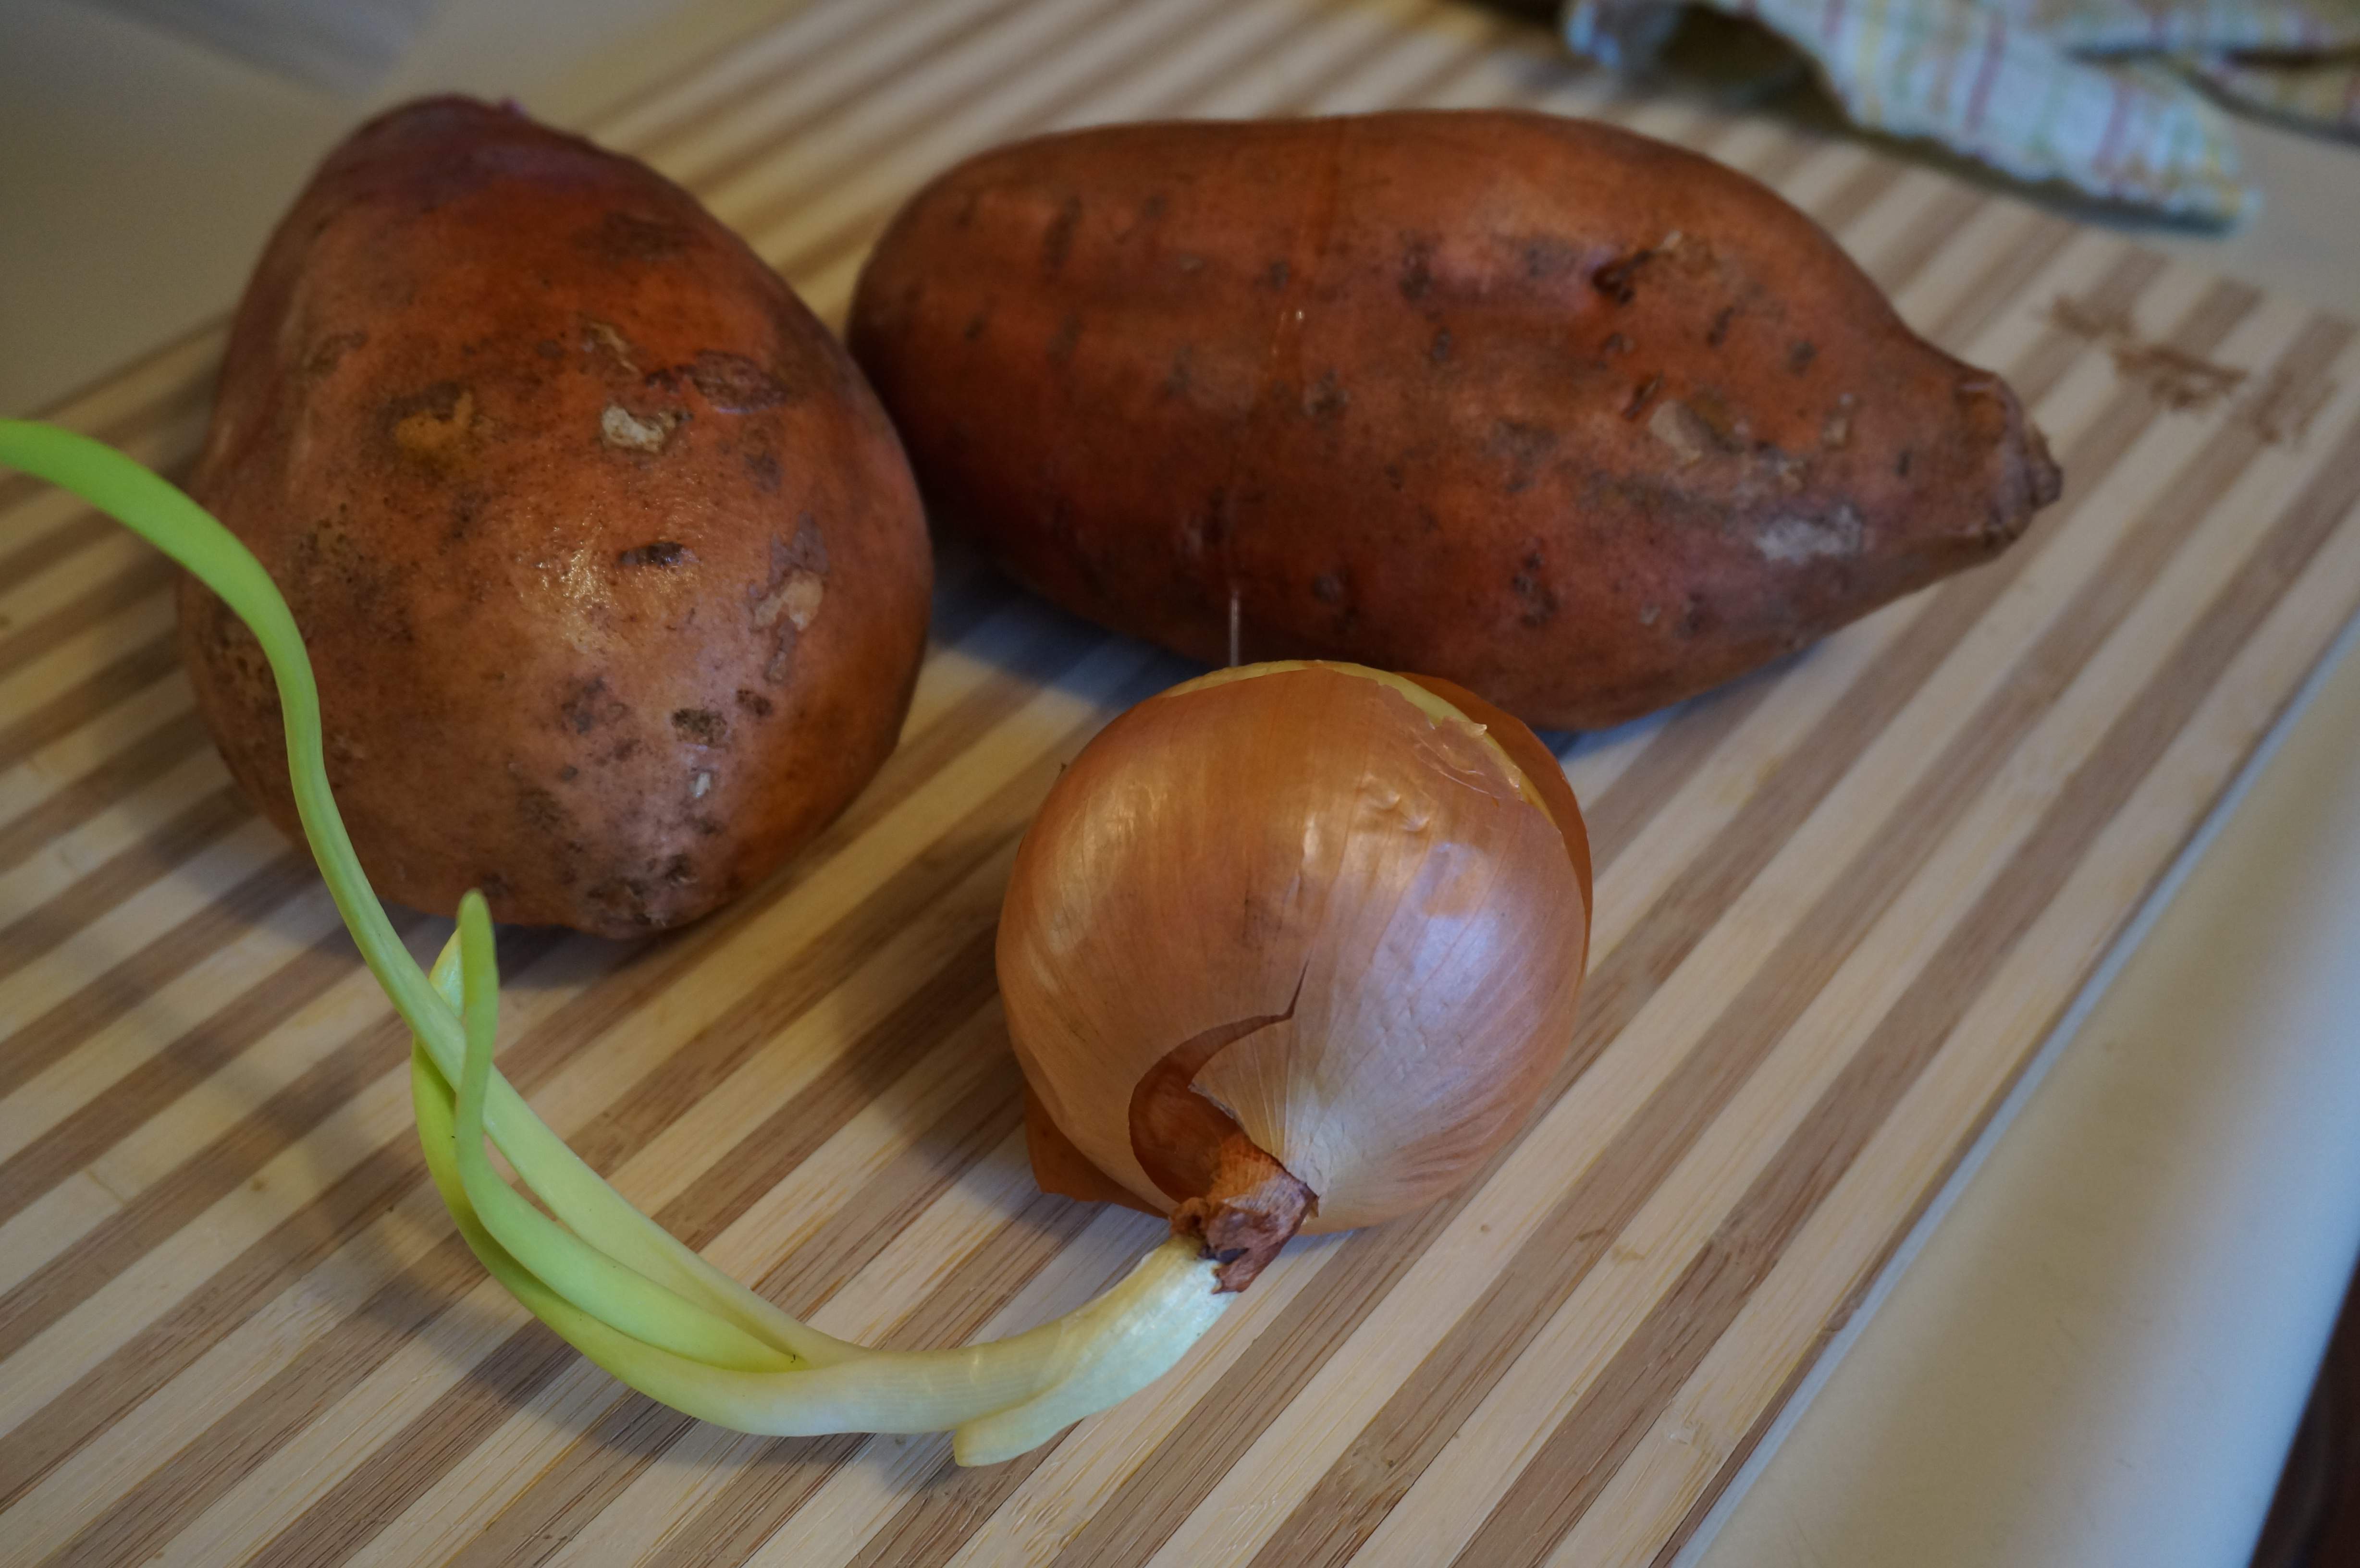
Chop veggies and herbs while the turkey is browning.

DSC00818Add potatoes and onions and garlic to the browned meat.

DSC00821
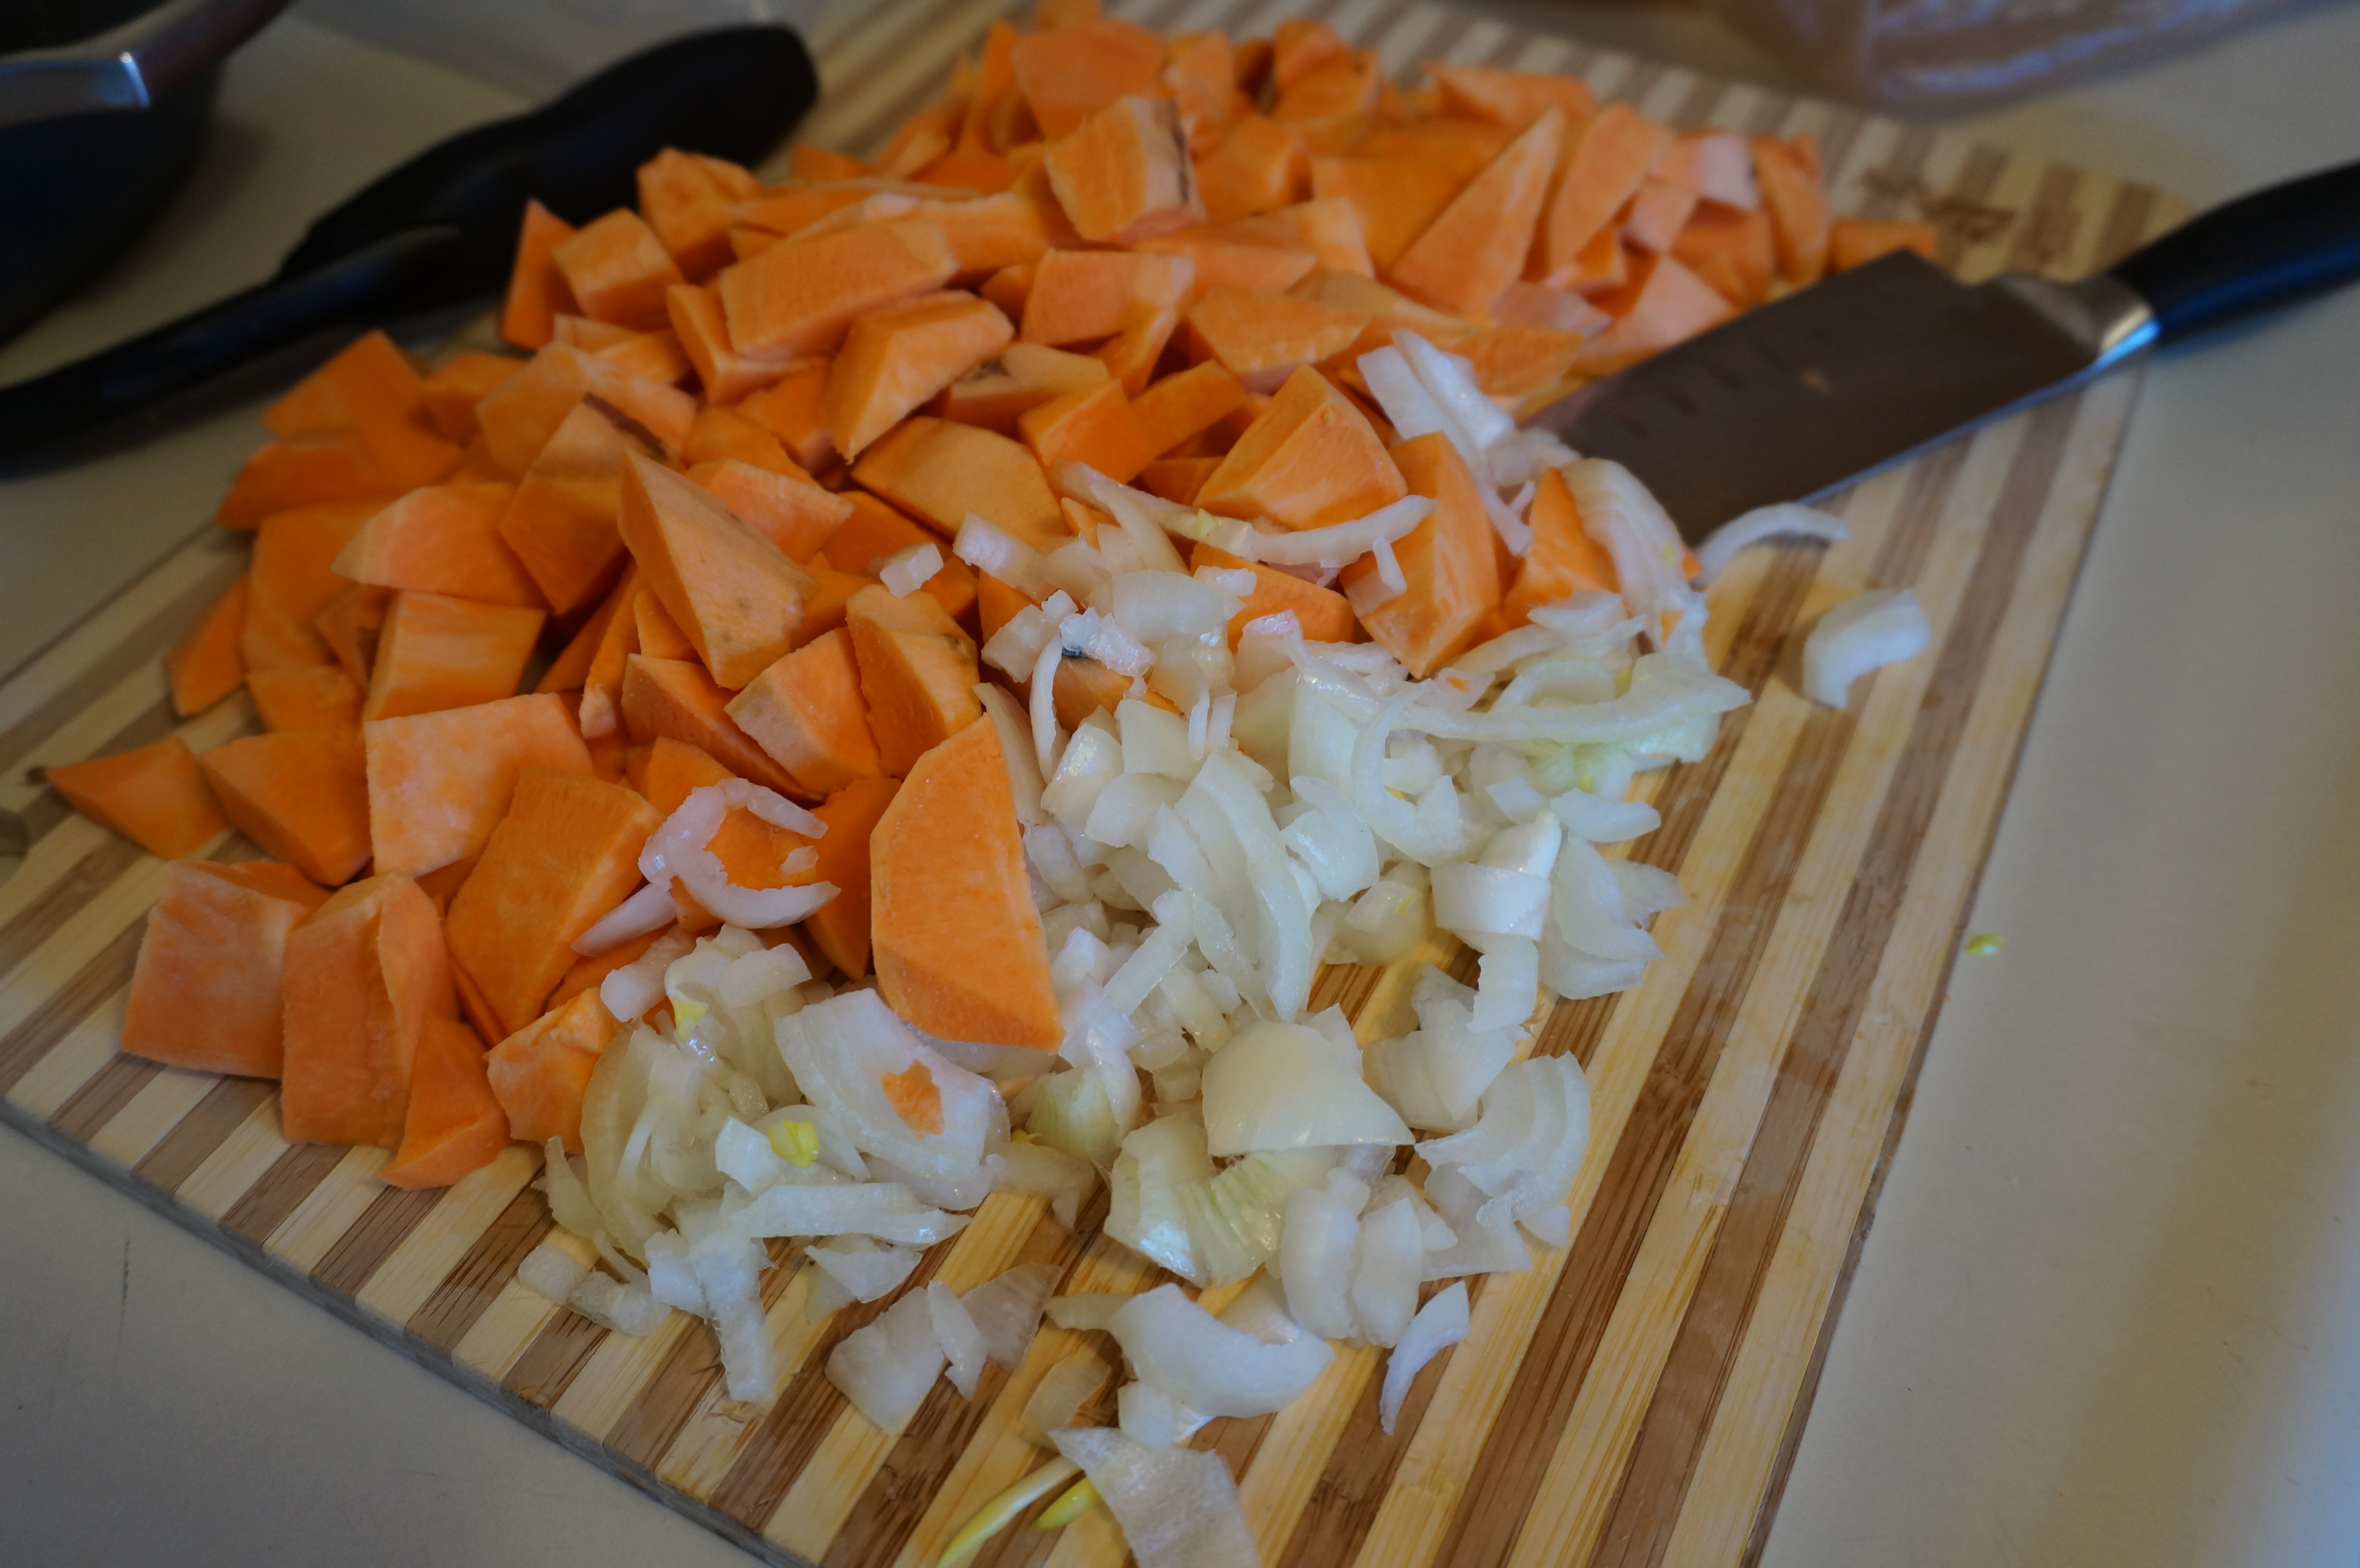
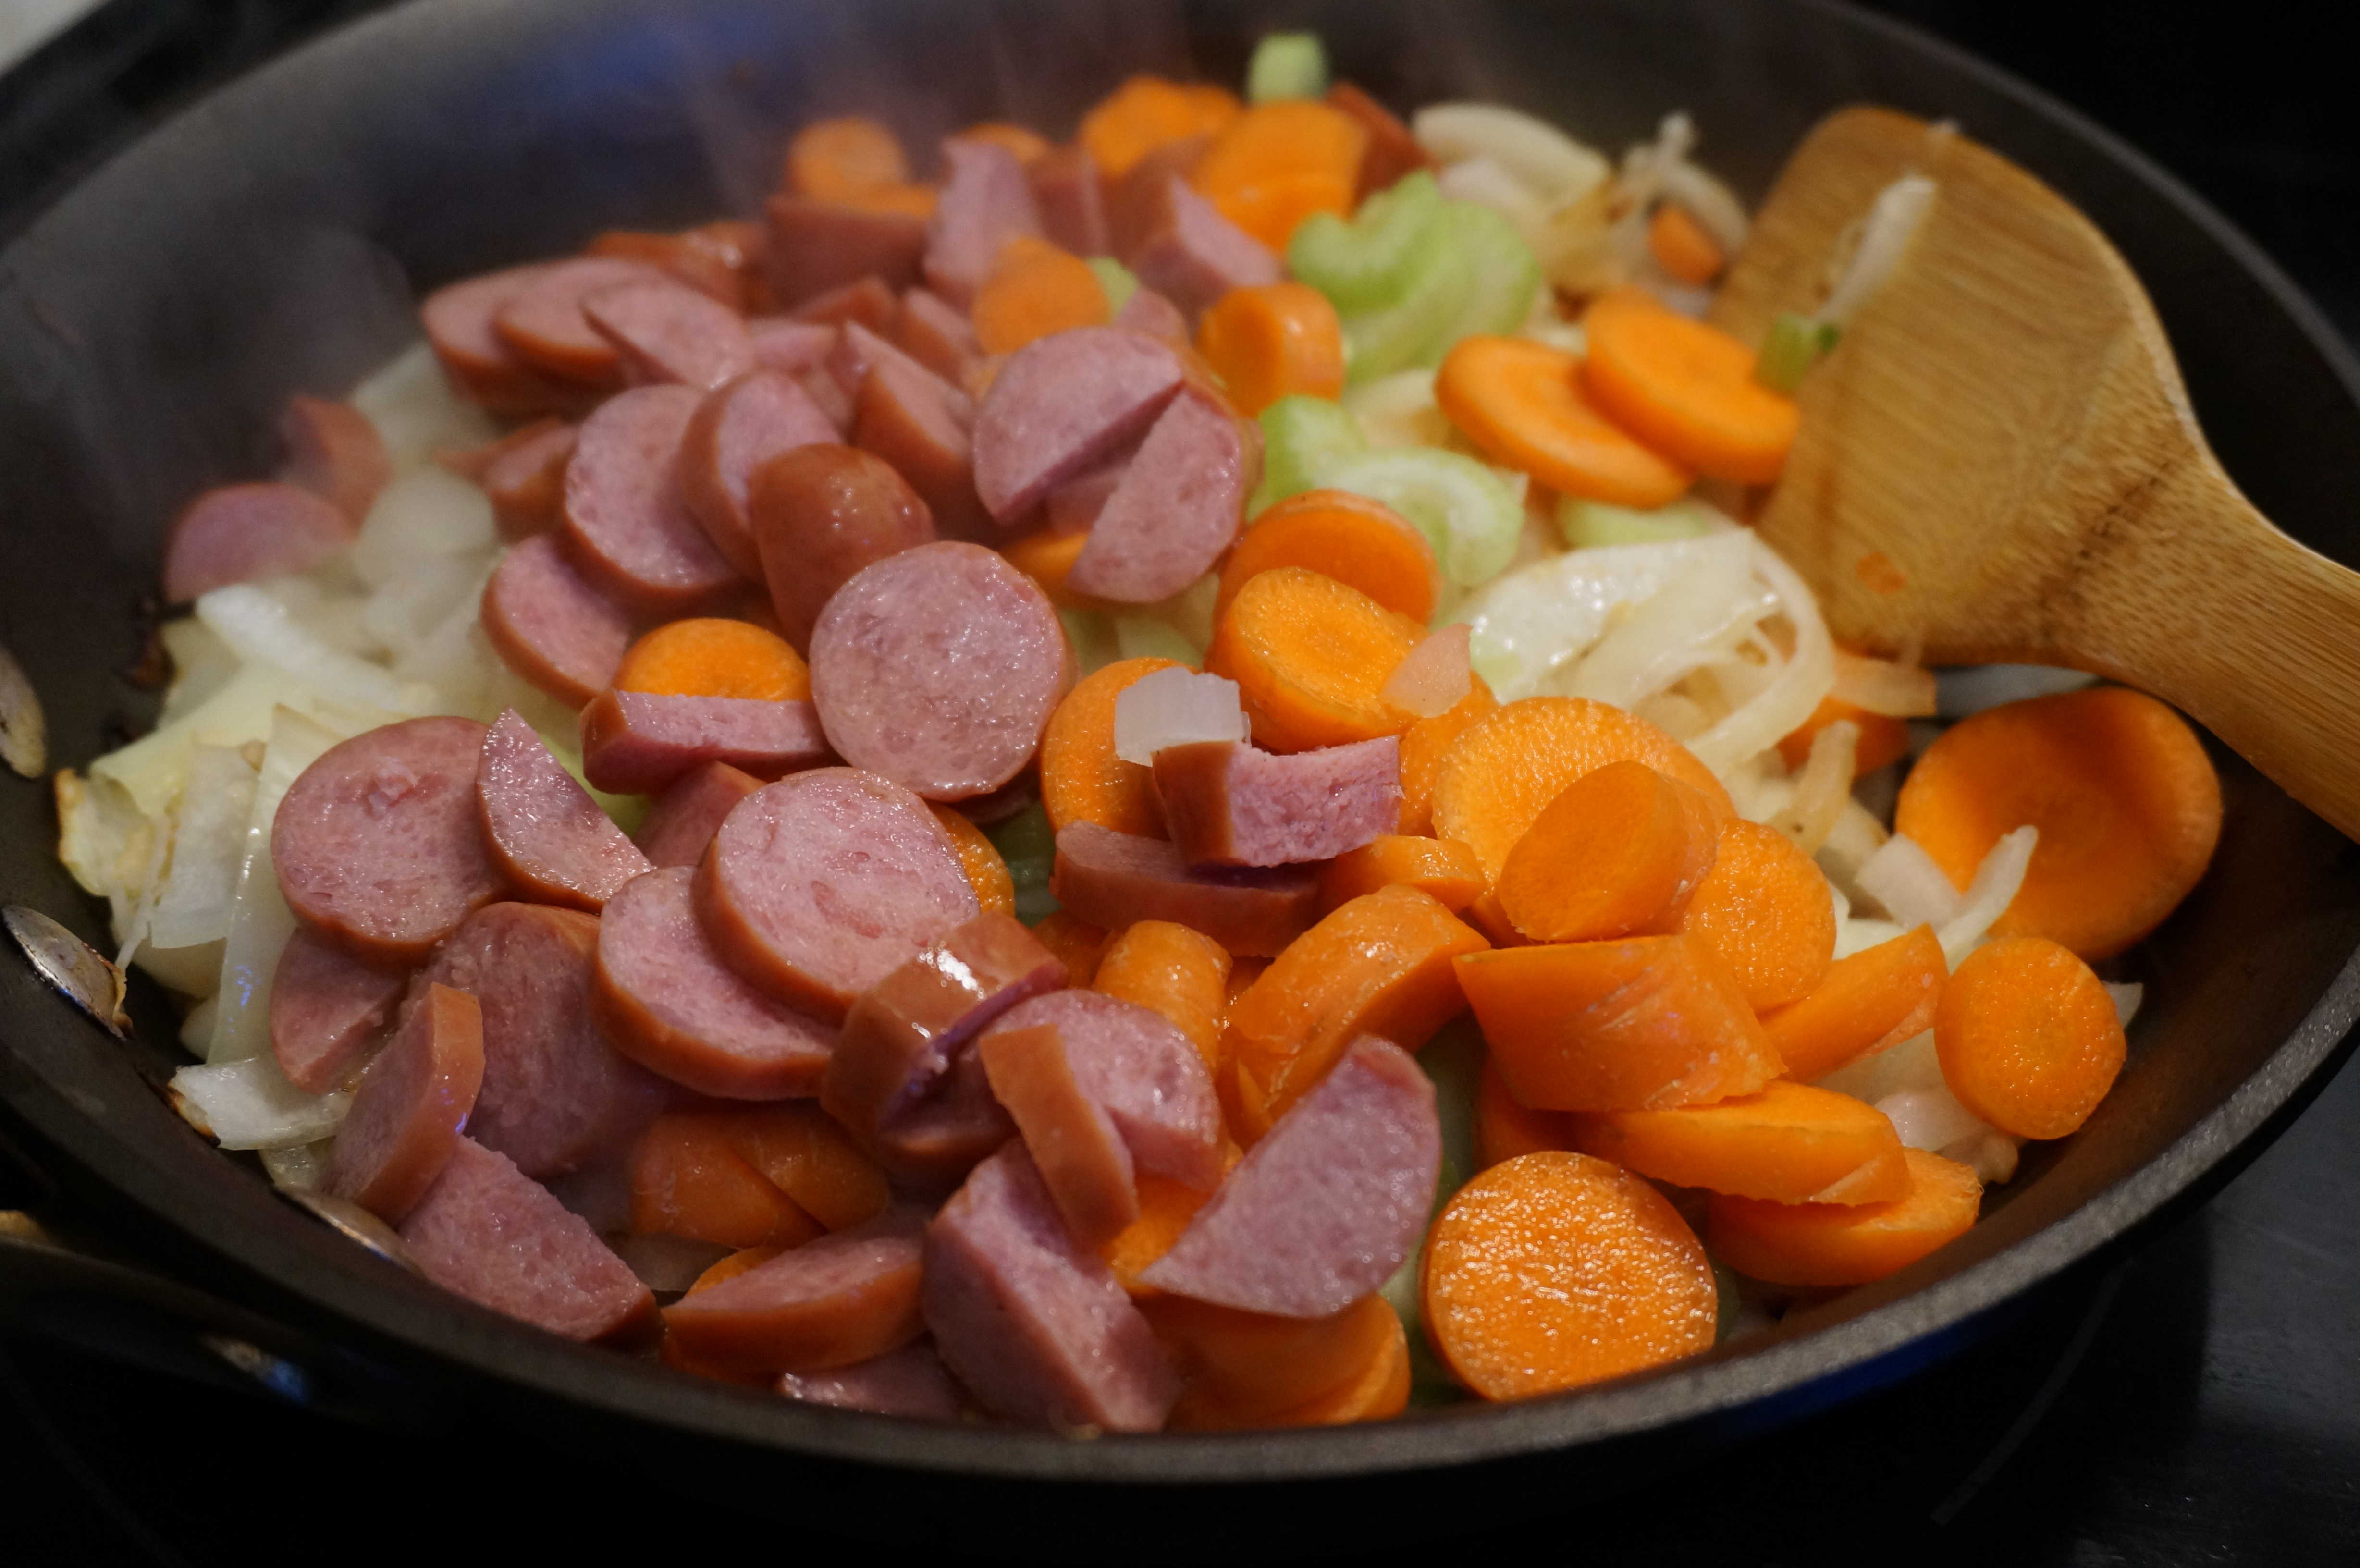
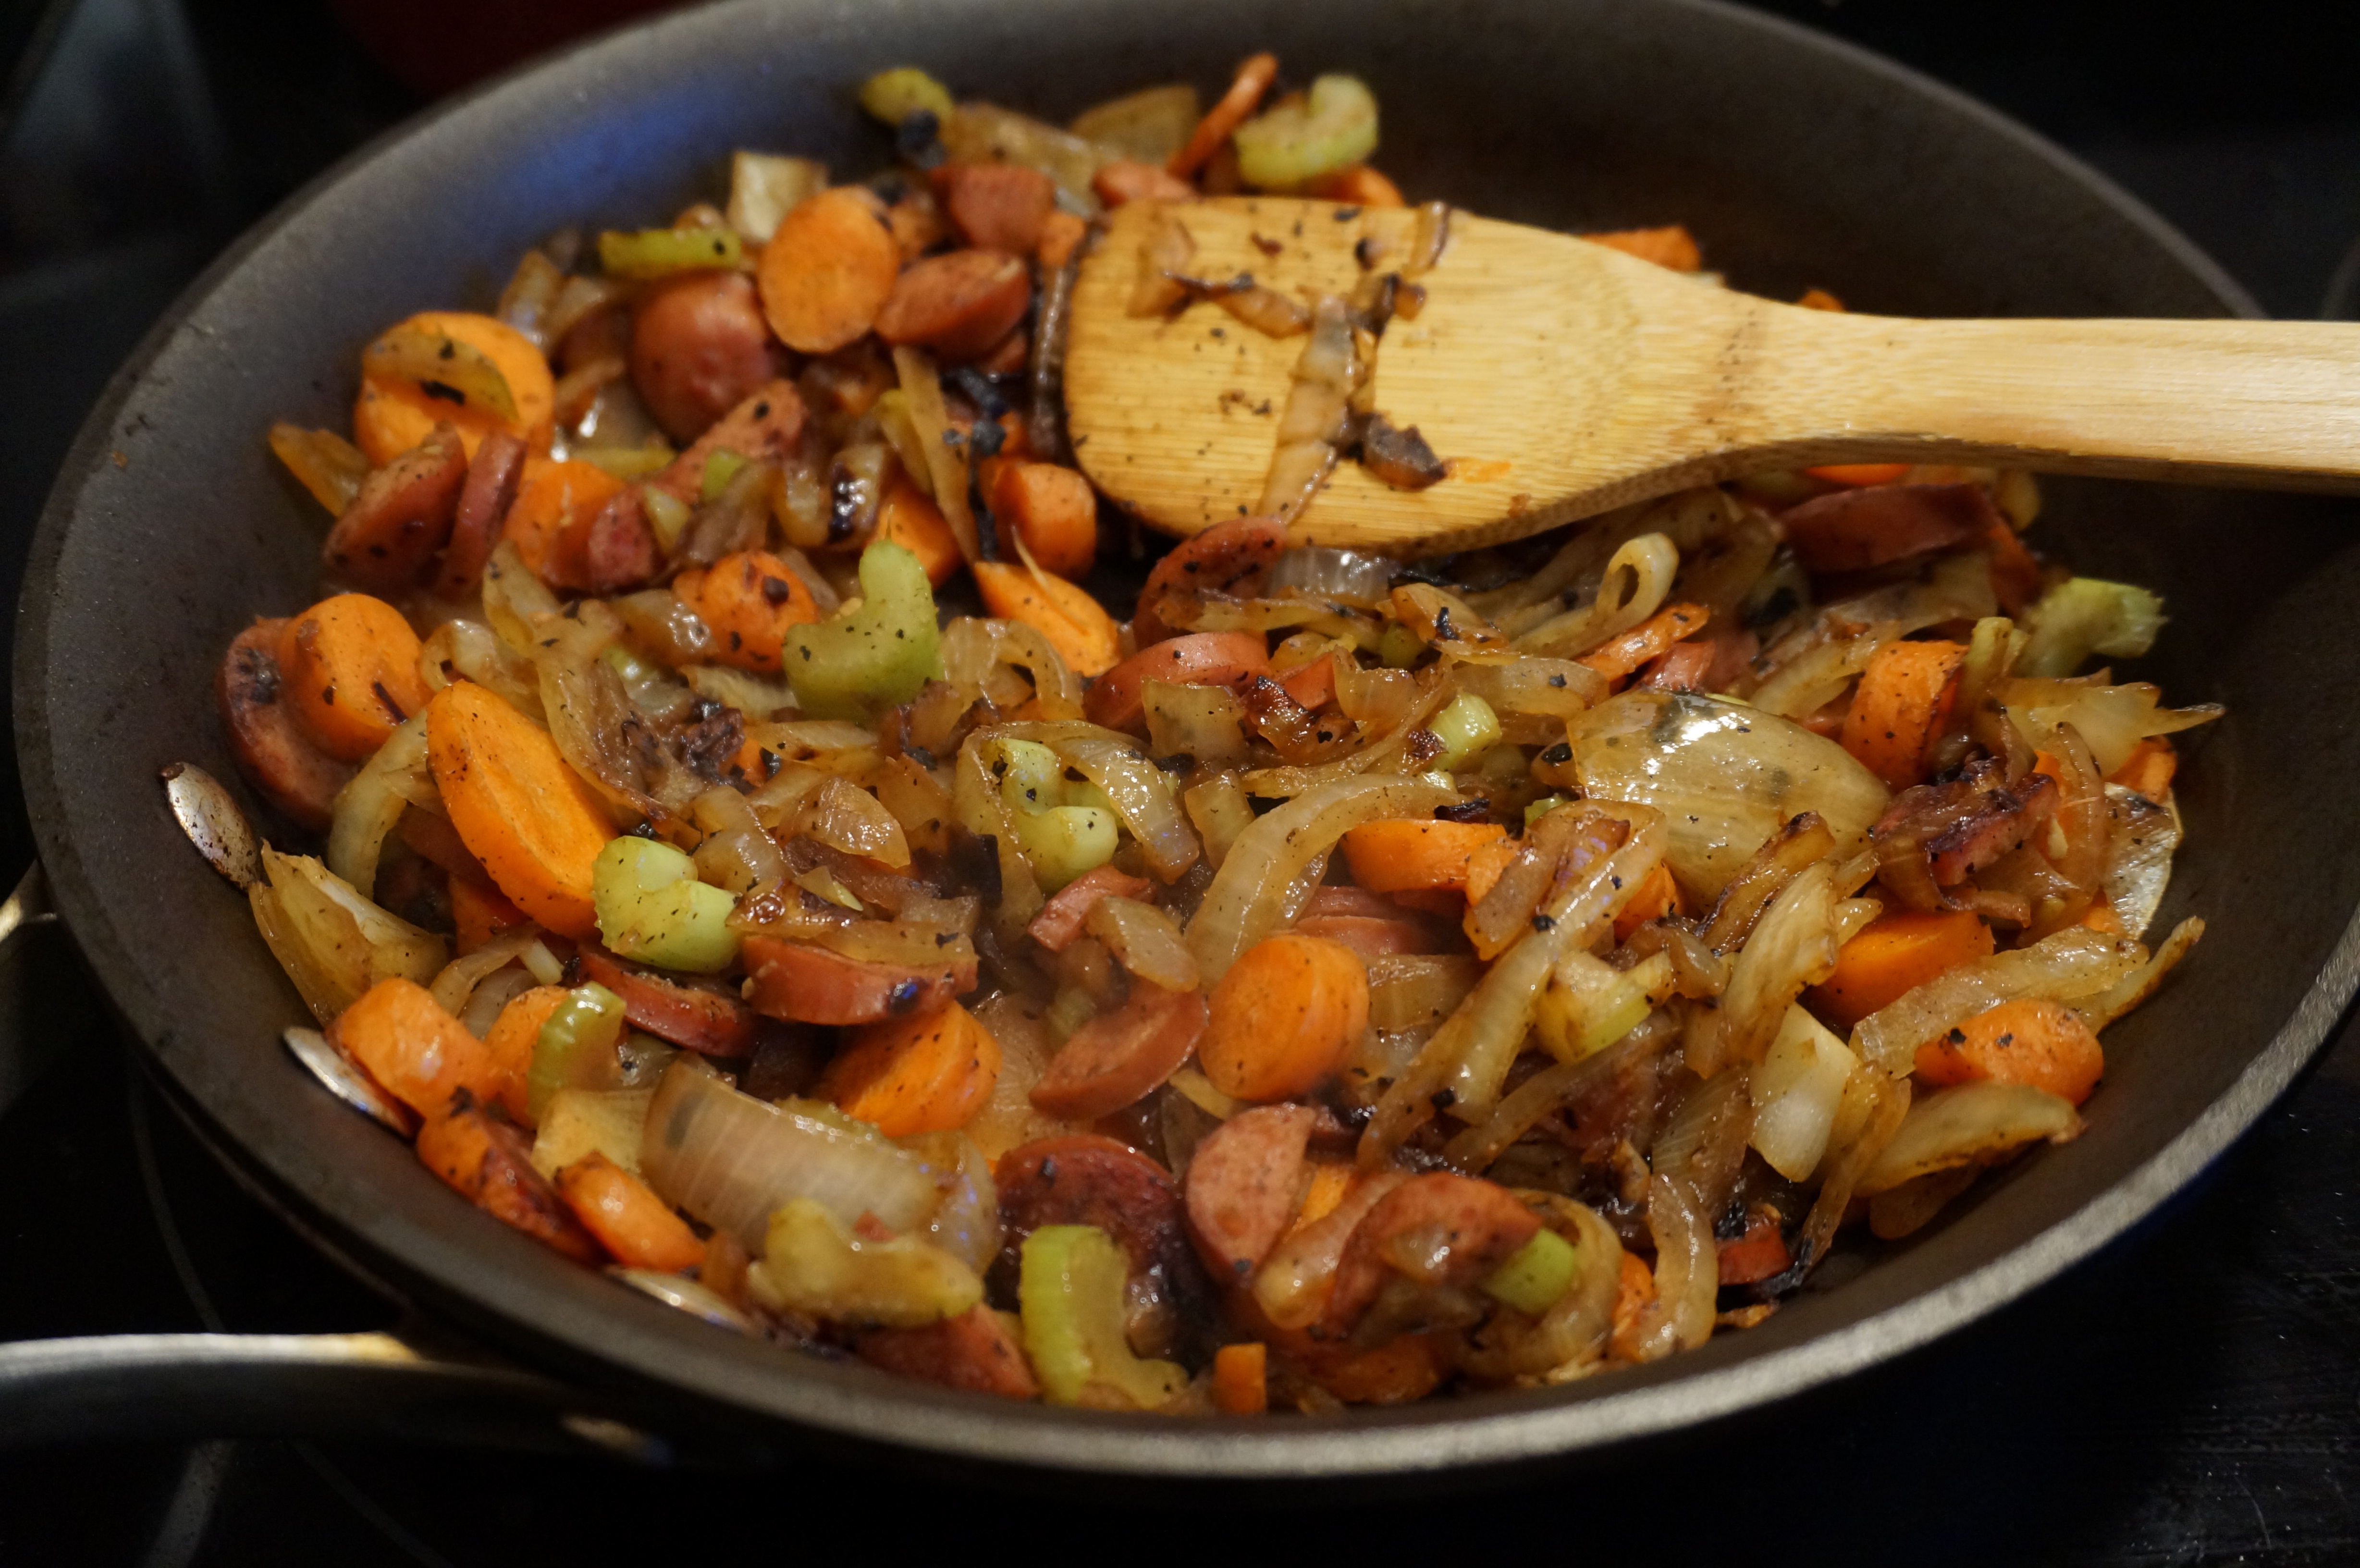
Add veggies to skillet and reduce heat to low.
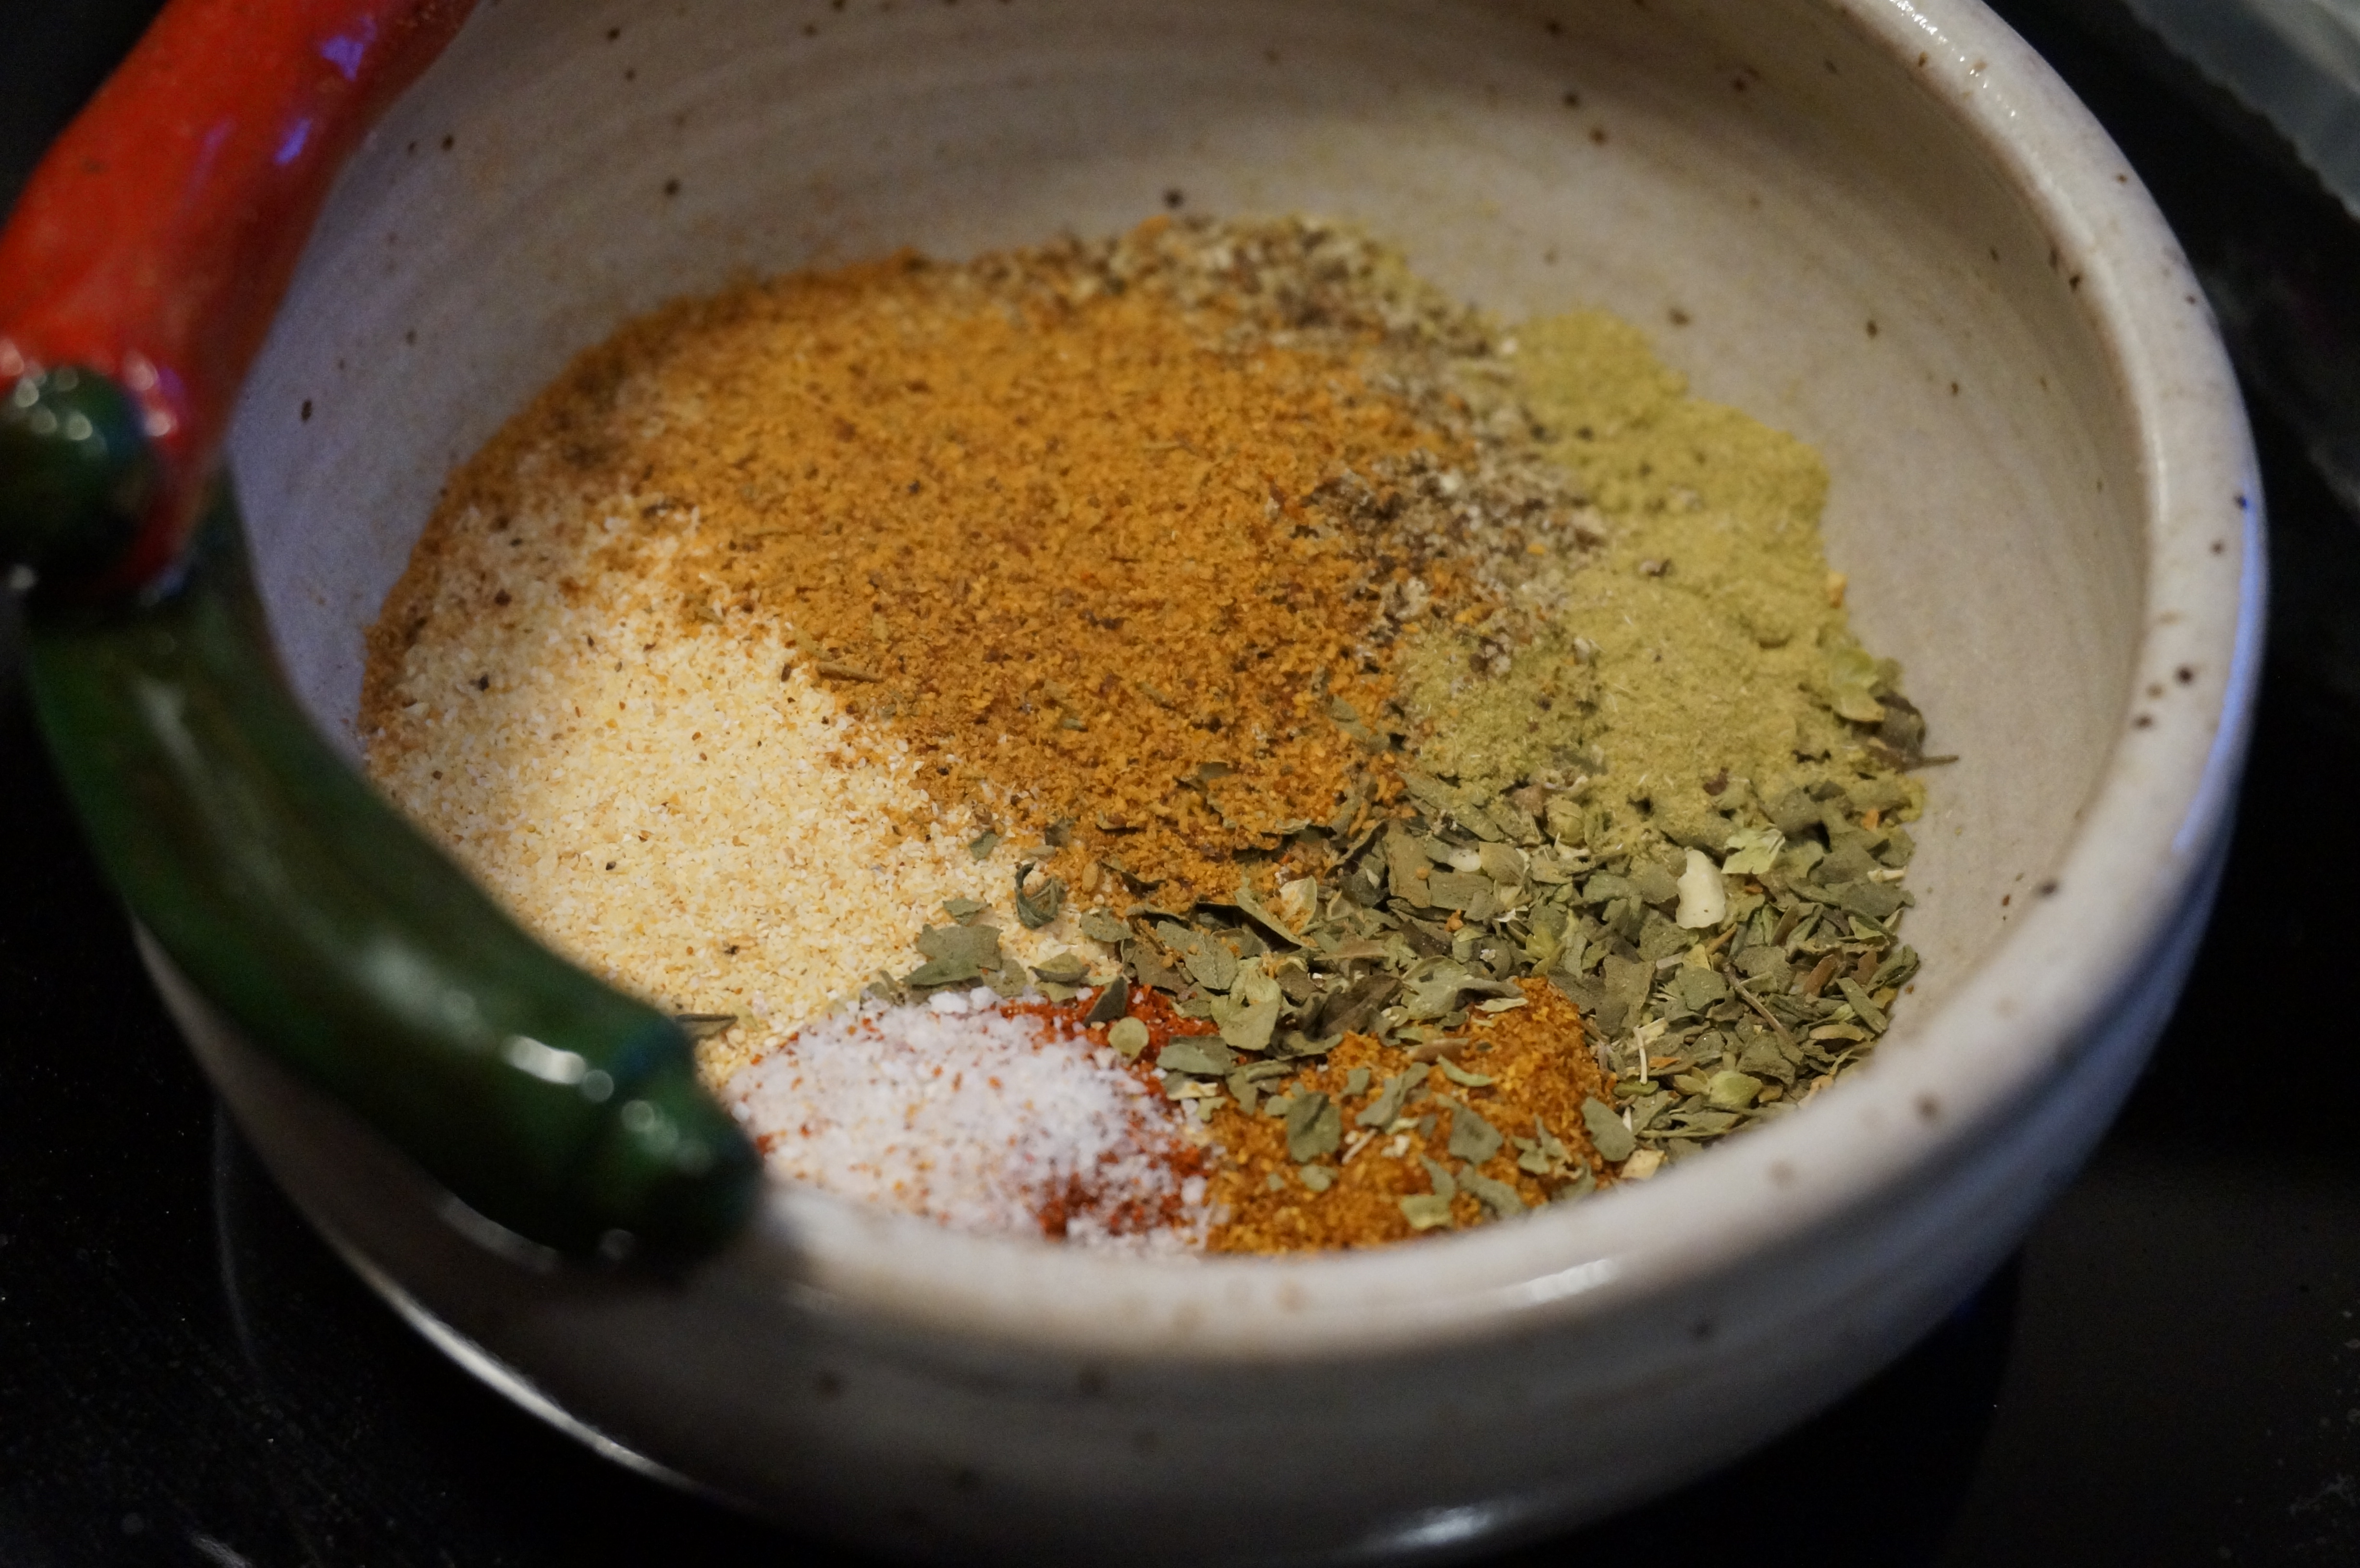
DSC00822Add spices.

DSC00823Add tomato sauce, a bit of water, and stir well.

DSC00824Cover and simmer on low for 15 minutes.

DSC00828Oh hello, ripe plantains!

DSC00833Slice plantains into long strips.

DSC00834I was amazed at how THICK the plantain peels were!

DSC00836Into the pan they go!

DSC00839
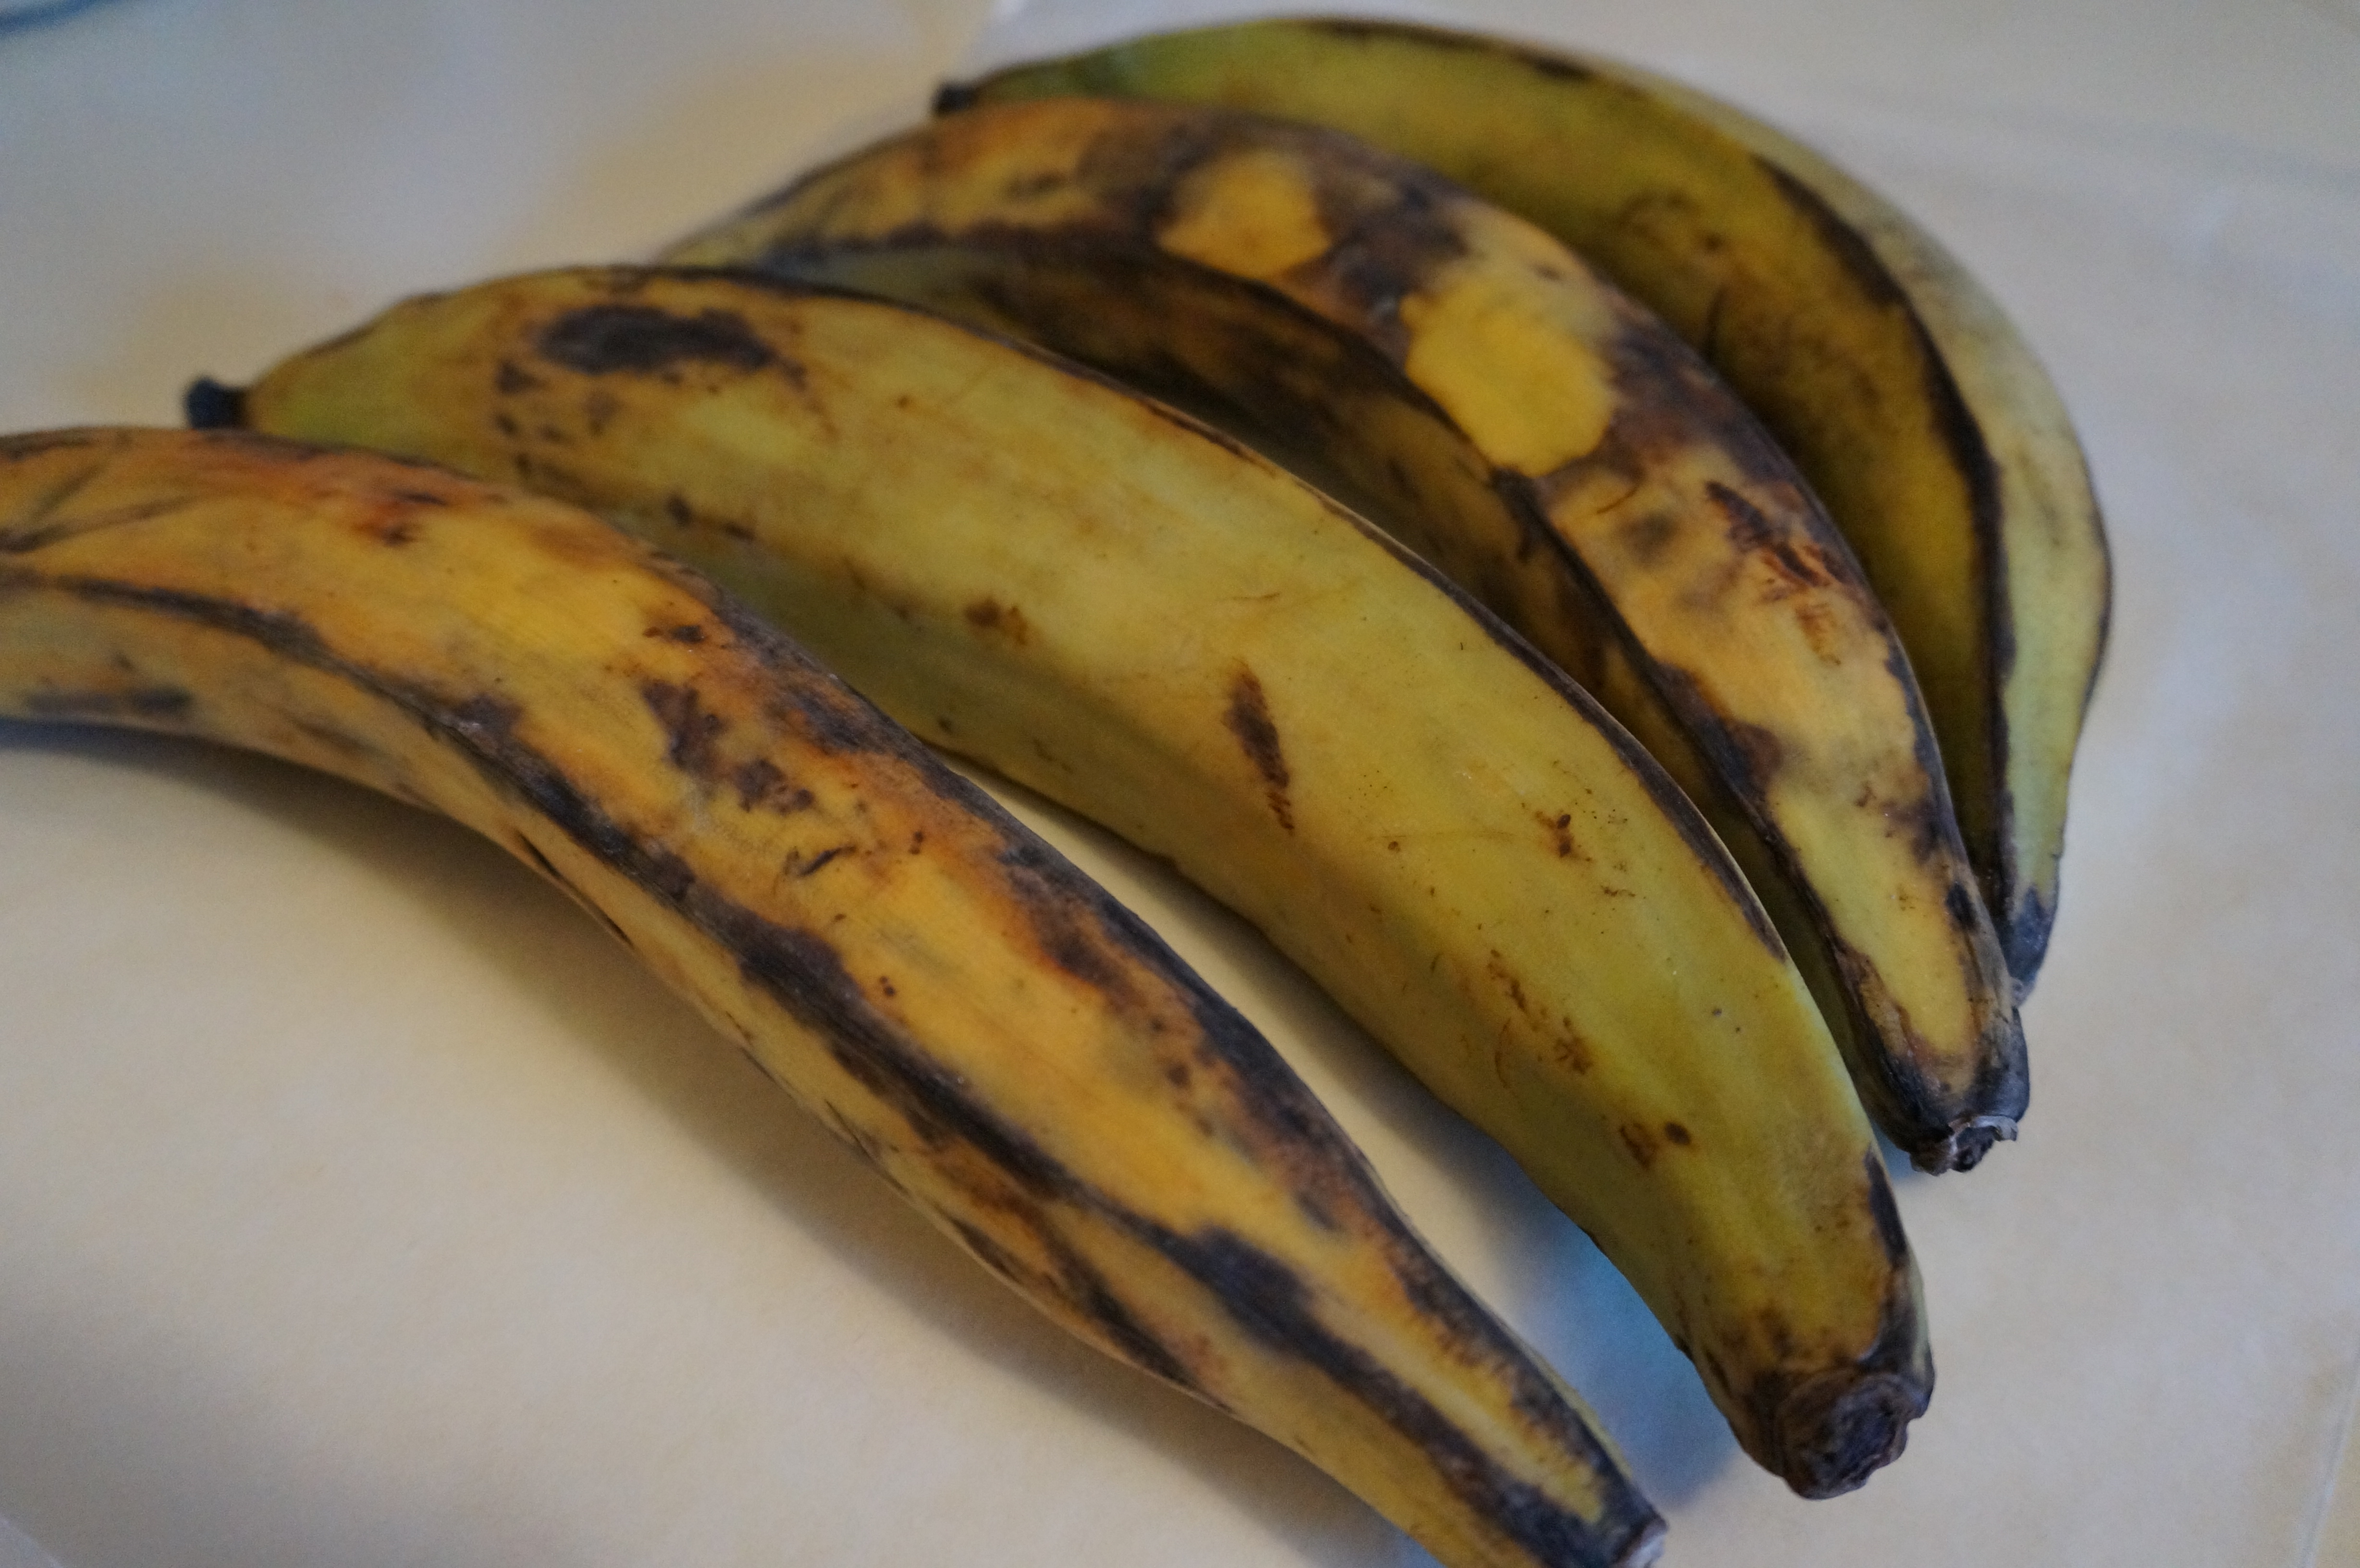
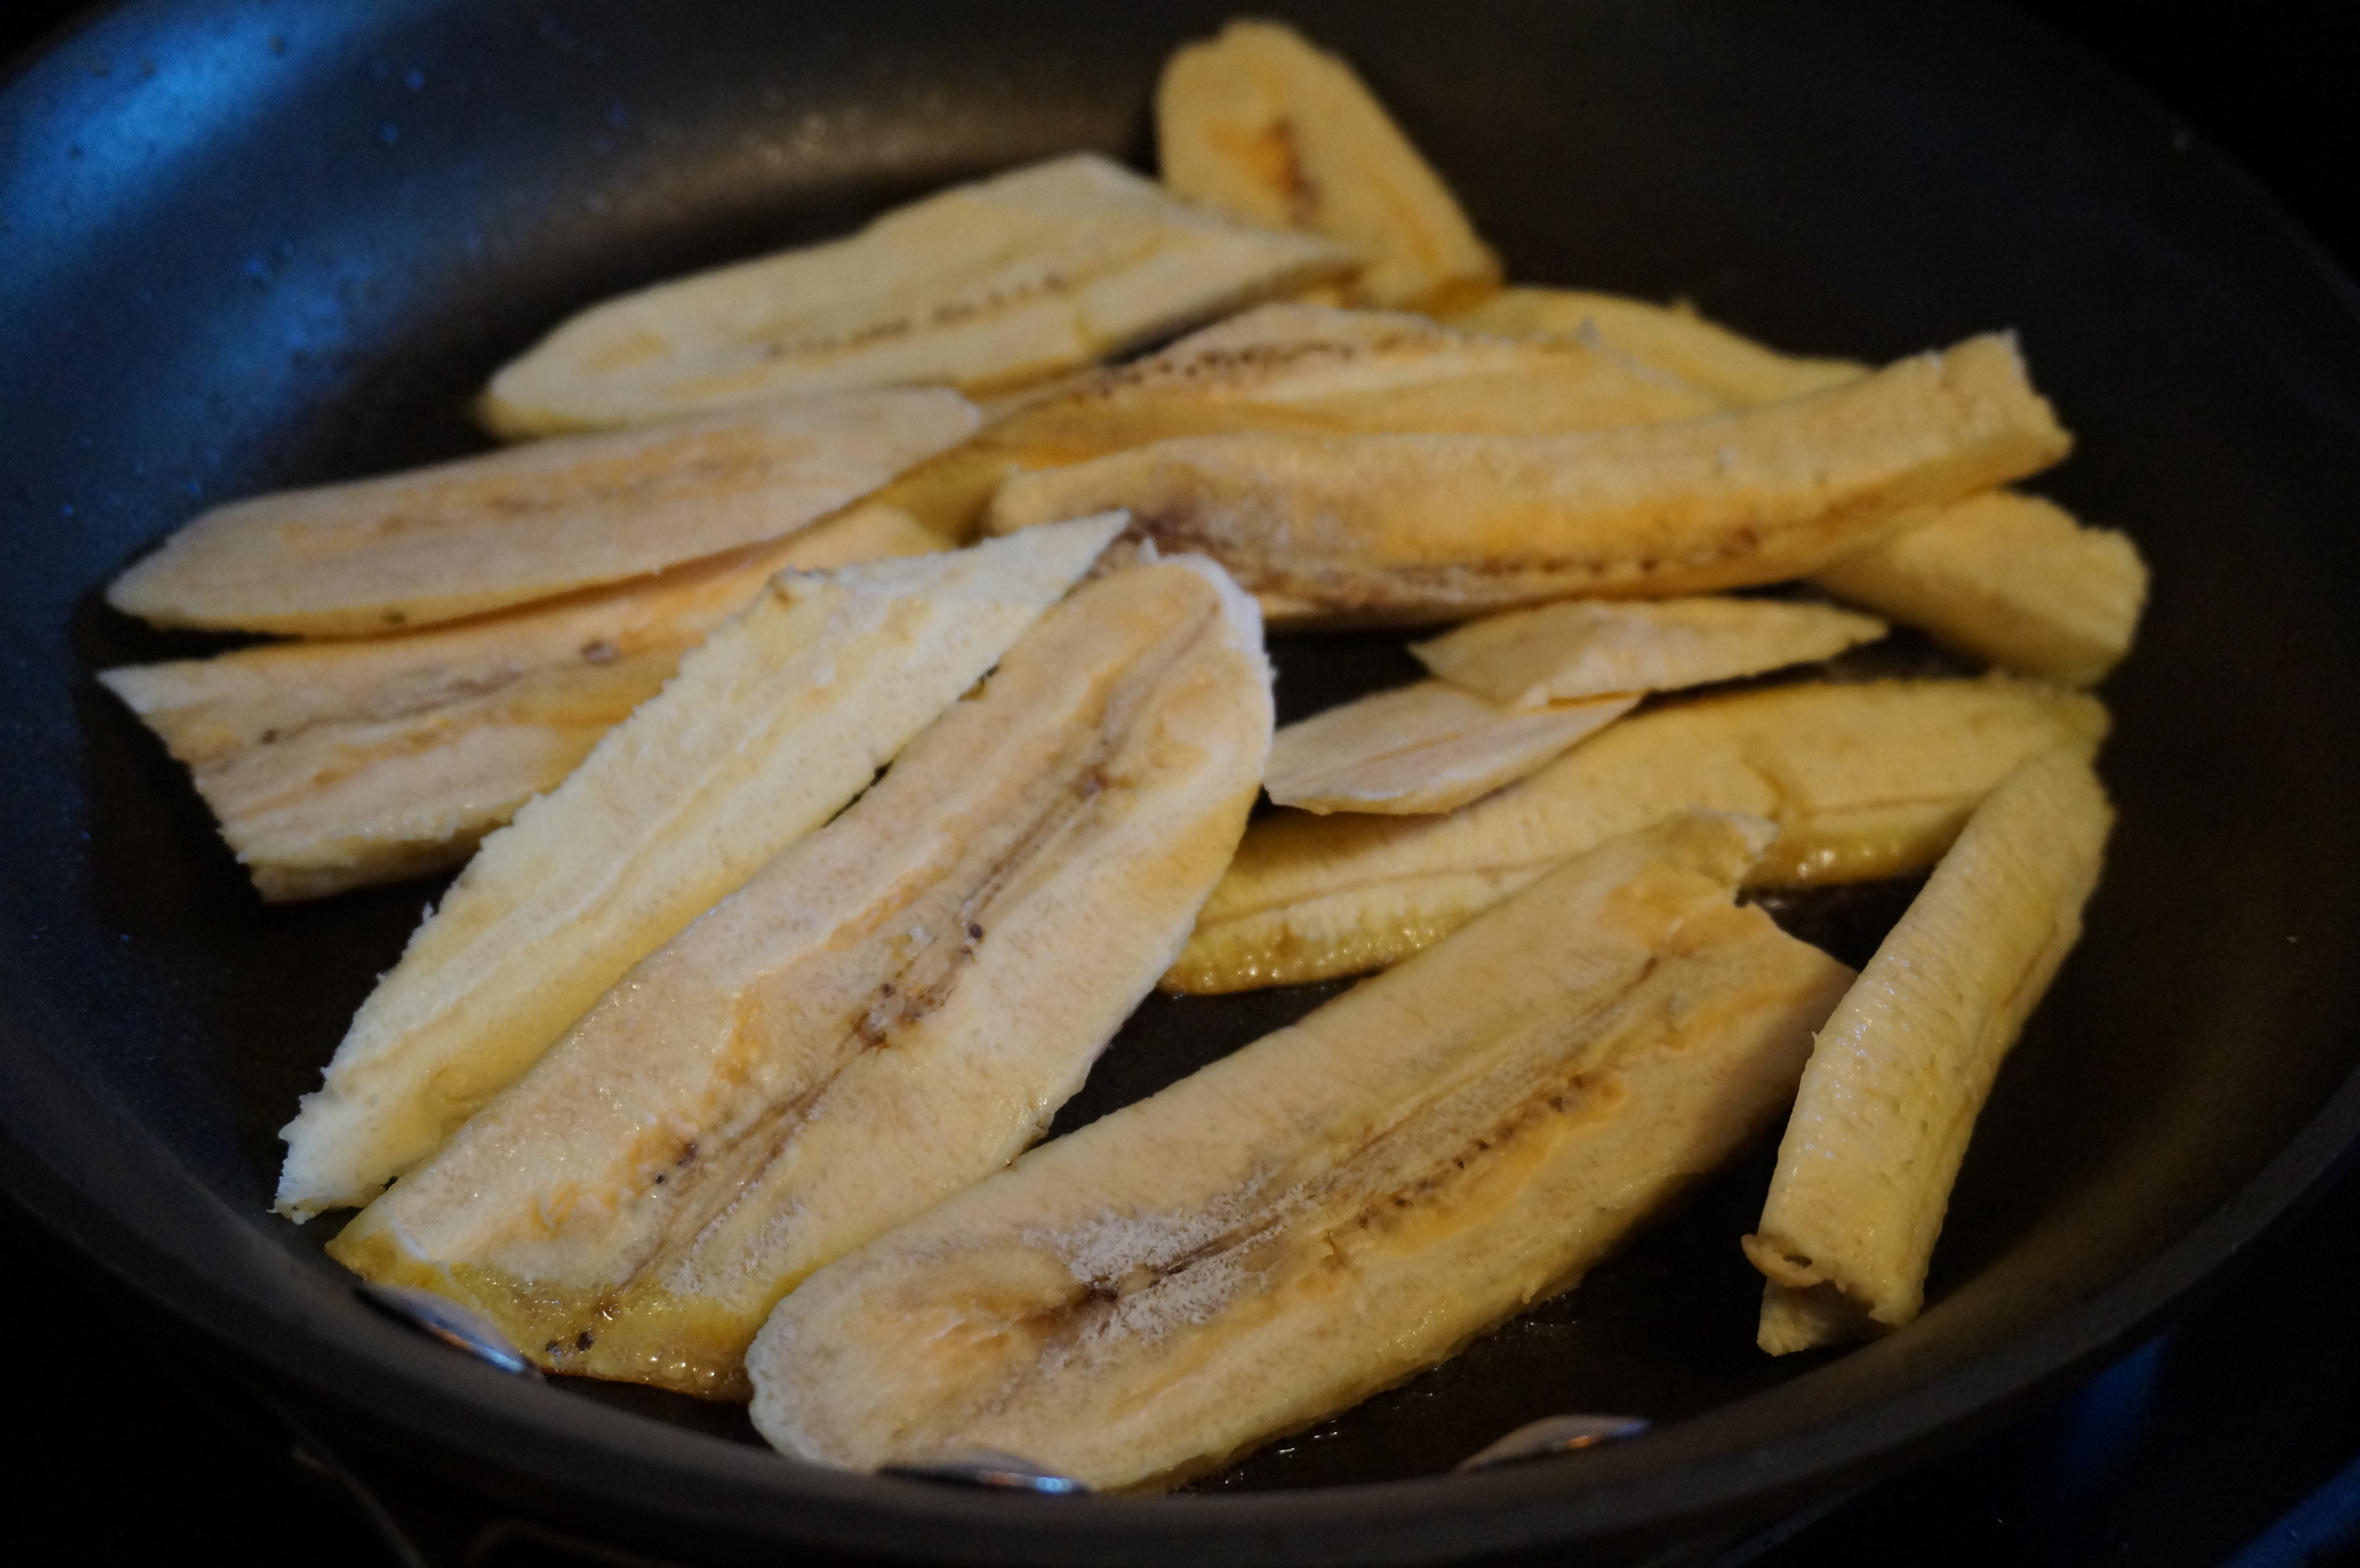
Cook till golden- about 2 minutes each side.

DSC00843Layer plantains on bottom of dish.

DSC00844Follow with turkey and potato mixture.

DSC00846
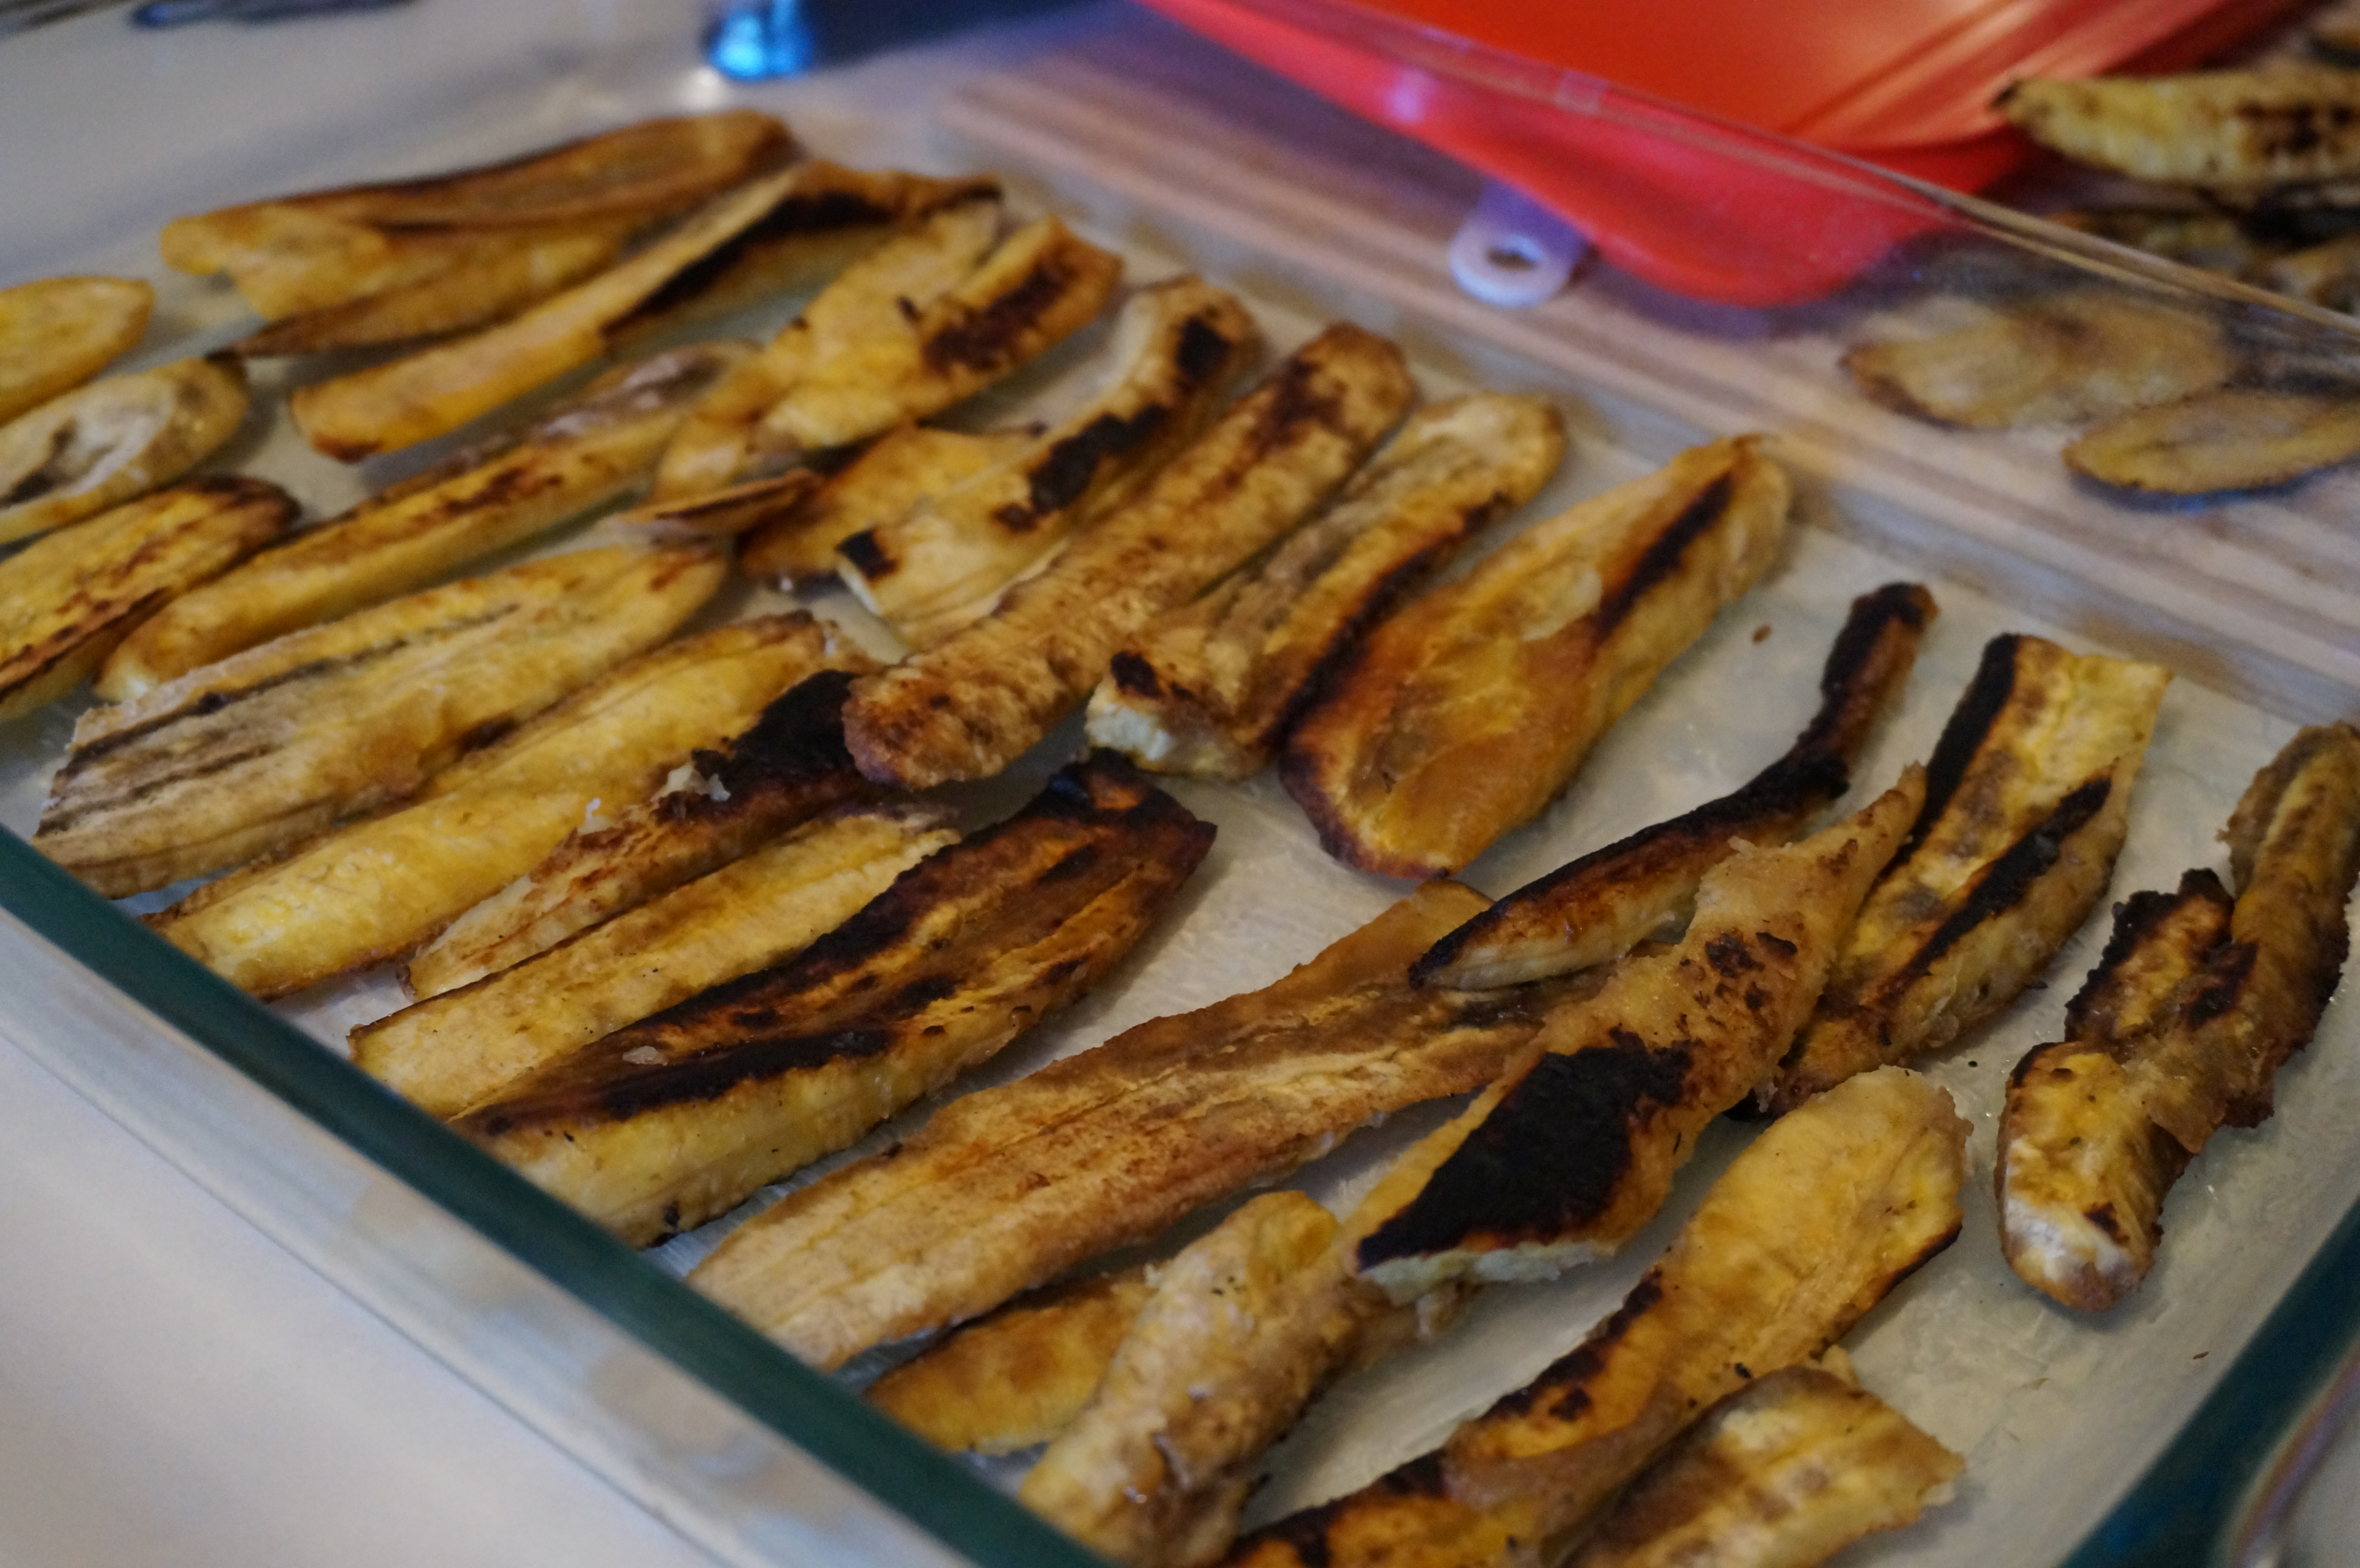
And some of the cheese… and repeat.

DSC00853
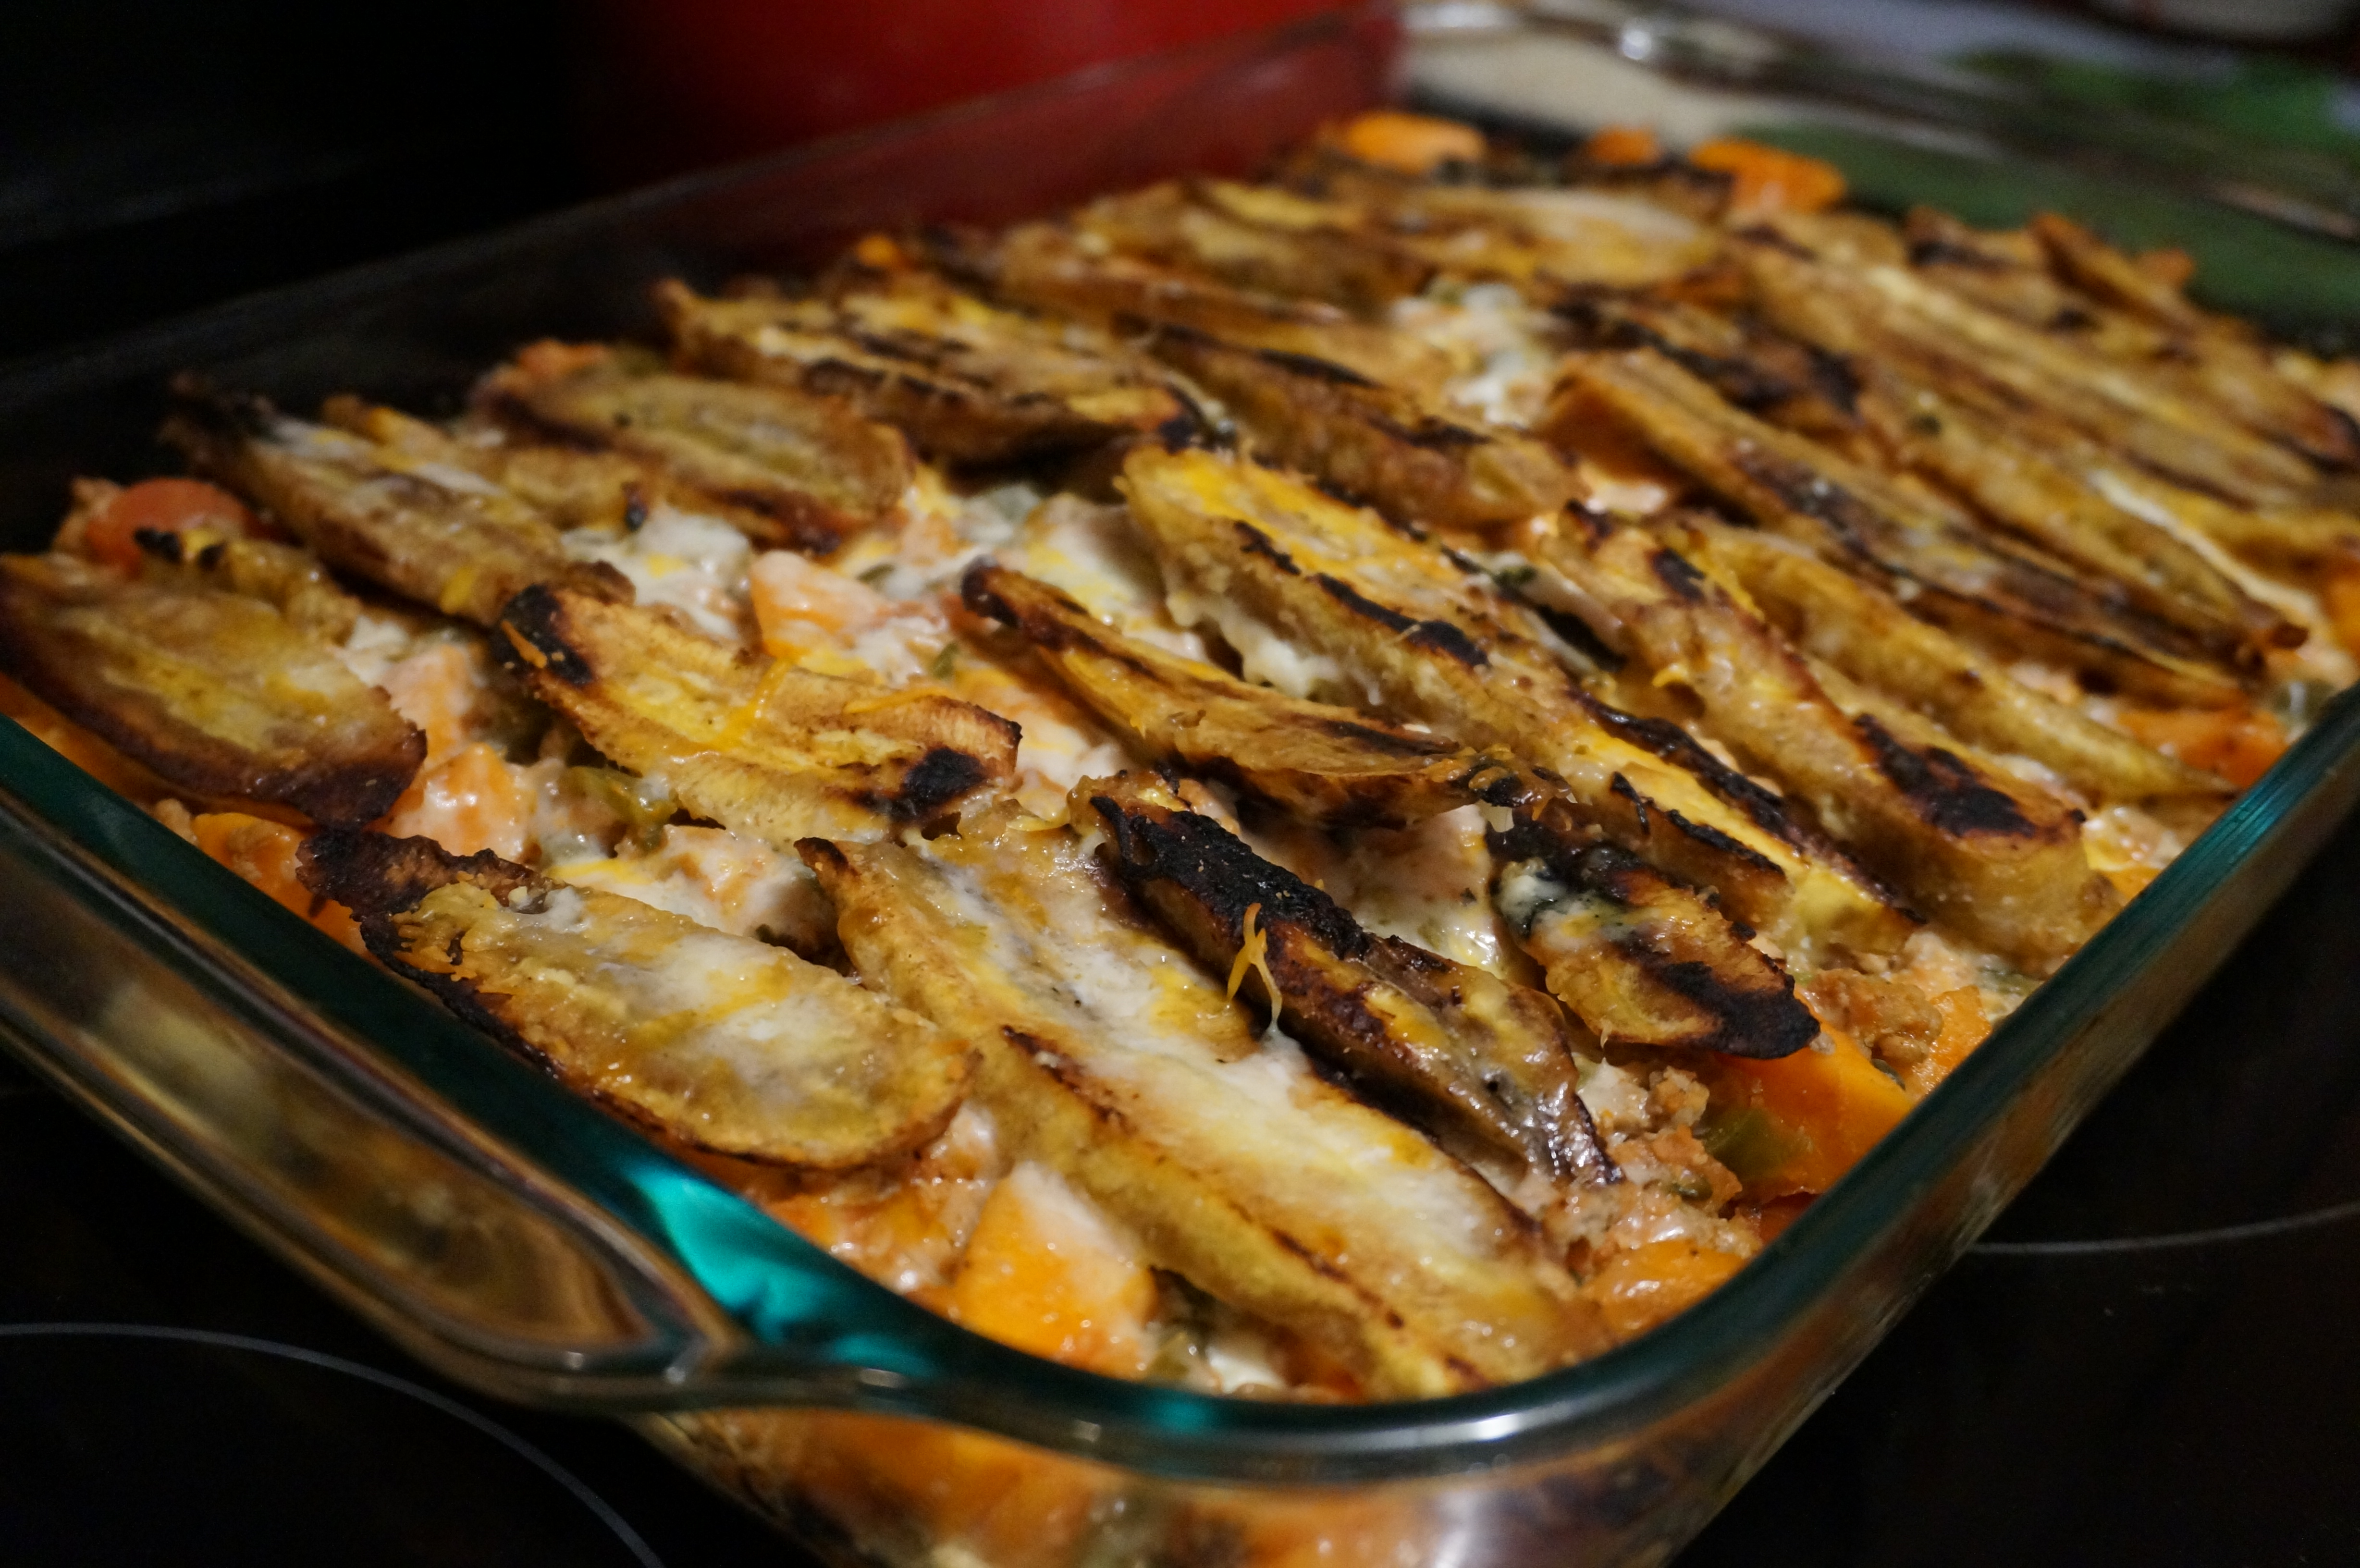
Finish with plantains on top.DSC00856And… what’s left of the cheese.

DSC00854
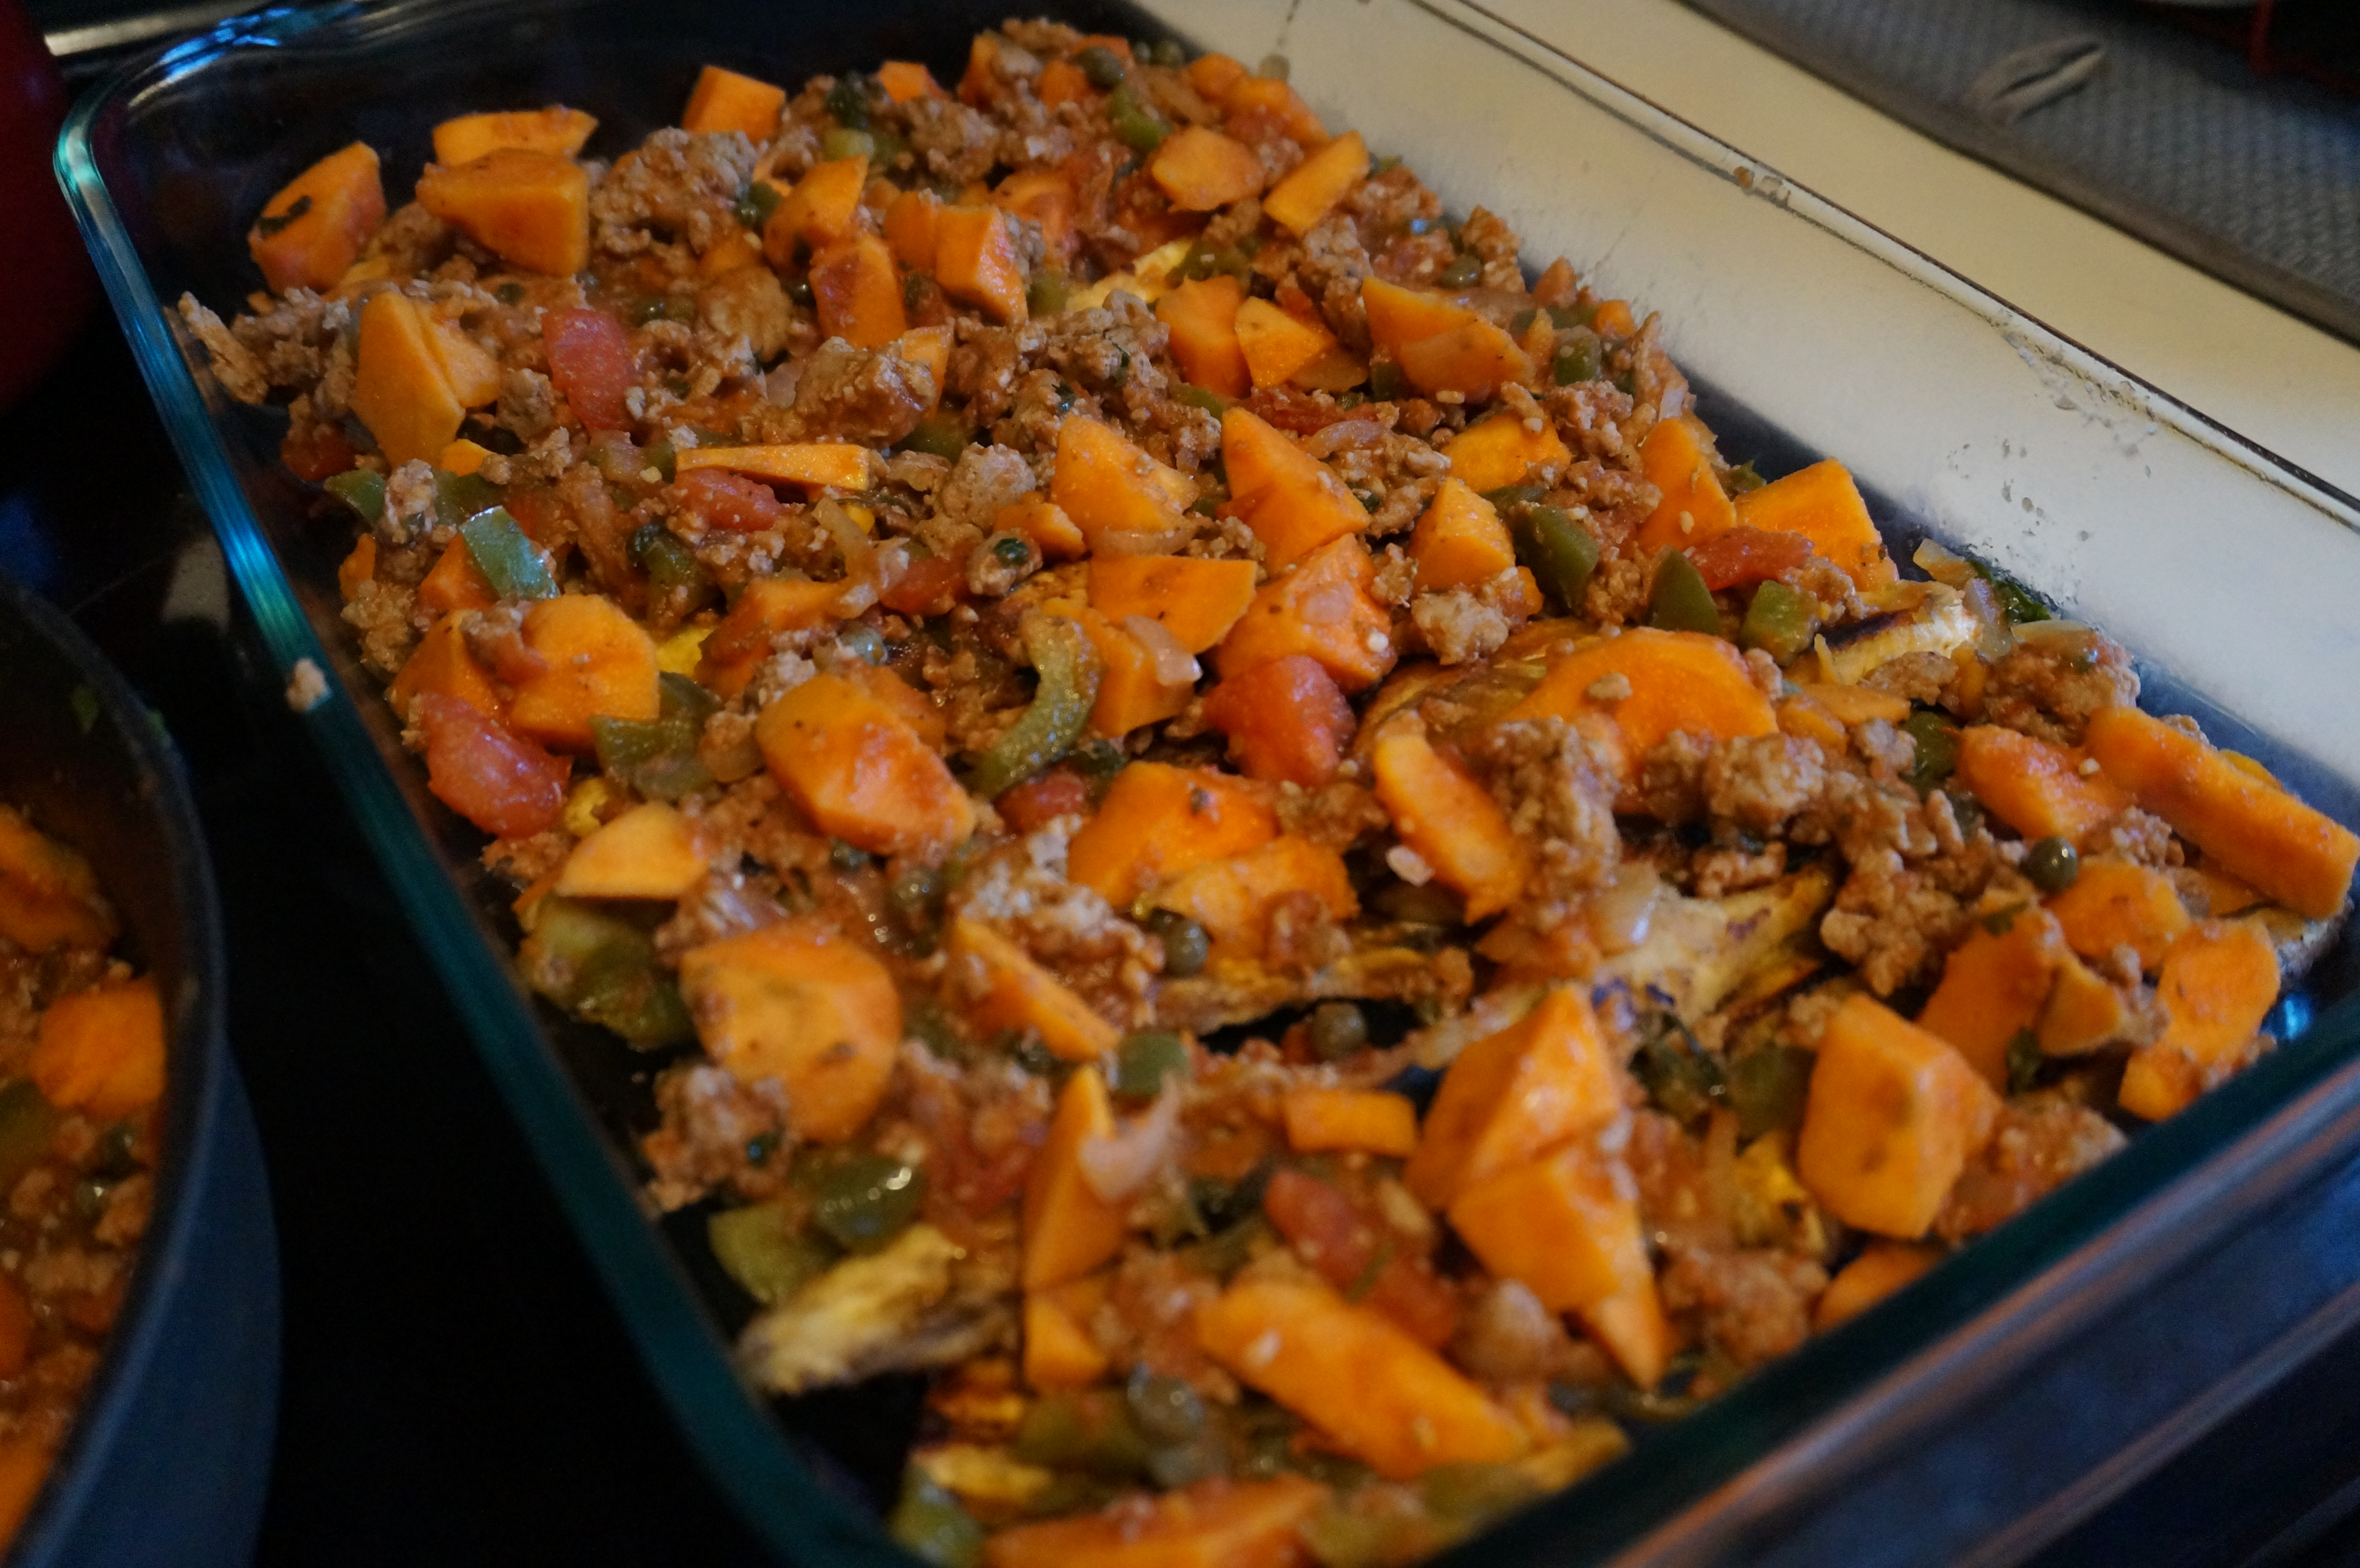
Pour beaten eggs over top. Cover and bake!

DSC00900 After 40 minutes of salivating… 

DSC00905Massaged kale salad on the side!

Creole Jambalaya w/ Blackened Chicken

In my attempt to create more recipes to celebrate holidays and special events (fondue for Twelfth Night, berry sweetheart icebox pies for Valentine’s Day, etc. etc.), I decided to liven up an ordinary weeknight with a little bit of ‘Nawlins spice! The perfect day to do it? Fat Tuesday, of course! I researched a lot of recipes online and found out that most of the Mardis Gras recipes have a combination of vegetables (yay!), beans (yay!), bold spices (yay!) and multiple kinds of meat (yay! but multiple? bleck!) in one dish. No one needs more than one type of meat in a dish, in my humble opinion, so I decided against those recipes and decided to go my own way. I created a vegetarian, vegan (if not adding the chicken) Creole-style jambalaya that’s healthy and hearty without needing TWO kinds of meat to make it delicious! I also used some of the seasoning for some blackened chicken to serve on the side- the perfect spicy and flavorful complement!

Need a perfect recipe for Fat Tuesday without actually feeling fat? This healthy, hearty Jambalaya is the perfect choice to keep you satisfied through all of the Mardis Gras festivities! It’s easy to throw together, and most of the ingredients are things you can open with a can opener or scissors. My kind of recipe! It also makes a TON, so either make it when you’re planning to feed the entire French Quarter, or be prepared to buy a second freezer just so you can store all the leftovers.

DSC00778

Creole Jambalaya w/ Blackened Chicken
Recipe Type: Vegan, Stews, Festive
Cuisine: Creole, Mardis Gras
Author: Claire McCormick of “Claire Tastes”
Prep time:
Cook time:
Total time:
Serves: 10-12
Here’s an easy, throw-together Vegan recipe (not including the chicken of course!) that’s perfect for Fat Tuesday without actually feeling fat! Hearty without being heavy, and loaded with veggies and legumes to keep you full for all of the Mardis Gras festivities!
Ingredients
  • 2 stalks celery, diced
  • 3 carrots, sliced
  • 2 onions, sliced thinly
  • 1 1/2 tbsp minced garlic
  • 2 links fully cooked turkey or chicken sausage, sliced (optional- omit for Vegan)
  • 1 can black beans, drained
  • 1 can kidney beans, drained
  • 1 can black eyed peas, drained
  • 1 can green chilies, drained
  • 2 cans diced tomatoes, no salt added
  • 1 can sliced peeled tomatoes, no salt added
  • 1 8 oz. can tomato paste
  • 1 bag frozen collard greens, thawed
  • 1 bag frozen stir-fry mix (carrots, peppers, onions, mushrooms, broccoli, and green beans)
  • 1 bag frozen okra
  • 24 oz low sodium vegetable broth
  • Creole seasoning (see notes for recipe)
  • 2 tbsp EVOO
  • 6 boneless, skinless chicken breasts (optional)
  • Cooked brown rice or quinoa, plain greek yogurt, and additional spices (for serving)
Instructions
  1. For Blackened Chicken: spread about 1/2 tsp Creole seasoning (recipe in “notes”) on each side of each chicken breast and set aside to marinate.
  2. For Jambalaya: In skillet on medium-high heat, cook celery, carrots, onions, garlic, and sausage (if using) until slightly browned- about 5-7 minutes- stirring occasionally. Scape up browned bits from bottom of pan and remove from heat.
  3. In large stockpot, combine beans, black-eyed peas, chilies, tomatoes, tomato paste, stir fry mixture, frozen okra, vegetable broth, and 1/3 cup Creole seasoning (see notes for recipe).
  4. Bring to a boil, then turn heat down to medium-low and simmer for 25-30 minutes, stirring about every 10 minutes to prevent burning on the bottom.
  5. To cook chicken, heat a frying pan with olive oil on medium-high heat.
  6. Add chicken to pan and cook until literally “blackened”- about 2 minutes each side.
  7. Cut into thin strips and make sure the center is cooked through and juices run clear. Remove from heat
  8. Just before serving stew, stir in collard greens.
  9. Serve over rice with a dollop of plain greek yogurt and blackened chicken strips.
Notes
Creole Seasoning Recipe:[br]1 tbsp garlic powder[br]1 tbsp cumin[br]2 tsp salt[br]2 1/2 tsp paprika[br]1 tbsp Jerk seasoning (if you have it)[br]2 tsp onion powder[br]1 tsp cayenne pepper (plus more if you like more heat)[br]2 tsp fresh ground black pepper[br]1 tbsp dried oregano or Italian seasoning[br]1 tsp ground thyme[br]2 tsp dried bay leaf


DSC00747Cook celery, carrots, onions, garlic, and sausage (if using).

DSC00750Nice and caramelized- makes sure to scrape up the flavorful brown bits in the bottom of the pan!

DSC00748Creole seasoning in my chili pepper bowl that I got with my mom at the Durham Farmers’ Market last summer 🙂

DSC00755
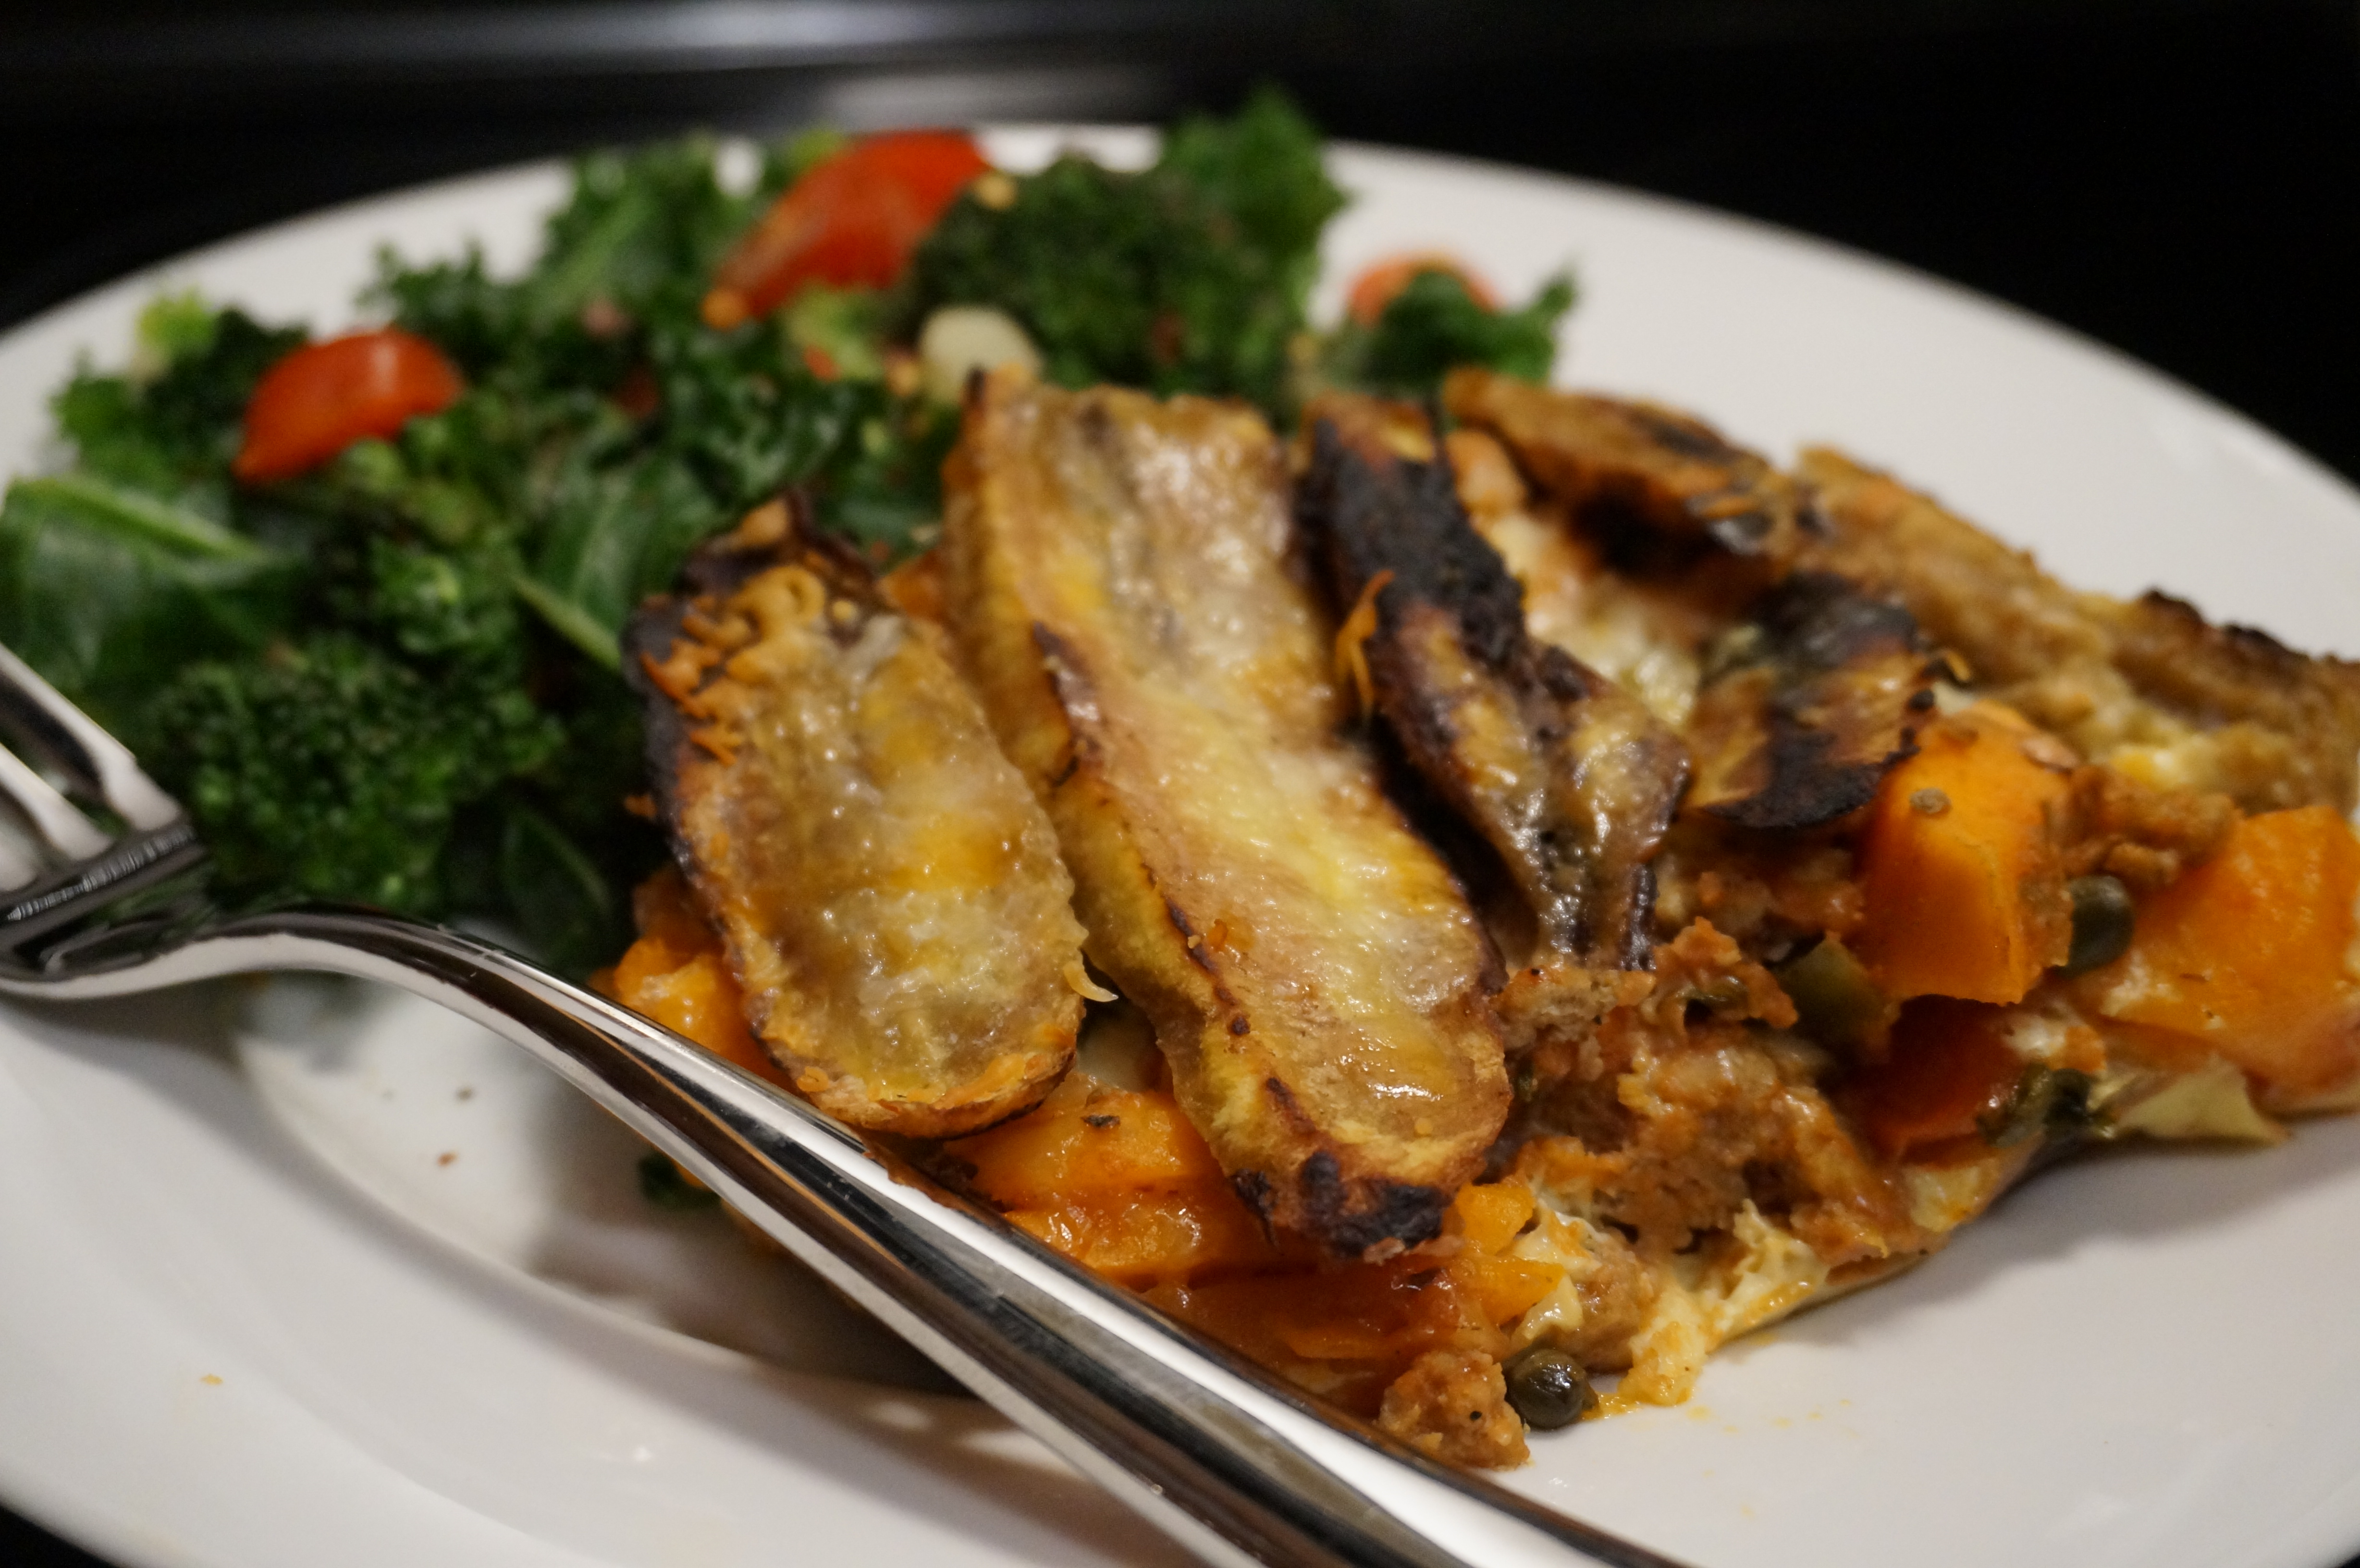
Add beans, frozen veggies, and Creole seasoning and bring to a boil. Simmer on medium-low for about a half hour while you prepare the rice and chicken (and arrange all your new Mardis Gras beads around your neck :P)

DSC00762Just before serving, stir in collard greens until heated through and bright green in color!

DSC00764
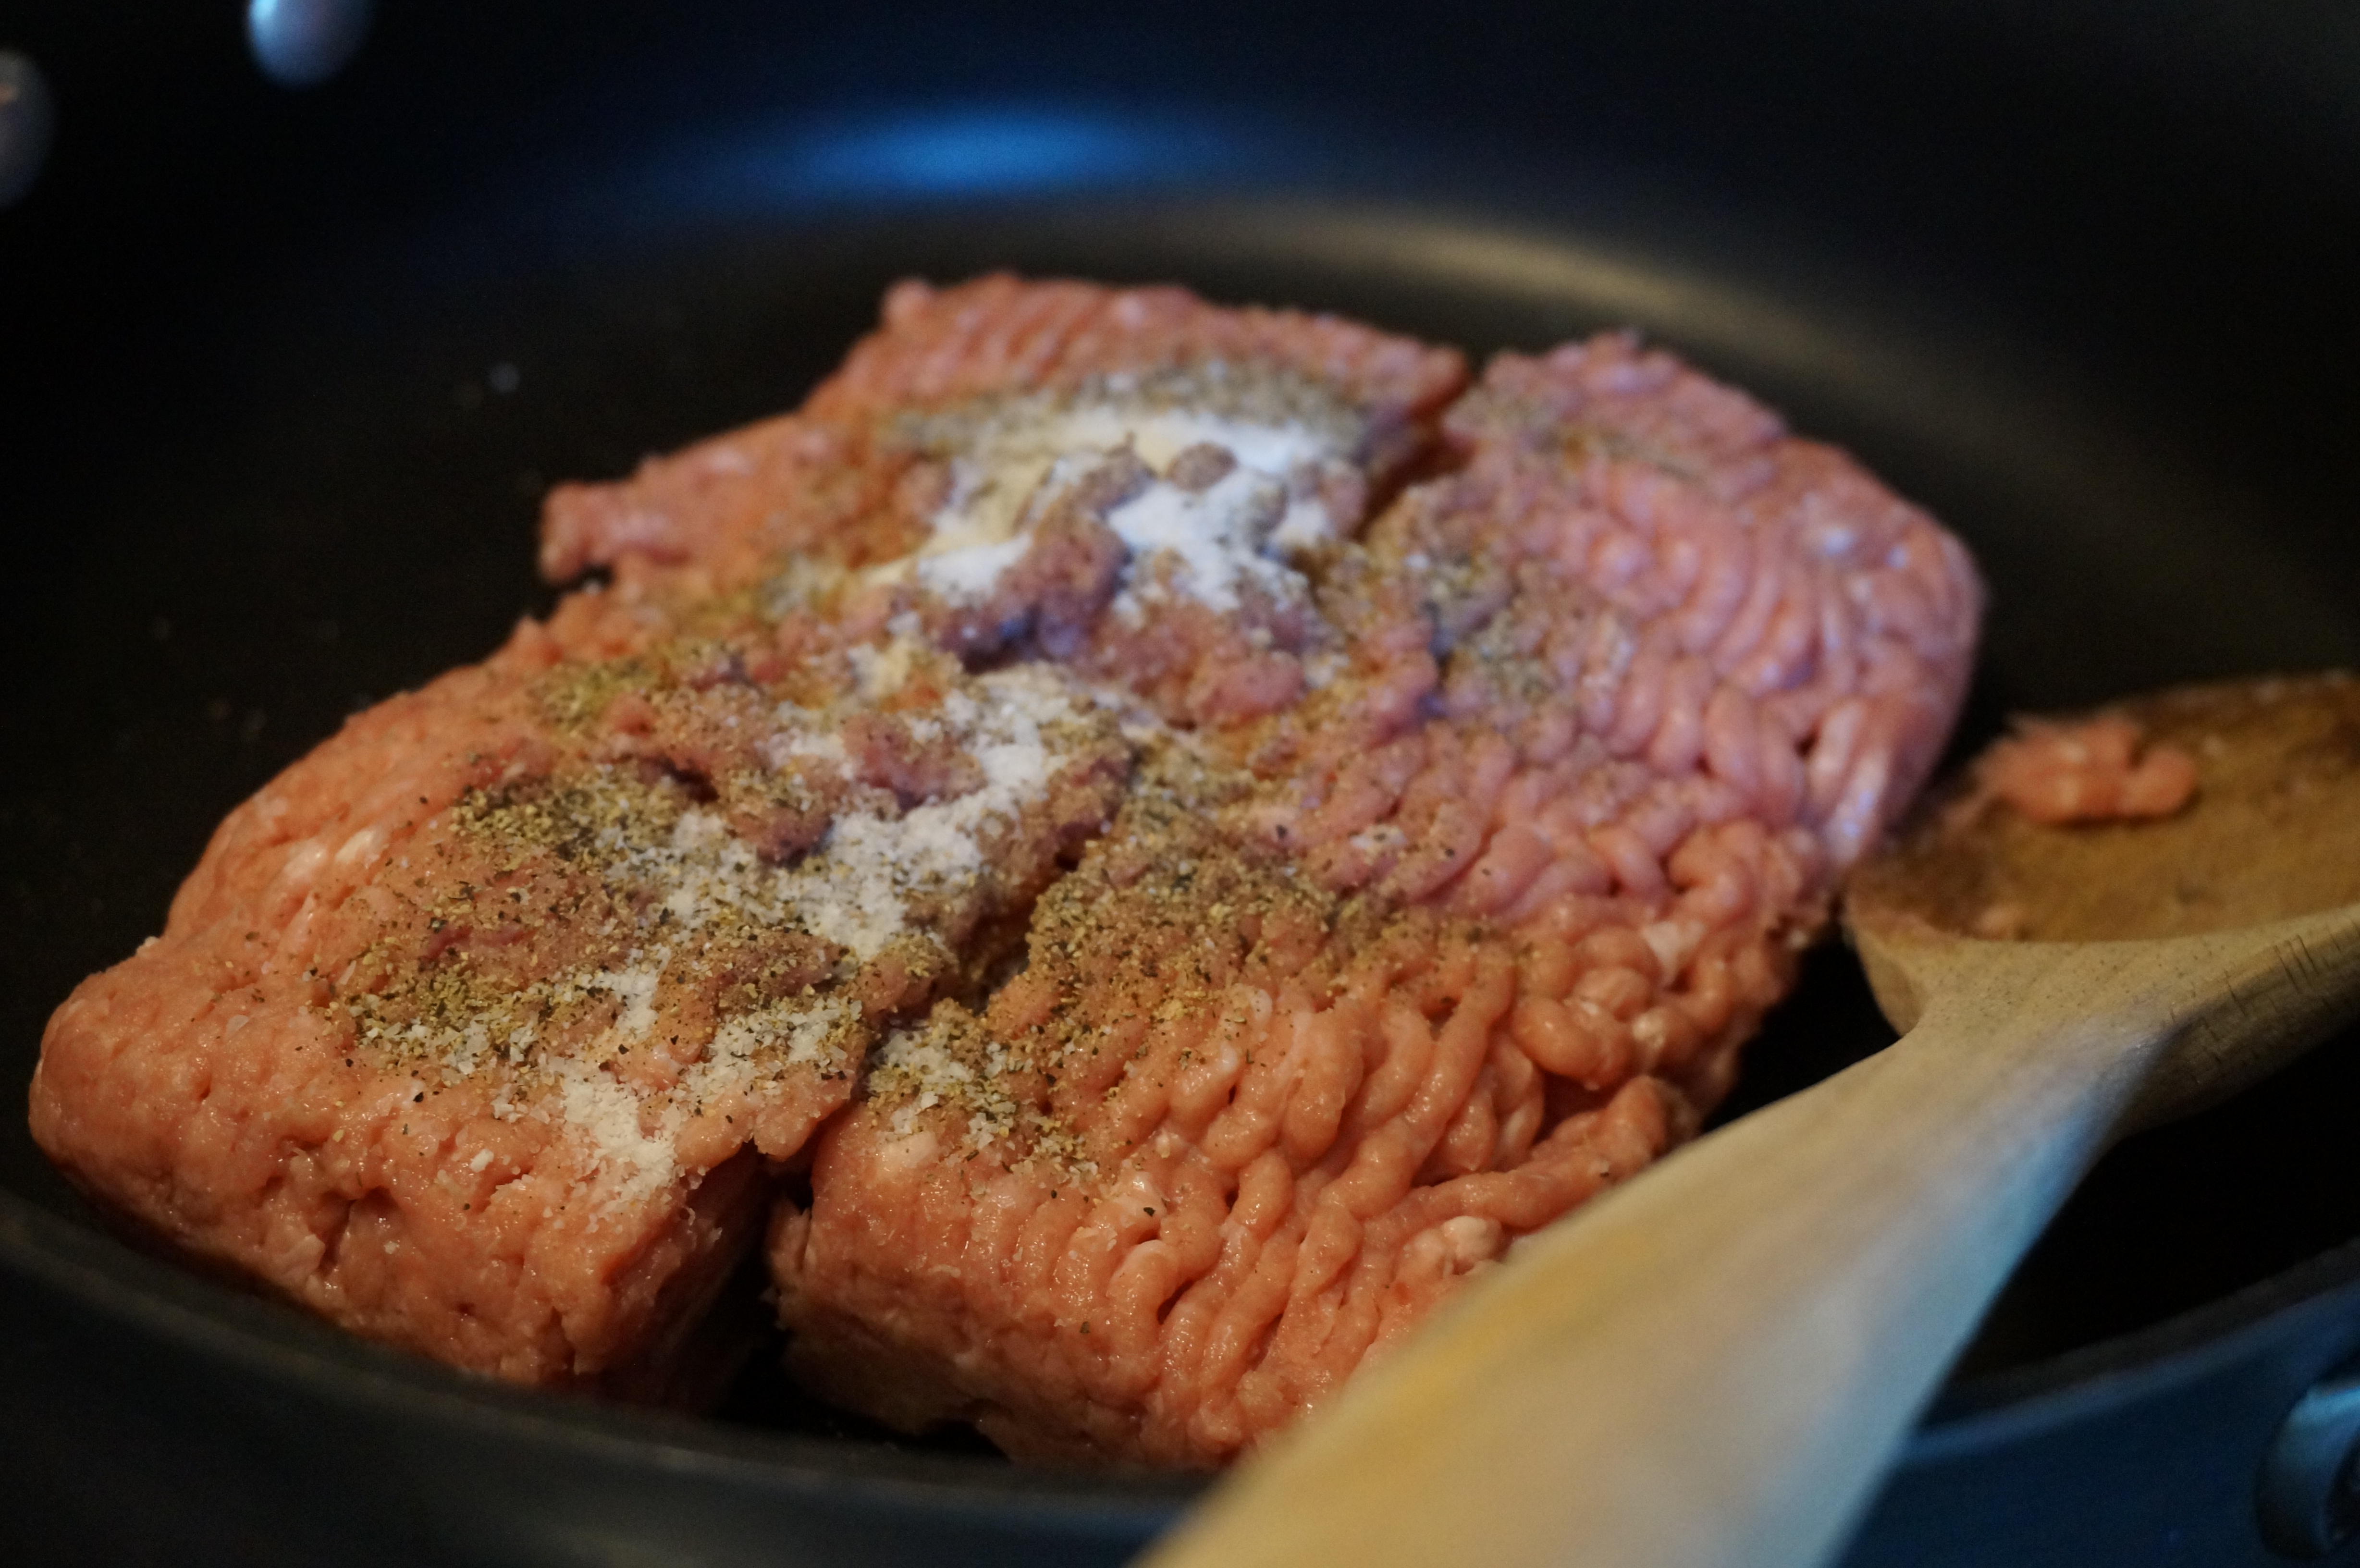
Cook seasoned chicken until blackened- about 2 min each side.

DSC00767Flavor in the brown!

DSC00768
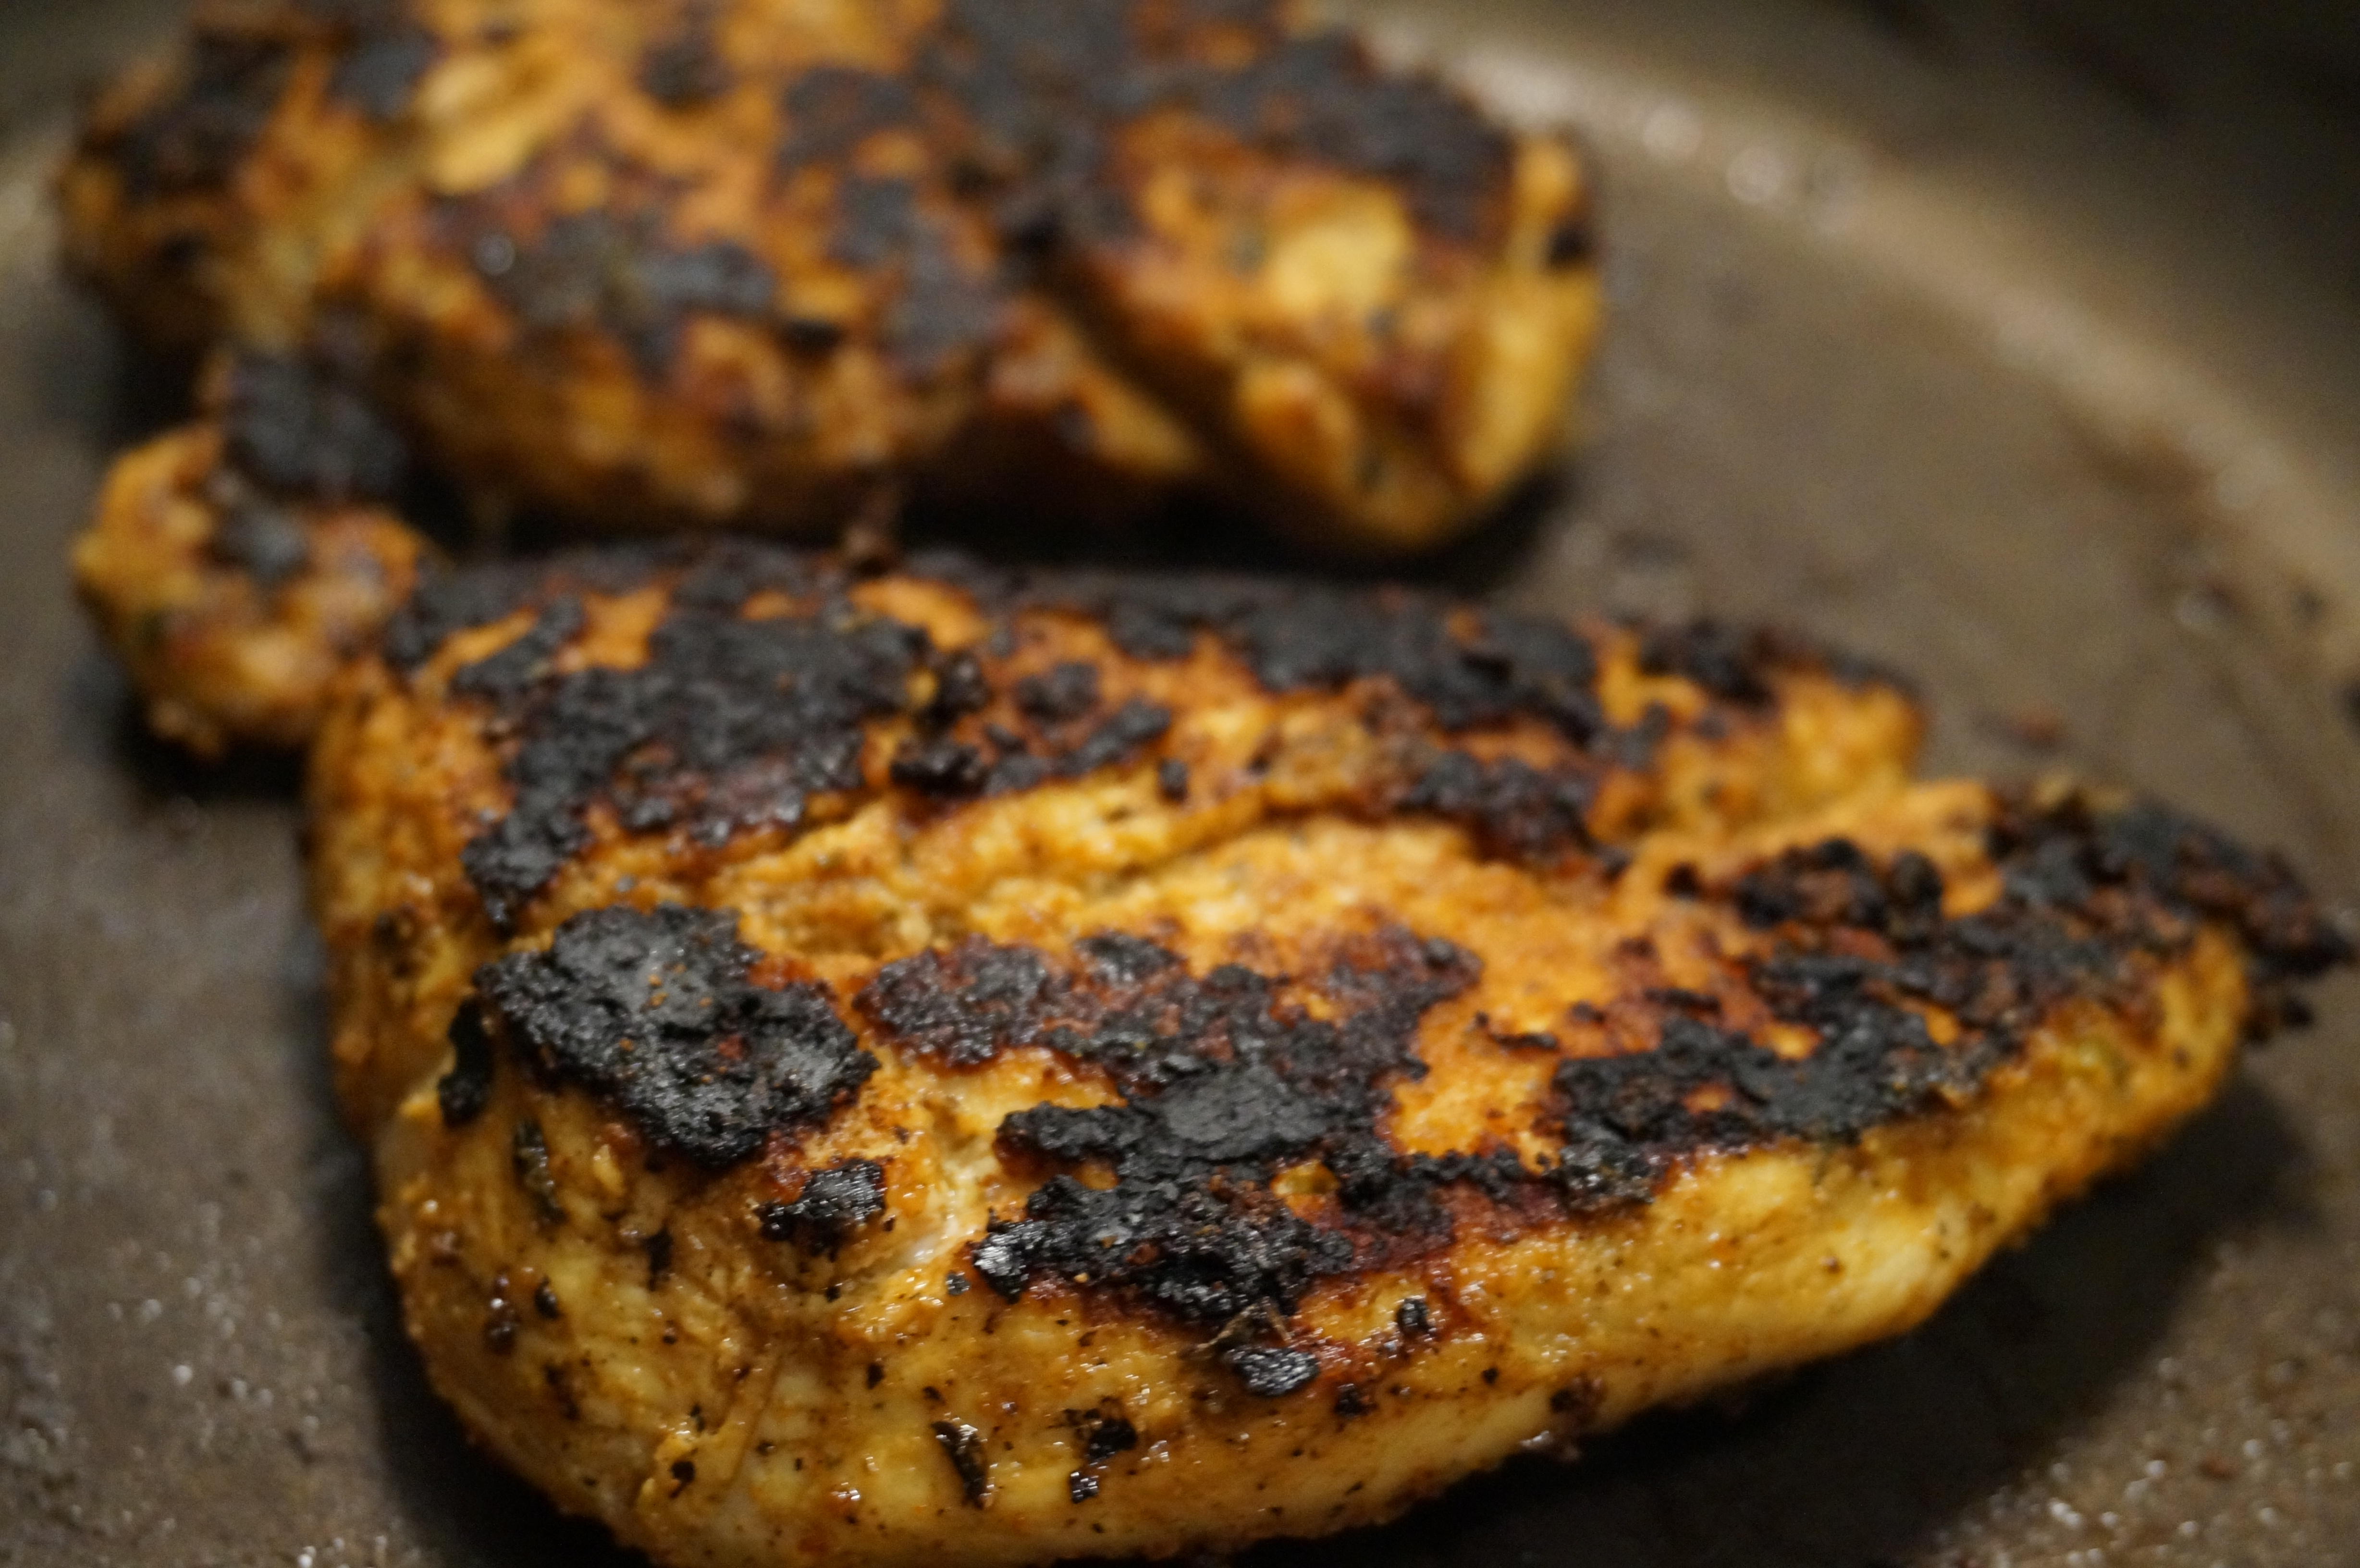
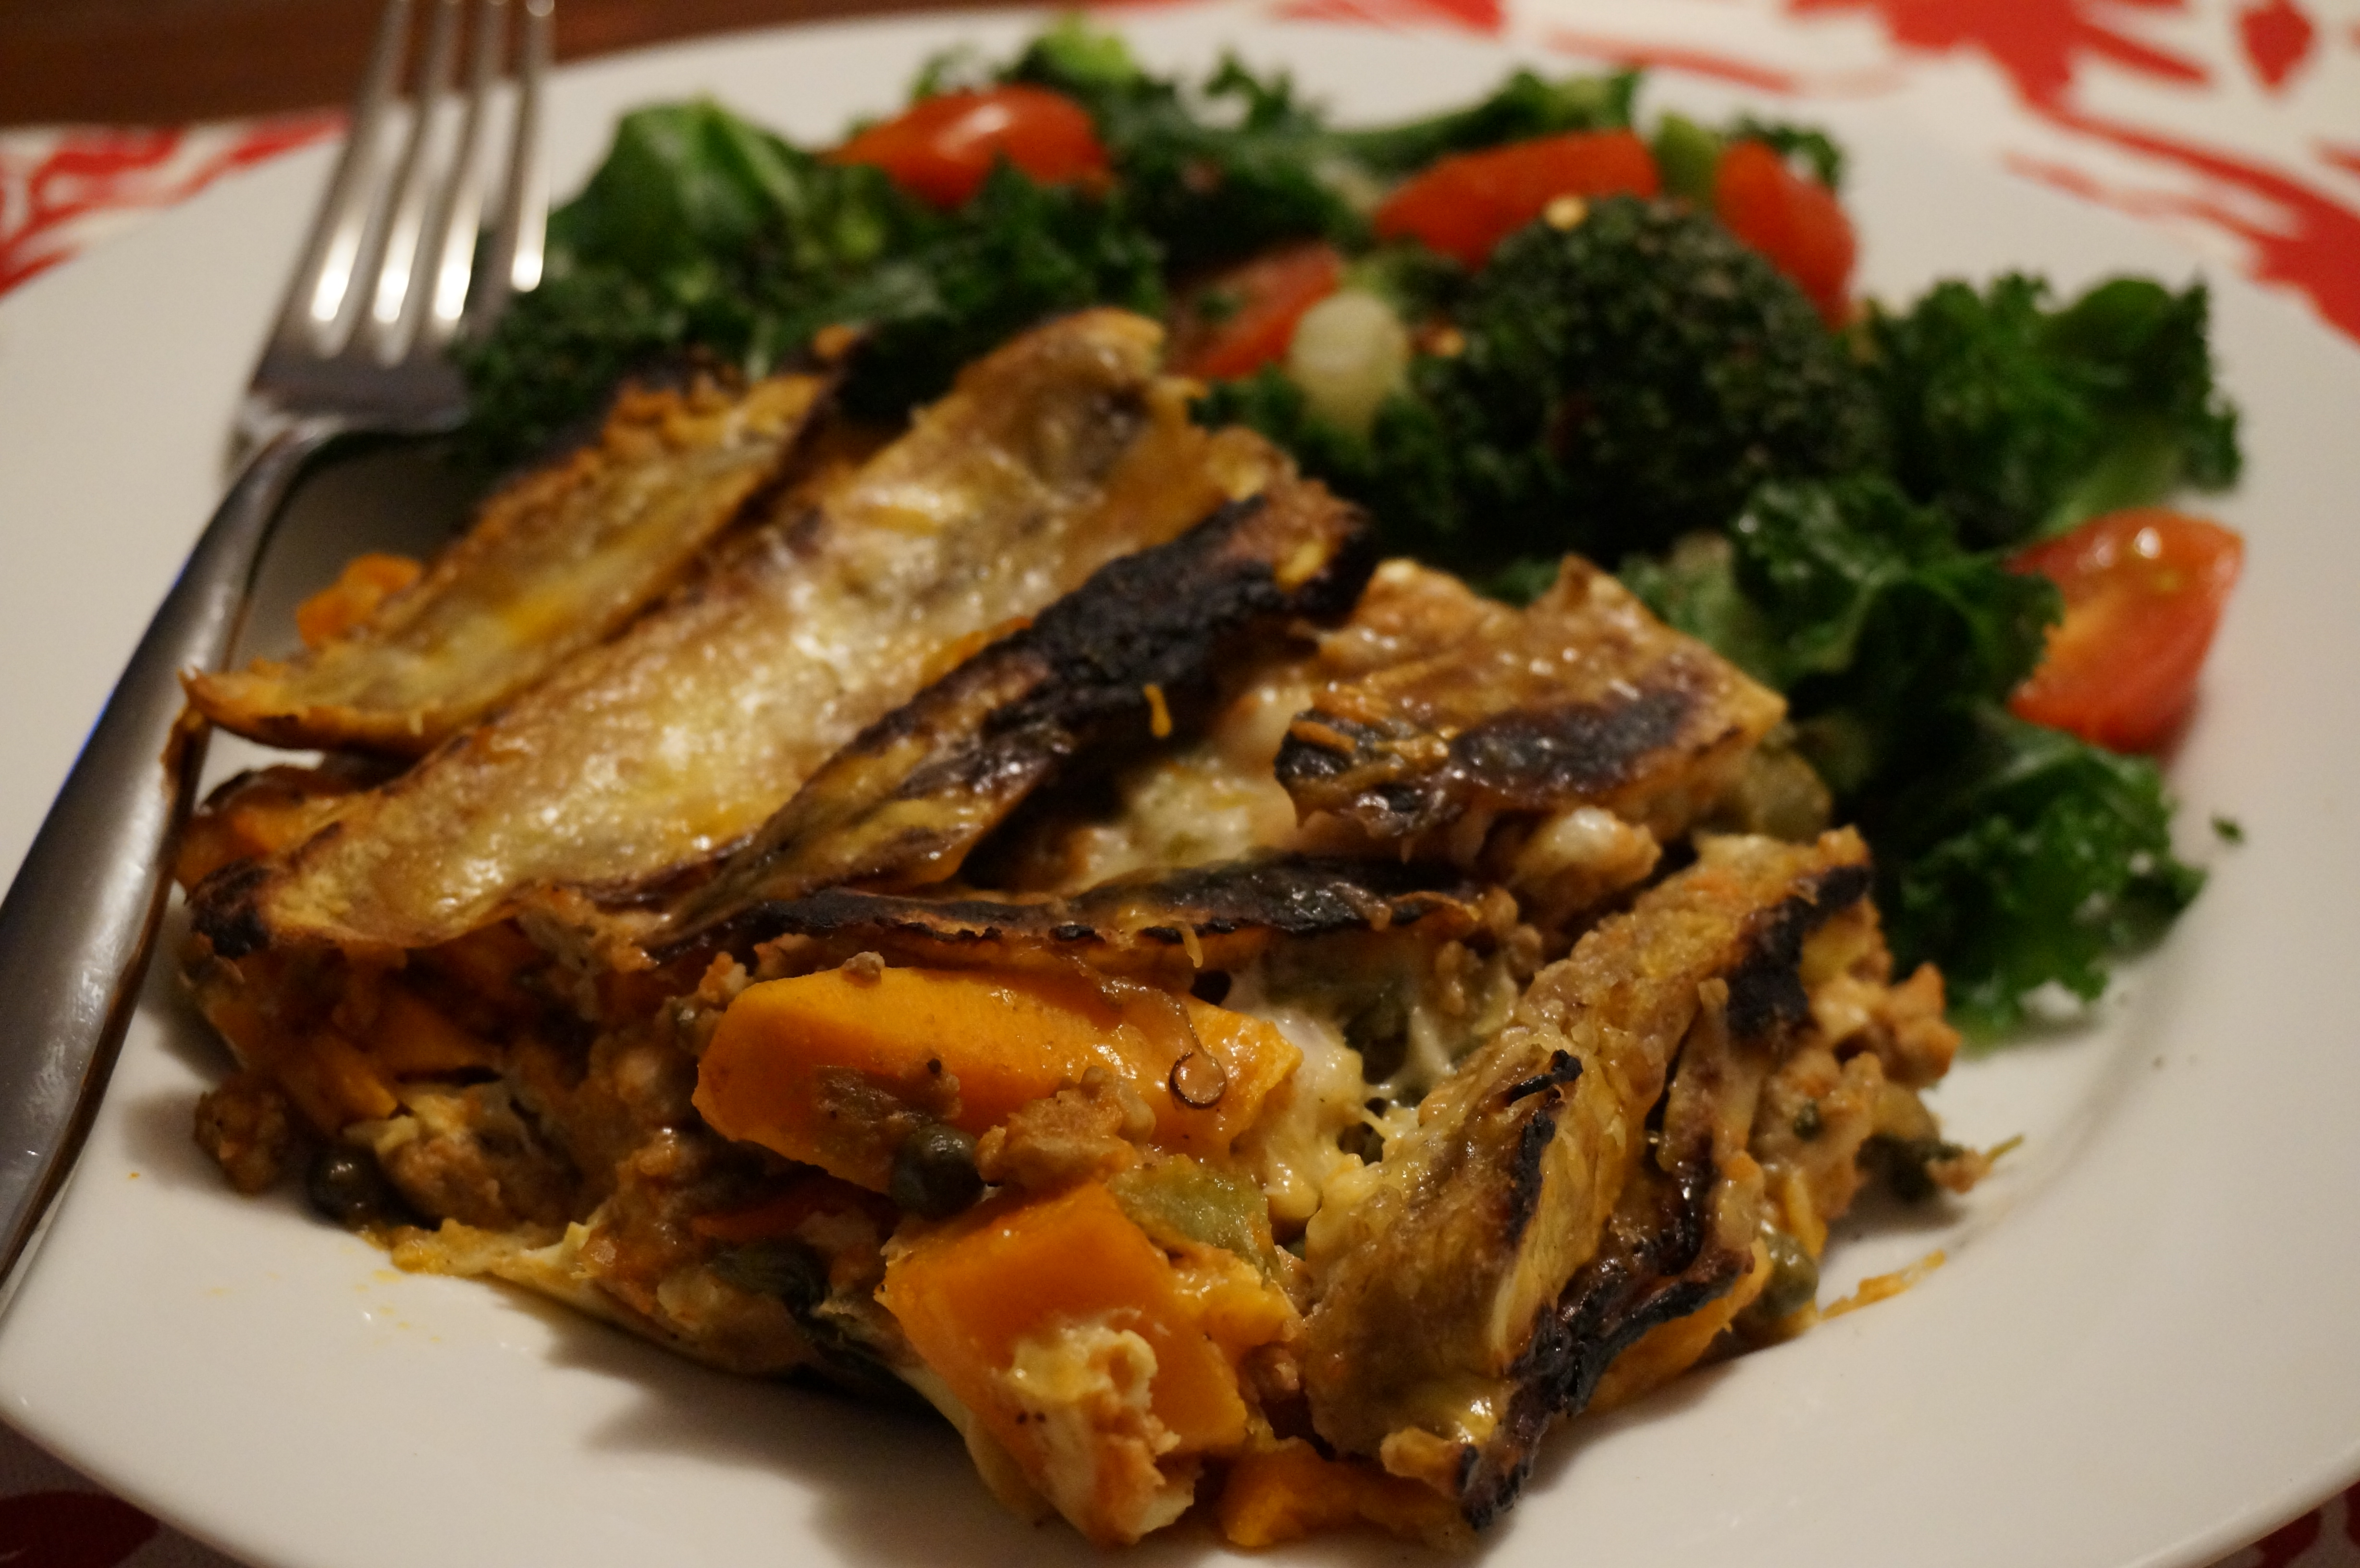
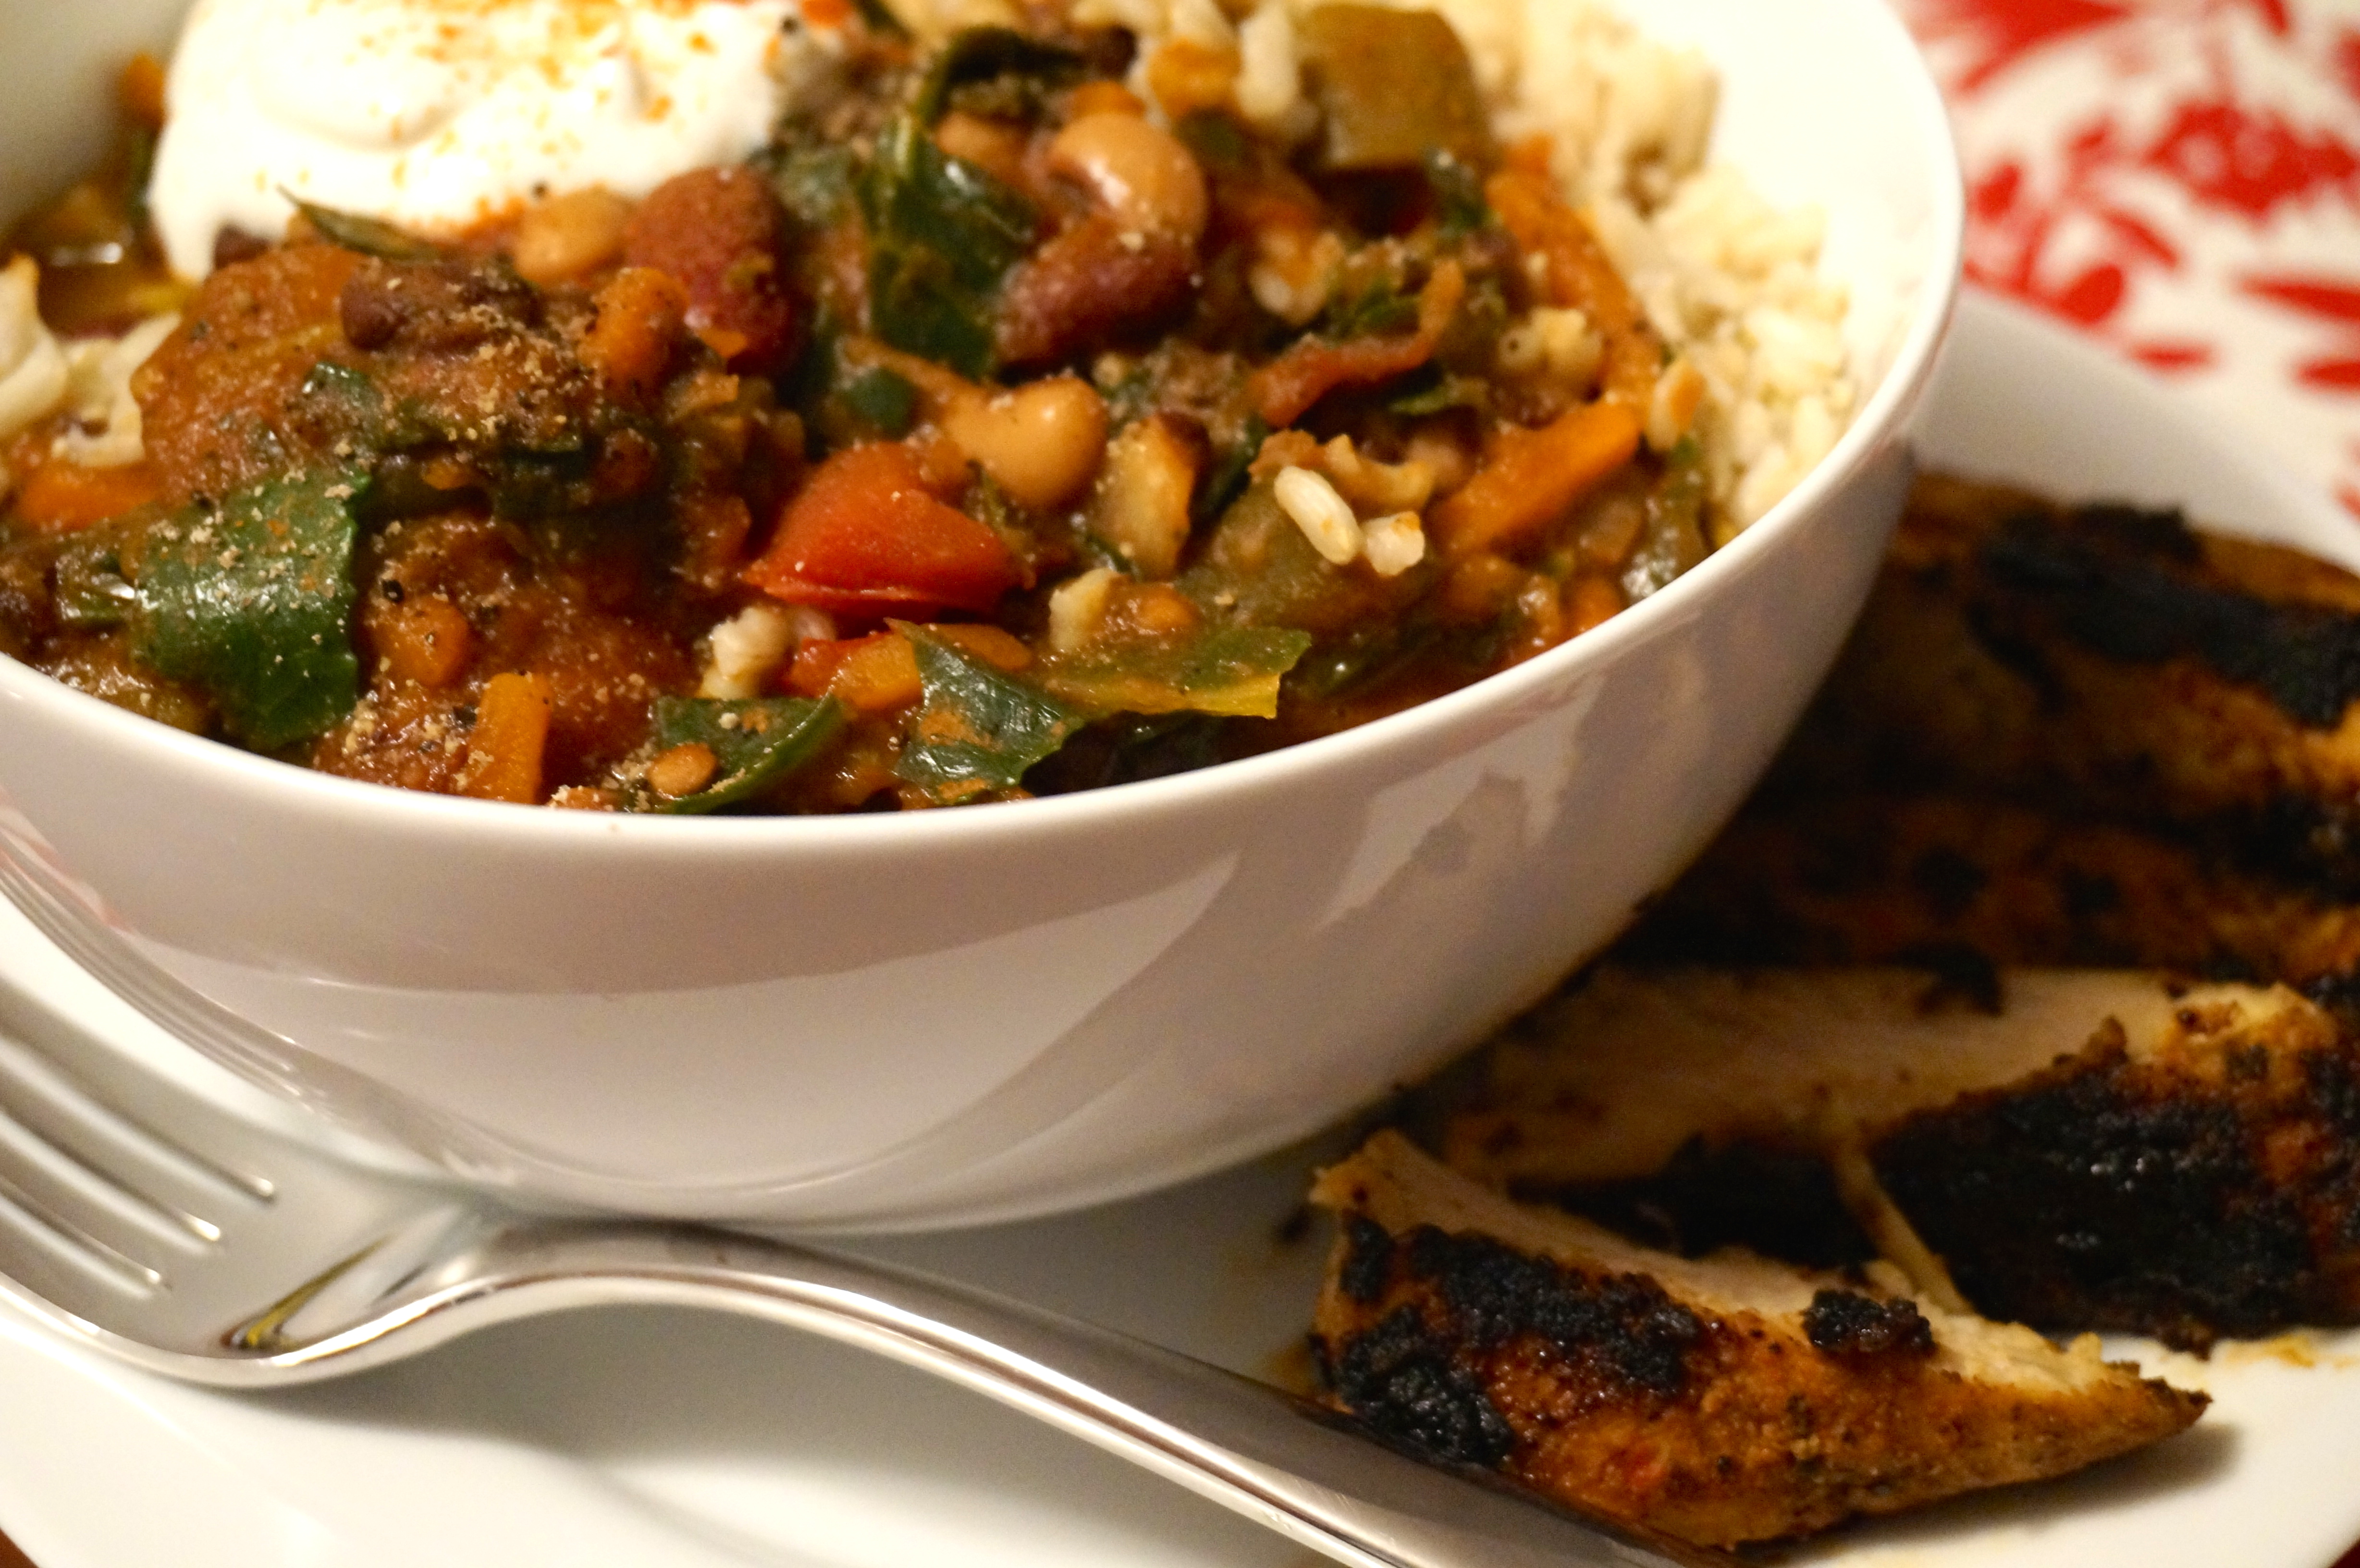
Cut into strips to serve on top of stew or on the side.

DSC00772Serve stew over a bit of brown rice with a dollop of greek yogurt on top.

Dig in and enjoy Fat Tuesday in only one sense of the word!