Blue Corn Chicken Taco Casserole

Need a good way to use up all those broken tortilla chips in the bottom of the bag? Let’s be real… we’ve all tried to dunk some of these into a half-empty jar of salsa, only to drop the chip and end up with a ring of crusty salsa around our wrist…

Now you don’t have to deal with the embarrassment disappointment of broken-chip and salsa defeat!

Chicken Taco Casserole
Blue Corn Chicken Taco Casserole
Recipe Type: Casserole
Cuisine: Mexican
Author: Claire McCormick of “Claire Tastes”
Prep time:
Cook time:
Total time:
Serves: 8
Need a good way to use up all those broken tortilla chips in the bottom of the bag? Let’s be real… we’ve all tried to dunk some of these into a half-empty jar of salsa, only to drop the chip and end up with a ring of crusty salsa around our wrist…
Ingredients
  • Leftover blue corn tortilla chips, crushed into small pieces
  • 1 can refried beans
  • 1 cup cottage cheese
  • 1 tbsp red wine vinegar
  • 1 tbsp minced garlic
  • 1 tsp oregano
  • 1/2 tsp garlic powder
  • 1/2 tsp chili powder
  • 1/2 cup chunky salsa
  • 1/4 cup milk
  • 1 egg
  • 1 can black beans, rinsed and drained
  • 1.5 lbs chicken breasts, thinly sliced
  • 1 tbsp olive oil
  • spinach (about 1 cup, shredded)
  • black olives, sliced (about 1/4 cup)
  • cheddar cheese or other mixed blend
Instructions
  1. Preheat oven to 350 deg.
  2. Spray a 9×13 casserole dish with cooking spray.
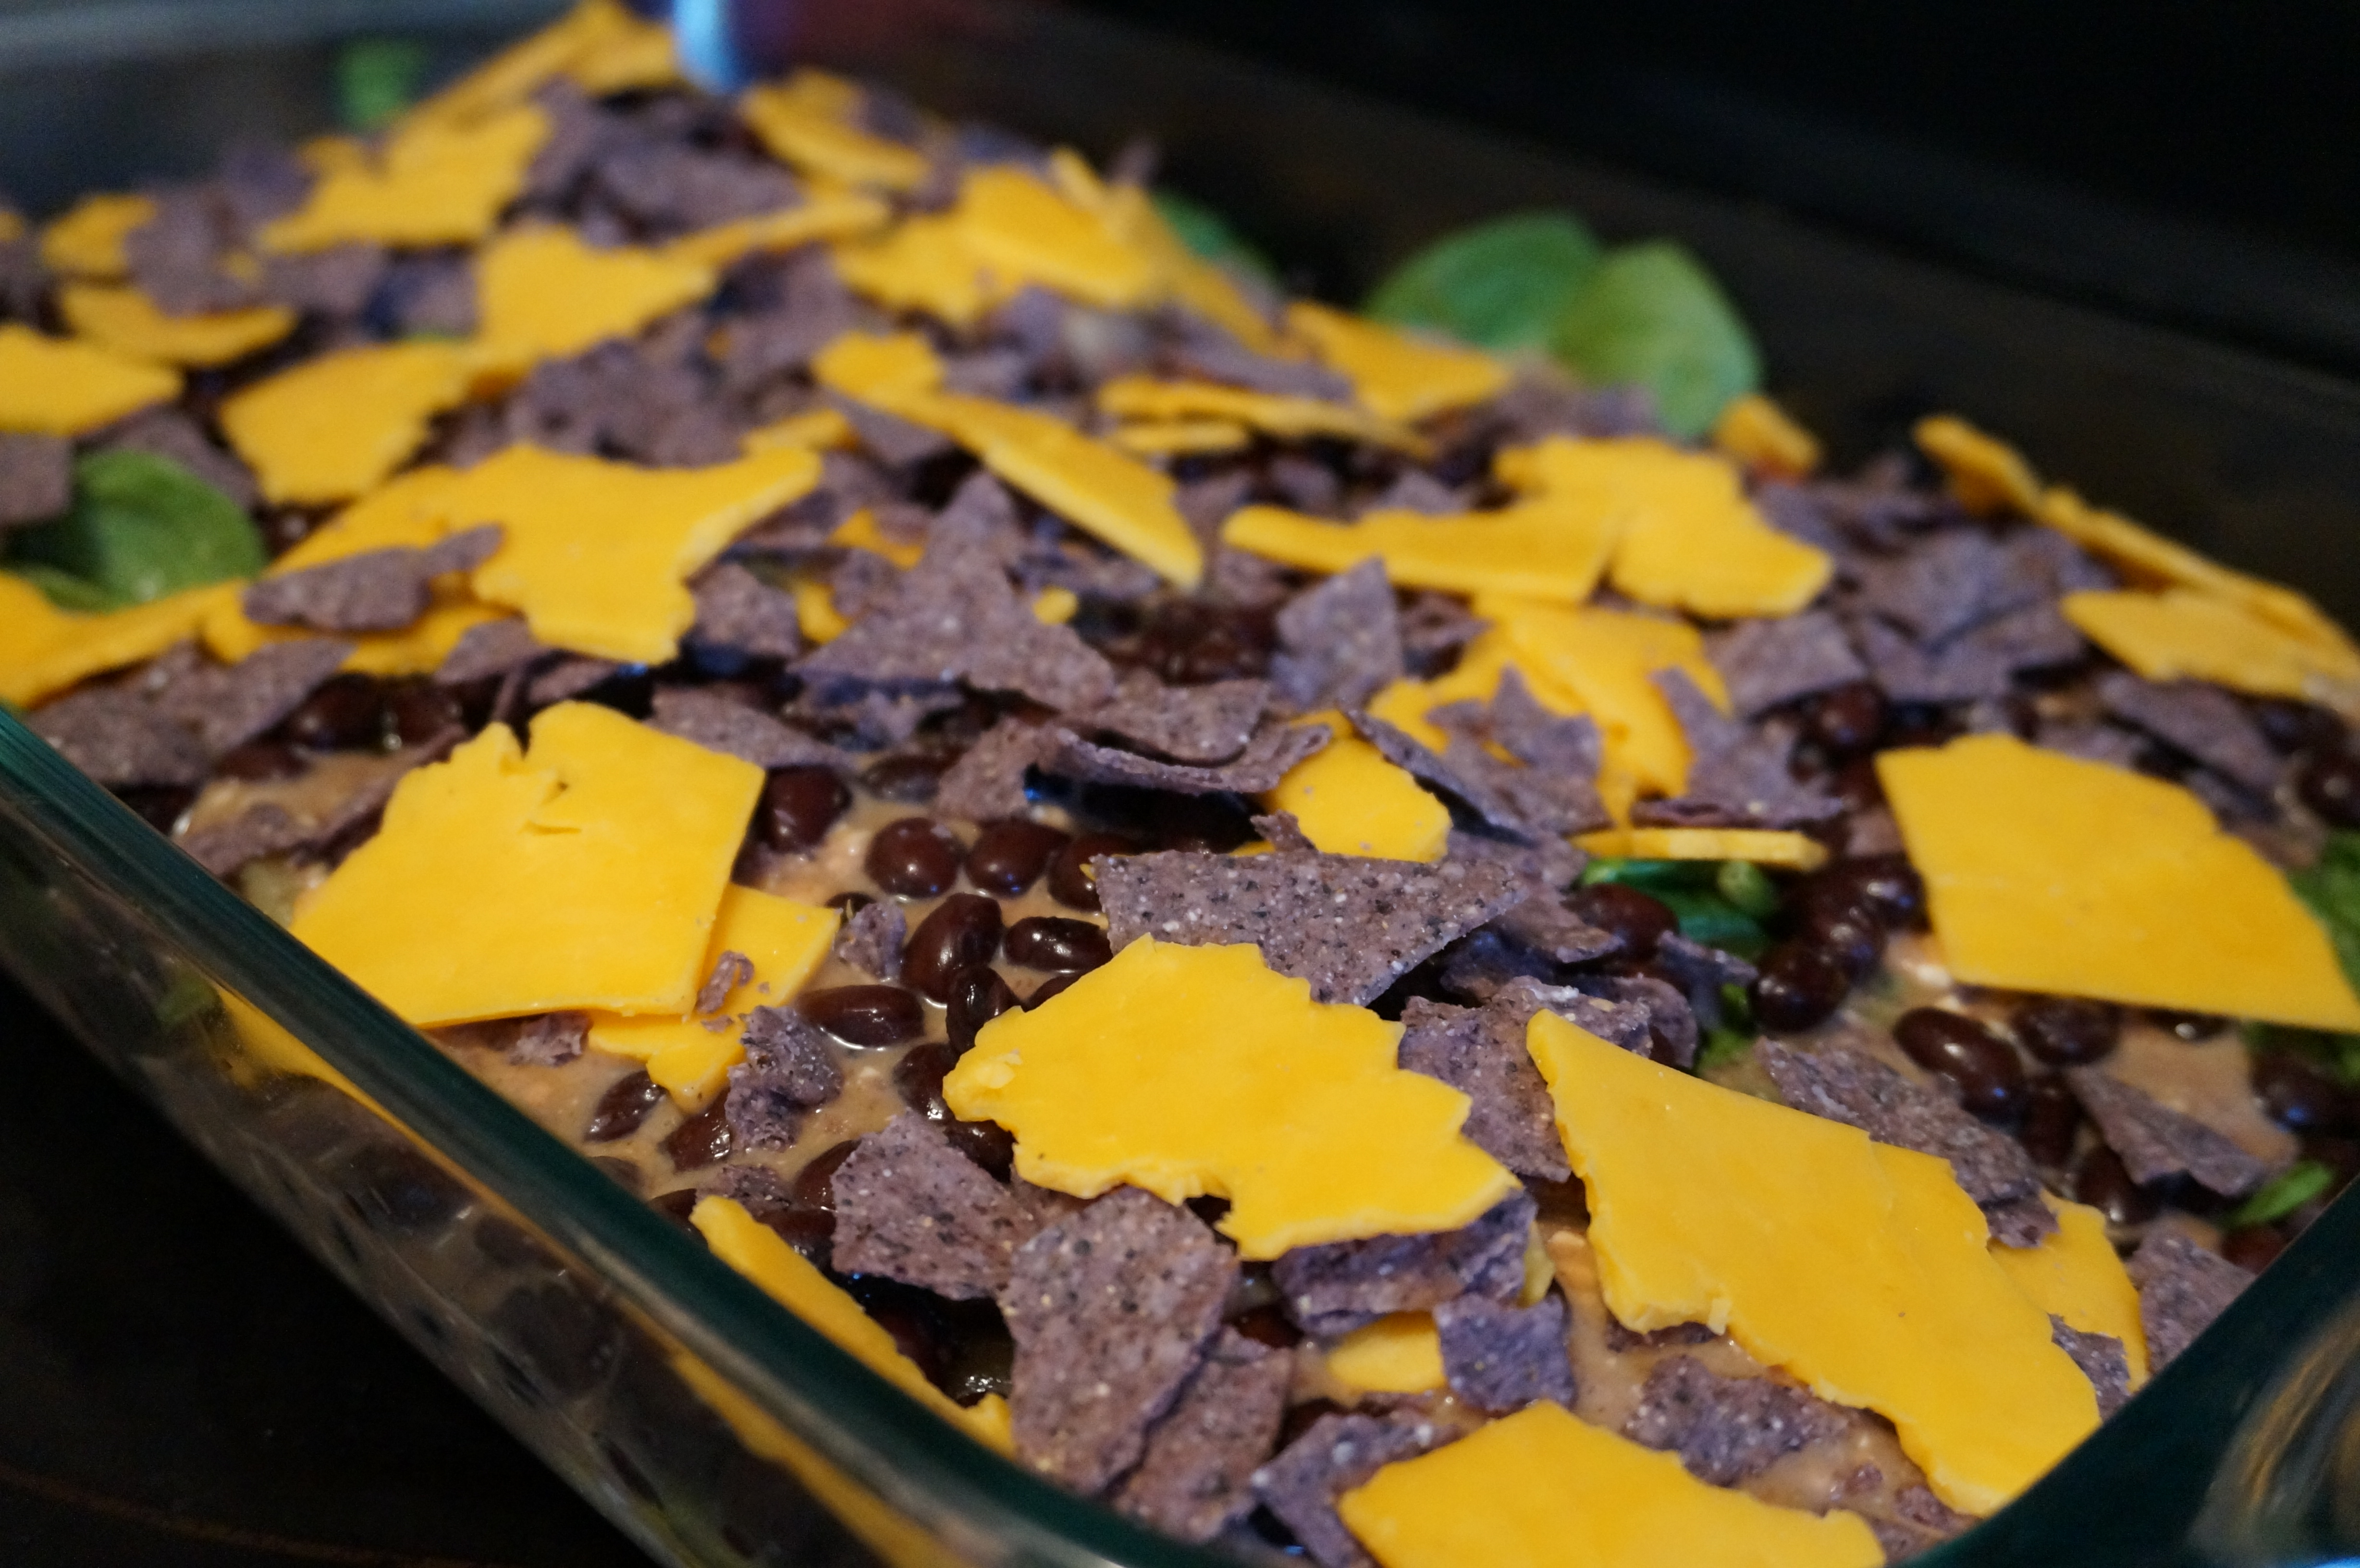
  3. Layer some of the chips in bottom of dish.
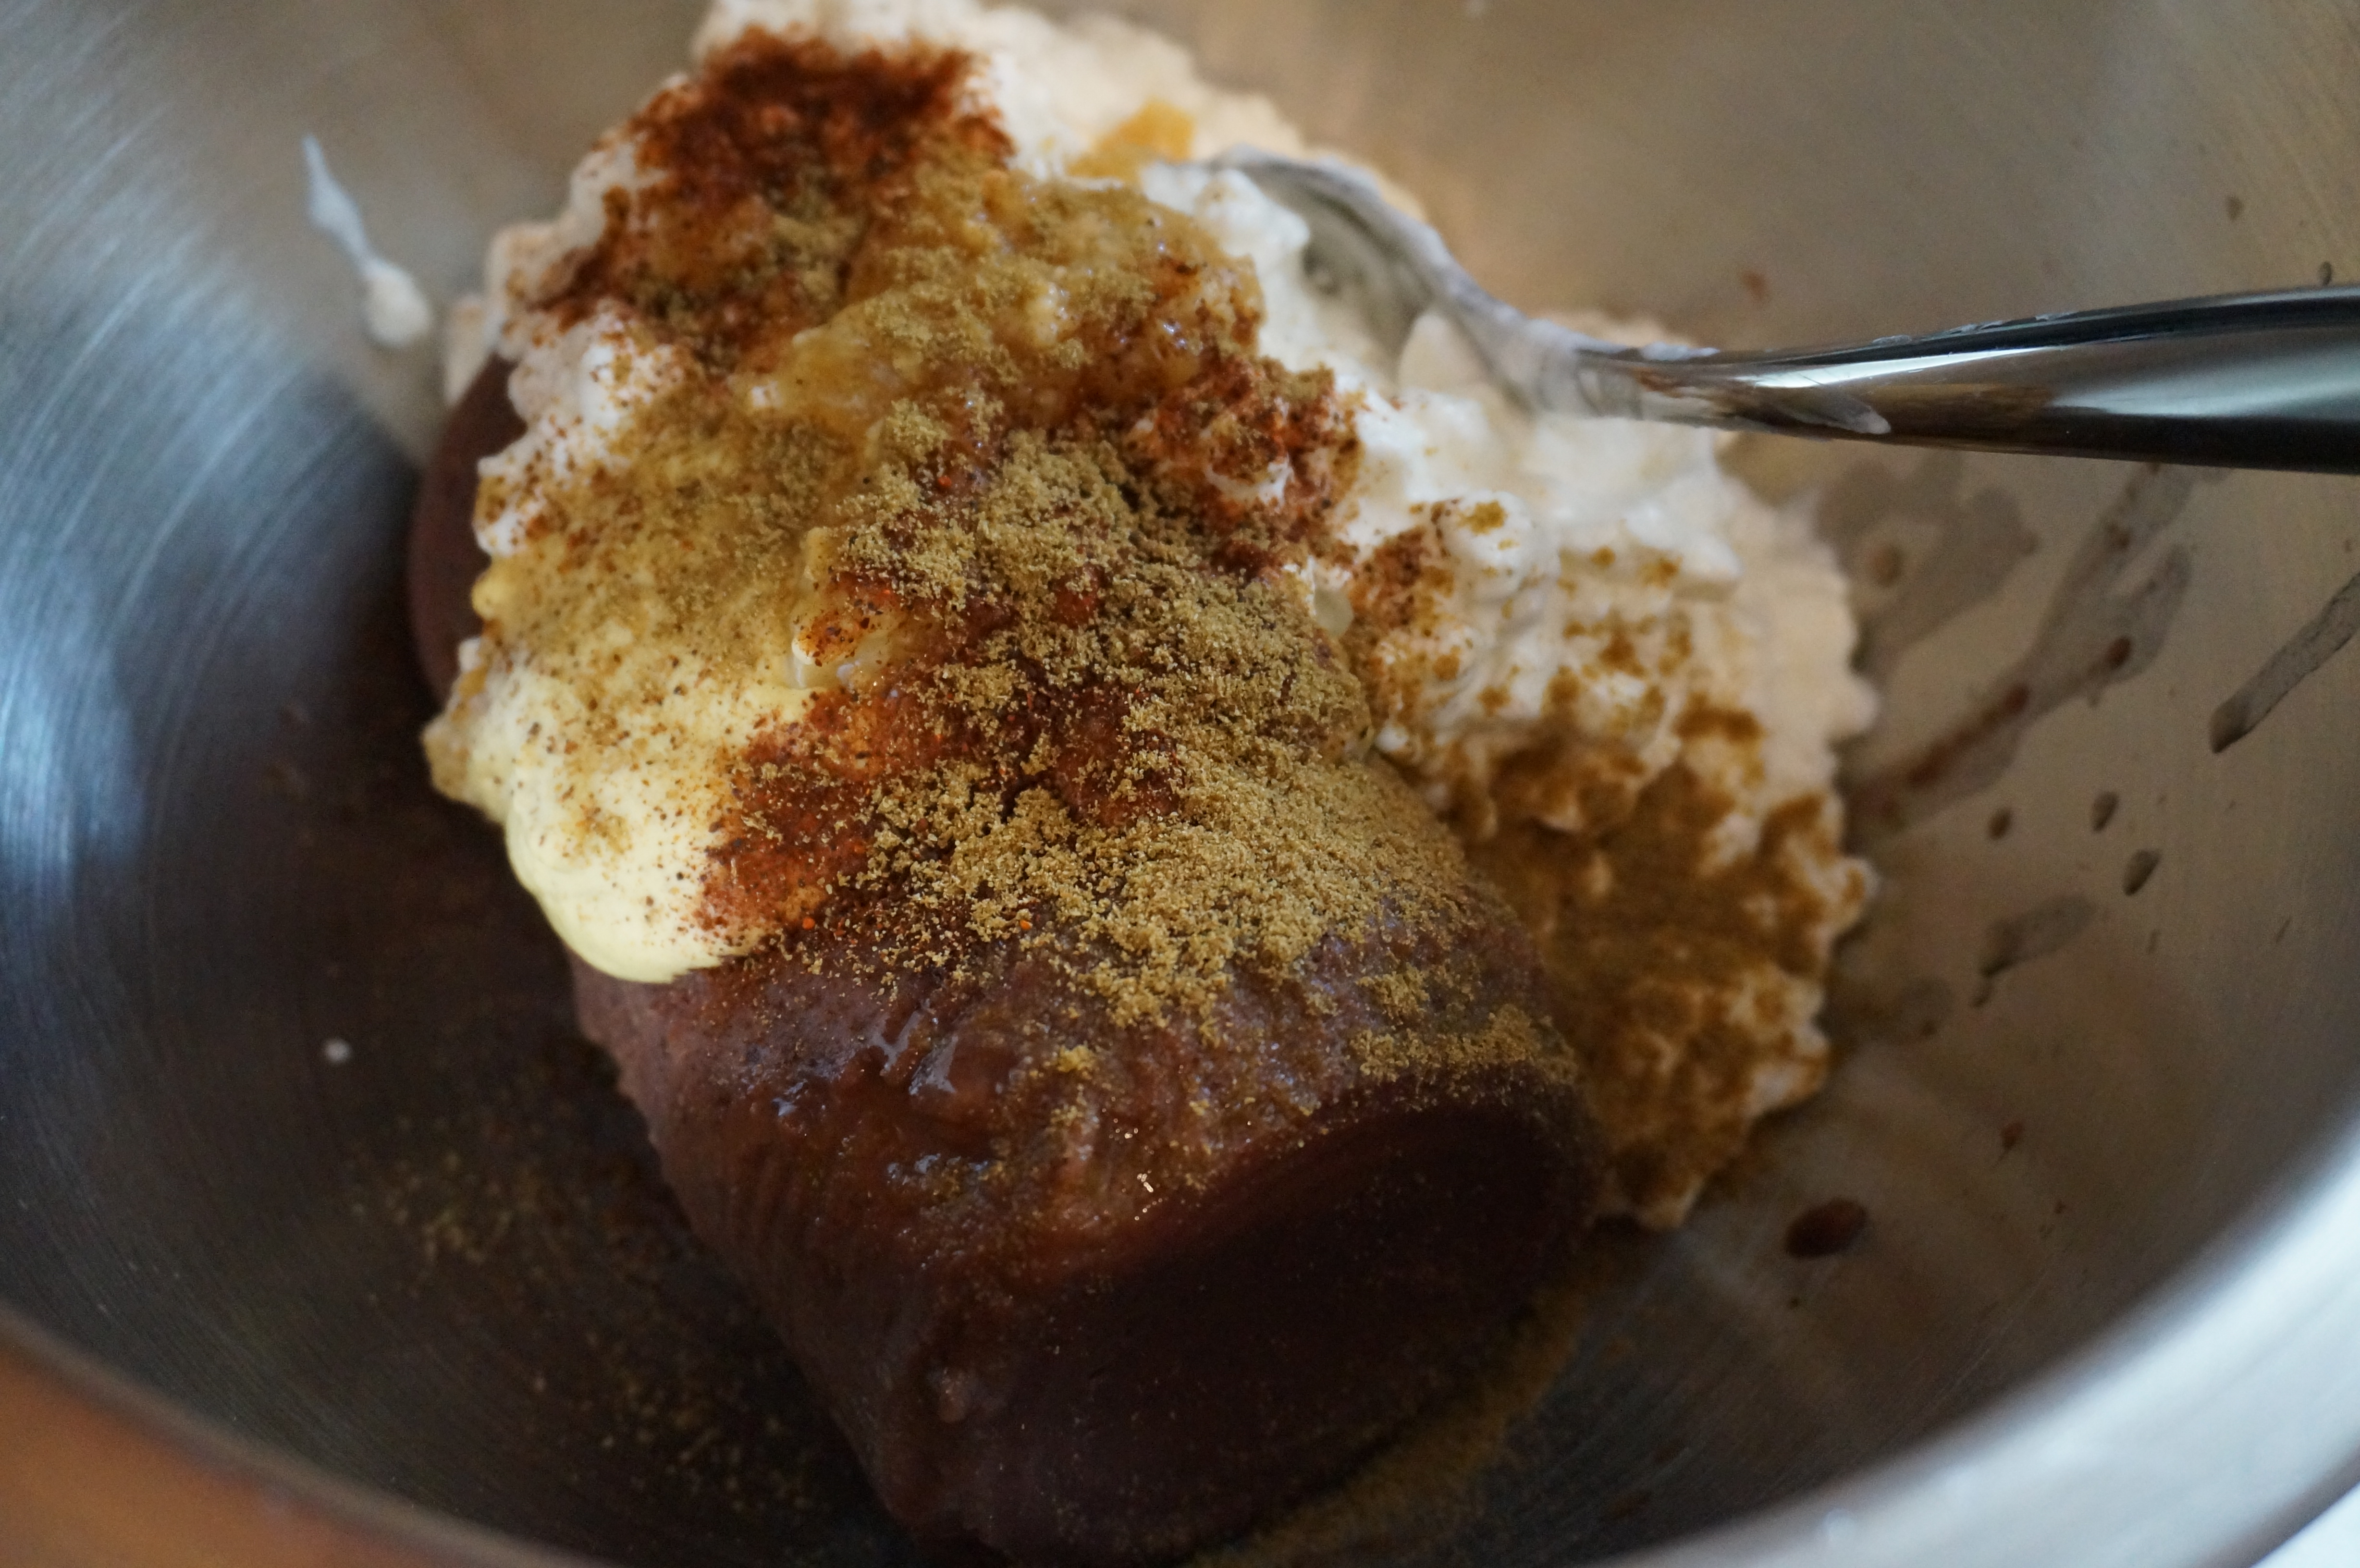
  4. In a large mixing bowl, mix together the beans through the egg. Layer about half of the mixture over the chips.
  5. Layer half of spinach over bean mixture.
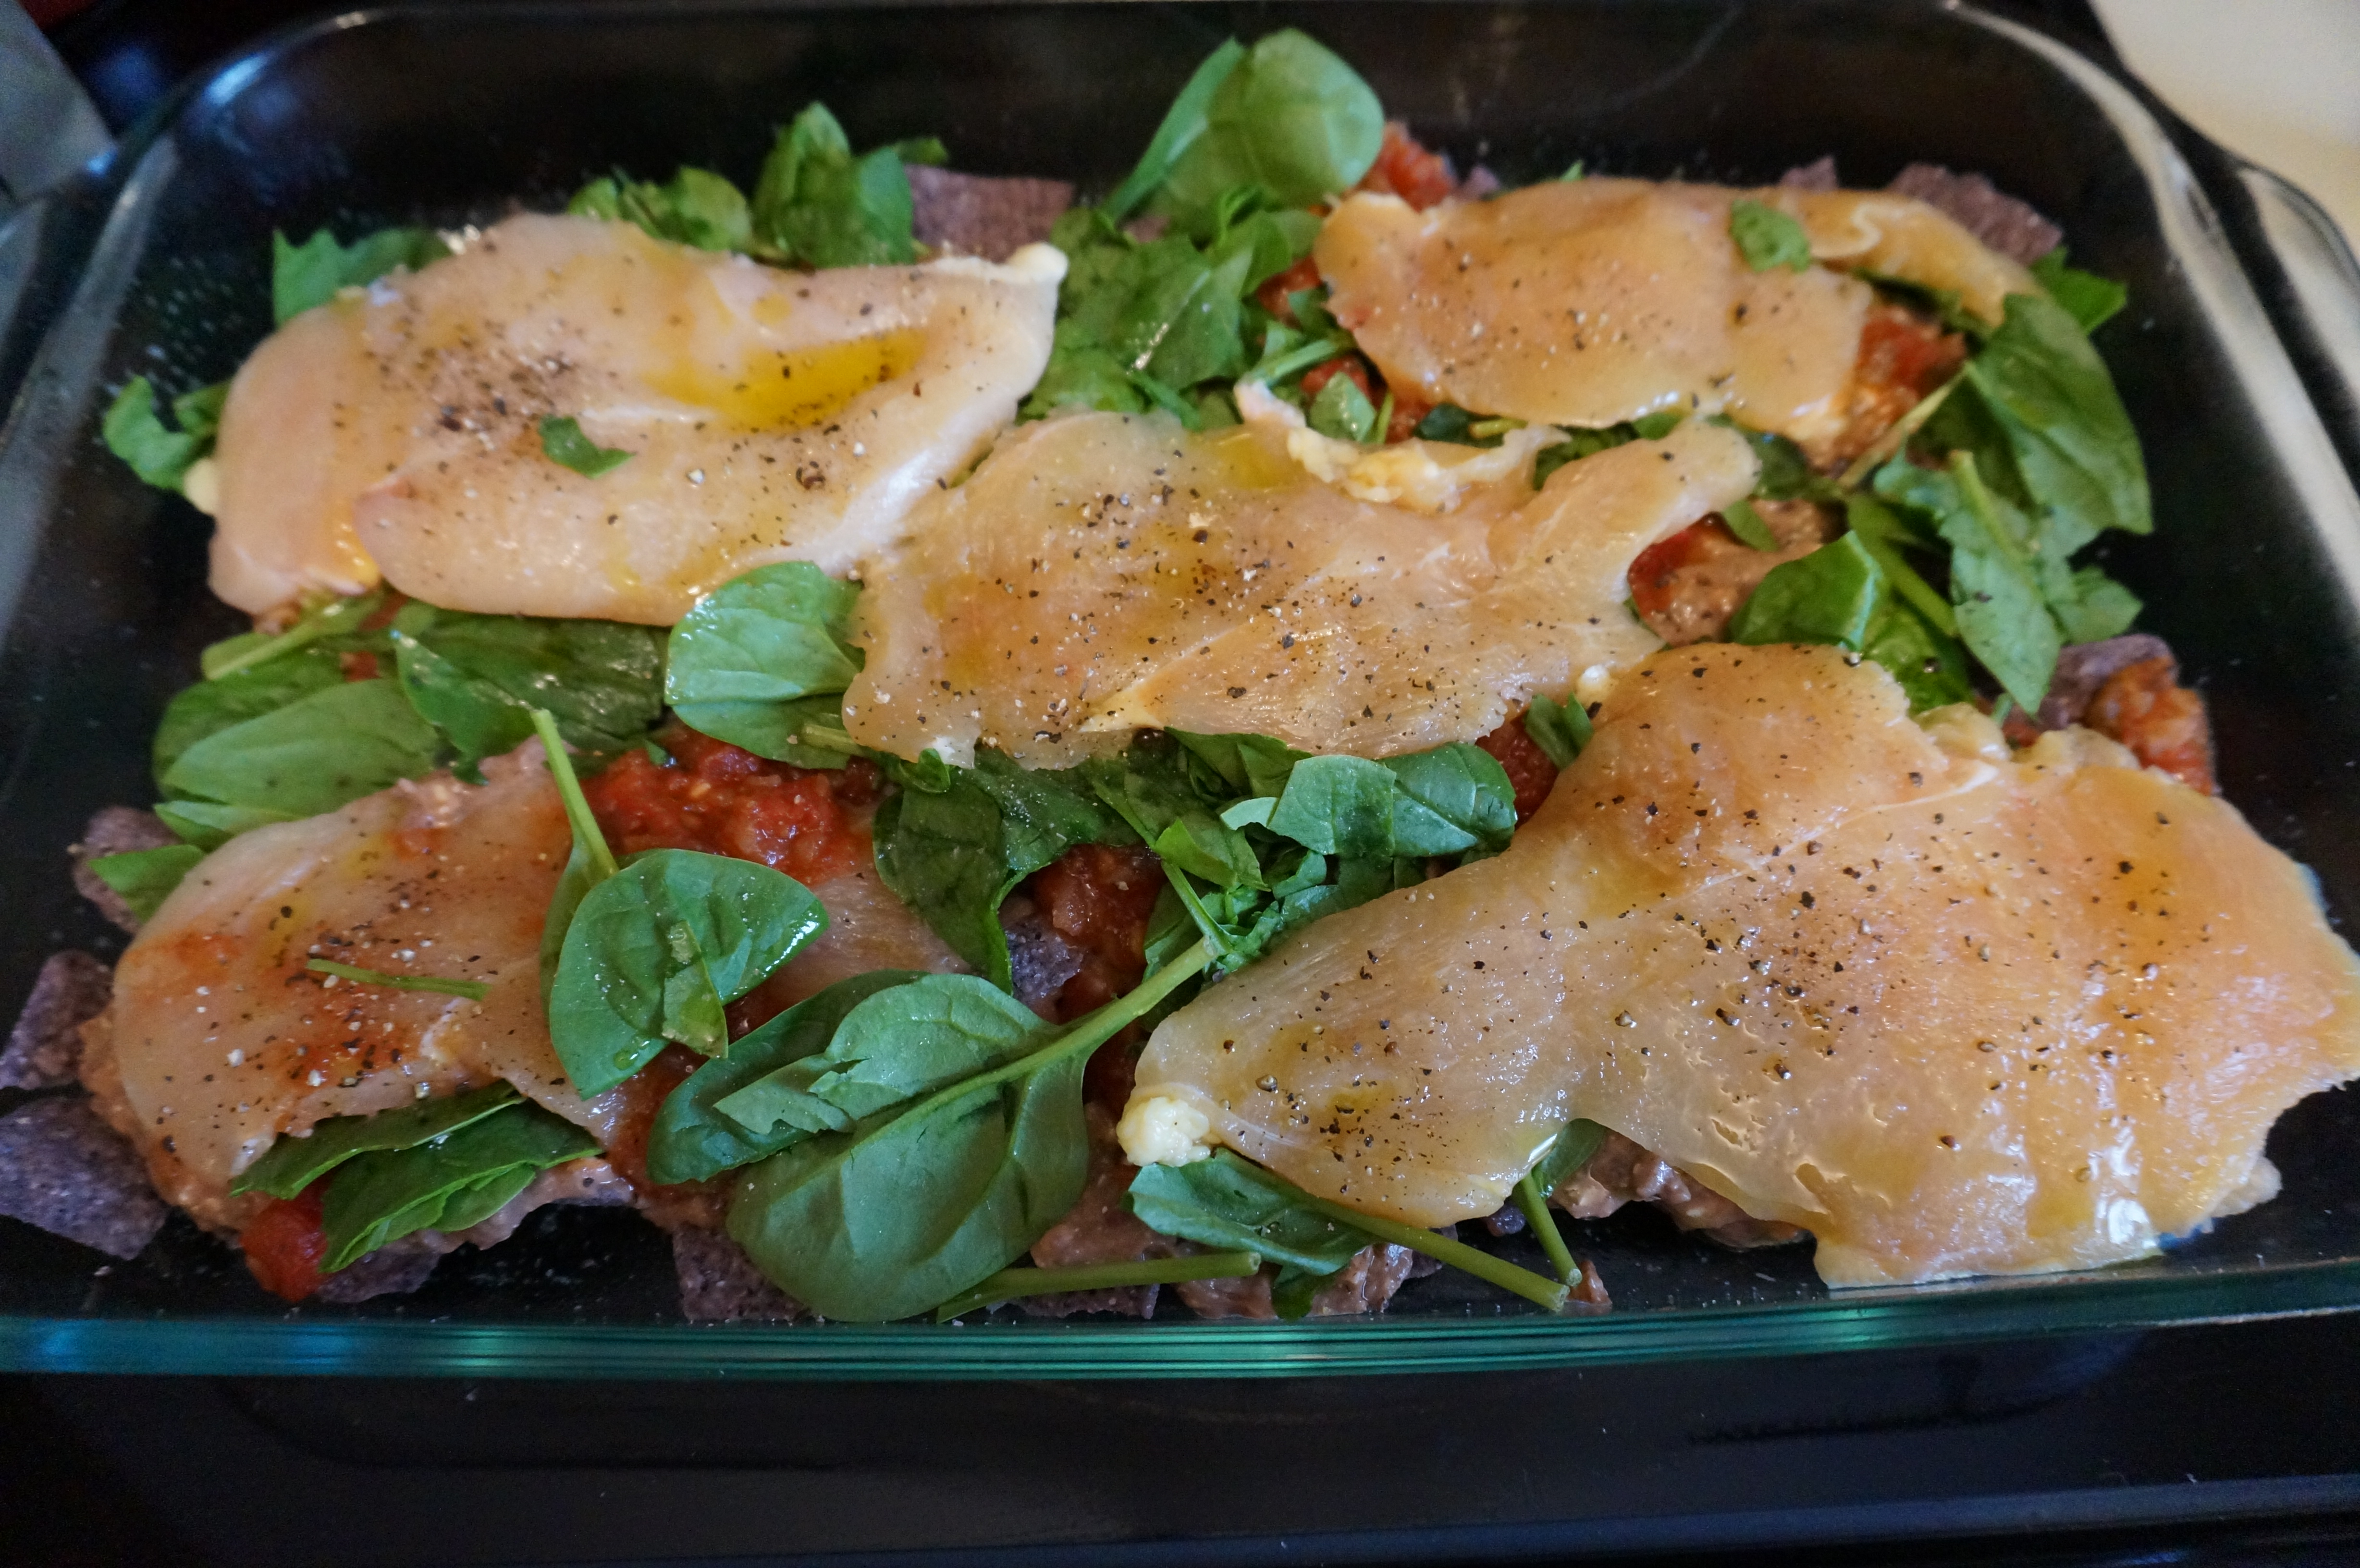
  6. Layer chicken and drizzle olive oil over top.
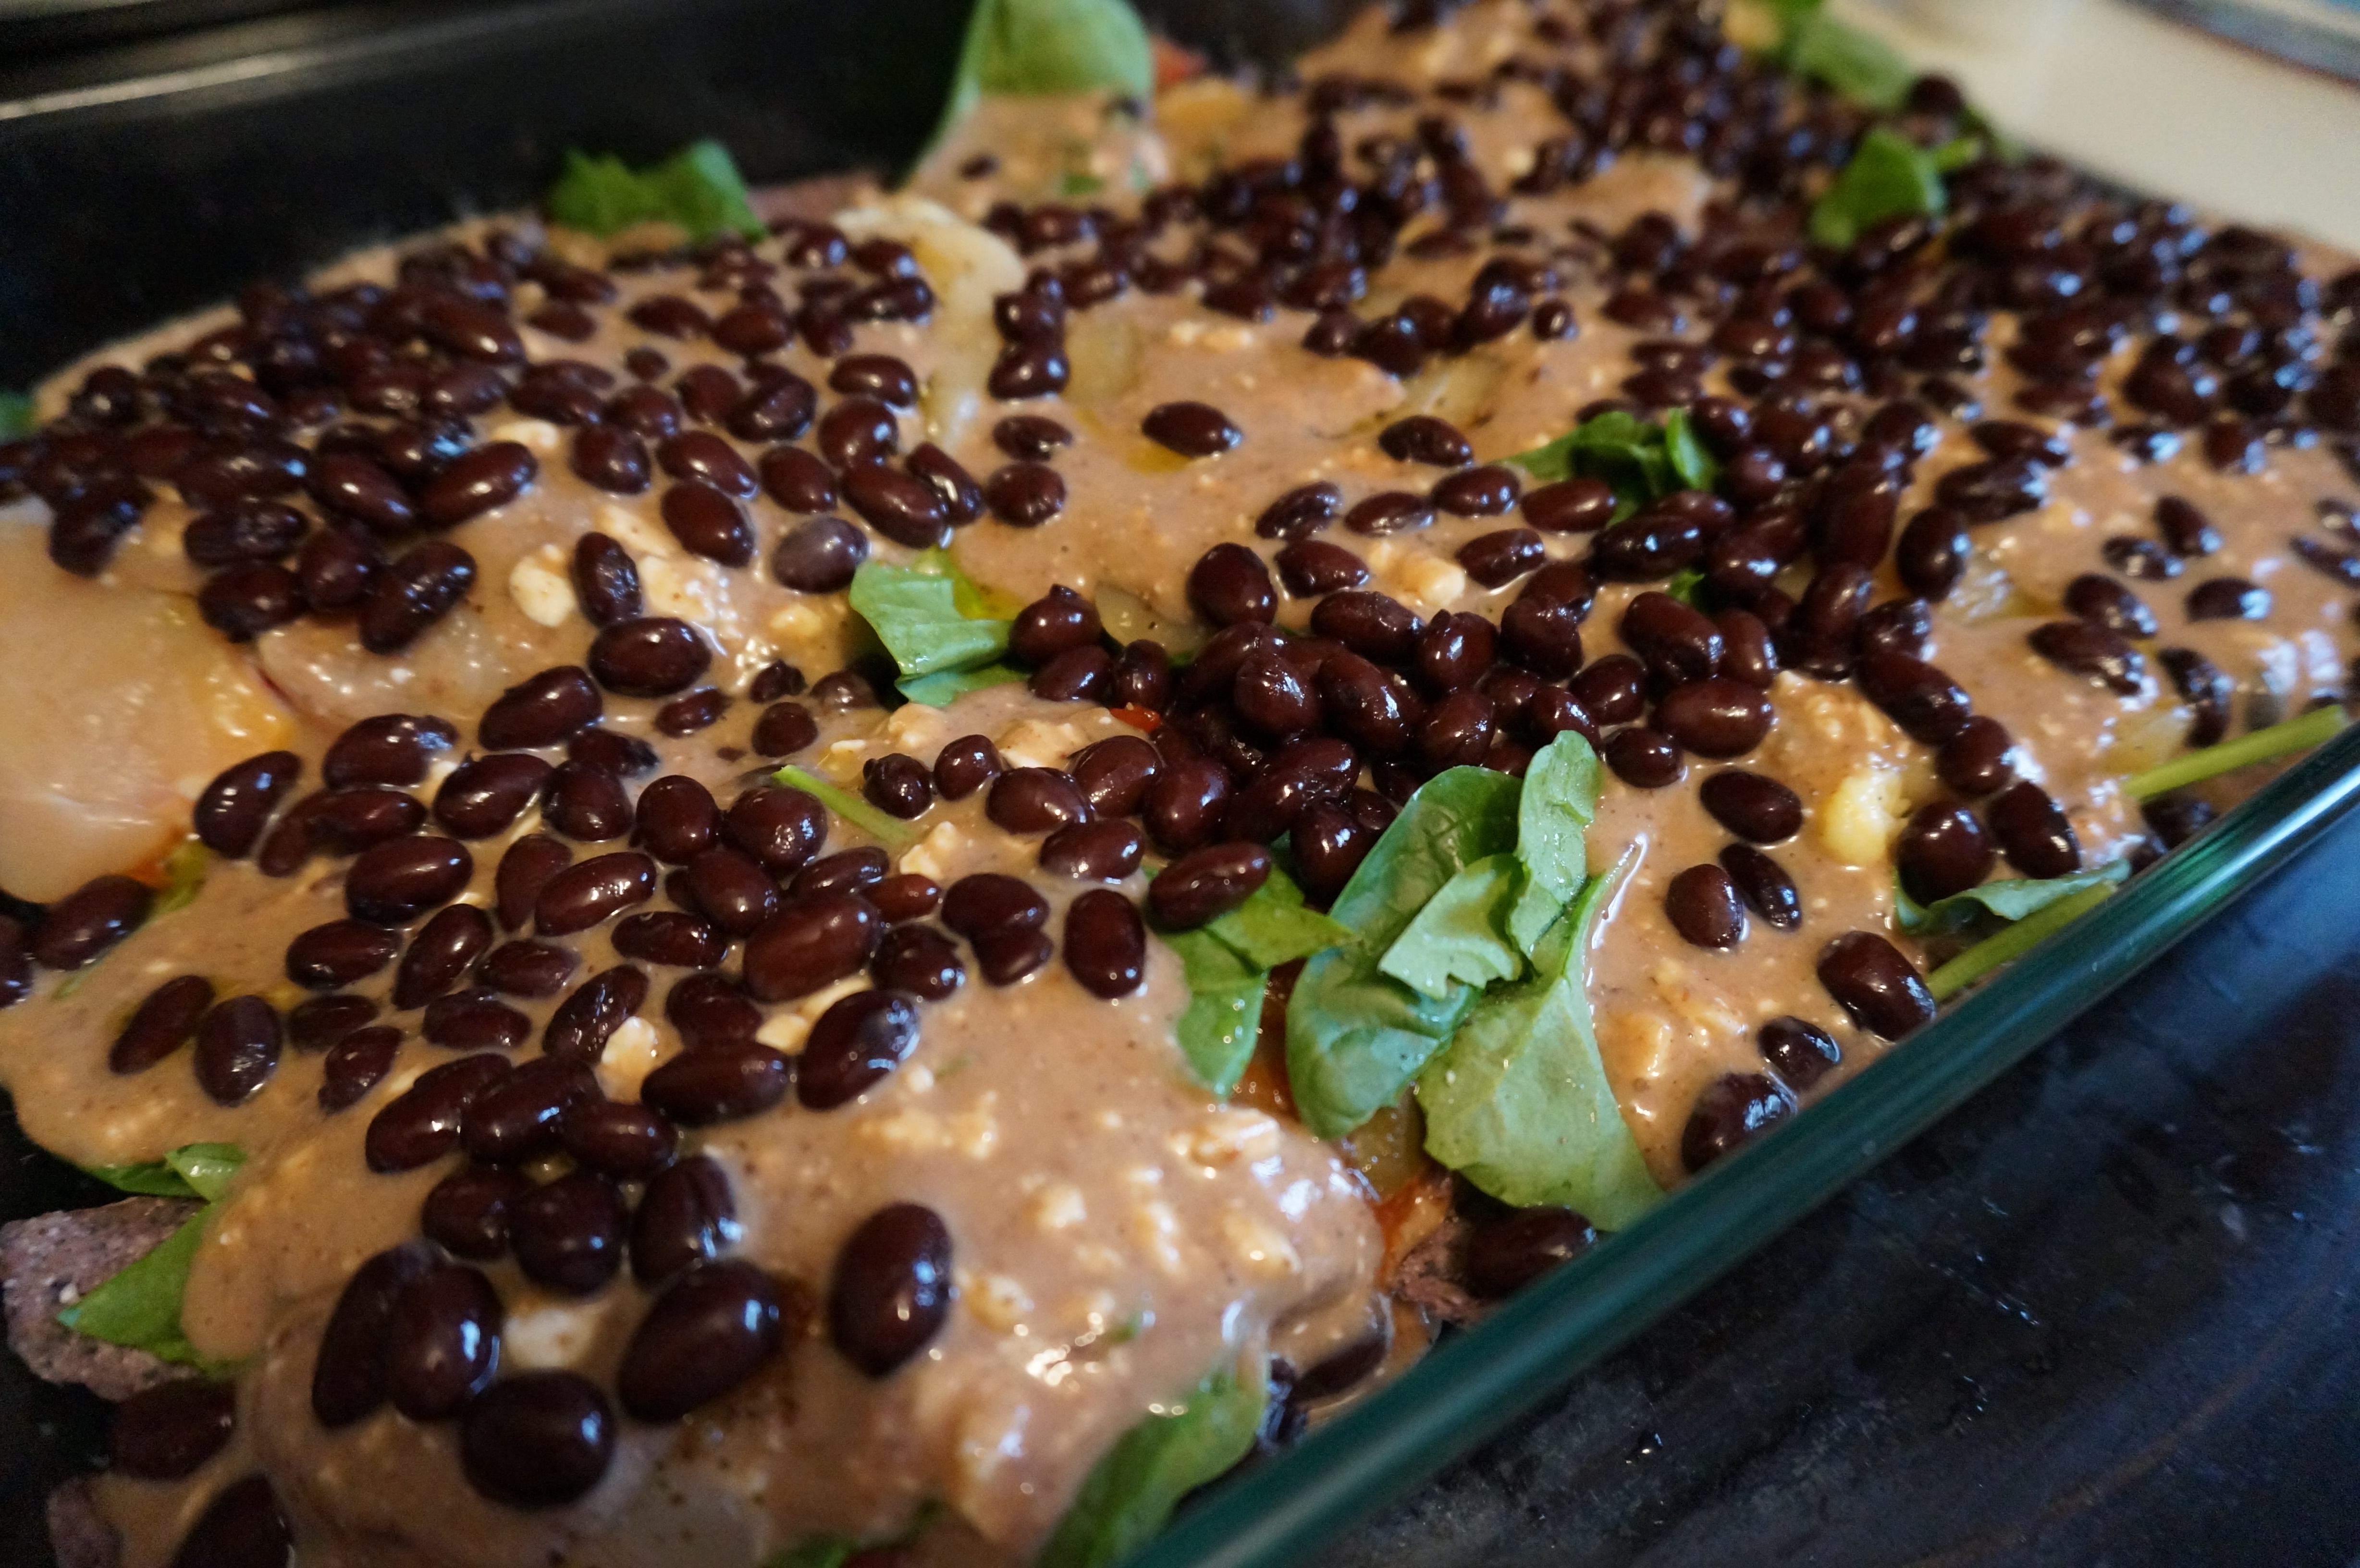
  7. Spread remainder of bean mixture over chicken, followed by more spinach.
  8. Spread black beans and black olives over the entire casserole.
  9. Add remaining chips and cheese and cover with foil.
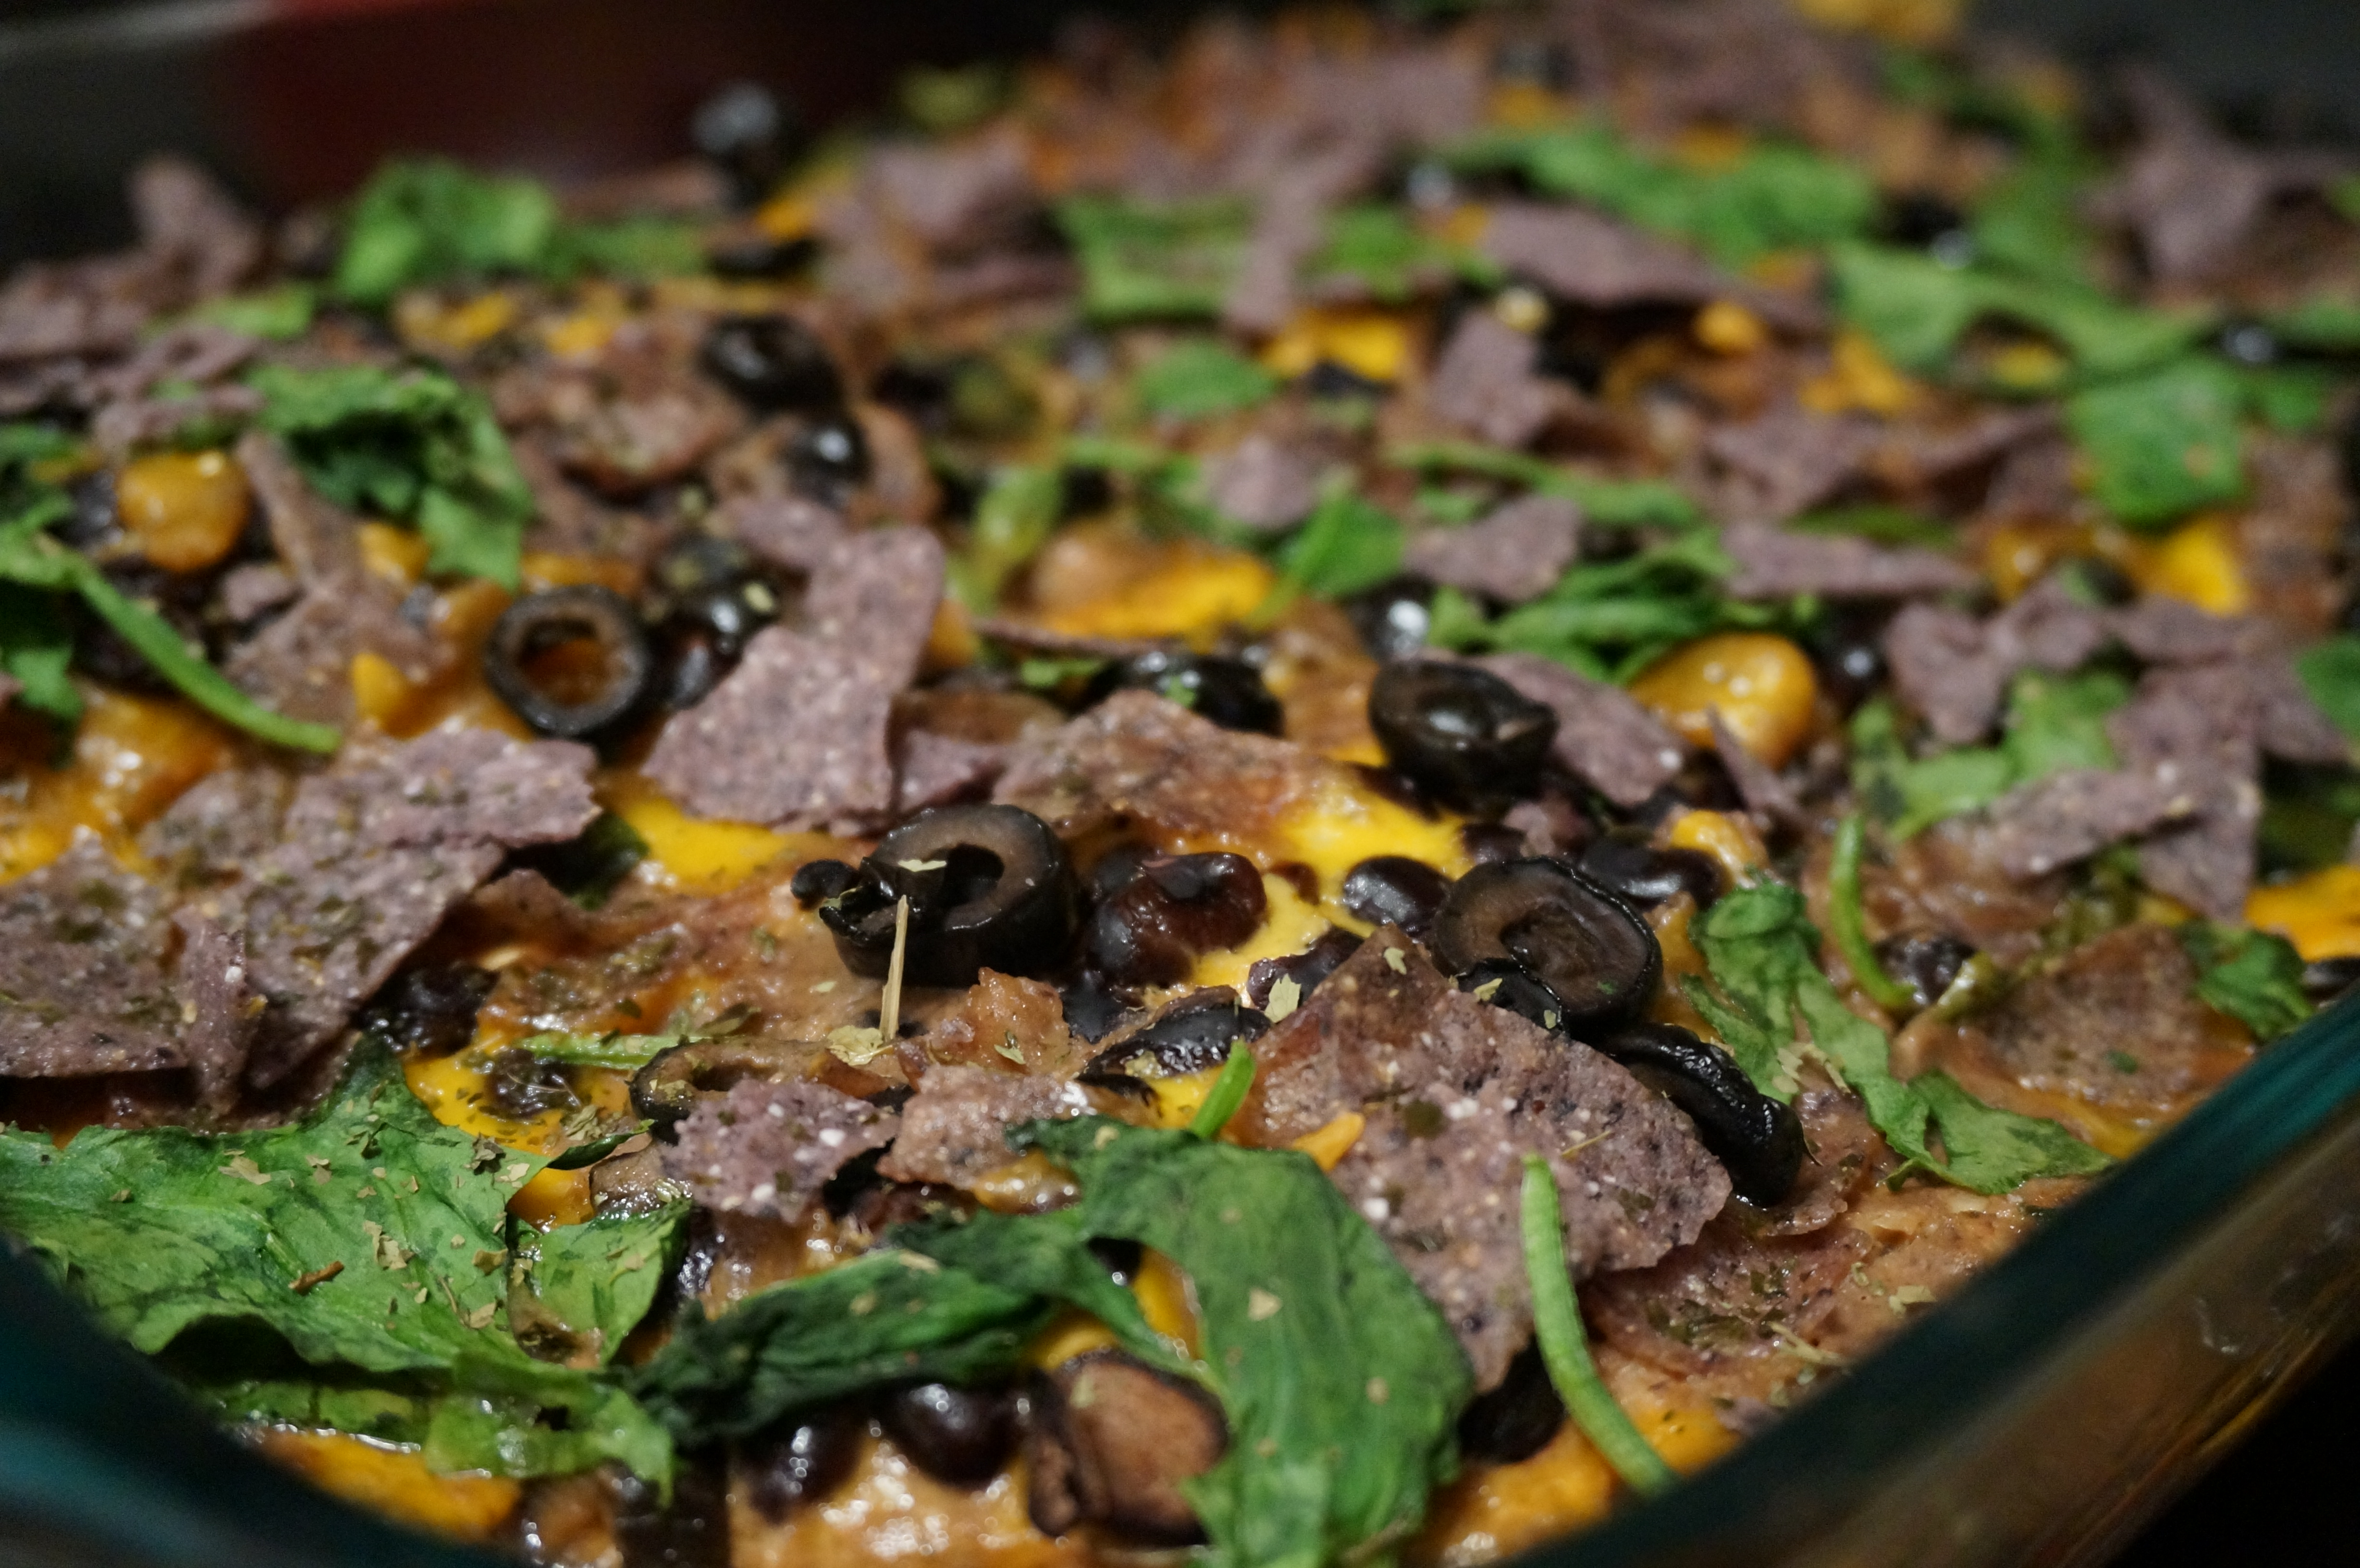
  10. Bake 40 min covered, then 10 min uncovered until bubbling. (Optional: Add a final layer of chips and broil on high 1 minute until crisped!)

DSC03168

DSC03170

DSC03171

DSC03173

DSC03182

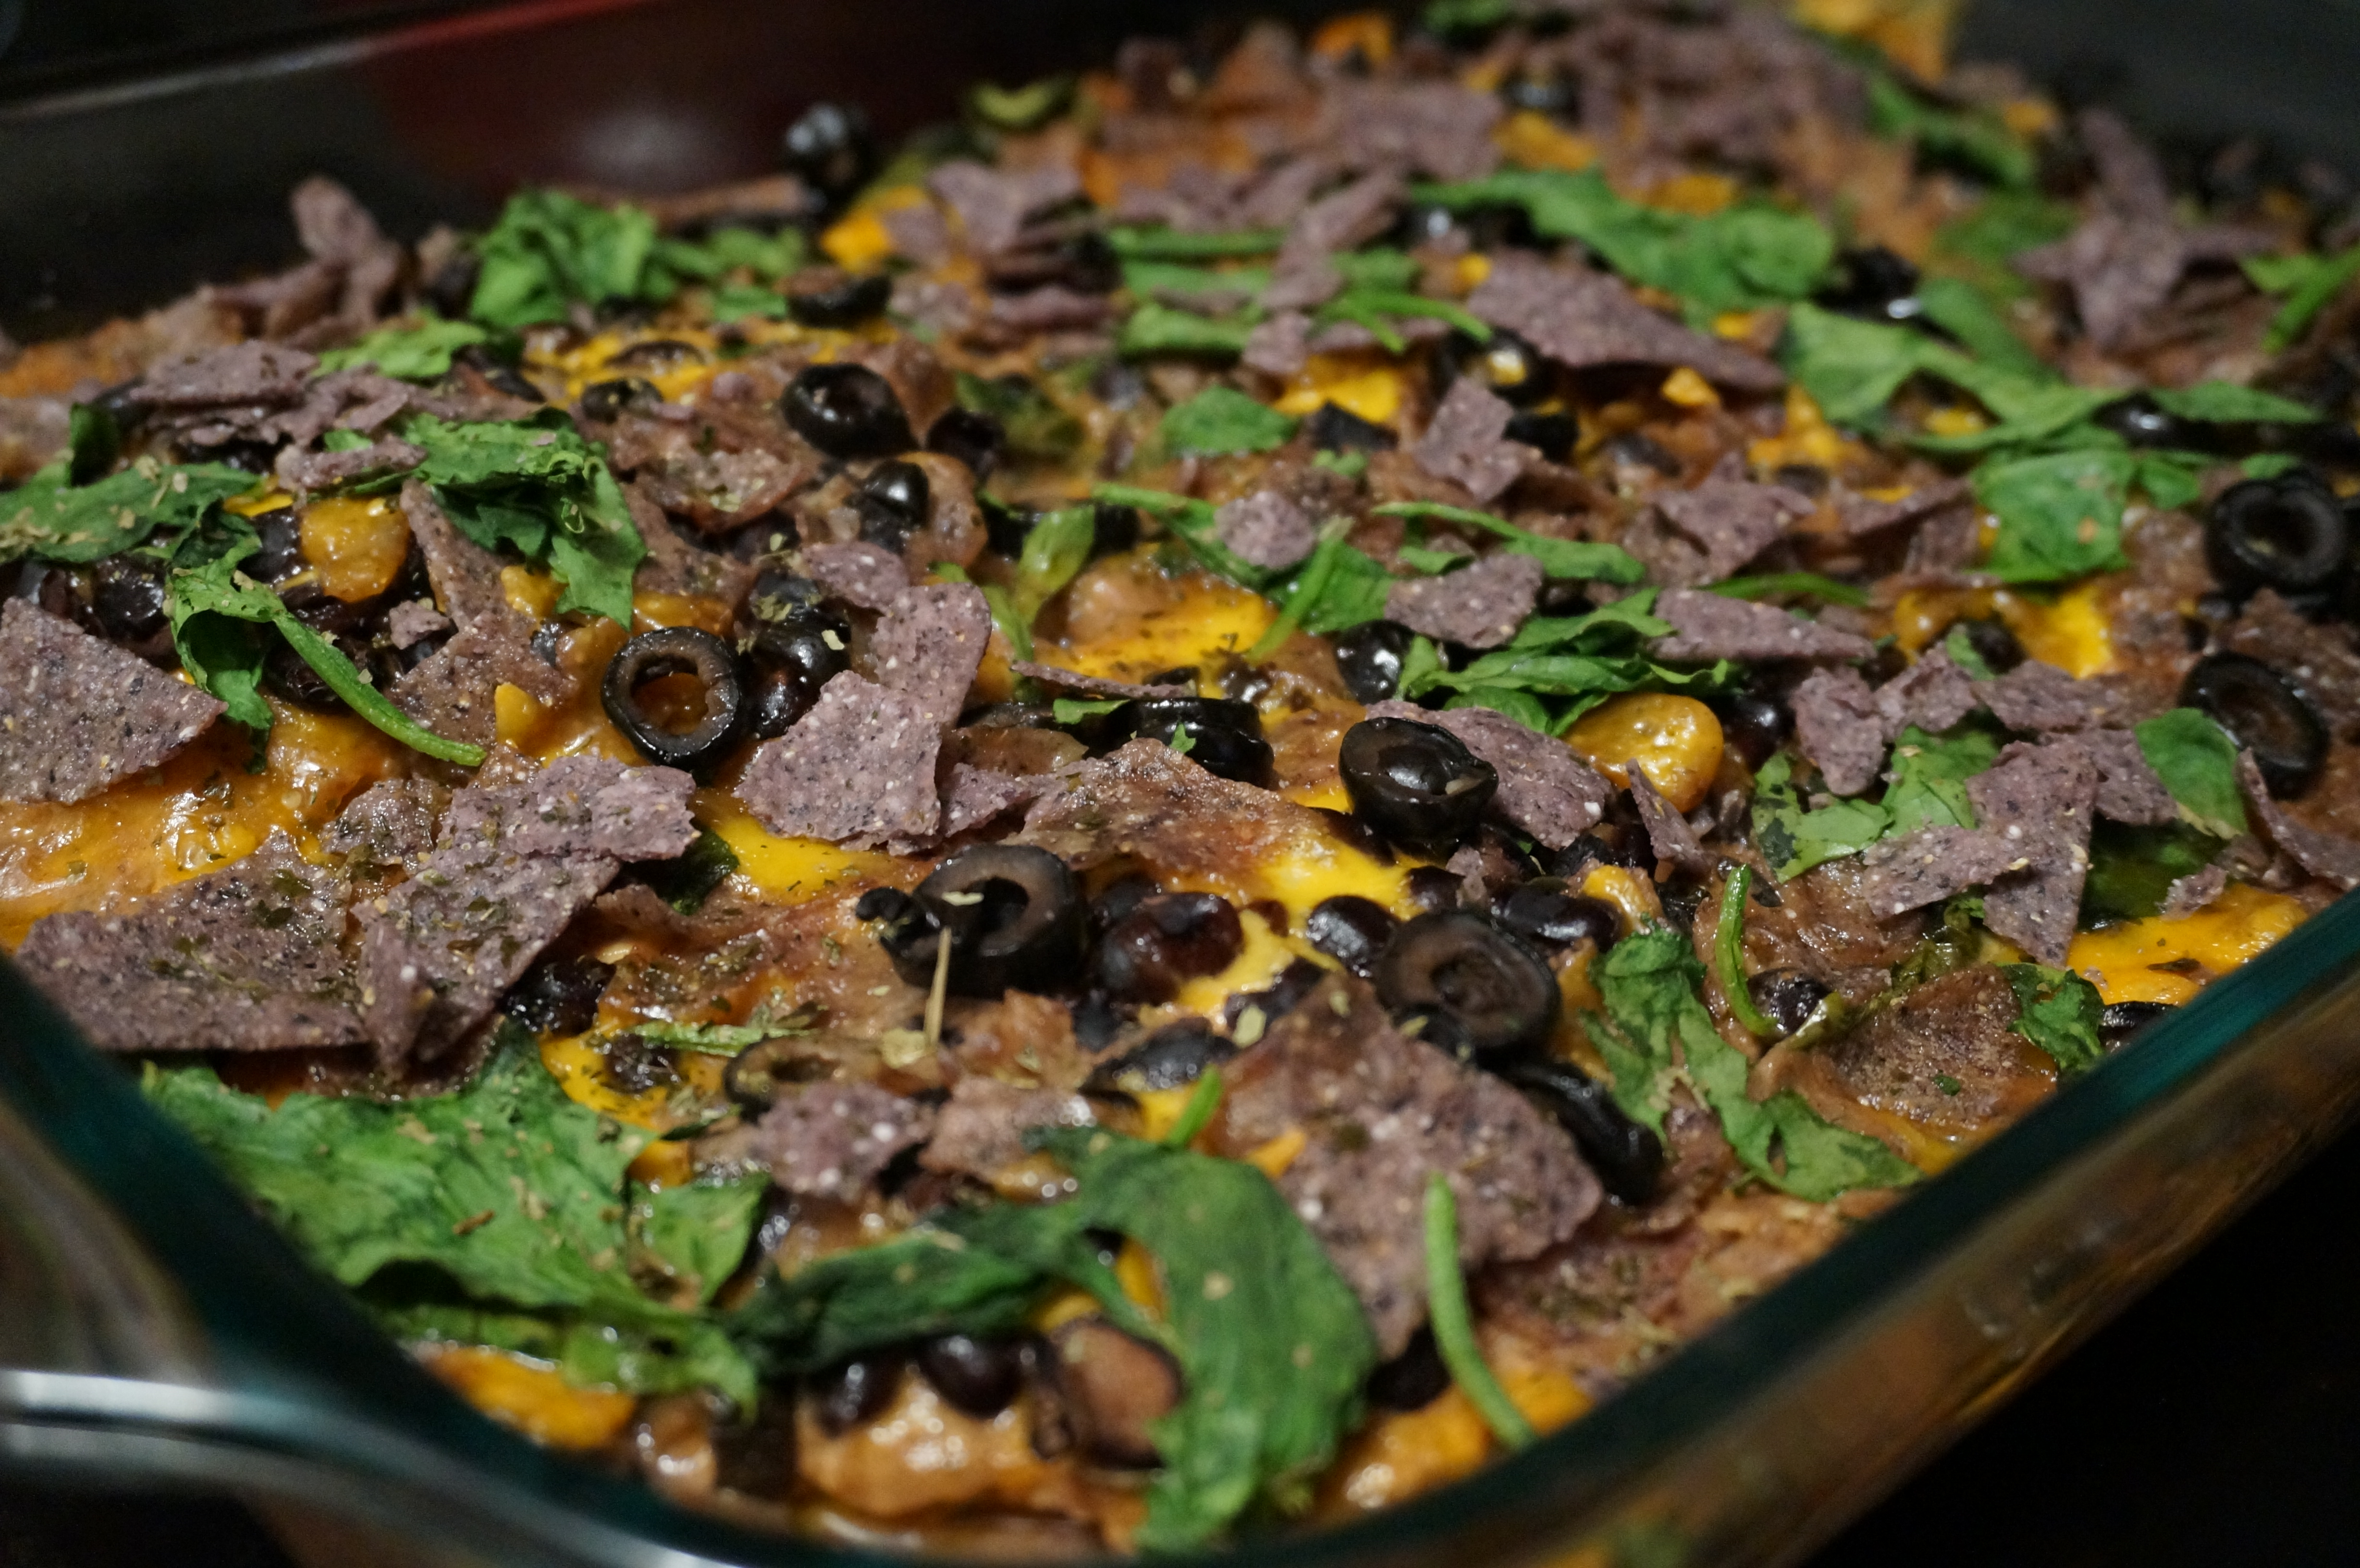
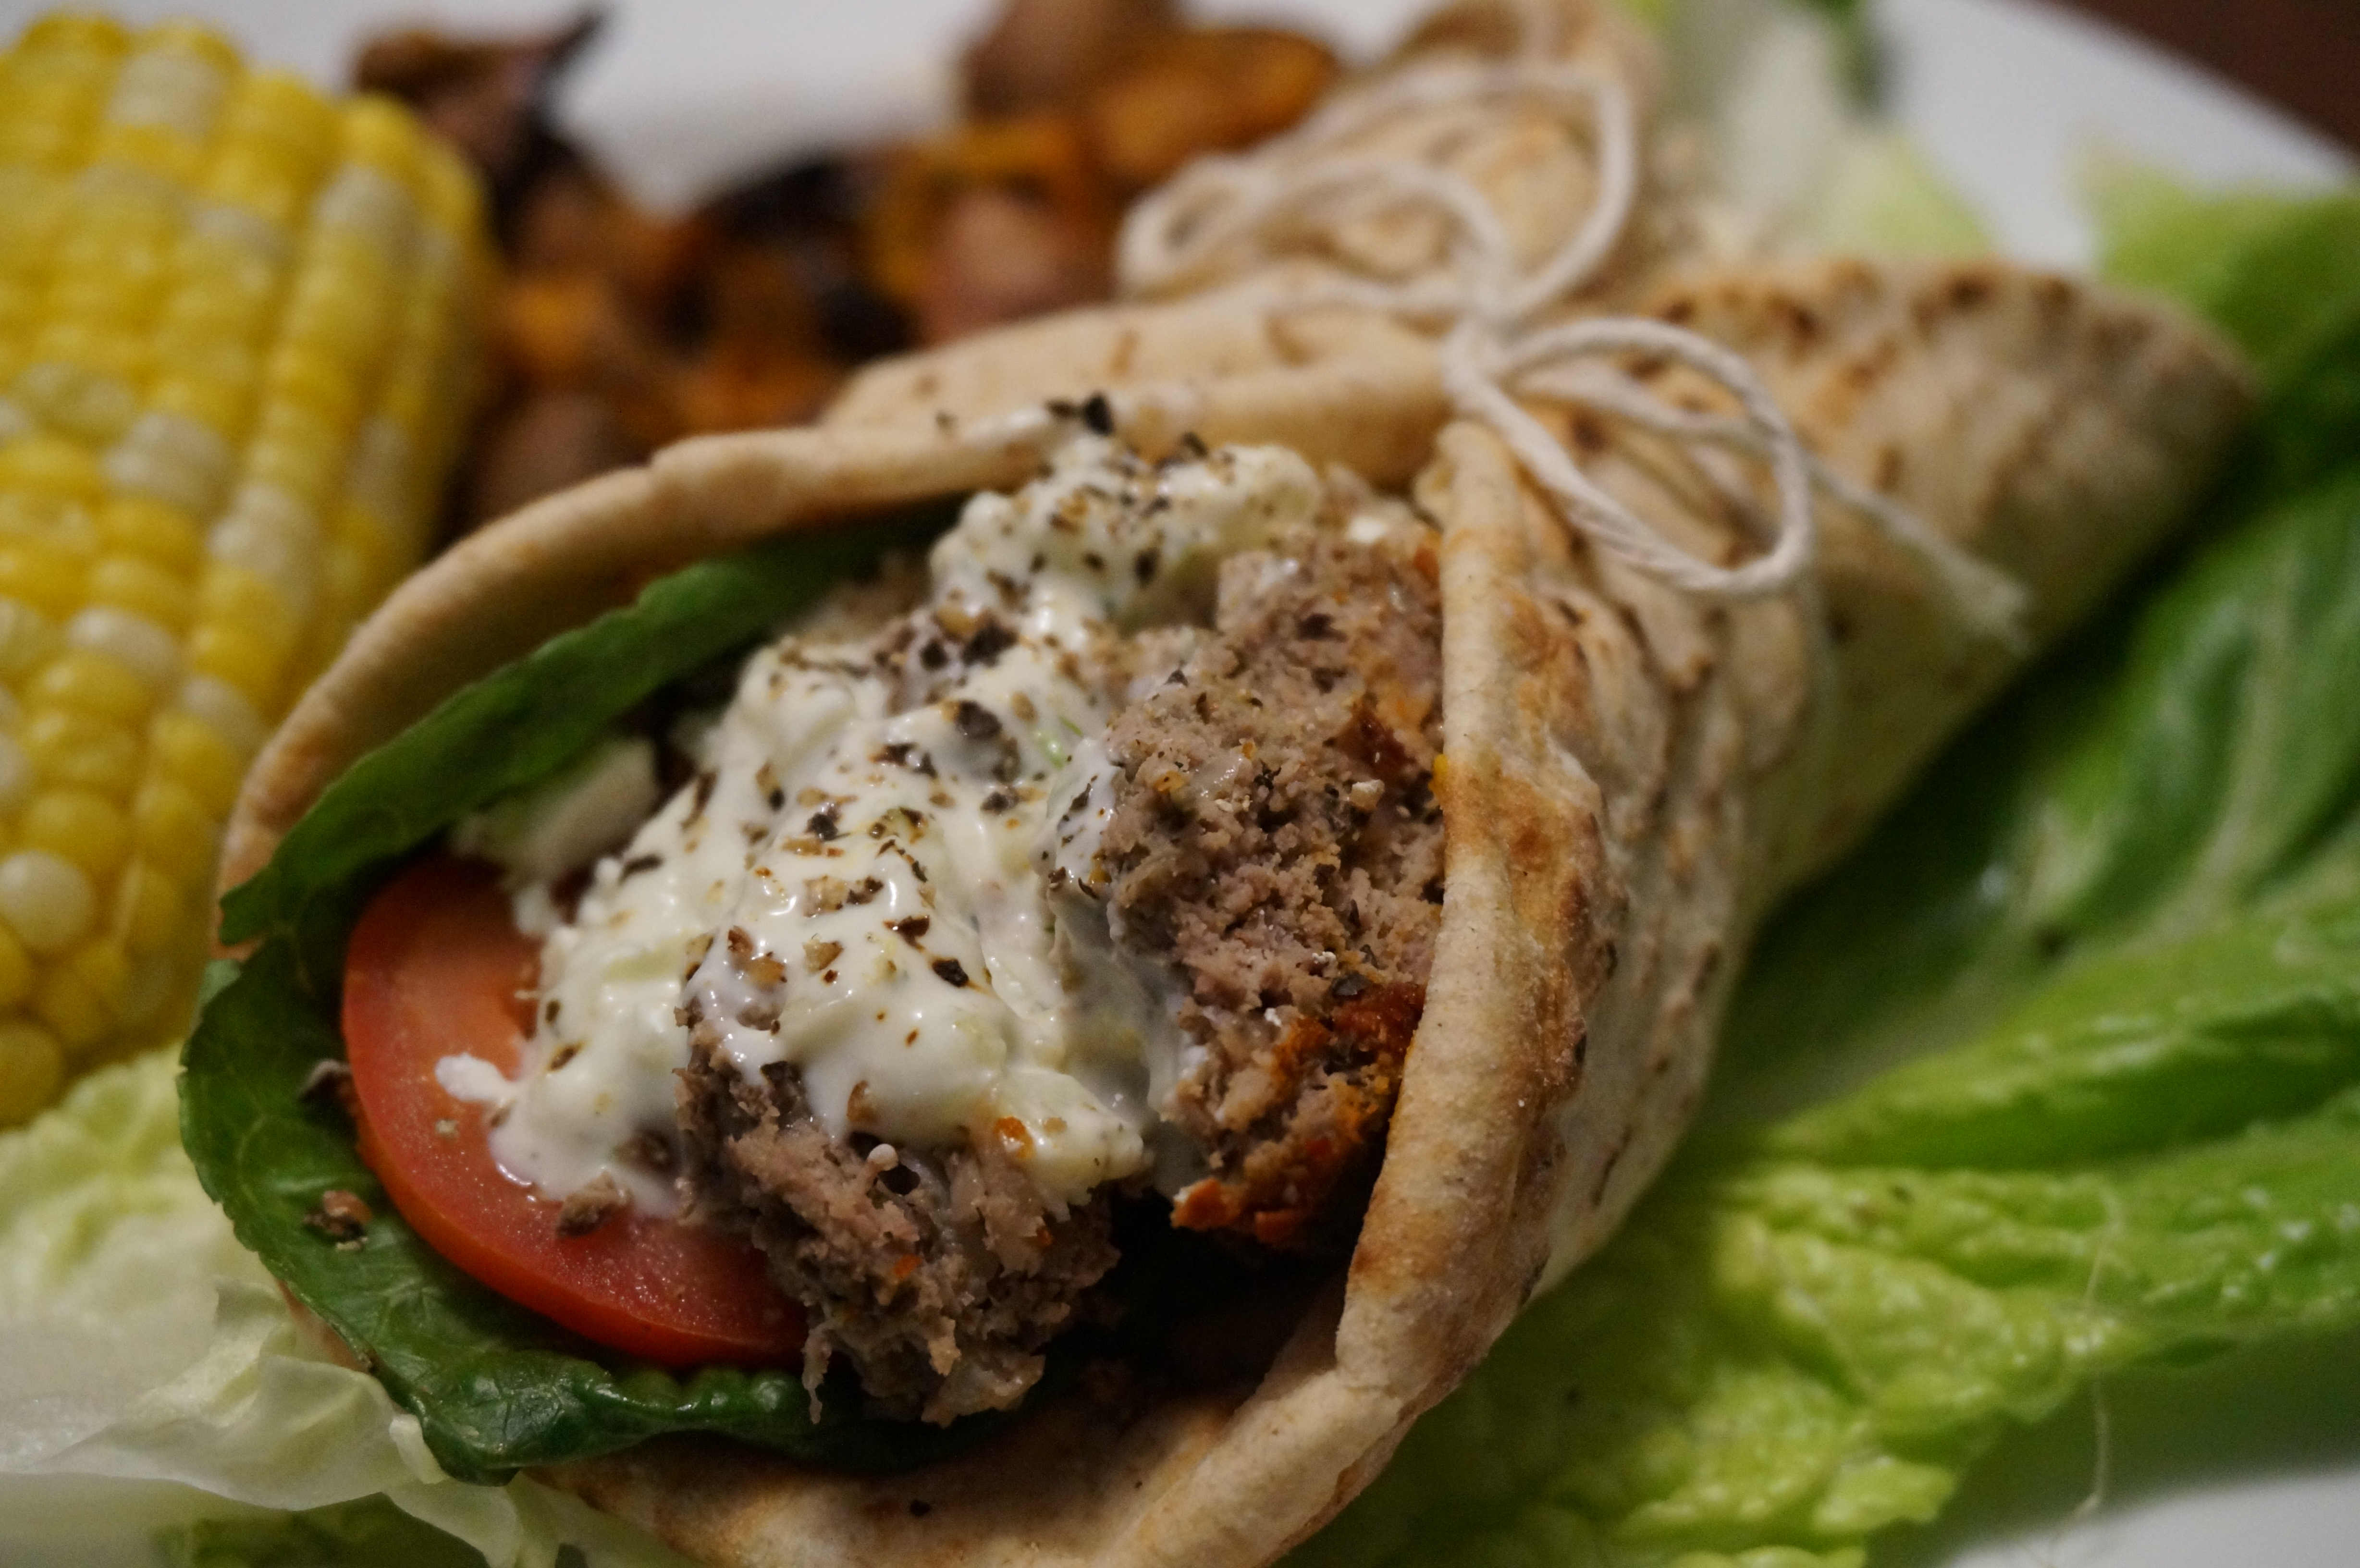
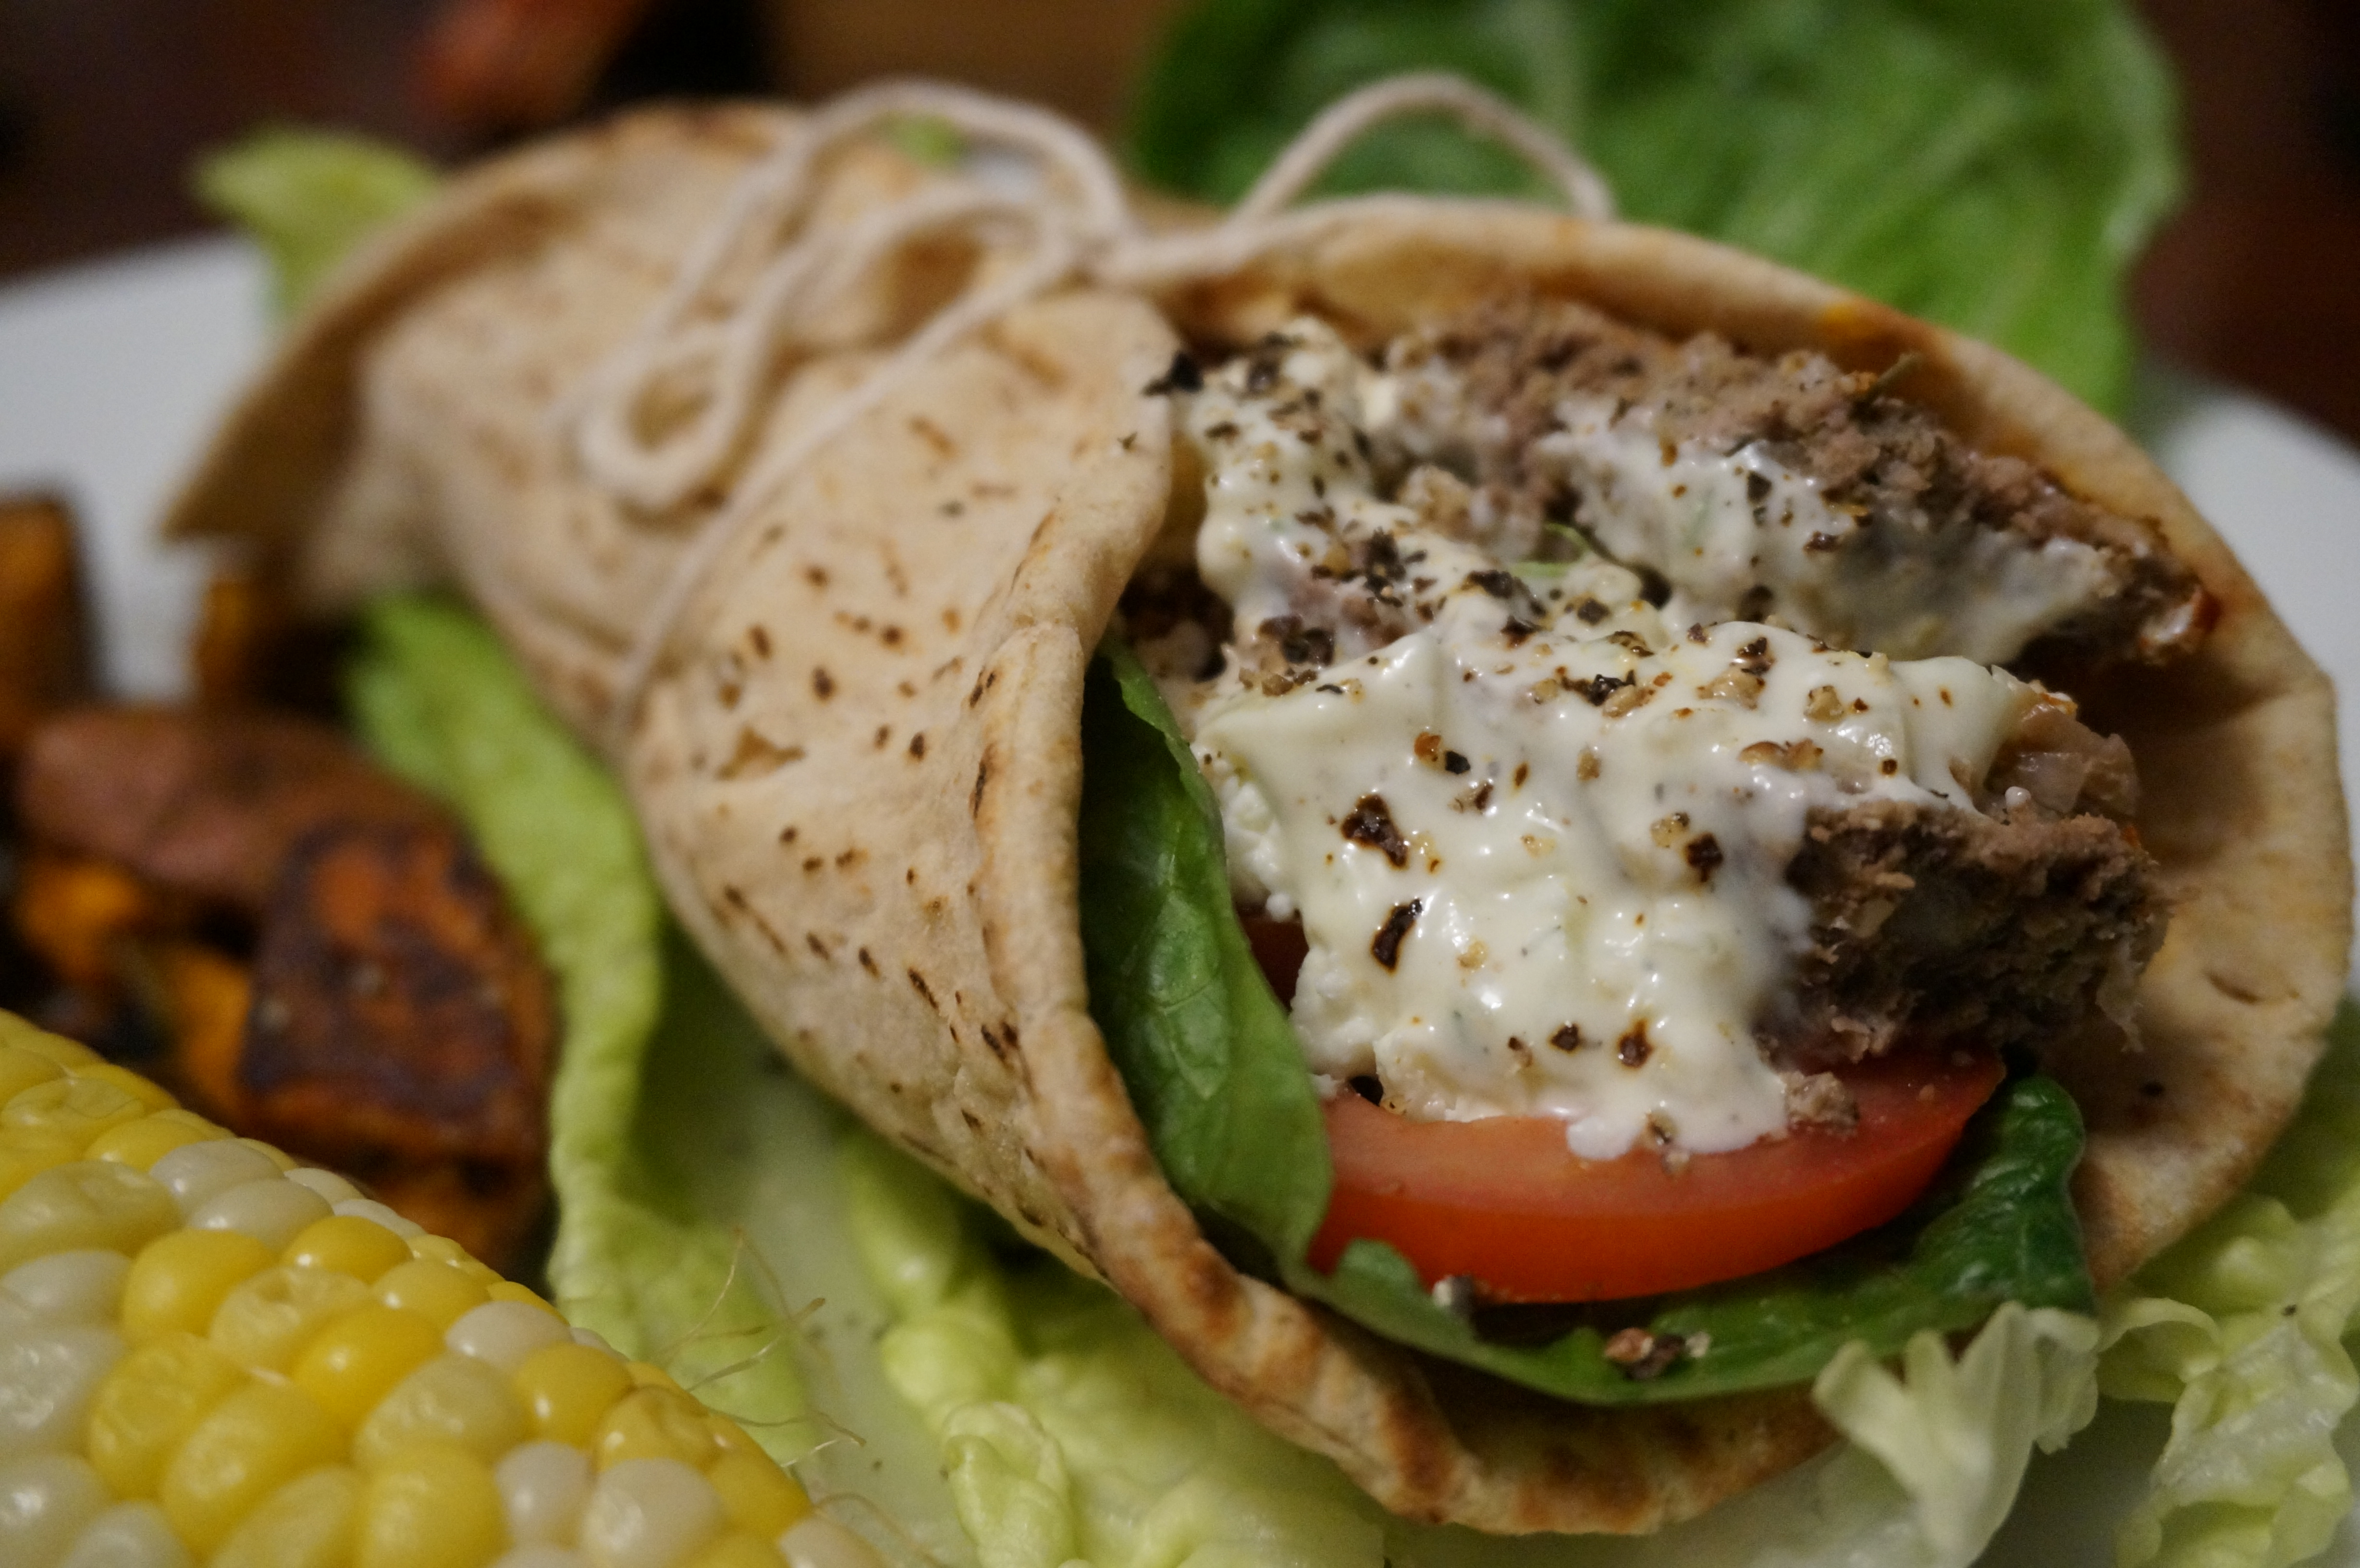
I served this up with some extra spinach and corn on the cob. Summer is THE BEST! Happy fourth of July weekend, to all of those traveling this weekend!


Skillet Zucchini Spaghettini

Sometimes you just don’t feel like cooking. But you always feel like eating. And there are odds and ends of things in the refrigerator, not really enough to make an entire meal out of, but definitely enough that you don’t have to actually do anything special. And there’s that Whole Foods hot bar that has so many pre-cut veggies that are incredibly overpriced but so convenient.

That’s where I found myself last night. Wanting to make something special, something blog-worthy, that would serve two of us (or one with leftovers). Preferably using up some of the endless mounds of zucchini noodles I had sitting in a huge tupperware in my fridge, but not just thrown on top of a salad. I didn’t feel like getting my hands all vinegar-y with massaged kale, either. But most of all, it had to be quick.

Mediterranean Zucchini Spaghettini Skillet

Ta-da! I bring to you a new one-pot skillet-wonder: Mediterranean Zucchini Spaghettini! I’m a sucker for anything Mediterranean, so this recipe makes me a happy camper. All I really did was roast a few veggies and saute a huge mound of zucchini noodles and leafy greens. For spices, I made a dressing by mixing together freshly squeezed lemon, garlic, mustard and some Greek seasonings and tossing the veggies in the dressing before roasting.

DSC03072

The result was incredible- it made enough for two, so I had some and saved the rest for later this week. I bet it would be good cold as well! Seeing as this week our temps are up in the high-90s, cold salads are definitely necessary.

I also served mine over some quinoa with balsamic vinegar and a few cubes of tofu (leftover from last week).

Hope you enjoy!

Mediterranean Zucchini Spaghettini Skillet
Recipe Type: Dinner, Salad
Cuisine: Vegetarian, Mediterranean
Author: Claire McCormick of “Claire Tastes”
Prep time:
Cook time:
Total time:
Serves: 2
Who says dinner can’t be deliciously easy?
Ingredients
  • 2 tbsp olive oil, divided
  • 1 tbsp minced garlic
  • 1 tbsp dijon mustard
  • 1 tsp each oregano and parsley
  • 1 tsp greek or Italian seasoning
  • 1/2 cup chickpeas, rinsed and dried
  • chopped red onion (to taste)
  • 1/2 cup raw broccoli and cauliflower florets
  • 1/4 cup grape or cherry tomatoes
  • 3 cups raw zucchini “noodles
  • 3 cups kale and/or spinach
  • 2 tbsp good balsamic vinegar
  • 3/4 cup cooked quinoa
  • 1/4 cup crumbled feta
  • 1 tbsp each kalamata olives and capers (optional)
  • fresh lemon juice (about 1/2 lemon)
  • salt and pepper, to taste
Instructions
  1. Preheat oven to 350.
  2. In a medium bowl, whisk together 1 tbsp olive oil, garlic, mustard, and seasonings. Add the chickpeas, onion, broccoli/cauliflower, tomatoes and a few of the zucchini noodles to the bowl and stir until combined. (Adding a few zucchini noodles will give a few of them a nice crisp!)
  3. Drizzle about 2 tbsp lemon juice over top of the veggies.
  4. On a baking sheet lined with a Silpat (love my Silpat!), spread the mixture evenly and try to keep the chickpeas from touching each other. Bake for 30 -40 minutes or until crisped. Remove from oven and set aside.
  5. In a large skillet, heat remaining oil on medium heat. Add the rest of the zucchini, kalamata olives and capers (if using), and balsamic vinegar. Cook until zucchini is tender, only about 2 minutes. Add spinach and kale and toss with zucchini until wilted. Add the quinoa and top with roasted veggies.
  6. Drizzle remaining lemon juice over top of skillet and some feta cheese.


Gyro Pitas & Homemade Tzatziki Sauce

DSC02999

Gyro Pitas & Homemade Tzatziki Sauce
Recipe Type: Main Dish
Cuisine: Greek, Mediterranean, Picnic
Author: Claire McCormick of “Claire Tastes”
Prep time:
Cook time:
Total time:
Serves: 8-10
I’ve been wanting to experiment with these for a while! So easy to whip up in your crock pot (I should try meatloaf this way someday!), and you can easily freeze the meat to use later! Perfect for assembling lots of sandwiches for your next picnic or BBQ.
Ingredients
  • 1 lb ground lamb
  • 1 lb ground beef (not extra lean)
  • 1/2 onion, minced
  • 1 tbsp minced garlic
  • 1 tsp dried rosemary
  • 2 tbsp dried oregano
  • 1 tsp greek seasoning (optional)
  • 1 tsp dried thyme
  • 1 tsp each black pepper and salt
  • 1 tsp dried onion powder
  • 1 tsp paprika
  • juice of 1/2 lemon
  • 10 whole wheat pitas
  • Toppings: romaine, tomatoes, kalamata olives, red onion, feta cheese, homemade tzatziki sauce (see below)
  • For Tzatziki Sauce:
  • 1/2 plain greek yogurt + 1/2 cup tart, regular plain yogurt (I like Trader Joe’s Australian style)
  • juice of 1/2 lemon
  • 1 tsp lemon zest
  • 1/2 cucumber, seeded and chopped finely
  • 1 1/2 tbsp chopped dill
  • 1 tsp minced garlic
  • 1 tsp sugar
  • salt and pepper, to taste (I used about 1/2 tsp each)
  • dash of cayenne pepper
Instructions
  1. Combine onion and all spices in a food processor and pulse until finely chopped and incorporated. Remove majority of mixture and set aside.
  2. Add meat to food processor and pulse a few times until combined. Slowly stir into spice mixture.
  3. Form into two large mounds and set into crock pot. Flatten slightly.
  4. Pour lemon juice on top of meat and cook on high for 2-3 hours or until internal temperature reaches 160 deg.
  5. Remove and allow to sit for at least 10 minutes before slicing into thin strips.
  6. For Tzatziki Sauce:
  7. Combine all ingredients in a medium bowl and chill at least 30 min, or up to 1 week. Spread on gyro meat or pita during assembly.
Cook meat in crock pot for 2-3 hours.
Allow to sit at least 10 minutes, then slice thinly into strips.
Top with desired toppings and tzatziki sauce, and wrap up in pita. Tie with a bow to keep it together!

Tuesday Night Pantry Raid: Chicken Pad Thai

I was seriously stressed out this afternoon trying to decide what to make for dinner tonight. Ben kept telling me over and over that he was fine just having leftovers, but for some reason I feel like when I have the time in my schedule, I need to make something new and exciting. And I had so many ideas of recipes I wanted to try! Stuffed chicken burgers, enchilada lasagna, quinoa swiss mushroom
“muffins,” and stuffed tomatoes…

The problem is that when I have so many ideas, I get overwhelmed and then we end up just having leftovers. I think the problem is having too many possibilities and almost too much time to decide. I want my recipes to be healthy, comfort food, easy, cheap, quick, make lots of leftovers, AND look good in pictures. Reality is, you just can’t have all these things in one recipe! (If any of you have the magic recipe for that problem, please share!)

I’ve decided that when I feel like this in the future, the best thing to do is limit my options: resist going to the store, go home, open the pantry, and get creative with the things that I already have there. Any of you who remember my “Spring Clean Your Fridge” Challenge from last year will know that I usually surprise myself with what I come up with!

Tonight, when I opened my fridge/pantry, I found a few goodies to work with. The end of a box of angel hair pasta, a few wimpy carrots, and a half-finished jar of Jif. Oh, and half of a leftover piece of a gigantic grilled chicken breast. I had a thought: Chicken Pad Thai!

Chicken Pad Thai
Chicken Pad Thai
Tuesday Night Pantry Raid: Chicken Pad Thai
Recipe Type: Main Dish, Easy
Cuisine: Asian
Author: Claire McCormick of “Claire Tastes”
Prep time:
Cook time:
Total time:
Serves: 12
This recipe uses a few ingredients you probably already have on hand, and will save you a trip to the store!
Ingredients
  • Thai Peanut Sauce (adapted from Iowa Girl Eats Chicken Pad Thai: http://iowagirleats.com/2011/02/28/when-we-were-newlyweds/)
  • 1/4 cup rice vinegar
  • 1/4 cup low sodium soy sauce
  • 3 teaspoons granulated sugar
  • 1/4 cup creamy peanut butter, melted
  • 2 Tablespoons water
  • 2 teaspoons chili garlic sauce or hot sauce
  • 1 tsp dijon mustard
  • 1 tbsp peanut oil
  • 1 onion, chopped
  • 2 carrots, julienned or ribboned using a vegetable peeler
  • 1 tbsp minced garlic
  • 3/4 cup frozen peas
  • leftover angel hair pasta, cooked al dente according to package directions, cooled and rinsed
  • Chicken Marinade:
  • 1/4 cup peanut butter, melted
  • 2 tbsp soy sauce
  • 2 tbsp maple syrup
  • 1 tbsp water
  • 1 tsp ginger
  • 1 (or as many as you have) chicken breast (or tofu!), cooked and chopped into pieces
  • Cilantro, sesame seeds or chopped peanuts for serving
Instructions
  1. Combine all ingredients for the Thai Peanut Sauce in a small jar and shake vigorously. Set aside.
  2. Cook pasta, rinse, and drain twice so it doesn’t stick together.
  3. In a medium skillet, heat oil and add onion, carrots, and garlic. Cook until tender, about 4 minutes. Reduce heat to low and add frozen peas and pasta.
  4. Pour in the Thai peanut sauce and toss to combine. Set aside.
  5. Whisk together ingredients for Chicken Marinade and allow chicken to marinate for at least 30 min. (You can also marinate raw chicken strips in this sauce and then cook on stovetop!).
  6. In a separate saucepan or skillet, pour in a bit more oil. Add chicken in its sauce and reduce on medium heat by about a half- which will take about 5 minutes. Then, turn up heat to medium high and cook until the chicken is browned. Return the noodle mixture to the pan with the chicken and stir until heated through.
  7. Serve warm or chilled, with cilantro, sesame seeds or chopped peanuts on top.

We loved this! It definitely hit that savory and sweet spot, and satisfied every bit of our inner peanut butter lover. And to think- I didn’t need to buy ONE thing to make it. Enjoy!

Chicken Pad Thai
Chicken Pad Thai

Smoked Salmon Pinwheels

This Memorial Day, why not skip the usual mayo-drenched potato salad and deviled eggs, and try a fun new sandwich spin? These pinwheels are a variation of my classic picnicking rollups and are sure to impress even the pickiest of your friends!

Who doesn’t love the combination of cream cheese and lox? I added a few sprigs of dill and red onion for some spice, and topped with some savory capers and feta cheese. You can also add some chopped avocado to make these a bit creamier. Arrange on a platter with some romaine hearts for decoration.

*Note: I also made some pinwheels with a lentil spread, corn and turkey. Comment or contact me if you would like the recipe!

Smoked Salmon Pinwheels
Recipe Type: Appetizer
Cuisine: Mediterranean, American
Author: Claire McCormick of “Claire Tastes”
Prep time:
Total time:
Serves: 40-50
This Memorial Day, why not skip the usual mayo-drenched potato salad and deviled eggs, and try a fun new sandwich spin? These pinwheels are a variation of my classic picnicking rollups and are sure to impress even the pickiest of your friends!
Ingredients
  • 8 10″ spinach or wheat tortillas
  • 1 container cream cheese spread (I used a greek yogurt/cream cheese mix)
  • 1/4 cup chopped dill
  • 1/4 cup chopped red onion
  • 1/4 cup crumbled feta cheese
  • baby spinach
  • 1 ripe avocado, chopped
  • 1/4 cup capers
  • 1 package smoked salmon, shredded into thin slices (more or less to taste- I think I used a 10 oz. package)
  • cracked black pepper
Instructions
  1. Gather all ingredients into individual “stations.”
  2. To assemble: Spread a thin layer of cream cheese spread onto each tortilla, leaving a 1/2″ border. Top with chopped dill, red onion, feta, spinach, avocado, capers, and salmon.
  3. Finish by topping with fresh cracked black pepper.
  4. Tightly roll each tortilla, starting from the edges and carefully working your way towards the other side.
  5. Store in an airtight container (or covered with plastic wrap) in the refrigerator for at least 4 hours.
  6. Slice into thin pinwheels and arrange on platter. You can also fasten with toothpicks if desired.
Gather Ingredients.
Gather Ingredients.


Begin layering.
Begin layering.
Finish layering with salmon, capers, and feta.
Slice, arrange and present!
DSC02925
Smoked Salmon Pinwheels

Happy Memorial Day! Thank you to all who have so faithfully served our beautiful country!

Espinacas con Garbanzos por Olla

Bienvenidos, mis amigos! Today I am bringing you a recipe from the archives, but updated with prettier pictures and less “hands-on” time! Espinacas con Garbanzos is one of my favorite and most versatile recipes, inspired by our honeymoon to Seattle and the San Juan Islands. Some of you may remember my first post about this dish, which is similar to a meal I had in Friday Harbor at a wonderful little waterfront restaurant called Cask and Schooner. You all know how much I love my beans and spices, and this is a stew-like recipe that can be served hot or cold. I like it chilled for the summer, with a few hearty crackers and some lettuce cups, and a dollop of greek yogurt on top.

Espinacas con Garbanzos por Olla

This time I adapted the recipe a bit to be made in the crock pot (the name for this recipe literally translates to “spinach and chickpeas by the pot”), so that you can let it simmer away all afternoon while you do all of the other important things you have going on in your life. It also makes a lot of leftovers!

I also added a poached egg on top, since I didn’t include any turkey sausage this time and wanted a little more staying power. I love poached eggs on top of salads/stews. Such an easy way for an extra dose of protein!

Espinacas con Garbanzos por Olla
Recipe Type: Stew, Slow-Cooker
Cuisine: Vegetarian
Author: Claire McCormick of “Claire Tastes”
Prep time:
Cook time:
Total time:
Serves: 12
I love that this vegetarian and protein-packed stew can be served hot or cold. So versatile, and makes lots of leftovers to enjoy all week long!
Ingredients
  • 2 tbsp extra virgin olive oil
  • 1 onion, sliced
  • 4 large carrots, sliced
  • 2 tbsp minced garlic (yes I realize this is a LOT of garlic!)
  • 1 tsp cumin
  • 1/2 tsp ground coriander
  • 1 tsp whole coriander seed (optional)
  • 1/2 tsp garlic powder
  • 1 tsp paprika
  • 1/4 tsp chili powder
  • 1/2 tsp red pepper flakes
  • 2 cans garbanzo beans, drained and rinsed
  • 1 can tomato sauce
  • 1 can diced tomatoes
  • 1/4 cup red wine vinegar
  • 1/4 cup water
  • pinch of salt and pepper
  • 1 package frozen spinach, thawed
  • lemon juice, for serving
  • parmesan cheese and greek yogurt, for serving
Instructions
  1. Heat oil in a skillet on medium-high heat. Add onion, carrots and garlic and cook until onions are tender, 3-4 minutes. Add the spices (cumin through red pepper flakes) and stir continuously for 1 minute. Add a few drizzles of red wine vinegar to deglaze the pan.
  2. Transfer mixture to a crock pot and add garbanzos, tomato sauce, and tomatoes.
  3. Pour in the rest of the red wine vinegar, water, and salt and pepper. Set on low heat for 4-5 hours or until carrots are tender.
  4. About an hour before serving, add spinach.
  5. Serve with a few drops of lemon juice, cheese and a dollop of greek yogurt.
  6. I also like mine with some hearty crispbread crackers and lettuce cups!

DSC02884

DSC02890

DSC02893

DSC02896