Chiles Rellenos

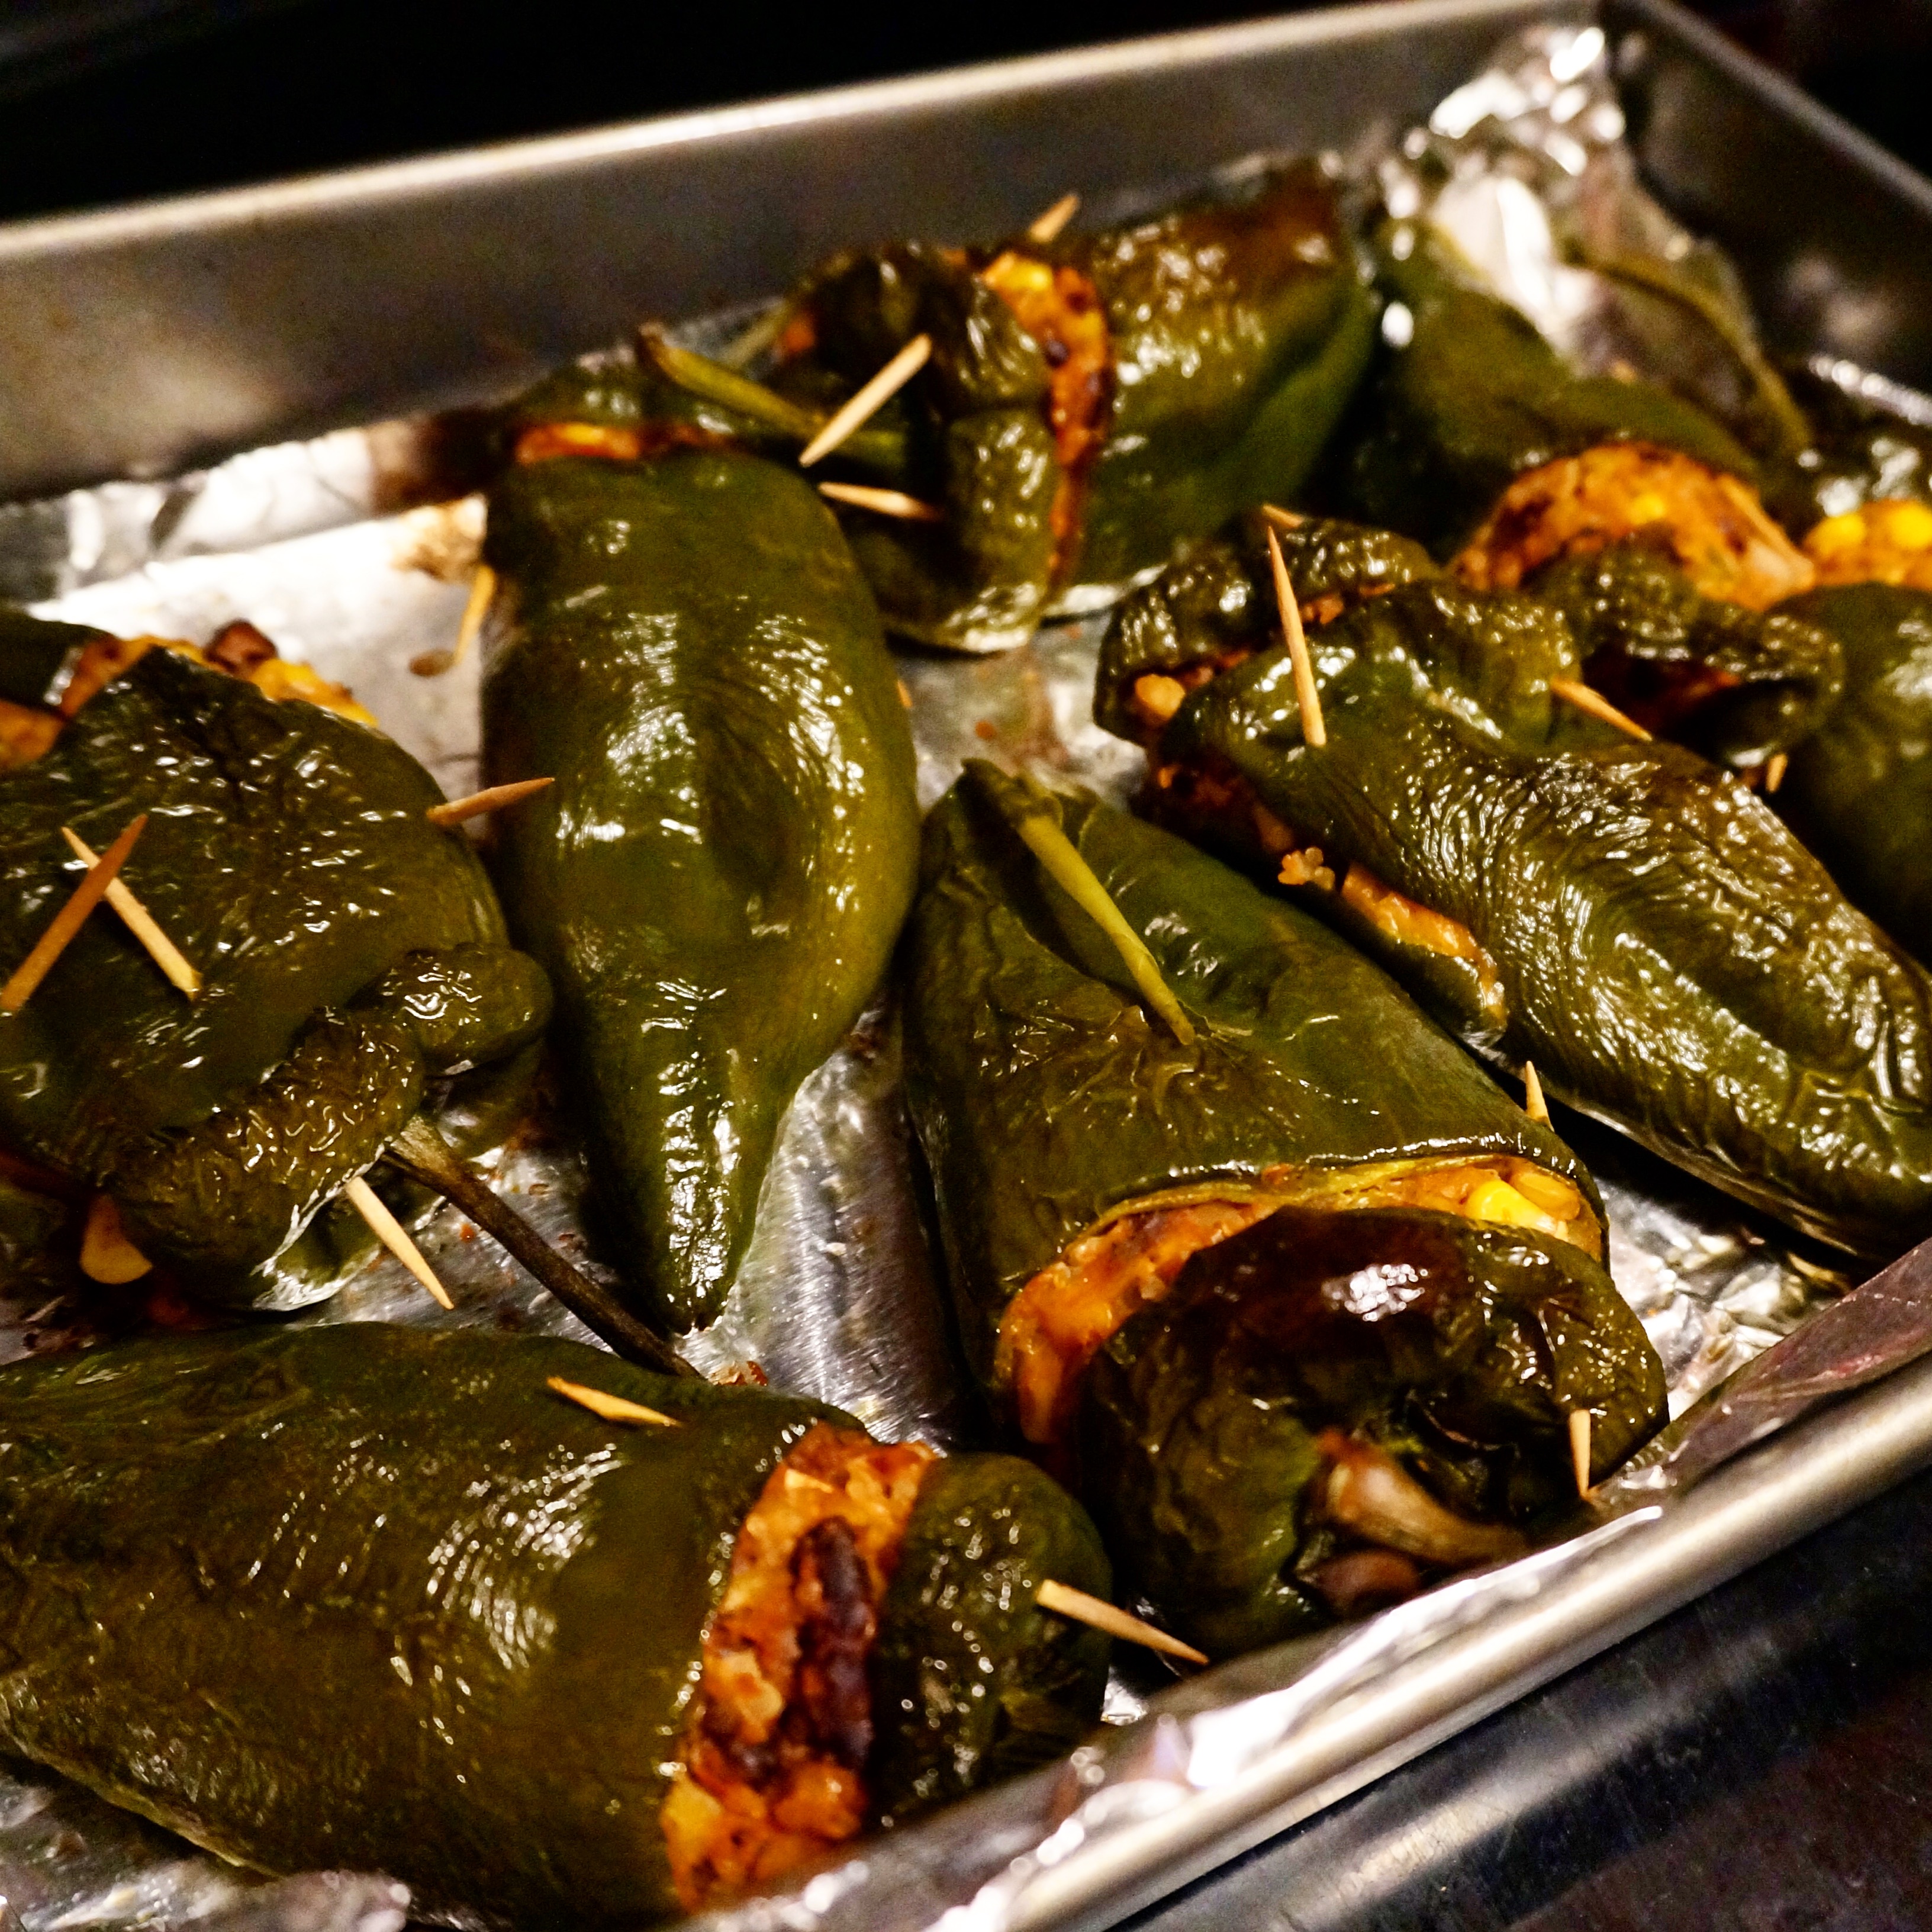
Chili Rellenos are an easy and healthy recipe perfect for a weeknight in the summer! They are simple to throw together, perfectly preportioned, and just-fancy-enough to impress your dinner guests! You can fill them with the vegetarian option I describe below, or you can get creative and stuff with beef, chicken, or tofu! The sky’s the limit… just make sure to take the toothpicks out before you chow down!

Chilis Rellenos
Chilis Rellenos

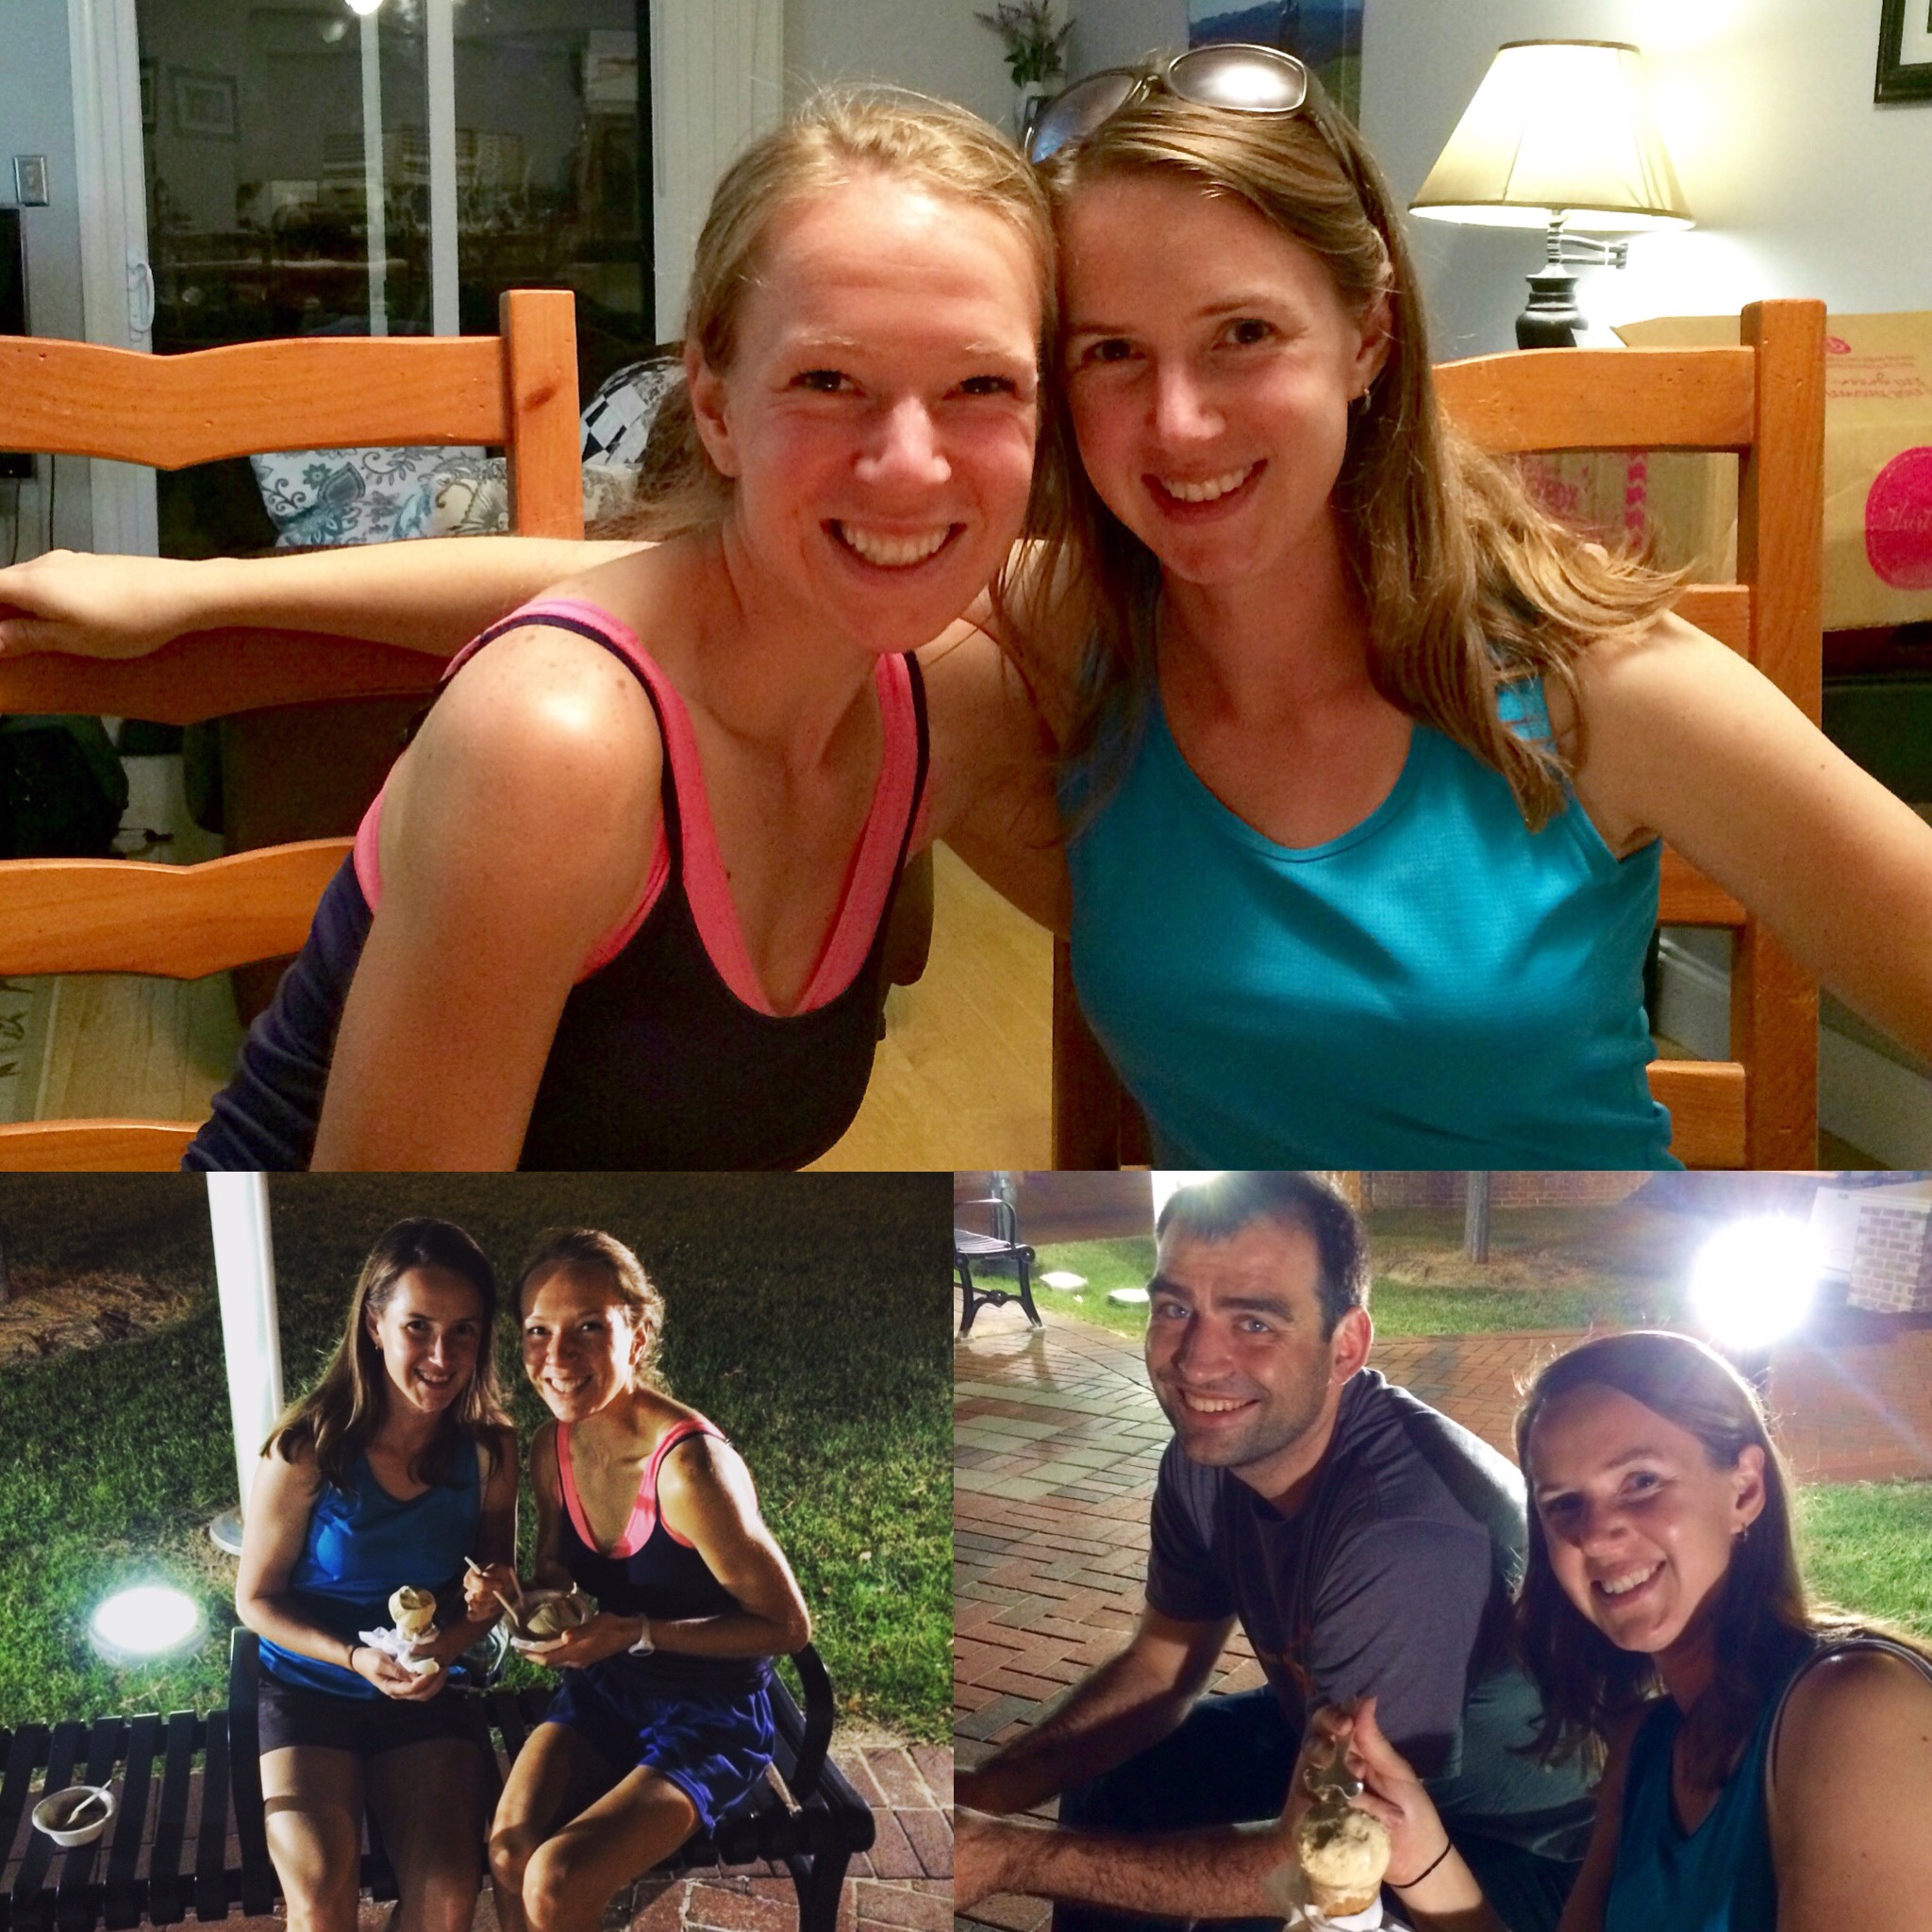
Yay for sisters visiting! My oldest sister Bethany was staying for the night after driving from State College, PA. She and my bro-in-law, Ethan, are moving to Asheville! Yay! First, though, we girls decided it would be fun to fly to CA and road trip XC with my Californian surfer sister, Mary. She usually spends a few weeks on the East Coast every year to visit family/friends, and this year Bethany and I decided to join! We leave August 3rd and are staying in some pretty awesome places including Grand Staircase-Escalante National Monument, Arapaho National Forest, and Nashville. You can follow our trip via my Instagram!

Bethany is going to a wedding in MN before flying to CA on Sunday, so I took the opportunity to spoil her with a home cooked dinner and some Durham “night life” (that is, ice cream at The Parlour) 🙂

IMG_5890

For dinner, stuffed poblanos, aka “Chiles Rellenos.” I got the idea for these from this month’s issue of Cooking Light, and modified the stuffing a little bit based on taste preference and on what I had in the house. They are slightly spicy (in the words of my sensitive-palated-husband: “those have got some KICK to them!” but less-so if you do a good job removing the seeds (which I apparently did not). I settled on quinoa and lentils for the grains (added the lentils only because I was short on quinoa by a half cup!), subbed black beans for pinto, and used red onion in place of celery. I also added a few more Mexican seasonings like cumin, chili powder, a dash of cayenne, and garlic.

I also didn’t grill them because our grill is out of gas. Which makes it harder to grill things. Surprise, surprise. 

Okay, so maybe this recipe is entirely different than the original. But I kept the lime juice and corn kernels! And the overall vegetarian-ness!

I’ve seen a lot of recipes that recommend broiling the peppers and steaming in a covered bowl for a while, and then rubbing the skins off, but I decided to stuff them before roasting because I was worried about them being harder to spoon the filling into after they had wilted down! This meant that I didn’t remove the blistered, wrinkly skins that you see in the picture above… so they aren’t the prettiest little things, but they do taste darn good!

As I mentioned earlier, I did keep these vegetarian, but for the meat-eaters out there, they would definitely be good filled with ground beef, pork, turkey, or chicken. I would also love to try them with some smoked tofu next time! I served them to Bethany and Ben with BBQ chicken quesadillas, using leftover chicken from my Mole Chicken Tacos, so I didn’t feel the need to go on a meat craze. Amen.

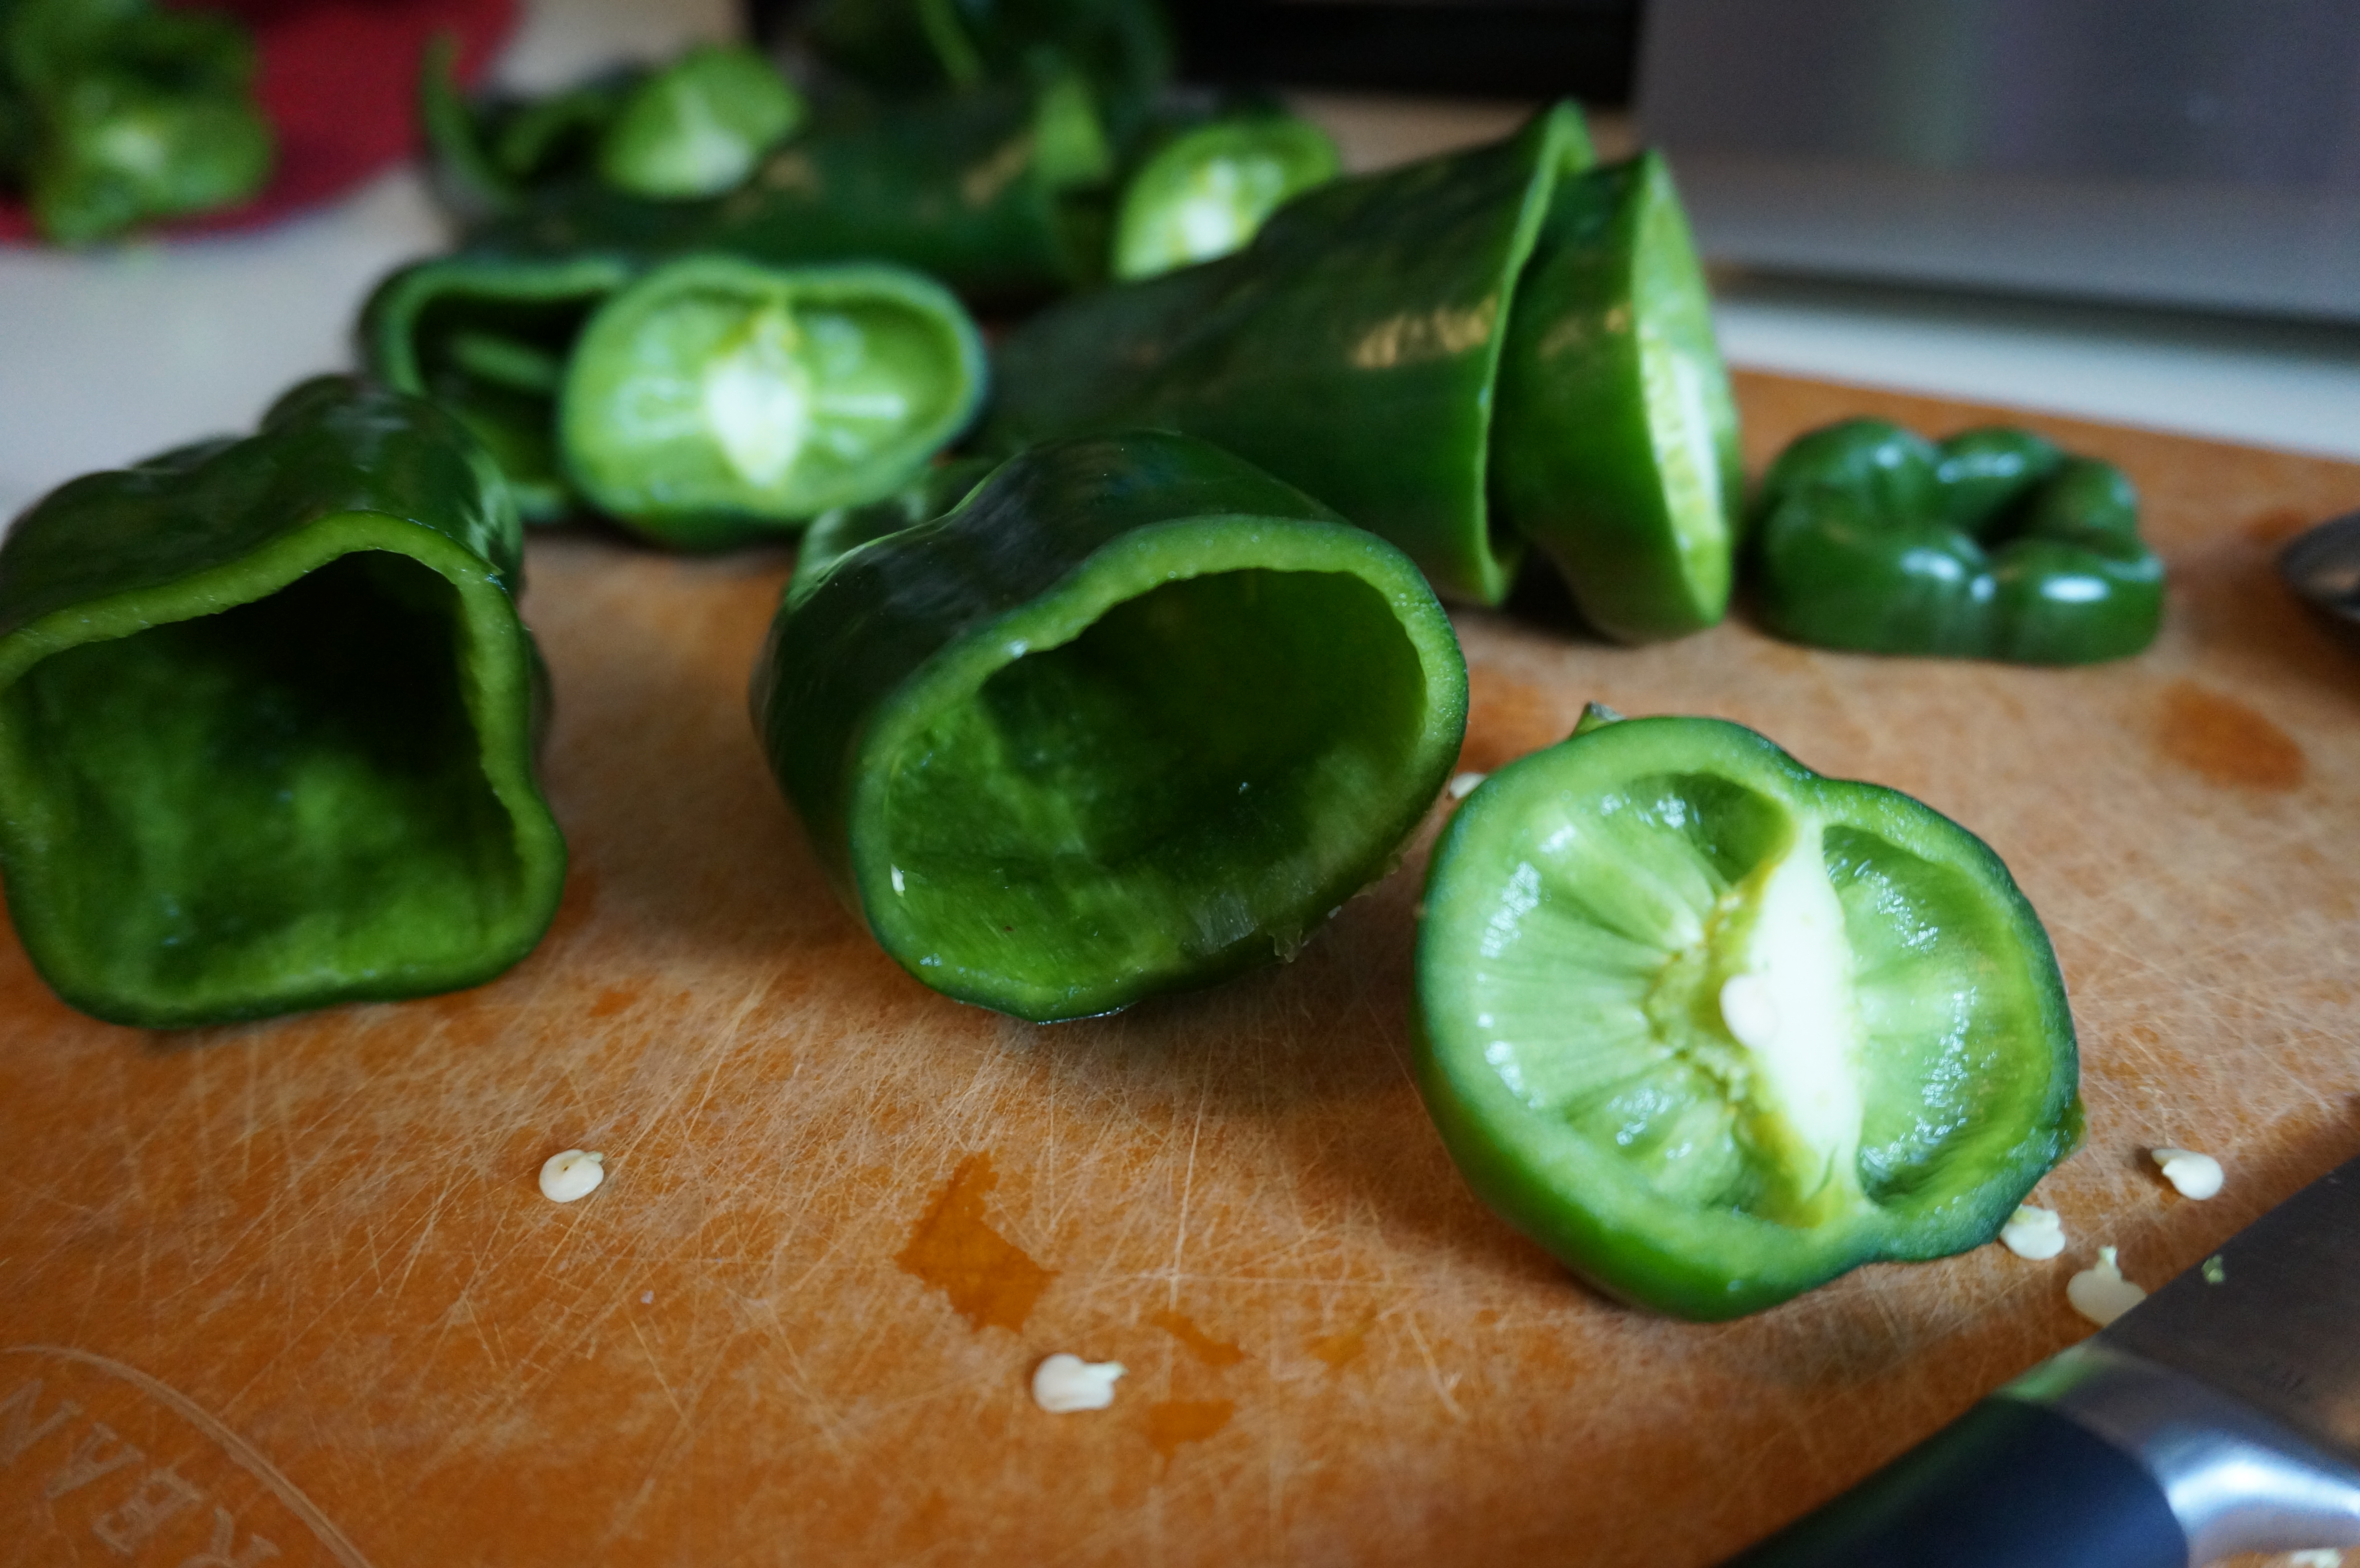
Ok. Down to business. Start by making your filling and chopping off the tops of the peppers, discarding the spicy seeds and cores.

DSC03384

DSC03387

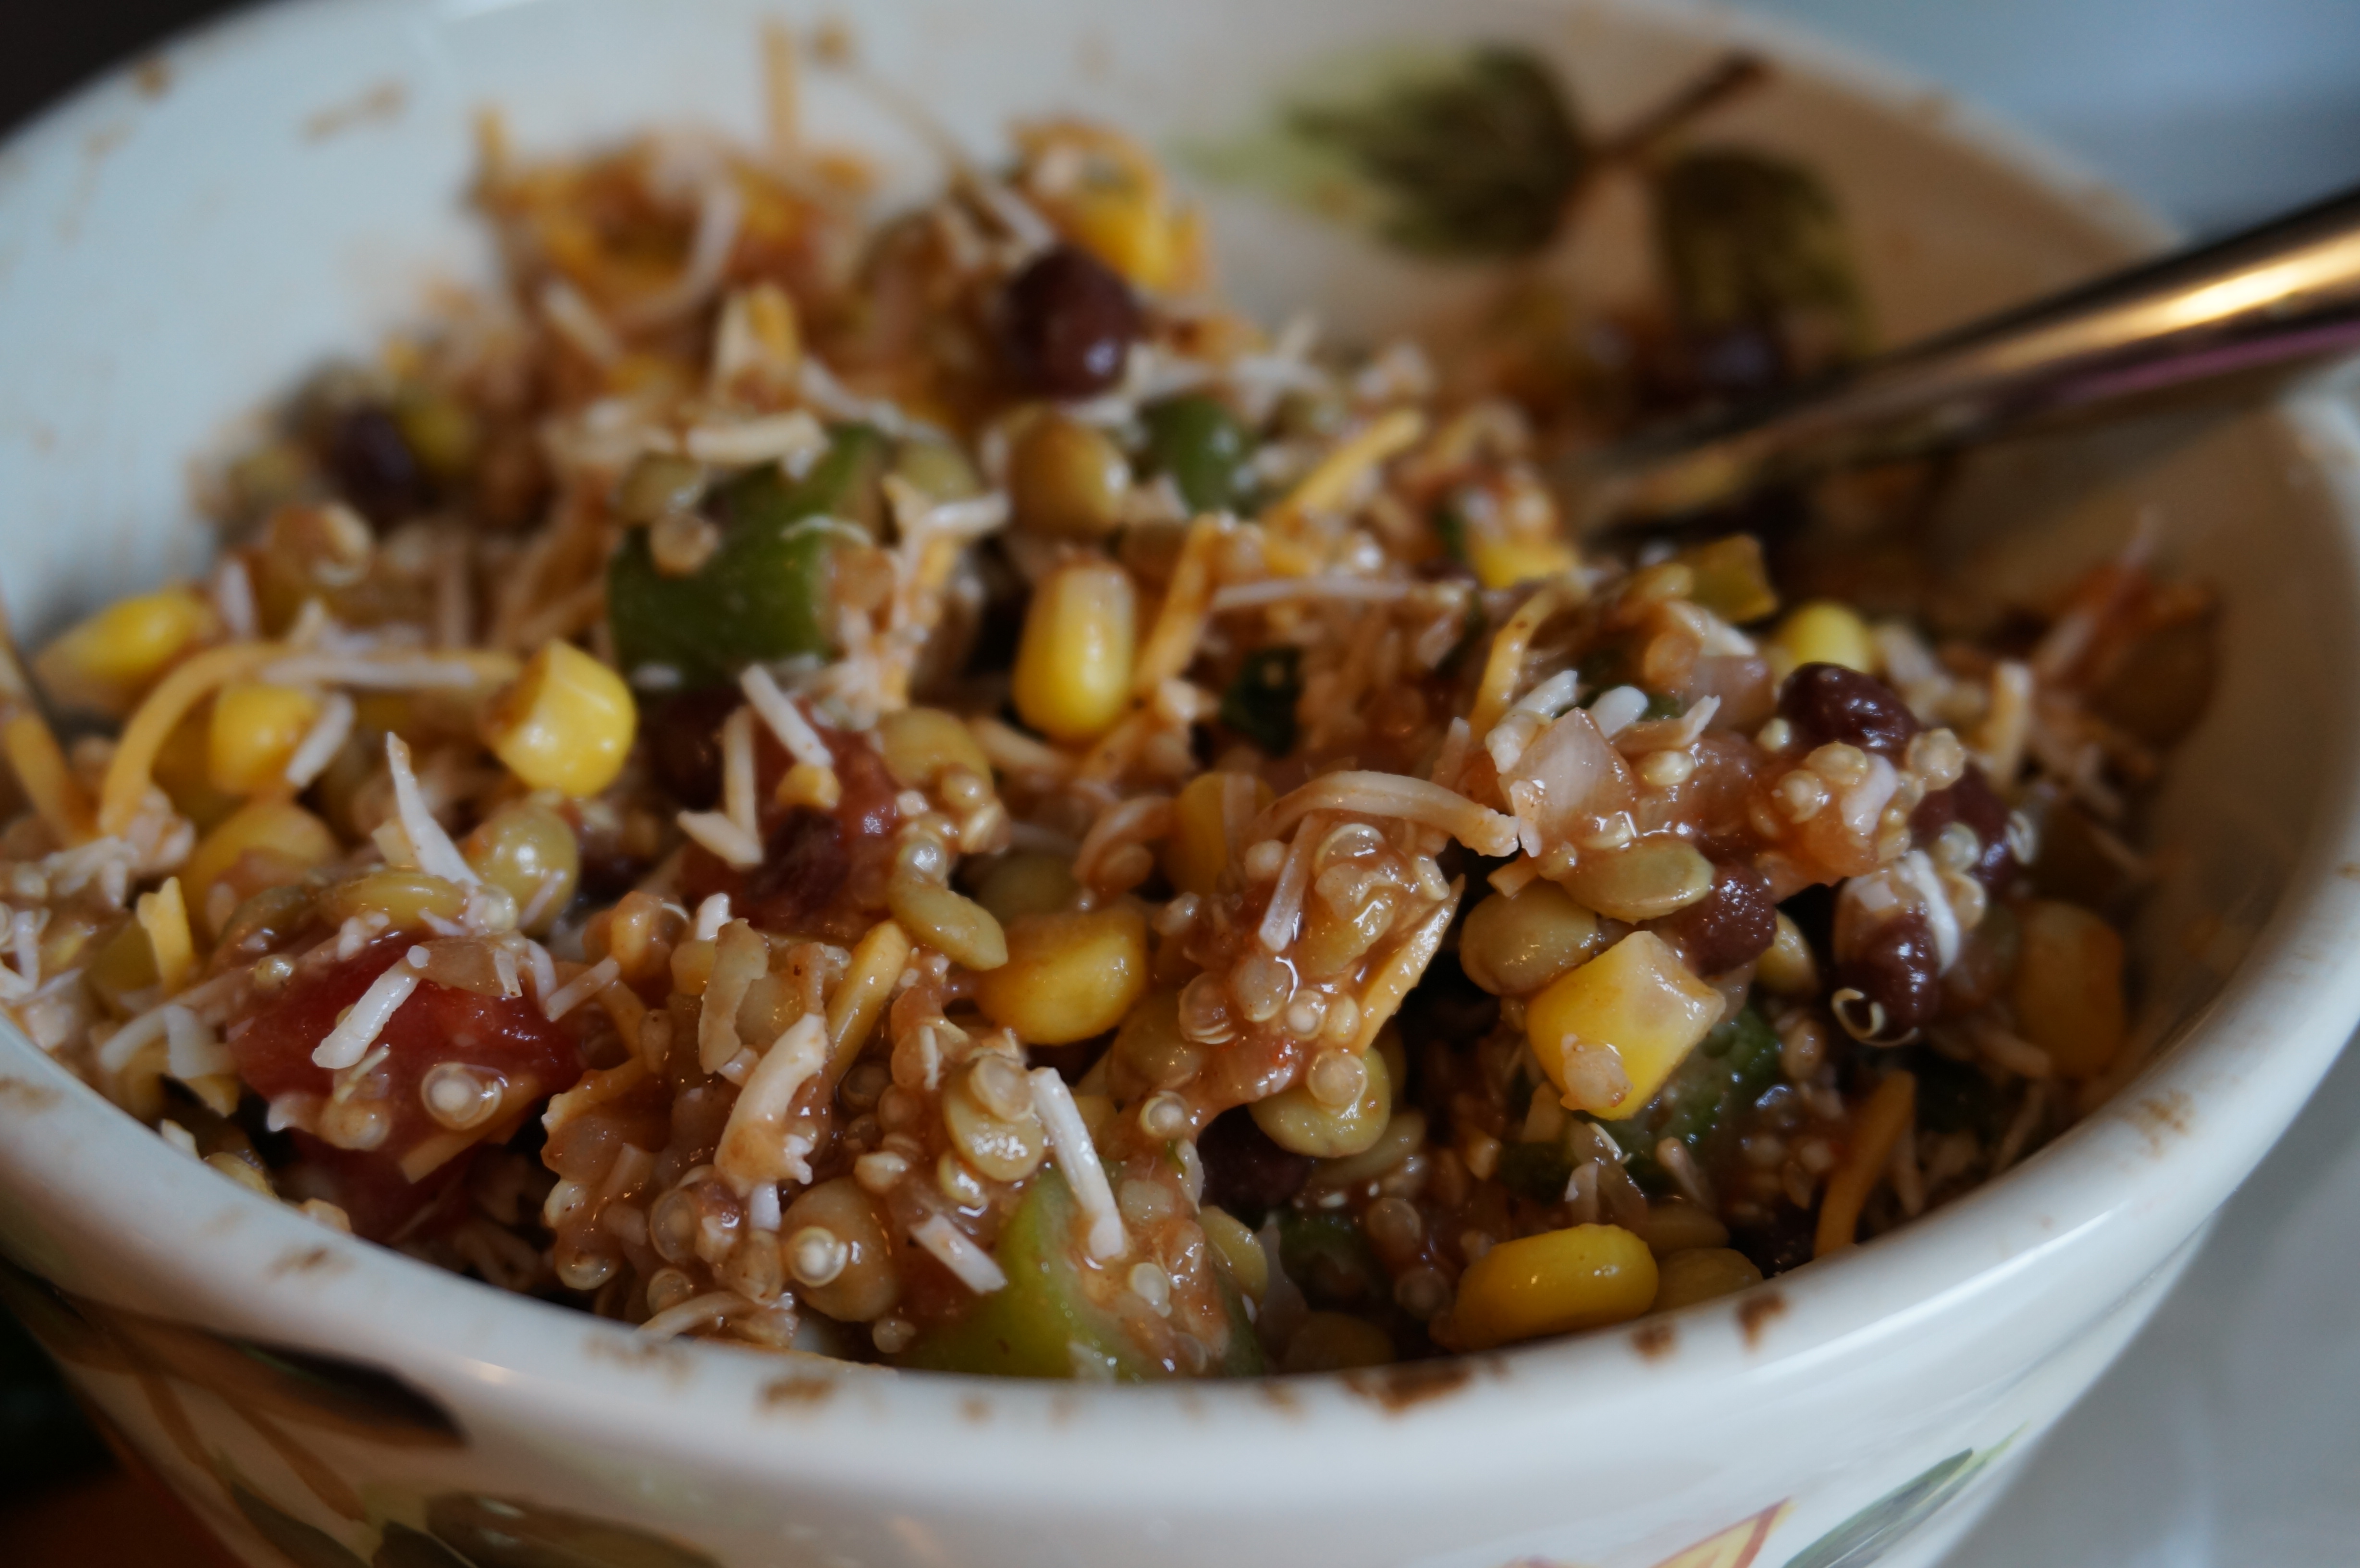
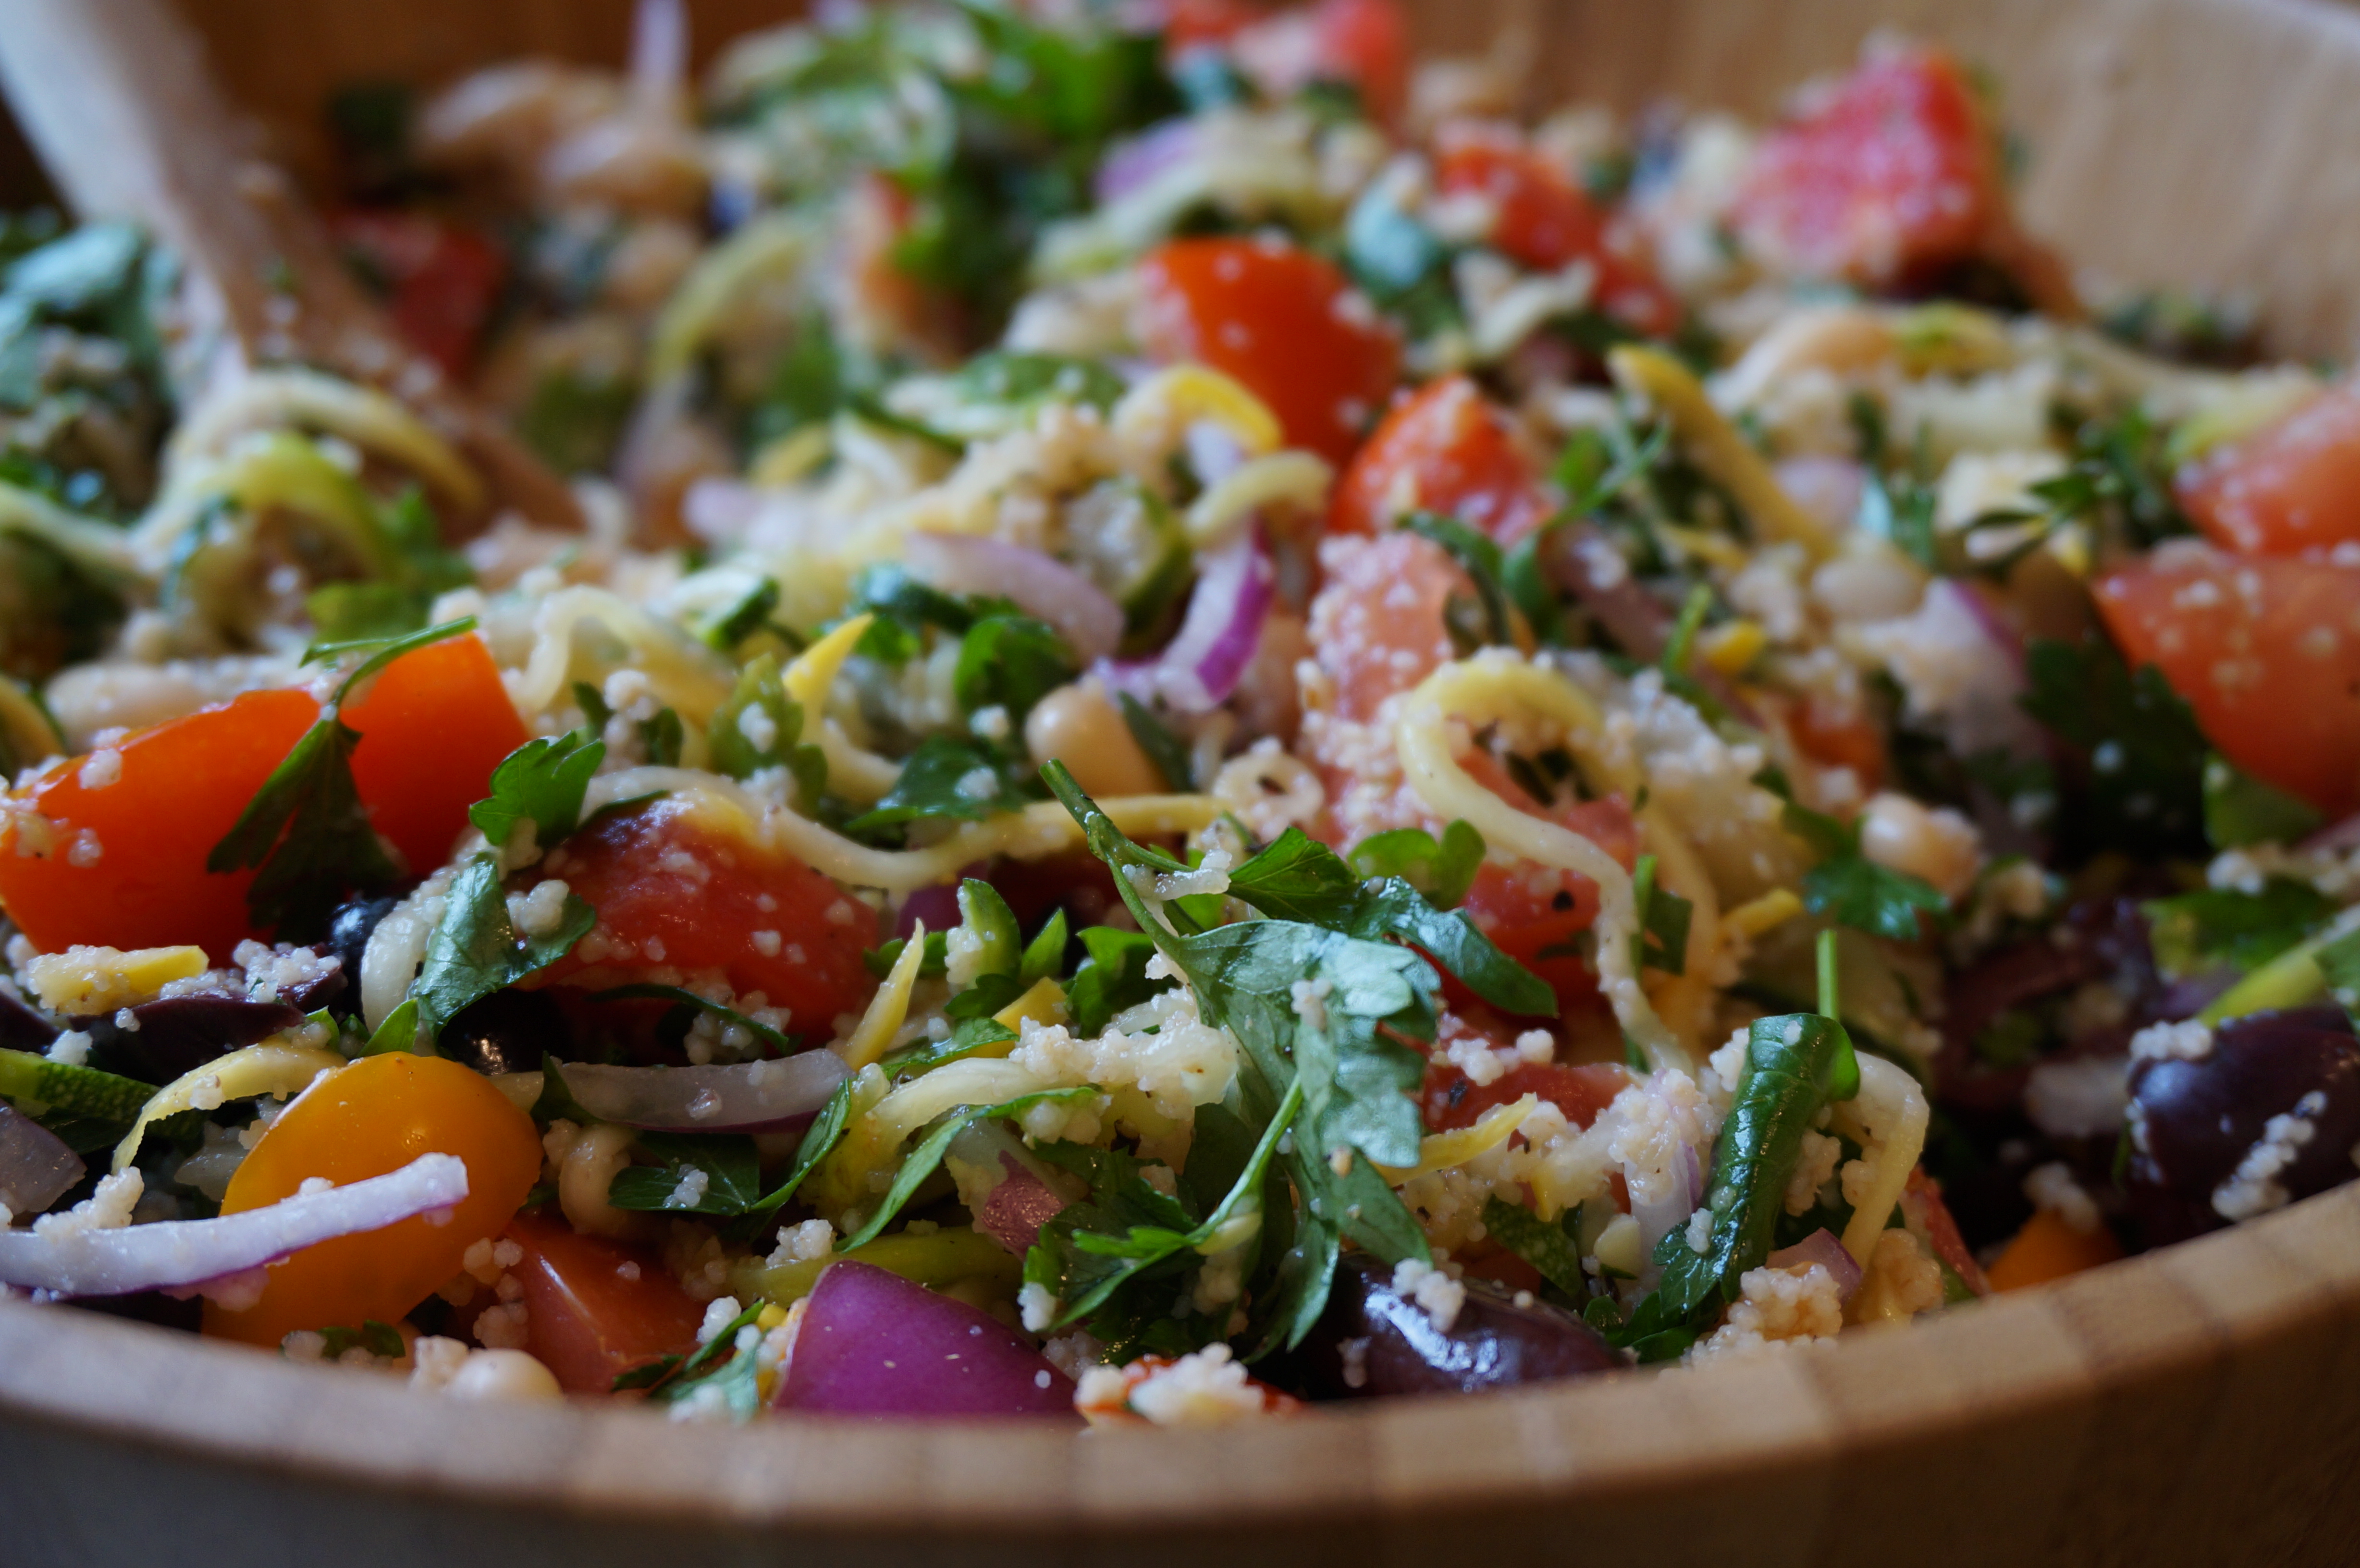
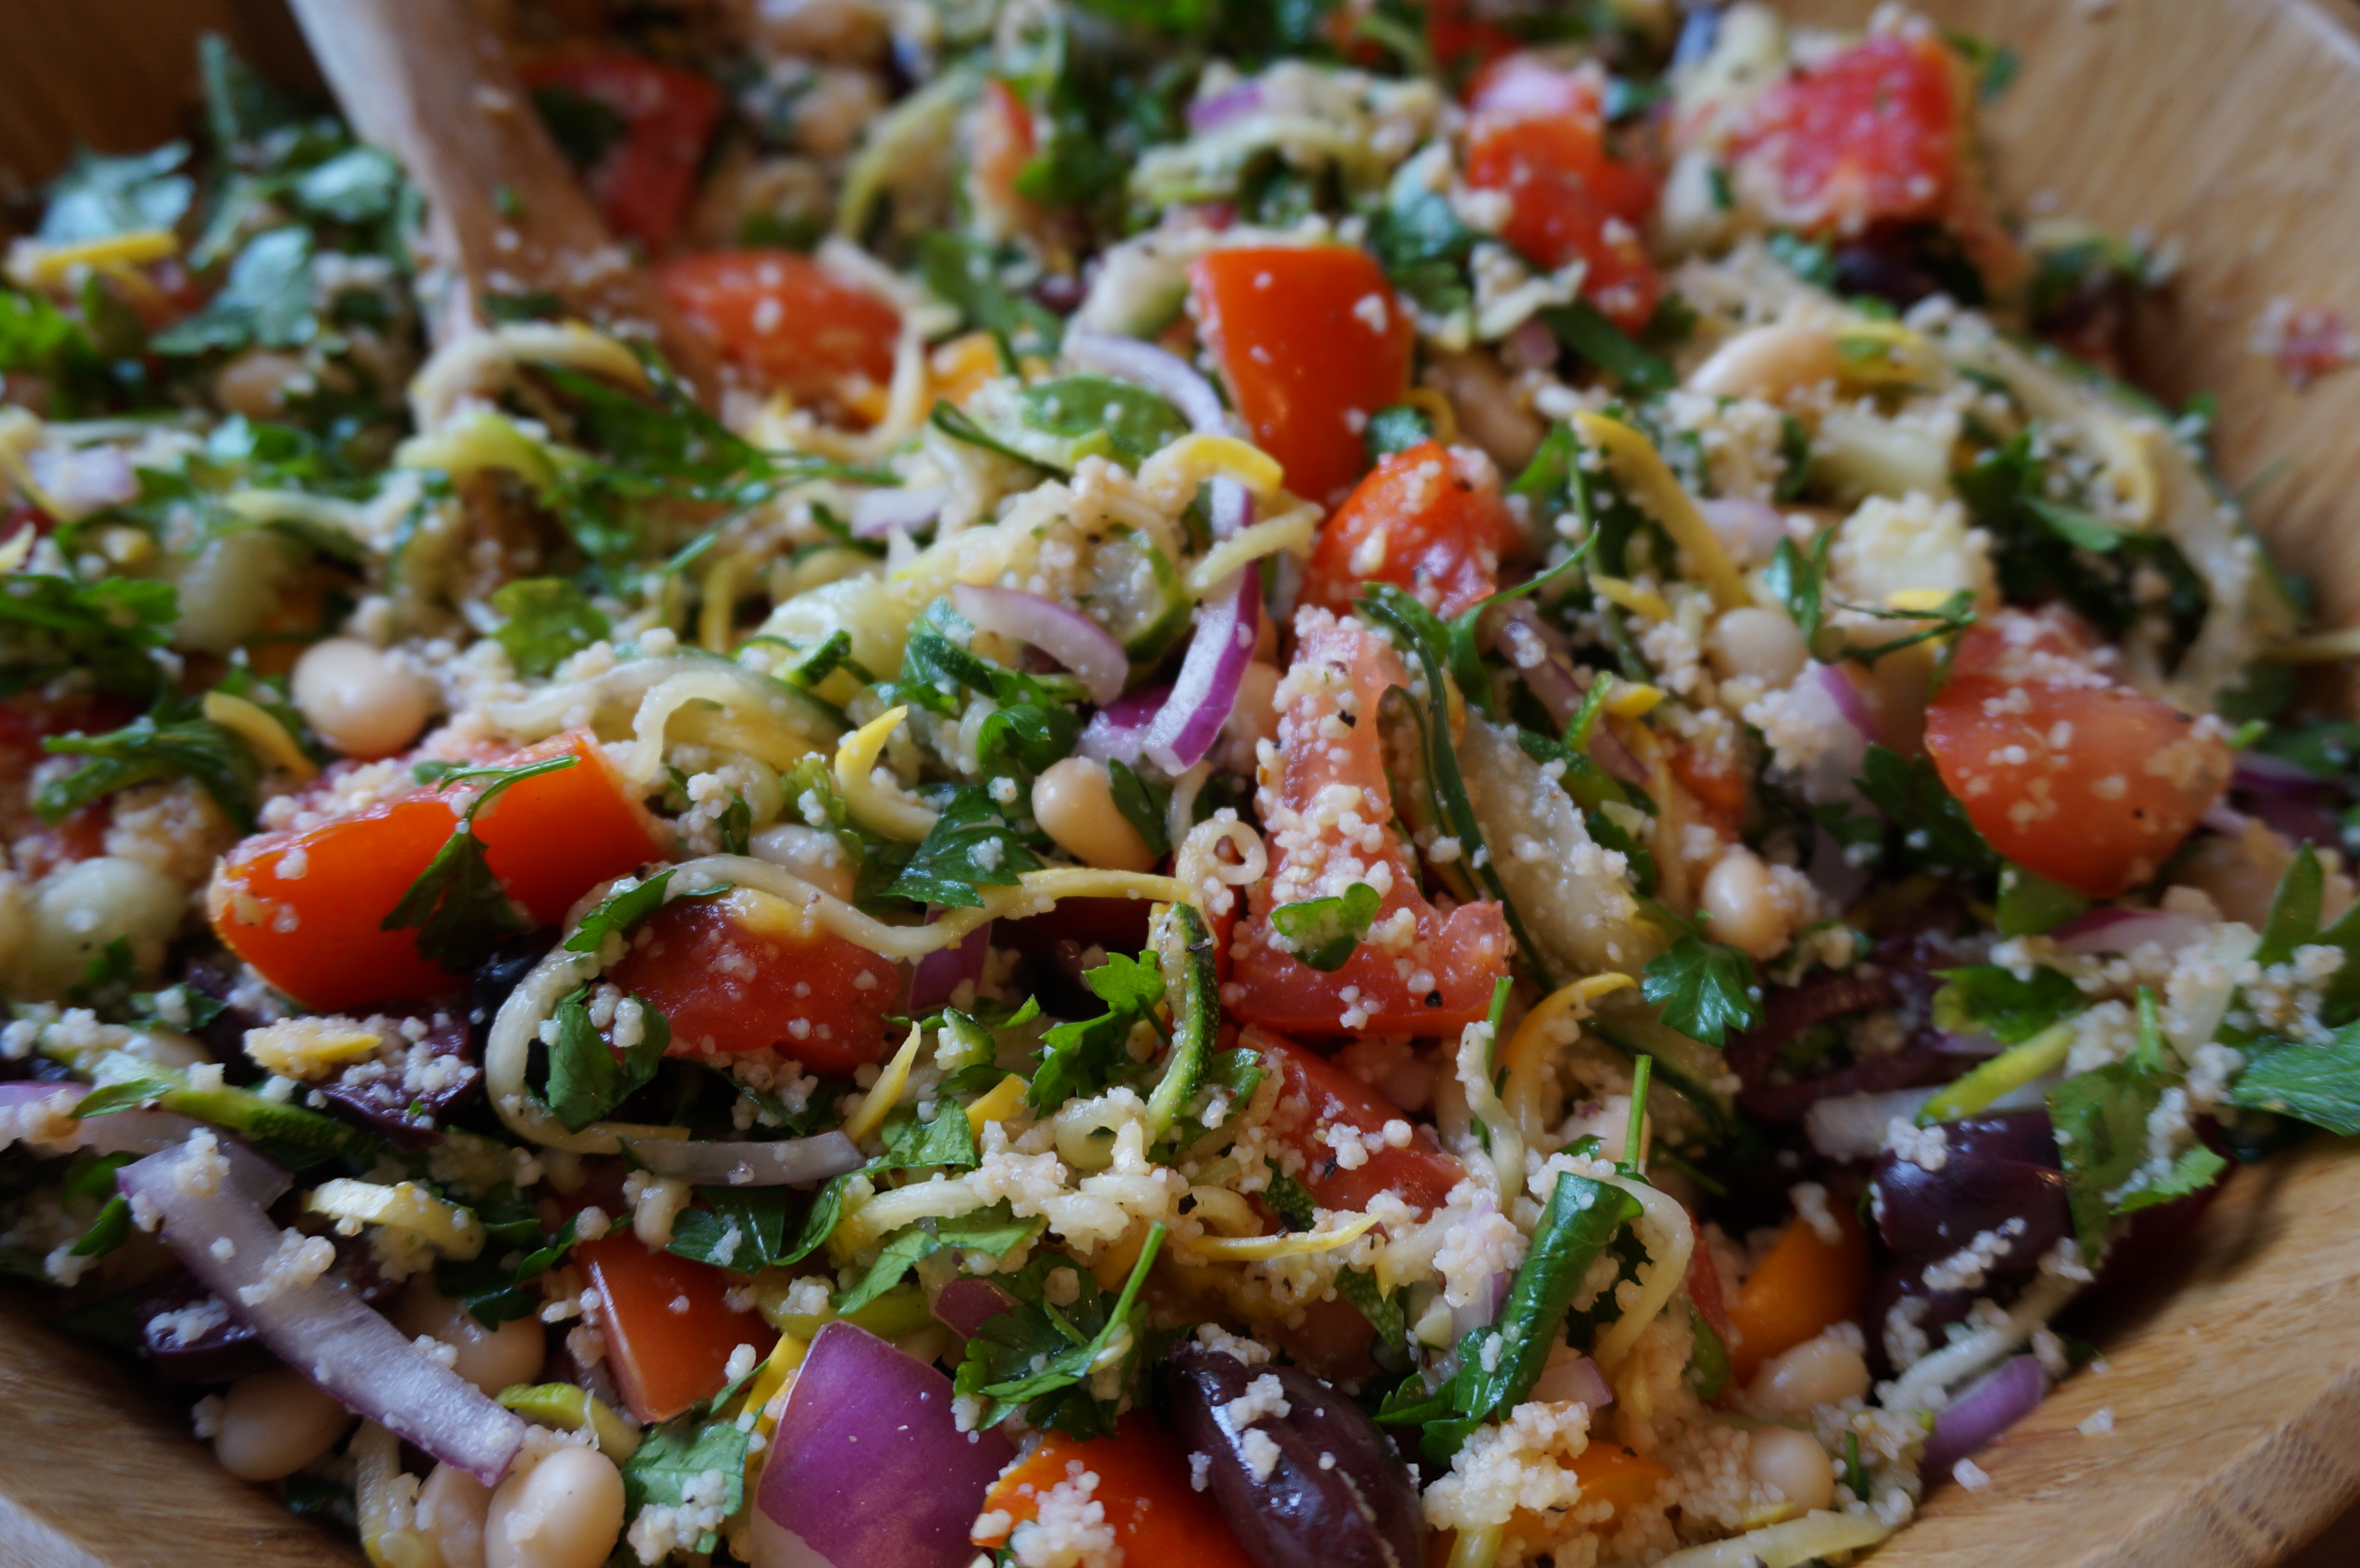
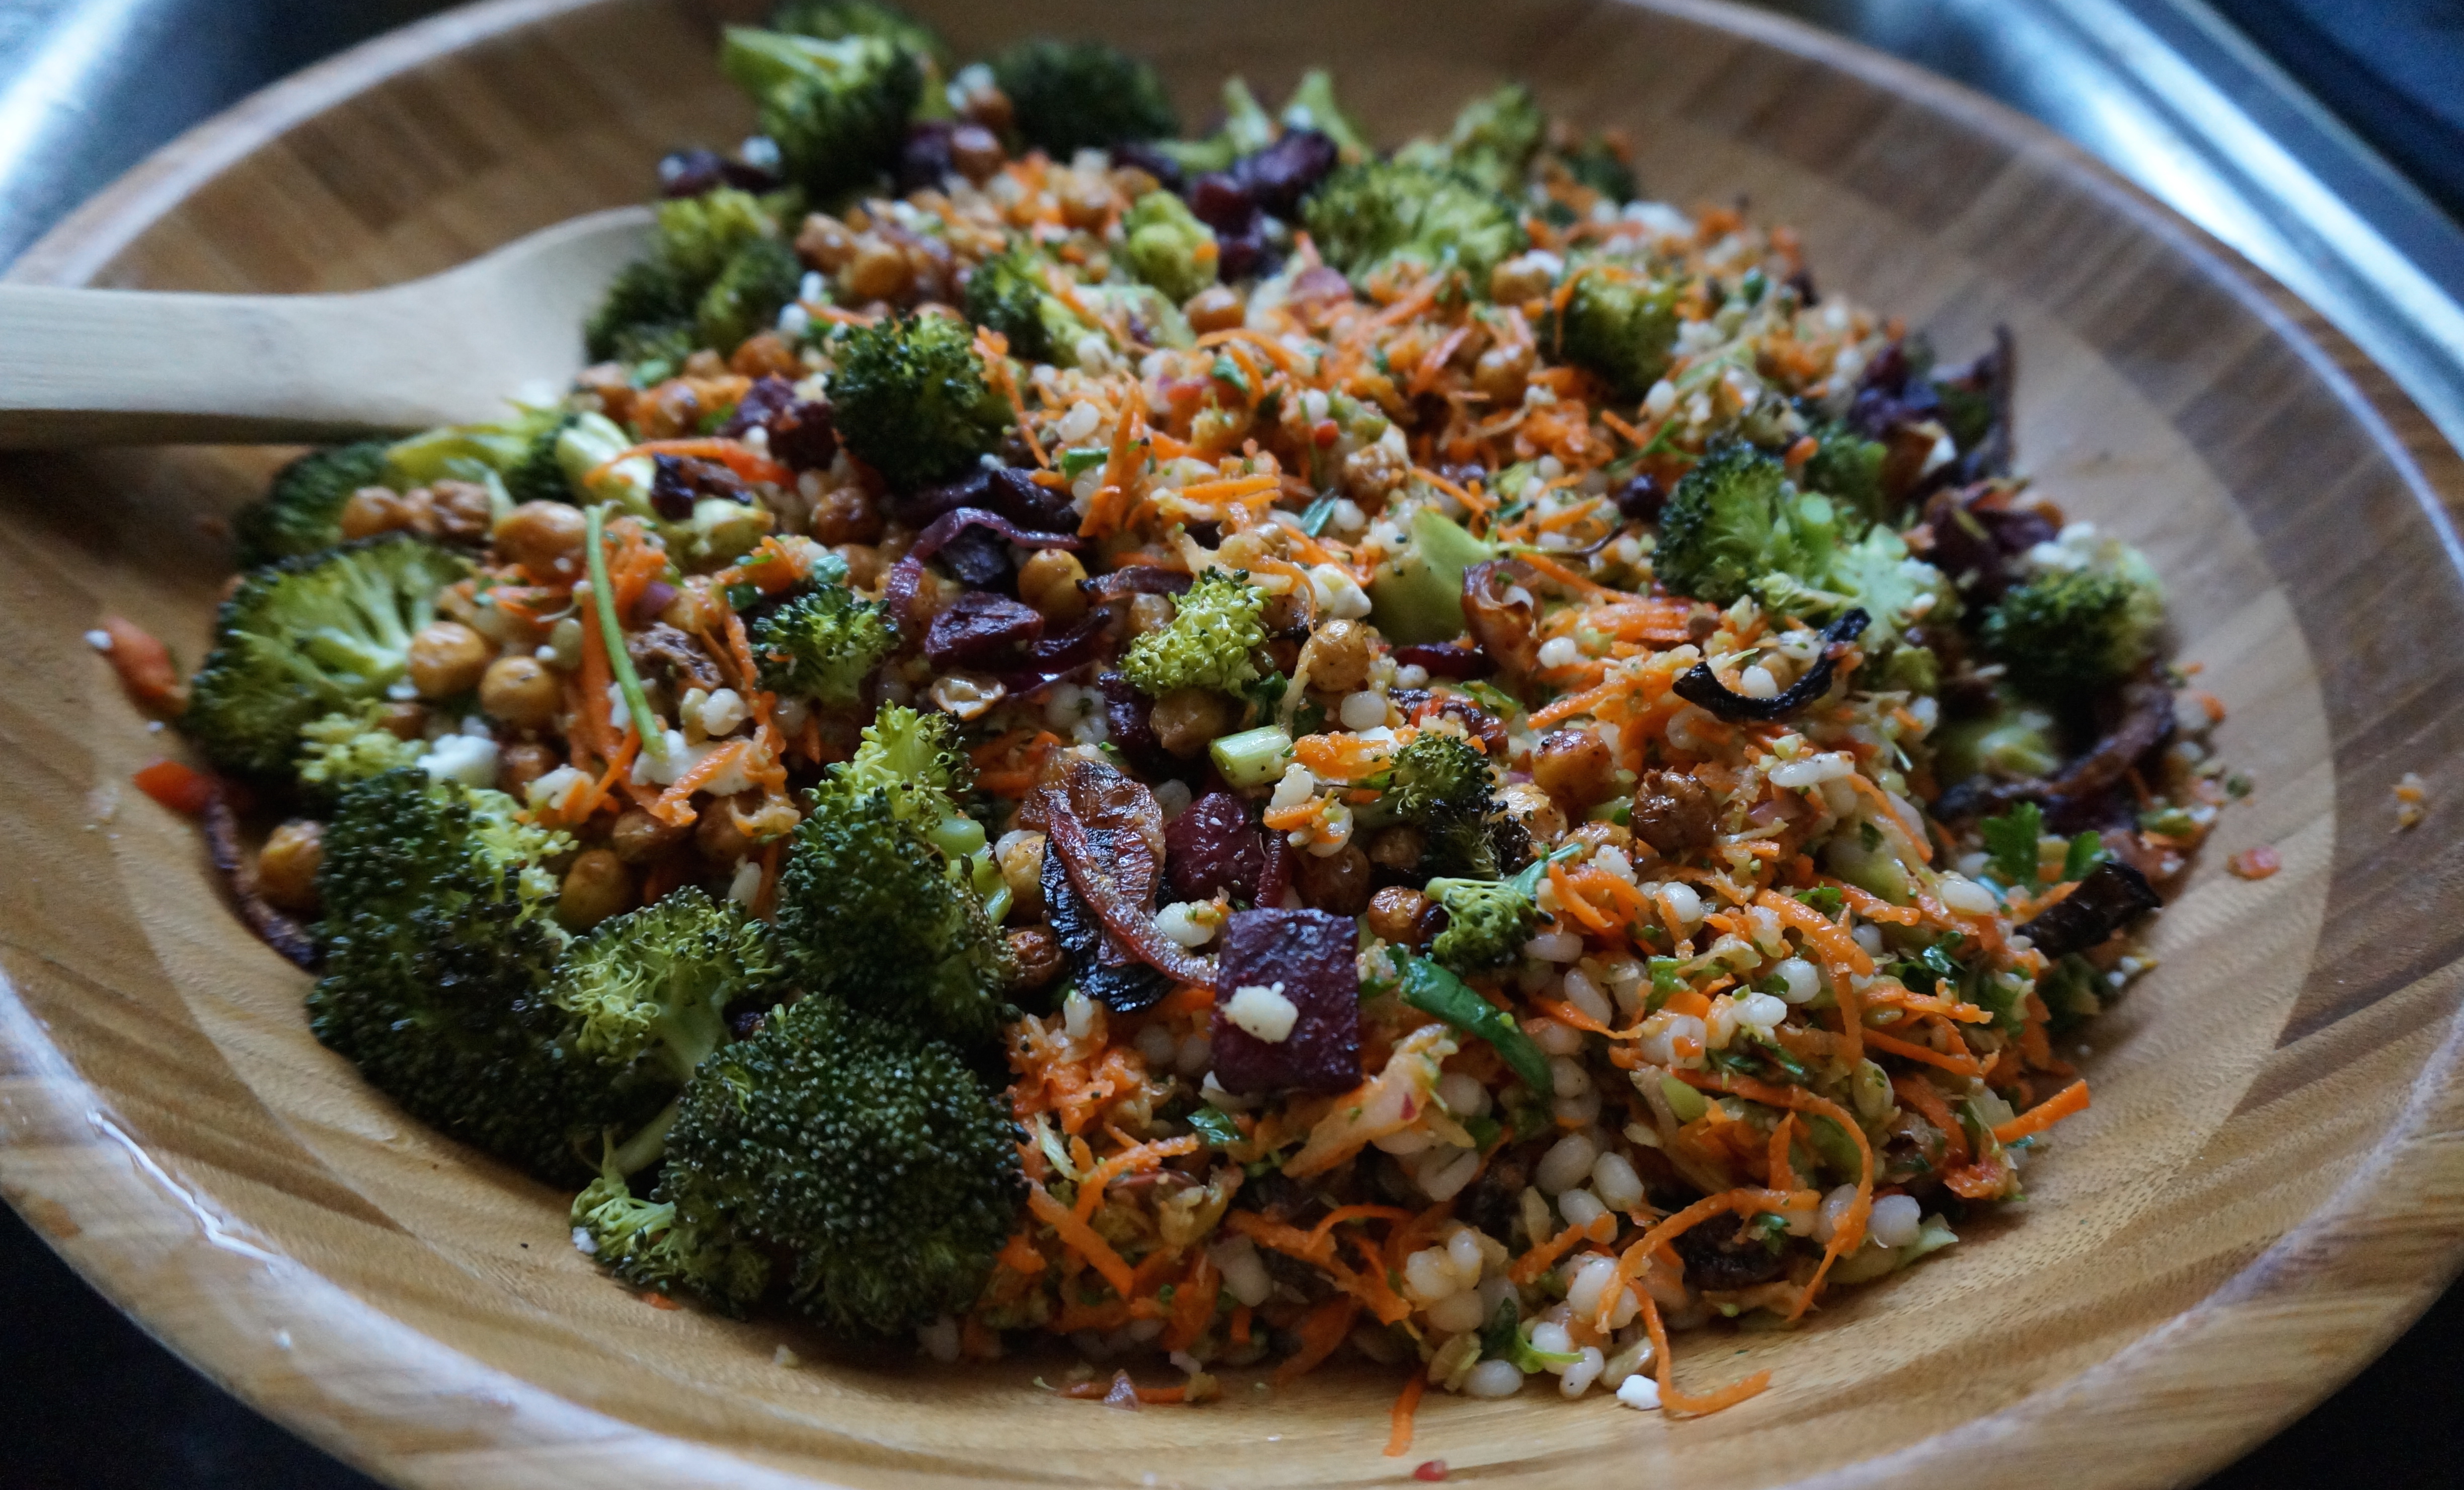
If you have extra filling, it also makes a great salad for lunch the next day! Next, rub the peppers with oil and stuff them with the filling. Fasten stems back on with toothpicks. I just about poked myself about twelve times, so ten cuidado!

DSC03393

DSC03398

Roast about 40 minutes or until charred. Cool slightly and serve with some greek yogurt, salad greens, or protein of your choice! Enjoy!

Chiles Rellenos
Chiles Rellenos
Chiles Rellenos
Recipe Type: Summer, Vegetarian
Cuisine: Mexican
Author: Claire McCormick of “Claire Tastes”
Prep time:
Cook time:
Total time:
Serves: 6-8
These easy stuffed peppers are healthy, protein-packed and vegetarian! Perfectly portioned and satisfying, you can customize the filling to meet your unique tastes- I loved them with the black bean, corn, and quinoa-lentil filling, but they’d also be great with beef or chicken.
Ingredients
  • 1/2 cup dry quinoa
  • 1/2 cup dry lentils
  • 1/4 cup red onion
  • 1/4 cup chopped cilantro
  • 2 tsp minced garlic
  • 1 can black beans, rinsed and drained
  • 1 tsp cumin
  • 1/2 tsp chili powder
  • 1/2 tsp coriander
  • pinch of cayenne pepper
  • juice of 1 lime
  • 1/2 cup chunky salsa
  • 1/2 cup frozen or fresh corn kernels
  • 1/2 cup frozen or fresh cut okra
  • salt and pepper, to taste
  • 1 cup shredded Mexican blend cheese
  • 8 medium-sized poblano peppers
  • 1 tbsp extra virgin olive oil
Instructions
  1. Rinse quinoa and lentils in a saucepan, then drain well. Add 1 1/4 cups salted water to the saucepan and bring to a boil. Reduce heat and simmer 15 minutes or until al dente. Remove from heat.
  2. Stir in cilantro, onion, garlic, black beans, and lime juice. Add spices and stir. Allow mixture to cool in the saucepan.
  3. Pour mixture into a large bowl and stir in the salsa, corn, okra, and cheese.
  4. Season with salt and pepper to taste.
  5. Preheat oven to 375. Rinse peppers and pat dry. Rub the outsides with olive oil.
  6. Slice stem tops off of each pepper and remove seeds and core from the insides. (Make sure to keep track of which top goes with which pepper!)
  7. Stuff peppers with filling and secure stems back on top with two toothpicks.
  8. Layer peppers in a foil-lined pan sprayed with cooking spray. Spray tops of peppers with a little more cooking spray.
  9. Bake uncovered for 40 minutes until charred. (The peppers will look brown and blistered… you can remove the outer skins but I decided that was too much work so I left them on!)
  10. Serve with greek yogurt and meat or greens of your choosing! I served them with BBQ chicken quesadillas and scrambled eggs- yum!

Heirloom Tomato & Summer Squash Salad

HEIRLOOM TOMATO & SUMMER SQUASH SALAD

I got the inspiration for this light and lemony summer salad from a recent dinner at The Boot, a new Italian-American restaurant that just opened in Durham. The Boot prioritizes using fresh, local ingredients and features Italian classics like Spaghetti & Meatballs while infusing a little NC flair into other dishes like their “Linguine & NC Clams.” We went with some friends and ordered three appetizers: Fried Mozzarella, Mussels (shown below), and Herb & Garlic Fries. The variety of our appetizers alone speaks to the versatility and variety of this restaurant! Our waitress was also extremely helpful (she even told Ben not to order the lemonade because she didn’t think it was very good!) and accommodating: an extra loaf of bread for the table, patience when we took longer to decide what to order, and checking back frequently to refill waters and make sure we were all satisfied.

One of our Appetizers: Mussels at The Boot Durham

For my entree, I ordered their “Local Tomatoes,” a deliciously light and fresh vegetable salad with kalamata olives, basil and Italian parsley. I loved the dressing on it, too, which was a simple lemon-balsamic vinaigrette- perfectly soaked up by that extra ciabatta! I ordered a side of braised kale and white beans to supplement the salad. It ended up being just enough for an early dinner, and I even took home a few leftovers to enjoy for lunch the next day.

Local Tomatoes Salad at The Boot Durham

Anyway, this salad basically makes itself. When you have fresh, local ingredients that are this ripe and juicy, you really cannot go wrong. I used the same ingredients as the salad at The Boot, except without the basil and I added the white beans into the salad to begin with. I also added some squash and couscous to add some bulk and soak up the extra dressing. This could be enjoyed as a side or a main dish with some chicken on top (or poached egg, for vegetarians). I also recommend serving with feta and pita wedges!

Heirloom Tomato & Summer Squash Salad
Recipe Type: Salad
Cuisine: Vegetarian, Healthy
Author: Claire McCormick of “Claire Tastes”
Prep time:
Total time:
Serves: 12
Summer is the absolute BEST time for tomatoes! Plump and juicy, with just the right amount of sweetness, I love this summer squash and tomato salad with Italian/Mediterranean-inspired flavors! Bright and fresh, this light summer salad is will last all week and can be served as a side or a main dish.
Ingredients
  • 1 yellow squash
  • 1 zucchini
  • 2 cucumbers, diced or sliced into ribbons
  • 3 large heirloom tomatoes
  • 3/4 cup golden cherry tomatoes, halved
  • 1 jar kalamata olives, halved and pitted
  • 1/3 cup red onion, sliced
  • 1 head Italian parsley, rinsed and chopped roughly
  • juice of 1 fresh lemon
  • 2 tbsp red wine vinegar
  • 2 tbsp extra-virgin olive oil
  • 1 tbsp minced garlic
  • 1 tbsp Greek seasoning (optional)
  • salt and pepper, to taste
  • 1 tsp sugar
  • 1 cup couscous
  • 1 can white beans, rinsed
  • Pita bread wedges and feta (optional)
  • Balsamic vinegar for drizzling (optional)
Instructions
  1. Spiralize yellow squash and zucchini. Dice cucumbers or slice into long ribbons using a vegetable peeler.
  2. Slice tomatoes into large chunks.
  3. In a large bowl, stir together veggies, olives, onion, and parsley.
  4. In a small bowl, whisk together the lemon, vinegar, olive oil, garlic, Greek seasoning, S+P, and sugar. Pour over the salad and toss.
  5. Cook couscous according to package directions: add 1 cup hot water to 1 cup dry couscous). Stir in the sugar and allow to sit for 5 minutes.
  6. Toss the warm couscous and white beans with the rest of the salad.
  7. Serve with pita bread, feta and drizzle of balsamic (if using).
HEIRLOOM TOMATO & SUMMER SQUASH SALAD

DSC03373

Carrot Raisin Slaw w/ Roasted Beets & Honey-Lemon Vinaigrette

Can I just say… the colors of summer are absolutely spectacular. The combination of blue sky and green trees, ocean and sand, and July sunsets are breathtaking. And I will never get tired of the bright, saturated colors of summer produce. I’ve been obsessed with beets lately, and I just can’t get over that deep red that threatens to stain every single piece of clothing you own (but it’s SO worth it)!

DSC03268
Carrot Raisin Slaw w/ Roasted Beets & Honey-Lemon Vinaigrette

I was feeling like making a big batch of roasted beet and veggie salad today, and while I had hoped to use wheat berries to copycat the Whole Foods version of their crunchy wheat berry salad, Kroger didn’t carry wheat berries! I settled for a mixture of barley and lentils- equally chewy, nutritious, and (almost) as exciting.

Roasting some chickpeas and broccoli with the beets also helps balance out the raw side of this salad from the grated carrots and broccoli stalks. And hey- I finally learned how to use the shredding function on my food processor! For some reason I always have to gear myself up to get out my processor (maybe cause it’s so hard to clean?), but it was worth the extra effort for the result. Instead of using those bagged grated carrots, grating the veggies yourself gives you a slaw that is much more tender. I also feel like it sucks up the juice of the vinaigrette much better!

Carrot Raisin Slaw w/ Roasted Beets & Honey-Lemon Vinaigrette
Recipe Type: Salad
Cuisine: Vegetarian
Author: Claire McCormick of “Claire Tastes”
Prep time:
Cook time:
Total time:
Serves: 12-16
Ingredients
  • 1 can chickpeas, drained and rinsed
  • 1 can beets, drained and rinsed
  • 1/2 red onion, sliced thinly
  • 2 tbsp olive oil, divided
  • 1 tbsp minced garlic
  • 1 tsp garlic powder
  • 1 tsp greek seasoning (optional)
  • 4 large carrots
  • 2 heads of broccoli, separated into stalks and florets
  • 1 bunch fresh parsley (about 1/2 cup)
  • juice of 1/2 lemon
  • 5 mini tomatoes (or 1/2 cup cherry tomatoes)
  • 4 green onions, sliced thinly
  • 1 cup barley, cooked to package directions
  • 1/2 cup dry lentils
  • 1/3 cup raisins
  • 1/4 cup apple cider vinegar
  • 1/4 cup red wine vinegar
  • 1 tbsp dijon mustard
  • 2 tsp honey
  • salt and pepper
  • 1/2 cup goat cheese (optional)
Instructions
  1. Cook barley according to package directions. In last 20 minutes of cooking, add lentils until all grains are al dente. Rinse with cold water to stop the cooking process. Preheat oven to 375 deg.
  2. Spread rinsed chickpeas on a large baking pan and pat dry with paper towels.
  3. Add beets and red onions to pan with olive oil and garlic. Sprinkle garlic powder, greek seasoning, and salt and pepper and stir to combine. Bake at 375 deg for 40 minutes until chickpeas are crispy. Add broccoli florets and return to oven for 10 more minutes until tender. Remove from oven and cool.
  4. In a food processor using the slicing setting, grate carrots and broccoli stalks (not florets). Scrape into a large bowl. In the same processor using the multipurpose blade, add parsley, lemon juice, and tomatoes. Pulse until roughly chopped- about 2-3 pulses.
  5. Sitr parsley mixture into the shredded carrots and broccoli. Add raisins and green onions.
  6. In a small jar, combine both vinegars, mustard, honey and salt and pepper. Shake vigorously and pour over the salad.
  7. While still warm, add the barley/lentils and roasted vegetables to the salad. Top with goat cheese and toss to combine.

One key with this salad is to add the barley and roasted veggies while they’re still semi-warm; that way the barley really soaks up the lemon vinaigrette and the goat cheese gets this nice melty texture before you stick it in the fridge to marinate for a few hours.

Hope y’all had a very happy Fourth!

DSC03240
Prepare chickpeas and beets for roasting.
DSC03242
Rinse all veggies prior to shredding in food processor.
DSC03243
Process using the shredder attachment.
DSC03245
Process remaining veggies and parsley with multipurpose blade.
DSC03251
Shake up vinaigrette ingredients. I happened to have the end of a mustard container, so I added the vinegar to that and just shook it until my arm got tired!
DSC03261
Prepare barley and lentils and cool to stop cooking process.
DSC03257
Roasted beets, broccoli, and chickpeas. LOVE these colors!
DSC03263
Toss all together and serve with goat cheese.

Patriotic Oats & Yogurt Parfait

Here’s a little breakfast that’s not only pretty to look at, but will keep you going all morning! Packed with hearty oats, yogurt and fruit with a touch of honey for sweetness, I promise you’ll feel more and more American with every spoonful. May your Fourth of July be happy, healthy, and delicious in every way!

Patriotic Oats & Yogurt Parfait
Recipe Type: Breakfast, Brunch
Cuisine: Healthy, Vegetarian
Author: Claire McCormick of “Claire Tastes”
Prep time:
Cook time:
Total time:
Serves: 1
Here’s a little breakfast that’s not only pretty to look at, but will keep you going all morning! Packed with hearty oats, yogurt and fruit with a touch of honey for sweetness, I promise you’ll feel more and more American with every spoonful. May your Fourth of July be happy, healthy, and delicious in every way!
Ingredients
  • 1/3 cup old fashioned oats
  • 2 tbsp raisins or other dried fruit
  • 1/3 cup milk (I used some almond, some 1%)
  • 3/4 cup plain yogurt
  • 1 tsp honey (optional)
  • sprinkle of cinnamon
  • Toppings of your choosing: Fruit (I chose bananas, blueberries, and strawberries for the holiday!). chopped nuts, nut butter, dried coconut, dried cereal, etc.
Instructions
  1. Cook oatmeal by adding raisins, milk, and 1/4 cup water and microwaving for 1 1/2 min. Stir and sprinkle in cinnamon, if using.
  2. Stir together plain yogurt and honey for sweetness.
  3. In a mason jar, layer fruit, oats and yogurt, finishing with a yogurt dollop on top. Top with chopped nuts and other toppings.

What are your plans for this Fourth of July?

Balsamic Roasted Tofu

The perfect vegetarian addition to salads and soups! Leave the tofu in long strips and top with a light summery garnish for a light lunch, or cube and top your next salad. I used balsamic vinegar, dijon mustard and oregano, but the great thing about tofu is that it just slurps up the flavor of anything you marinate in- a little peanut oil and nut butter with some ginger makes a great meat sub for Pad Thai!

Balsamic Roasted Tofu
Recipe Type: Dinner, Lunch, Side
Cuisine: Vegetarian
Author: Claire McCormick of “Claire Tastes”
Prep time:
Cook time:
Total time:
Serves: 5
Try this easy, slow-roasted tofu recipe for topping your next salad or soup! Packed with protein and iron, you’ll feel good eating it!
Ingredients
  • 3/4 cup balsamic vinegar
  • 2 tbsp dijon mustard
  • 1 tbsp spicy brown mustard
  • 1 tsp minced garlic
  • 1 1/2 tsp dried oregano
  • 1 14 oz package extra firm tofu, drained
Instructions
  1. Slice tofu into 3/4″ width slices and place between two layers of paper towels. Press with something heavy on top for at least 30 minutes to remove excess moisture from the tofu.
  2. In a jar, mix together all other ingredients and shake vigorously to combine.
  3. Marinate tofu in a single layer in a shallow dish (I used a rectangular tupperware) for 20 minutes. Sprinkle with additional oregano if desired.
  4. Preheat oven to 350 deg. Slow-cook tofu on a baking sheet lined with parchment paper for 1 hour until firm but tender.
  5. Cool at least 5 minutes before slicing into smaller cubes, if desired.

DSC03191

DSC03194

Slow-Roasted Balsamic Tofu

Gyro Pitas & Homemade Tzatziki Sauce

DSC02999

Gyro Pitas & Homemade Tzatziki Sauce
Recipe Type: Main Dish
Cuisine: Greek, Mediterranean, Picnic
Author: Claire McCormick of “Claire Tastes”
Prep time:
Cook time:
Total time:
Serves: 8-10
I’ve been wanting to experiment with these for a while! So easy to whip up in your crock pot (I should try meatloaf this way someday!), and you can easily freeze the meat to use later! Perfect for assembling lots of sandwiches for your next picnic or BBQ.
Ingredients
  • 1 lb ground lamb
  • 1 lb ground beef (not extra lean)
  • 1/2 onion, minced
  • 1 tbsp minced garlic
  • 1 tsp dried rosemary
  • 2 tbsp dried oregano
  • 1 tsp greek seasoning (optional)
  • 1 tsp dried thyme
  • 1 tsp each black pepper and salt
  • 1 tsp dried onion powder
  • 1 tsp paprika
  • juice of 1/2 lemon
  • 10 whole wheat pitas
  • Toppings: romaine, tomatoes, kalamata olives, red onion, feta cheese, homemade tzatziki sauce (see below)
  • For Tzatziki Sauce:
  • 1/2 plain greek yogurt + 1/2 cup tart, regular plain yogurt (I like Trader Joe’s Australian style)
  • juice of 1/2 lemon
  • 1 tsp lemon zest
  • 1/2 cucumber, seeded and chopped finely
  • 1 1/2 tbsp chopped dill
  • 1 tsp minced garlic
  • 1 tsp sugar
  • salt and pepper, to taste (I used about 1/2 tsp each)
  • dash of cayenne pepper
Instructions
  1. Combine onion and all spices in a food processor and pulse until finely chopped and incorporated. Remove majority of mixture and set aside.
  2. Add meat to food processor and pulse a few times until combined. Slowly stir into spice mixture.
  3. Form into two large mounds and set into crock pot. Flatten slightly.
  4. Pour lemon juice on top of meat and cook on high for 2-3 hours or until internal temperature reaches 160 deg.
  5. Remove and allow to sit for at least 10 minutes before slicing into thin strips.
  6. For Tzatziki Sauce:
  7. Combine all ingredients in a medium bowl and chill at least 30 min, or up to 1 week. Spread on gyro meat or pita during assembly.
Cook meat in crock pot for 2-3 hours.
Allow to sit at least 10 minutes, then slice thinly into strips.
Top with desired toppings and tzatziki sauce, and wrap up in pita. Tie with a bow to keep it together!