Grilled Teriyaki Chicken Burgers with Pineapple Salsa

Happy weekend! Ben and I were finally fortunate enough to have a B-E-A-utiful day to get our grill up and running! If you remember, we got money for a new grill from Ben’s parents for Christmas this year. Every time we tried to go get it, though, we either didn’t have the right car, or it was monsooning (or snowing!) outside. But thanks to my incredible husband, it is now fully assembled! After one of the most stressful days in a while in terms of house-projects and life events (more on that later), we sat down to a romantic candlelight dinner outside on our patio.

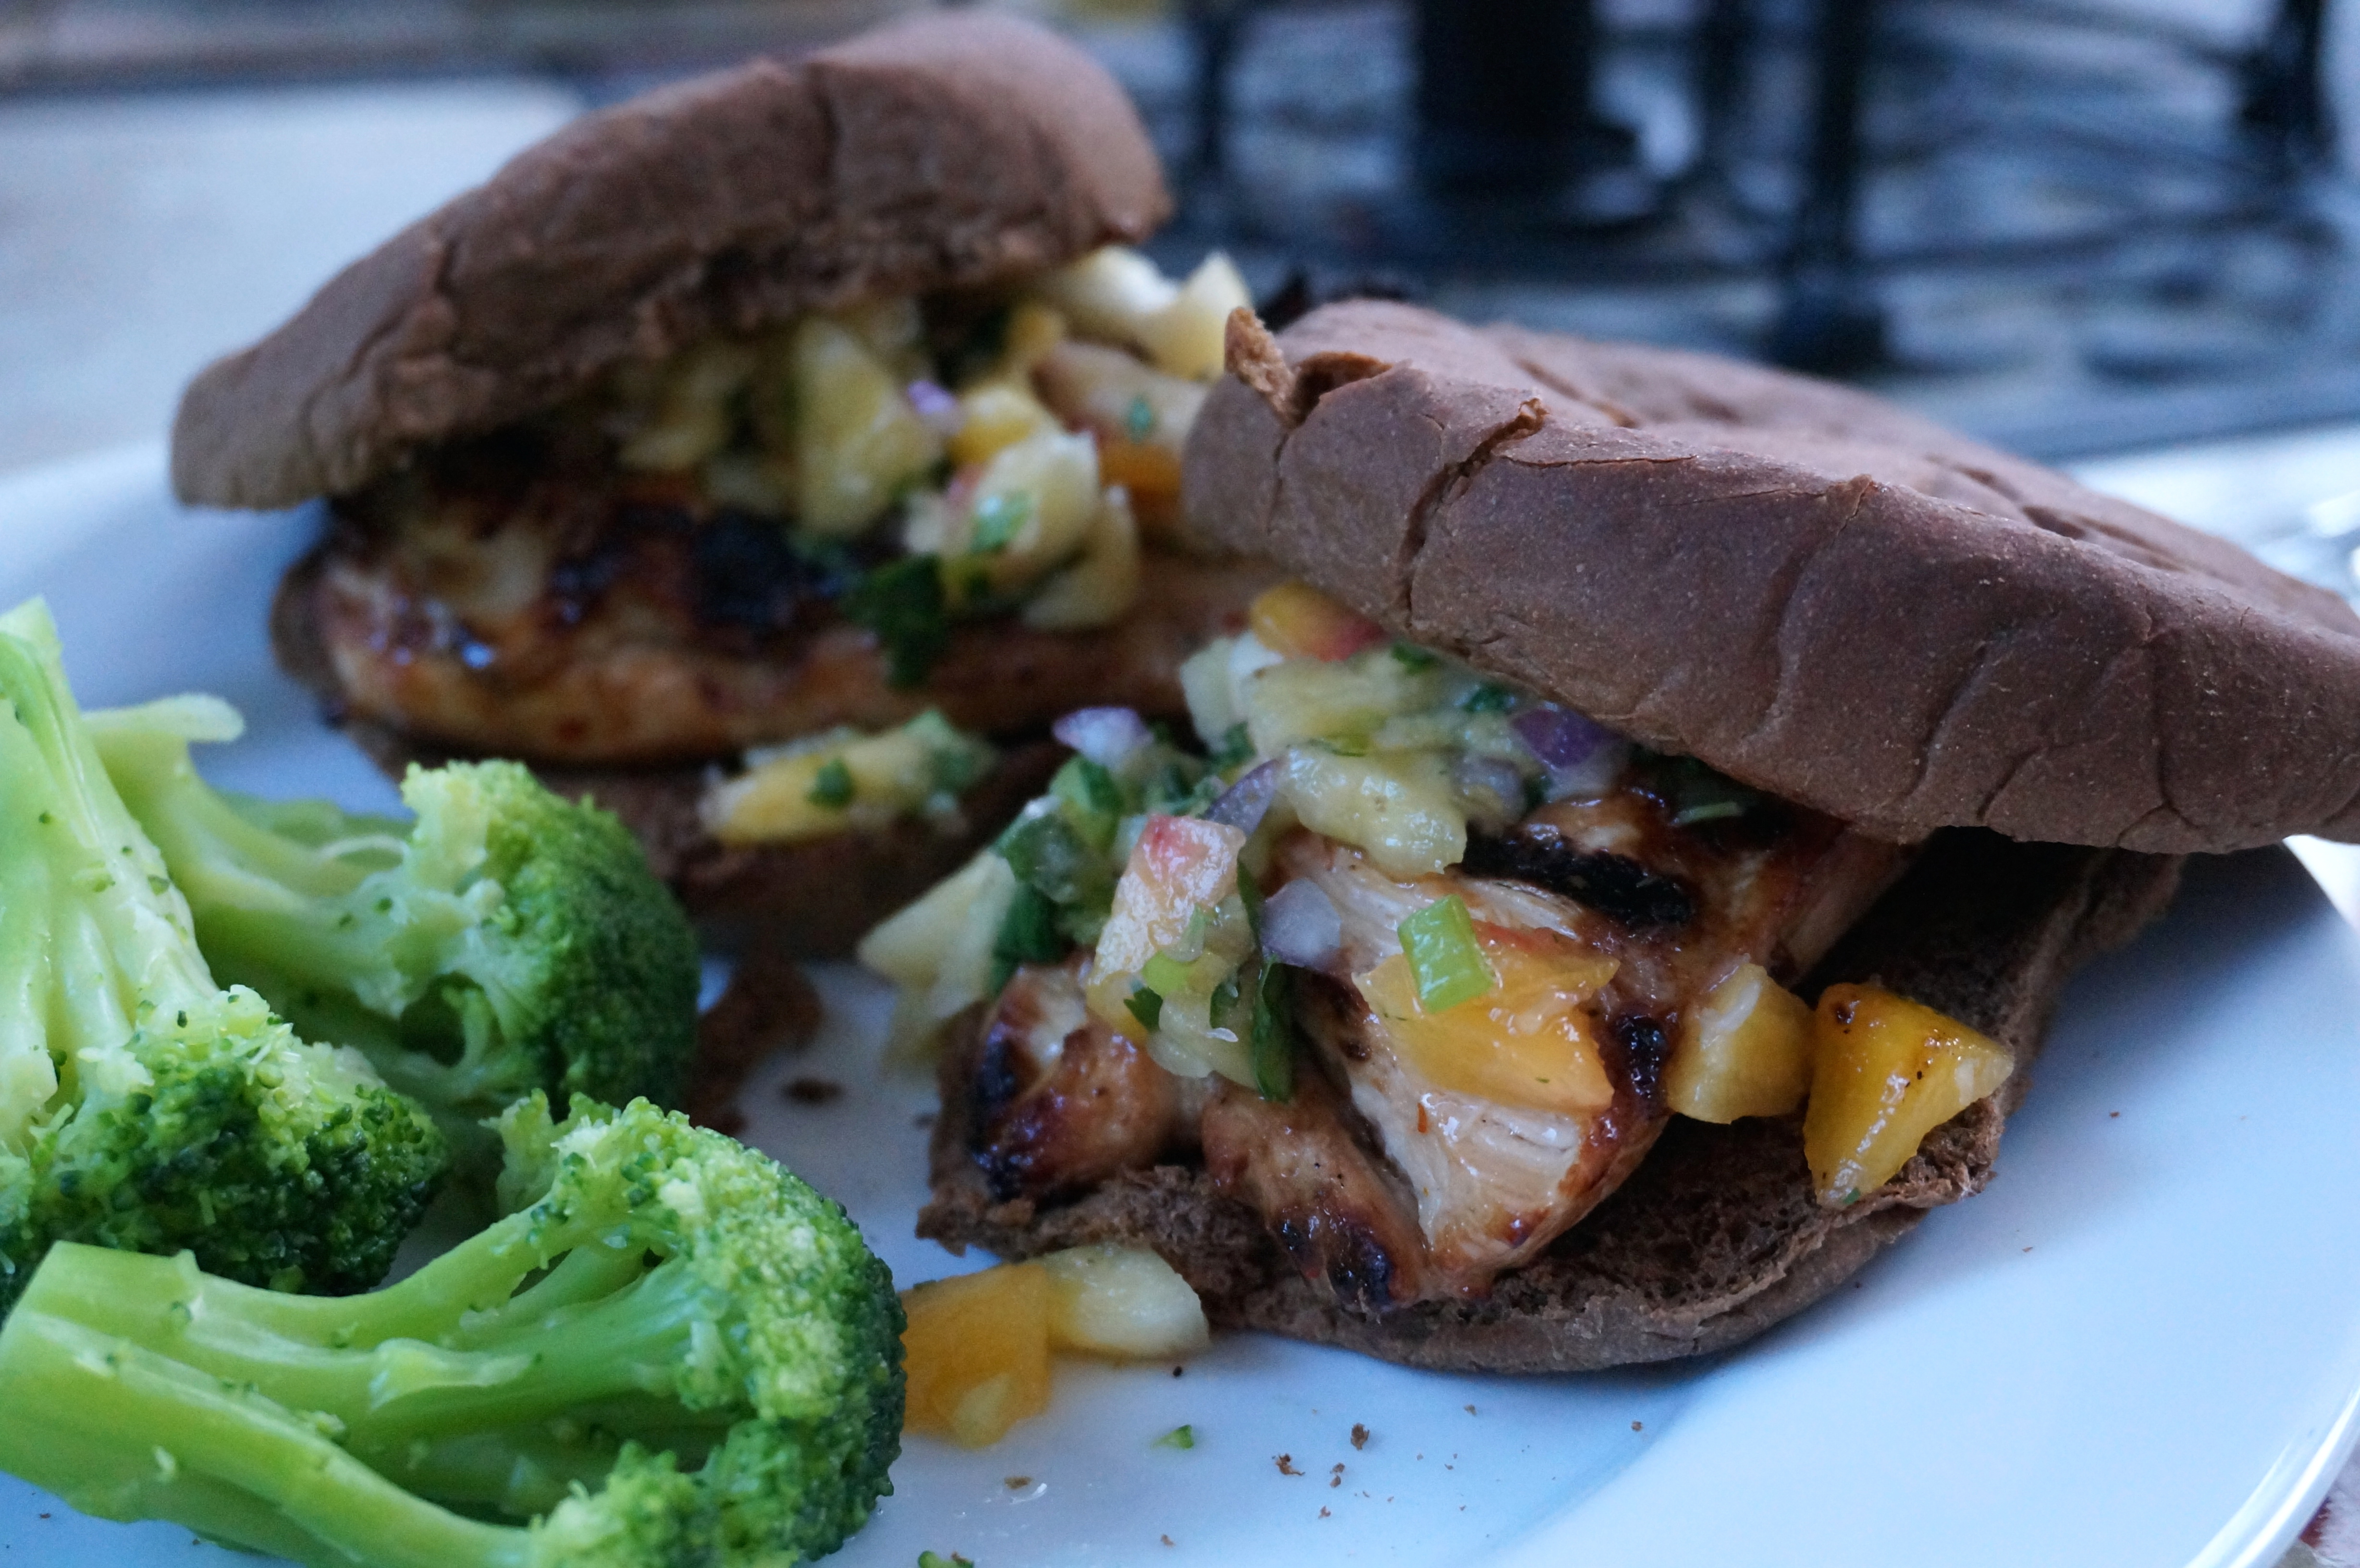
The menu for tonight? Grilled chicken teriyaki burgers with pineapple salsa. YUM. Adapted from thisย Iowa Girl Eats recipe,ย we decided to test out our newest toy with some fresh chicken and pineapple (thank you, Harris Teeter!). And let me tell you, this meal did NOT disappoint. The chicken was tender and juicy, and if you’re like me and love anything teriyaki-flavored, the orange juice was a really nice addition to give the meat a little extra tang.

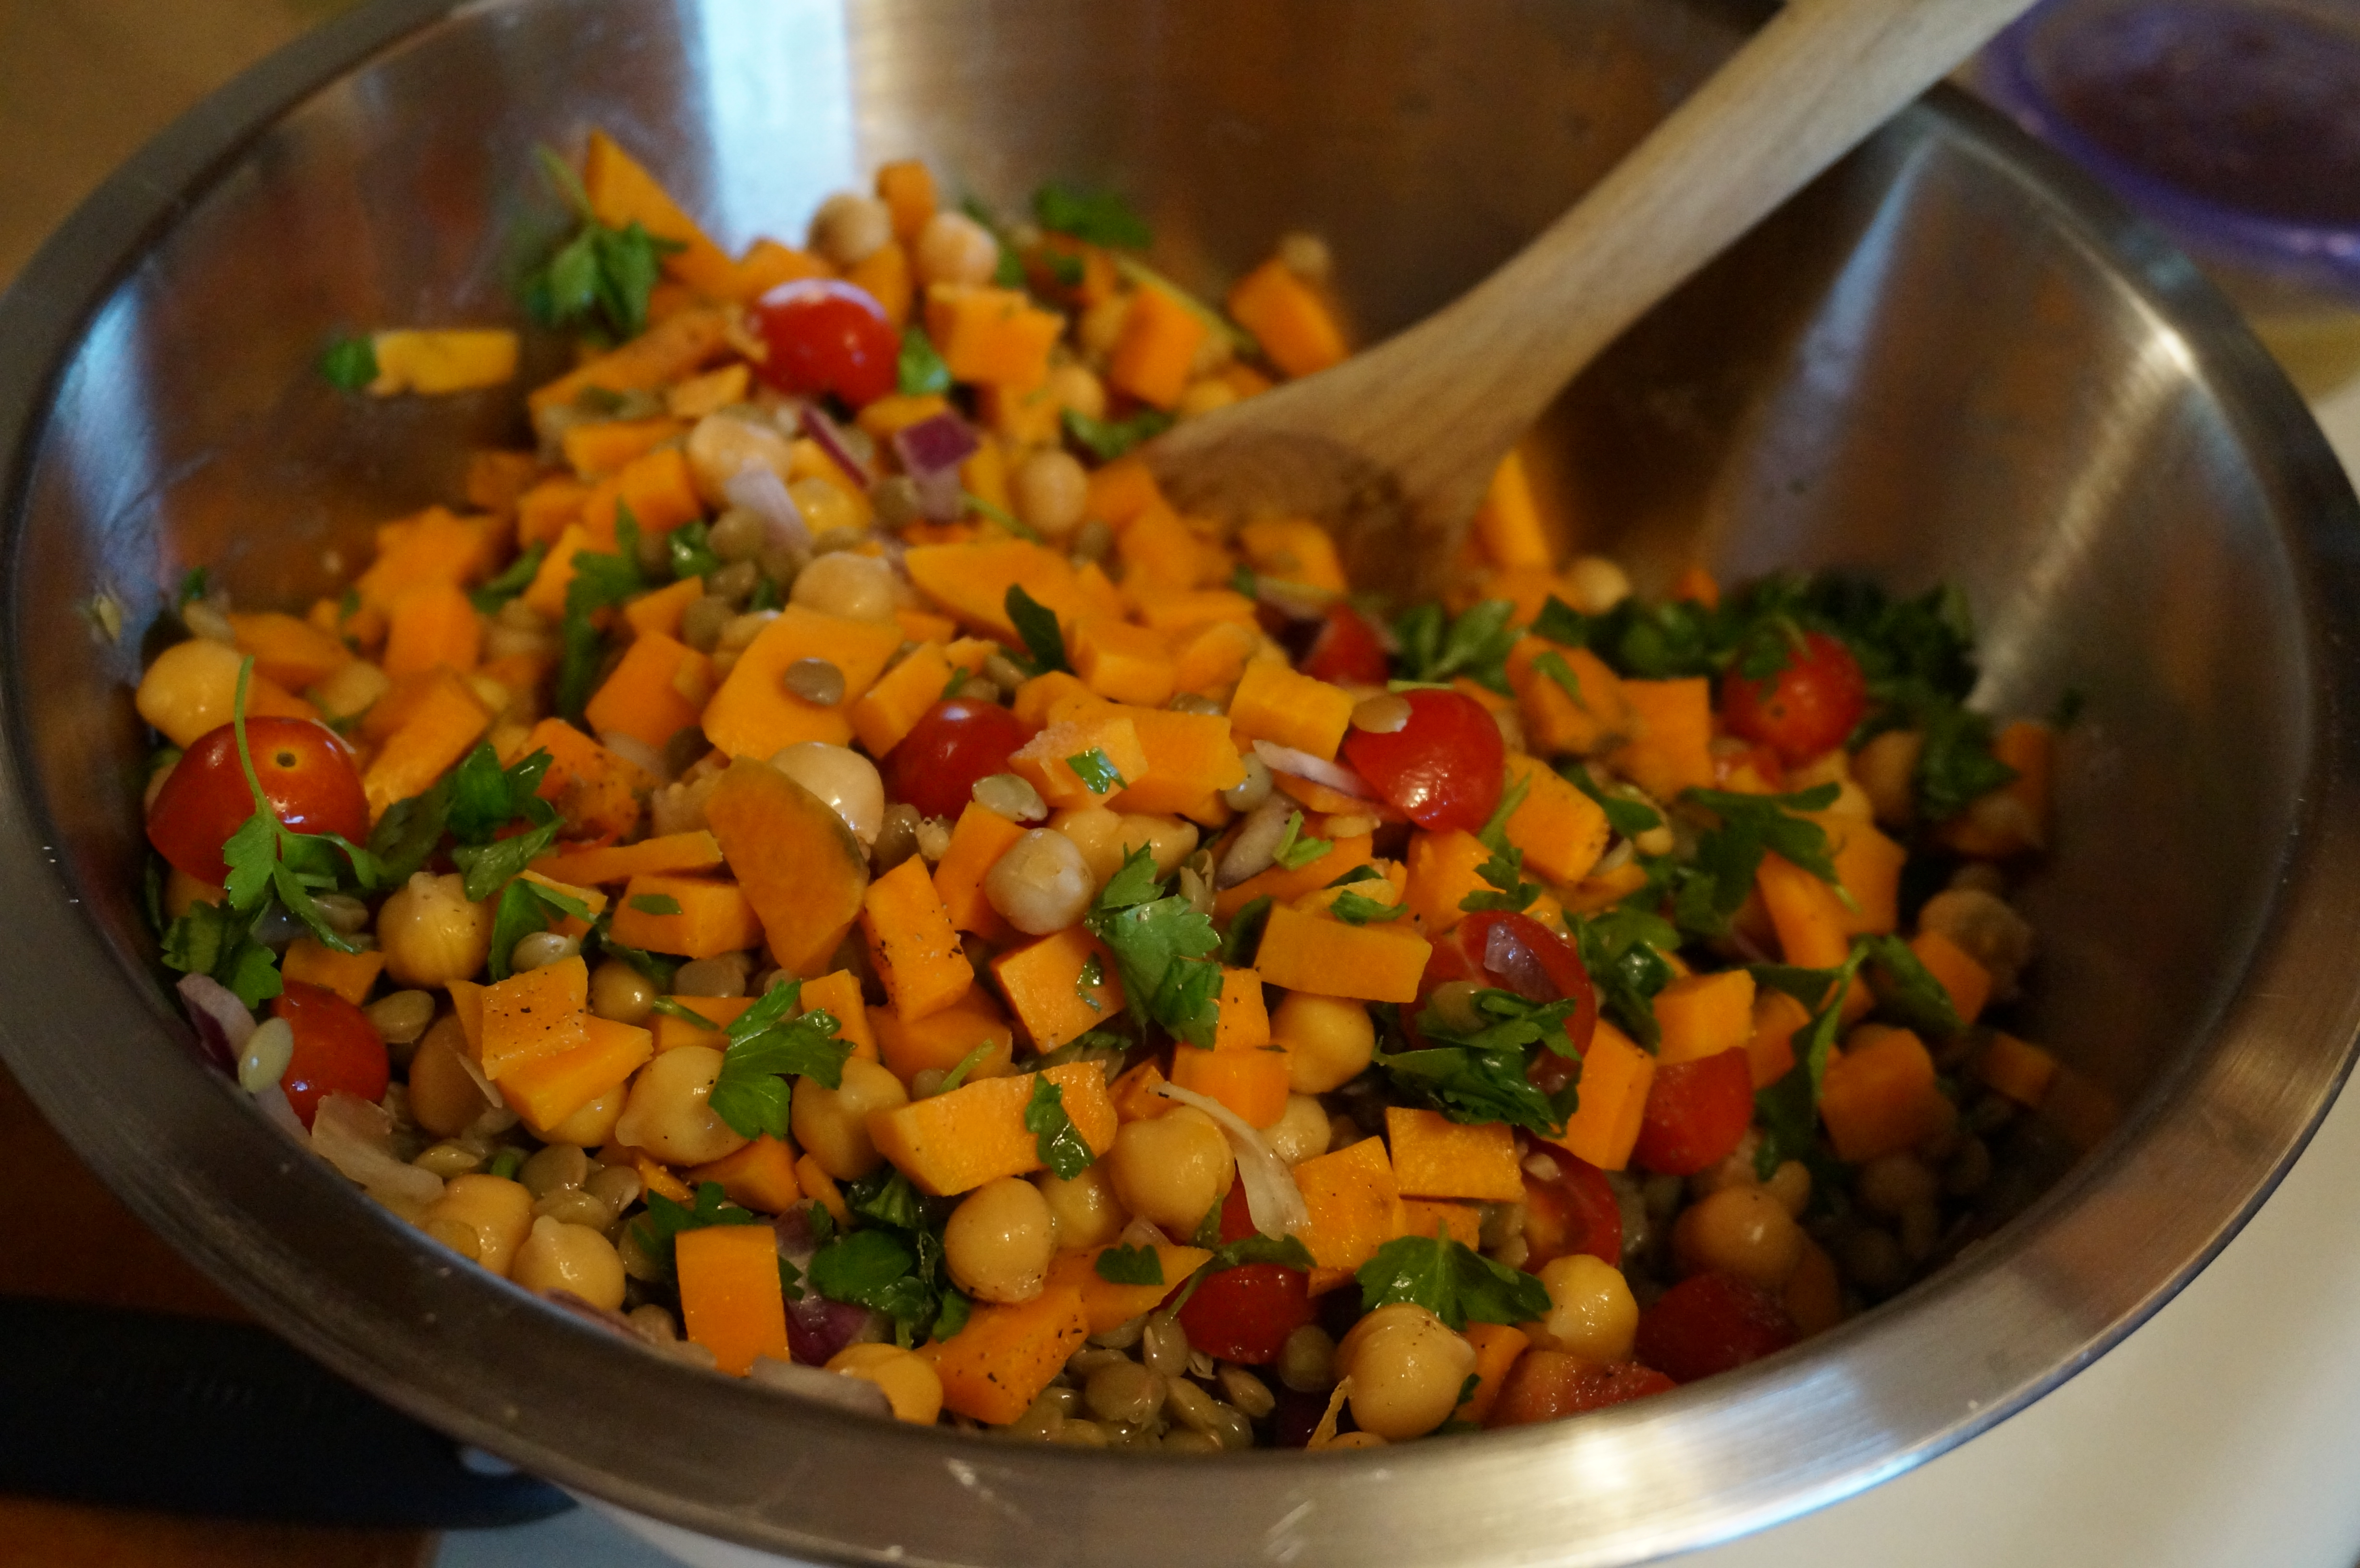
As far as the salsa, I chose to do a pineapple salsa with a few peaches thrown in (instead of the watermelon-cucumber salsa in the original recipe). It seemed like a perfect addition to the teriyaki, and I knew how much Ben likes pineapple on his burgers. The colors were magnificent and reminded me of how lucky we are to have access to so much fresh, seasonal produce! And for the warm summer weather ๐Ÿ™‚

I hope you enjoy your own variations on this perfect Memorial Day supper!

DSC01398

DSC01403

Grilled Teriyaki Chicken Burgers with Pineapple Salsa
Recipe Type: Chicken, BBQ, Teriyaki, Grilling
Cuisine: BBQ, Chicken
Author: Claire McCormick of “Claire Tastes”
Prep time:
Cook time:
Total time:
Serves: 6-8
Dust off that grill and try this perfect Memorial Day meal! Fresh and filling, this recipe for teriyaki chicken burgers is sure to get your patriotic juices going ๐Ÿ™‚
Ingredients
  • For the Teriyaki Marinade:
  • 1/3 cup low sodium soy sauce
  • 1/4 cup orange juice
  • 2 tbsp lime juice
  • 2 tbsp vegetable oil
  • 2 tbsp honey
  • 1 green onion, chopped
  • 2 tsp minced garlic
  • 1/2 tsp garlic powder
  • 1/4 tsp ground ginger
  • 1/2 tsp crushed red pepper
  • 1/2 tsp salt
  • 1/4 tsp pepper
  • For the Pineapple Salsa:
  • 2 cups fresh pineapple chunks
  • 1 squirt lime juice
  • 1/4 red onion, chopped
  • 1 bunch fresh cilantro, rinsed and minced (about 3 tbsp total)
  • 1/4 cup chopped peaches (I just used some frozen ones)
  • 1 green onion, chopped
  • 1 pinch salt
  • 2 lbs chicken breasts (about six large breasts) pounded to an even thickness
  • 2 large hamburger buns
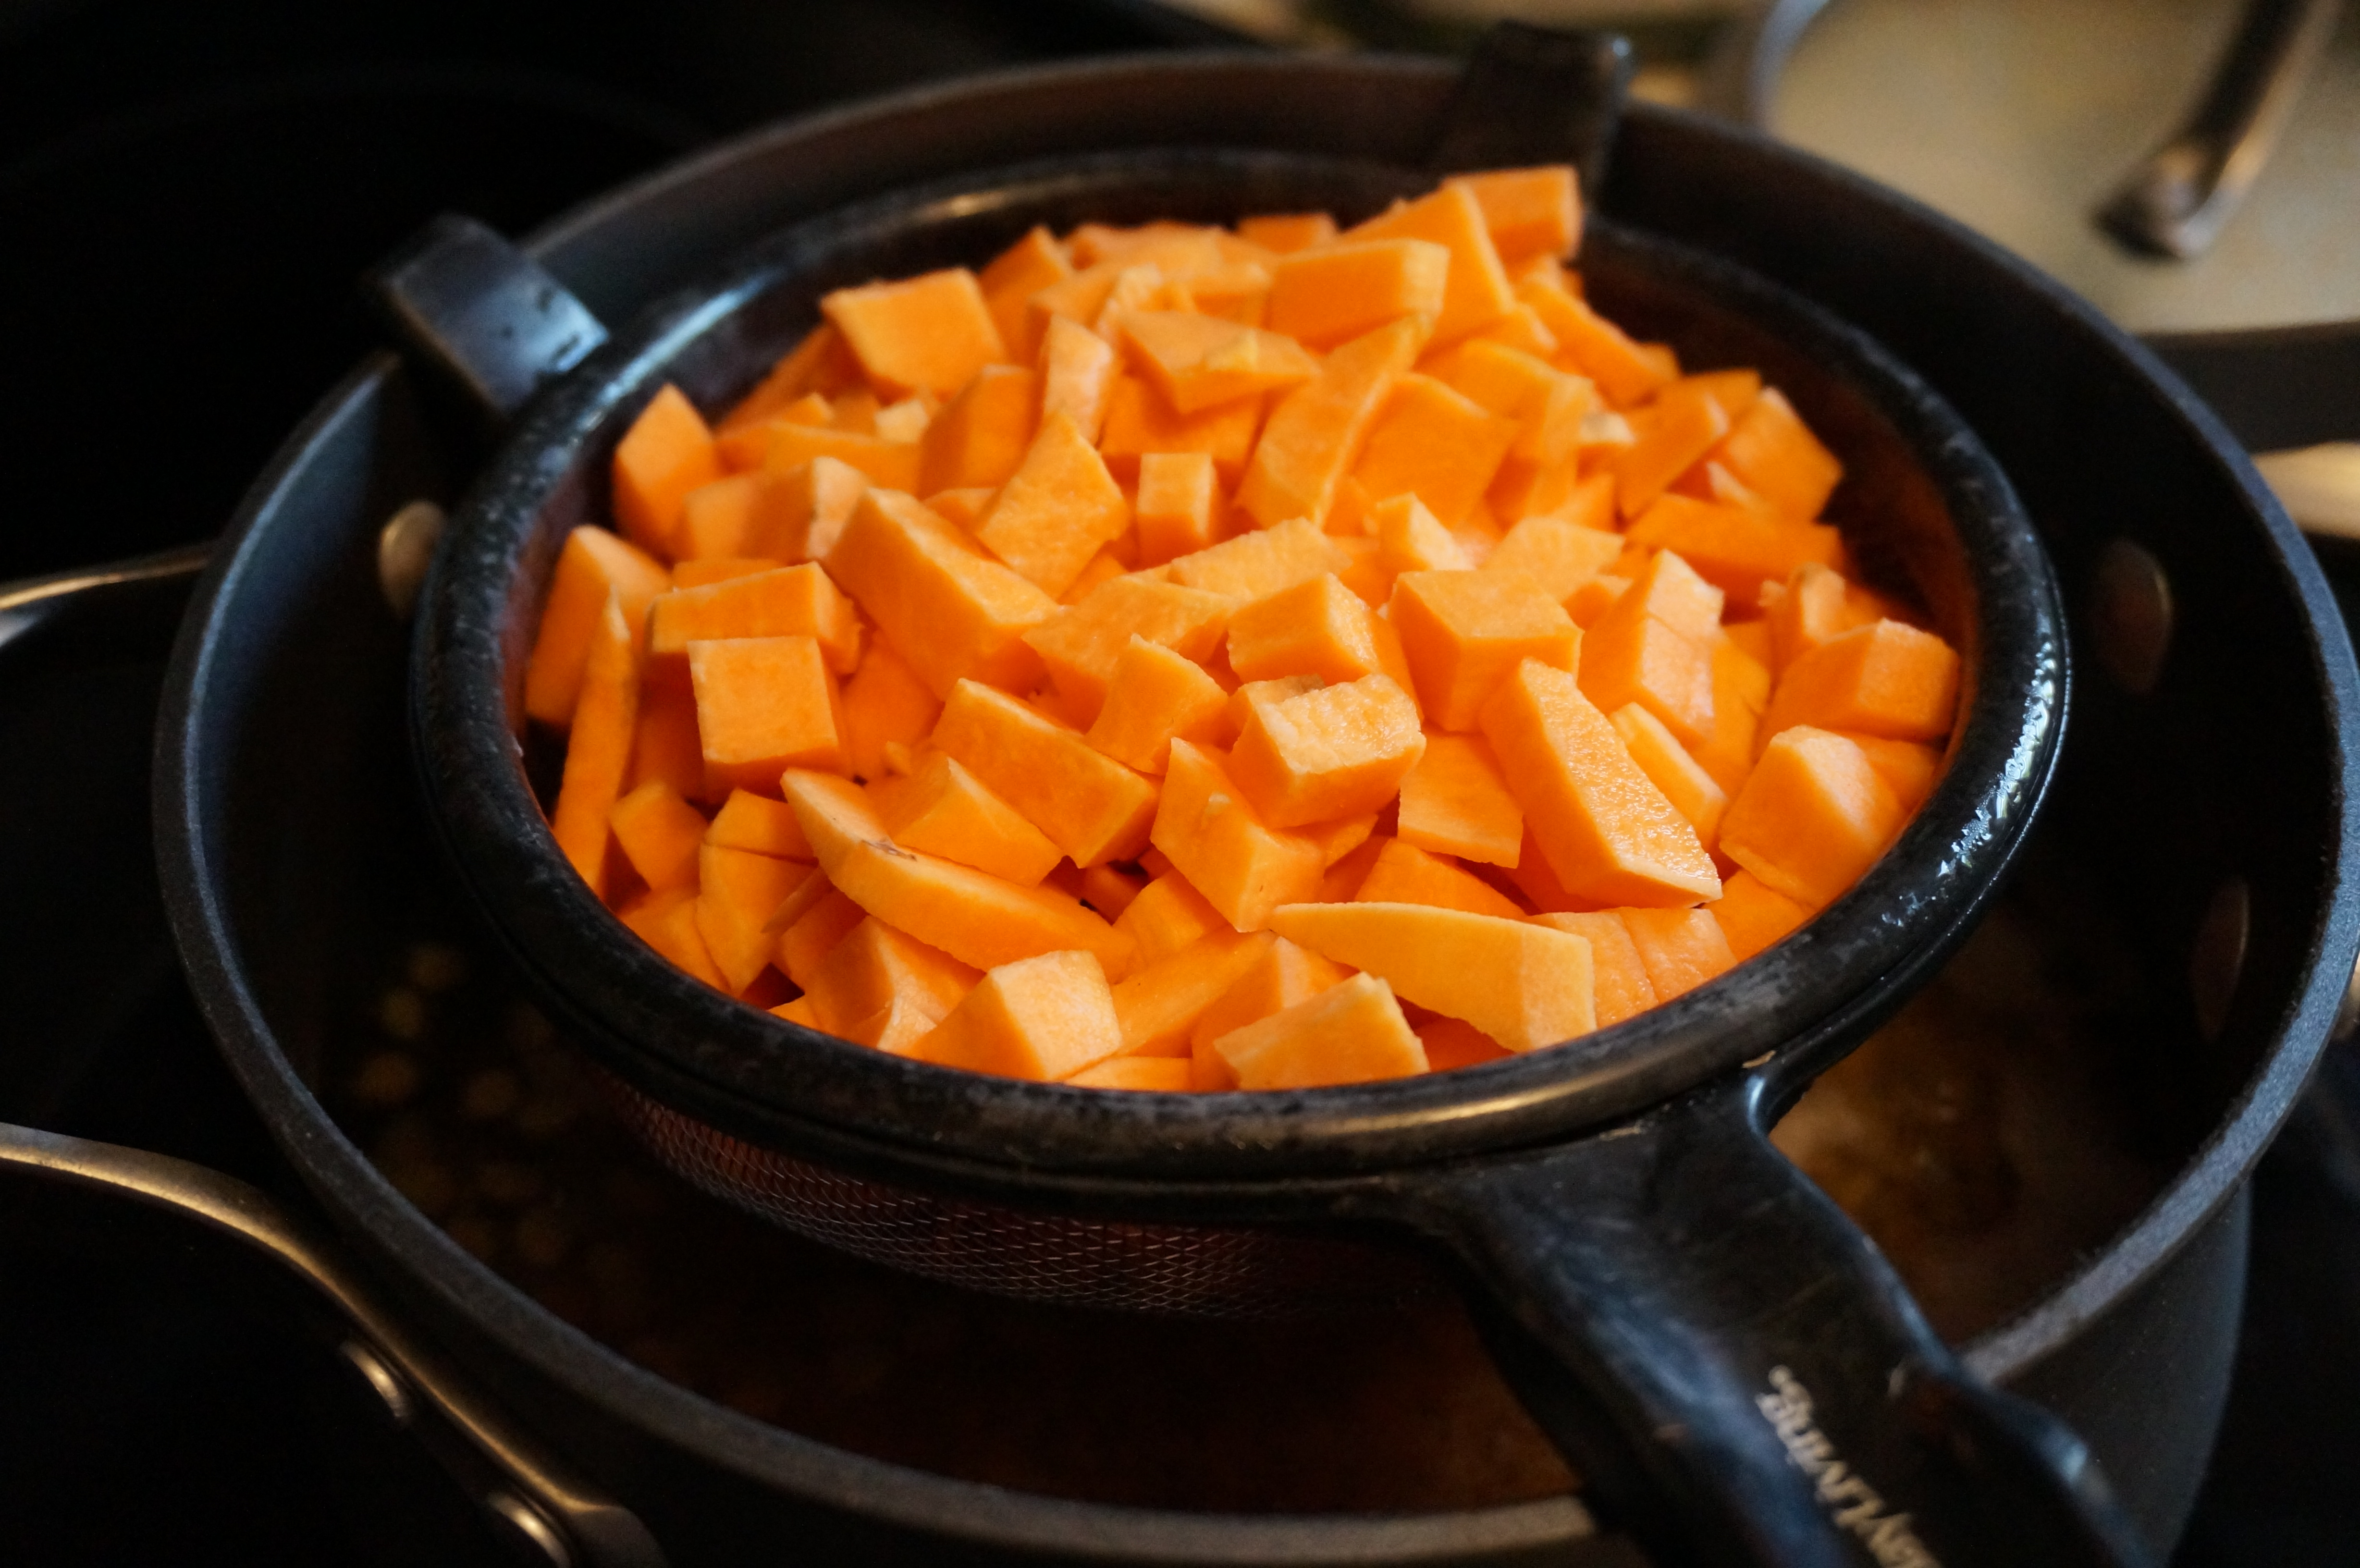
  • 1 cup cooked pearl barley (I made mine in the rice cooker- it only took about 15 minutes vs. the 1 1/2 hours the package suggests!)
  • 2 cups broccoli florets
Instructions
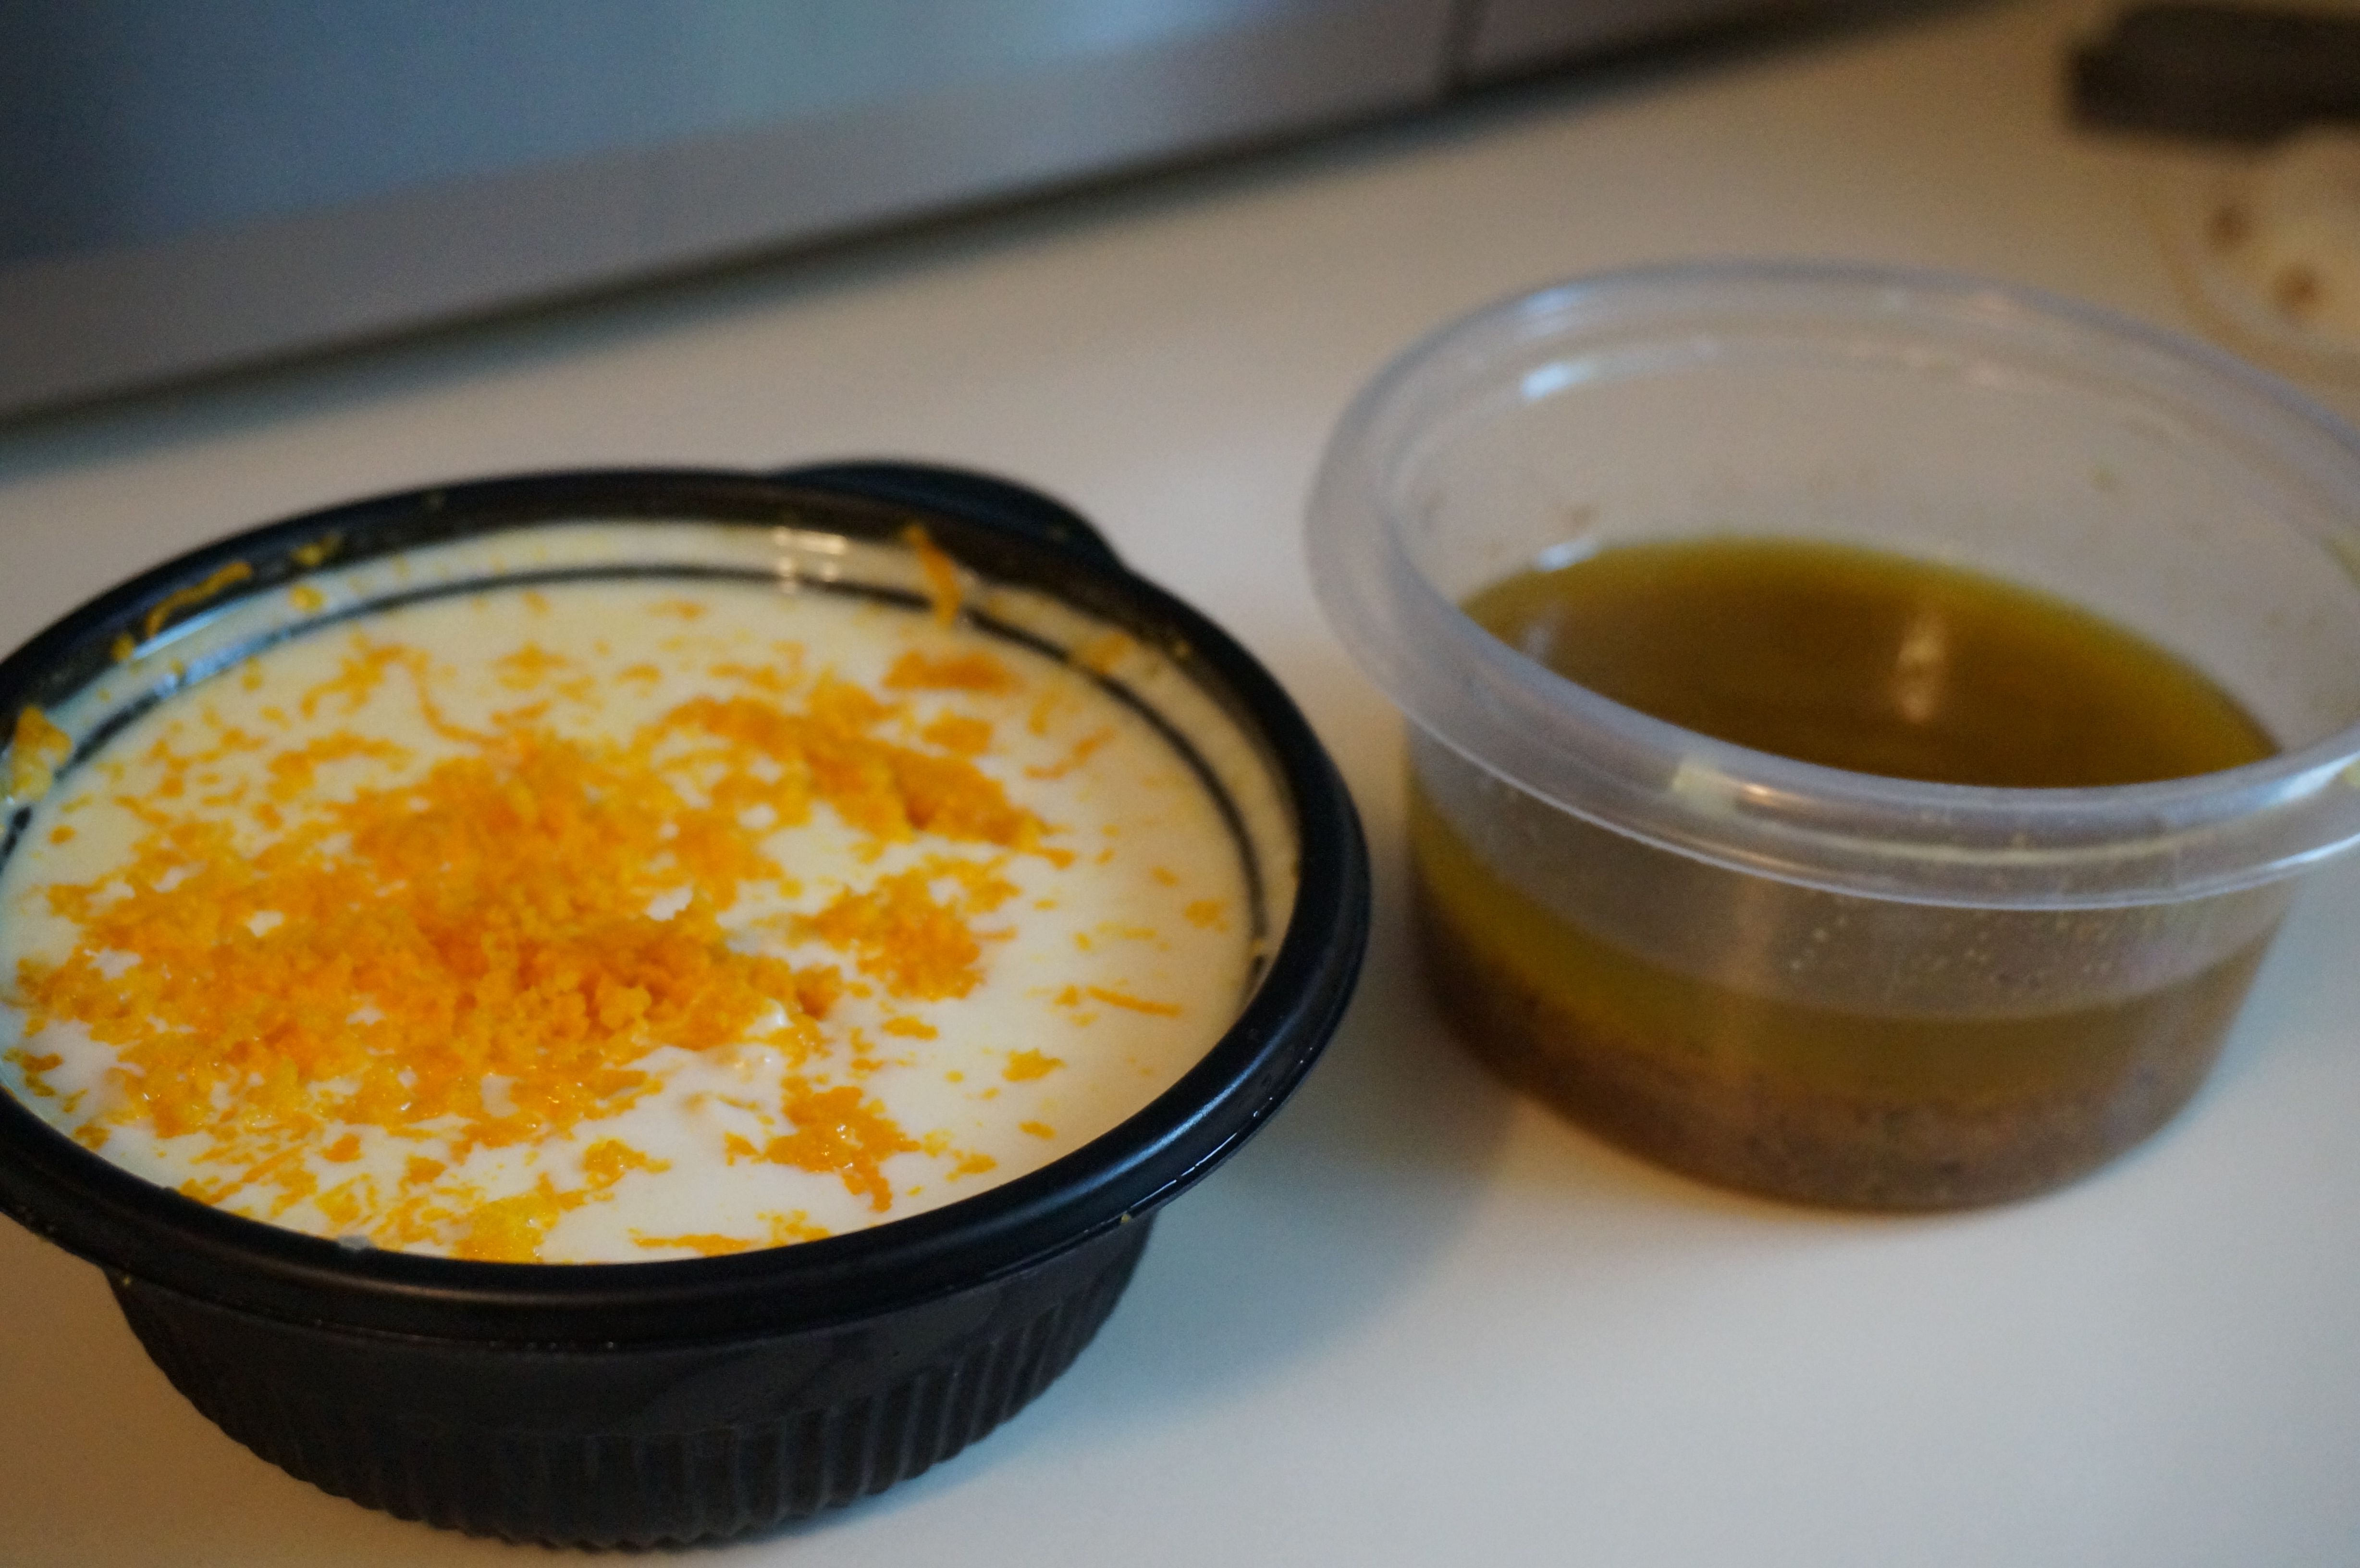
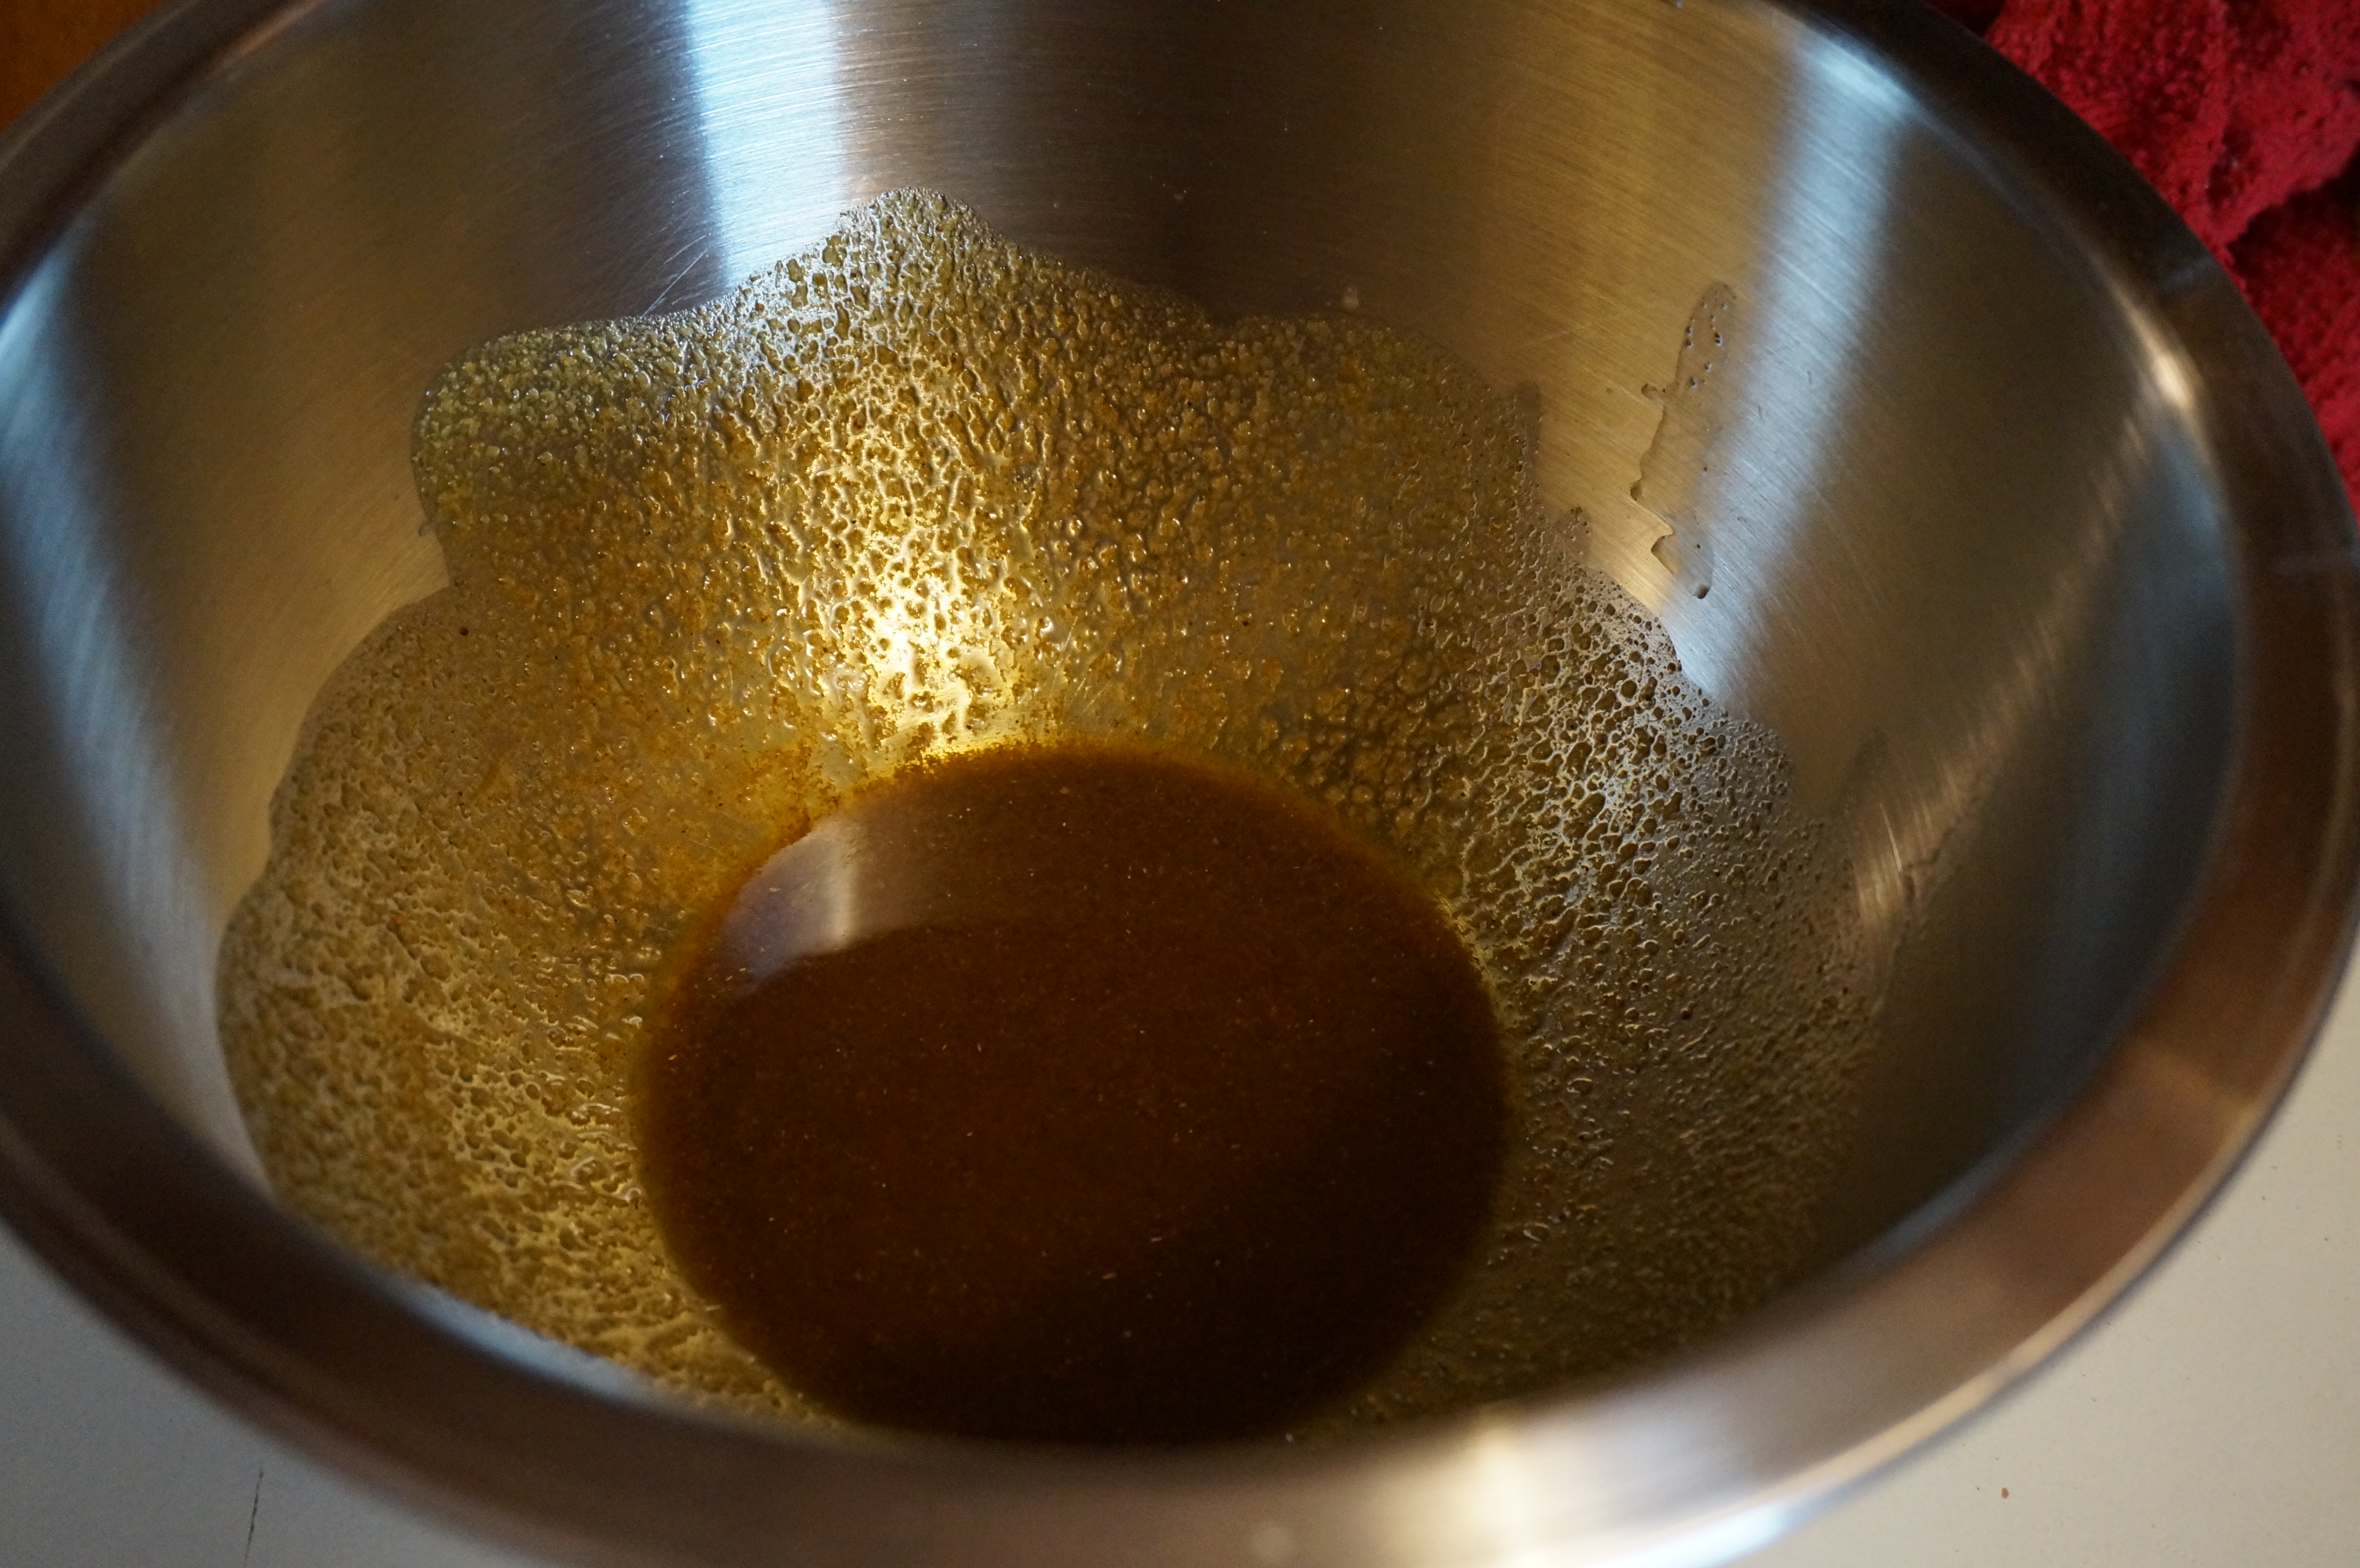
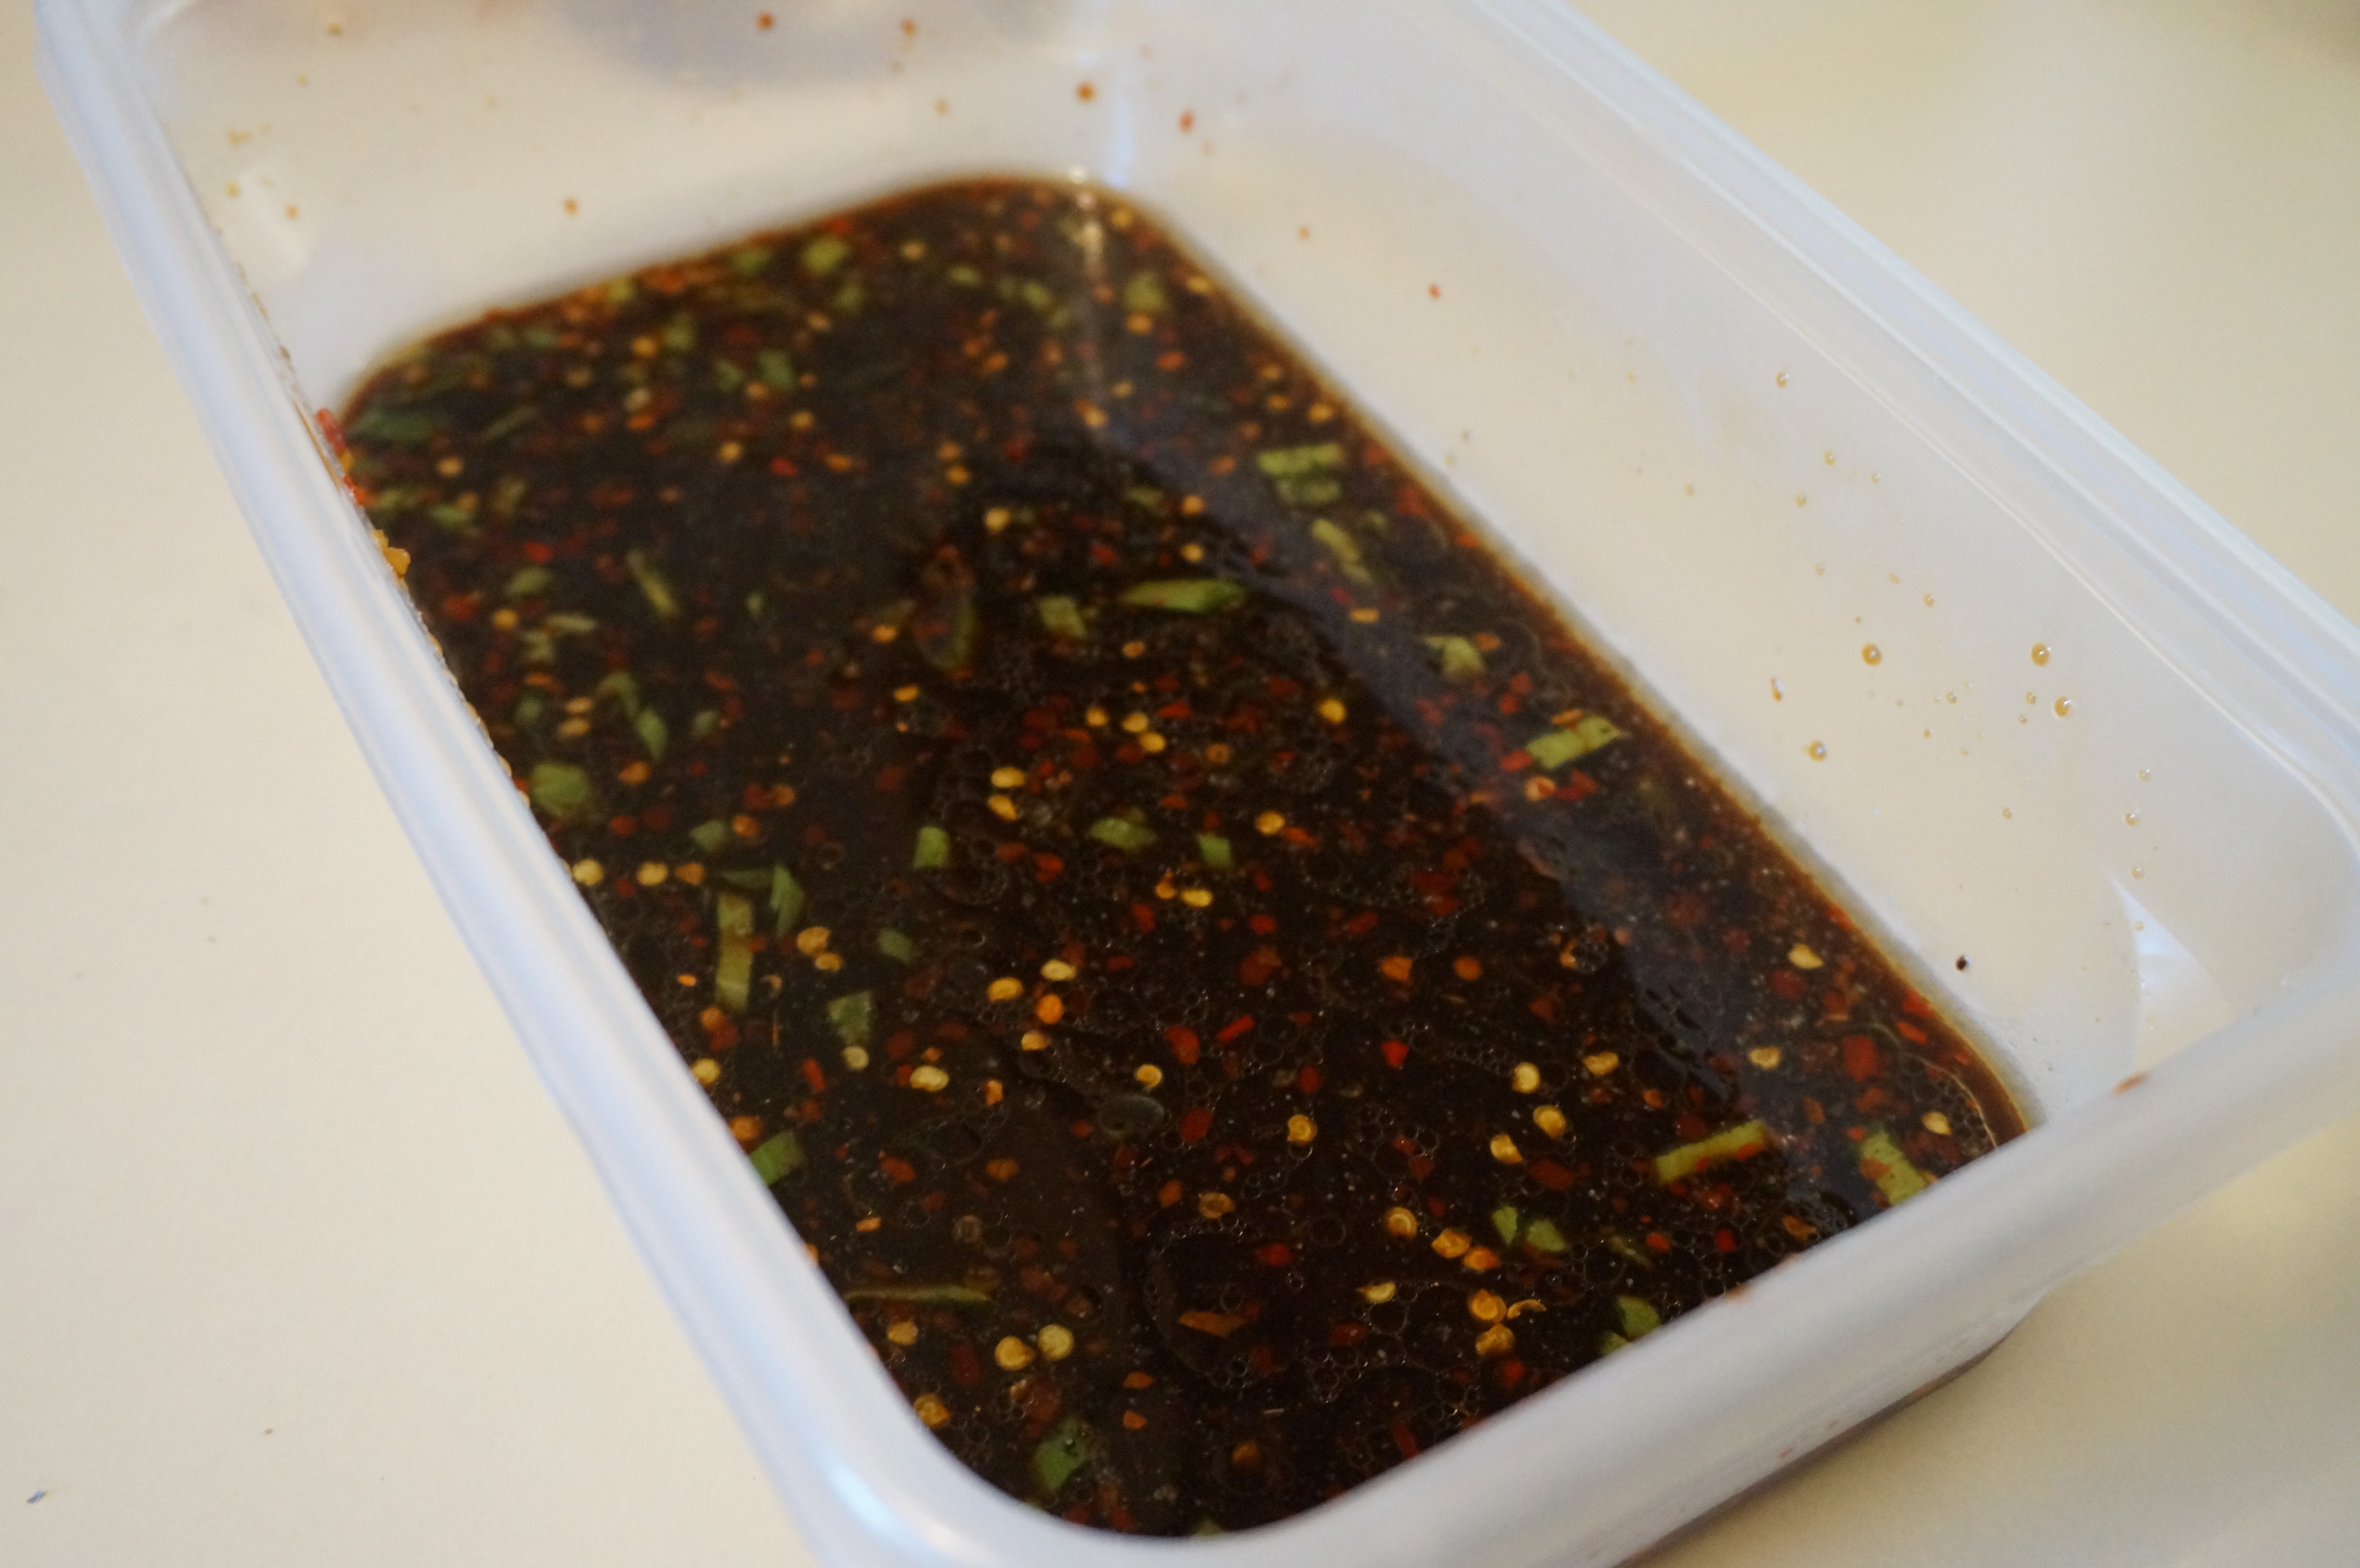
  1. Mix together all ingredients for marinade in a large tupperware container. Wedge the chicken breasts into container and marinate in refrigerator for two to three hours.
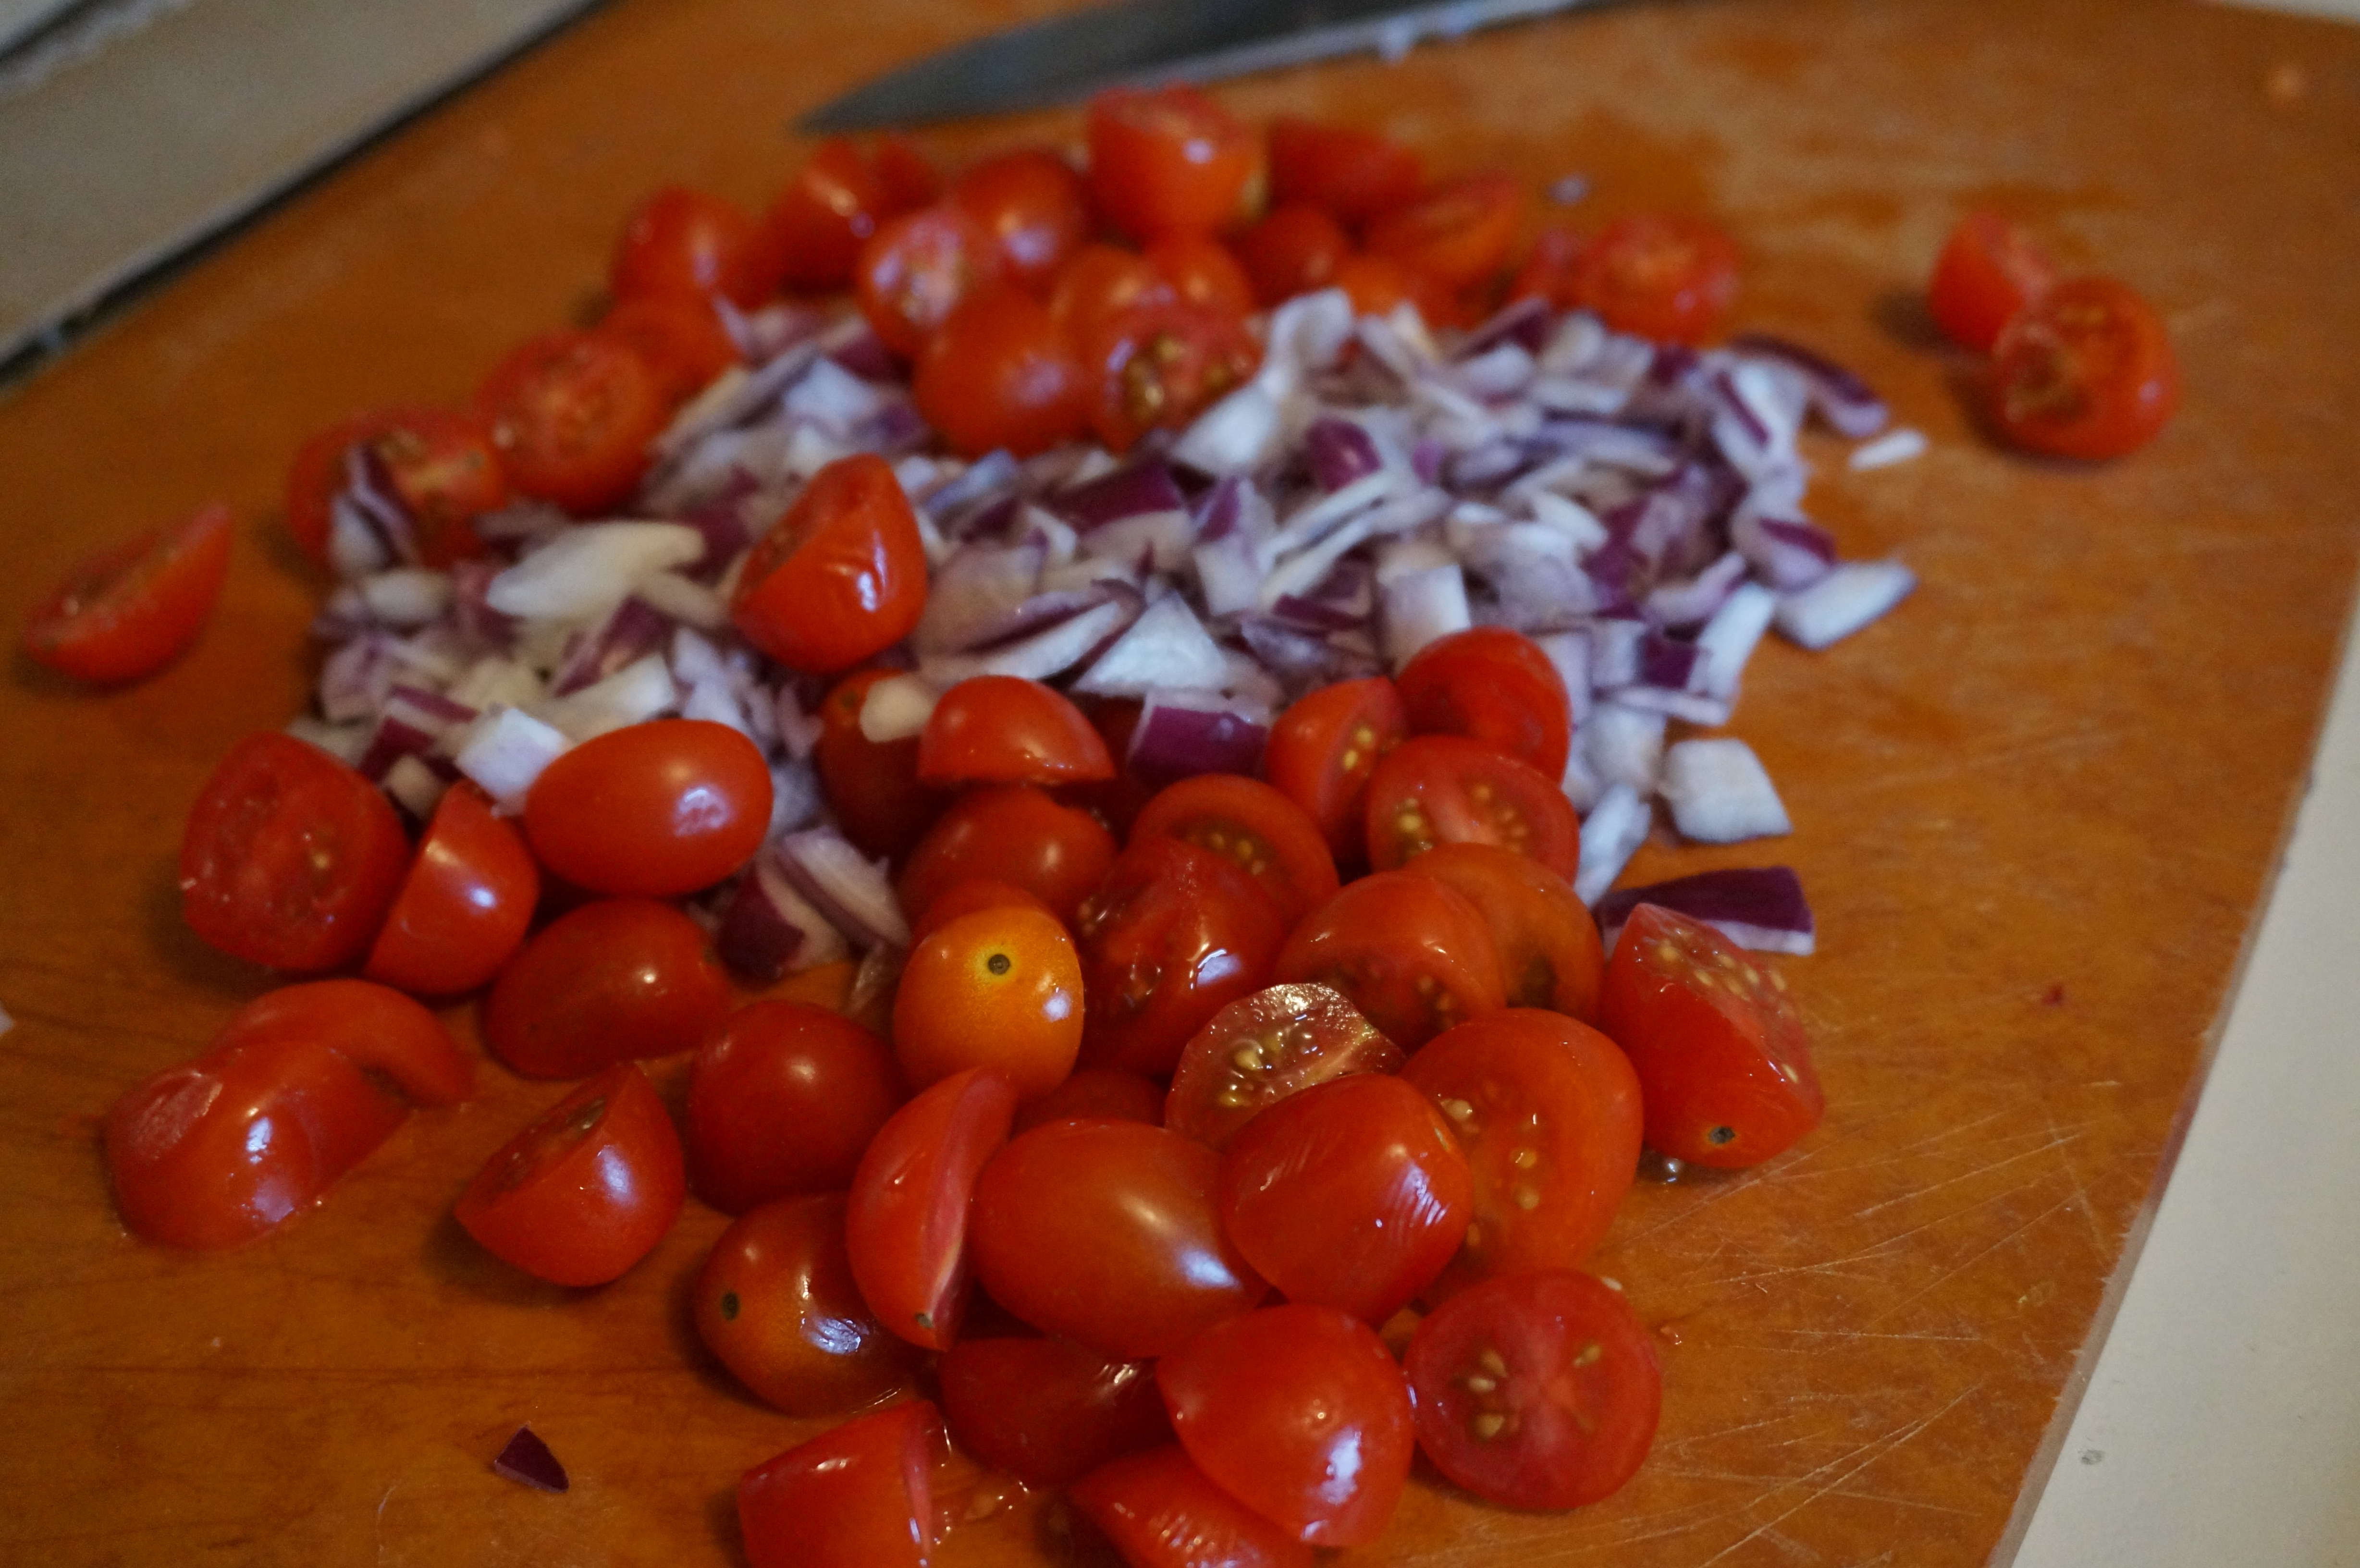
  2. Meanwhile, prepare salsa by chopping up pineapple, onion, cilantro, peaches, and green onion. Mix together in a bowl and add the lime juice and salt. Cover and refrigerate until ready to serve.
  3. Prepare barley according to container directions.
  4. Preheat grill to medium heat.
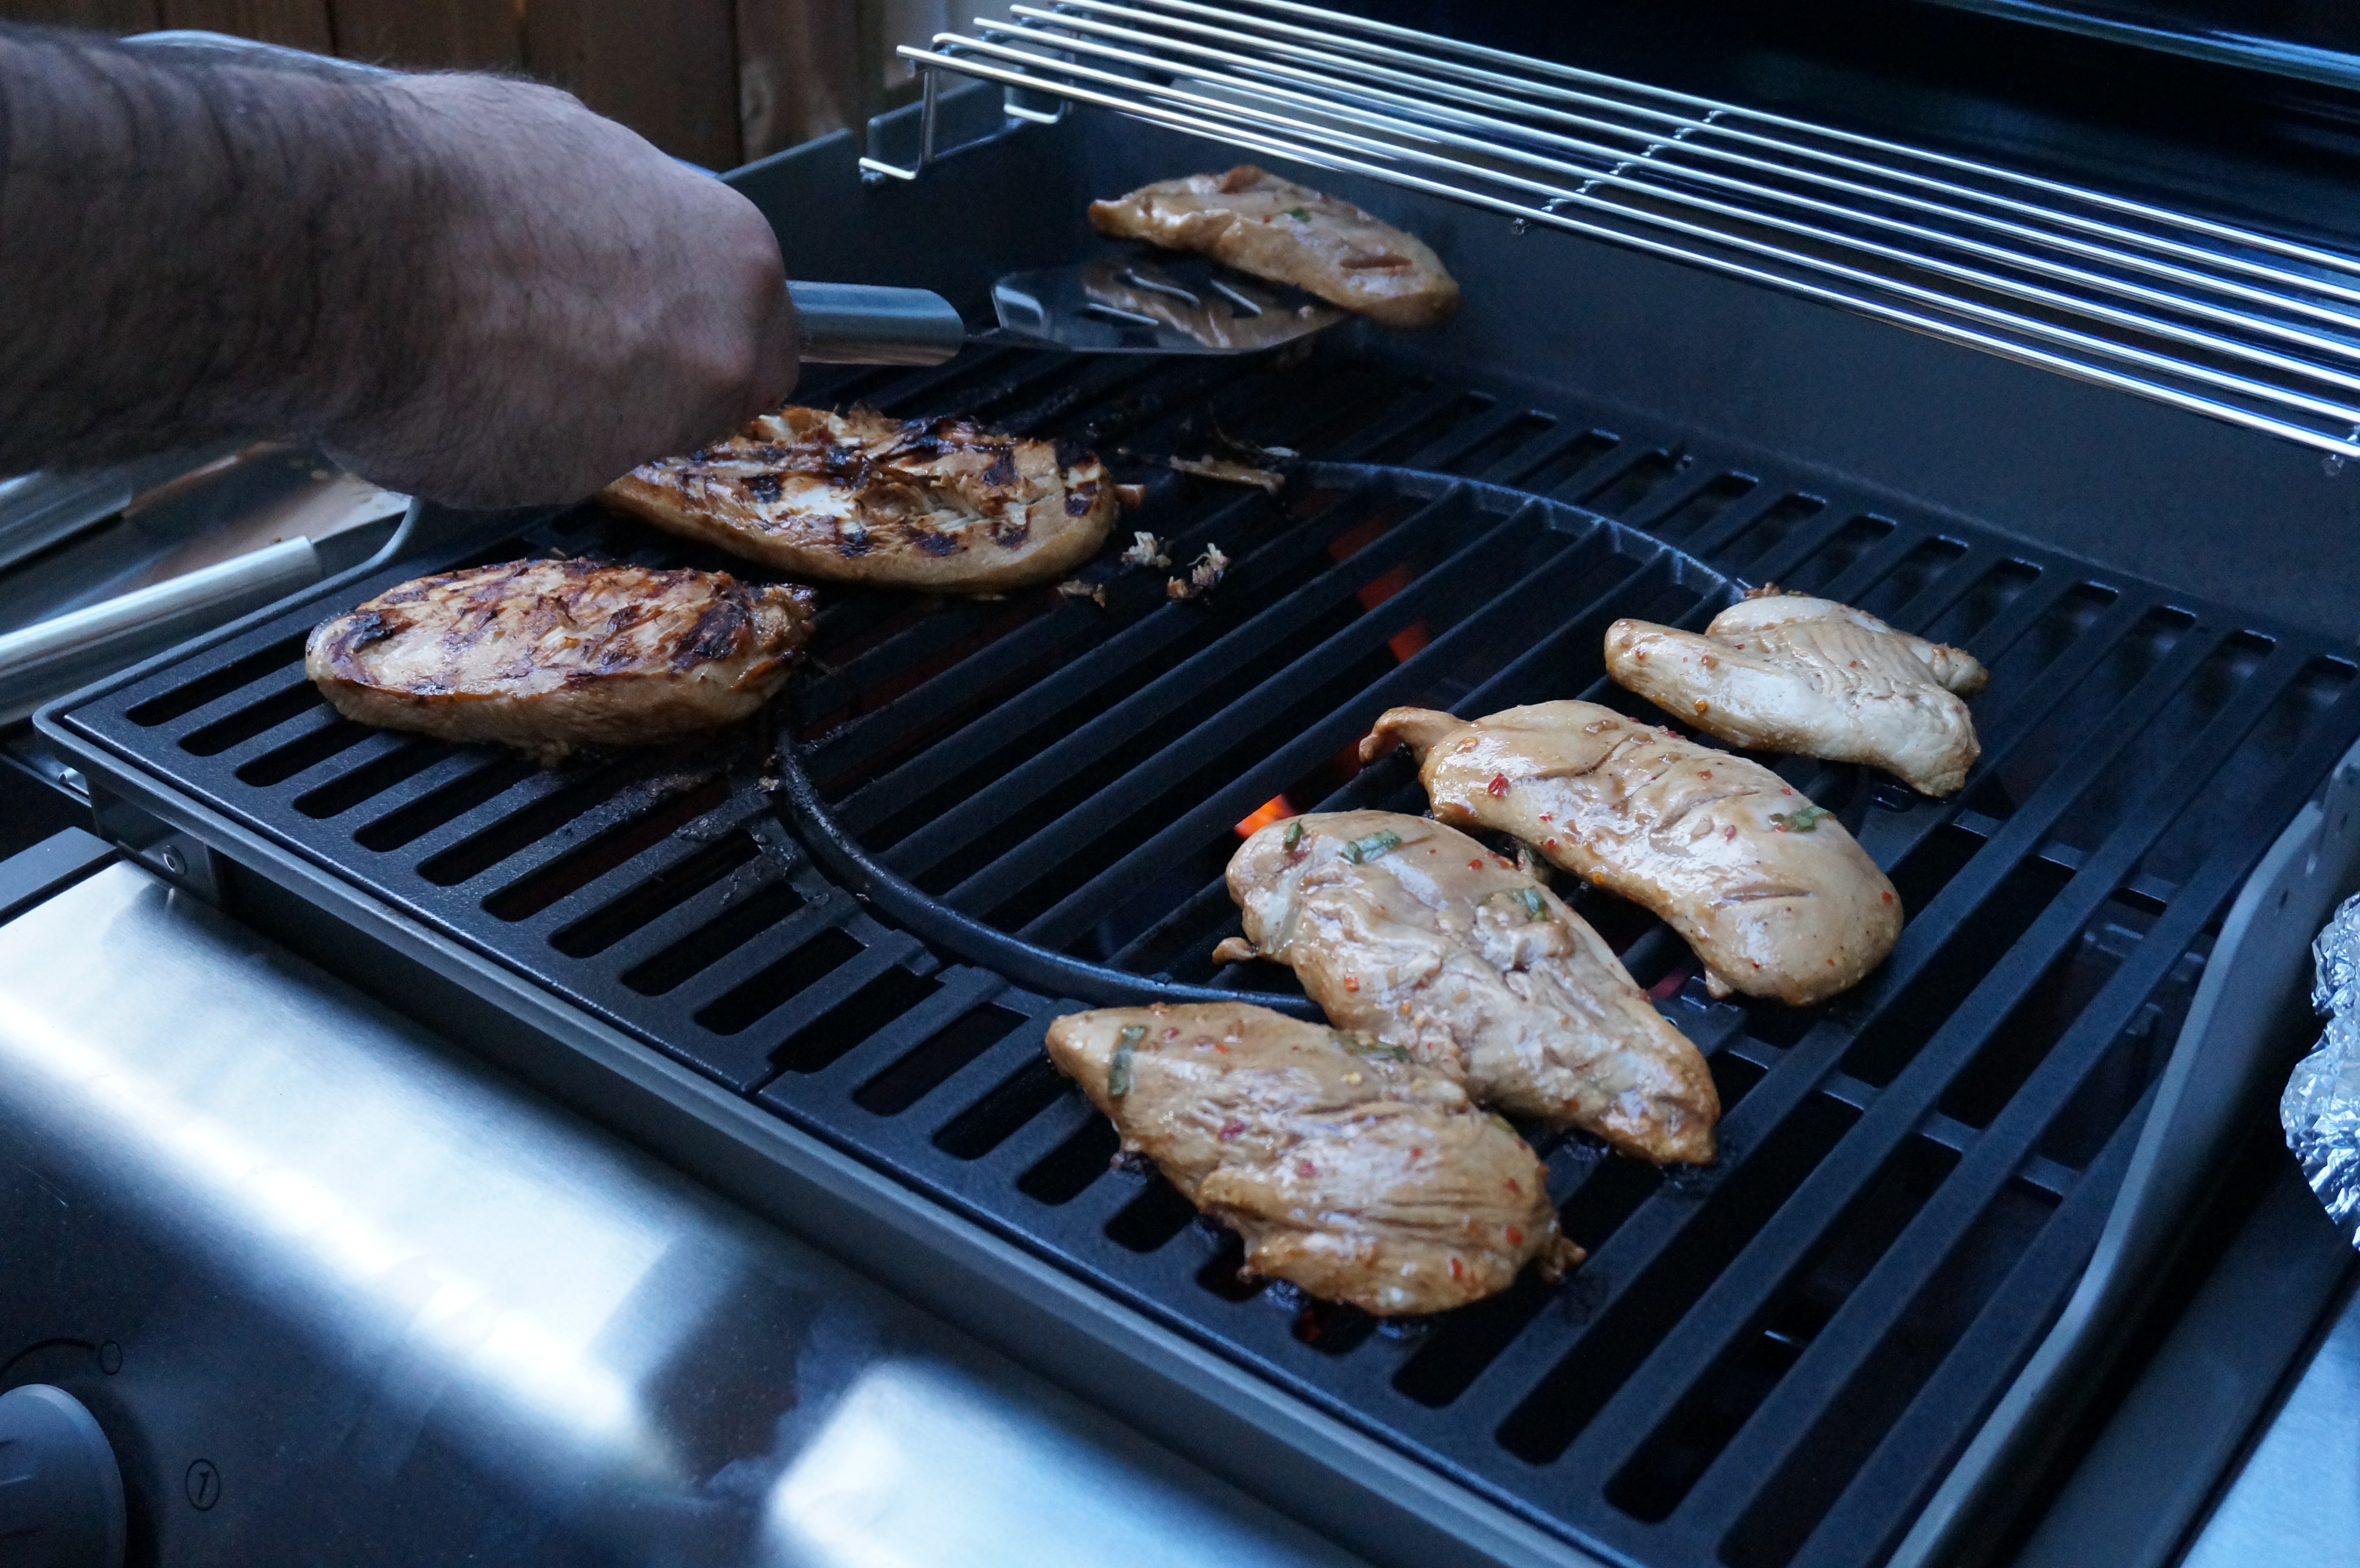
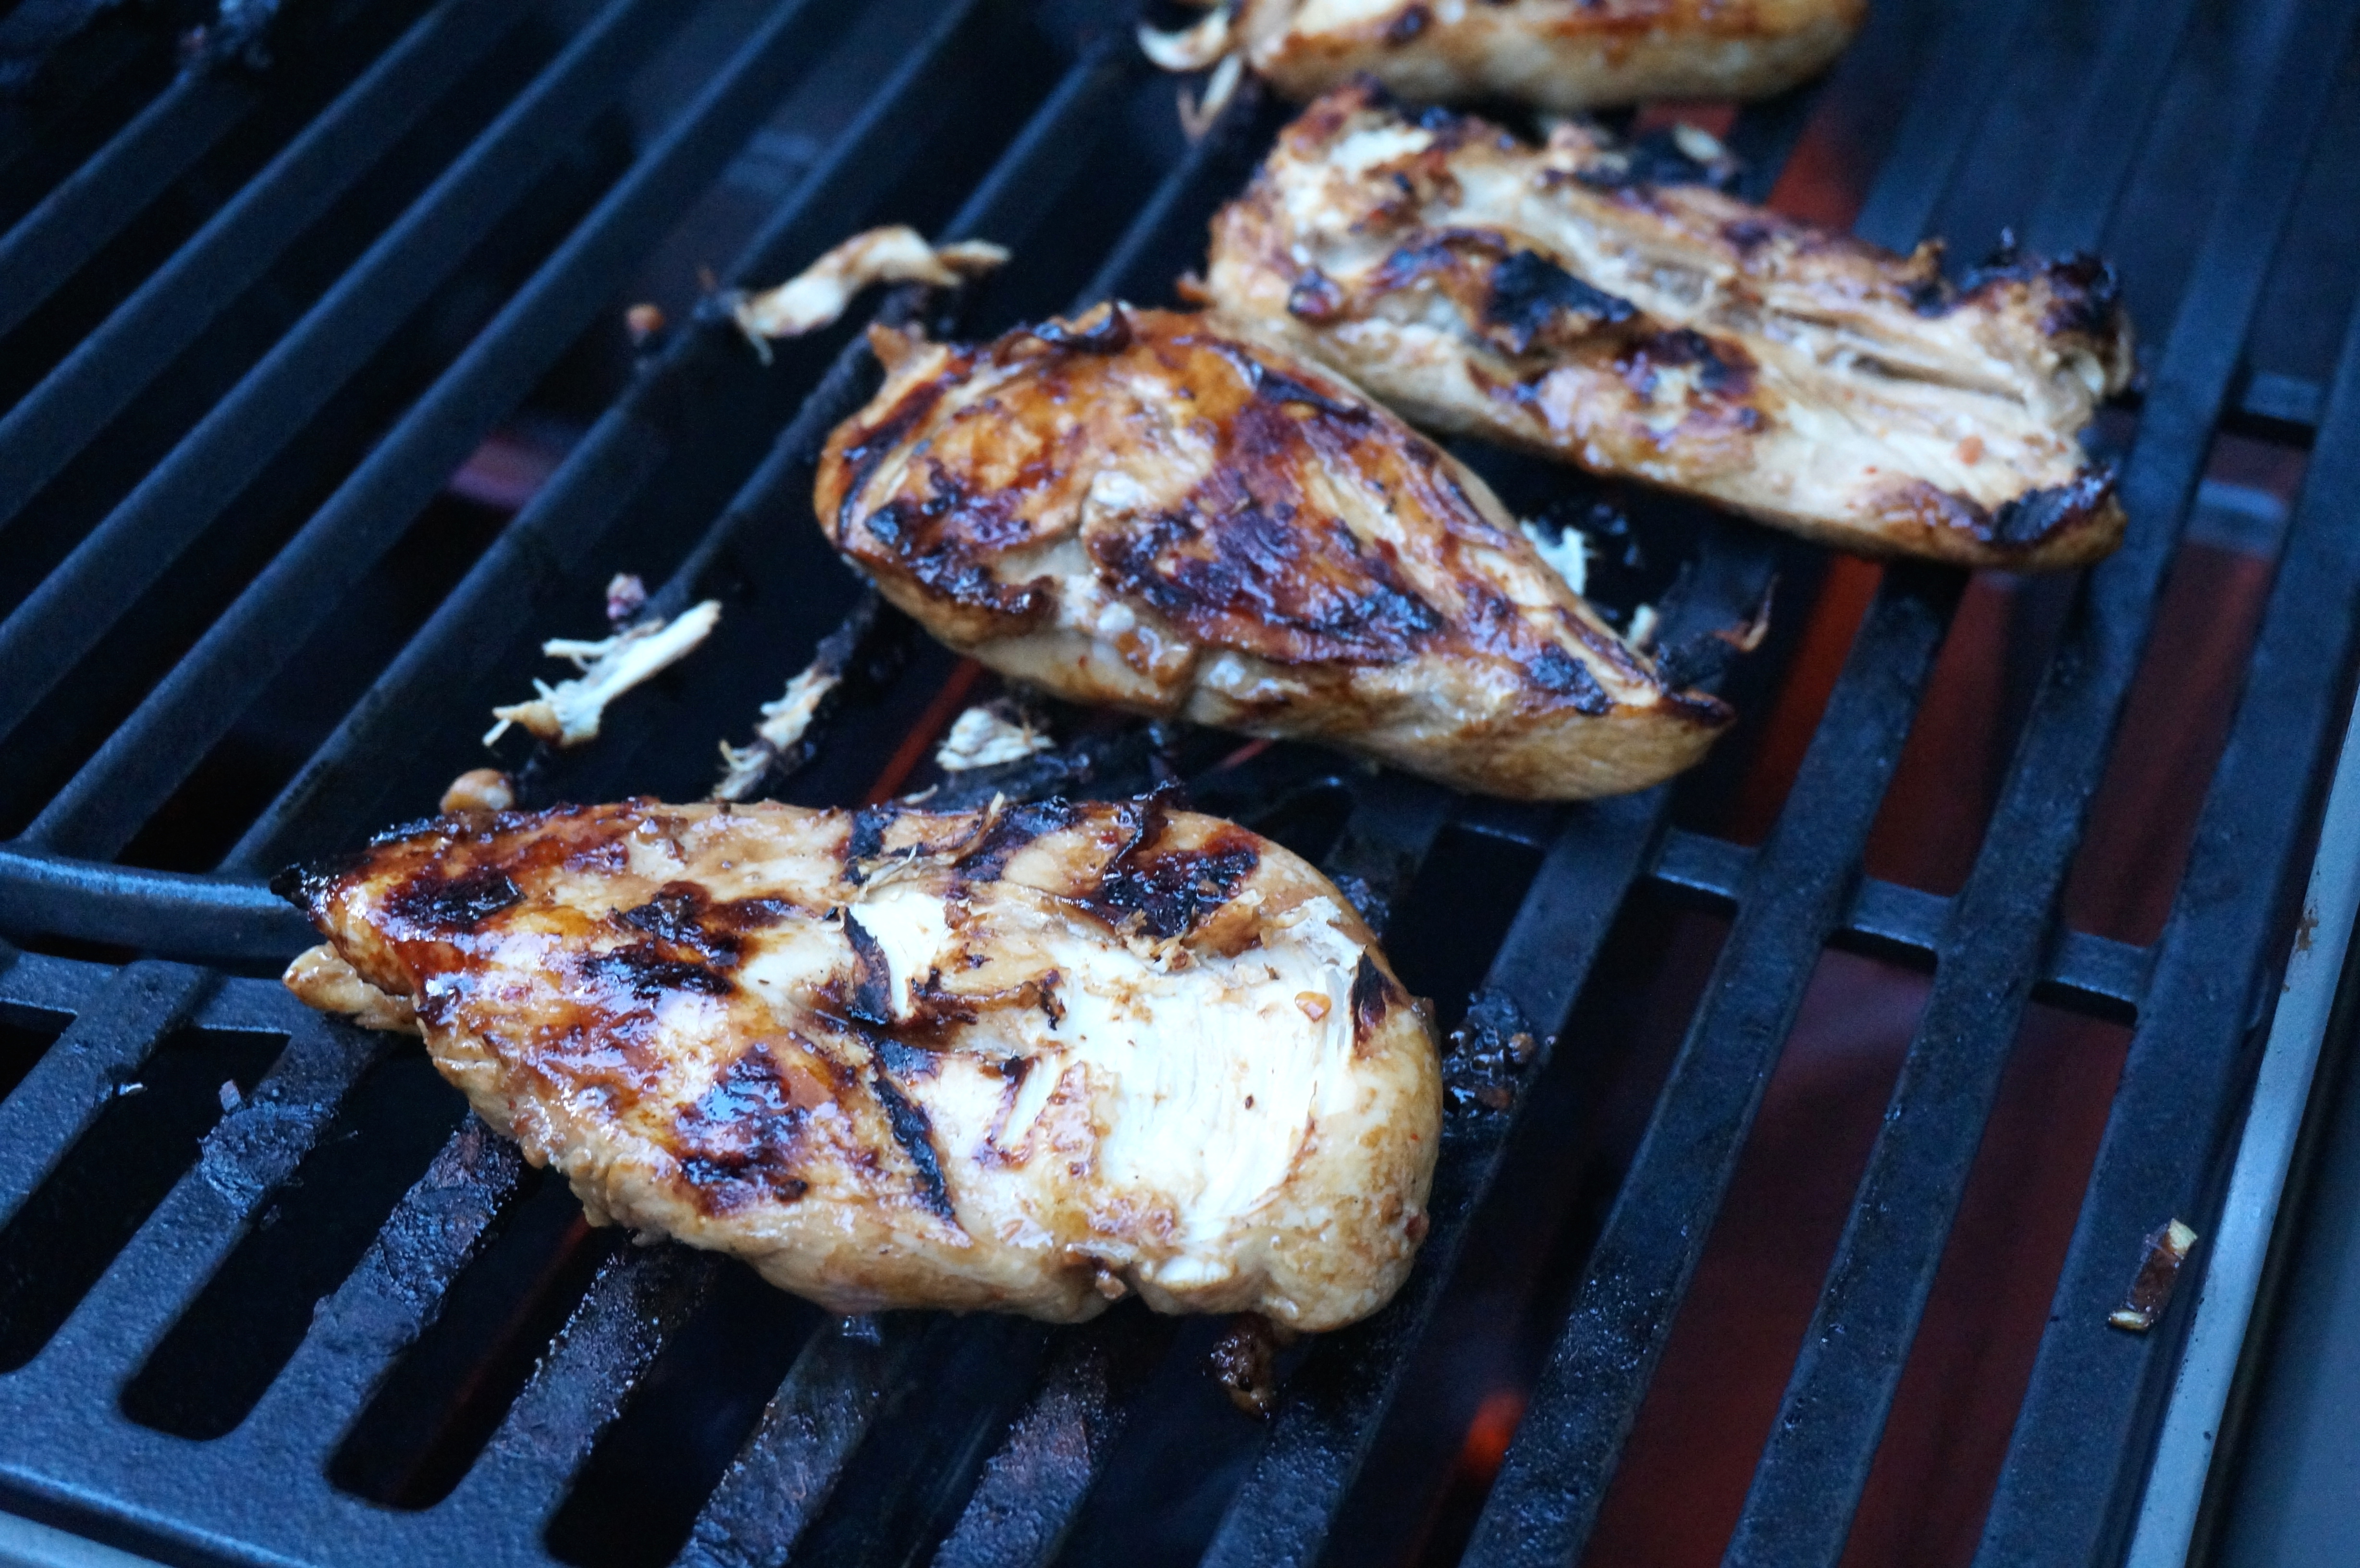
  5. Grill chicken breasts on medium, 5 minutes per side or until no longer pink in the center. Remove from grill and keep warm in tin foil.
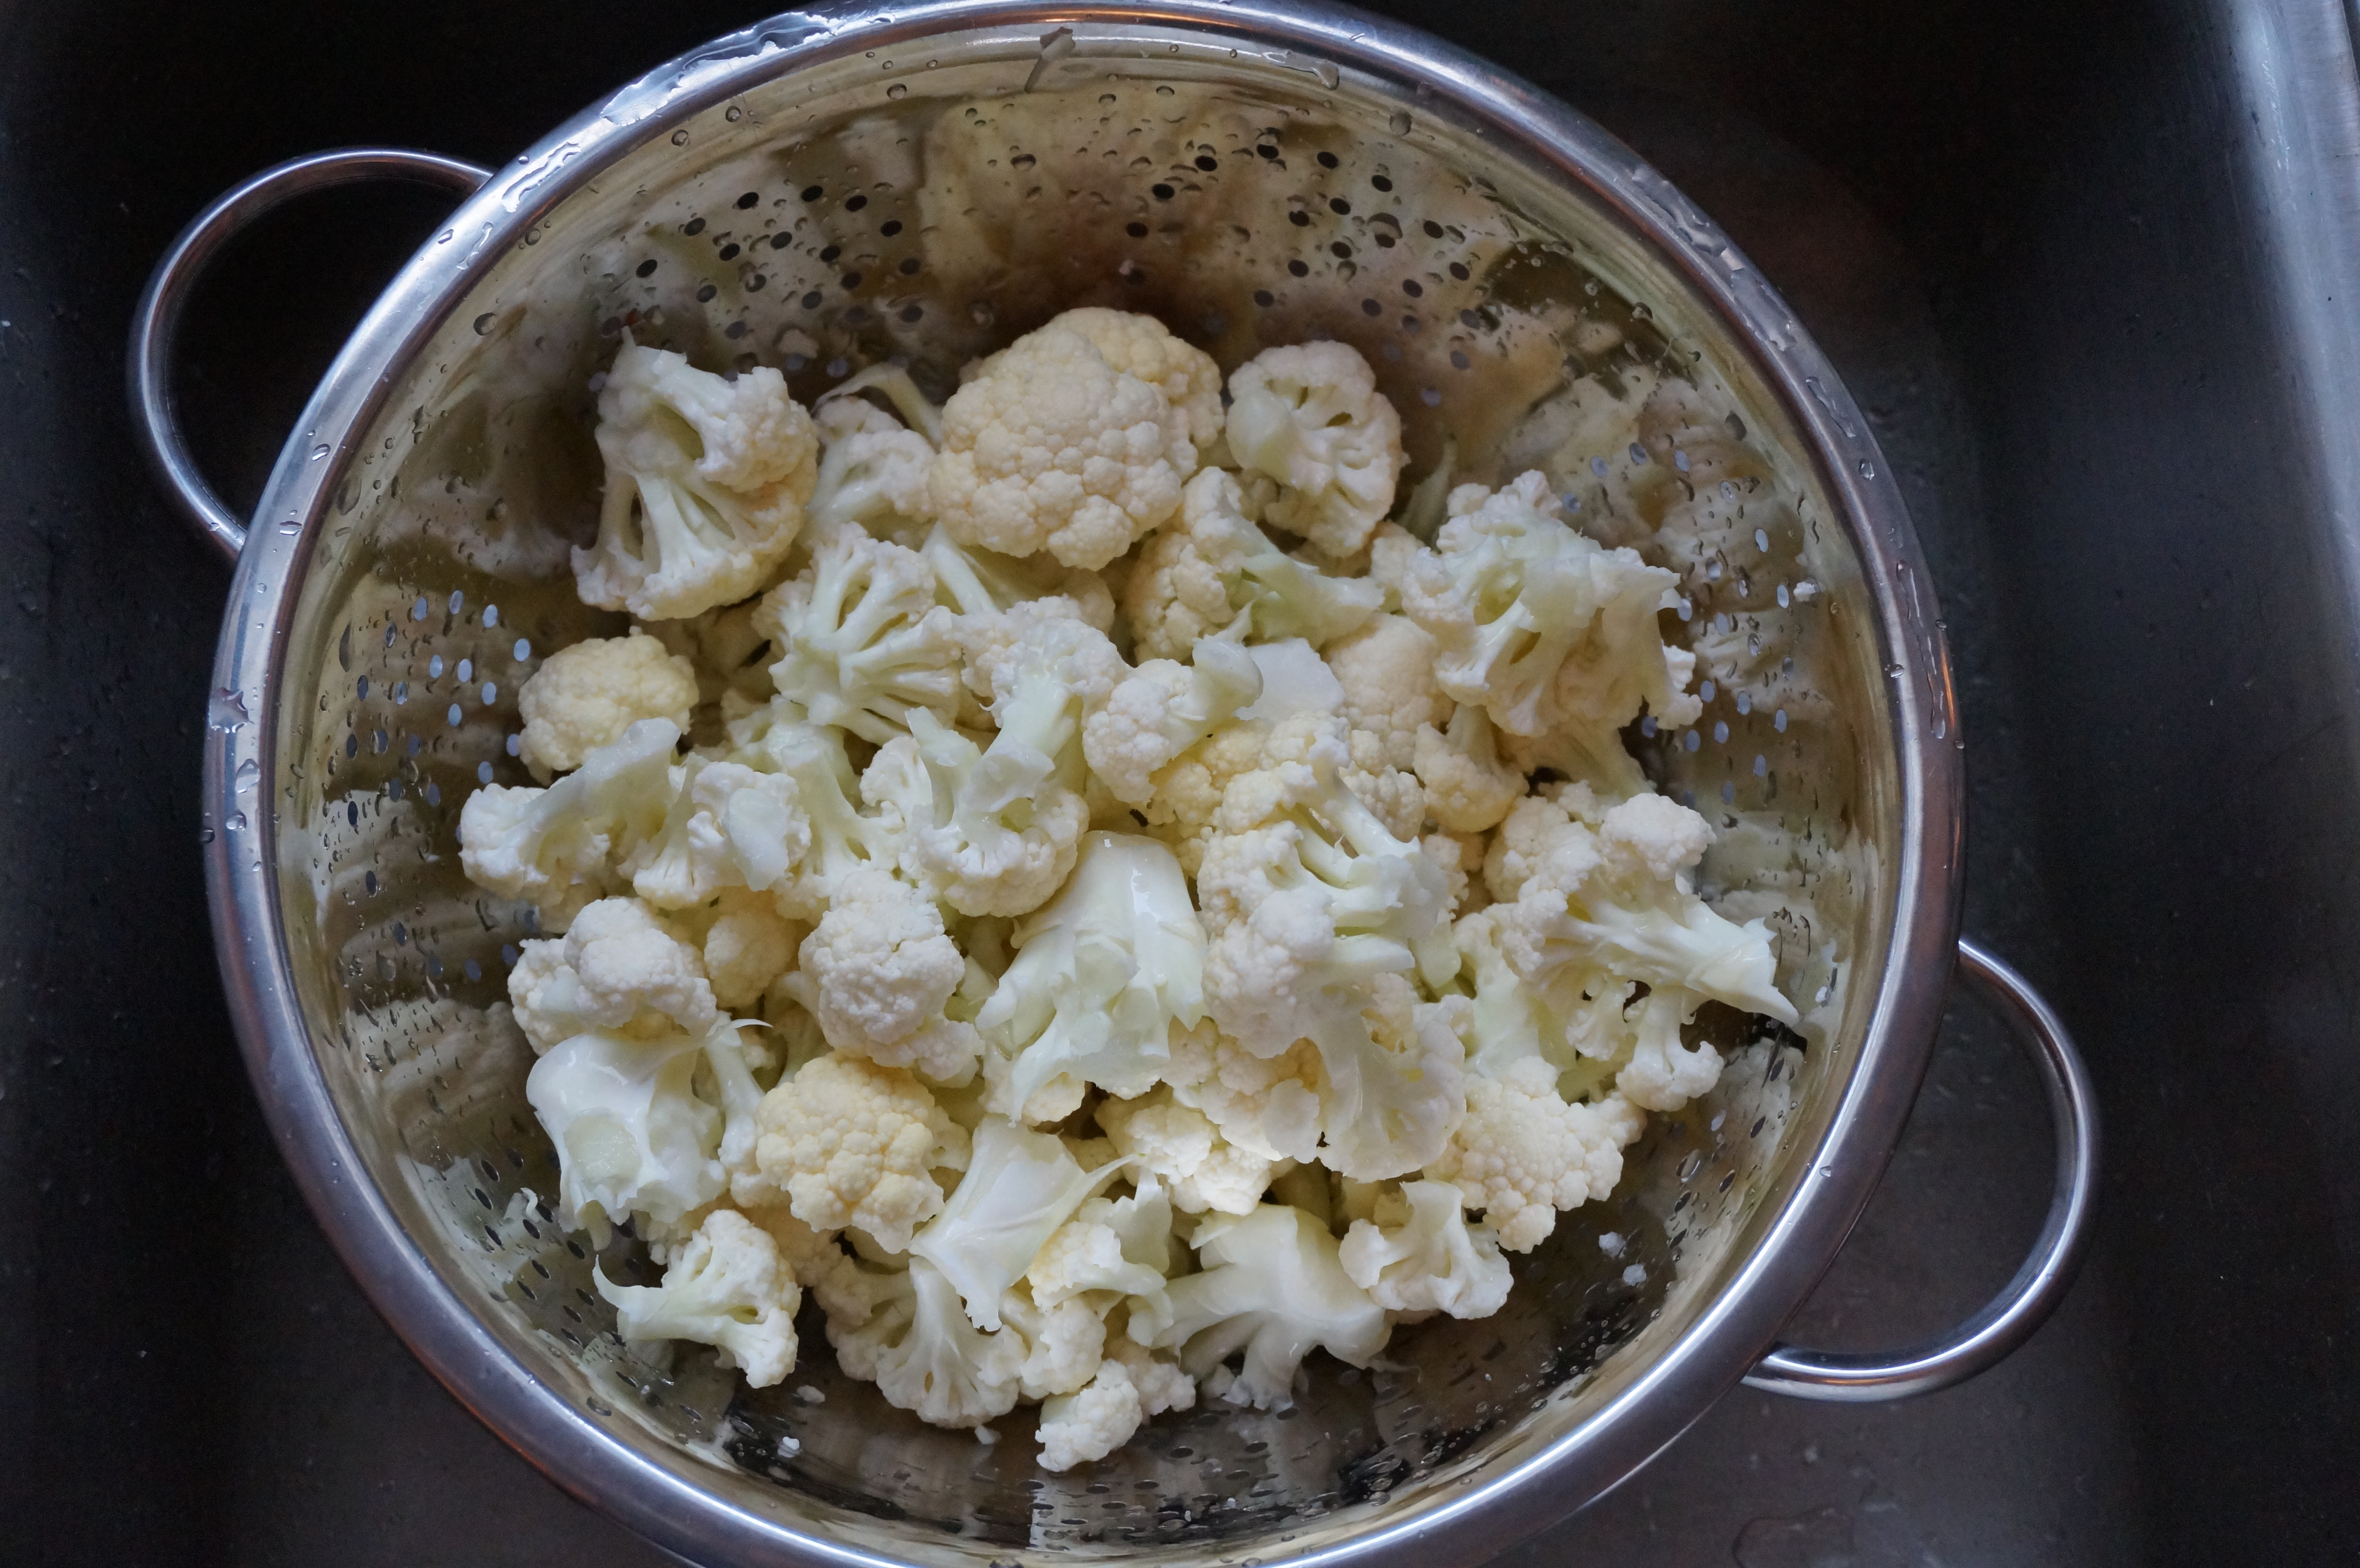
  6. Steam or grill broccoli.
  7. When you’re just about ready to eat, place halved buns on top of grill rack and grill 1-2 minutes until lightly toasted.
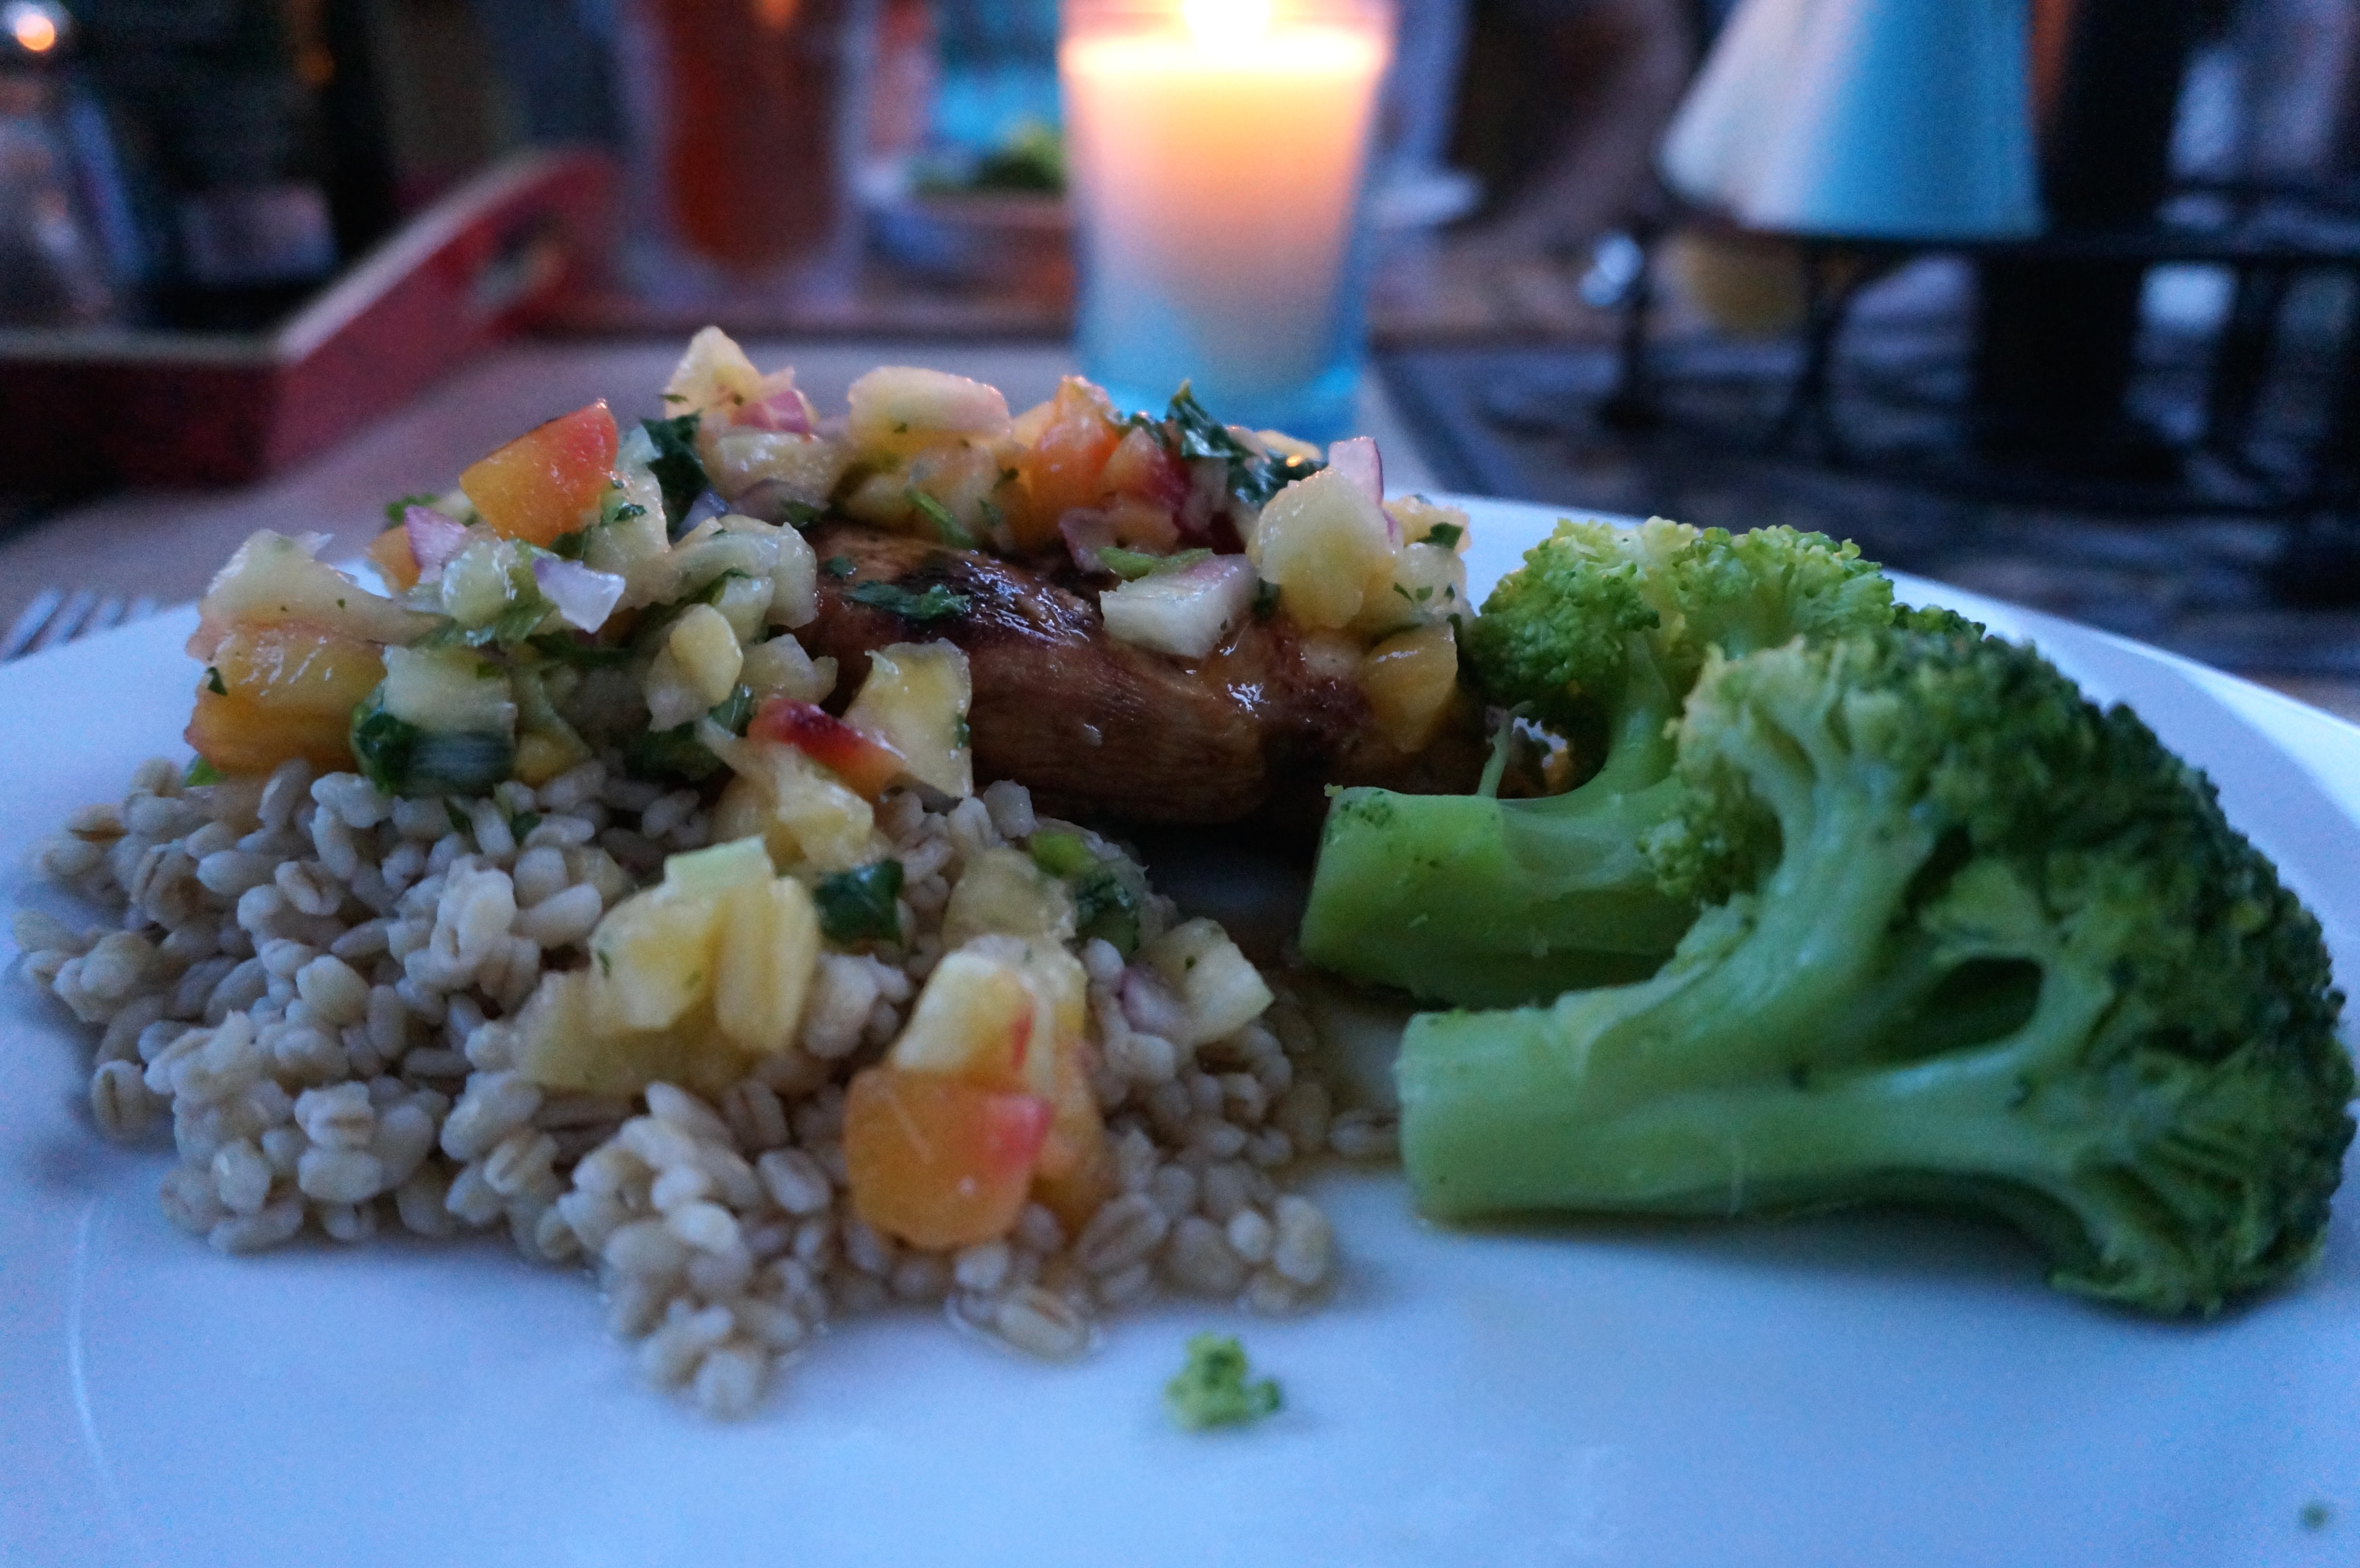
  8. Serve chicken on buns or over barley with a nice big spoonful of pineapple salsa on top!
Serving size: 1 burger (with 1 large bun) Calories: 450 cal Fat: 9 g Carbohydrates: 51 g Fiber: 5 g Protein: 43 g

DSC01371

Prepare the marinade.

DSC01373

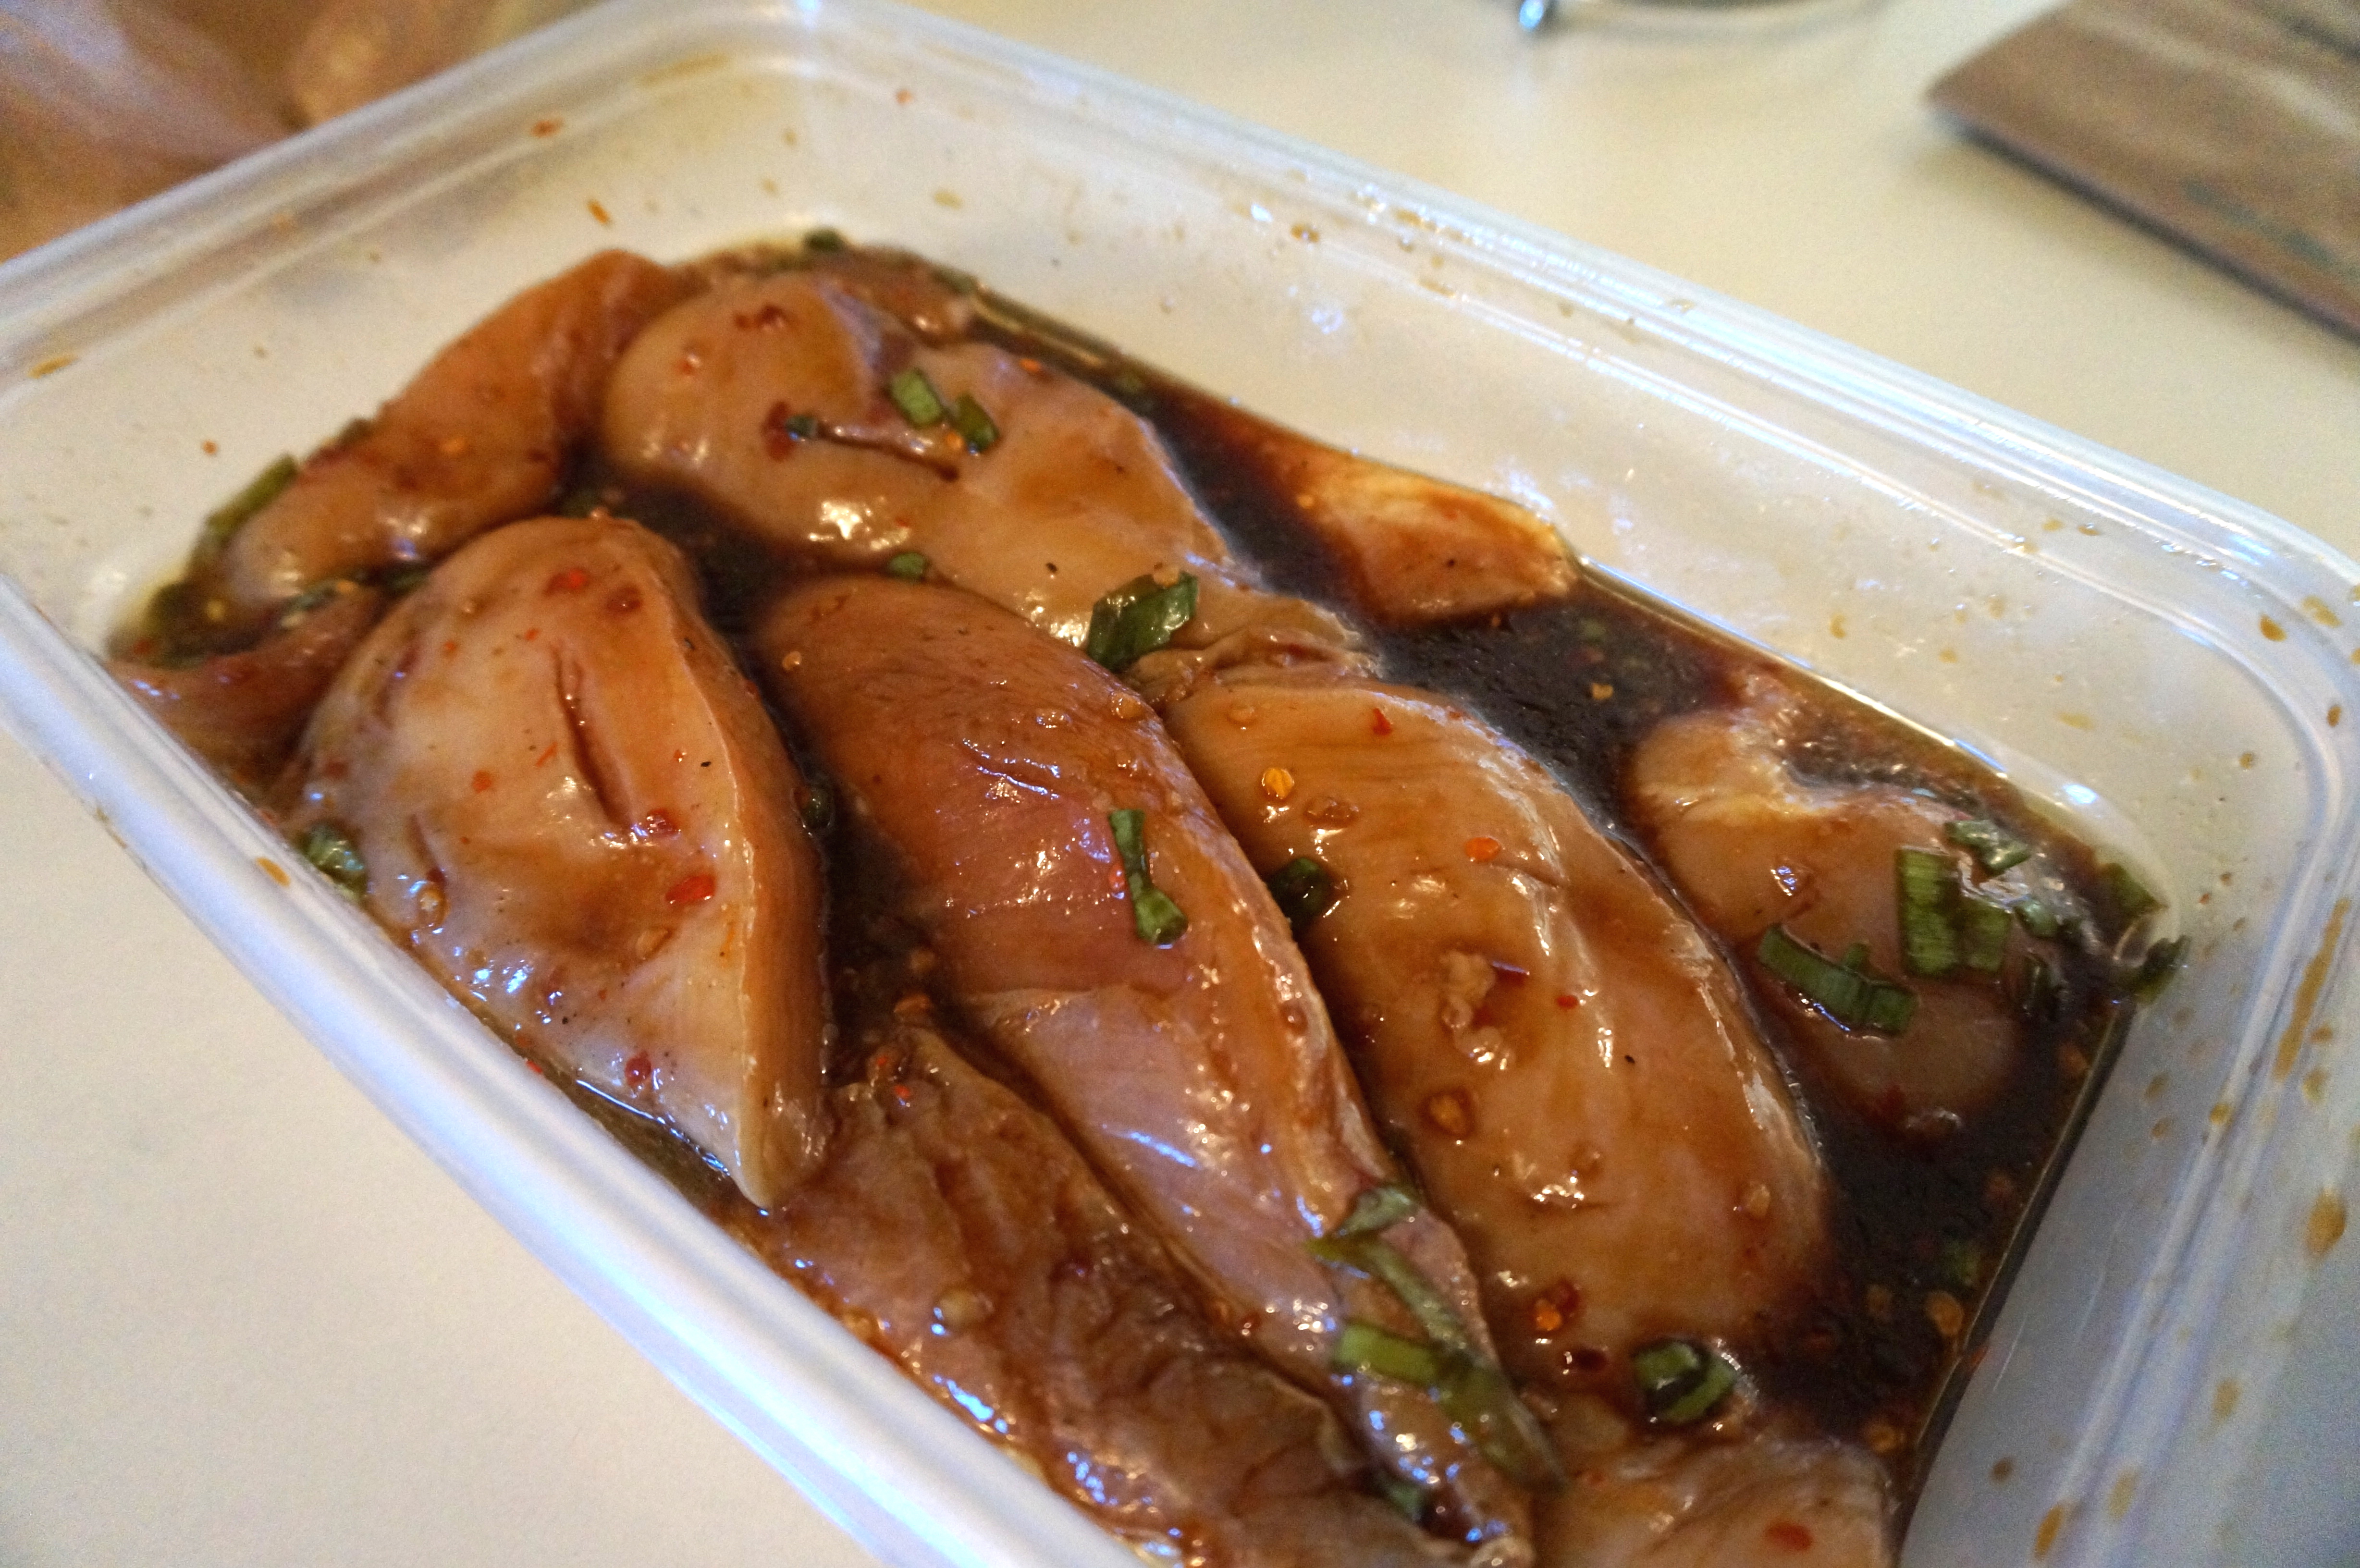
Wedge in the chicken breasts and marinate 2-3 hours in the fridge. It helped me a bit to also slice a few slits in the breasts so that the marinade could really seep into the meat (as Iowa Girl suggested!)

DSC01376

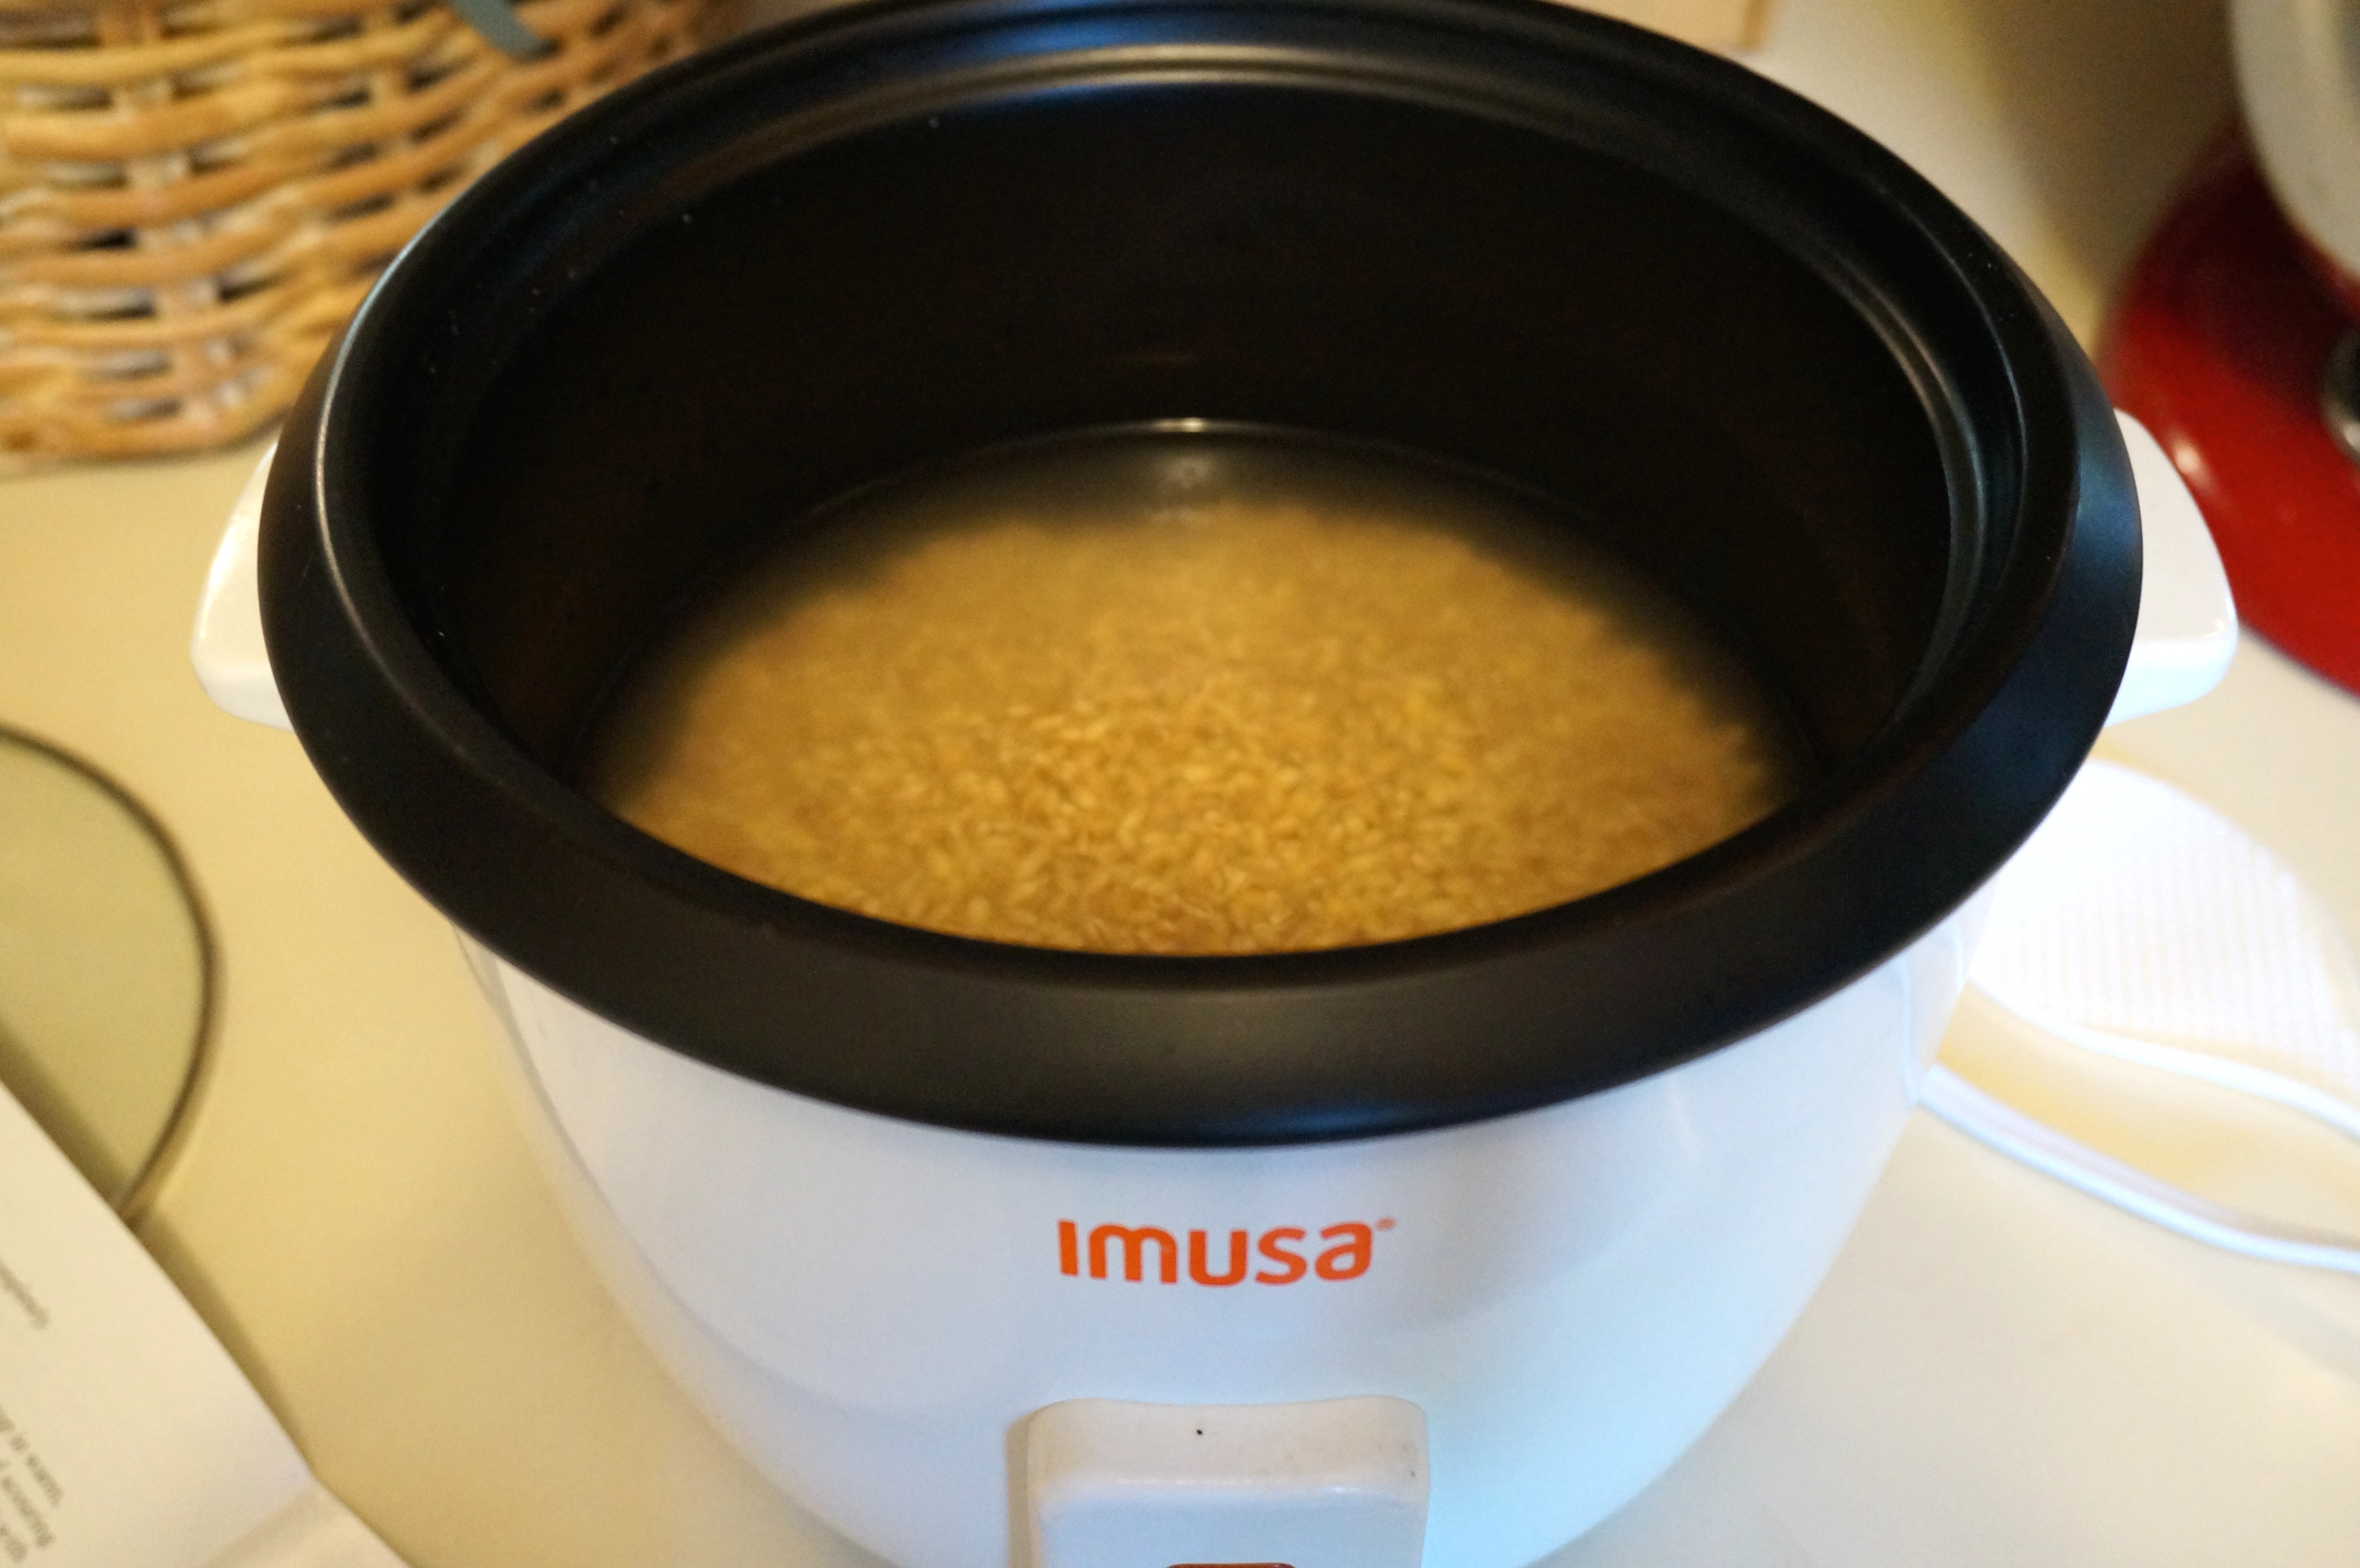
Prepare barley in rice cooker!

DSC01377

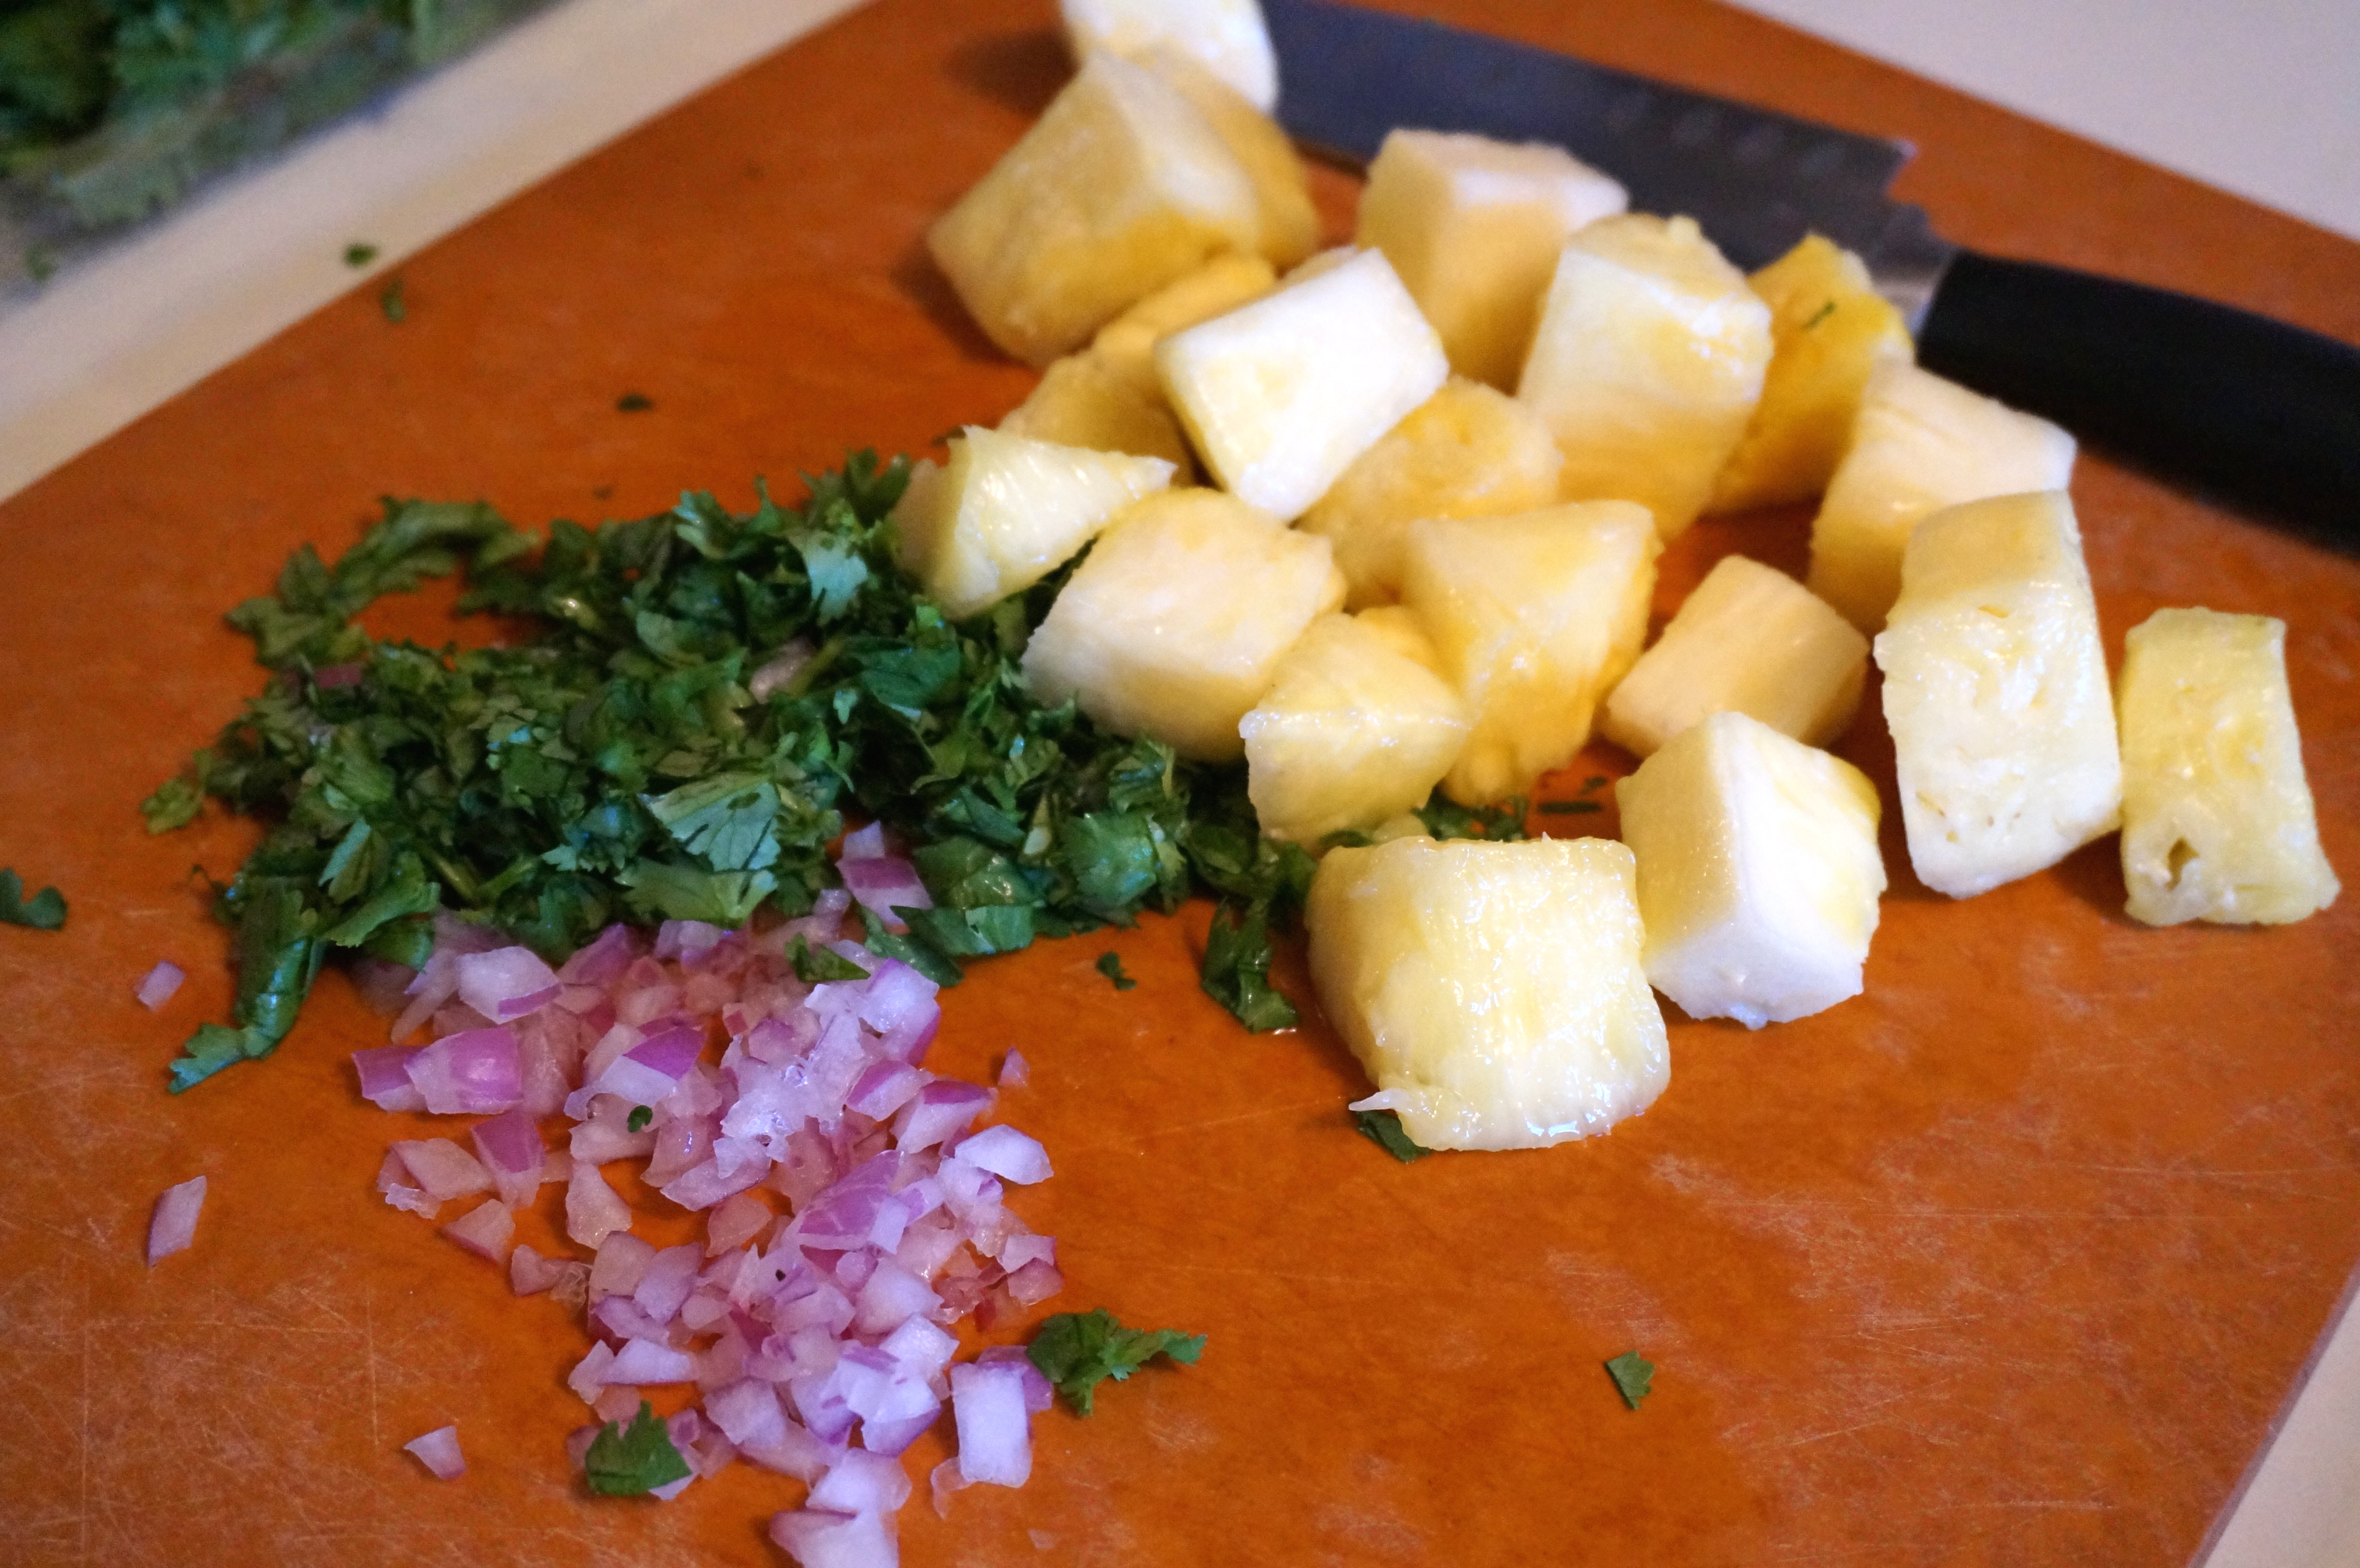
Get your pineapple salsa ingredients ready…

DSC01381

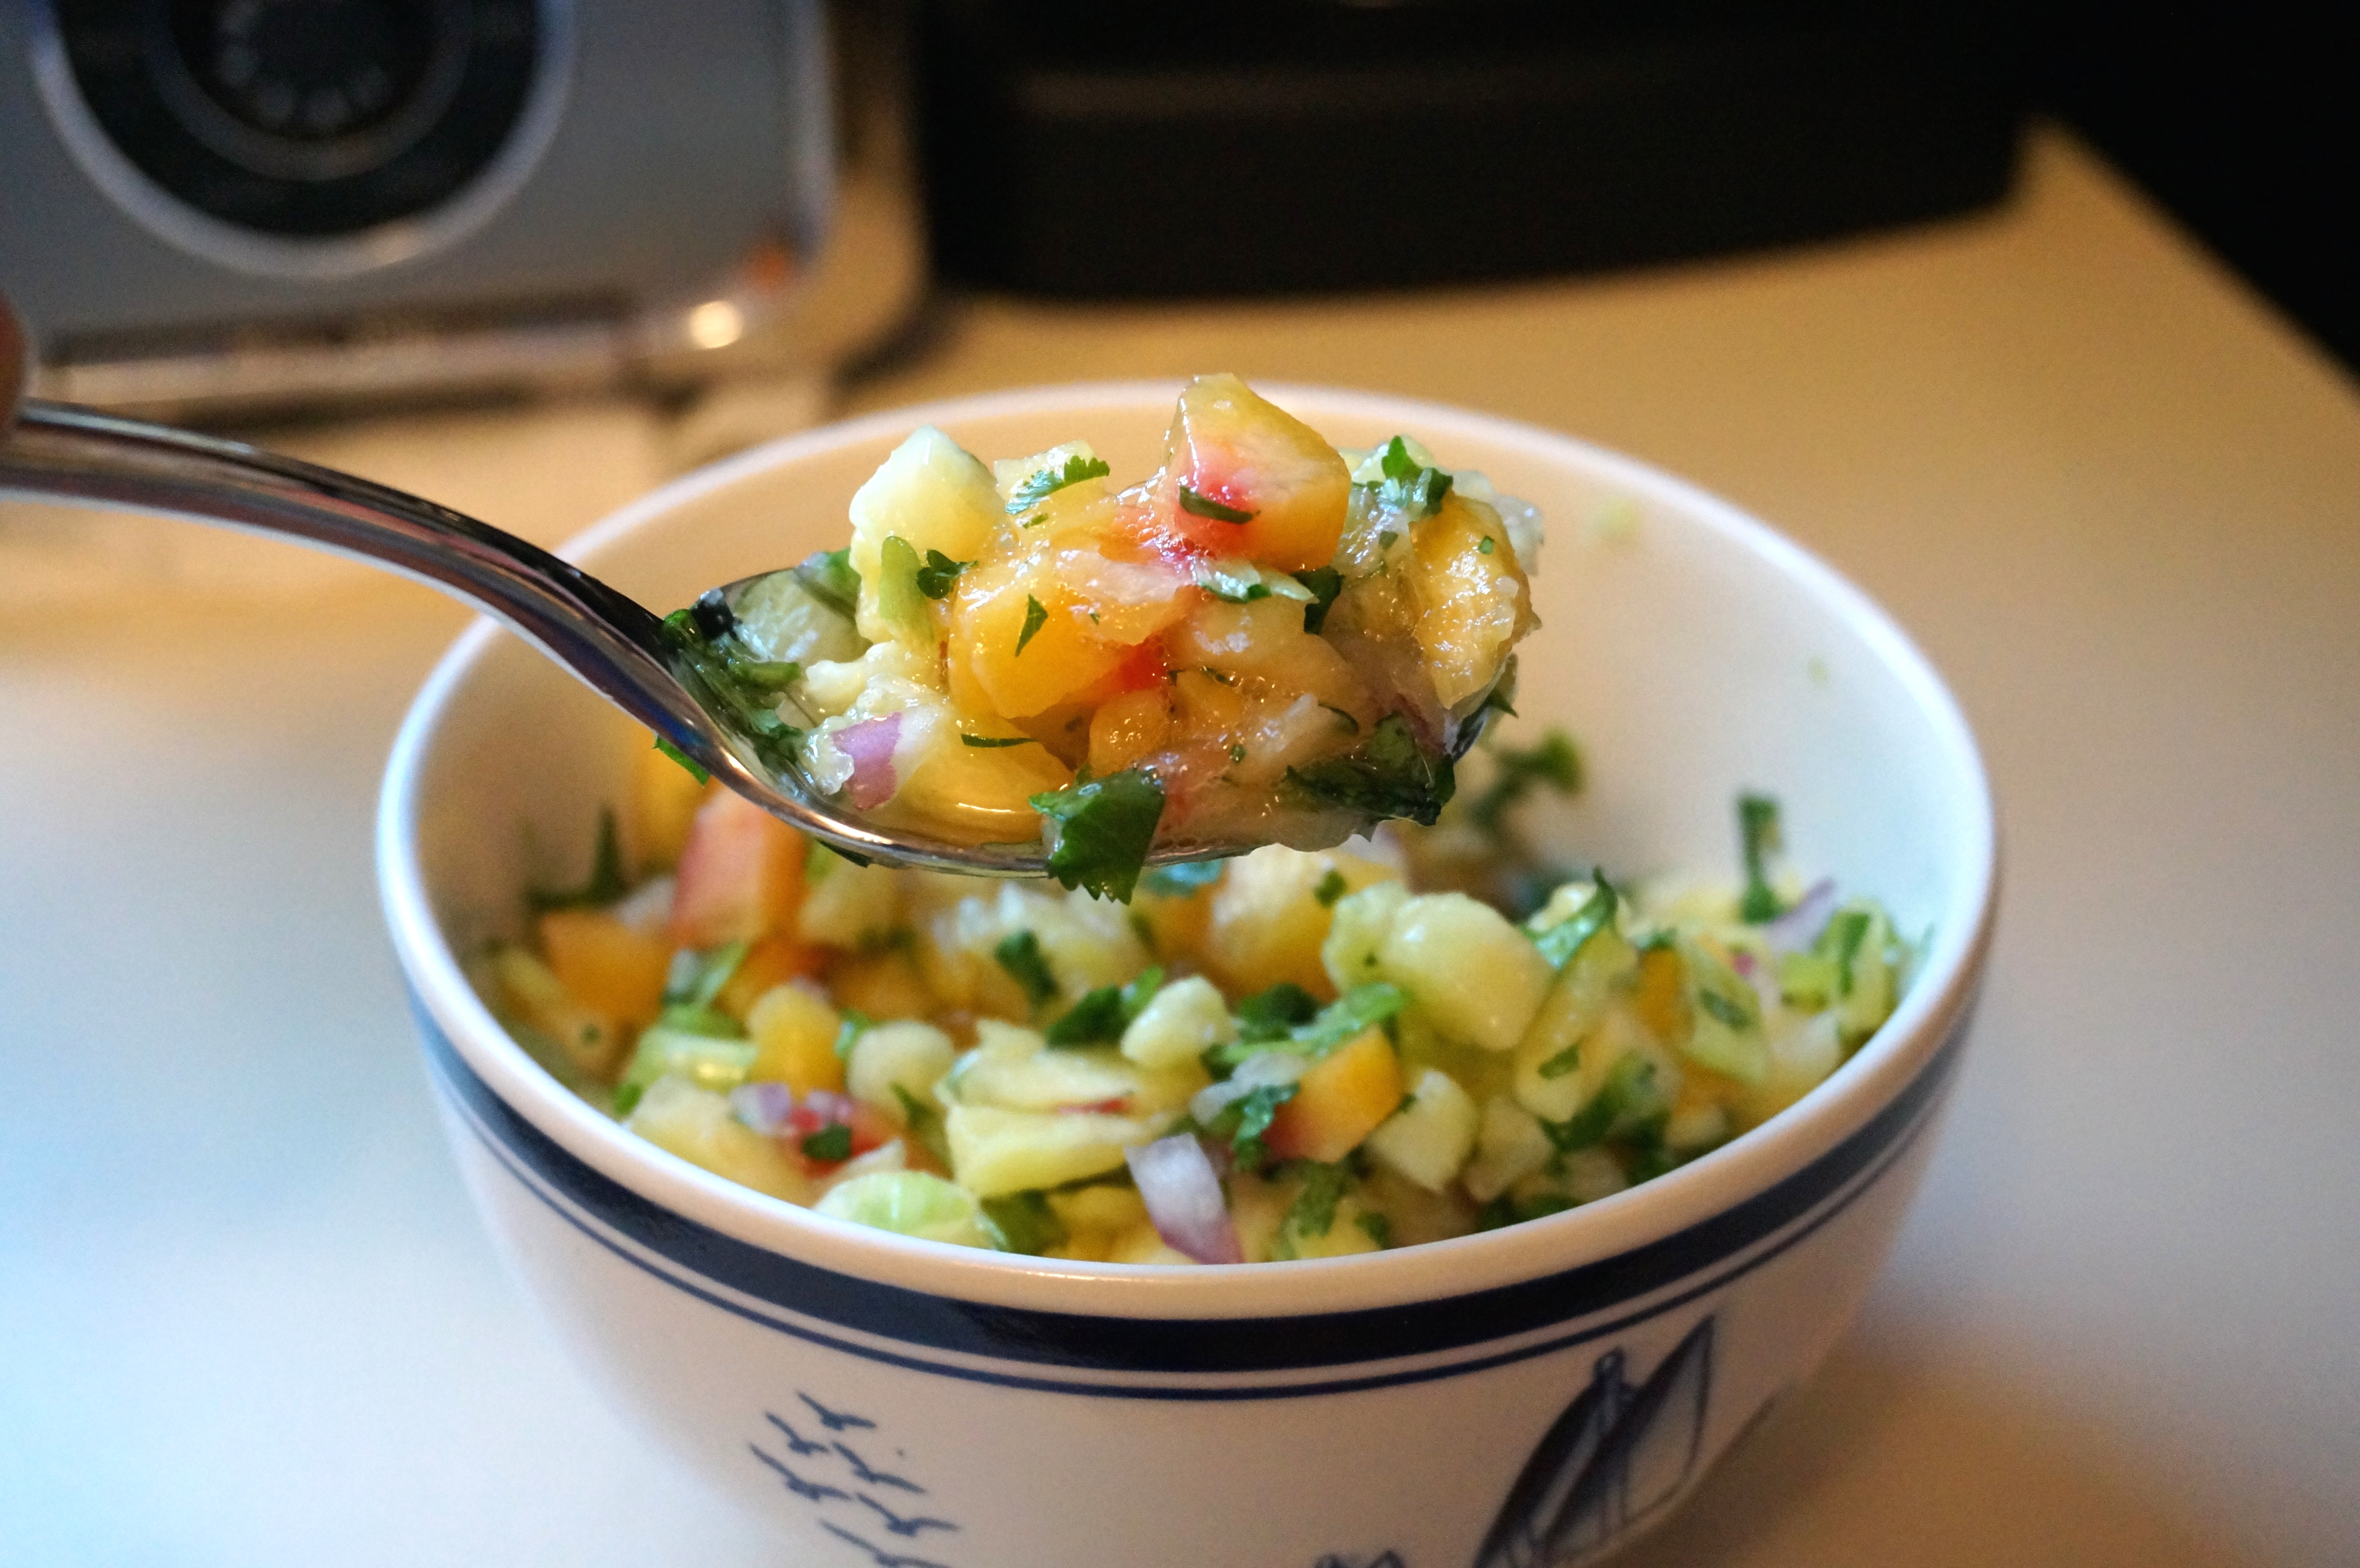
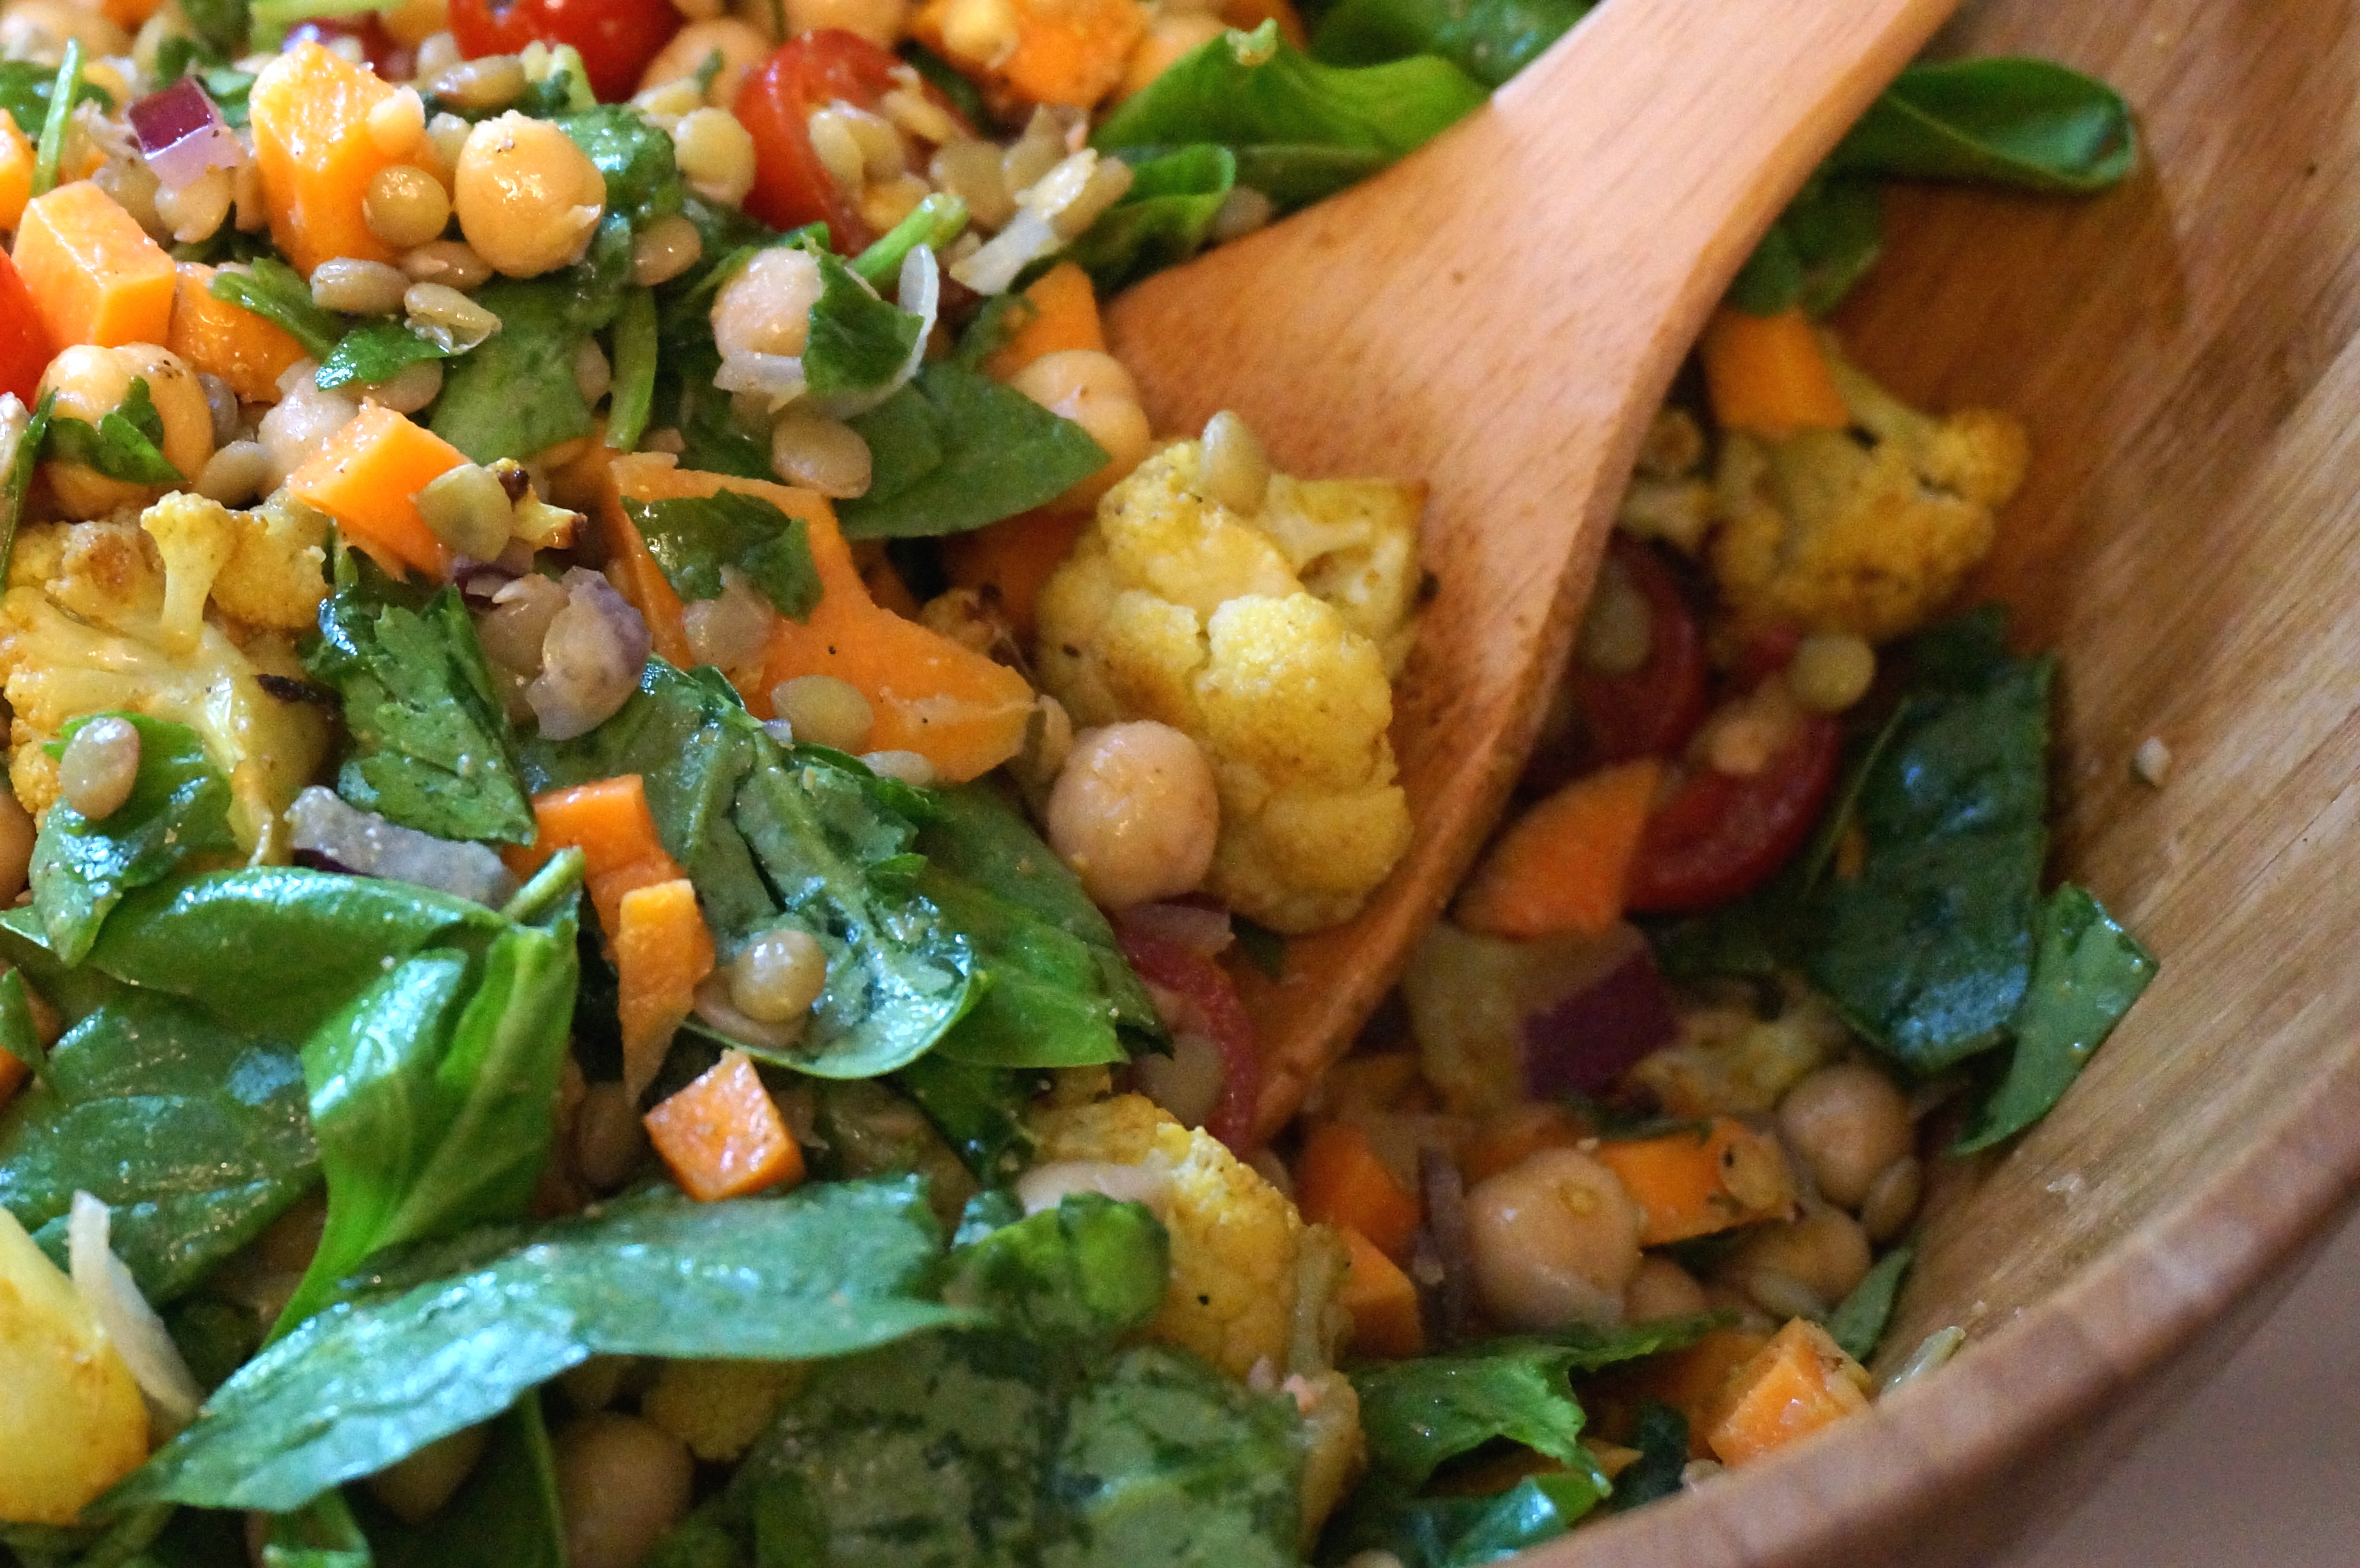
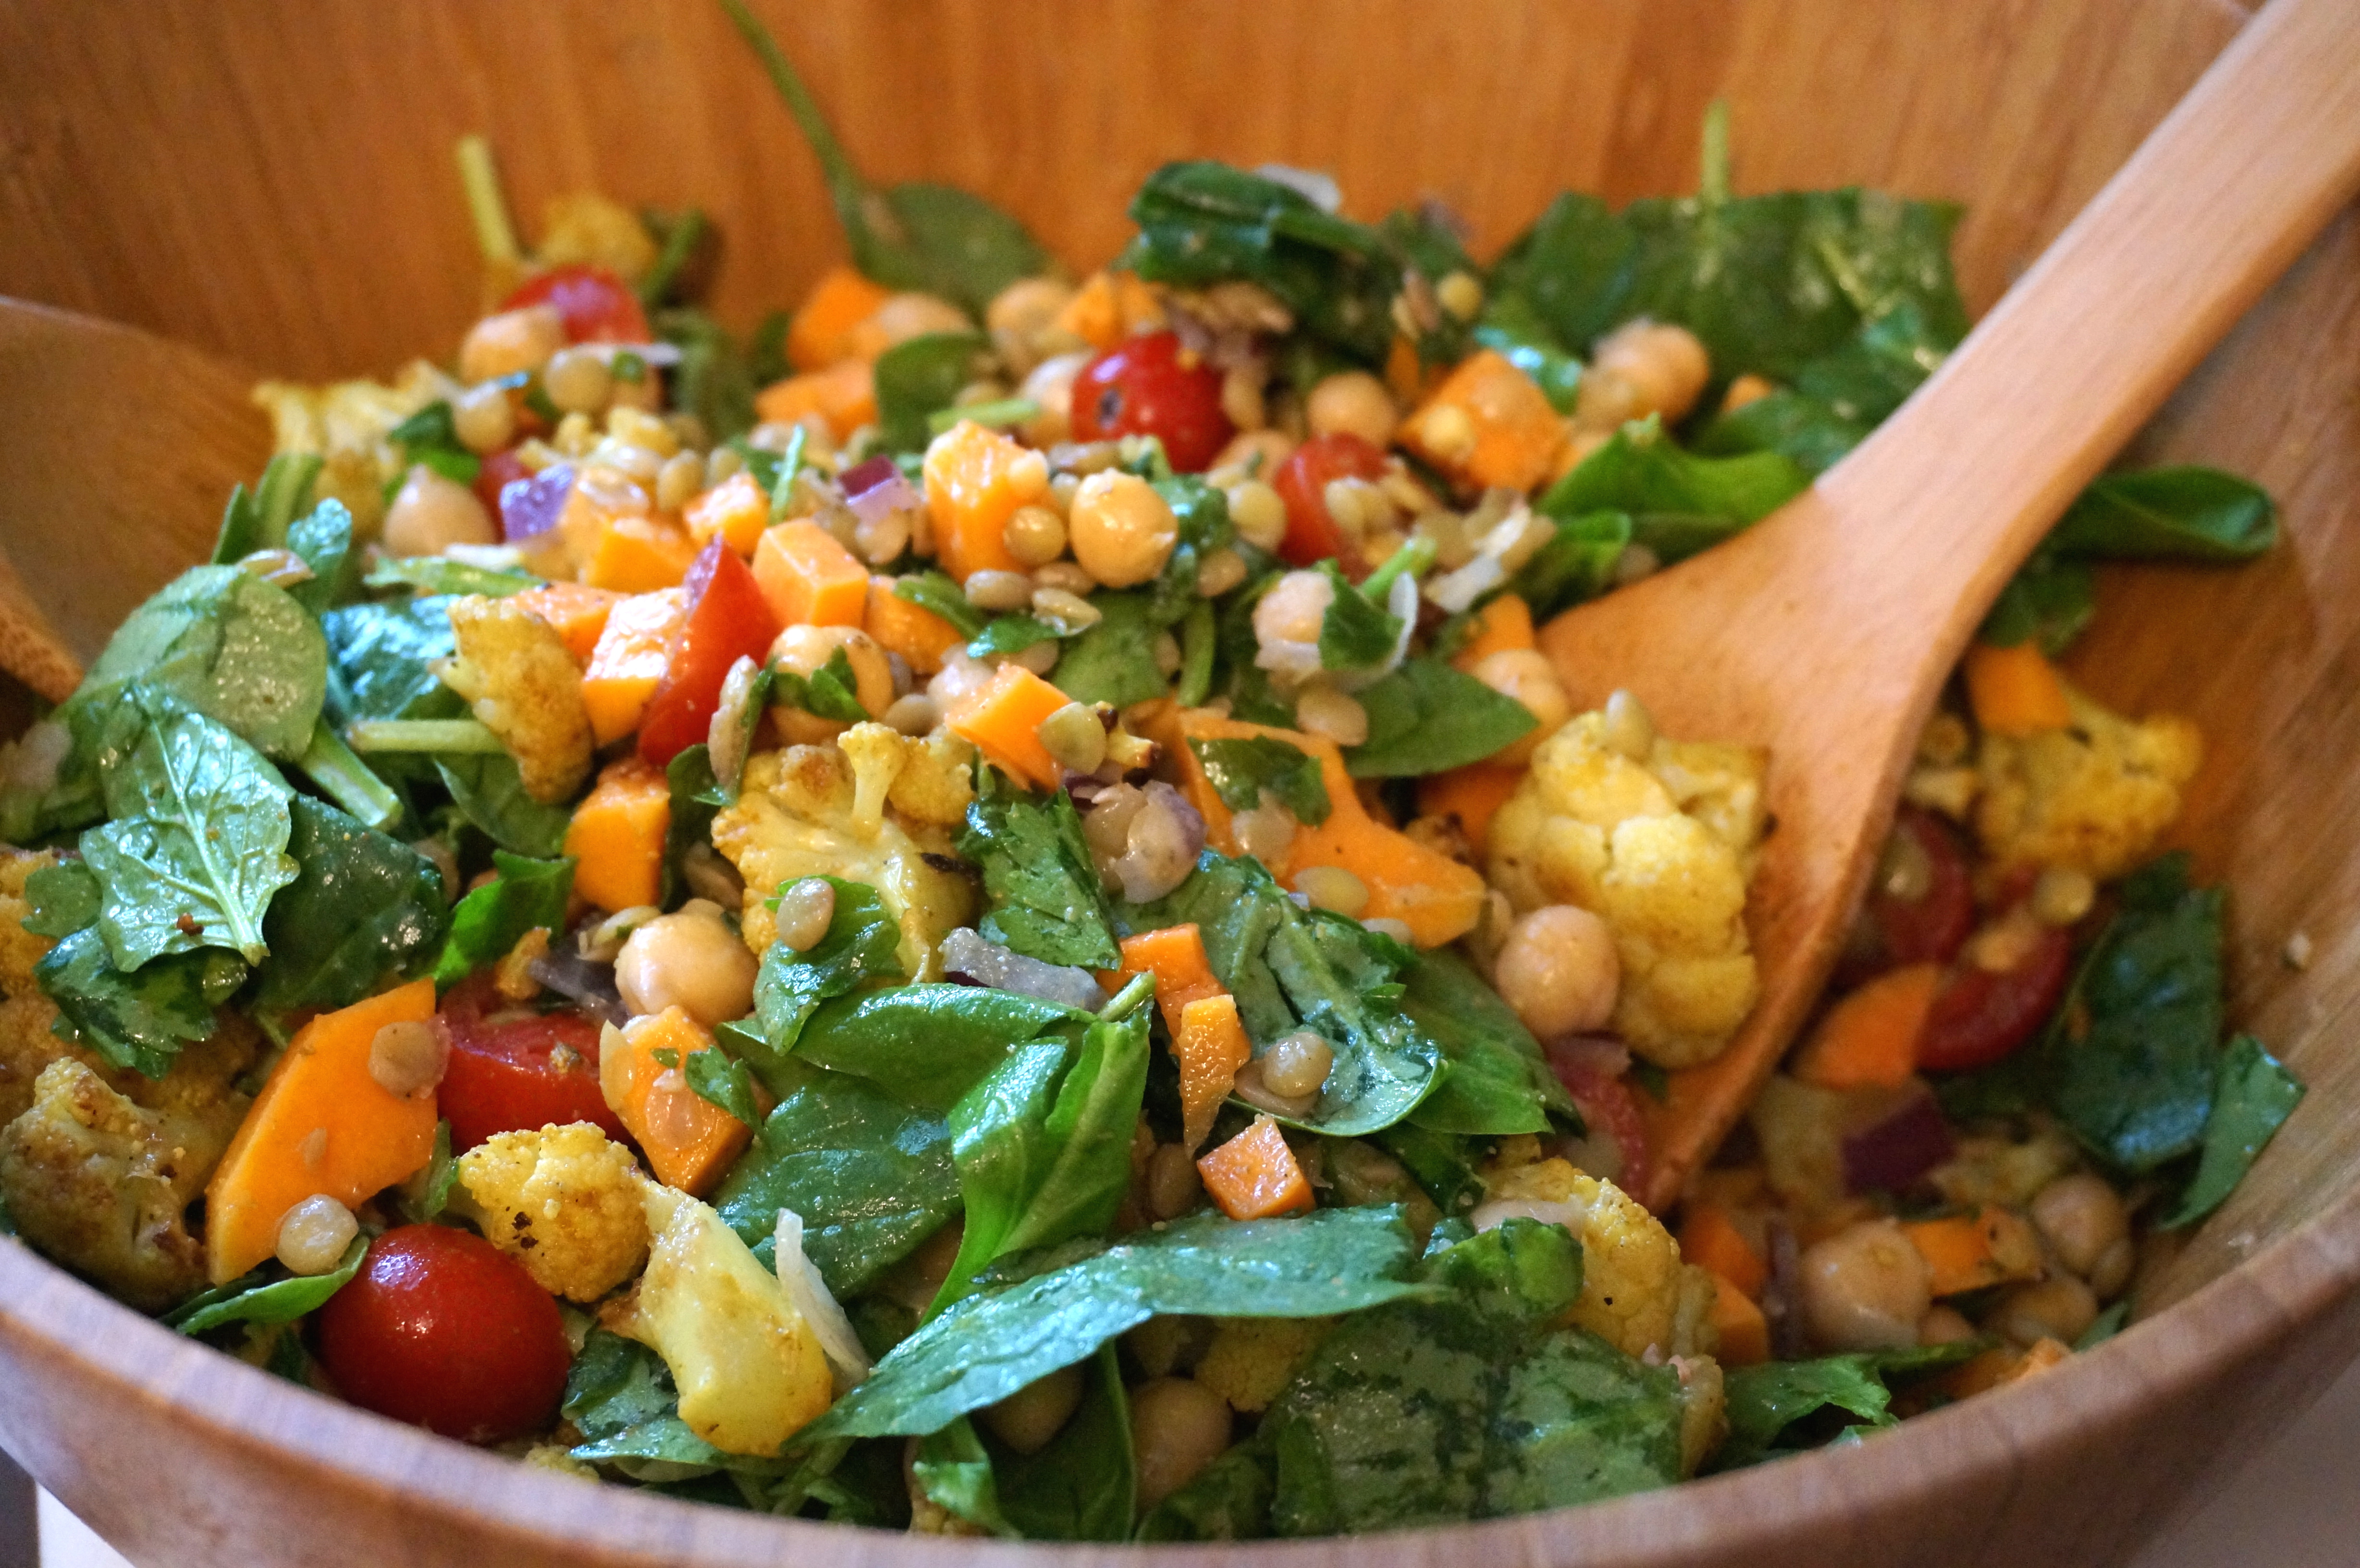
I probably could have eaten this entire bowl.

DSC01386

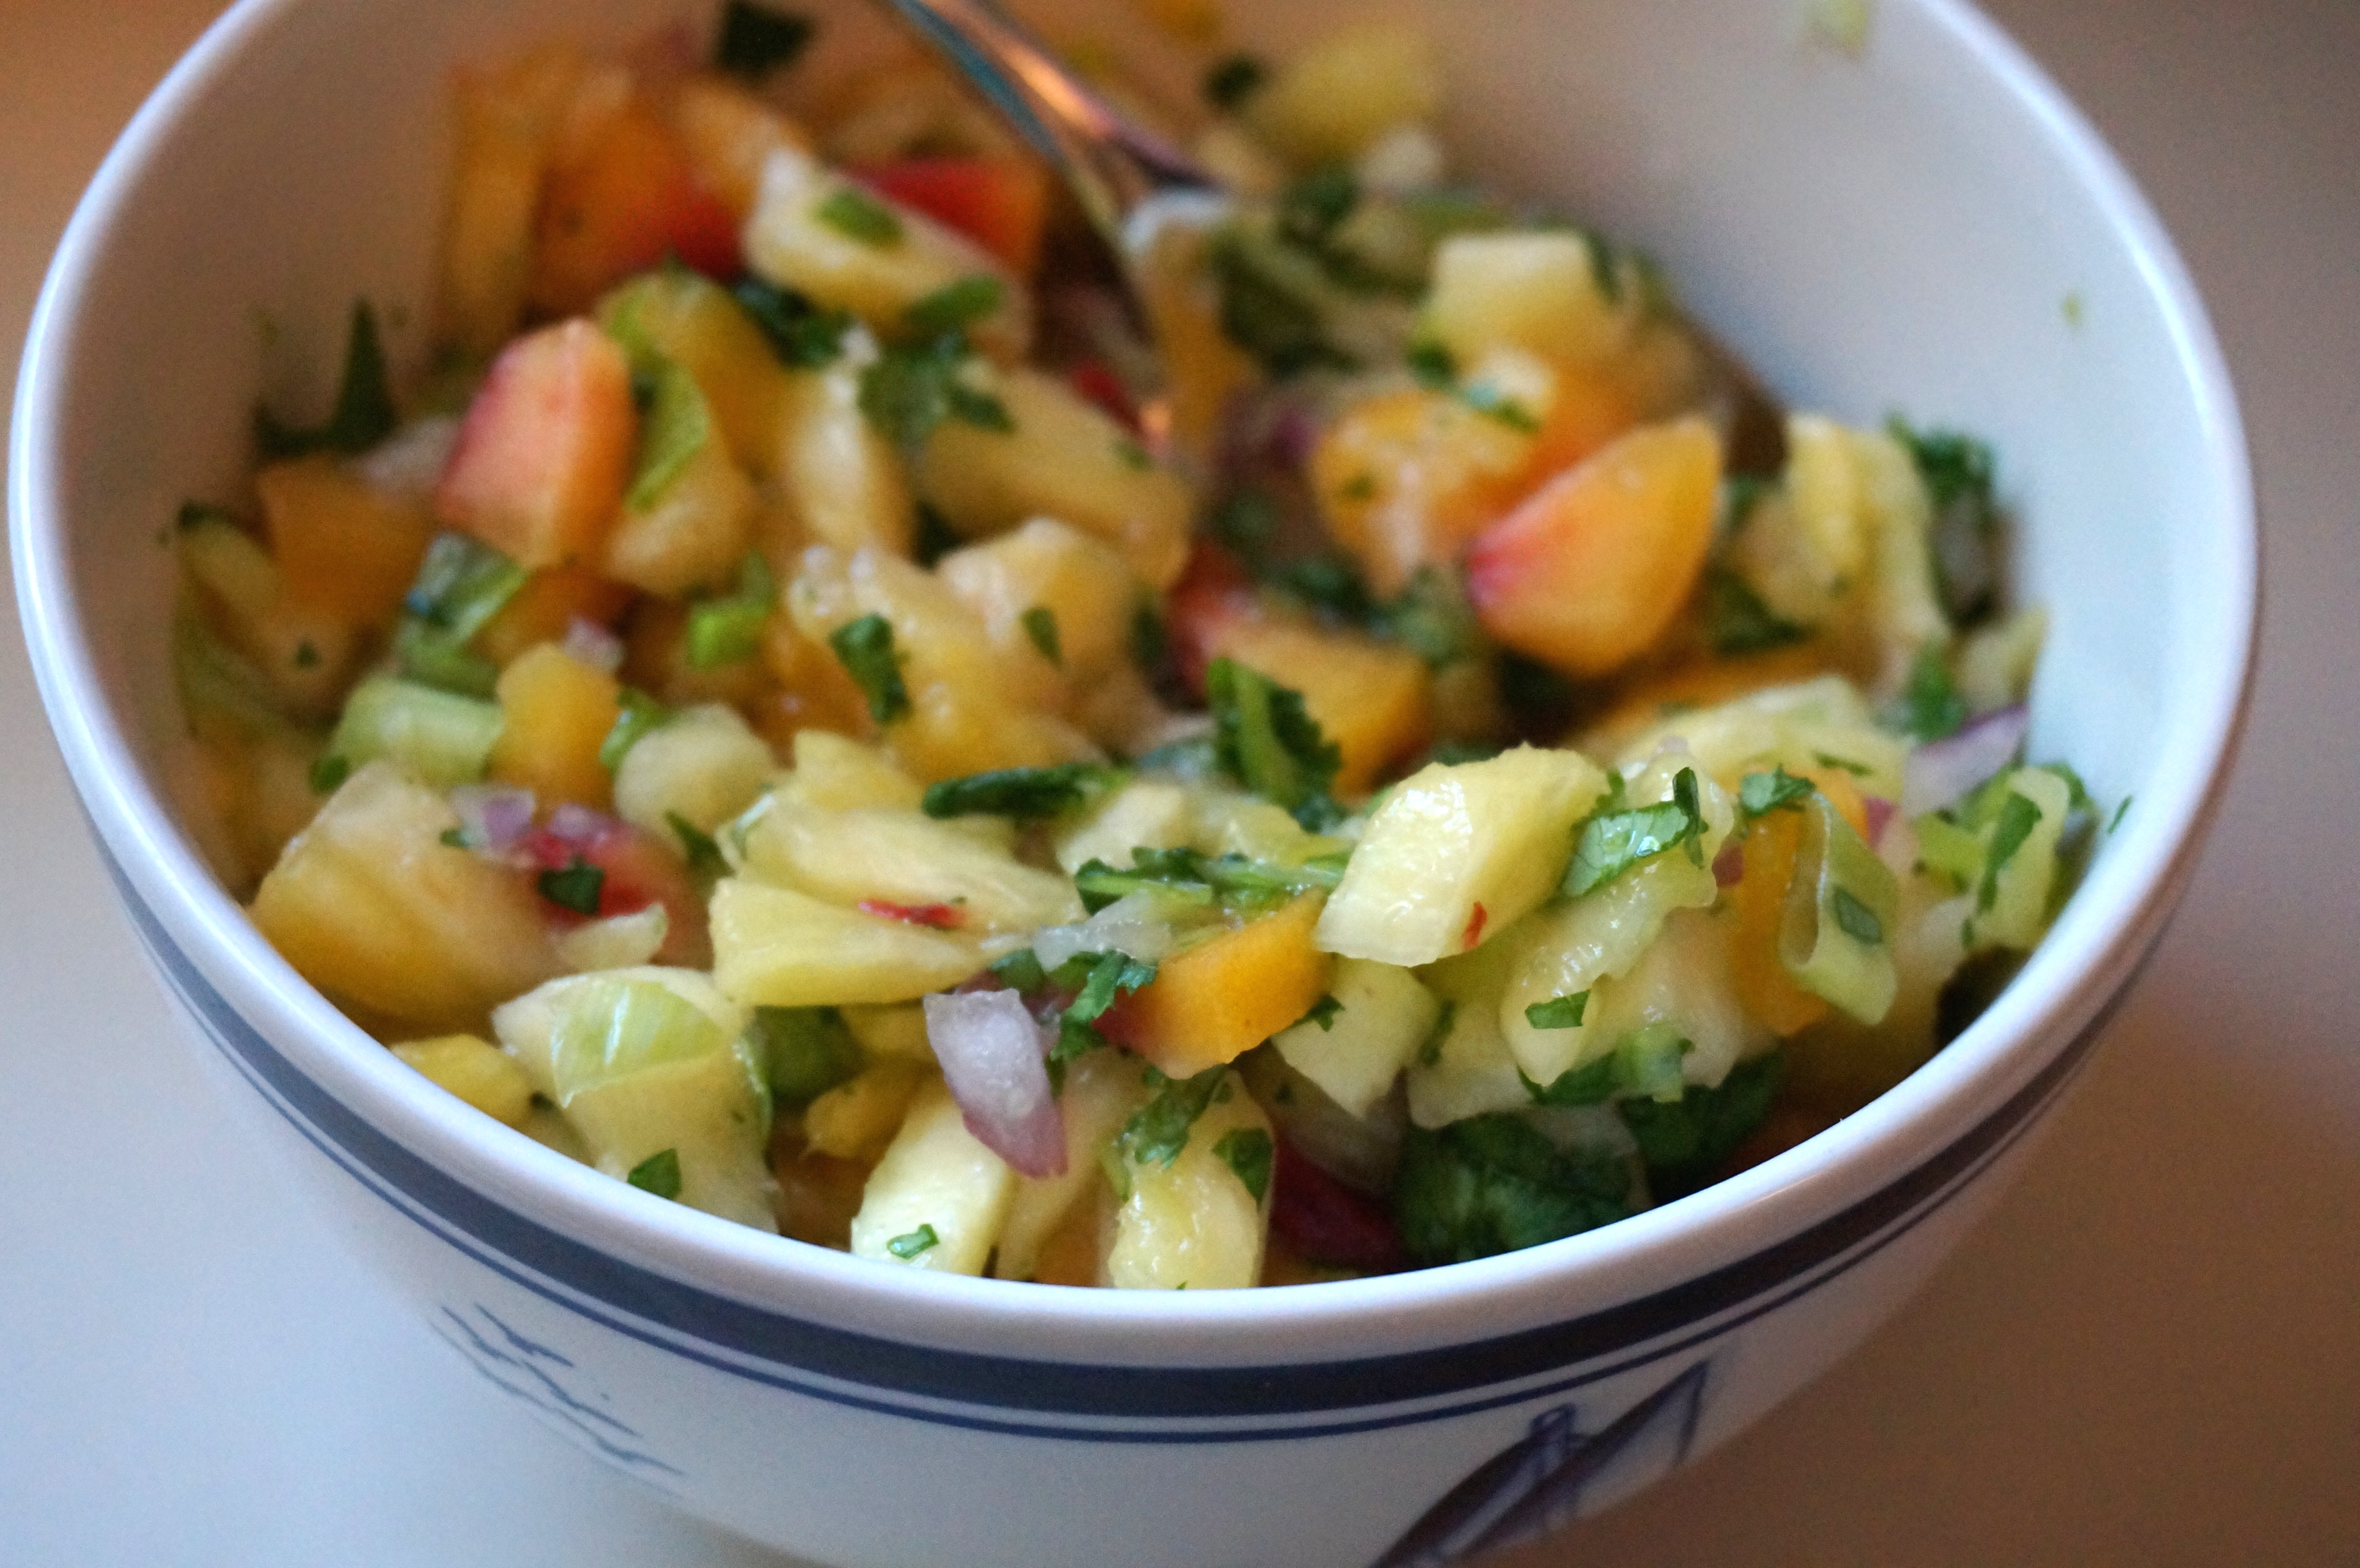
It was just so pretty that I had to take about a gazillion pictures. I mean, really? Those COLORS!
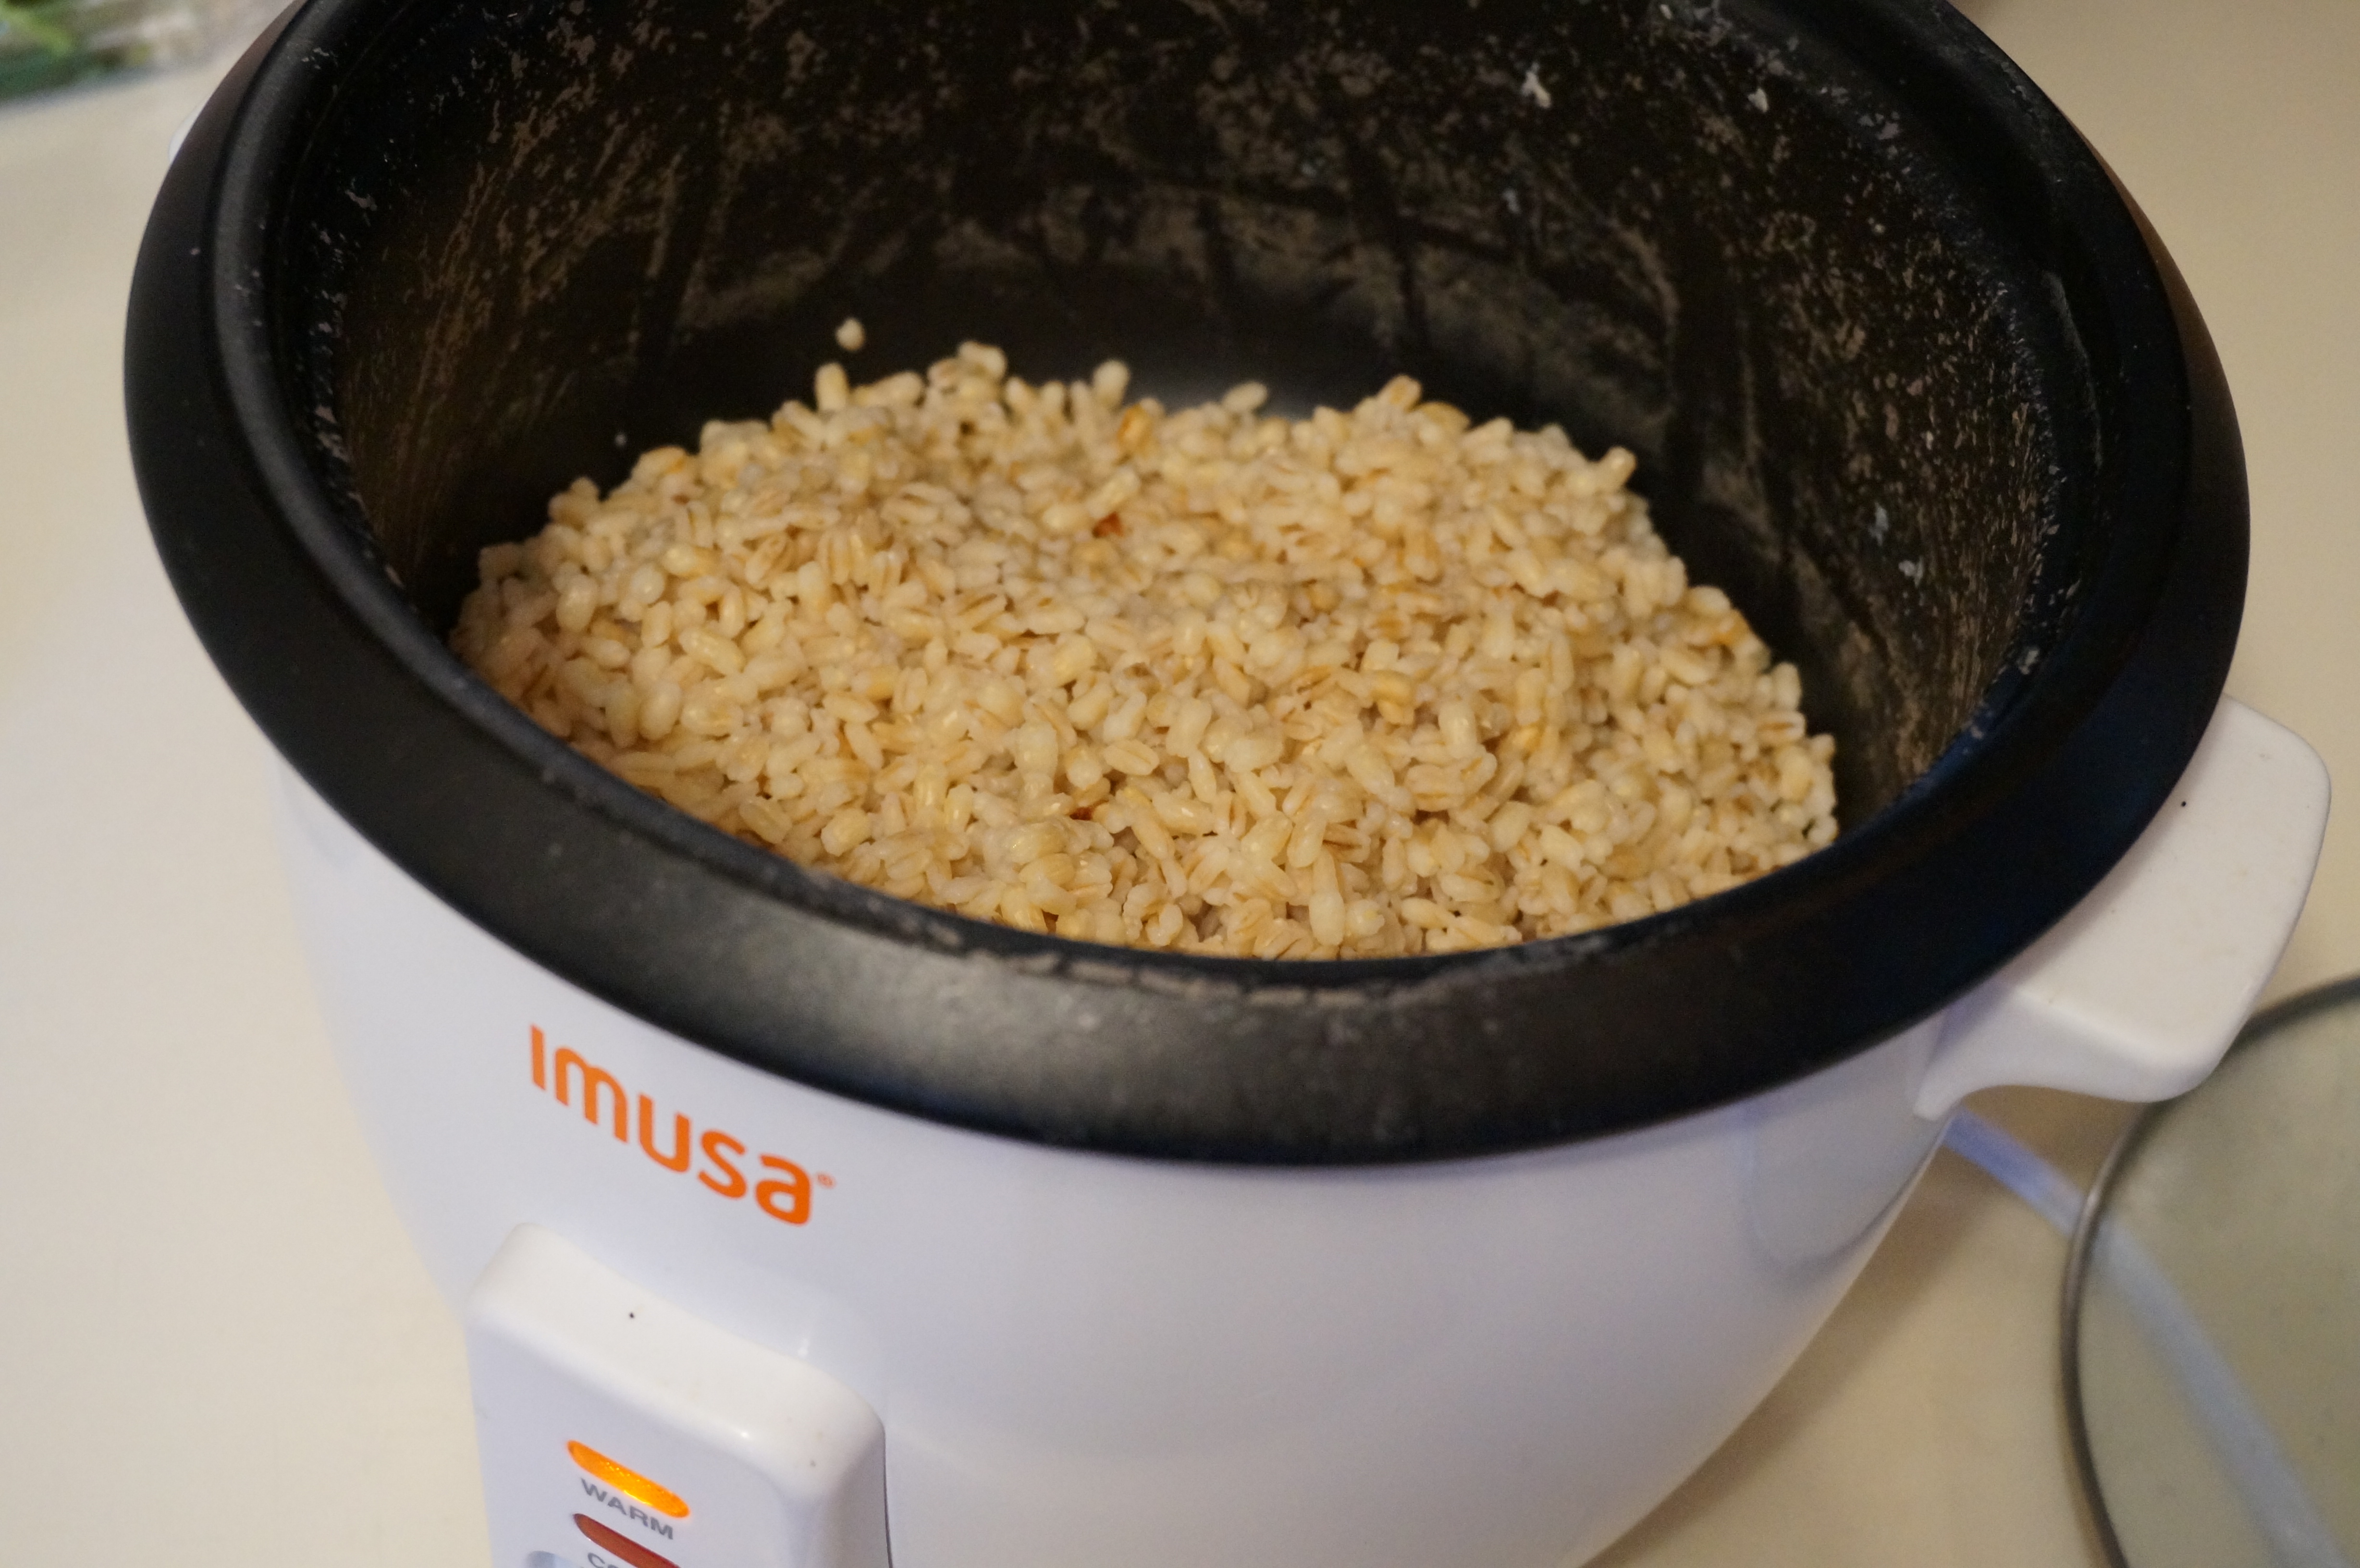
DSC01388

Barley’s all done!

DSC01390

Light upย that grill!

Wait a minute… whose hairy hands are those?!?

DSC01389

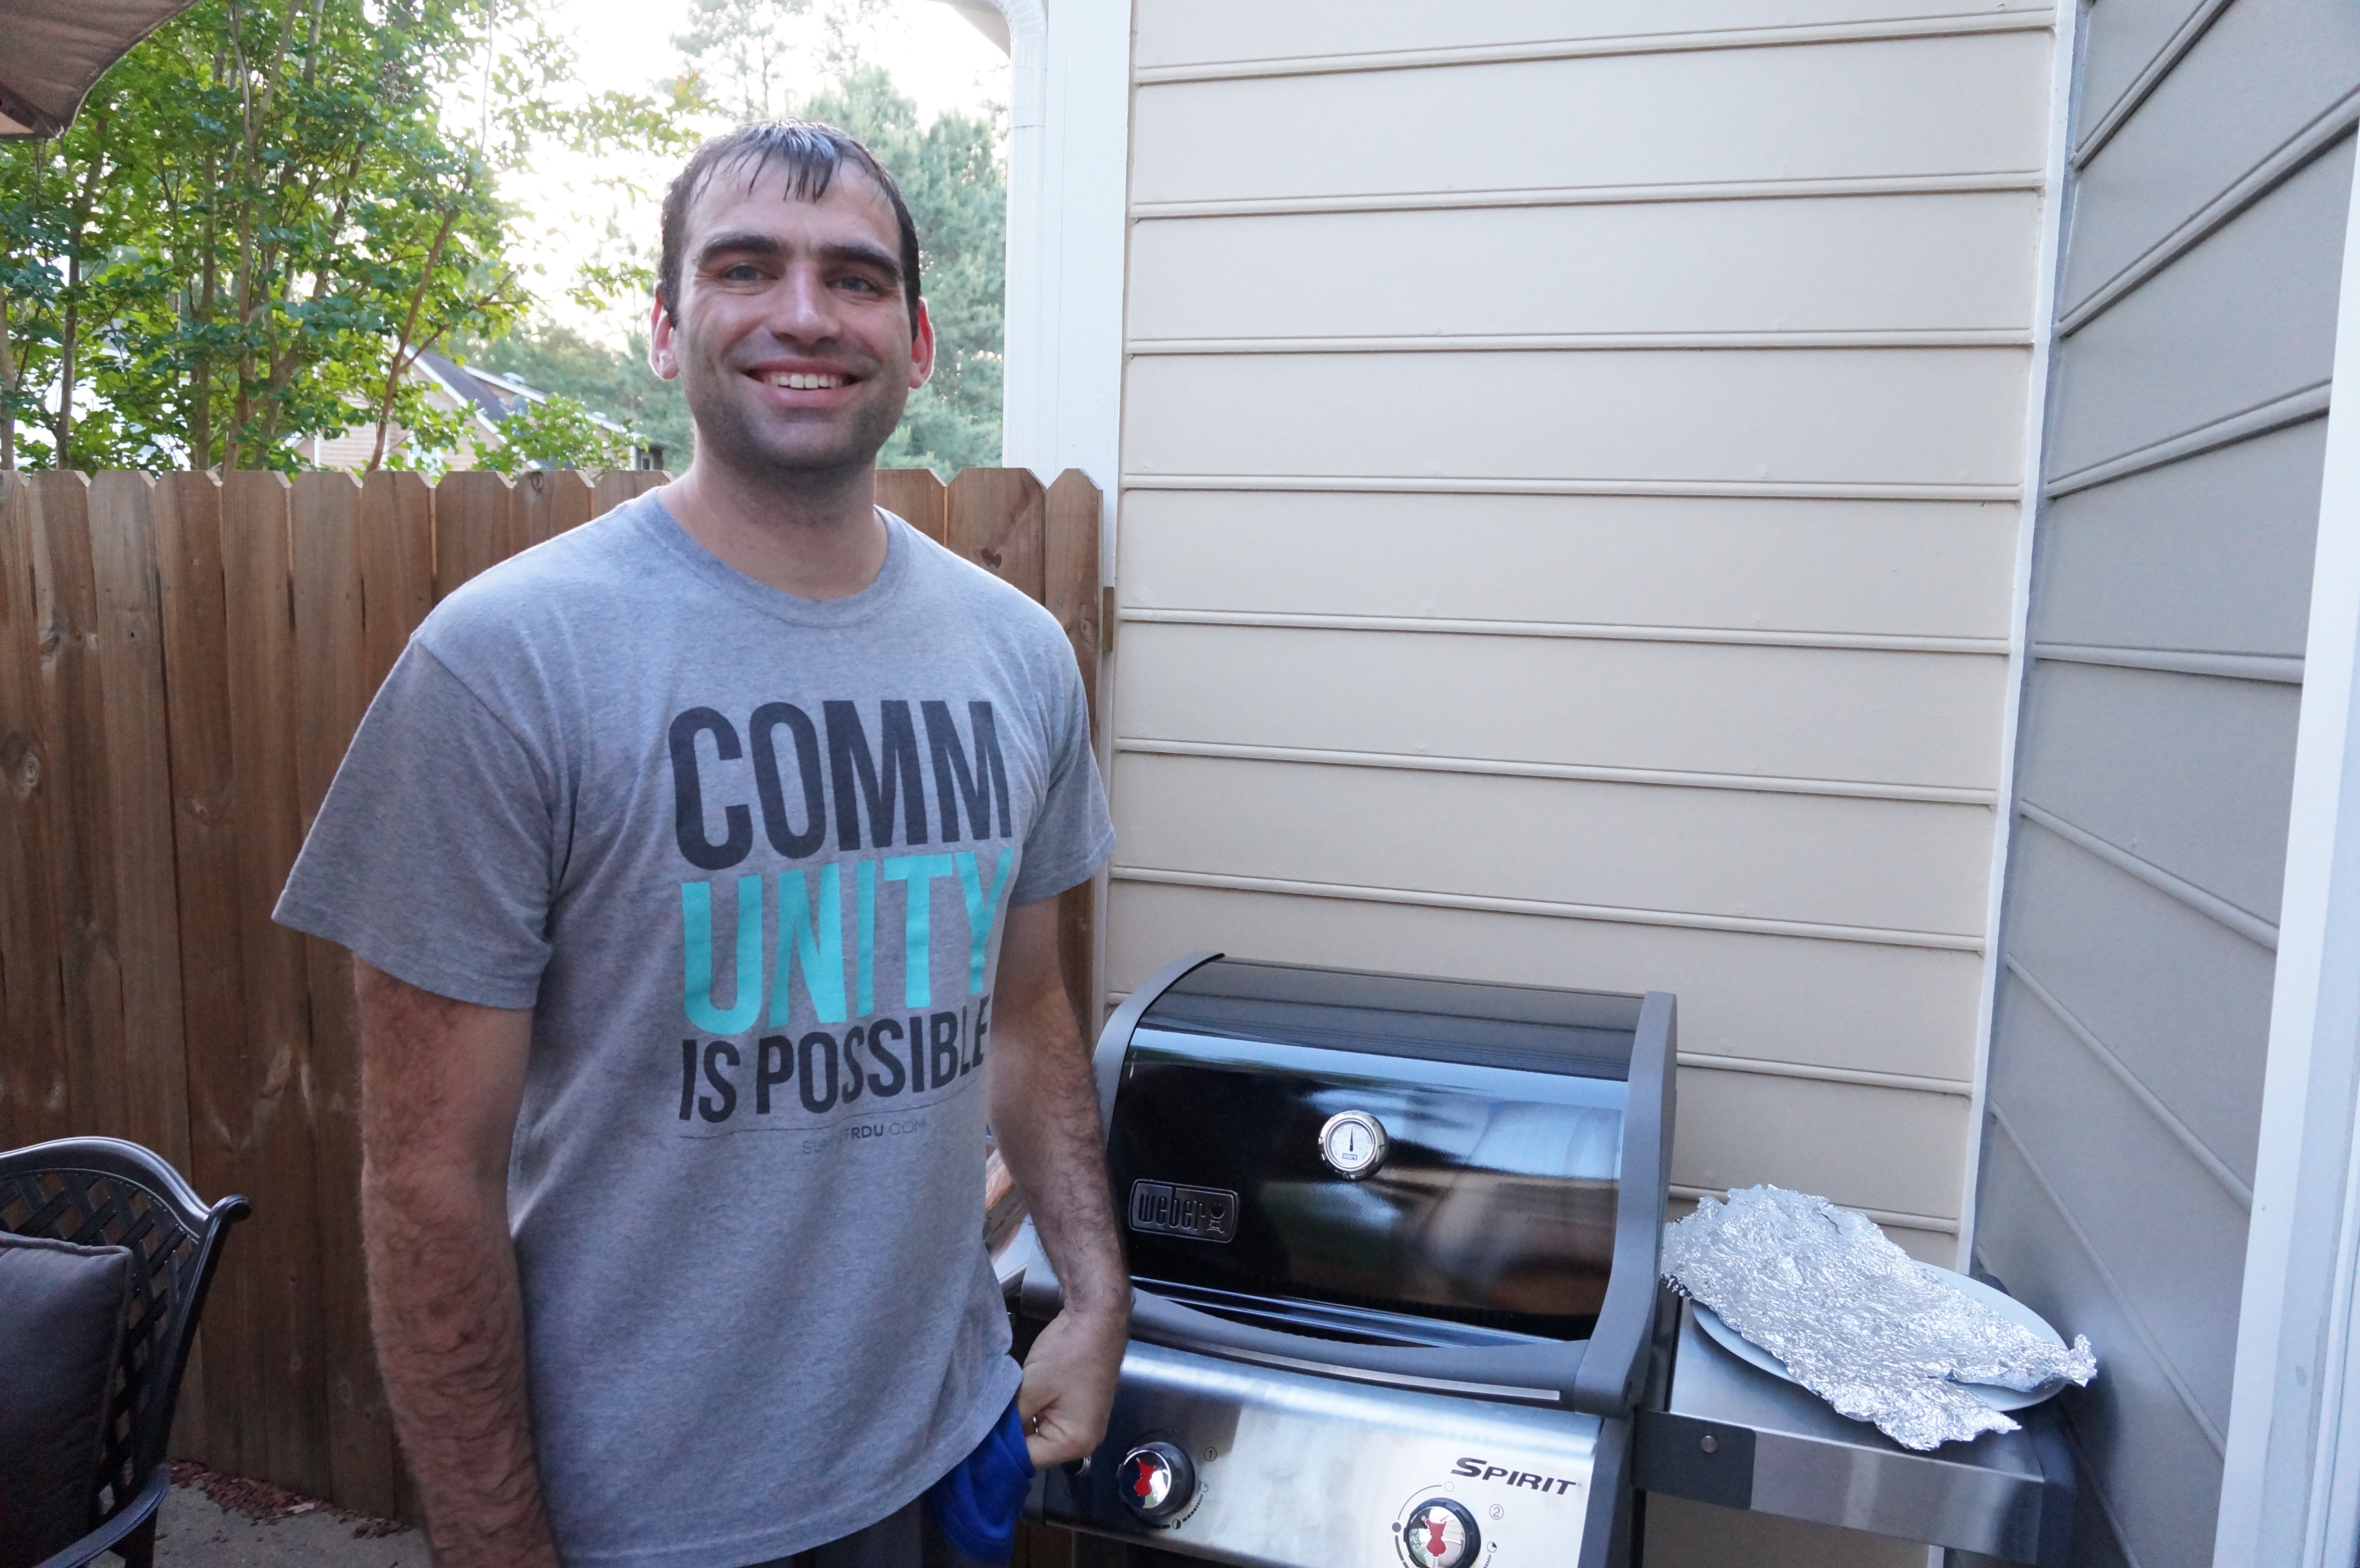
Ohhh that’s right… that handsome husband of mine! (Slash why is he always wearing that shirt when I take pictures of him for the blog?) ๐Ÿ˜›

DSC01391

We were so excited to try out our new grill! Ben’s territory, I’m told.

DSC01394

Yummmmmm… juicy and tender and smelling like teriyaki!

DSC01401

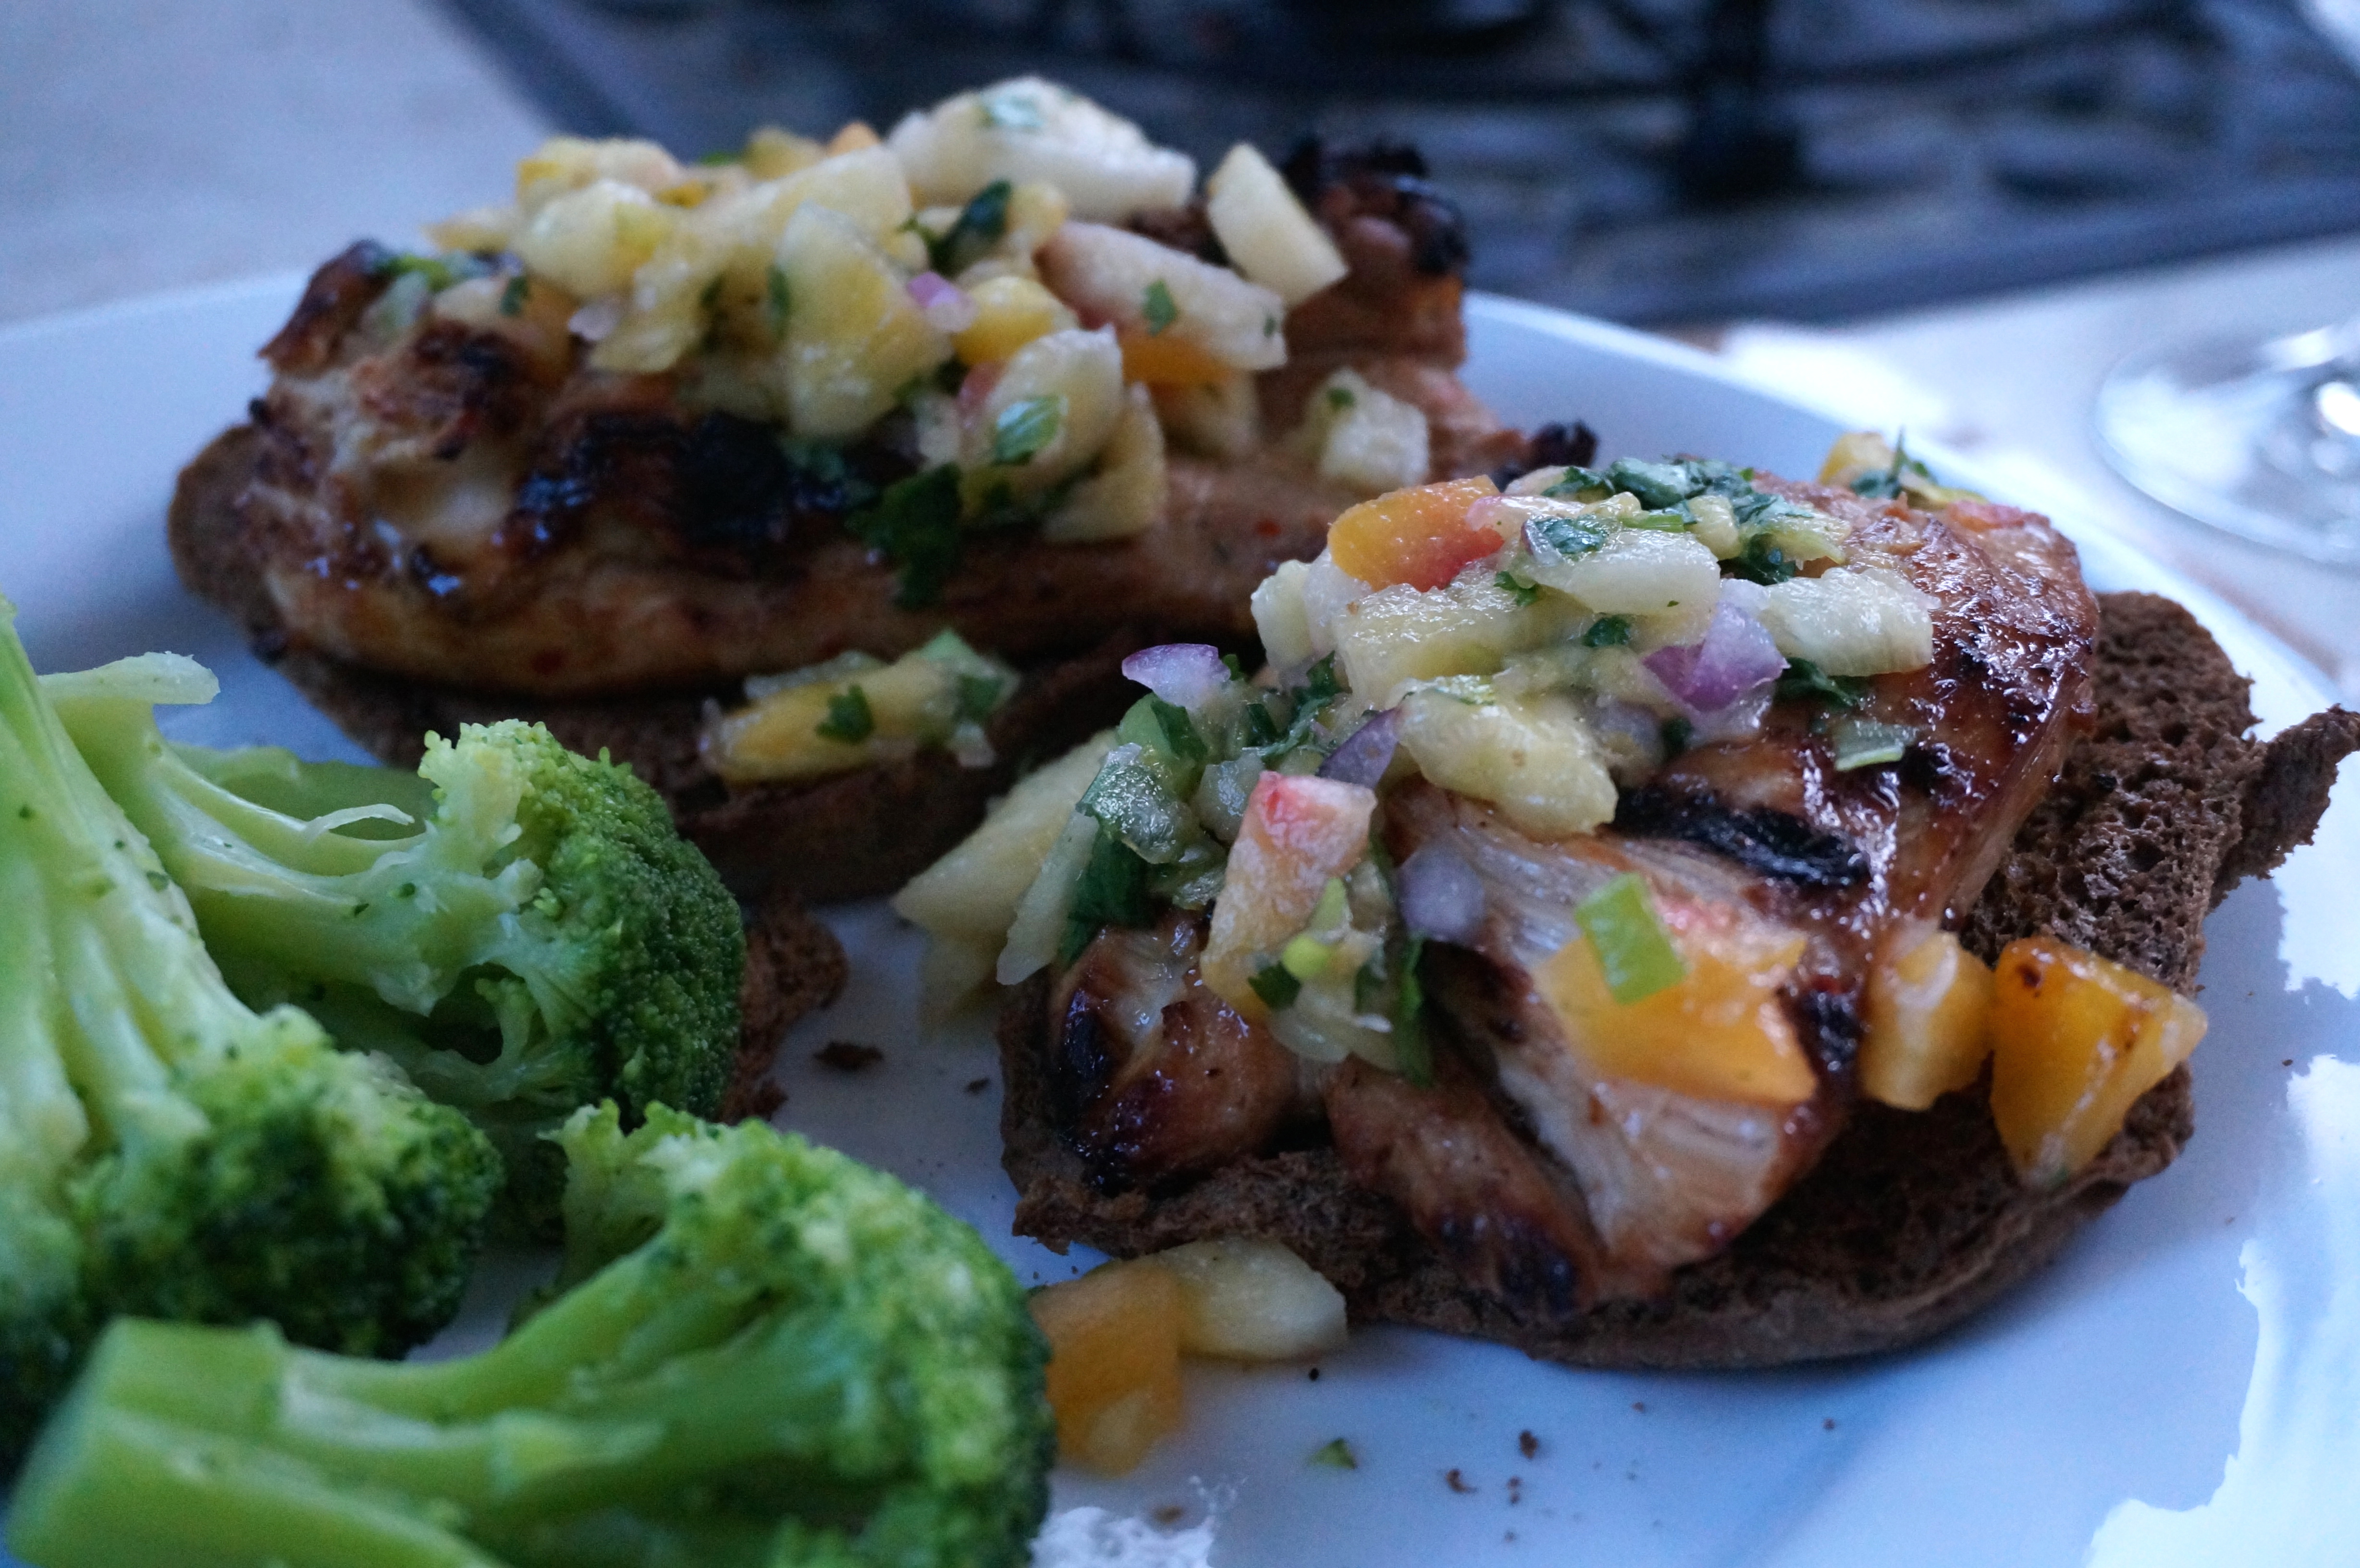
Top with pineapple salsa and serve on a bun with broc on the side ๐Ÿ™‚

DSC01403

Or over barley! I loved how the juice from the salsa seeped down deeply into the barley and gave it an extra tang!

Happy Memorial Day, everyone! Thank you to all who serve our nation with pride! We are so thankful. ๐Ÿ™‚

Chickpea Lentil Power Salad w/ Curried Cauliflower and Lemon-Cumin Vinaigrette

DSC01114

As promised, this one is from our small group’s Indian Food Night (you can see a separate post all about that here!) Originally I was going to make my sweet potato masoor dal, but then I looked at the weather and realized that we’re not in winter anymore here in Durham. The trees are budding, the sun is out, and the breeze is warm. Spring has finally sprung! Because a lot of our small group friends were making hot dishes and stew-like things, I thought a lighter salad would be a welcome addition.

Packed with protein and a delicious blend of Indian spices, this salad is sure to satisfy even the biggest appetites. I love the combination of the light, zesty lemon-cumin vinaigrette with the curried cauliflower (adapted from my sister’s recipe), and the lentils, chickpeas, and sweet potatoes add bulk and heartiness to the dish. Finally, the tomatoes, red onion, spinach and parsley finish it off with a touch of freshness.

This is no salad for the faint of heart! ๐Ÿ˜‰

DSC01115

Chickpea Lentil Salad w/ Curried Cauliflower and Lemon-Cumin Vinaigrette
Recipe Type: Salad, Side
Cuisine: Indian
Author: Claire McCormick of “Claire Tastes”
Prep time:
Cook time:
Total time:
Serves: 15
Here’s an easy “power salad” recipe, chock-full of Indian-spiced chickpeas, lentils, and curried cauliflower! The zesty lemon-cumin vinaigrette ties all of the flavors together to make you feel like you’ve just stepped off the plane to Dubai!
Ingredients
  • 1 cup grape tomatoes, halved
  • 1/2 cup diced red onion
  • 1 medium sweet potato, diced into 1/4″ cubes
  • 1 cup dry green lentils
  • 2 cans chickpeas, rinsed and drained
  • 1 tsp garlic
  • 1/2 cup fresh parsley, minced
  • 1 tsp salt
  • 1/2 tsp pepper
  • 4 cups baby spinach, torn into pieces (spinach will wilt down a good amount in the dressing!)
  • For the curried cauliflower:
  • 1 head cauliflower, broken into small florets (about 3-4 cups total)
  • 2 tbsp olive oil
  • 1 tsp garlic powder
  • 1 1/2 tbsp curry powder
  • 1 tbsp orange juice
  • 2 tbsp chopped cashews
  • For the lemon cumin vinaigrette:
  • 1/4 cup olive oil
  • juice of one lemon
  • 1 tsp lemon zest
  • 2 tsp ground cumin
  • 1/4 tsp cayenne pepper
  • salt and pepper, to taste
Instructions
  1. Chop up the tomatoes and red onion.
  2. Chop up the sweet potatoes into small, 1/4″ cubes. Place in a steamer basket.
  3. Meanwhile, cook 1 cup lentils according to package directions (about 20 minutes for al dente lentils). Set the steamer basket of sweet potato chunks on top of the cooking lentils.
  4. When lentils are finished cooking, drain and rinse with cold water to stop the cooking process. Return a bit of water to the pan and bring to a boil to continue steaming the potatoes, if they are not cooked through yet.
  5. Combine tomatoes, onions, sweet potatoes, lentils, chickpeas, garlic, parsley, salt and pepper in a large mixing bowl.
  6. In a small bowl, whisk together ingredients for the lemon cumin vinaigrette: oil, juice of one lemon, lemon zest, cumin, cayenne pepper, and more S+P. Drizzle over the salad and toss gently.
  7. To prepare the curried cauliflower, preheat oven to 400 degrees.
  8. Rinse and pat dry cauliflower in a colander.
  9. In another mixing bowl, combine 2 tbsp oil, garlic powder, curry powder, and orange juice. Whisk thoroughly. Toss in cauliflower florets and stir until each floret it equally covered with the dressing.
  10. Spread on a lined baking sheet (love my Silpat! careful of the curry staining though…oops) and roast for 20-25 minutes or until slightly browned. For the last few minutes, sprinkle on the cashews to toast.
  11. Remove from oven and let sit for 5 minutes before tossing into the salad.
  12. Toss in the spinach for some extra color and volume to this wholesome, protein-packed Indian power salad!
  13. Serve with naan and a poached egg on top if desired!


DSC01080Chop the tomatoes and onion. And sweet potatoes (not shown).

DSC01078Add potatoes to a steamer basket (I always use an old mini strainer!) and set on top of cooking lentils.

DSC01085When finished cooking, add lentils and potatoes to the rest of the veggies and chickpeas. Stir in chopped parsley and spices.

DSC01084Whisk together ingredients for the lemon-cumin vinaigrette. I also originally had planned for a honey-orange yogurt sauce to serve on top of the salad, but I added a bit too much orange zest and it ended up tasting more bitter than I would have liked. So I tossed it and decided to try again another time! (Feel free to experiment with your own though and definitely let me know what works for you!)

DSC01082Cauliflower florets, rinsed and dried.

DSC01092Whisk together ingredients for the curry dressing for the cauliflower.

DSC01093Add the cauliflower florets and toss until evenly coated.

DSC01100Roast at 400 degrees for about 20 minutes, adding in the cashew bits for the last few minutes of baking.

DSC01128Toss into the salad with the spinach!

DSC01135Serve with naan as a side salad to your tikka masala, or as an entree with poached egg on top. Happy tasting!

Spring Succotash

Who says you can’t make succotash before the summer months? I say false!

For those who don’t know their southern dishes, succotash is an eastern woodland native American dish that comes from the Narragansett “sohquttahhash.” It primarily consists of corn and lima or other beans. You can also add other veggies like tomatoes, okra, and peas for more of a flavor punch. High in protein and fiber, succotash is a great way to get your protein without needing to have meat in your dinner. It can be served with a crust on top or on its own, and the ingredients are so cheap that you can make a TON of it and hardly spend a penny. In fact, you probably have all the ingredients in your kitchen without even realizing it! For all you history gurus, this recipe is so cheap and easy that it was actually a popular dish during the Great Depression!

Here’s an easy, shop-your-pantry side dish that’s a cross between salad and stew! Vegetarian, vegan, and gluten-free, this recipe is perfect for serving on top of sandwiches or leafy greens. I had mine with a crusty brown roll and some tuna over a bed of spinach and steamed veggies!

DSC01068

DSC01073

Spring Succotash
Recipe Type: Stew, Side
Cuisine: Southern
Author: Claire McCormick of “Claire Tastes”
Prep time:
Cook time:
Total time:
Serves: 8
Perfect as a side or over a salad, this succotash recipe is simple! Also vegetarian, gluten-free and vegan!
Ingredients
  • 1 can three-bean blend, rinsed and drained
  • 1 can white beans, rinsed and drained
  • 1 can diced peeled tomatoes, undrained
  • 1 cup frozen corn kernels
  • 3/4 cup frozen cut okra
  • 1/2 red onion, diced
  • 1/3 cup water
  • 1 1/2 tsp dried basil
  • 1 tsp paprika
  • 1/2 tsp garlic powder
  • 1/2 tsp bay leaf
  • 1 tsp salt
  • 1/2 tsp fresh black pepper
  • 1/2 tsp crushed red pepper flakes
  • 1 bunch fresh parsley, torn into pieces
  • mozzarella or parmesan cheese, for serving
Instructions
  1. In a large saucepan, heat tbeans, tomatoes, corn, okra, and onion. Add water and bring to a boil. Reduce to a simmer.
  2. Add all spices except for parsley. Simmer on low heat for 25 minutes, until beans are soft.
  3. Just before serving, add parsley and stir to combine.
  4. Serve with grated cheese on top!


Cheesy Smashed Potatoes

DSC01043

DSC01040

Cheesy Smashed Potatoes
Recipe Type: Casserole, Mashed Potatoes
Cuisine: American
Author: Claire McCormick of “Claire Tastes”
Prep time:
Cook time:
Total time:
Serves: 12-15
Cheesy potatoes, bacon, butter, and more cheese… what more could you ask for? These “smashed” potatoes are so decadent, you won’t be able to stop at just one scoop!
Ingredients
  • 3 lbs gold potatoes
  • 1 package uncooked bacon
  • 1/2 stick butter
  • 1 cup 1% milk
  • 1 1/2 cups shredded mozzarella cheese
  • 1 8 oz. container light sour cream
  • 1/2 cup grated parmesan cheese
  • 2 tsp salt, plus more for seasoning
  • 1/2 tsp freshly ground pepper
  • 1/2 tbsp minced garlic
  • 3/4 cup frozen peas
  • 1 bunch fresh parsley, minced
  • Additional salt and pepper, to taste
Instructions
  1. Rinse and pat dry potatoes and cut into quarters. Place in a large stockpot with about 1 tsp salt and add enough water so that potatoes are covered by about 1 inch.
  2. Bring potatoes to a boil and cook for 15 minutes or until potatoes are soft.
  3. Meanwhile, cook bacon in a skillet on medium heat, reserving bacon grease between “batches.” (There will be a good reason for this, I promise.)
  4. Set bacon aside to drain on a paper towel.
  5. When potatoes are done, drain and return to stockpot. Mash with a potato masher to desired consistency (I like them a little chunky!)
  6. Add butter, milk, mozzarella cheese, sour cream, and parmesan cheese. Stir in reserved bacon fat (see? I told you there was a good reason to save that good stuff). Add a bit more salt in and fresh pepper, to taste.
  7. Stir in minced garlic and parsley, reserving a bit of parsley for topping later!
  8. Crumble bacon and stir in about 3/4 of it, leaving the remainder for topping.
  9. Preheat oven to 350 degrees. Coat a 9×13″ casserole dish with cooking spray and spread potatoes evenly. Top with peas, remaining bacon bits, and remaining parsley.
  10. Cover with foil and cook at 350 for 20 minutes, then 5 minutes without foil.

DSC01063

“Angelic” Deviled Eggs

When Easter comes around, there are a few “must-haves” on the menu. Ham, for one (stay tuned for that post!), carrot cake, green beans, mashed potatoes (again, stay tuned!), and last but not least, deviled eggs! I have been trying to perfect my deviled egg recipe for years. It makes it hard though when you don’t really follow a recipe, and the possibilities for add-ins are endless, so you basically end up with a different version every time. (On a side-note, my Parmesan-Oregano Deviled Eggs recipe was finally featured on Allrecipes.com! You can check it out here!) Ok, shameless self-plug over. ๐Ÿ™‚

So here I go again, trying to make another version of deviled eggs, hoping and praying that it turns out somewhat decently since we are having a few couples over tonight for an Easter potluck! This time around I decided to make “not-so-devilish” deviled eggs (shall I call them “angelic eggs”?) because not only am I making these for everyone else, but because I also want to enjoy a few! The recipe I chose/invented actually uses 1/3 less fat cream cheese and plain greek yogurt instead of the traditional mayo. I added a good amount of Dijon and some spicy brown mustard, dried dill weed, parsley, salt and pepper, a pinch of crushed red pepper flakes, and a dash of hot sauce. I apologize for not including exact amounts in the recipe below… that’s because I don’t actually know how much I added! That’s the best part of deviled eggs- you really can just eye everything you add!

“Angelic” Deviled Eggs
Recipe Type: Appetizer, Side, Snack
Cuisine: Healthy, Picnic Food, Easter
Author: Claire McCormick of “Claire Tastes”
Prep time:
Cook time:
Total time:
Serves: 15-20
A “healthified” version of your classic deviled eggs recipe, perfect for Easter!
Ingredients
  • 10 hard-boiled eggs
  • 2 oz. 1/3 less fat cream cheese (Neufchatel cheese), softened
  • 3 oz. plain greek yogurt
  • 1 tbsp whole grain Dijon mustard (I used Trader Joe’s)
  • 1 tbsp spicy brown mustard
  • 1/2 tsp each salt and pepper, or to taste
  • ~1/2 tsp dried dill weed
  • ~1/2 tsp dried parsley
  • ~1/4 tsp crushed red pepper flakes
  • dash of hot sauce
Instructions
  1. Place raw eggs into a large saucepan and fill the pan with enough cold water to cover eggs.
  2. Bring water to a boil and turn off heat. Allow eggs to sit in hot water for 12 minutes.
  3. Rinse eggs under cold water (I actually allowed them to sit overnight!)
  4. Peel each egg and slice in half. Squeeze out yolks and separate into a separate bowl.
  5. Add cream cheese and mash with a fork until smooth.
  6. Add yogurt and remaining ingredients and stir until combined.
  7. Spoon filling into a quart-size ziplock bag. Snip one small corner off of one of the bottom edges with a pair of scissors.
  8. Fill the hollowed-out egg halves with the egg mixture by squeezing gently in circular motions around the edge of the well, working towards the center.
  9. Garnish with freshly minced parsley!

DSC01055

DSC01056

Corn and Sweet Potato Fritters

Corn and Sweet Potato Fritters
Recipe Type: Side
Cuisine: Hispanic
Author: Claire McCormick of “Claire Tastes”
Prep time:
Cook time:
Total time:
Serves: 10
A quick and easy side for your next BBQ or picnic! Perfectly spicy and great for leftover corn on the cob!
Ingredients
  • 2 medium sweet potatoes, peeled
  • 1/4 cup olive oil
  • 1 egg
  • 1 tsp cumin
  • 1 tsp salt
  • 1 tsp garlic powder
  • 1/2 tsp grated black pepper
  • 3/4 cup corn (frozen or leftover)
Instructions
  1. Preheat oven to 400 degrees.
  2. Grate sweet potatoes into a large bowl.
  3. Add oil and egg, and toss to combine.
  4. Add spices and stir until well distributed.
  5. Stir in corn.
  6. In a 9×9 casserole dish sprayed with olive oil or cooking spray, spread the mixture in a thin layer and pat down firmly.
  7. Bake, uncovered, at 400 deg for 30 min, or until top is brown and crispy.

DSC01019

DSC00995

DSC00998

DSC00999