Savory “Snowmageddon” Crêpes

DSC00679

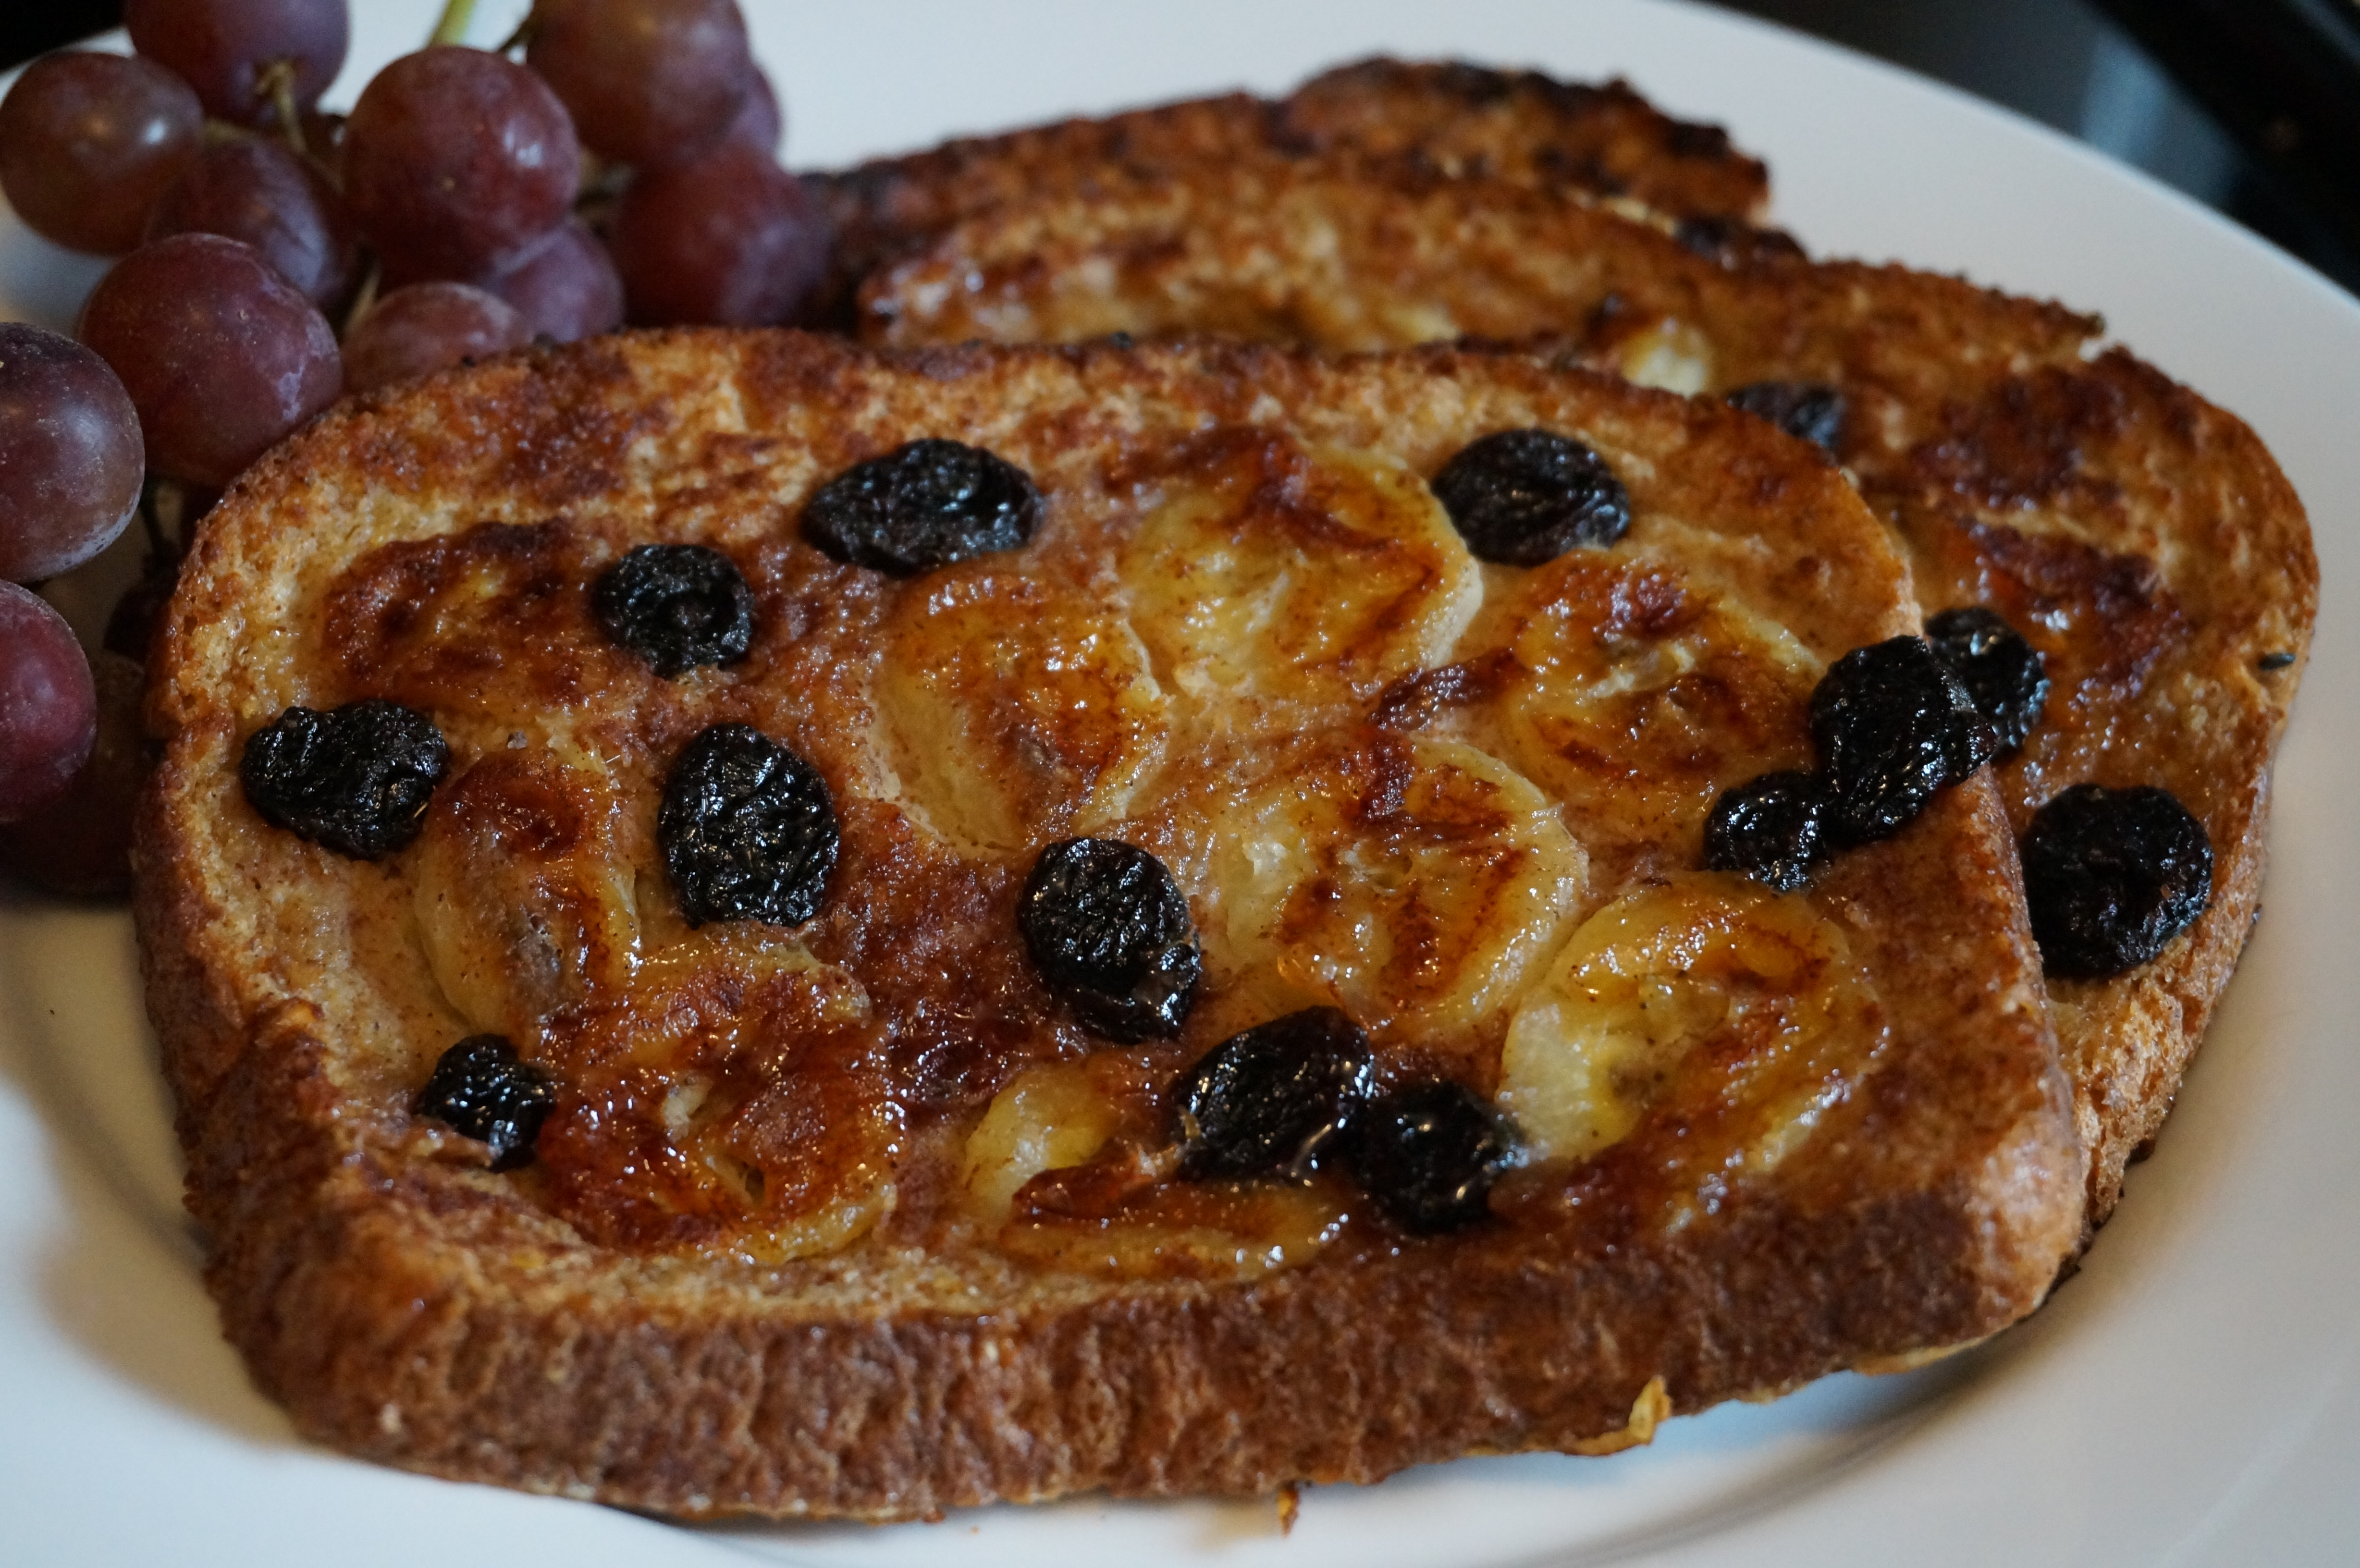
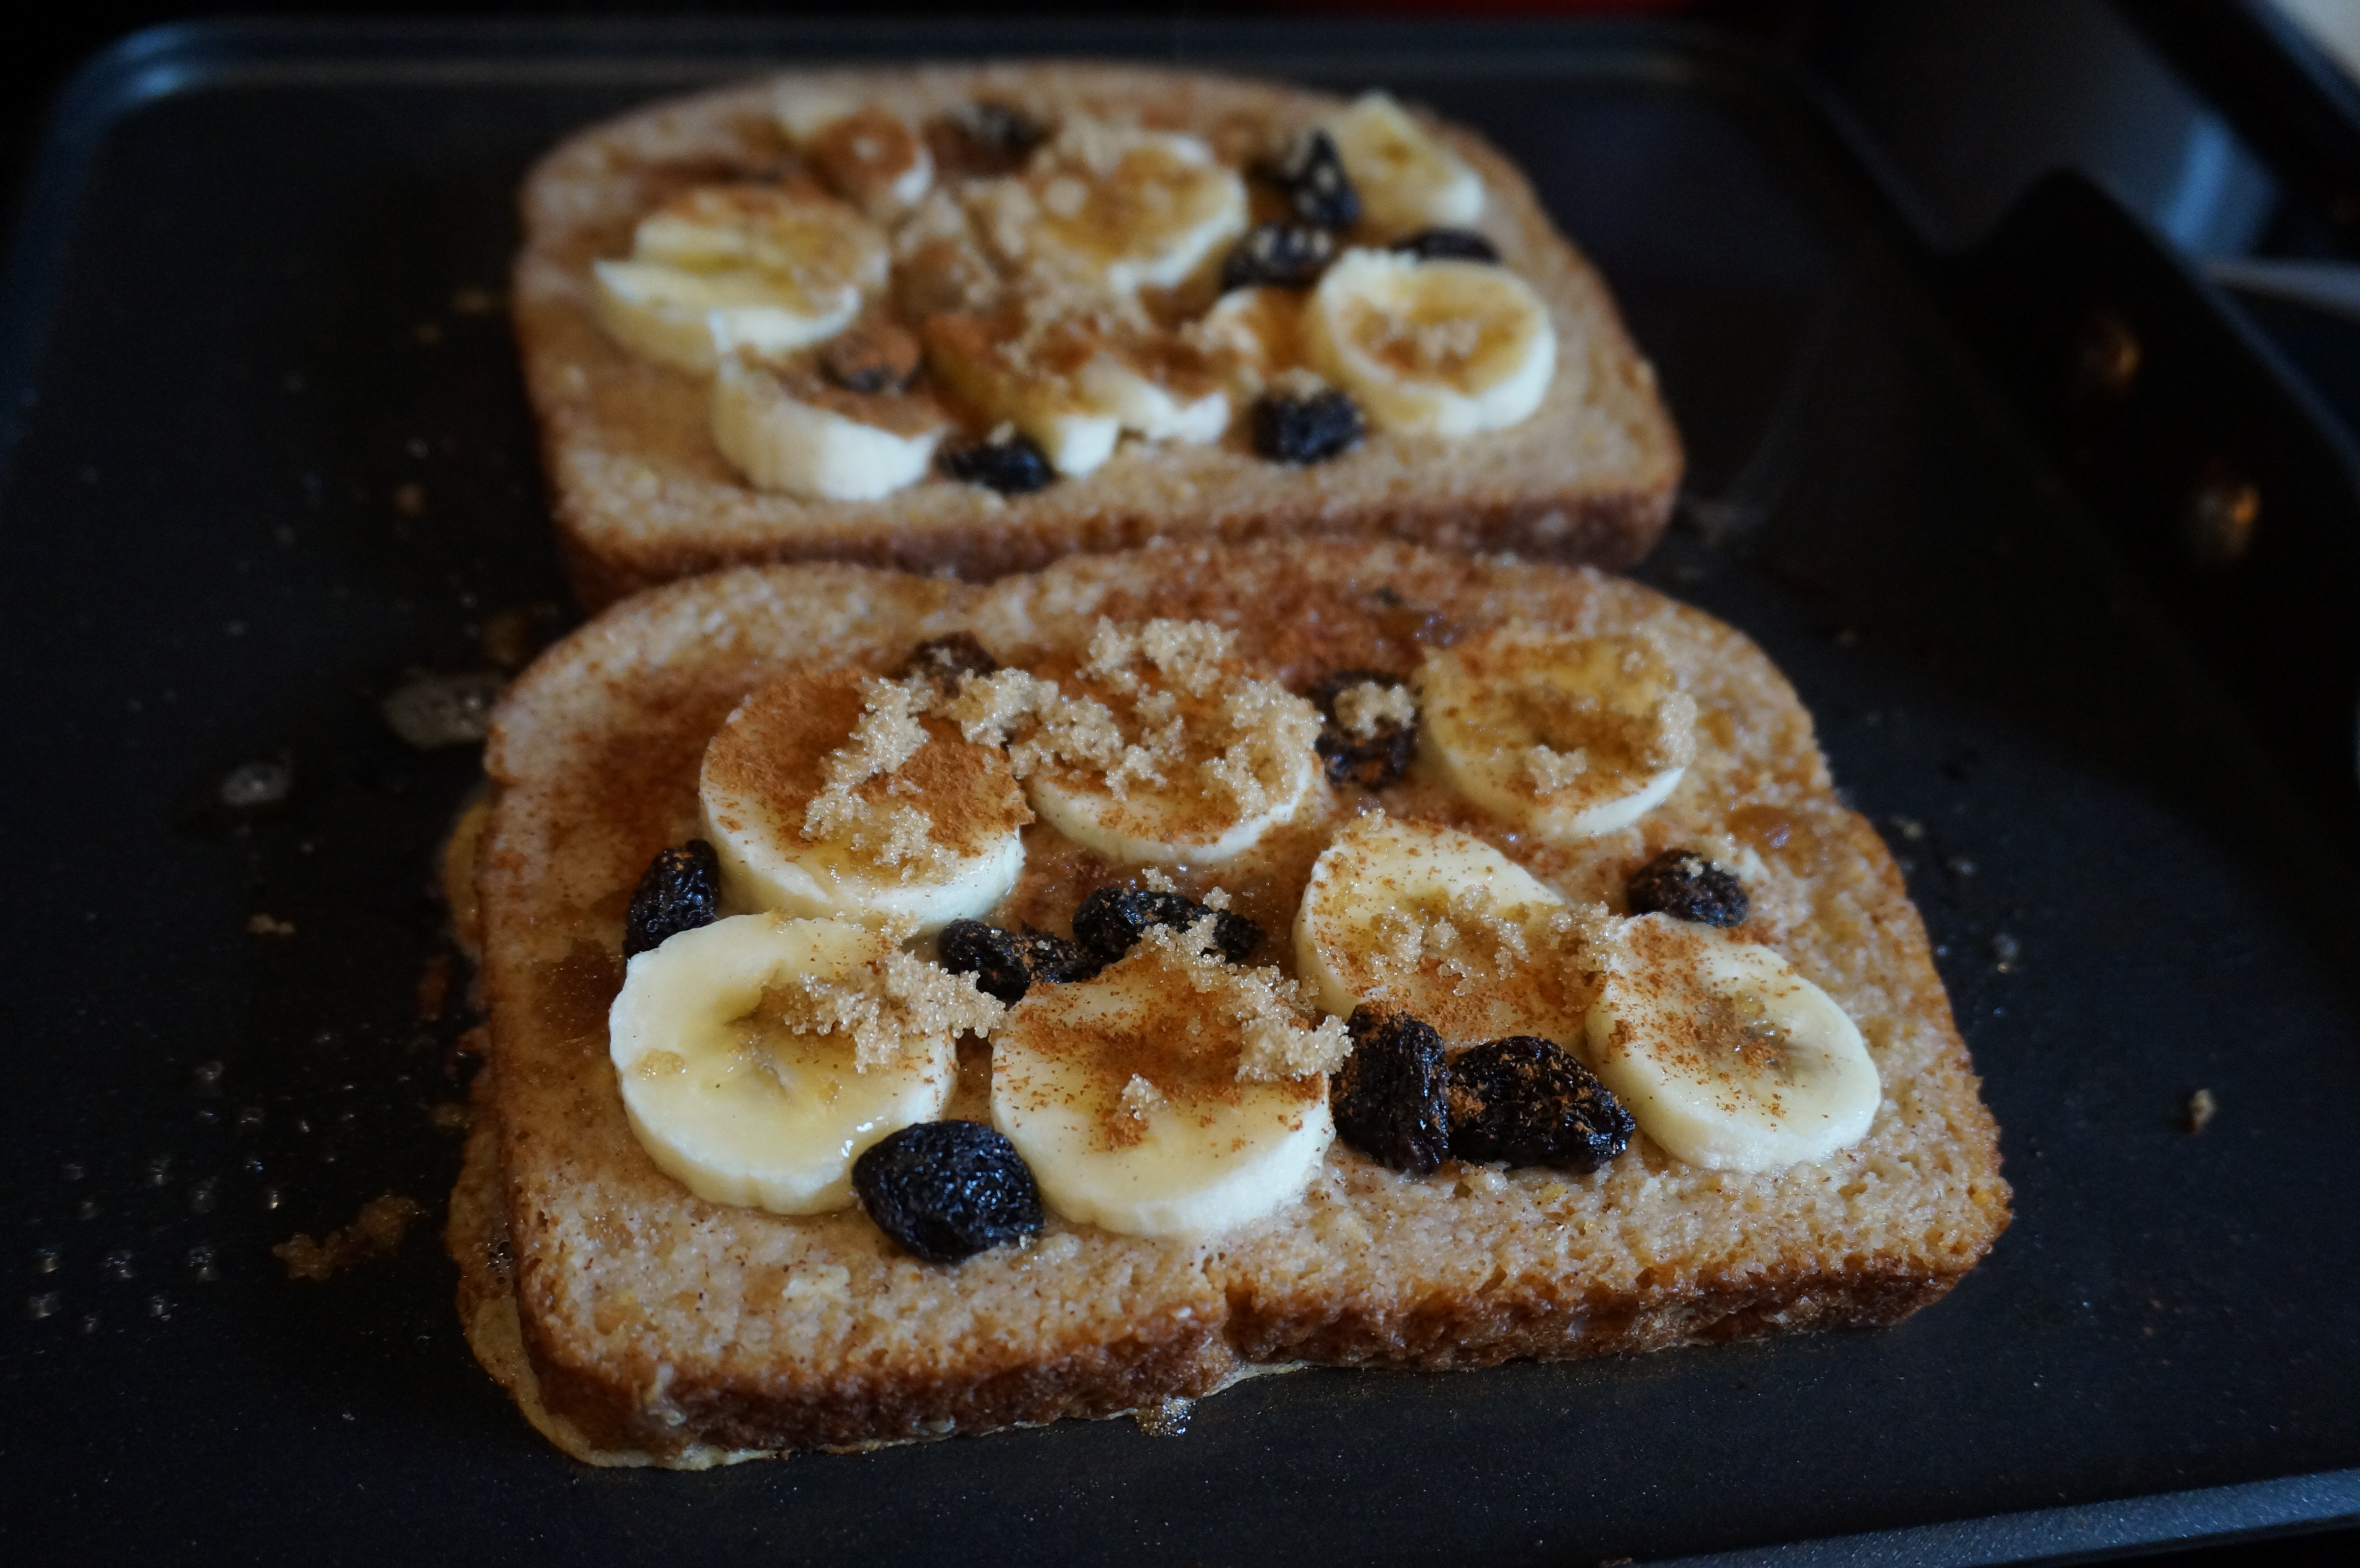
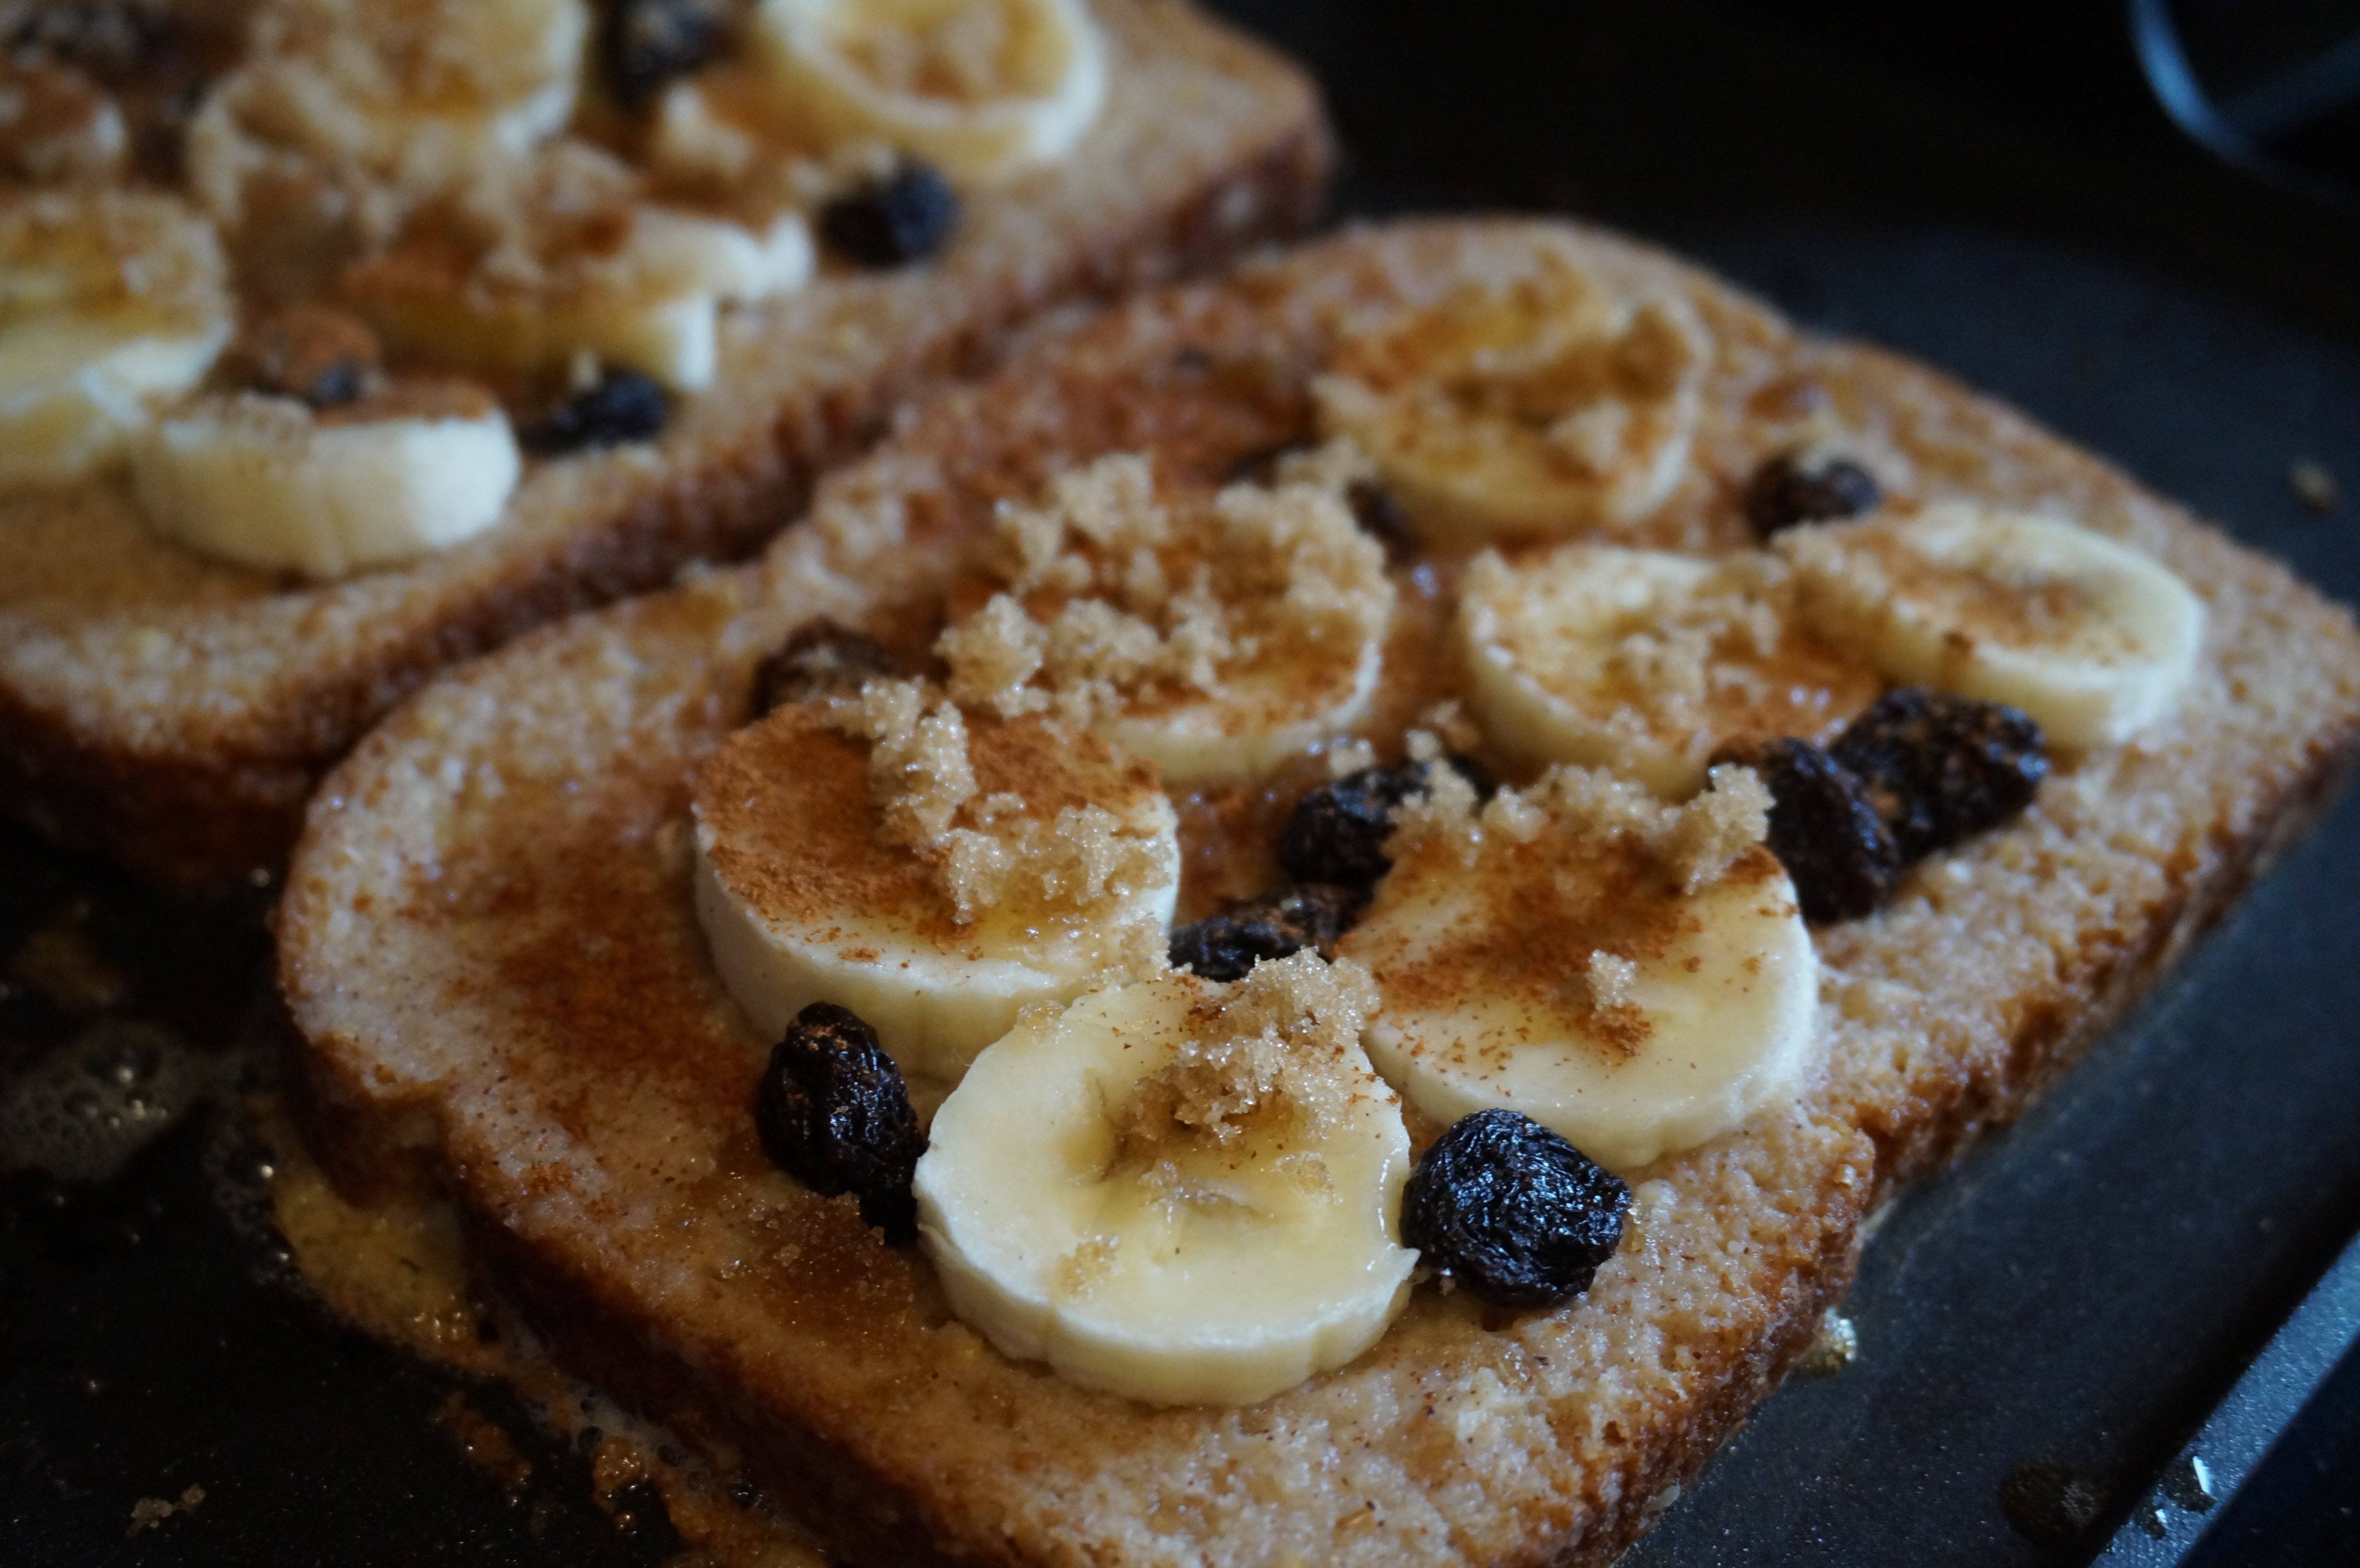
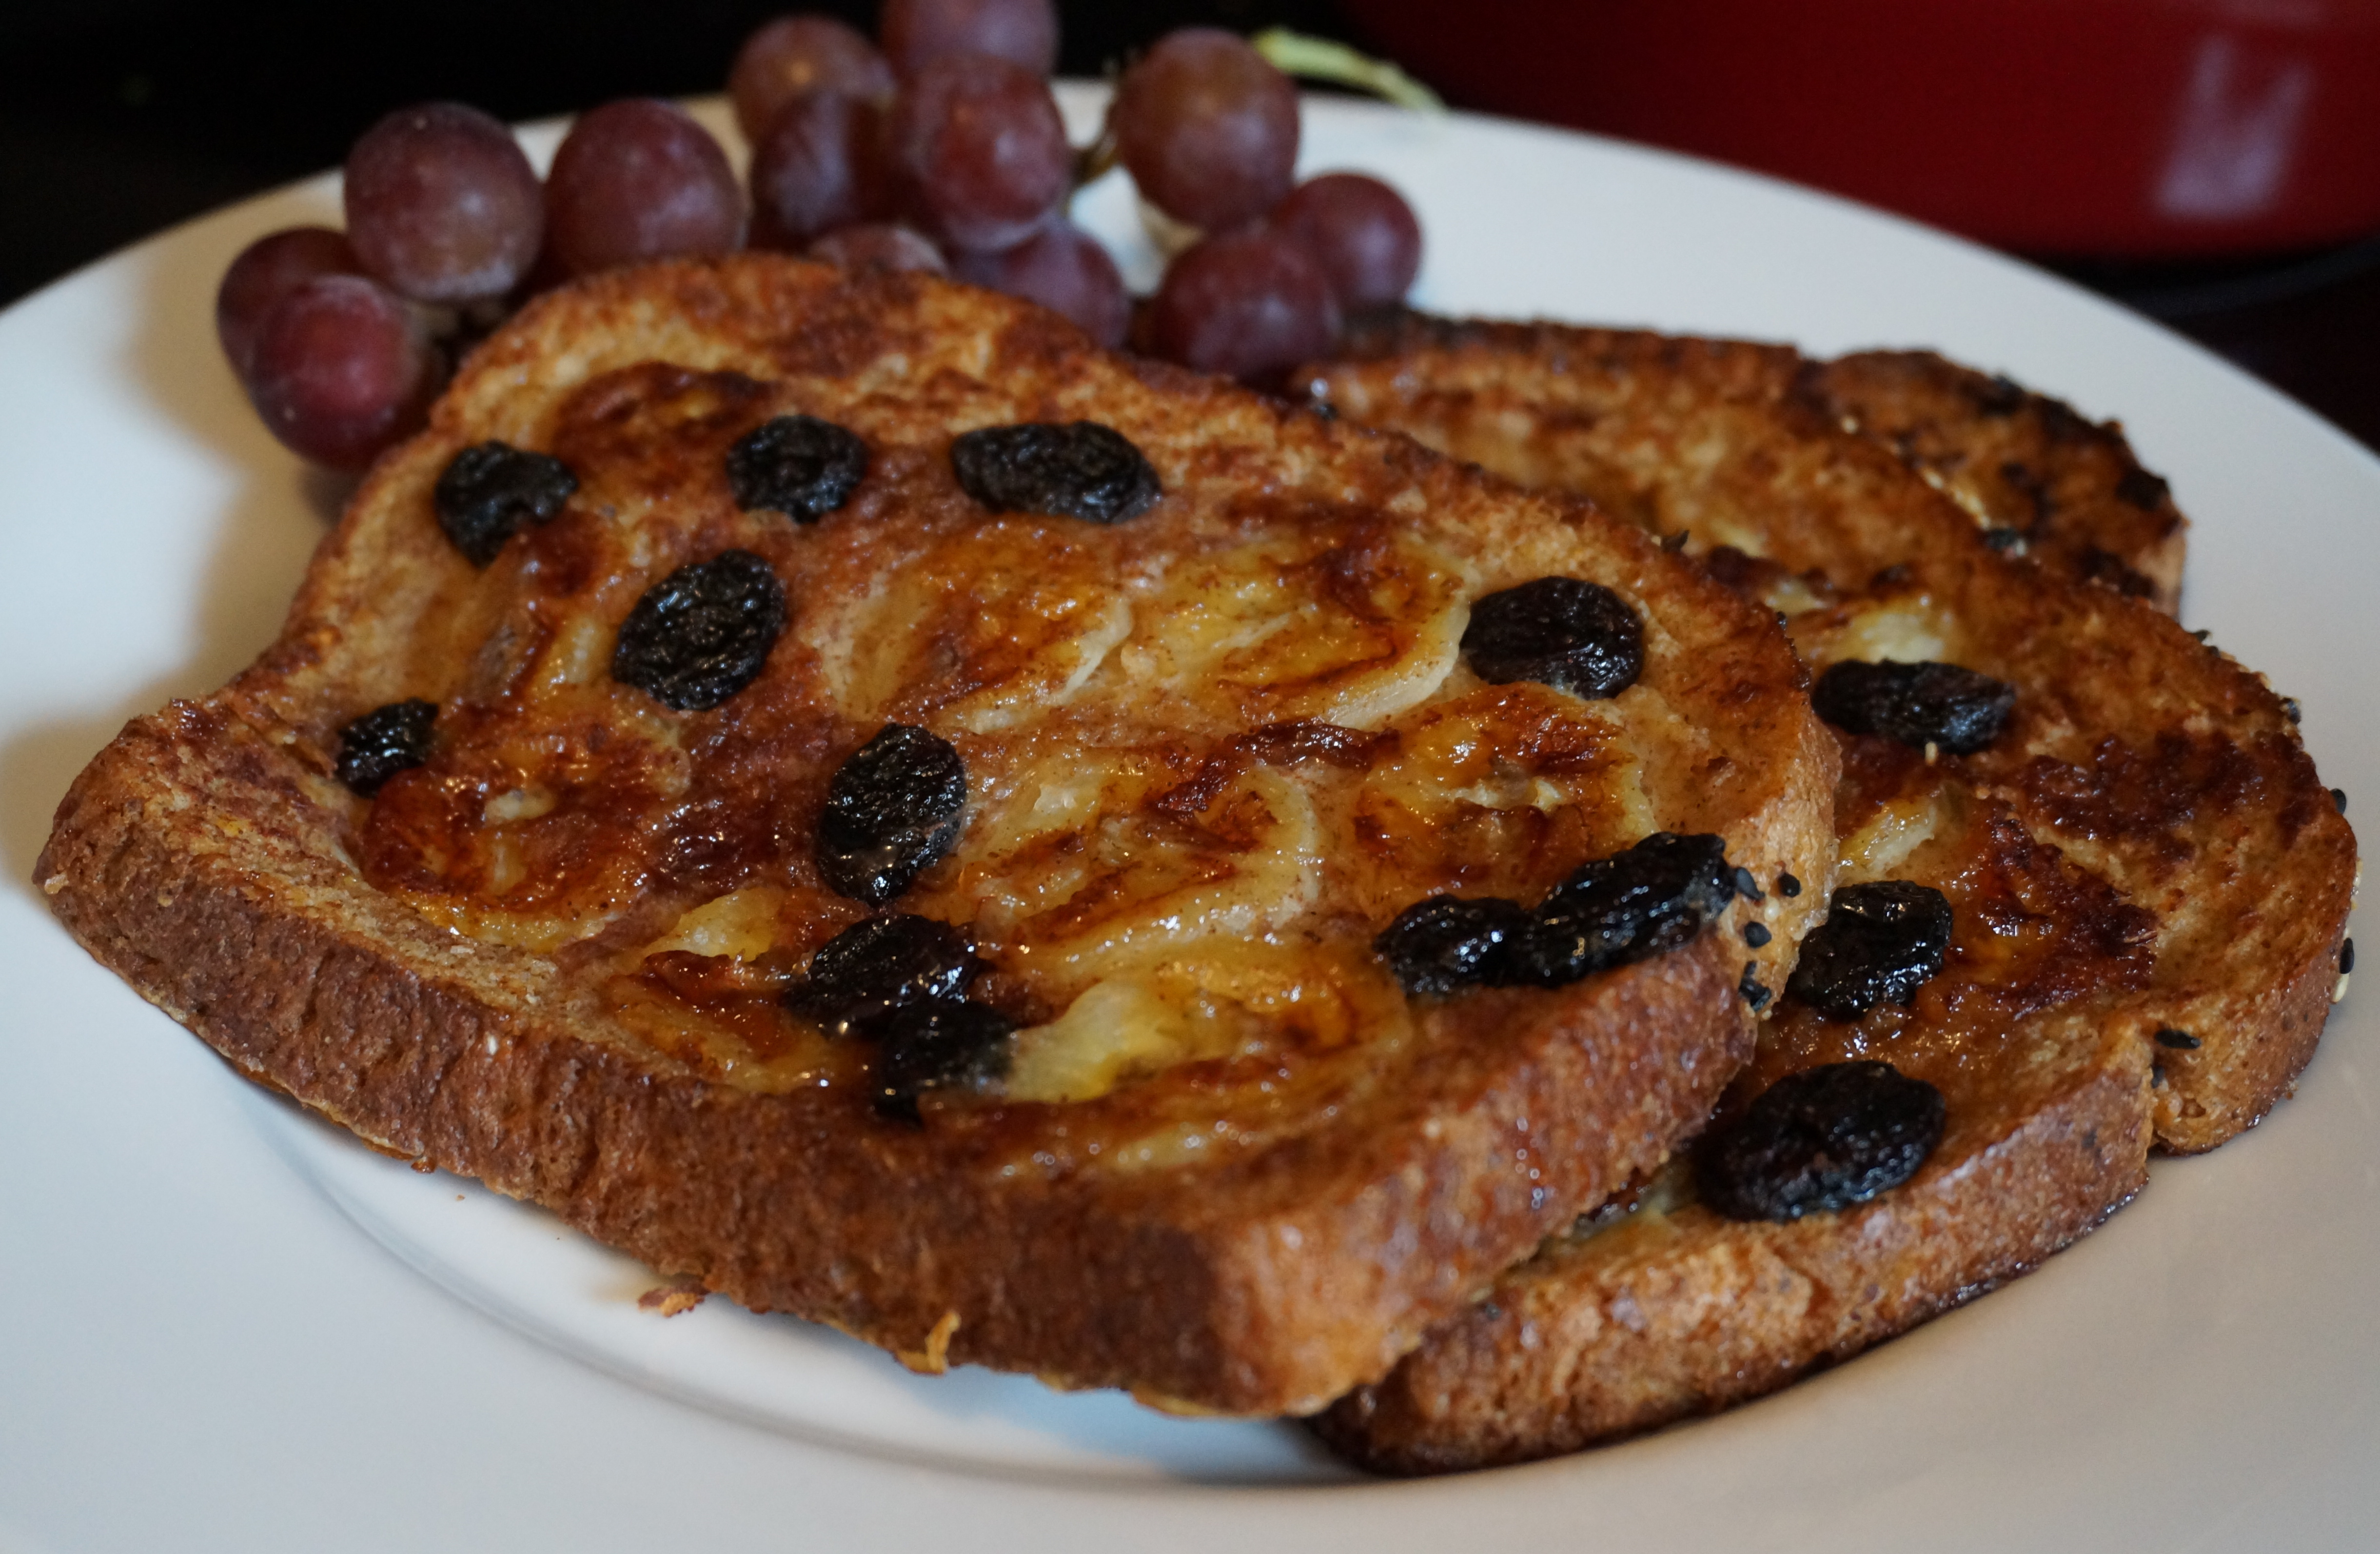
Snow Day: Take Two! Last snow day I made a batch of french toast with caramelized bananas, raisins, and honey. This time, more snow and ice. More eggs, milk, and bread. Fridge is dwindling. Husband is hungry. Claire needs an indoor project. We still have power (thank the Lord).

All this = the need to up my game. None of this lame french toast stuff. This time, we’ll do another French recipe (seriously, what is it about those Frenchmen and their yummy breakfasts?) but we’ll do crêpes. For those of you who aren’t familiar with the heavenliness of these, crêpes are a very thin pancake that one fills with fruit, yogurt, meat, greens, cheese… basically anything in the world you could possibly be in the mood for. Actually, my very first dish cooked for Ben was an assortment of brunch crêpes! Pictured below 🙂 Ohhh, how young and inexperienced in the kitchen I was. I served them with very overcooked scrambled eggs, but I have to say I did a good job with the crêpes. And they’re not easy to do! I think I did a few ham and cheese, one with cottage cheese and berries, and one with PB and banana.

2011-02-18-13.14.391

Okay, so I didn’t have the nice camera I do now… but pretty good for my first meal ever, right? It was the thought that counted. And Ben loved them! Sweet memories of our dating years and his visits to Duke while he was in grad school at CMU.

This morning I thought to myself, “hey- I have nothing to do, and lots of leftovers to use up! Why not make crêpes?” Yes, they’re a bit high maintenance, but since I had the time, I went for it. I decided to go in the savory direction rather than sweet (based on a poll that some of you may have seen on my Facebook page) and fill them with different types of savory things I already had on hand.

First I had to make the batter, which is a simple mixture of flour, milk, eggs, water, salt, and butter. Couldn’t be easier. The trick is to get the batter nice and even (lumps are not okay like they are in pancakes, so keep whisking even after you start cooking them!). The batter should be very thin, because when you spread it in the pan, it spreads really quickly onto the bottom- which is crucial because these babies cook SO FAST! One flip after about a minute and you’re done. Also, make sure to coat your pan with cooking spray between each crêpe, and make sure the pan doesn’t get too hot, or else you’ll have burnt crêpes and the fire department trudging through the snow because your smoke detector won’t shut off and the neighbors called 911. If the oil starts to burn, turn down the heat a bit and dab off the burnt oil with a dry paper towel.

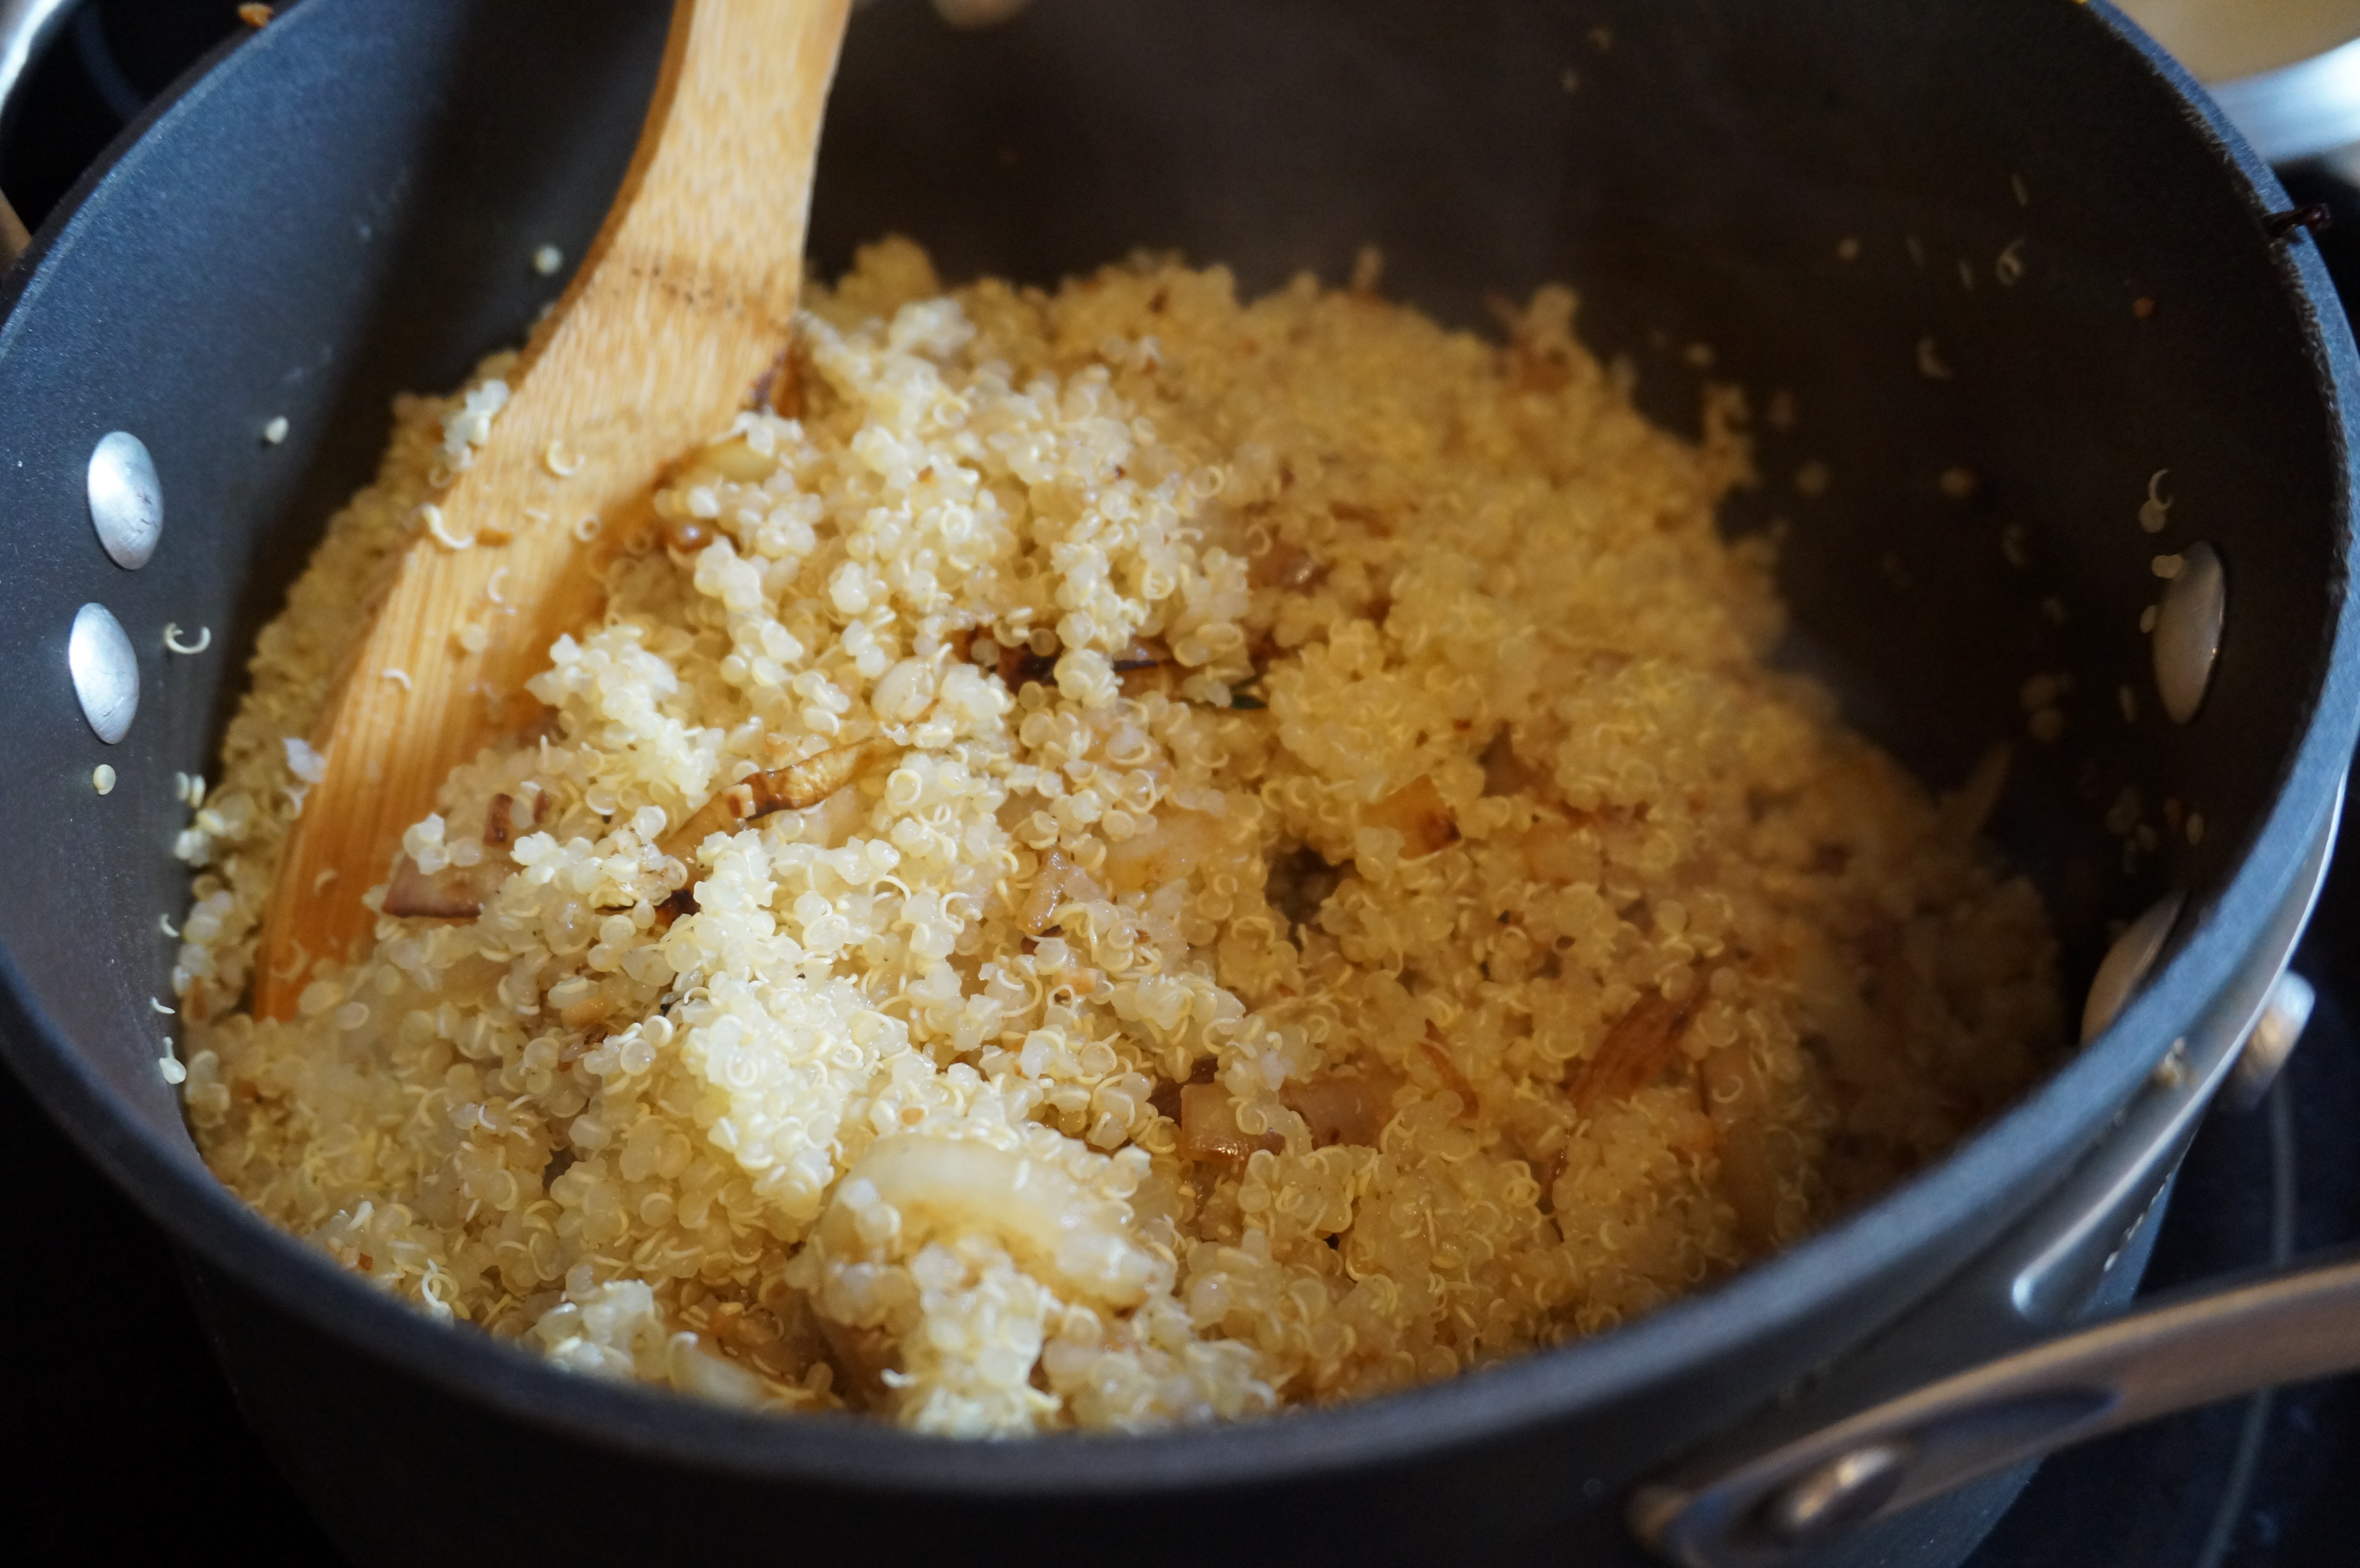
Then the fun part. I made 4 combos: 1) hummus/ham/spinach/cheddar cheese; 2) leftover fondue cheese (gruyere and fontina blend), more ham, fresh parsley, and some pepper; 3) quinoa salad filling (leftover from last weekend, dijon mustard, chopped broccoli, parsley, feta, and balsamic drizzle); and last but not least, since it’s a classic and SO GOOD, 4) PB, banana, and raisin drizzled with honey and sprinkled with cinnamon.

It’s easiest to just fill one half of the crêpe, and to not get overzealous with how much you try to pack in. It won’t taste better, I promise. You’ll be left with filling spilling out of every possible direction, onto your fingers, all over your floor… not sexy. And crêpes should definitely have some sex appeal. 🙂

For the first three that were filled with savory goodness, I baked at 300 degrees for about 8 minutes, until the crêpes got nice and crispy and the cheese had melted nicely. No need to do this for the PB & banana, unless you really want your peanut butter melty.

Basically, you can have fun with these! After all, it’s Snowmageddon! Who knows where we’ll be tomorrow!? Okay, we will probably still be in the exact same place, doing the exact same thing. Because we can’t get out our door. But it’s still a good day to live like it’s your last 🙂

Happy crêpeing!

DSC00638
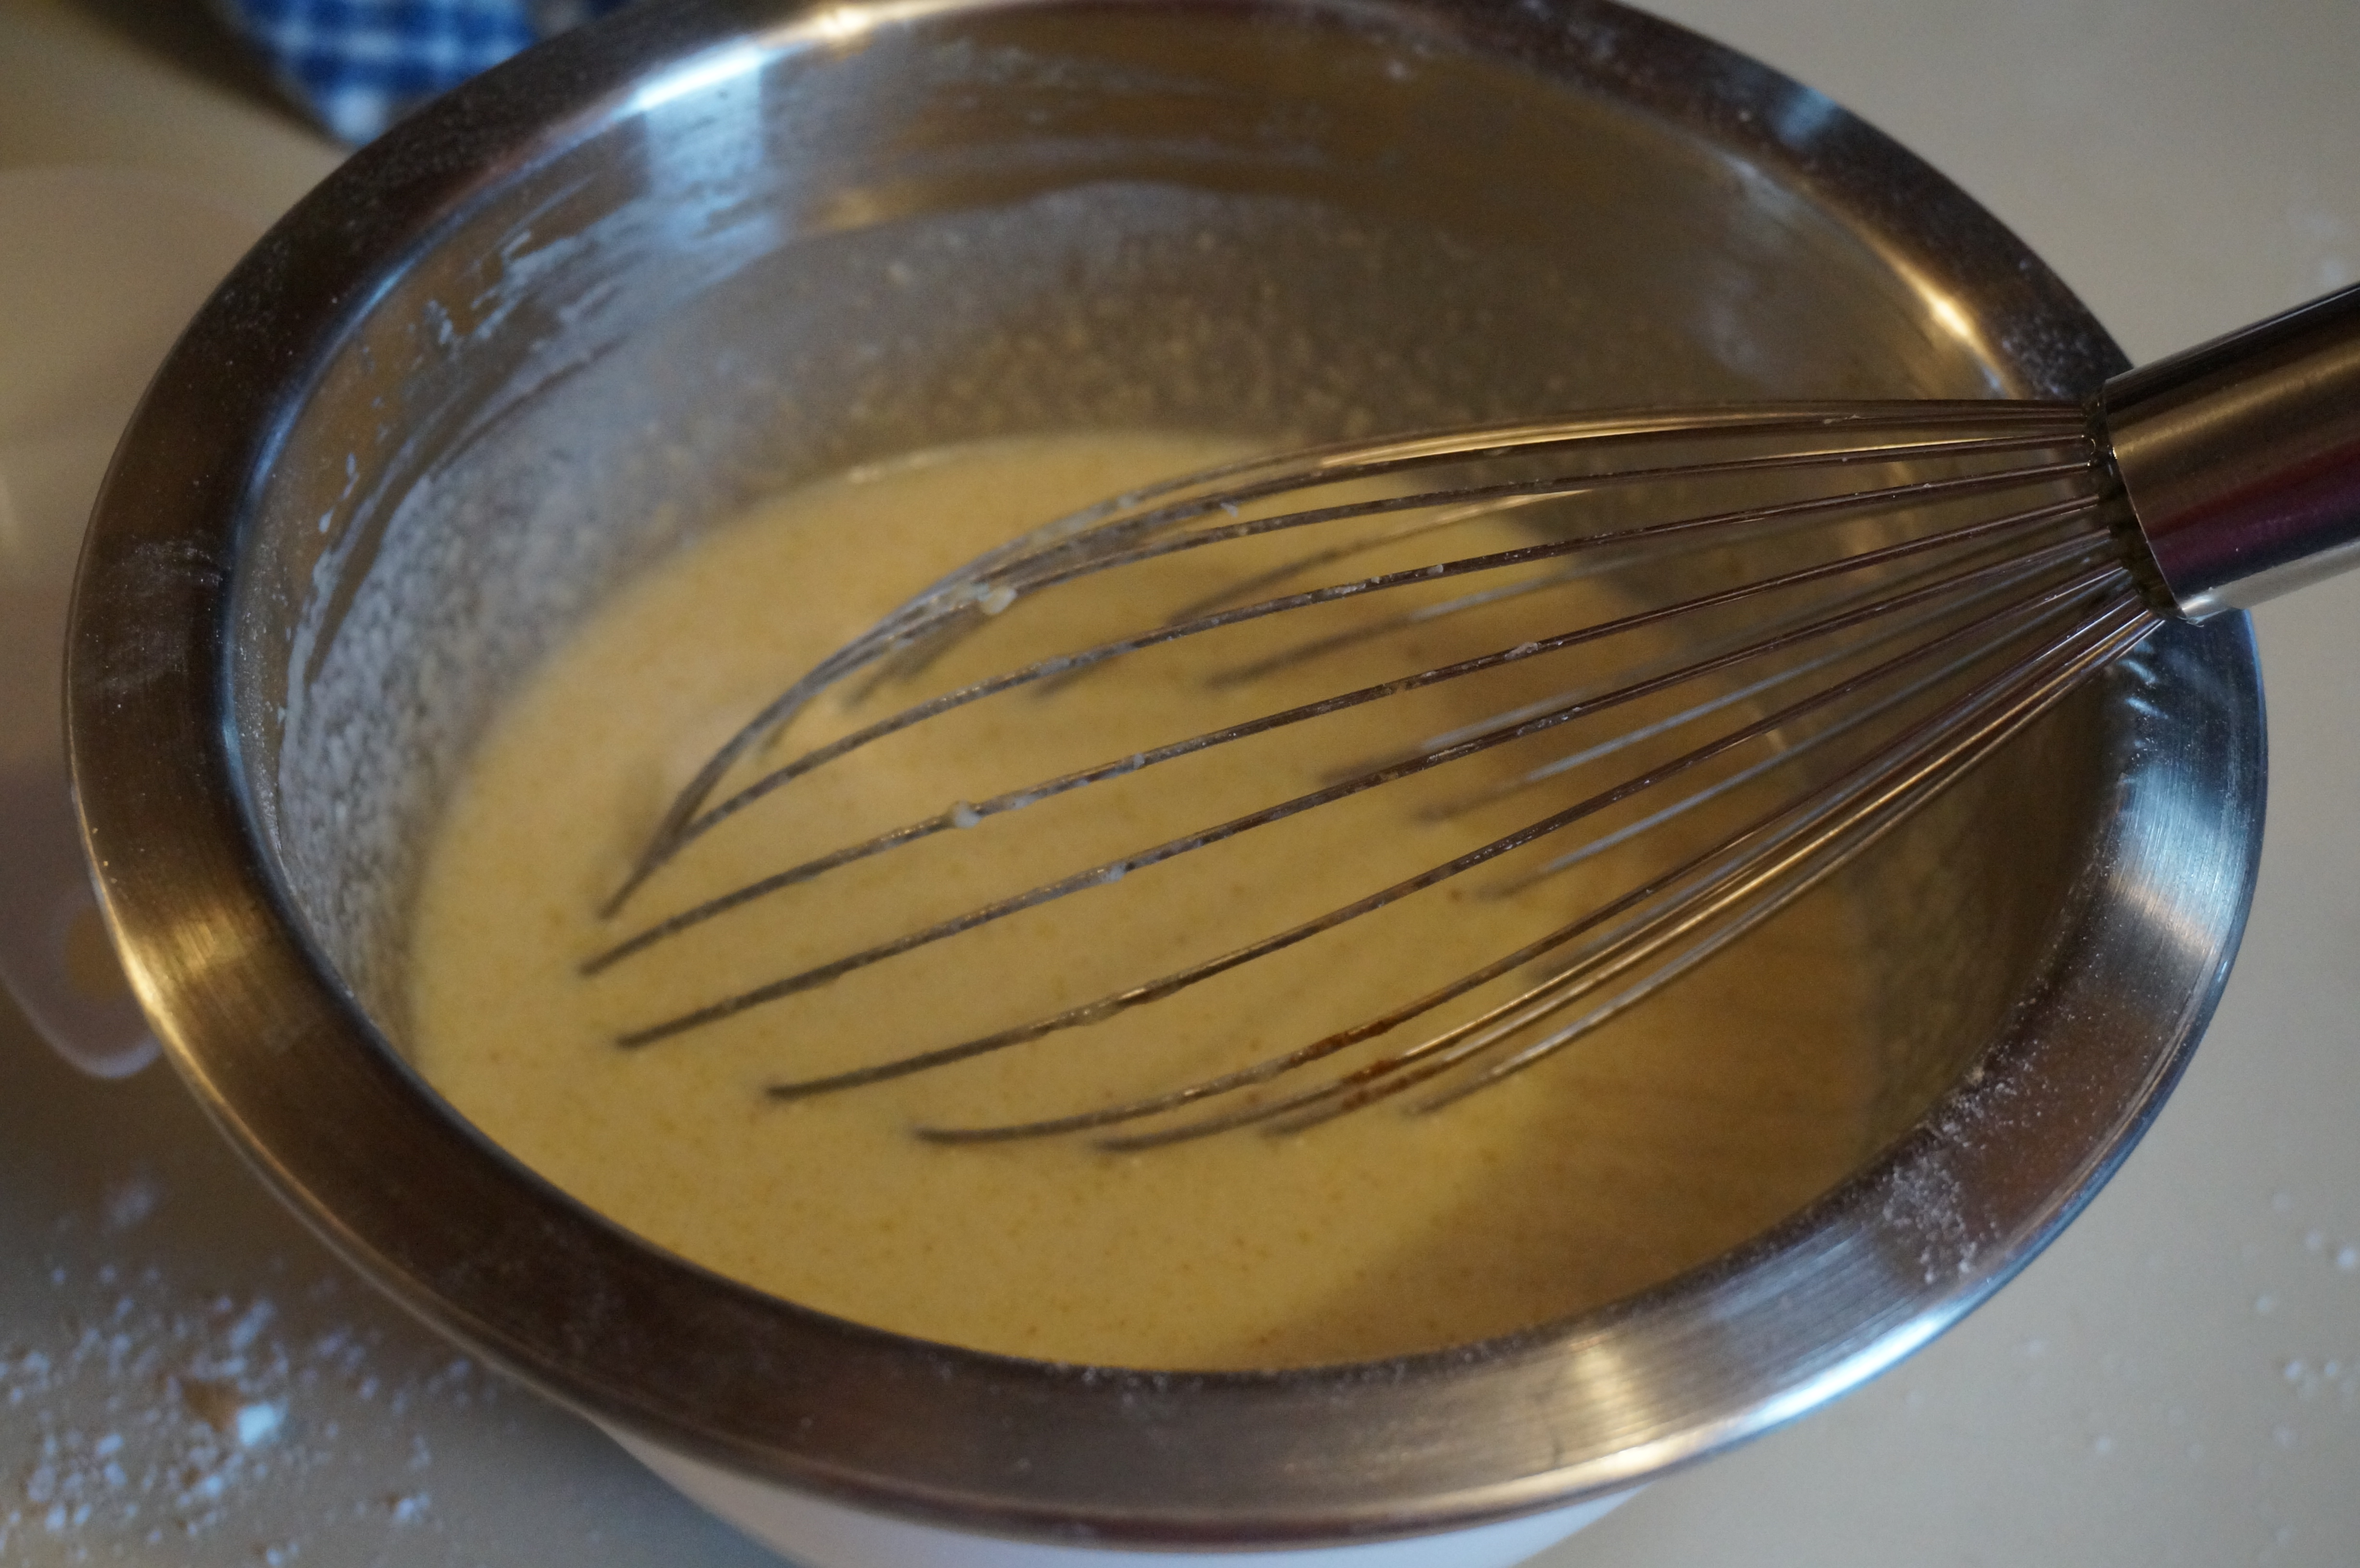
Batter all mixed up and ready to pan-fry

DSC00648Cook for about 1 minute on each side, until they look just like this! (air bubbles are okay)

DSC00649
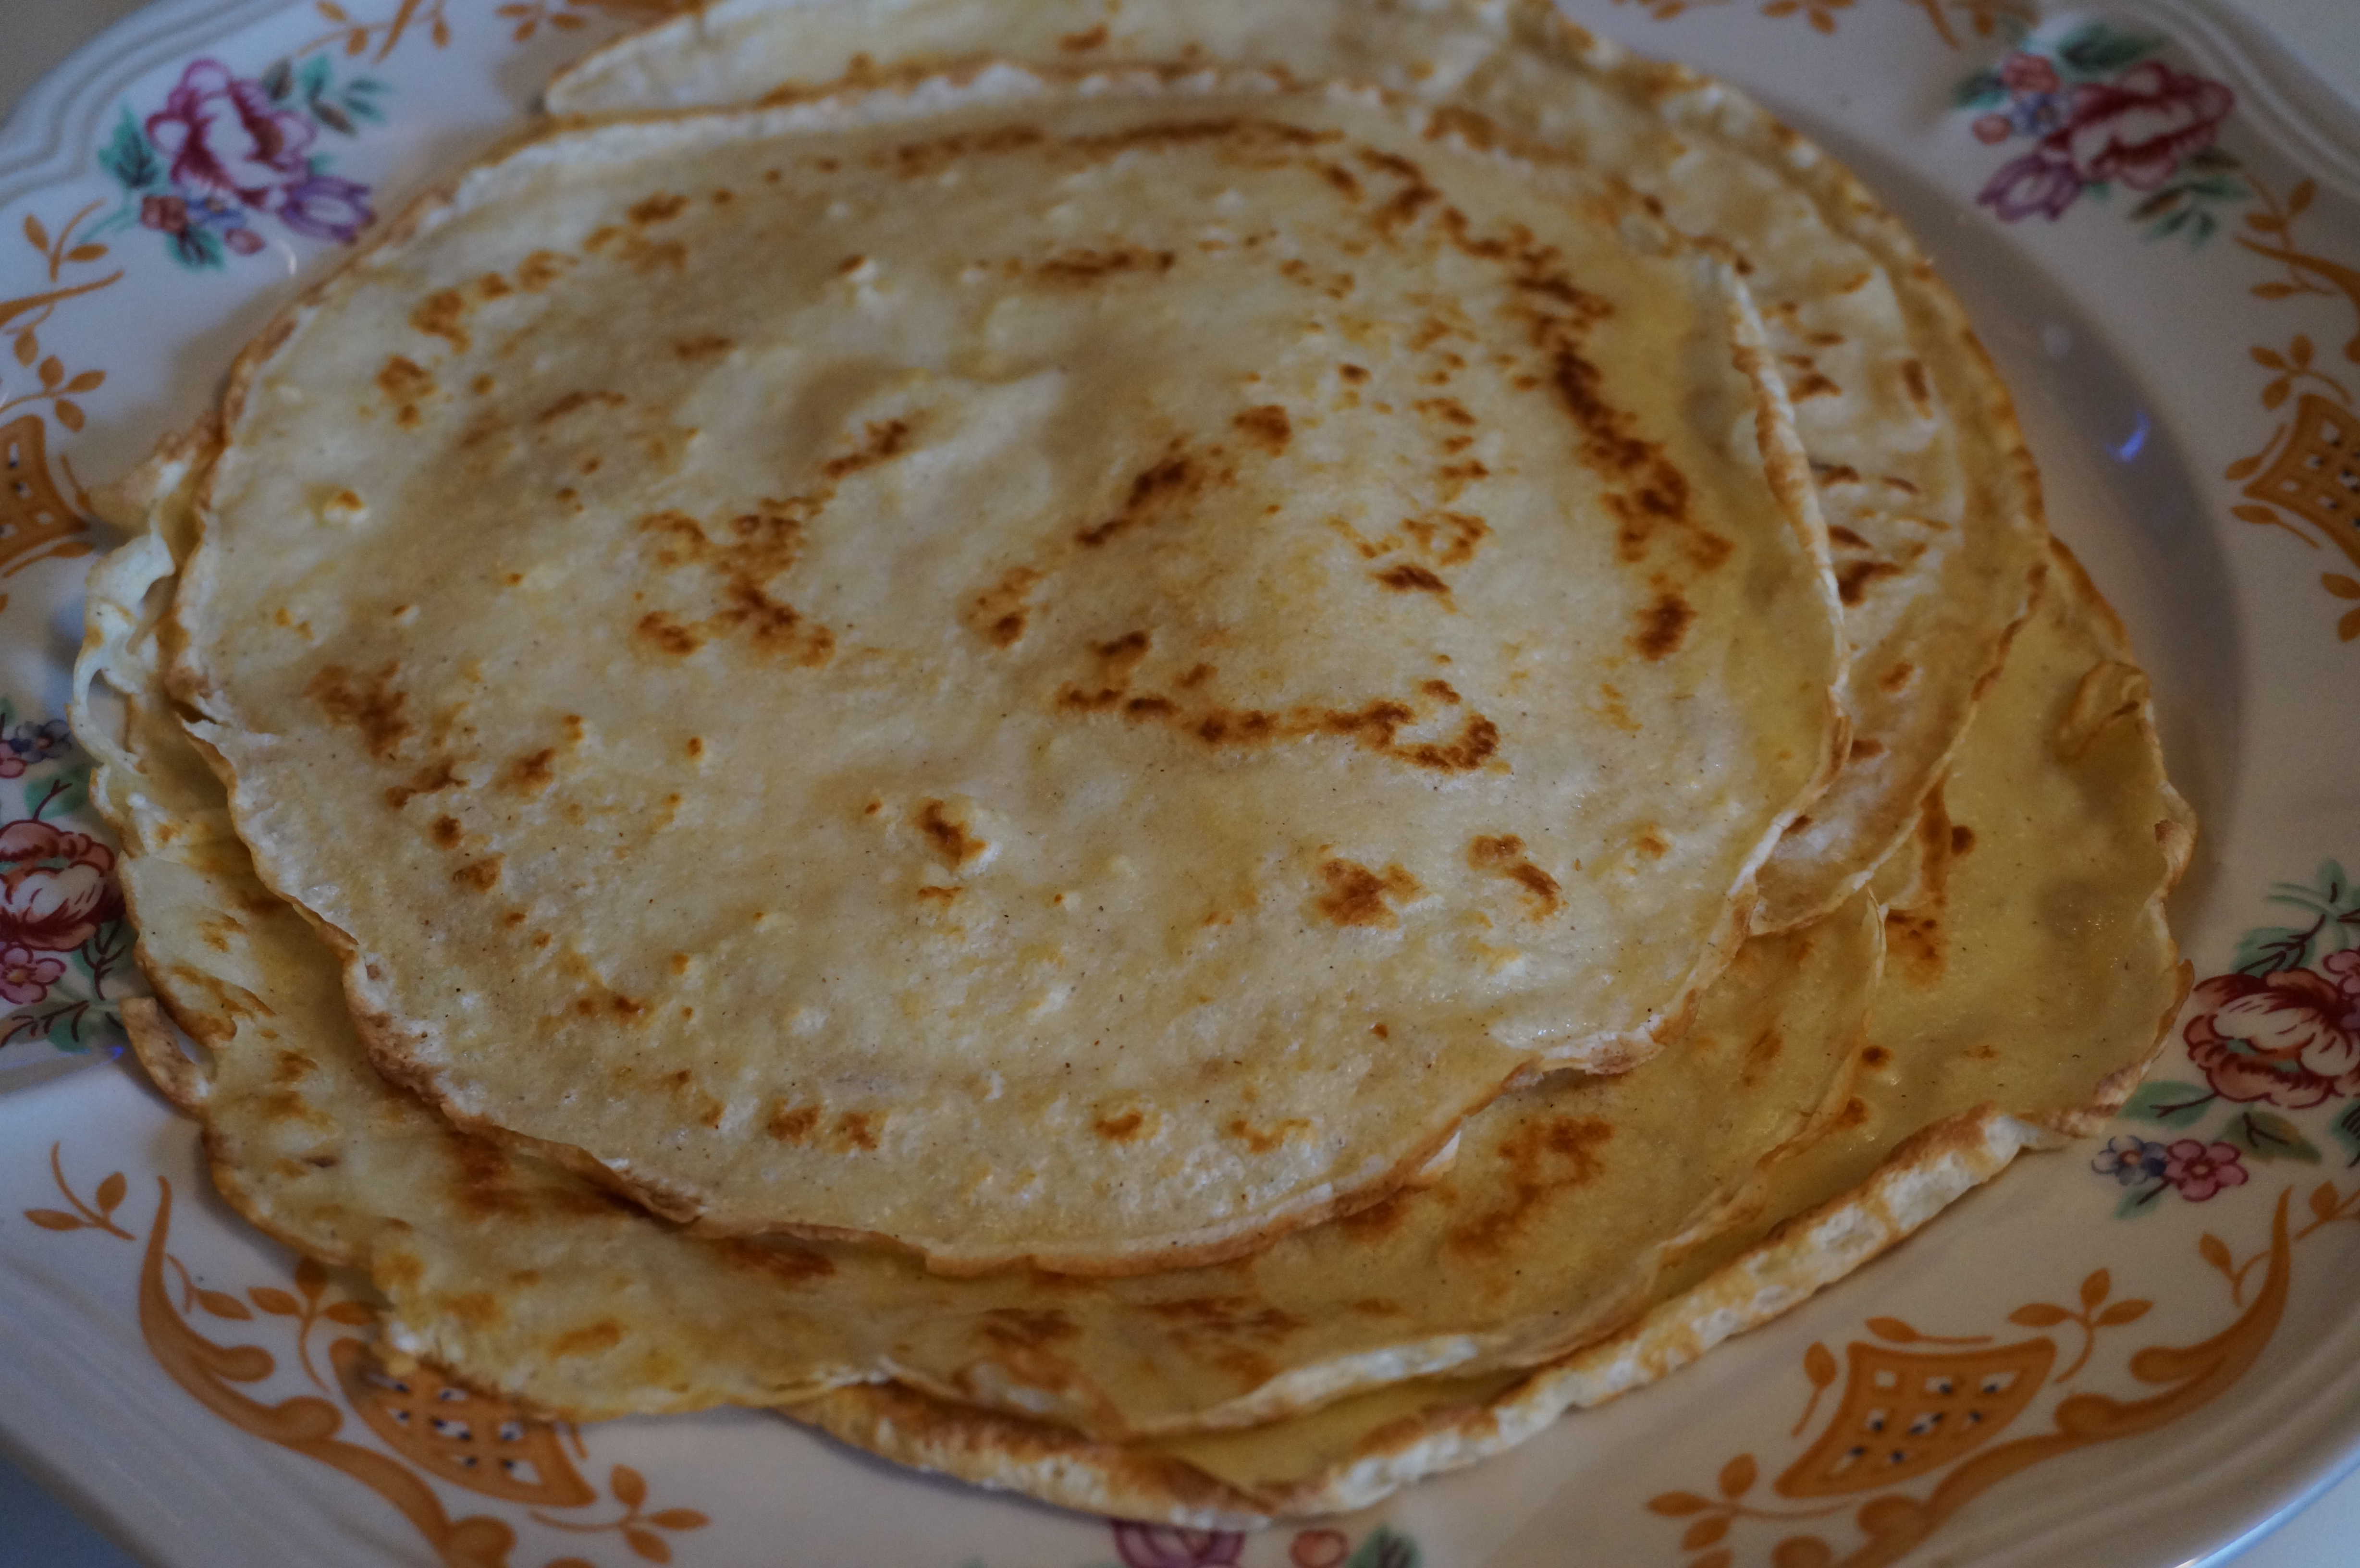
Crêpes all done and ready to be filled! You can stick them in the fridge or freeze them for filling later!

DSC00651A perfect assortment of crêpes. They’ll only get better from here!

DSC00660
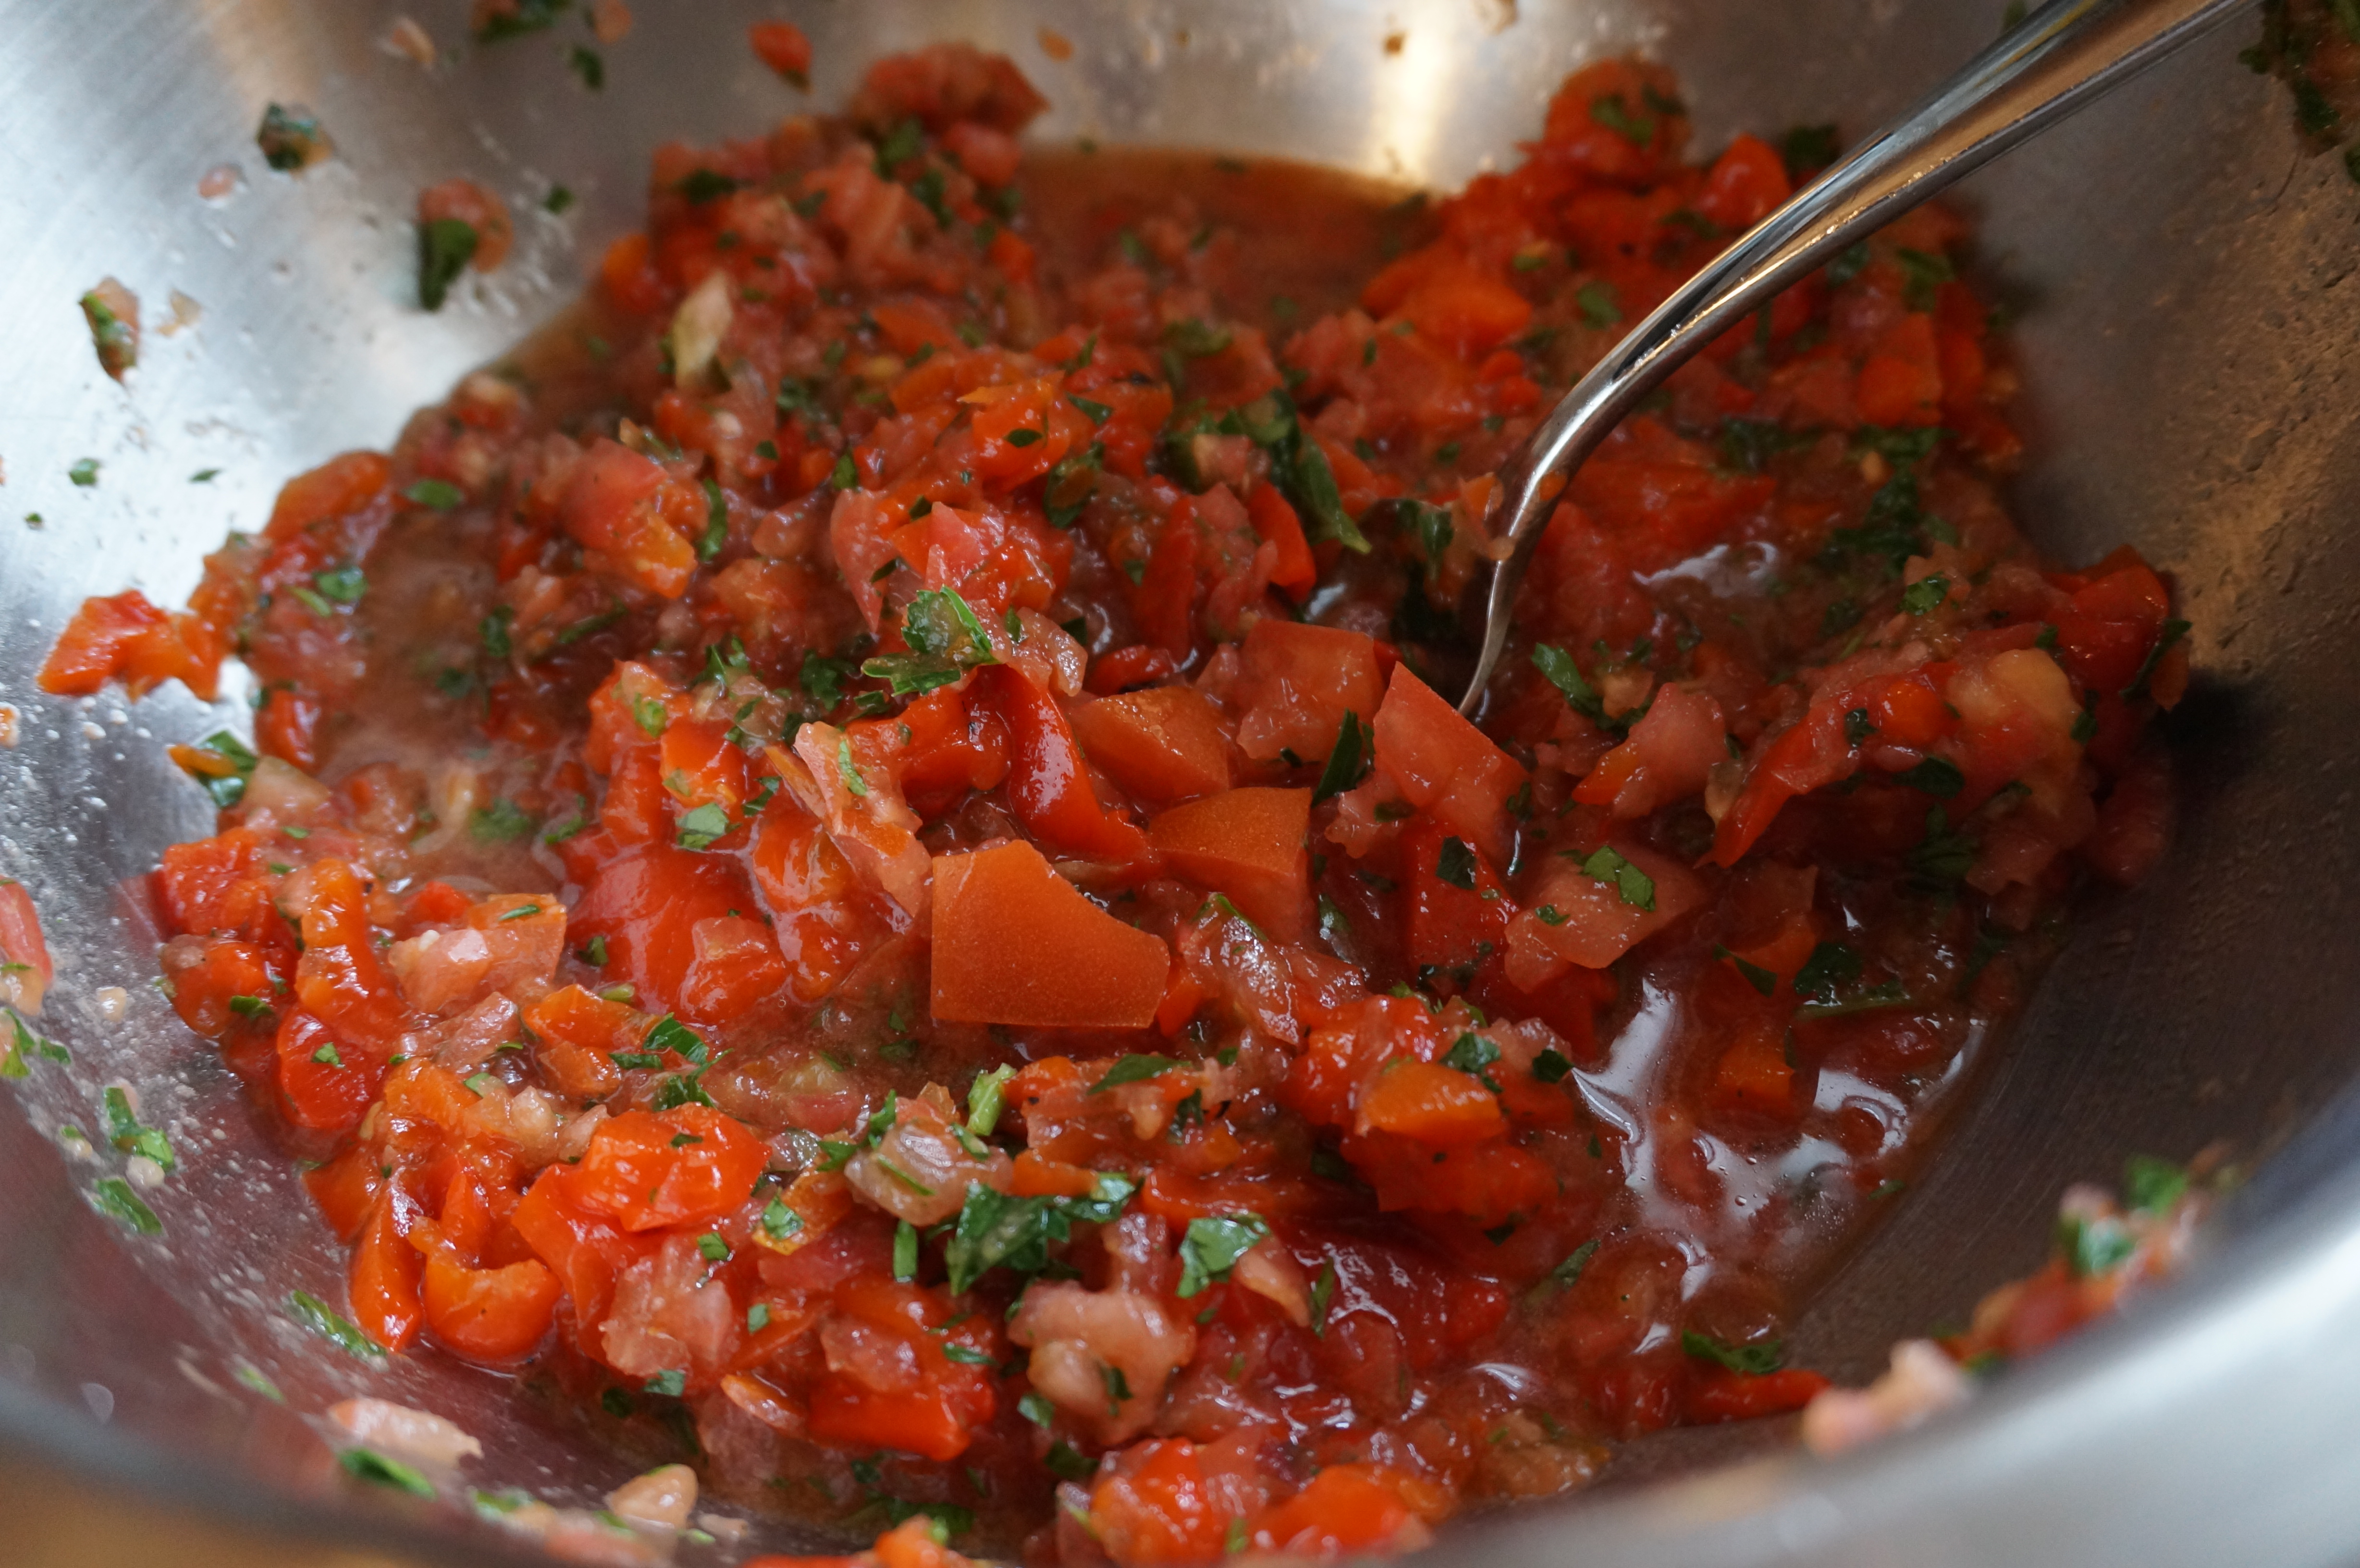
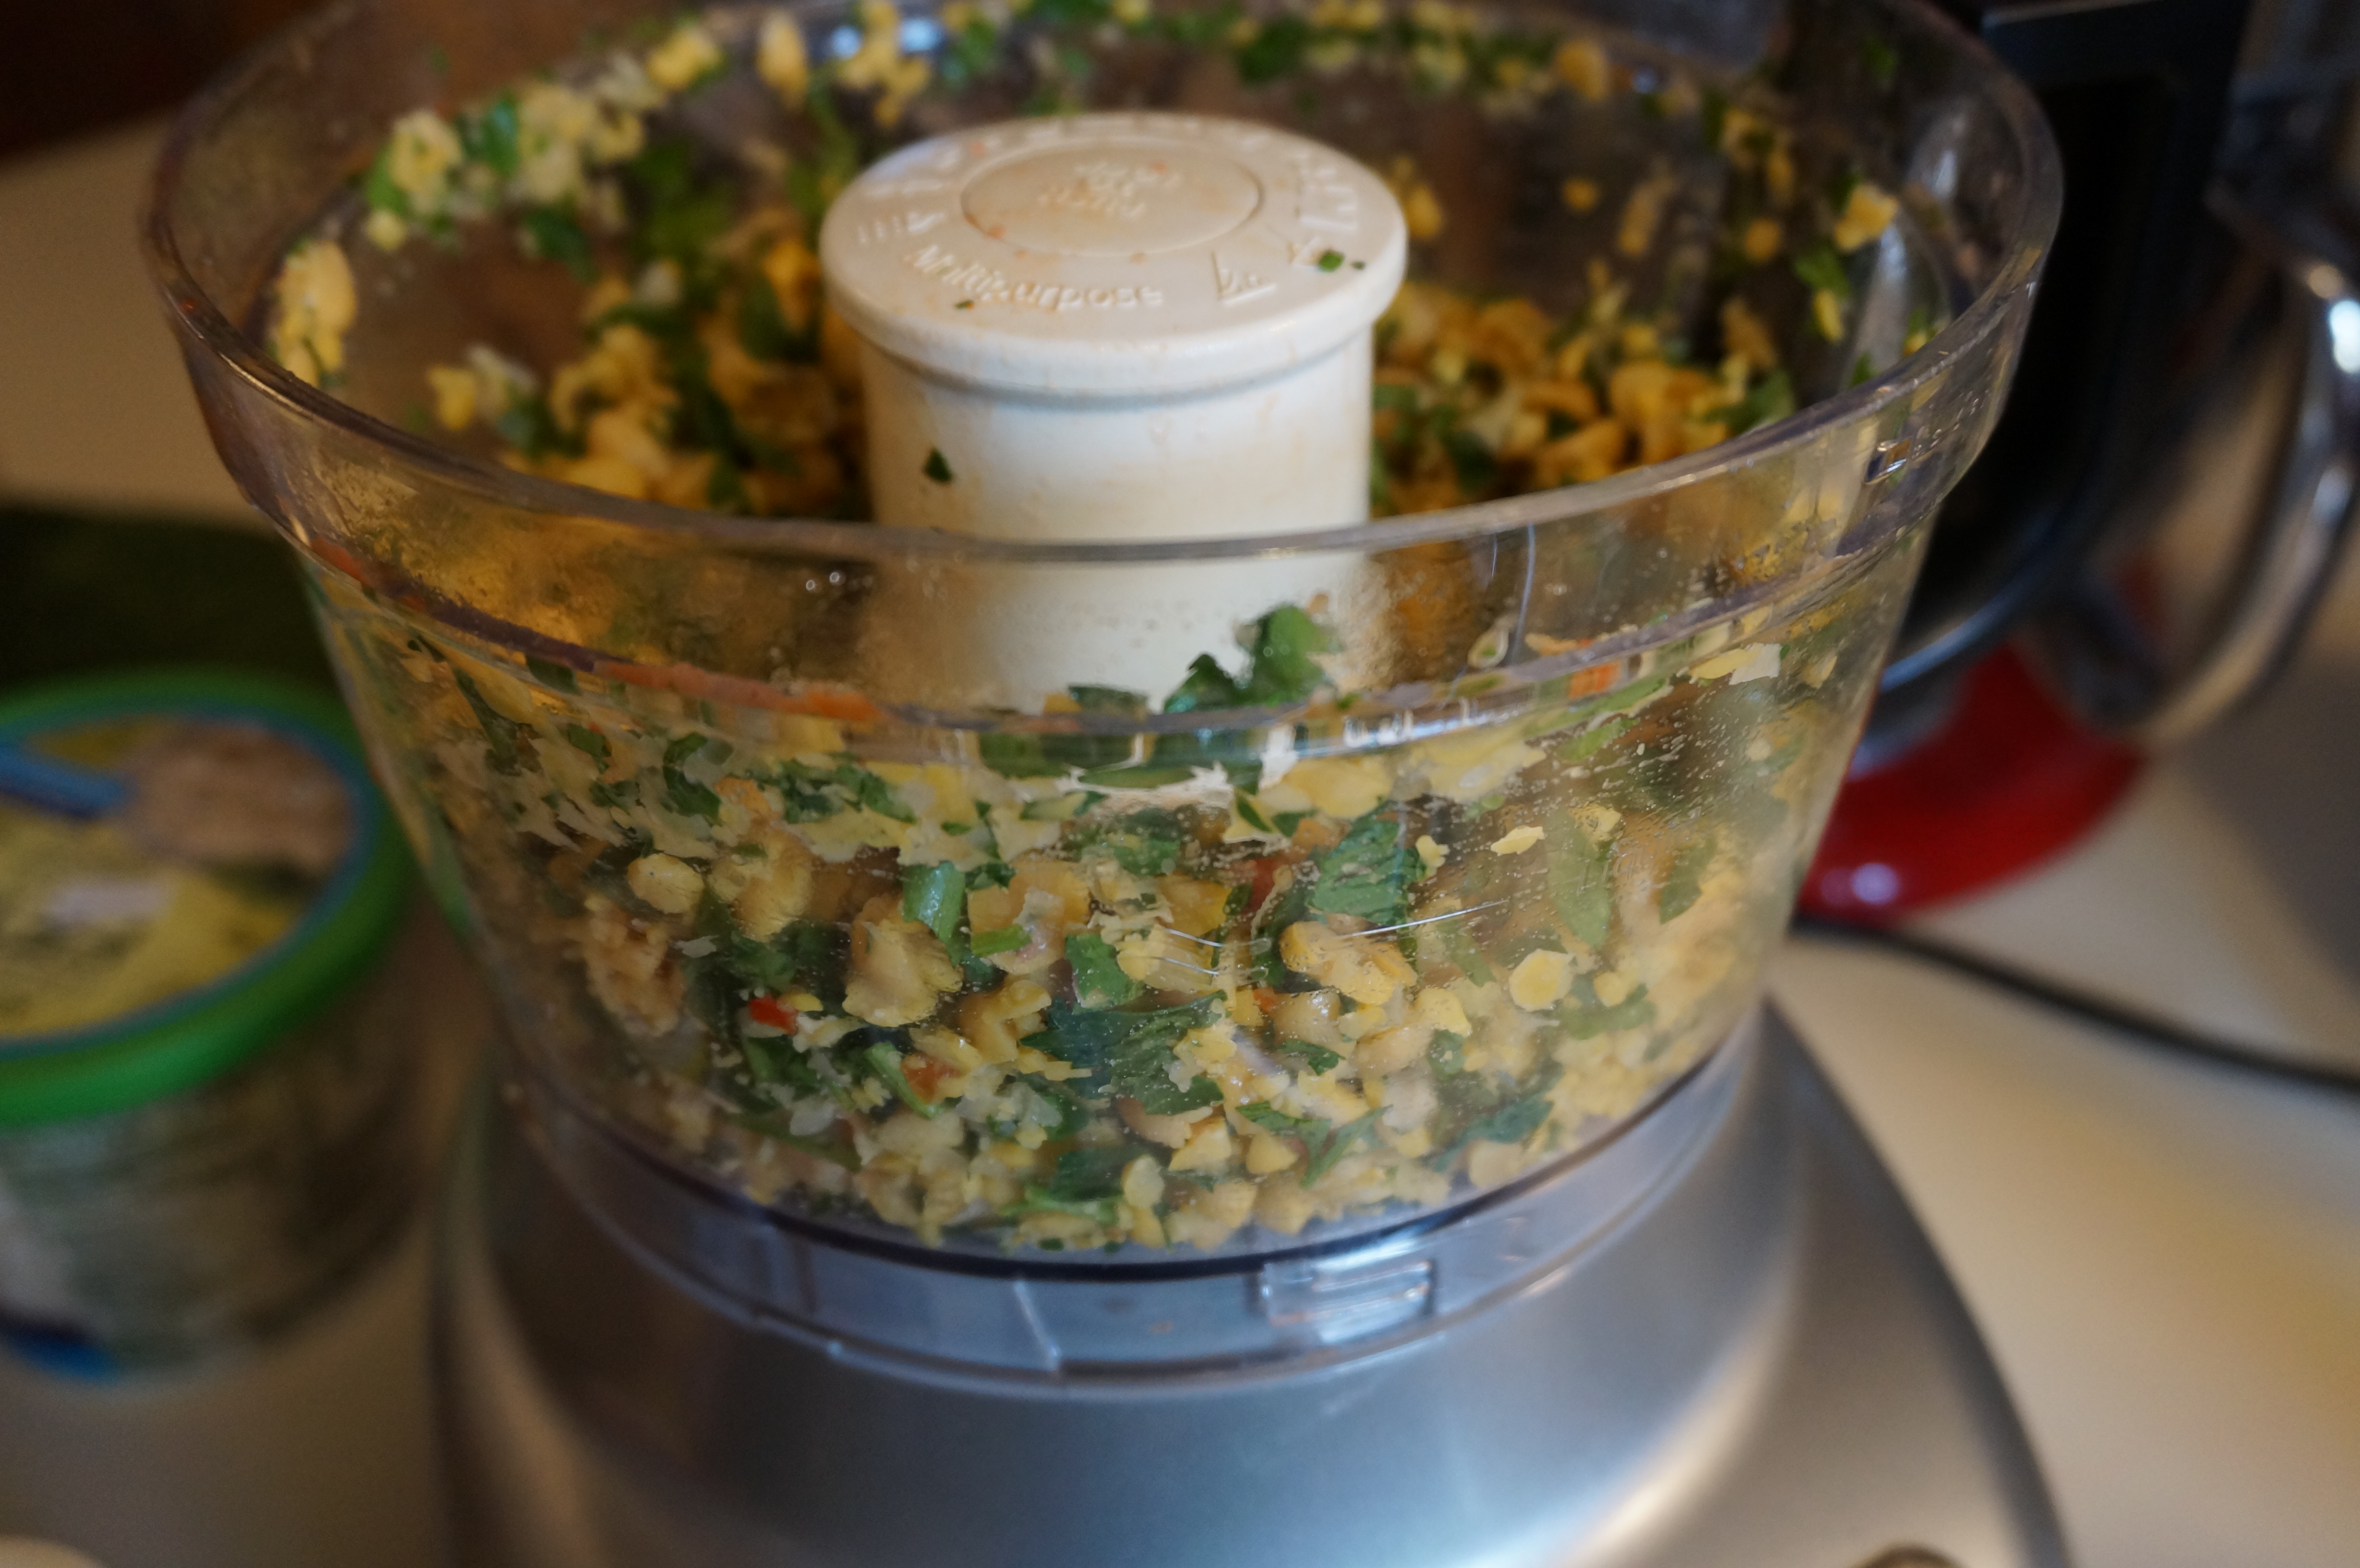
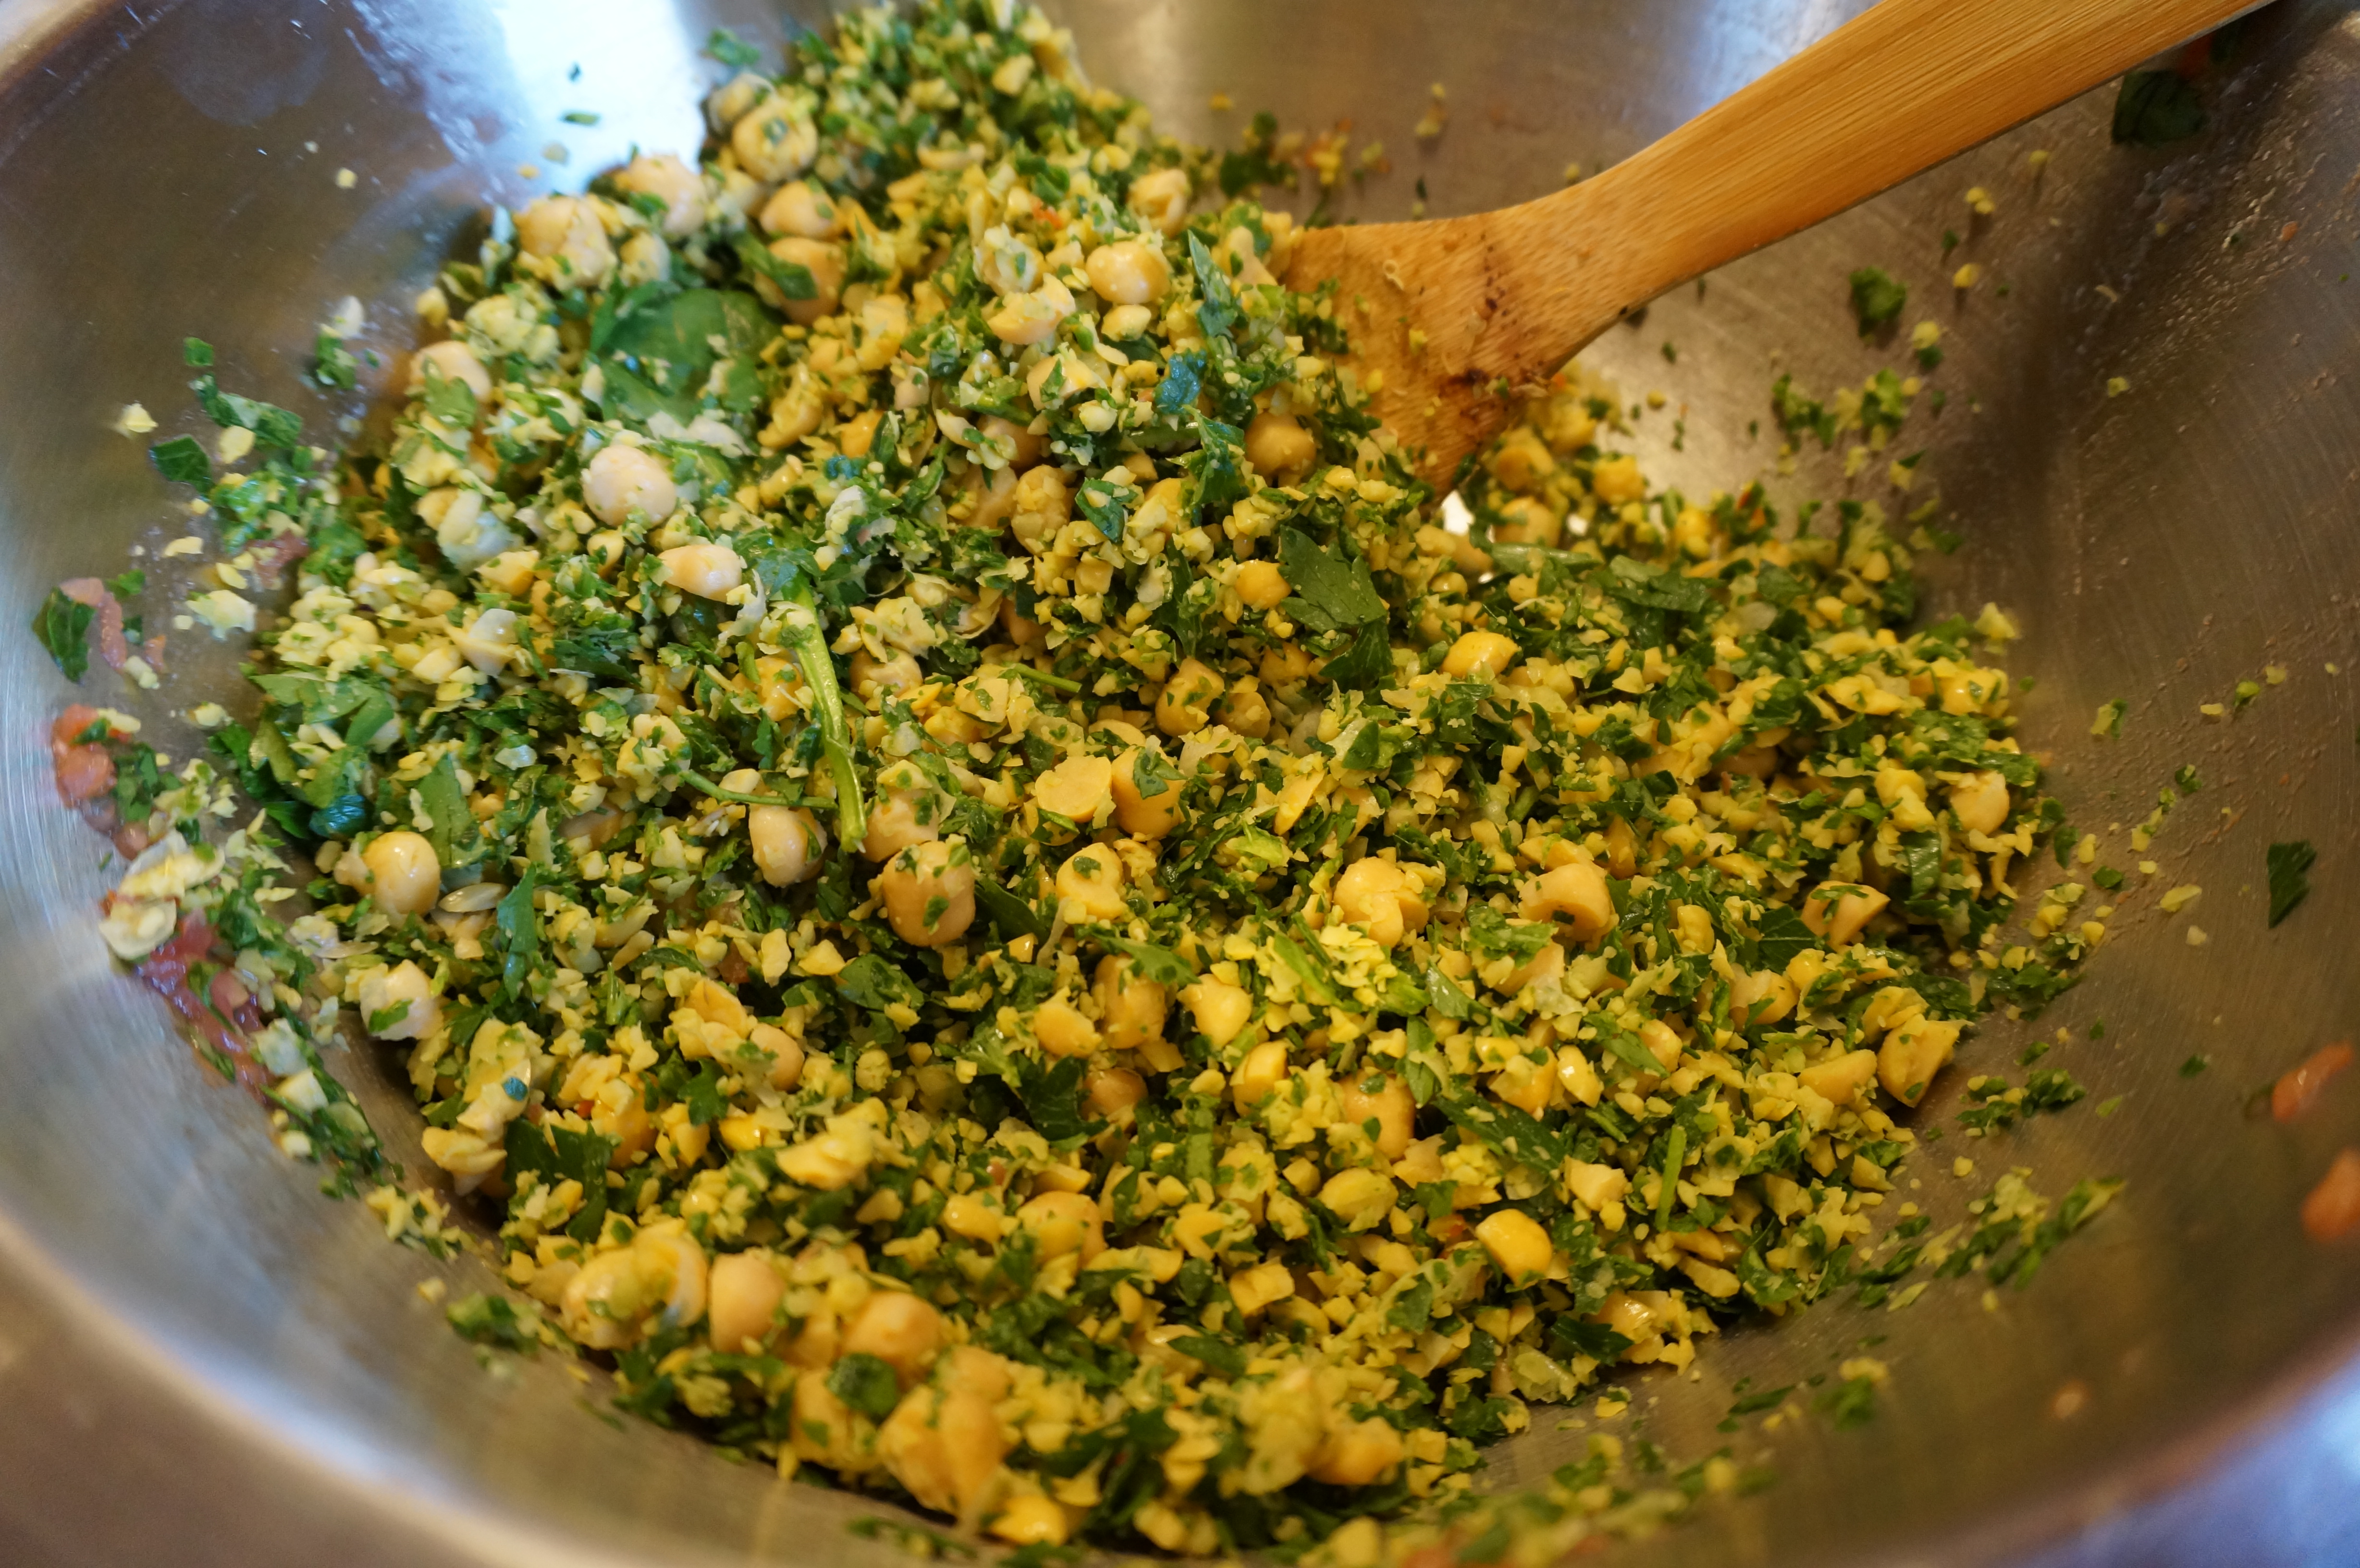
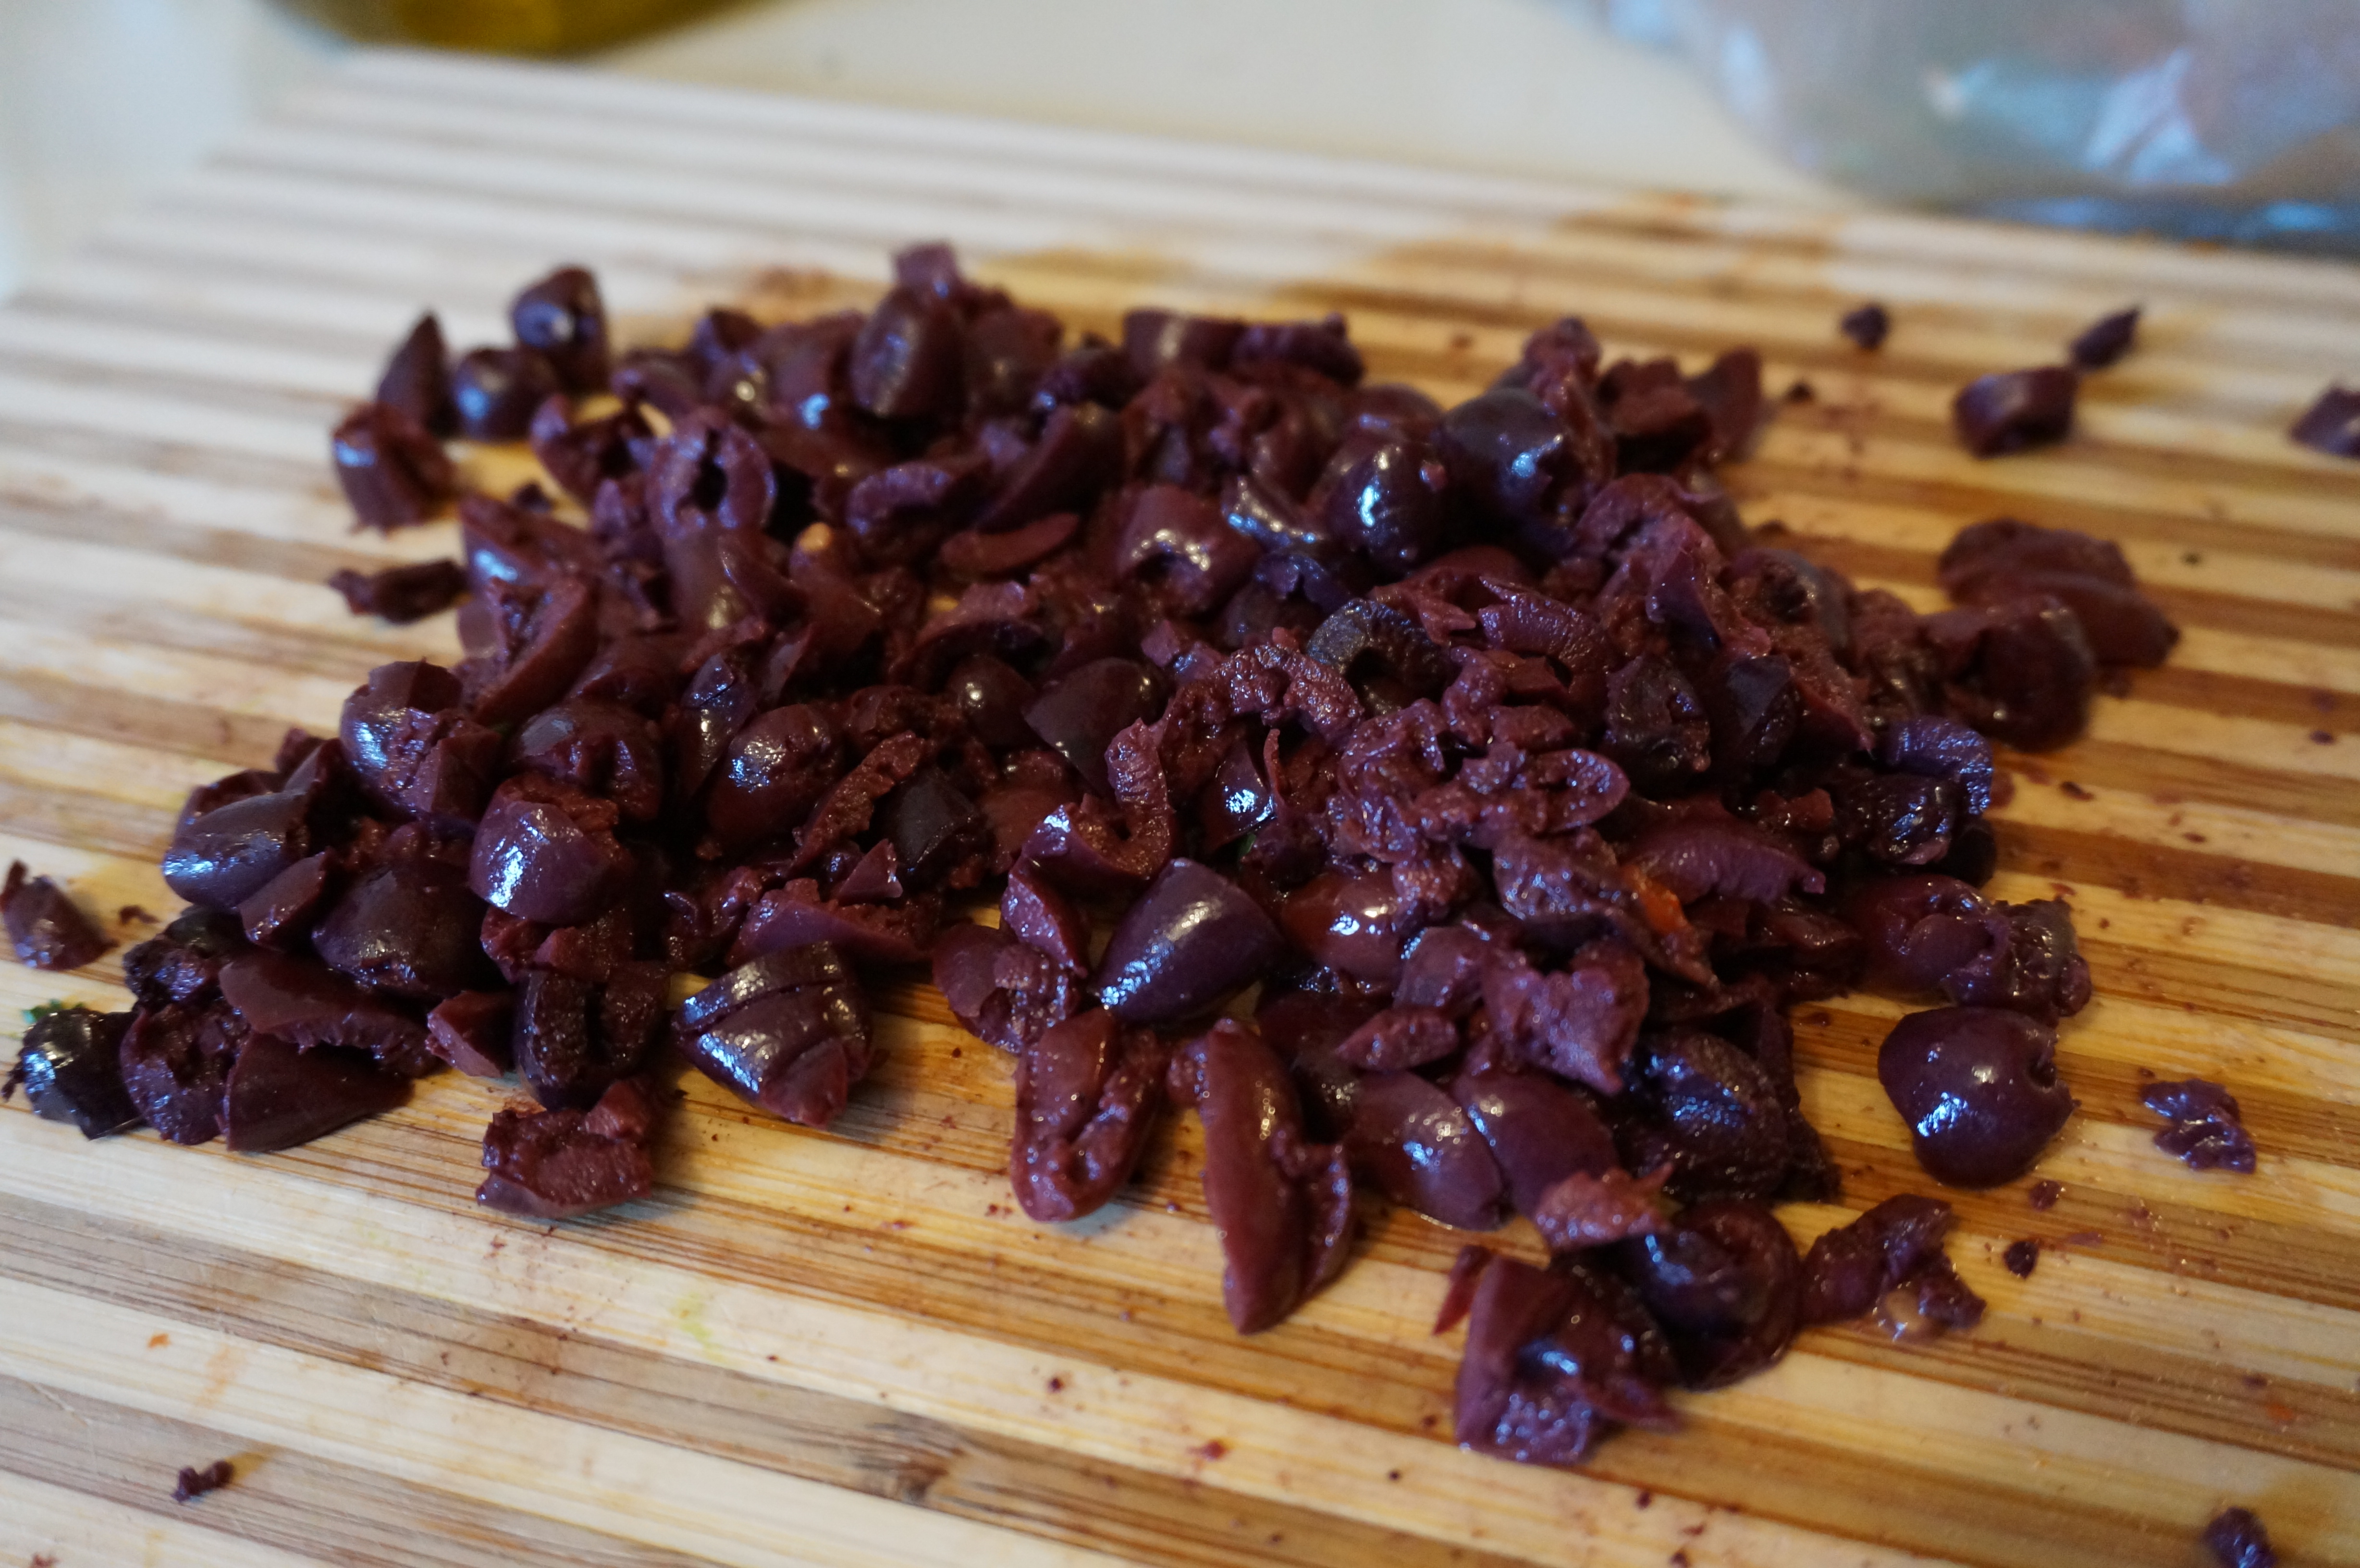
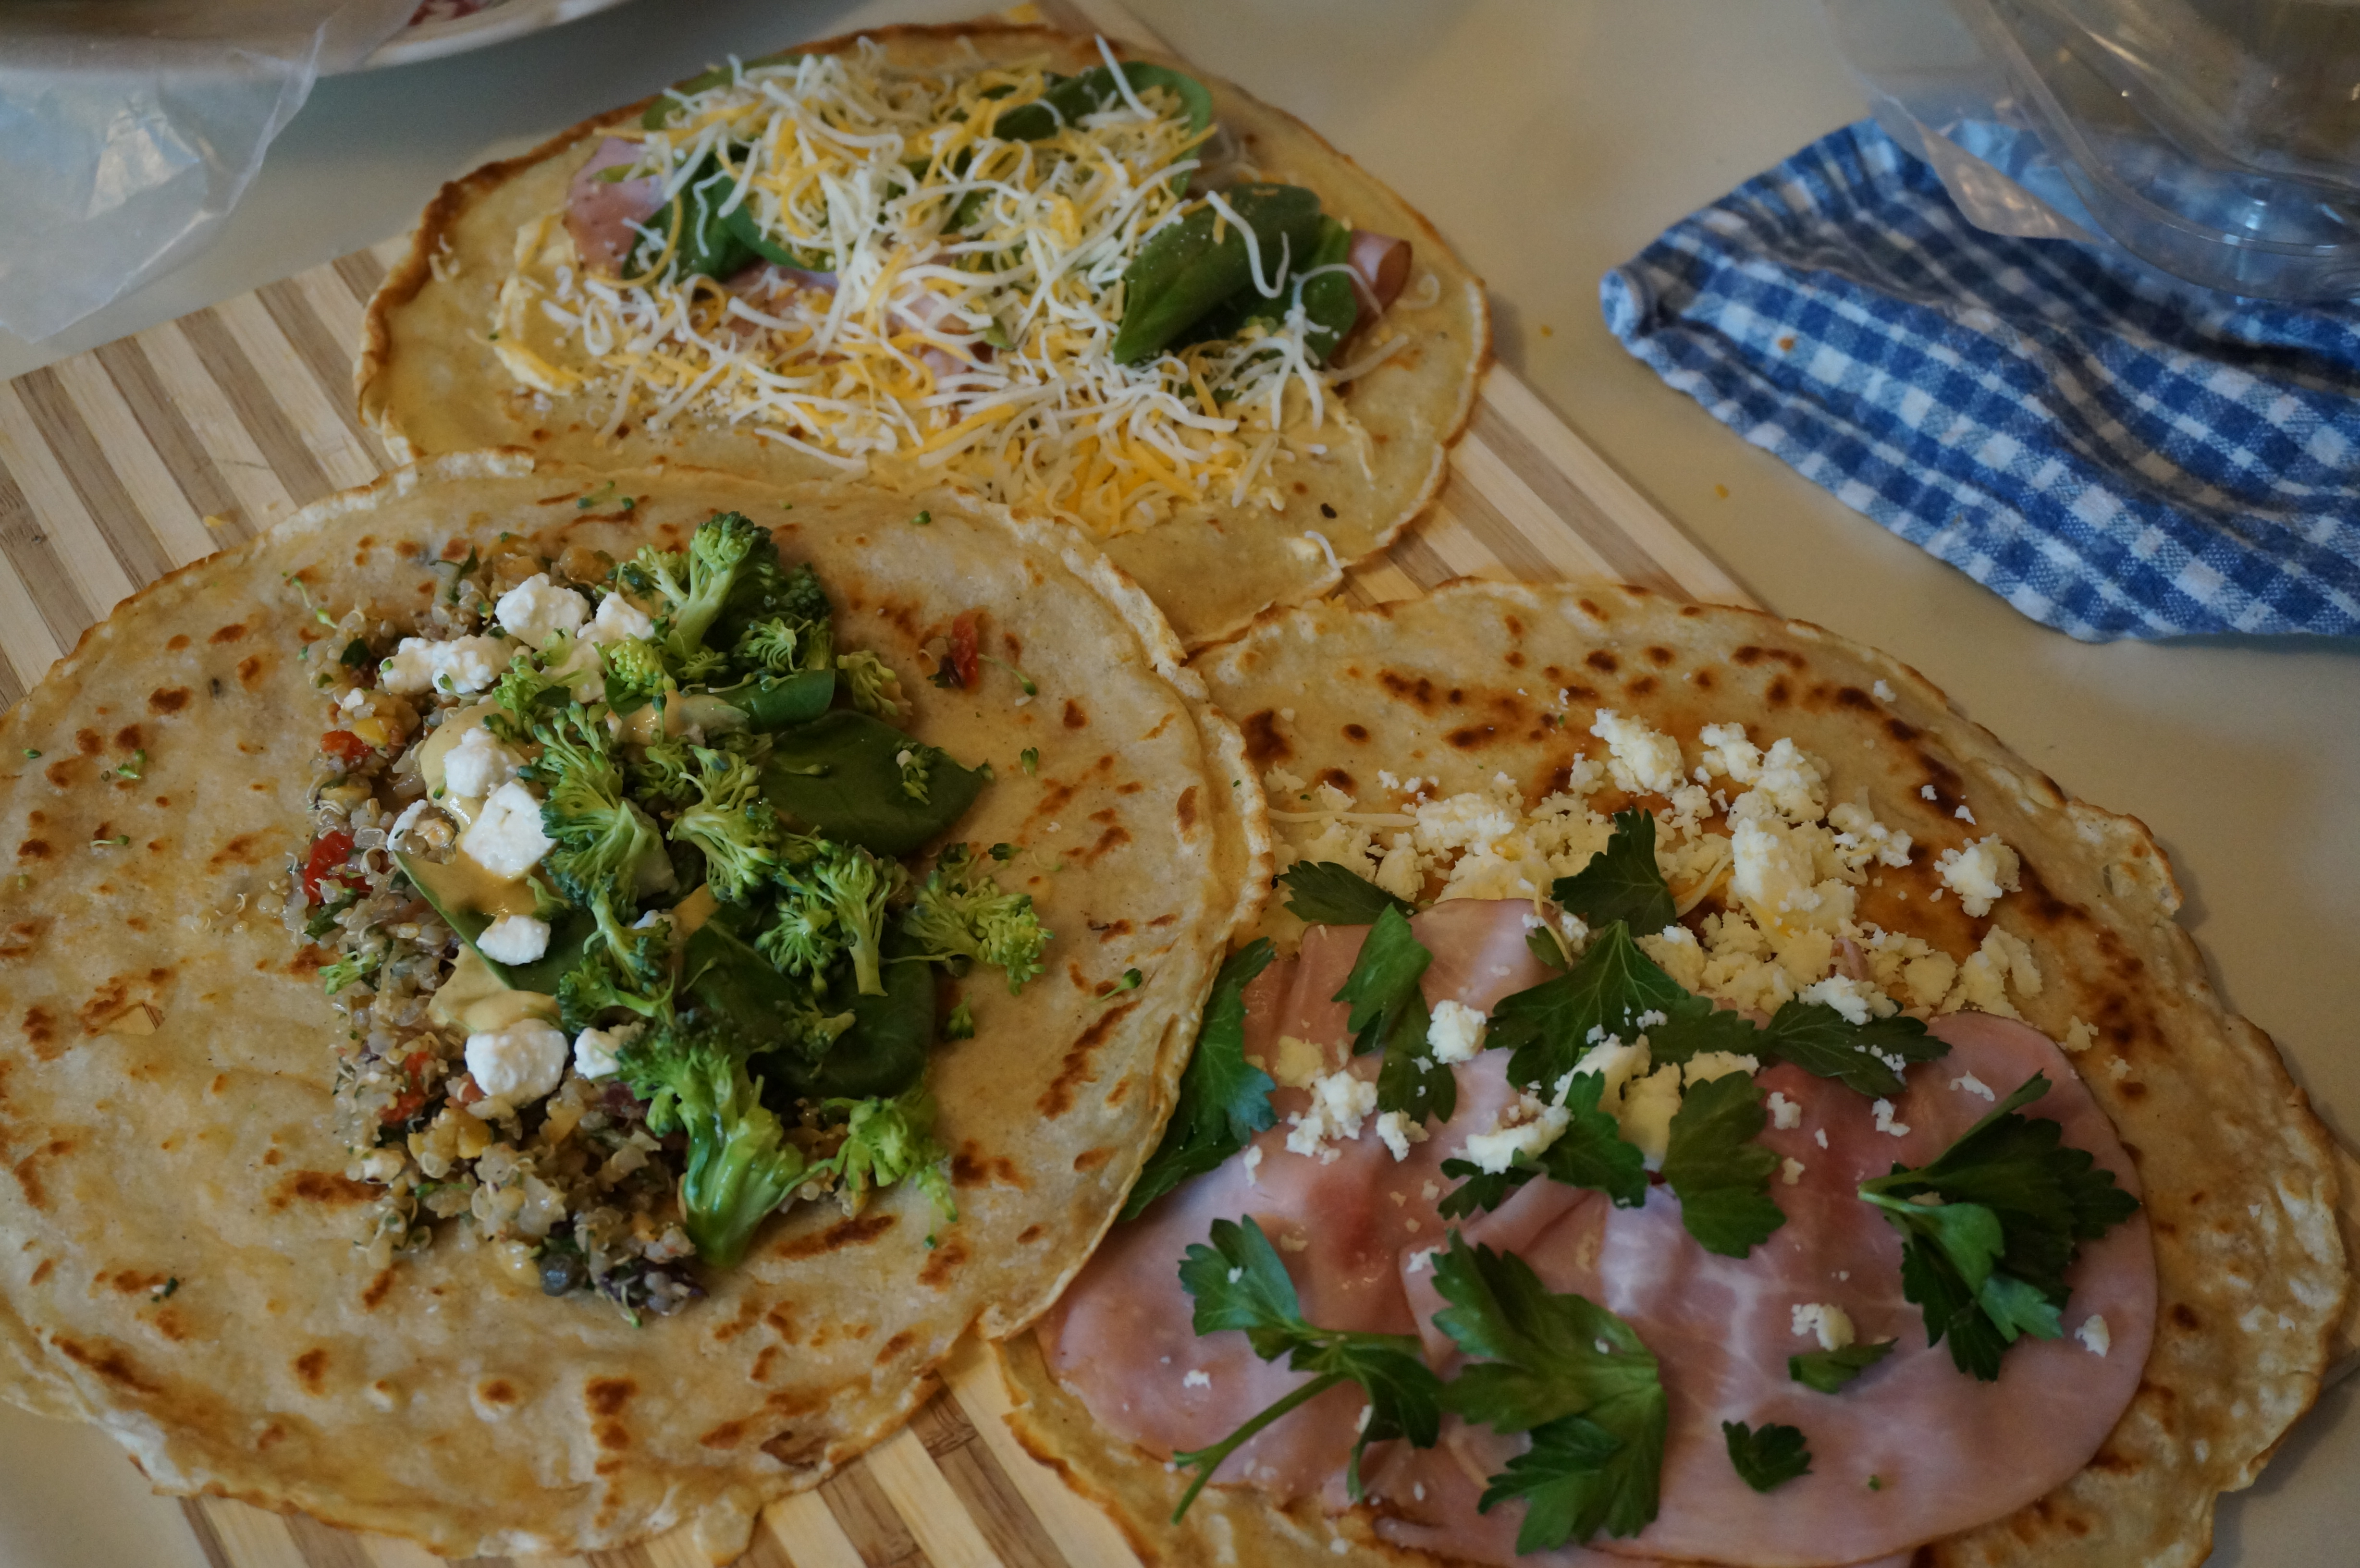
An assortment of savory fillings.

DSC00666Crêpe #1: Hummus, ham, spinach, and cheddar

DSC00663
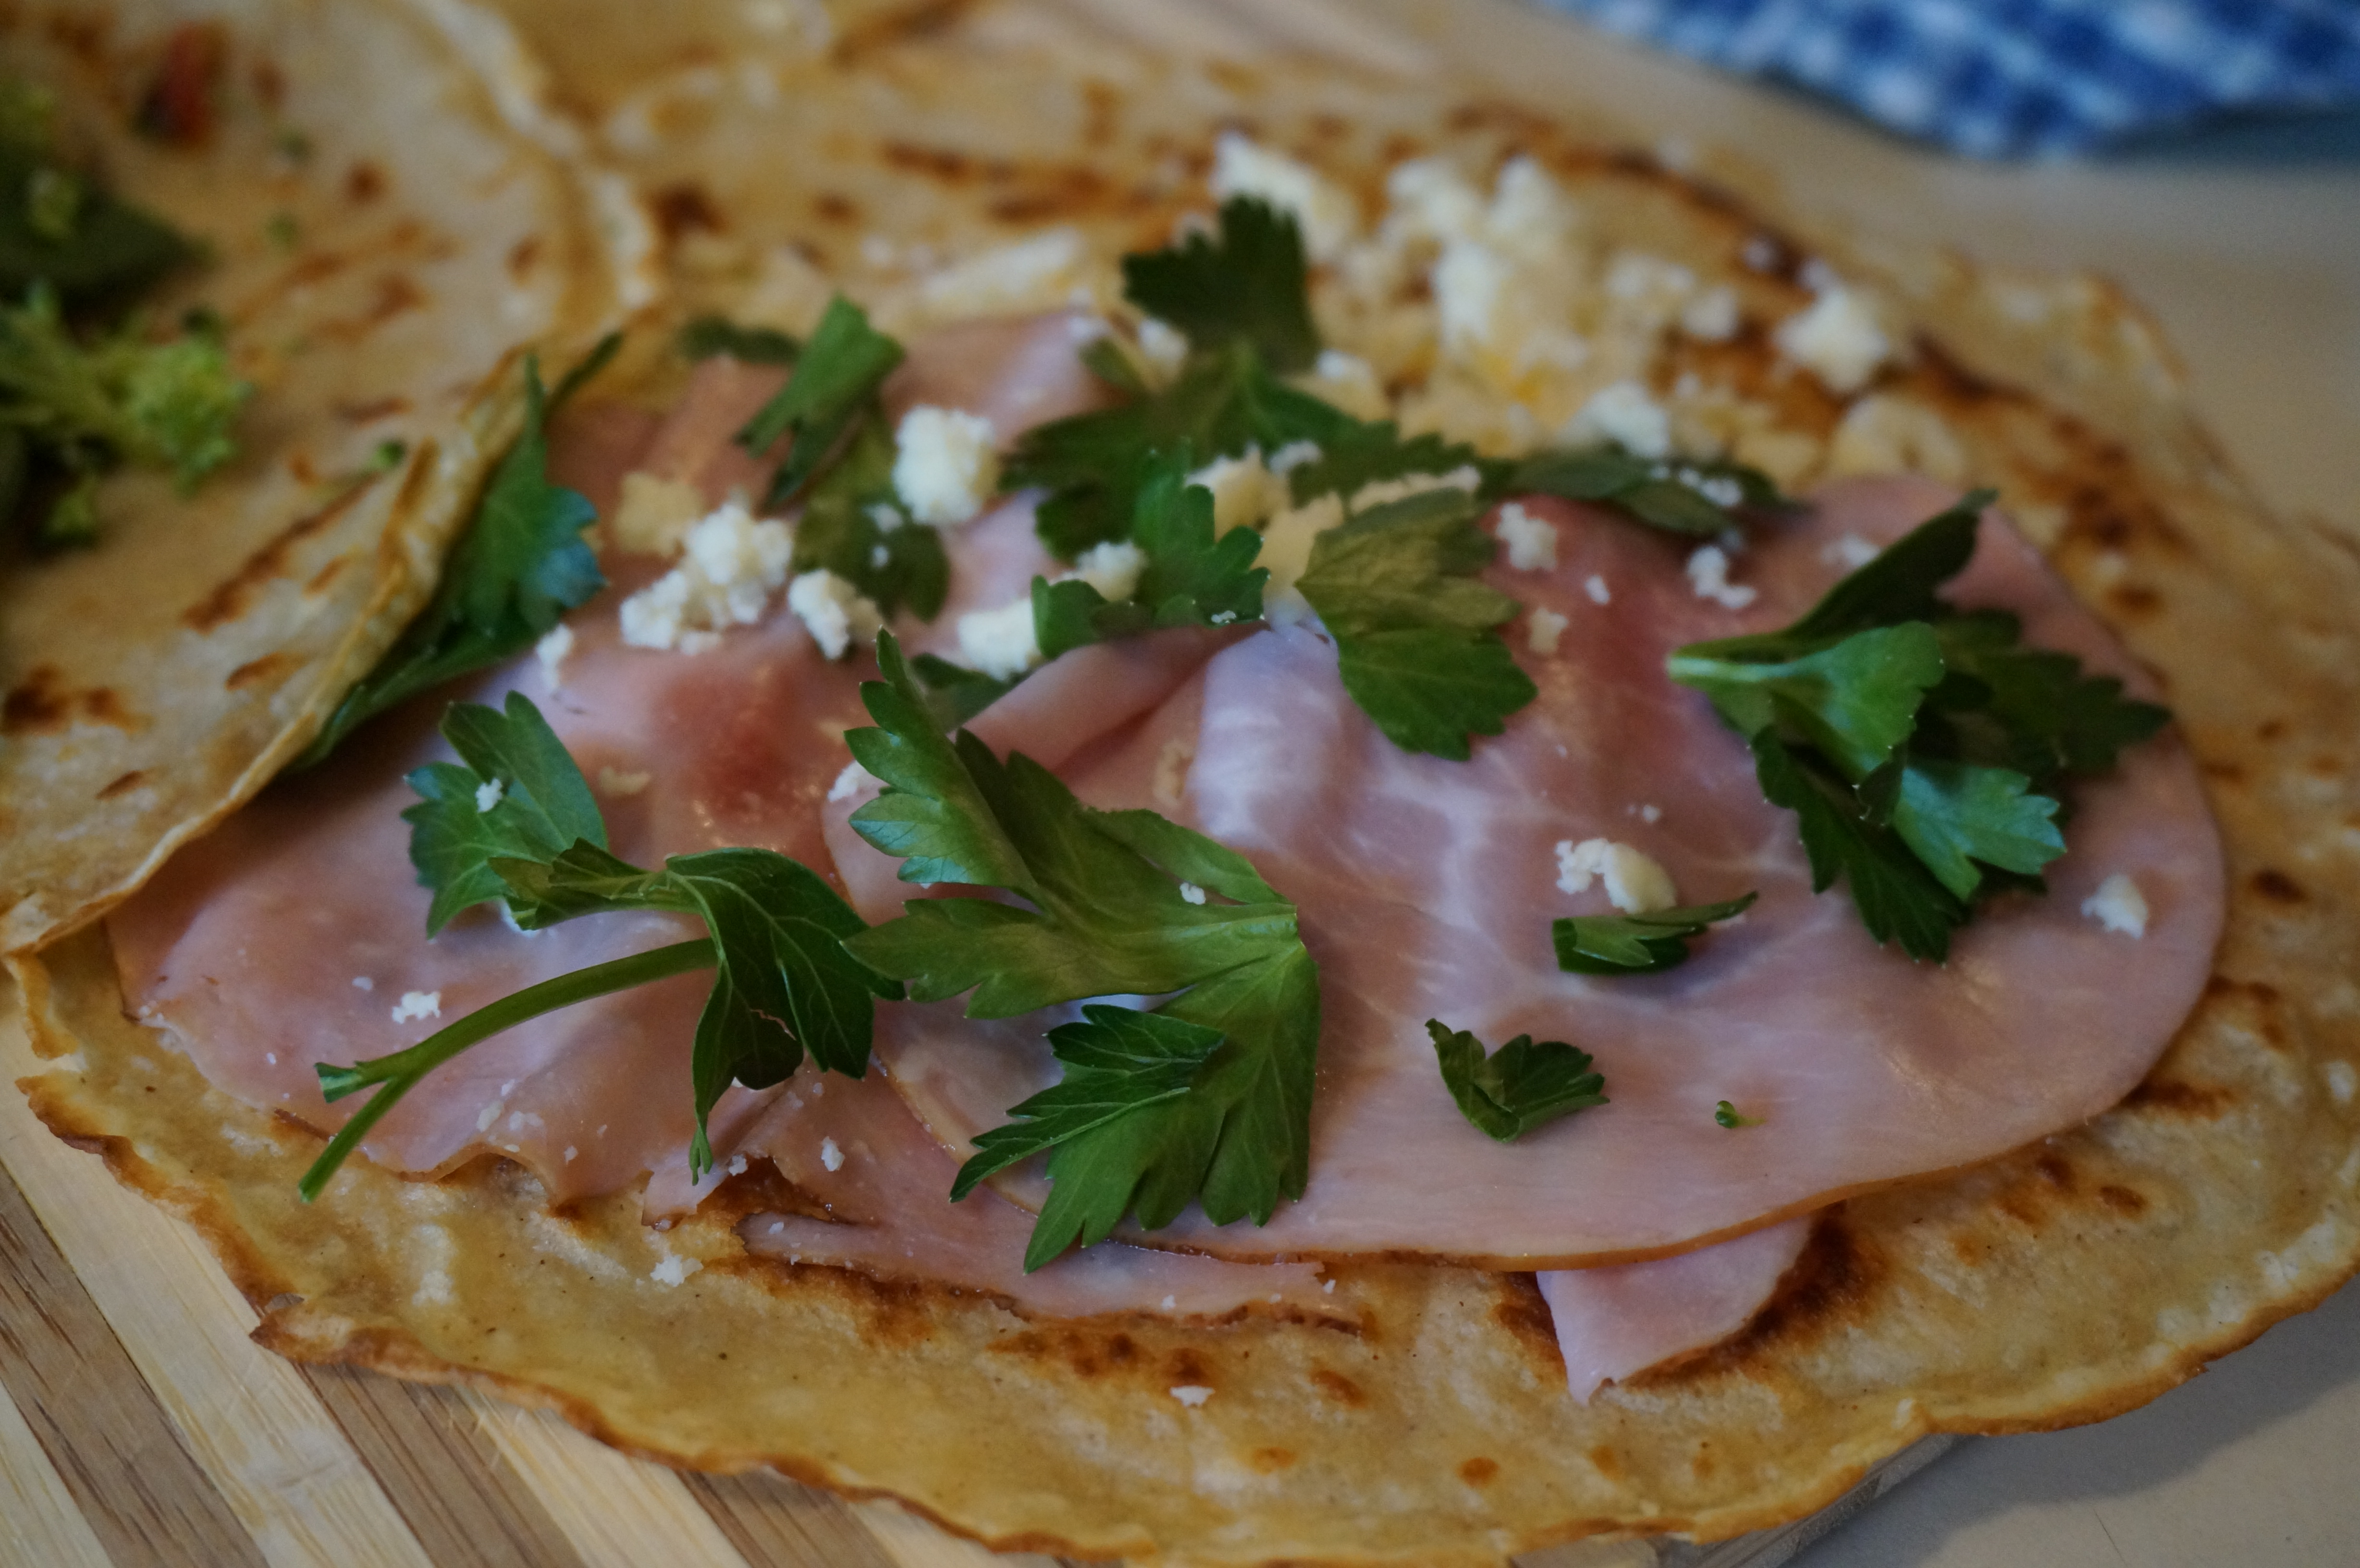
Crêpe #2: Fondue cheese, ham, parsley

DSC00668
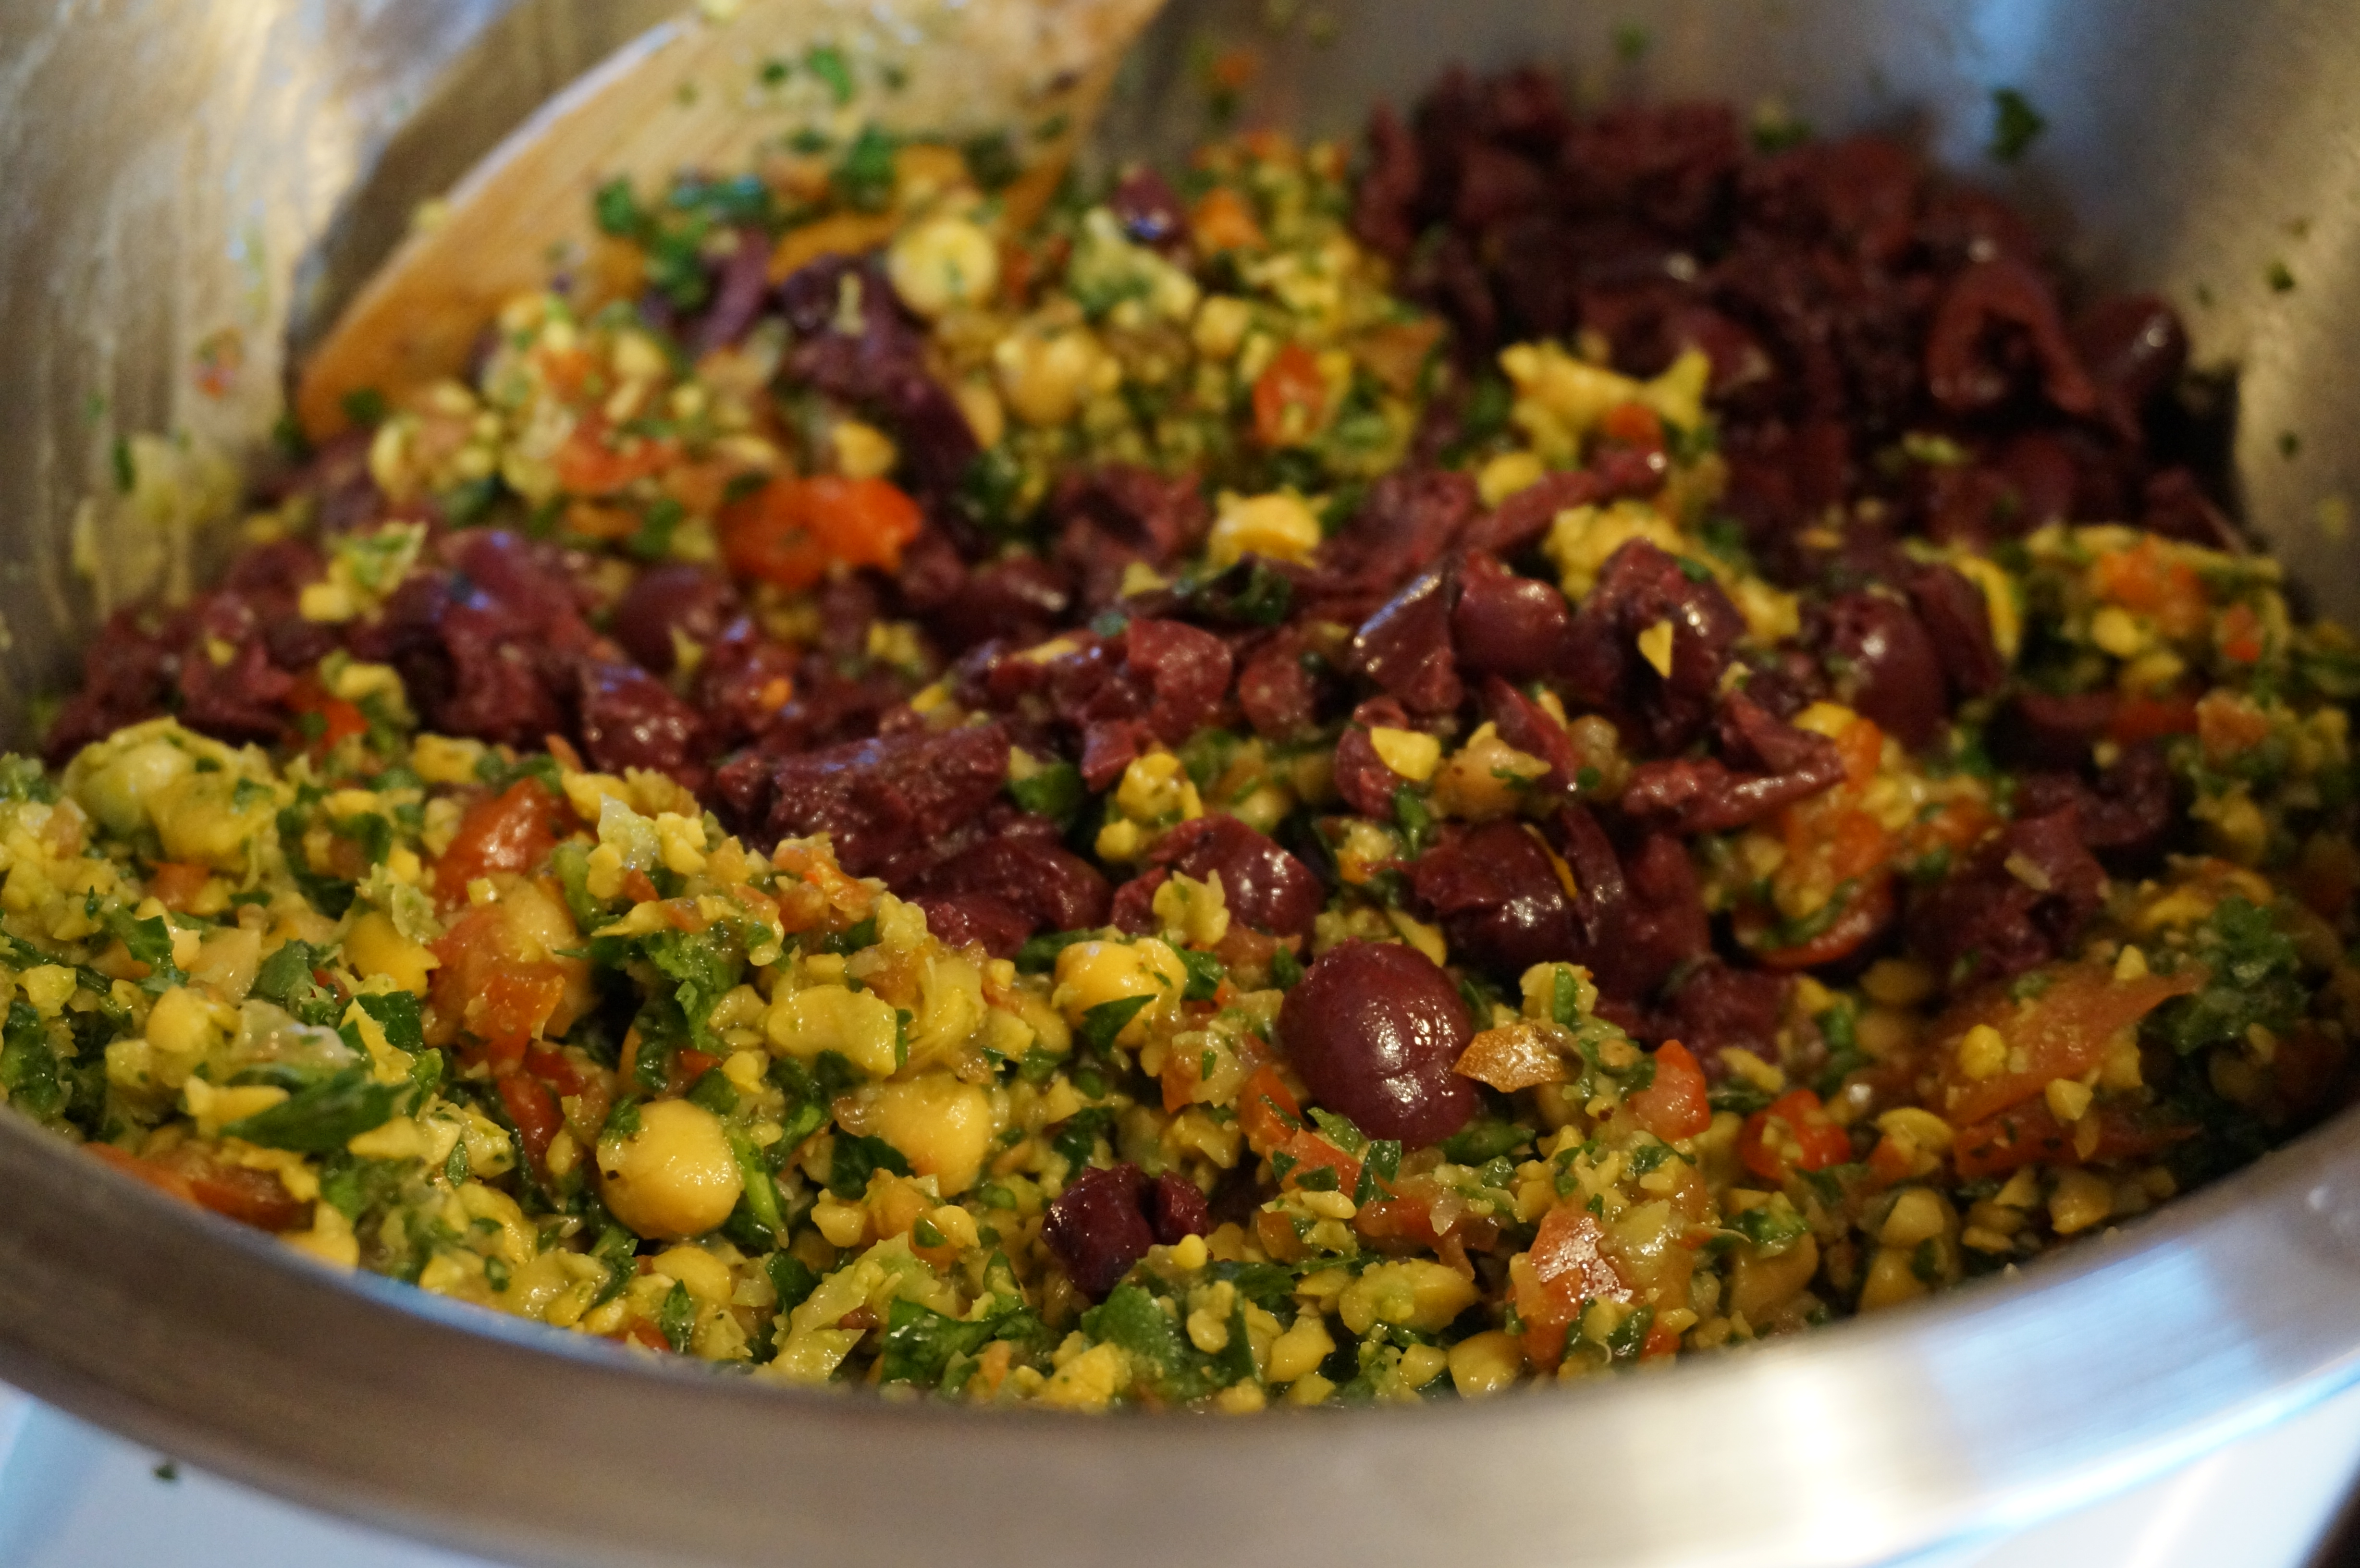
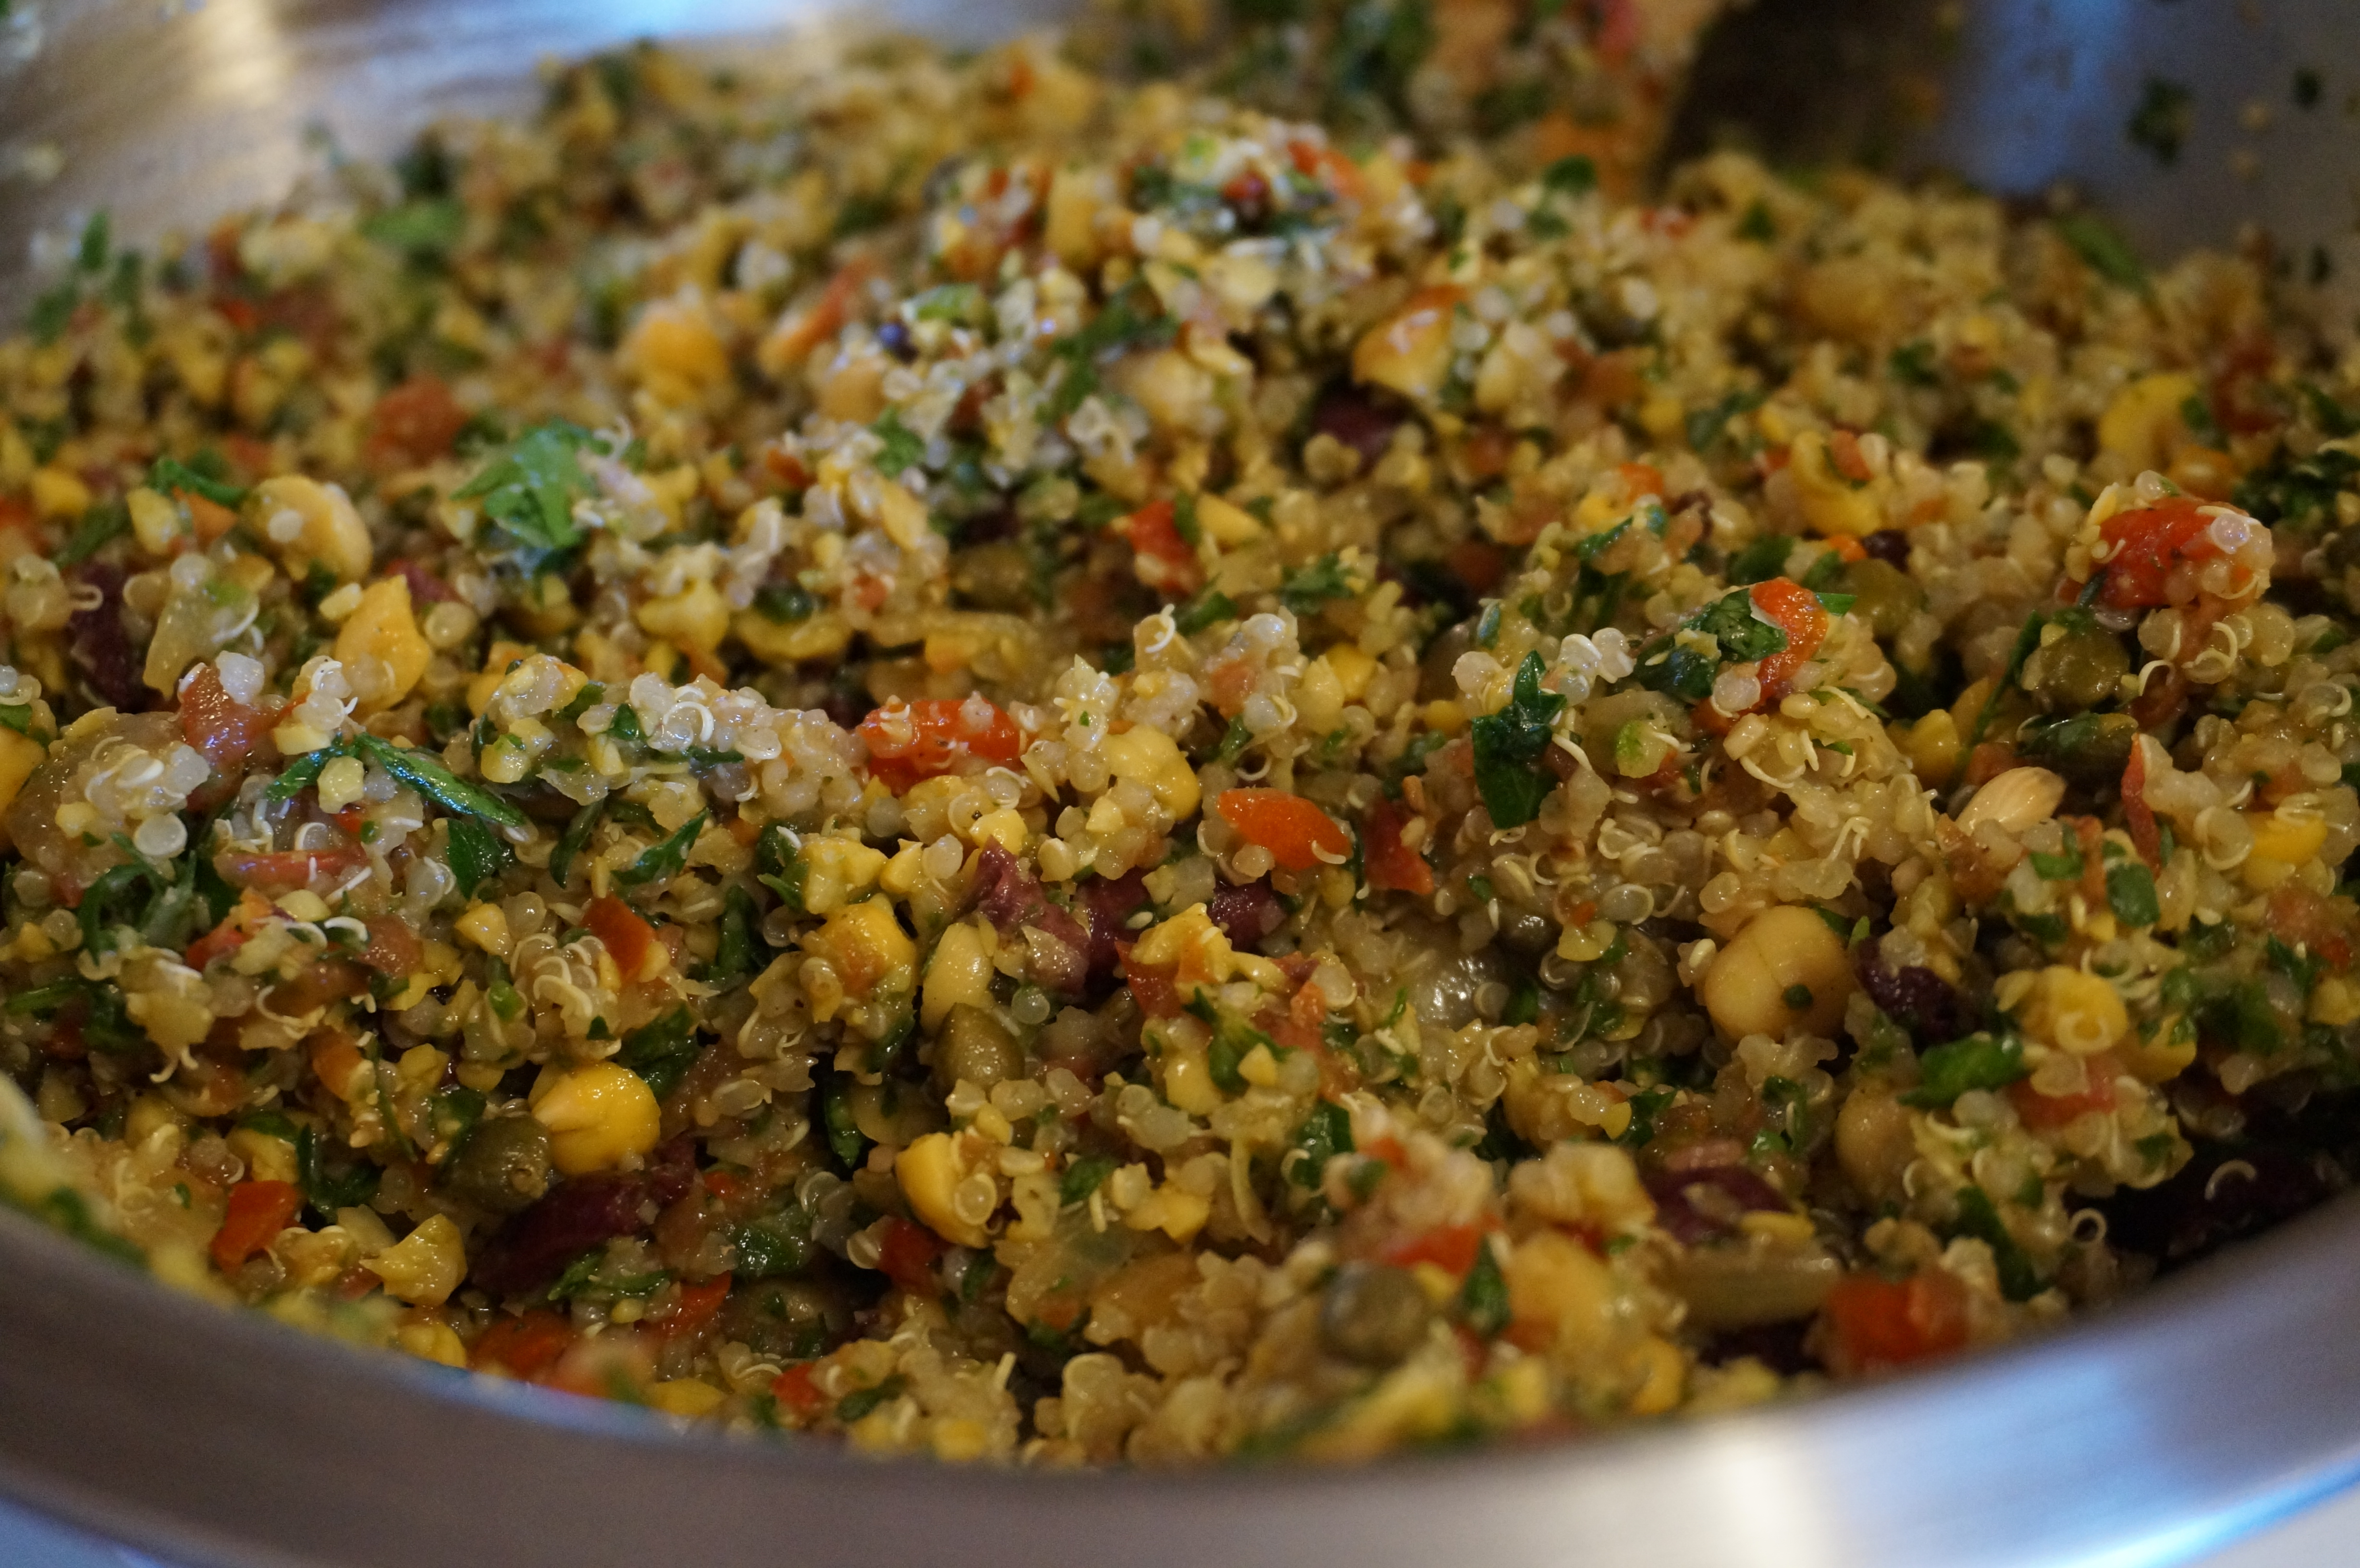
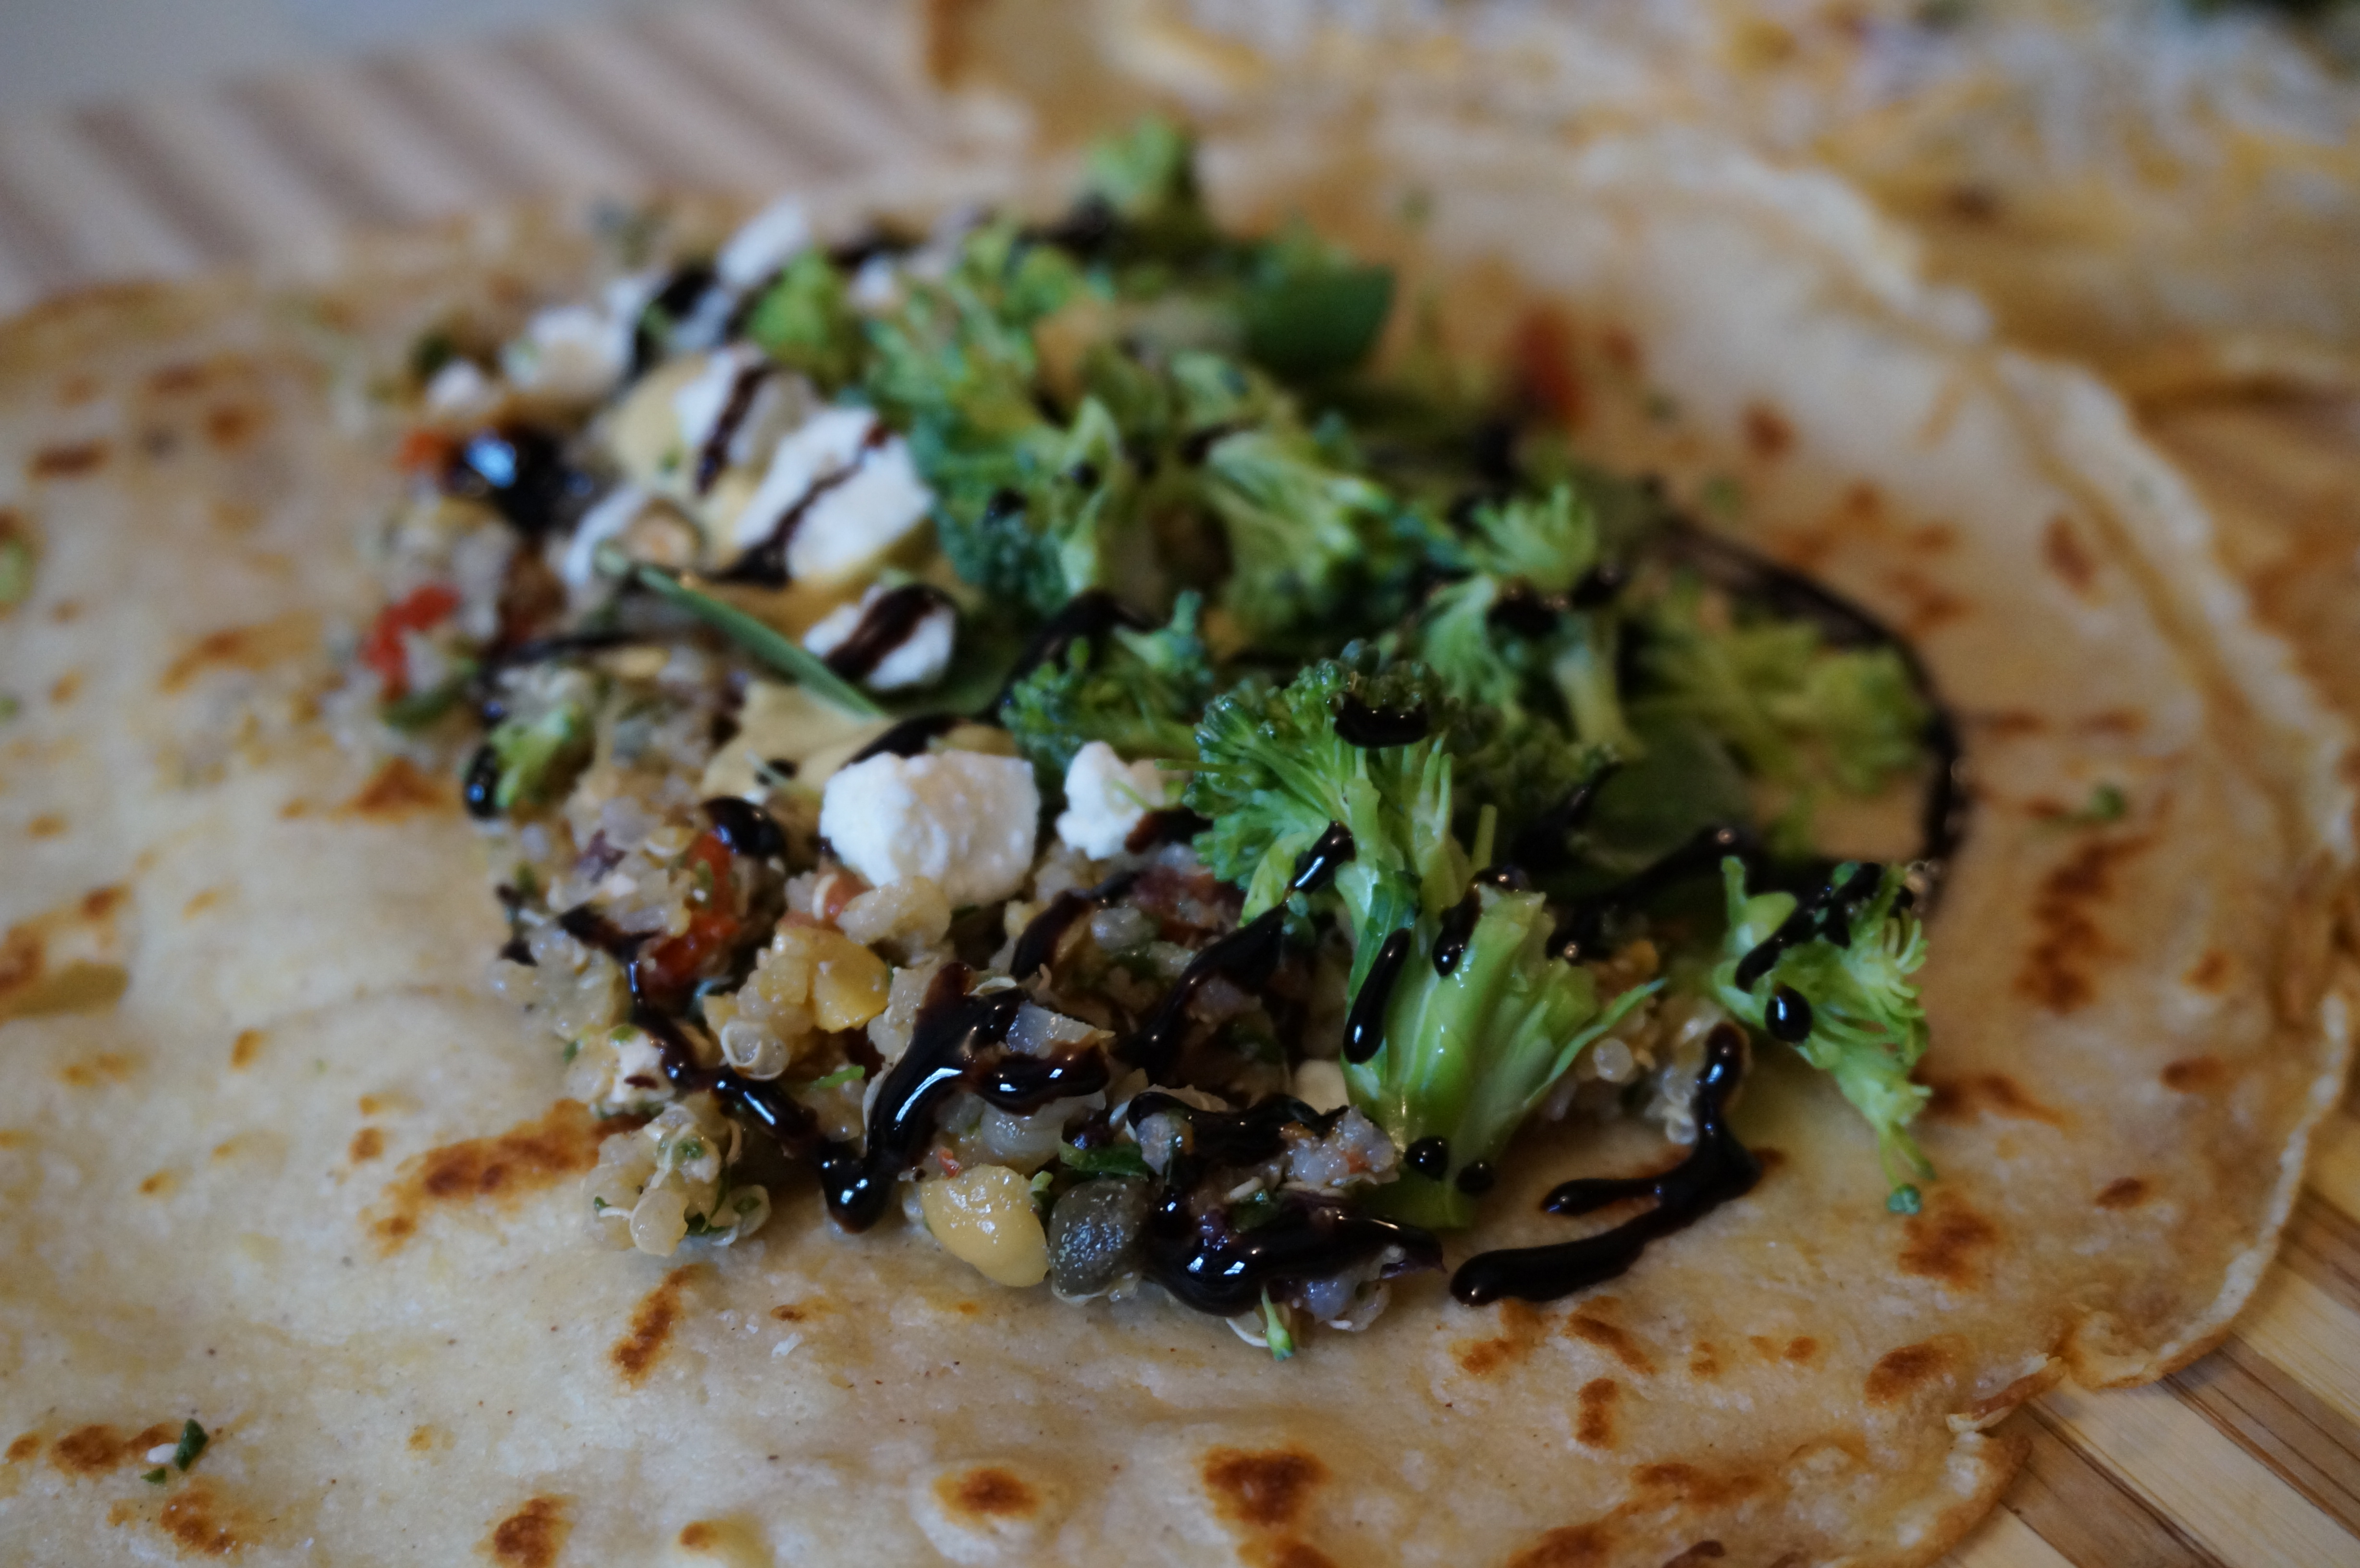
Crêpe #3: Leftover quinoa salad, broccoli, dijon, feta, balsamic drizzle

DSC00674
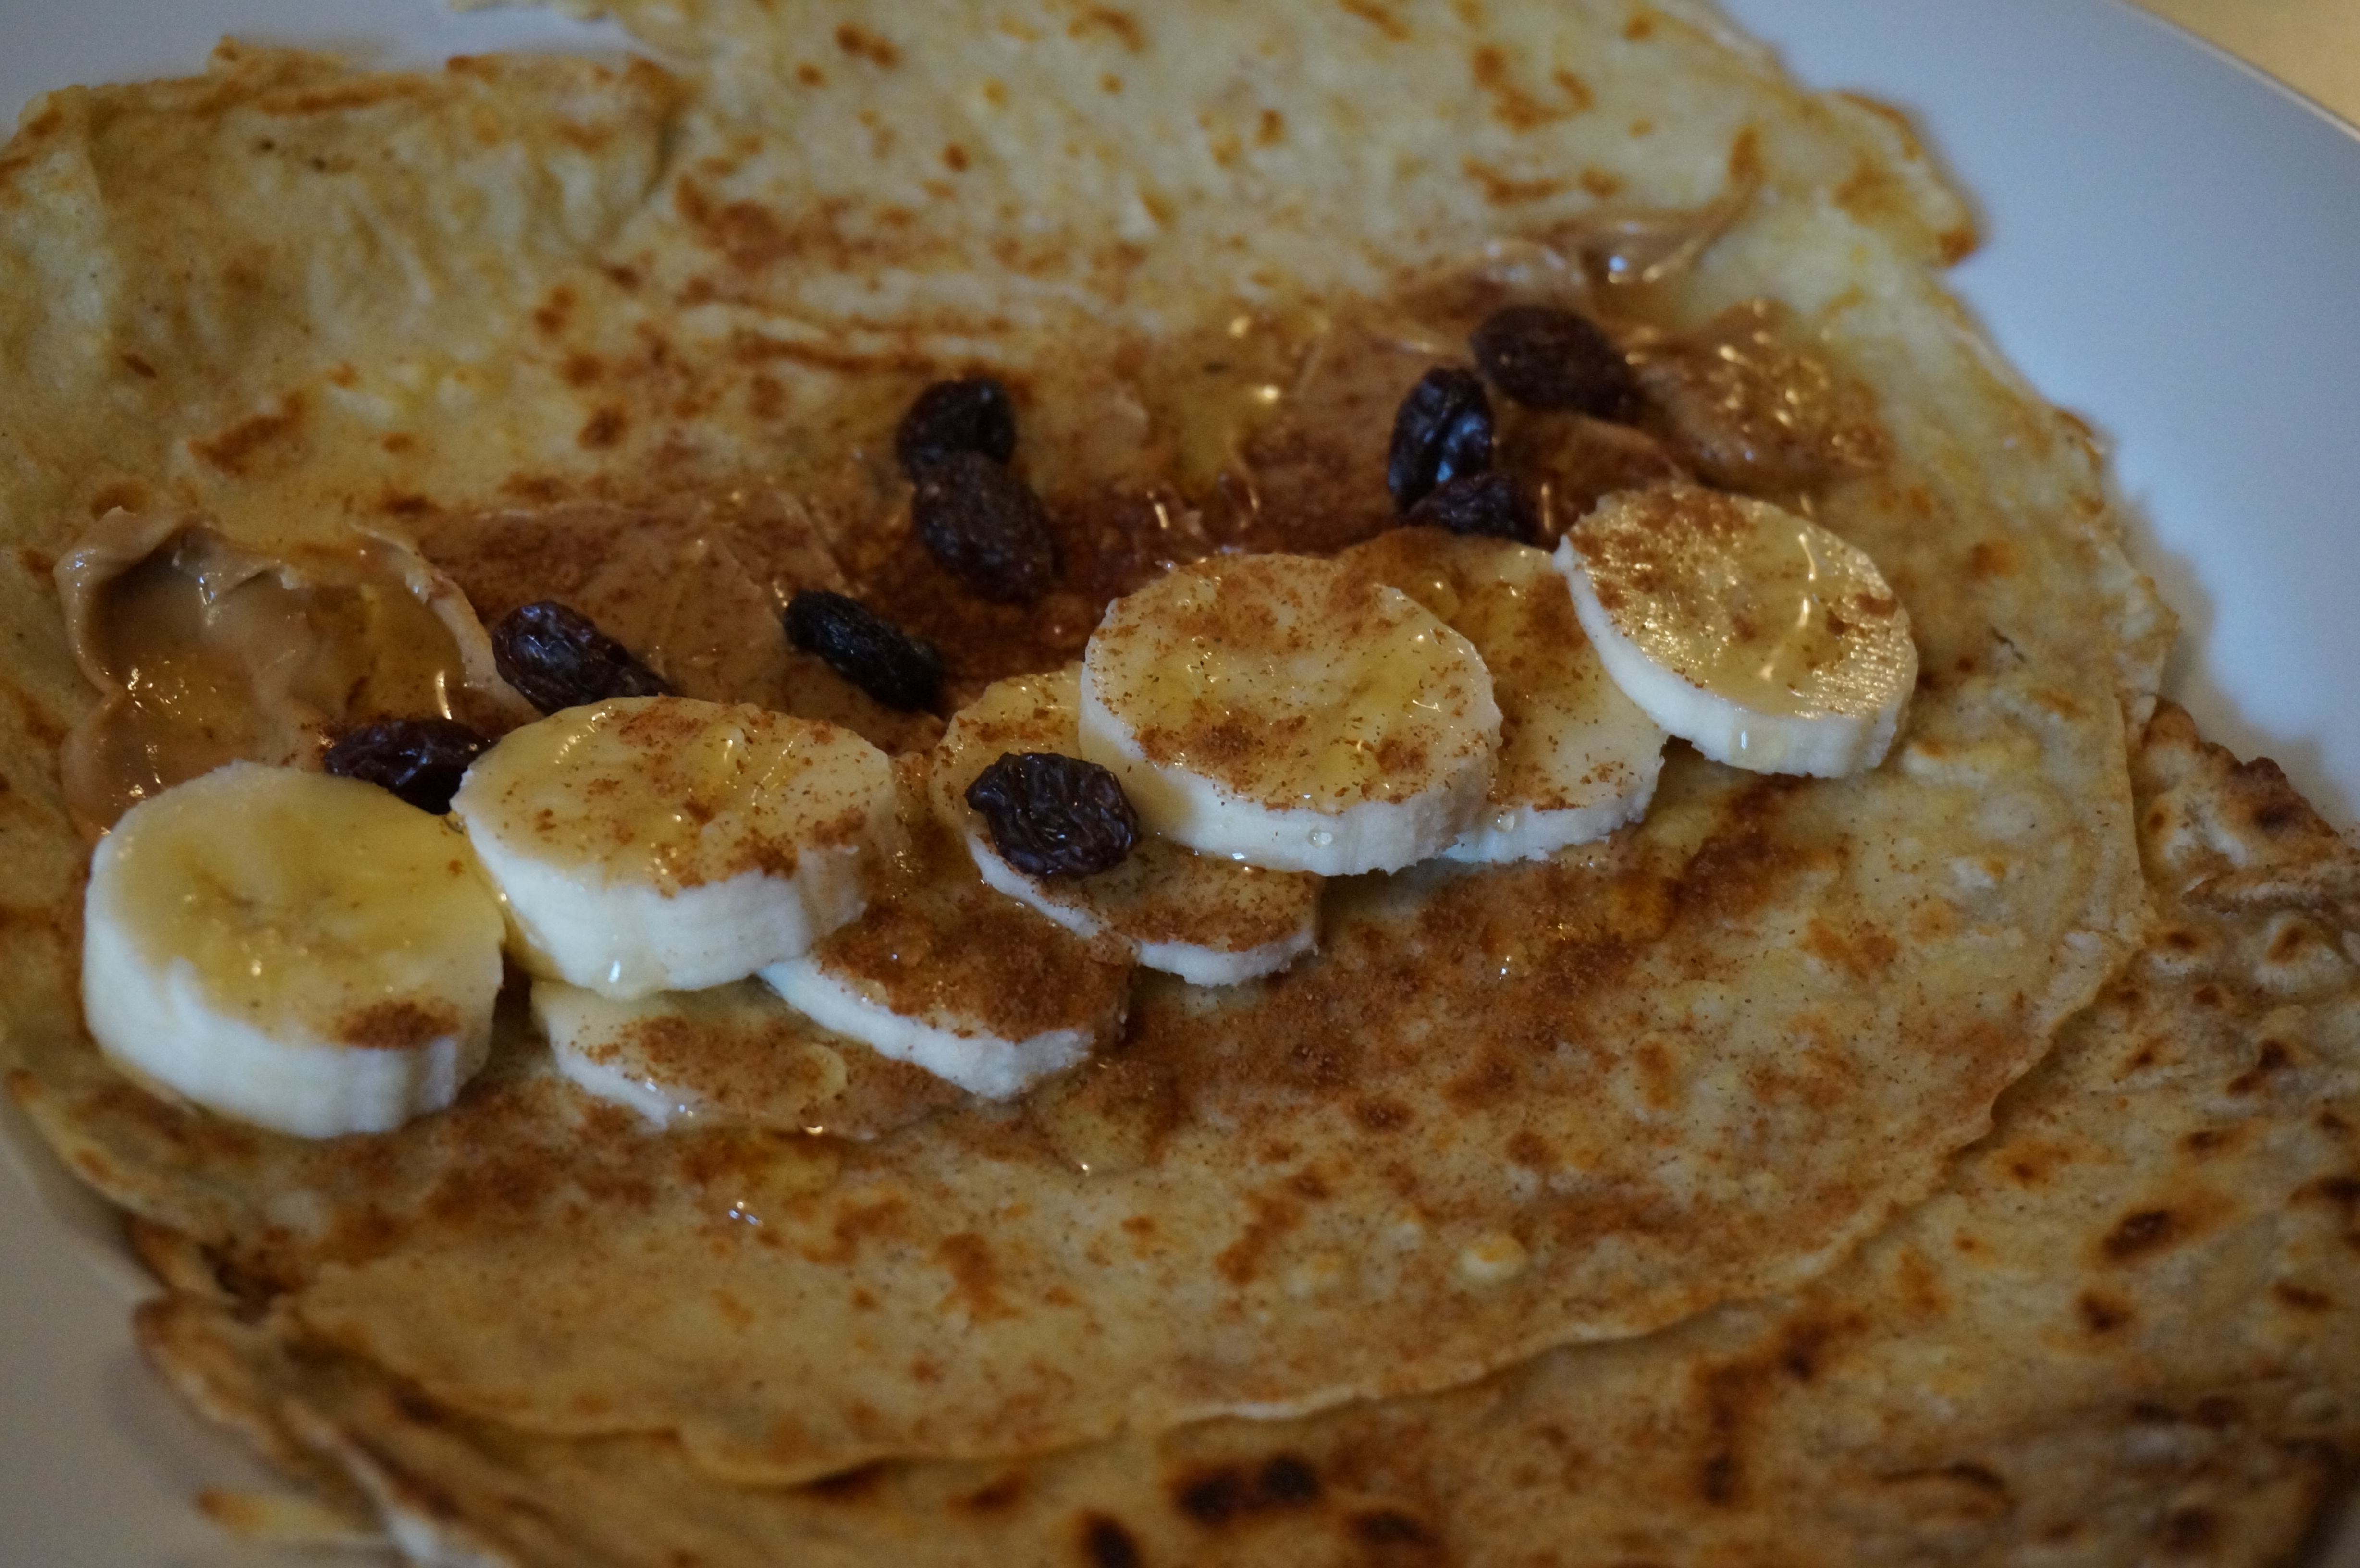
Crêpe #4: Peanut butter, banana, raisin, cinnamon, honey drizzle

DSC00669
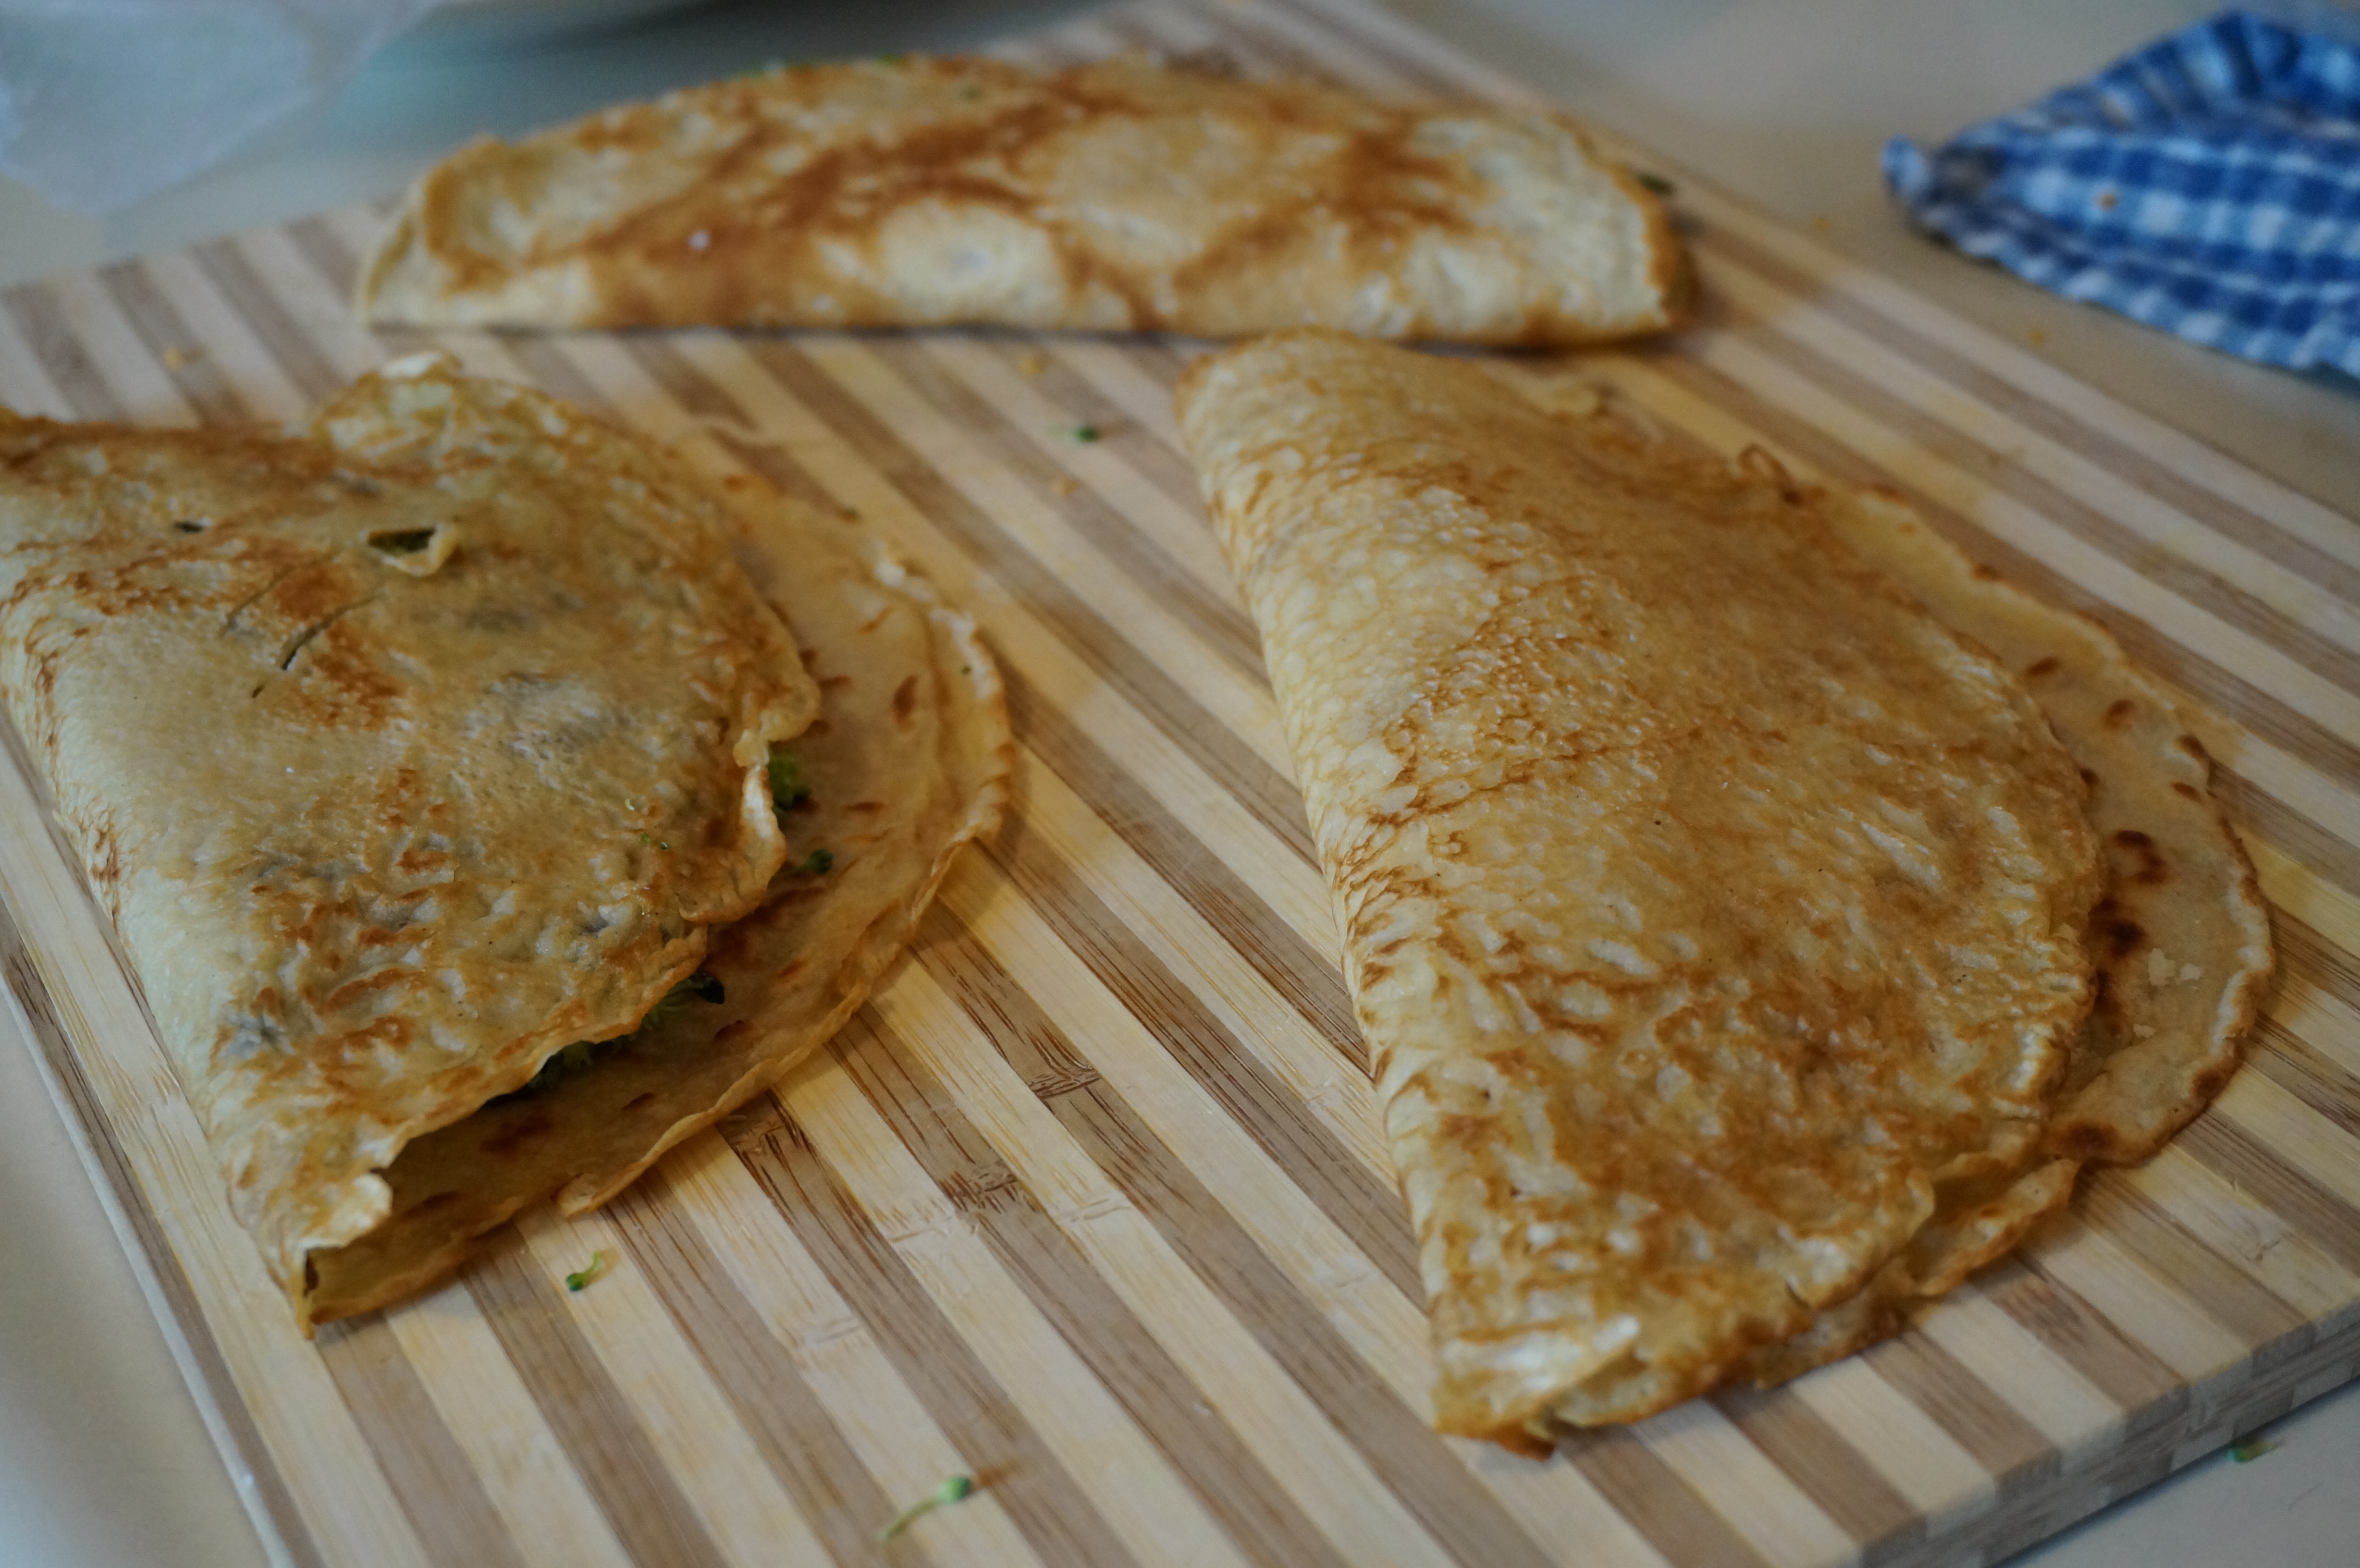
Fold them in half, or quarters if you can.

DSC00670
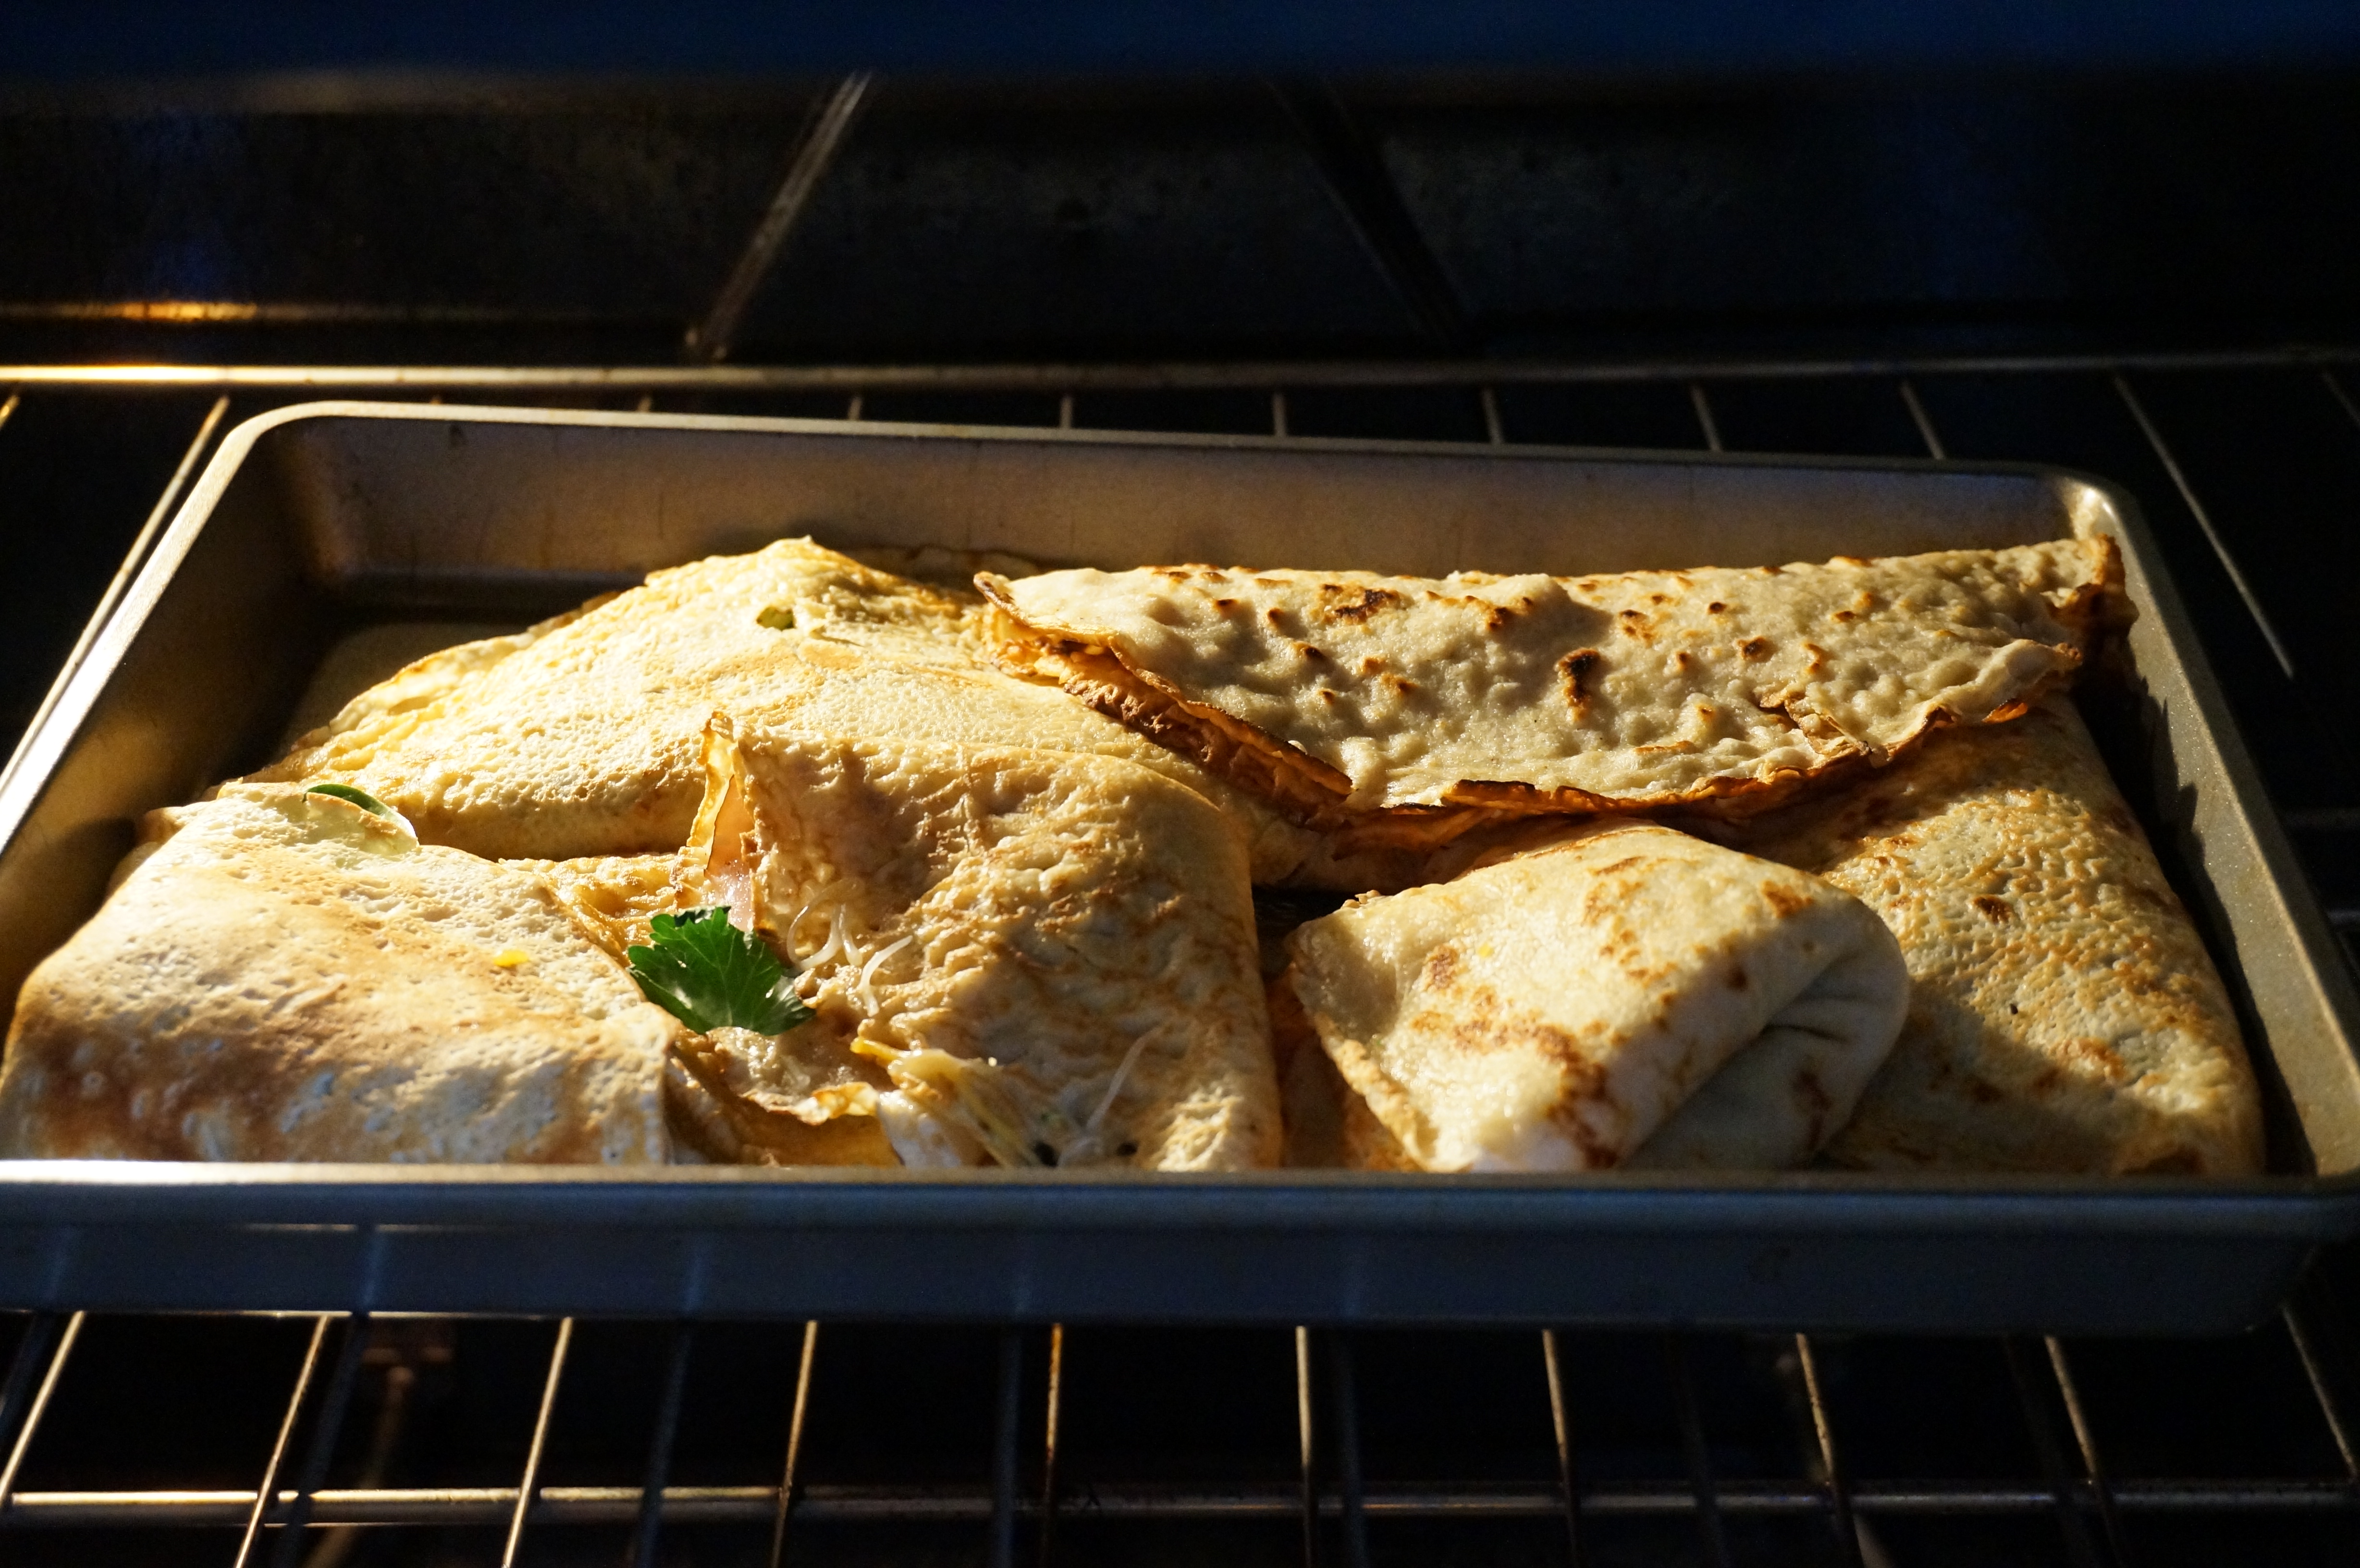
Bake at 300 degrees for 8 minutes or so, until crispy and cheese is melted.

DSC00685
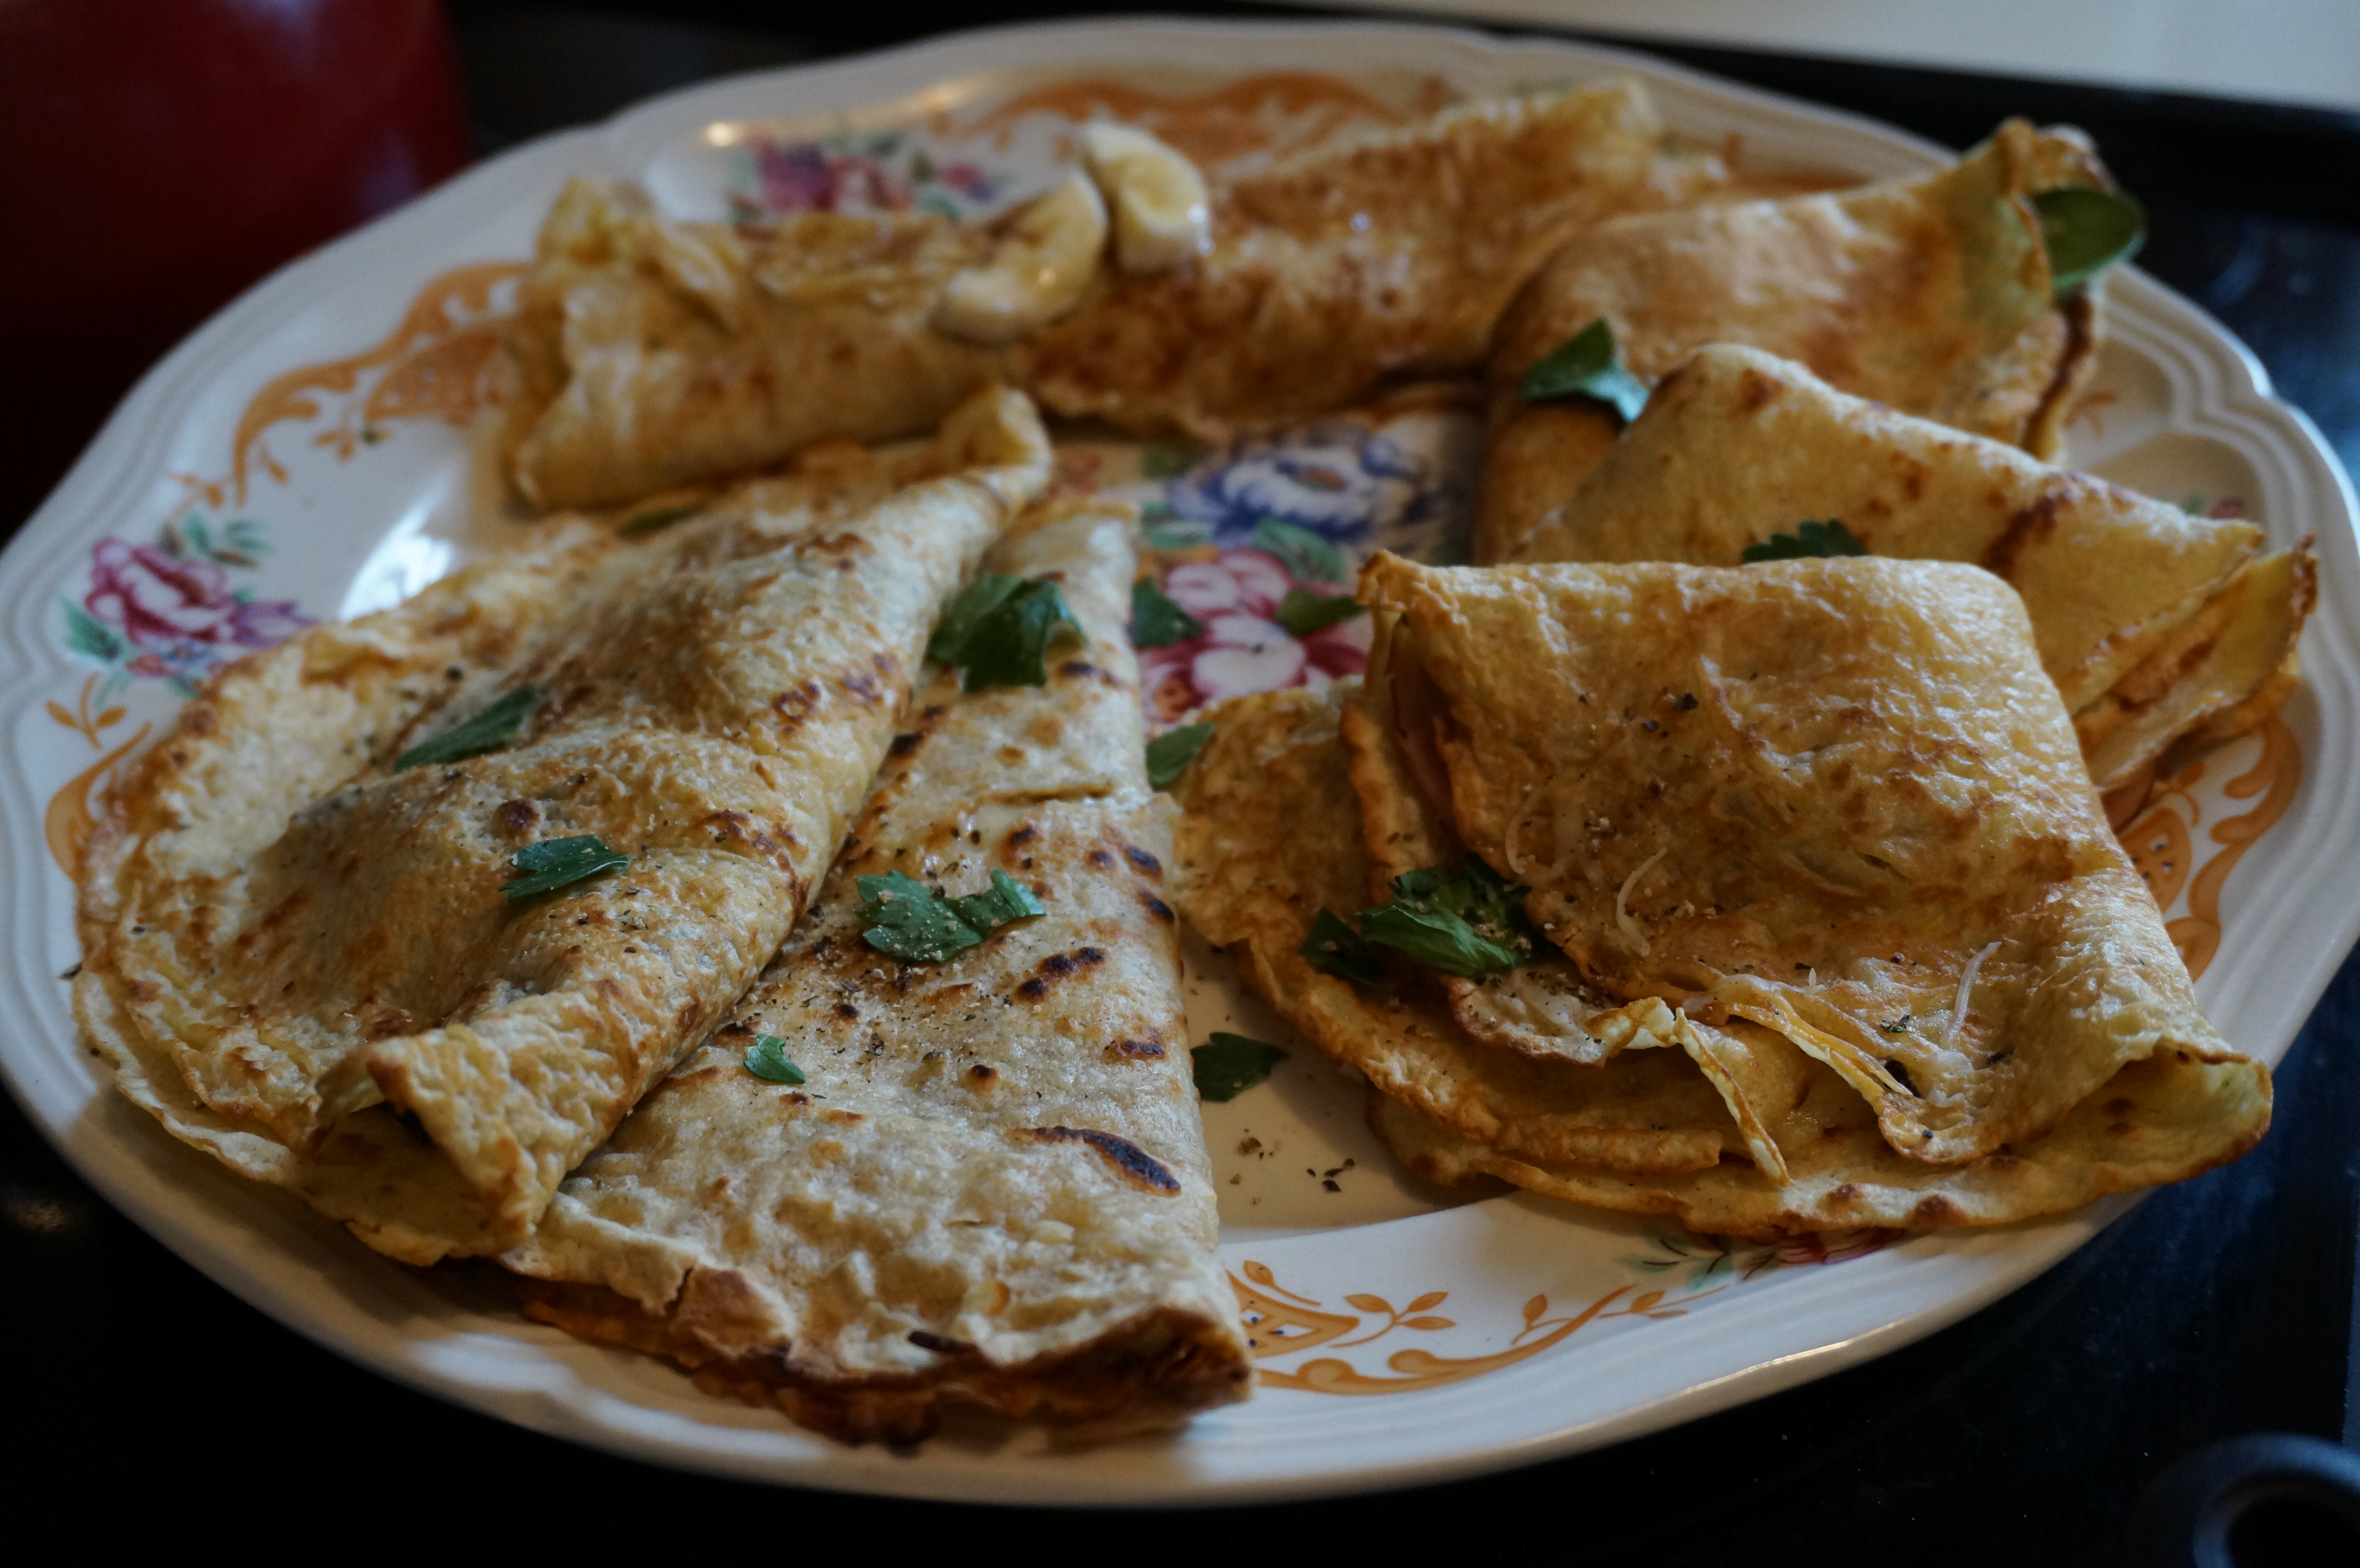
Fancy crêpes for a snowy morning! What’s your favorite crêpe combo?

Savory “Snowmageddon” Crêpes
Prep time:
Cook time:
Total time:
Serves: 6-8
An easy recipe for French crêpes- fill them with something sweet or something savory, or freeze them for your next snow day!
Ingredients
  • 1 cup all-purpose flour, sifted
  • 2 eggs, beaten
  • 1/2 cup milk
  • 1/2 cup water
  • 1/4 tsp salt
  • 1/4 tsp cinnamon
  • 2 tbsp butter, melted
  • Filling ingredients ideas:
  • Sliced deli ham or turkey, chopped broccoli, shredded cheese, fondue cheese, hummus, leftover quinoa salad, feta, dijon mustard, spinach, parsley, pepper, peanut butter, jelly, chopped banana or strawberries, honey, raisins, cinnamon, powdered sugar
Instructions
  1. In a medium bowl, whisk together flour and eggs. Gradually add milk and water.
  2. Add salt, cinnamon, and melted butter, and stir until very smooth. Batter will be thin!
  3. Heat a circular pan on medium- low heat. Coat with cooking spray or oil.
  4. Using a ladle or measuring cup, spread about 1/4 cup batter into hot pan. As quickly as you can, turn the pan in a circular motion so that the filling spreads across the entire surface (it will begin cooking immediately!).
  5. Cook each side about 1 minute. Remove from pan and keep warm in oven at 200 degrees or so.
  6. Continue with the remainder of the batter, making sure to continue oiling the pan and whisking the batter throughout the cooking process.
  7. Refrigerate/freeze crêpes for later, or start filling now!
  8. Preheat oven to 300 degrees.
  9. Spread filling combinations of your choice (using my suggestions above or your own ideas!) on one half of crêpe. Fold in half (or quarters) and pat down lightly.
  10. Bake at 300 degrees for 8 minutes, or until cheese is melted.
  11. Serve warm with a salad on the side!

Stuffed Mediterranean Portobellos

Mmmmm… so excited about this one. I just got home from visiting my sister in California, and attending CSM (the national Physical Therapy Conference) in Las Vegas, and I sure am ready to get back to my routine! After a lot of meals out and taxing my tummy with foreign foods (after all, the West Coast IS kinda like a different country…), I feel like I need to reset my system with some healthy, meat-free meals.

Enter stuffed mushroom caps. While in Vegas, we had a Duke Alumni and Friends reception and one of the dishes they served were stuffed mushrooms with goat cheese and bread crumbs. Hence the inspiration for this recipe. While there’s no goat cheese and no bread crumbs or panko, I tried to capture the same depth of flavor and that to-die-for gooey, cheesy texture while keeping it light and heart-healthy. Since I’m a sucker for Mediterranean food, I decided to stuff larger portobello mushroom caps with quinoa, chickpeas, olives, capers, and lots of feta, plus some other classic Med-style ingredients.

I love the combination of the lemon and parsley in this recipe, combined with the slightly tangy flavor of the capers and saltiness of the kalamata olives. The quinoa also brings a nutty taste, and of course the mushrooms and chickpeas give the entire dish a meatiness without actually requiring any meat (although if you really miss it, ground turkey would be delish).

I’m just happy because I got to finally use my truffle oil. There is nothing greater in the realm of gourmet food than truffles. Just saying.

Have a great week, everyone!

DSC00619

Stuffed Mediterranean Portobellos
Recipe Type: Main Dishes, Gourmet
Cuisine: Mediterranean, Vegetarian
Author: Claire McCormick of “Claire Tastes”
Prep time:
Cook time:
Total time:
Serves: 10
Looking for a healthy vegetarian dinner idea for tonight? Look no further- these stuffed Mediterranean ‘shrooms are sure to satisfy, and you won’t miss the meat one bit!
Ingredients
  • 10 portobello mushroom caps, cleaned and stems removed
  • 1 1/2 cups quinoa, dry
  • 1 small onion, sliced
  • 1 1/2 tbsp minced garlic
  • 1 tbsp olive oil
  • 1 lemon
  • 6 roma tomatoes, quartered
  • 1 small jar roasted red peppers
  • 1 large bunch fresh parsley (about 1/2 cup minced)
  • 4 cups fresh baby spinach
  • 2 cans chickpeas, drained and rinsed
  • 1/2 cup kalamata olives, rinsed and chopped roughly
  • 1 small jar capers
  • 1 cup feta cheese, crumbled
  • 1 tbsp Greek seasoning
  • salt and pepper, to taste
  • truffle salt, for finishing (optional)
  • truffle oil, for finishing (optional)
Instructions
  1. Preheat oven to 425 degrees.
  2. To clean mushrooms, carefully pull the stems to one side until they pop off. Using a small spoon, gently scrape out the gills inside the cap (remember, they’re mushrooms, not rocks, so it shouldn’t take a lot of force!) and turn mushroom over to discard the remains into a trash can. Don’t worry if you don’t get every single gill out- just go for the majority!
  3. Gently rub the top of the mushroom cap with a moist paper towel.
  4. In a casserole dish or baking sheet sprayed with cooking spray, place mushrooms (cavity-side down) and cook 5 minutes, just until they are thoroughly dried out. Remove from oven and set aside until ready for filling.
  5. Prepare quinoa according to package directions.
  6. In a medium saucepan, cook onions and garlic until soft- about 4 minutes. Add to cooked quinoa and toss. Set aside.
  7. In a food processor, combine tomatoes, roasted red peppers, parsley, 1 tbsp olive oil, and juice from 1/2 of lemon. Pulse until roughly chopped- this should take <10 seconds! (Don’t over-pulse!)
  8. Using a spatula, spoon mixture into a large colander and drain excess water.
  9. To same food processor, add chickpeas, spinach, and remaining lemon juice. Pulse until roughly chopped, about 5 seconds. Transfer mixture to a large bowl.
  10. When tomato mixture has drained, add to bowl with chickpeas.
  11. Stir in kalamata olives and capers.
  12. Add 1 tbsp (or to taste) Greek seasoning, salt and pepper. Stir to combine.
  13. Toss in the cooked quinoa and feta.
  14. Fill each mushroom cap (remember those?) with about 1/4-1/3 cup of filling (depending on the size of the mushroom). Pack down into the cavity with the back of the spoon.
  15. Sprinkle additional feta, truffle salt, and pepper over top of each mushroom. Place back into casserole dish or baking sheet.
  16. Bake for 15 minutes, or until feta has softened and browned slightly.
  17. Remove from oven, and drizzle with the teensiest bit of truffle oil (optional). Cool for a few minutes before serving!
Serving size: 1 mushroom Calories: 315 cal Fat: 10 g Carbohydrates: 45 g Fiber: 10 g Protein: 15 g

DSC00608See all those gills in there? Those will give the mushroom a musty taste. Make sure to clean your mushroom caps before filling!

DSC00609To clean, gently remove stems and scrape gills out with a small spoon. Also use a damp paper towel or dish rag to clean the tops of the caps.

DSC00613Clean(er) fungus FTW!

DSC00614Stick in the preheated oven for about 5 minutes to dry them out.

DSC00574Cook onions and garlic until soft.

DSC00577Toss in onions and garlic with the cooked quinoa. Set aside.

DSC00575Process tomatoes, parsley, lemon juice, olive oil, and roasted red peppers.

DSC00581Drain in a colander to get rid of excess water.

DSC00582Process chickpeas, spinach, and the remaining lemon juice.

DSC00584Transfer to a bowl and toss.

DSC00585Roughly chop kalamata olives.

DSC00586Add to bowl with chickpeas, along with the quinoa, capers, and drained tomato mixture.

DSC00587Add feta, Greek seasoning, and salt and pepper. At this point, you could definitely eat this on its own, or set some aside for a quick and healthy salad later in the week! (See note at bottom of this post)

DSC00616…Or you could keep going! Fill each mushroom cap with some of the filling and gently press down into the cavity.

DSC00634Sprinkle with more feta, salt (I used my truffle salt here!), and pepper. Bake at 425 degrees for 15 minutes, or until feta has softened a bit and gotten a little brown on top!

DSC00626Drizzle with truffle oil while they’re still hot, and allow to cool for a few minutes. Serve over a bed of greens with a side of some fresh orange slices!

Ben and I enjoyed the leftovers from this recipe all week long! This supper was half of a leftover ‘shroom, some more of the quinoa salad (warmed), steamed veggies, parsley, and a poached egg on top! DSC00637

Cheesecake Swirl Sweetheart Pie

DSC00604

With V-Day right around the corner, this simple, no-bake recipe is the perfect choice for all you lovestruck fellas out there who want to treat your lady to a special dessert, but the thought of turning on the oven and actually baking something makes you cringe! I promise this easy icebox pie will win major points in the romance category. It uses only a few ingredients, most of which just require you to unwrap them- no measuring needed! You can also make it in advance so that you have plenty of time left to focus on setting the mood for your sweetheart. You’ll have dessert all ready to go when the time is right!

Cheesecake Swirl Sweetheart Pie
Recipe Type: Dessert
Cuisine: Easy, No-Bake
Author: Claire McCormick of “Claire Tastes”
Prep time:
Total time:
Serves: 8-12
Ingredients
  • 2 packages cheesecake flavored instant pudding (I used one regular, one sugar-free)
  • 3 cups cold low fat milk
  • 1 8 oz tub light whipped topping (like Cool Whip), thawed
  • 1 ready-made graham cracker crust
  • 1 tsp strawberry flavoring (optional)
  • 1/2 cup frozen fruit of your choice (I used a berries and peach medley)
  • 1 tbsp sugar
Instructions
  1. Heat oven to 350 degrees. Blind bake pie crust 5 minutes or until a light golden-brown. Allow to cool completely.
  2. In a small bowl, mix thawed fruit and 1 tbsp sugar. Set aside to allow the sugar to draw out the juices from the fruit.
  3. In a large bowl, prepare pudding with 3 cups milk (1 less than package directions call for!). Whisk thoroughly until beginning to set, about 2 minutes.
  4. Stir in the whipped topping and strawberry flavoring with a spatula.
  5. Spoon filling evenly into cooled graham cracker crust.
  6. Gently spoon juices from fruit on top of the pie. Swirl with a knife over filling, making large swooping motions.
  7. Fill in the gaps of the swirls with the remaining fruit.
  8. Freeze at least three hours to allow pie to set.
  9. To serve, allow to thaw slightly for 20 minutes in refrigerator.

DSC00590

DSC00592

DSC00593

DSC00604

Disclaimer: This pie was actually NOT made for my sweetheart this time! I made it tonight for our good friend Liz who just found out she got into PA school! Her favorite type of dessert is something creamy like cheesecake with fruit on top. Her wish is my command! 

liz PA

 Congratulations Liz! We are so happy for you and Tim!

Caramelized Banana Raisin French Toast

What do you call it when the lines at the grocery store are three miles long and the shelves are wiped clean of milk, eggs, and bread? It must be a SNOW DAY in Durham! I can’t remember the last time we got enough snow to cause Duke to actually cancel class… my sophomore year as an undergrad, we actually got a few inches and a ton of ice and we STILL had to go to class. I think they think we’re here to learn or something. Anyhooooooo, today I have no complaints. Classes canceled for the whole university, which means I get to stay in and BLOG!- er, I mean, be extra submissive and sacrificial by hand-feeding my wonderful husband delicious morsels while he works hard to make us money. 🙂

photo (35)

 A view of my snow-covered Jeep from the upstairs office in our townhouse!

I love making brunch foods. And I love making Ben happy with yummy things. So when we woke up and I asked, “French Toast or Pancakes?” I was extra-pleased when he immediately answered “French Toast!” instead of the usual “ohhhh you don’t need to make me anything!”

So downstairs I clamored, anxious to please. And take pretty pictures!

I got a little inventive with this recipe to make up for the fact that we didn’t have the best bread for “french toasting”- ideally I’d want a crustier white bread that’s just a TAD stale to prevent the batter from making the bread fall apart, but I had to make do with what we had. (After all, we are snowed in. Good thing I got that extra bread, milk, and eggs yesterday!)

Snowed in, and only two ripe bananas left in the entire house (seriously, ya’ll, the bananas in this house disappear like hot cakes!). I needed to stretch those bananas! Instead of just topping the french toast with bananas after it’s cooked like I usually do, I decided to actually incorporate them into the recipe. But it didn’t seem like a good idea to put the bananas right in the batter, since I’d be dipping the bread and all the bananas would probably just slide off on the journey to the griddle. No one likes slidey-bananas. So instead, I decided to press the bananas and raisins right into one side of the toast while it was cooking, and while it was still “soggy” enough to be able to press right into the bread. I also decided to sprinkle a little more brown sugar and cinnamon on top, to (hopefully) result in a nice sticky caramelization when I flipped it!

The result was (almost) just what I’d hoped for! It was a bit difficult to flip the bread, but not so much because of the bananas falling out- it was more due to the fact that the sandwich bread I used got so moist when dunked in the batter that it wanted to fall apart when I was flipping. In the future, I’ll try using a crustier loaf. The caramelized bananas, though, were magical. They formed this beautifully thick, sticky glaze over one side, so that it was almost like cooking syrup right into the french toast!

Hope you enjoy your snow day, wherever you are!

DSC00472

Caramelized Banana Raisin French Toast
Recipe Type: Easy, Breakfast
Cuisine: Breakfast
Prep time:
Cook time:
Total time:
Serves: 2-3
An easy and delicious spin on your traditional French Toast! By pressing sliced bananas and raisins into the bread just after it’s been dipped, and sprinkling with a pinch of brown sugar, you get a beautifully caramelized topping that adds the perfect touch of elegance and fun to this Saturday morning (or snow day!) staple!
Ingredients
  • 6 slices whole wheat or day-old French bread (I only had regular Arnold multigrain, so it resulted in a bit more fuss and sogginess, but use whatever you have! I would recommend something that stays together better when dipped!)
  • 2 eggs
  • 3/4 cup milk (I used a combo of vanilla almond and regular 1%)
  • 1 tbsp granulated sugar
  • 1 tbsp brown sugar
  • 1 tsp cinnamon
  • 1 banana, sliced
  • 1/4 cup raisins
  • Extra cinnamon and brown sugar for topping
  • 1 tbsp butter
Instructions
  1. In a medium bowl, whisk eggs, milk, sugars, and cinnamon.
  2. Heat griddle to medium. When hot, add a small pat of butter, making sure that it melts (but not burns!). Spread to coat pan.
  3. Douse two slices of bread in batter, coating both sides. Gently shake excess and lay both slices on griddle.
  4. Gently press banana slices and raisins into the top of the bread. Sprinkle with additional brown sugar and cinnamon.
  5. Cook on medium heat for 2-3 minutes or until golden brown. Carefully flip bread and cook on the other side, 2 minutes.
  6. Flip again so that banana-raisin side is on top. The bananas should look nice and sticky!
  7. Remove from pan and place on plate. Keep warm in oven at 200 degrees while the remaining slices are cooking.
  8. Repeat with remaining slices of bread.
  9. Serve with a dollop of plain greek yogurt, a drizzle of honey, syrup, or (Ben’s favorite) peanut butter!

DSC00464

DSC00461

DSC00468

DSC00474

When is it not a good morning for french toast?

Superbowl Snackables Part 2: Teriyaki Glazed Wings

DSC00444

Superbowl Snackables Part 2: Teriyaki Glazed Wings
Recipe Type: Appetizer
Cuisine: Comfort
Author: Claire McCormick of “Claire Tastes”
Prep time:
Cook time:
Total time:
Serves: 10
Perfect as a snack for the big game! Sprinkle with a teaspoon or two of sesame seeds, and serve with celery sticks and carrot sticks for a little extra color!
Ingredients
  • 1 1/2 lbs chicken drummettes or wings, skin on
  • 1/4 cup Soy-Vay Teriyaki Sauce and Marinade (I used the pineapple flavor)
  • 1/4 cup reduced sodium soy sauce
  • 3 tbsp vegetable oil
  • 1 tsp garlic powder
  • 1 tsp minced garlic
  • 1/2 tsp ground ginger
  • 1/4 cup orange juice
  • 1/4 cup brown sugar
  • 2 tsp sesame seeds (optional)
  • Celery sticks and carrots (optional)
Instructions
  1. Combine all ingredients (except chicken) in a large zip-top bag.
  2. Shake to combine, making sure all of the brown sugar has dissolved.
  3. Add chicken to bag and toss until covered.
  4. Marinate at least 1 hour, turning bag over halfway through.
  5. Preheat oven to 400 degrees.
  6. Spread chicken out on a foil-lined and oiled baking sheet or aluminum pan (I used a disposable one, which was a good idea because a lot of the glaze burned on the bottom of the pan!)
  7. Cook chicken for 30 minutes at 400 degrees (these can be cooked at the same time as my “Krispie Chicken Strips” as well!), then reduce heat to 350 degrees and cook for 20 minutes more, or until chicken is cooked through and the glaze is browned and slightly crisped.
  8. Sprinkle with sesame seeds and serve with carrots and celery sticks!

Superbowl Snackables Part 1: Krispie Chicken Strips

DSC00453

Superbowl Must-Haves: Krispie Chicken Strips
Recipe Type: Appetizer
Cuisine: Comfort
Author: Claire McCormick of “Claire Tastes”
Prep time:
Cook time:
Total time:
Serves: 8-12
Who doesn’t love a good crispy chicken strip? Perfect as an appetizer or snack for the big game, or even as a main course with a salad on the side for dinner!
Ingredients
  • 1 1/2 lbs boneless skinless chicken tenderloins
  • extra virgin olive oil
  • 1/2 cup all-purpose flour
  • 1 tsp ground mustard
  • 2 eggs, beaten
  • 4 cups rice cereal (like Rice Krispies!)
  • salt and pepper
Instructions
  1. Preheat oven to 400 degrees.
  2. In a shallow bowl, whisk eggs.
  3. In a separate bowl, whisk flour and mustard together.
  4. In a freezer bag, pour rice cereal and mash with hands or the back of a frying pan until the cereal forms rough crumbs.
  5. Dip chicken first in flour mixture, then in egg. Shake gently to remove excess.
  6. Add chicken, a few strips at a time, to cereal in the bag. Shake, shake, shake, until evenly coated!
  7. Remove from bag and place on a foil-lined baking dish or aluminum foil pan.
  8. Drizzle with a bit of olive oil and sprinkle with salt and pepper.
  9. Bake at 400 degrees for 20 minutes, turning chicken halfway through. Chicken will have formed a nice crispy crust!